文章目录
- 1、简介
-
- [1.1 three.js](#1.1 three.js)
- [1.2 angular.js](#1.2 angular.js)
- [2、three.js + Angular.js](#2、three.js + Angular.js)
- 结语
1、简介
1.1 three.js
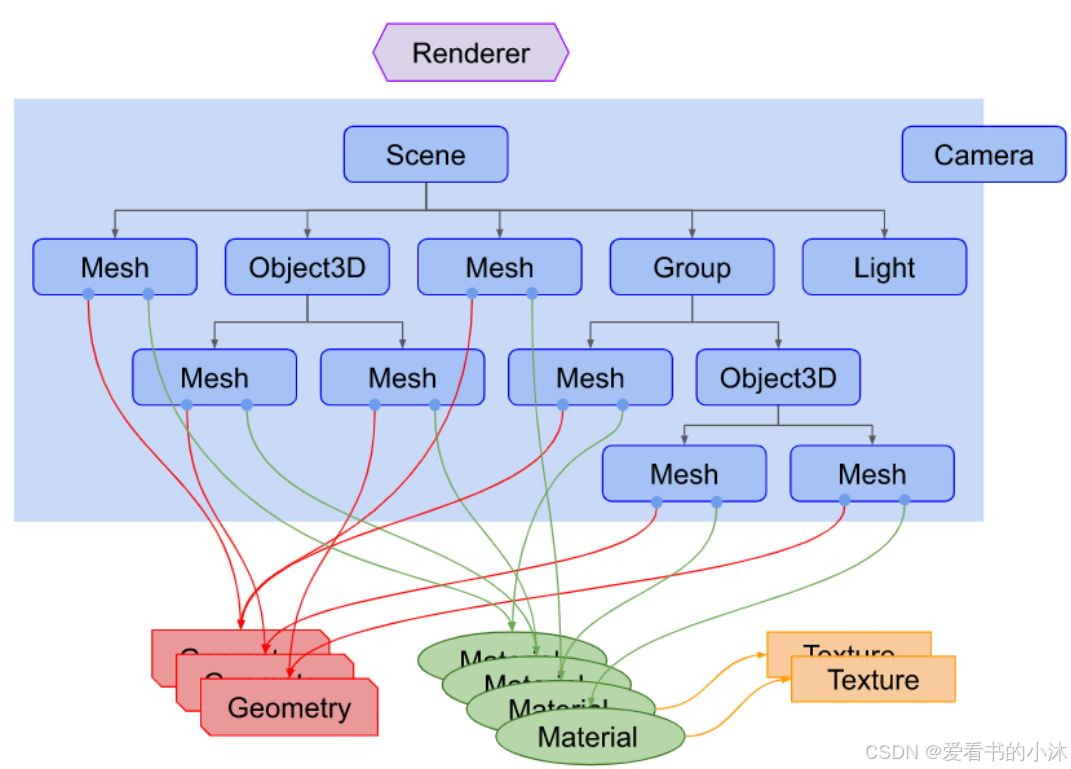
Three.js 是一款 webGL(3D绘图标准)引擎,可以运行于所有支持 webGL 的浏览器。Three.js 封装了 webGL 底层的 API ,为我们提供了高级的开发接口,可以使用简单的代码去实现 3D 渲染。
1.2 angular.js
Angular 是一个用于构建移动和桌面 Web 应用的平台,拥有百万开发者的支持。
AngularJS 通过新的属性和表达式扩展了 HTML。
AngularJS 可以构建一个单一页面应用程序(SPAs:Single Page Applications)。
AngularJS 学习起来非常简单。

html
<!DOCTYPE html>
<html>
<head>
<meta charset="utf-8">
<script src="https://cdn.staticfile.net/angular.js/1.4.6/angular.min.js"></script>
</head>
<body>
<div ng-app="">
 	<p>名字 : <input type="text" ng-model="name"></p>
 	<h1>Hello {{name}}</h1>
</div>
</body>
</html>
保存为index.html文件,用浏览器打开如下:

2、three.js + Angular.js
确保已经安装了 Angular CLI。如果没有安装,可以使用以下命令安装:
bash
npm install -g @angular/cli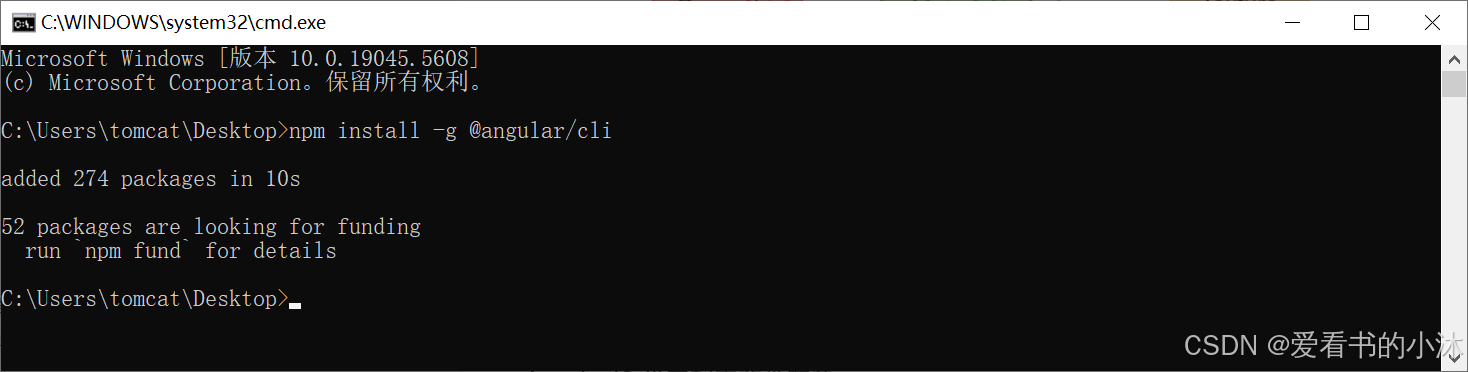
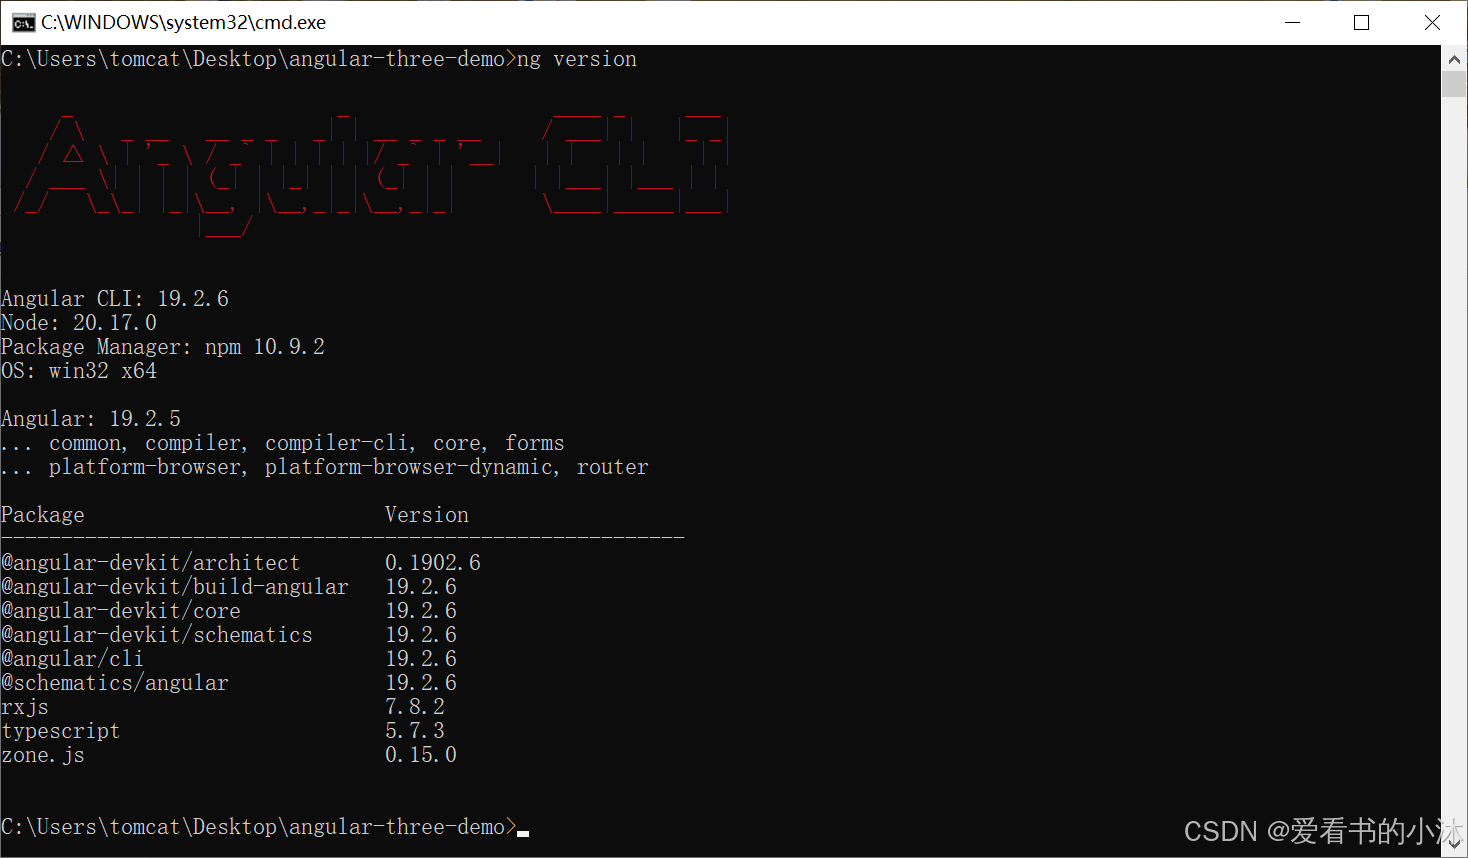
打印版本信息如下:
然后创建一个新的 Angular 项目:
bash
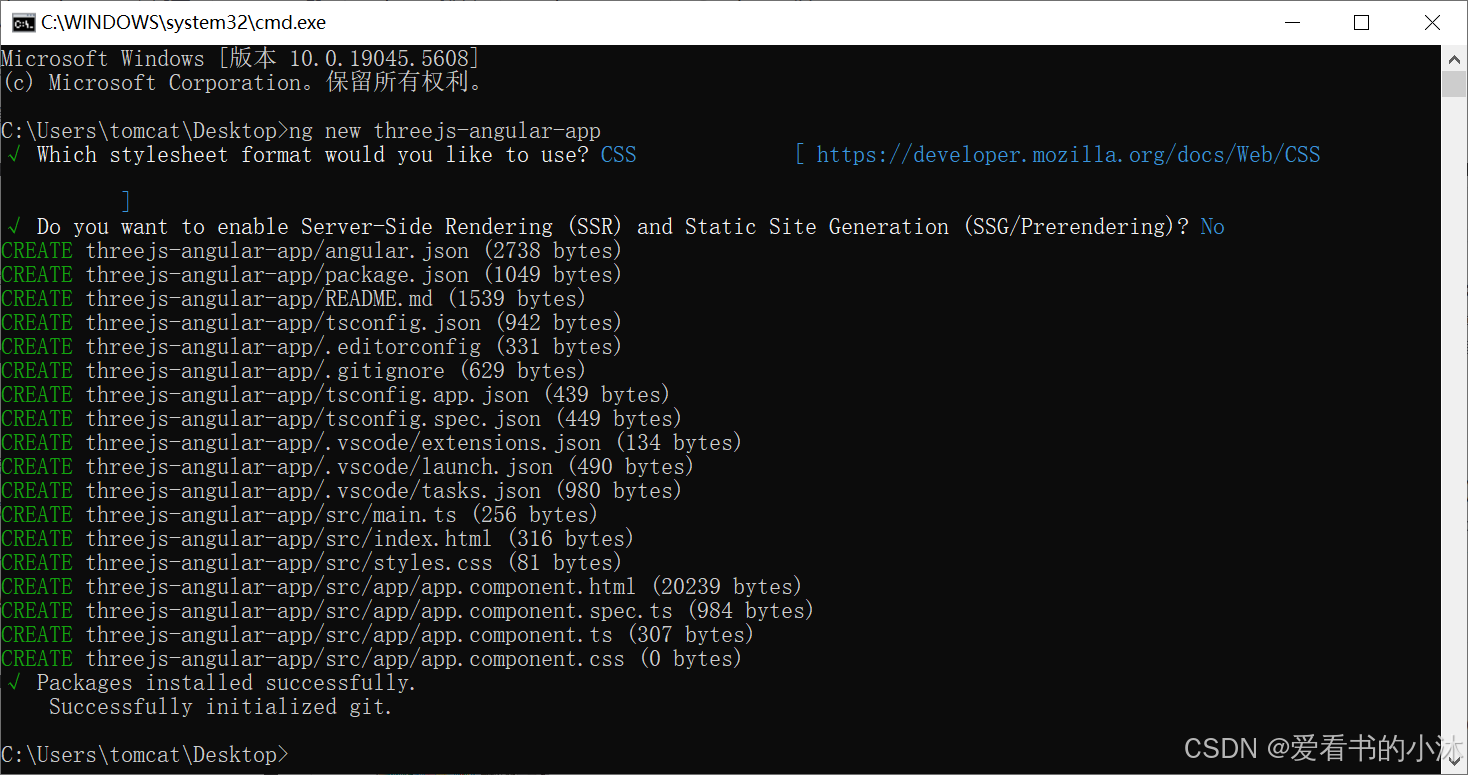
ng new threejs-angular-app
cd threejs-angular-app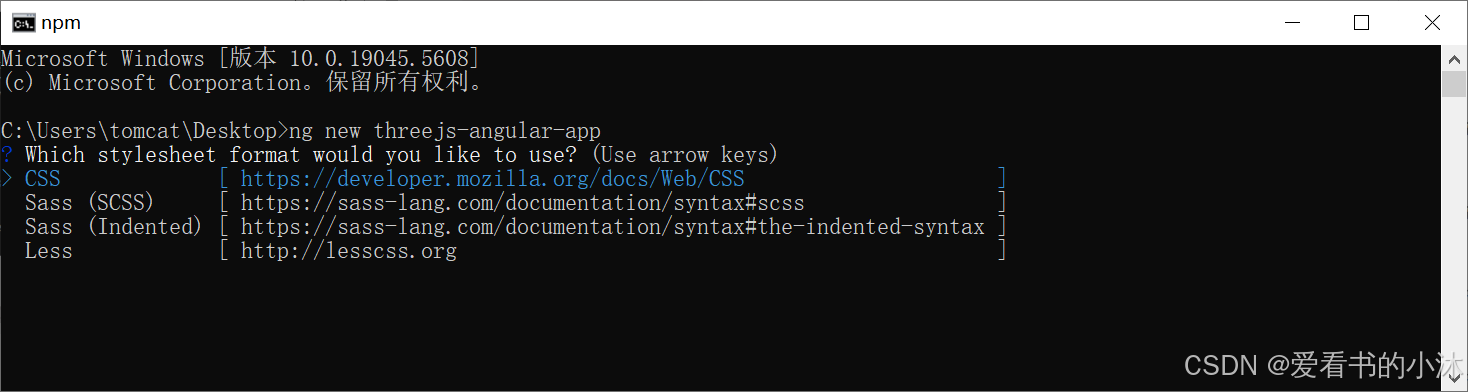
angular项目创建完毕:
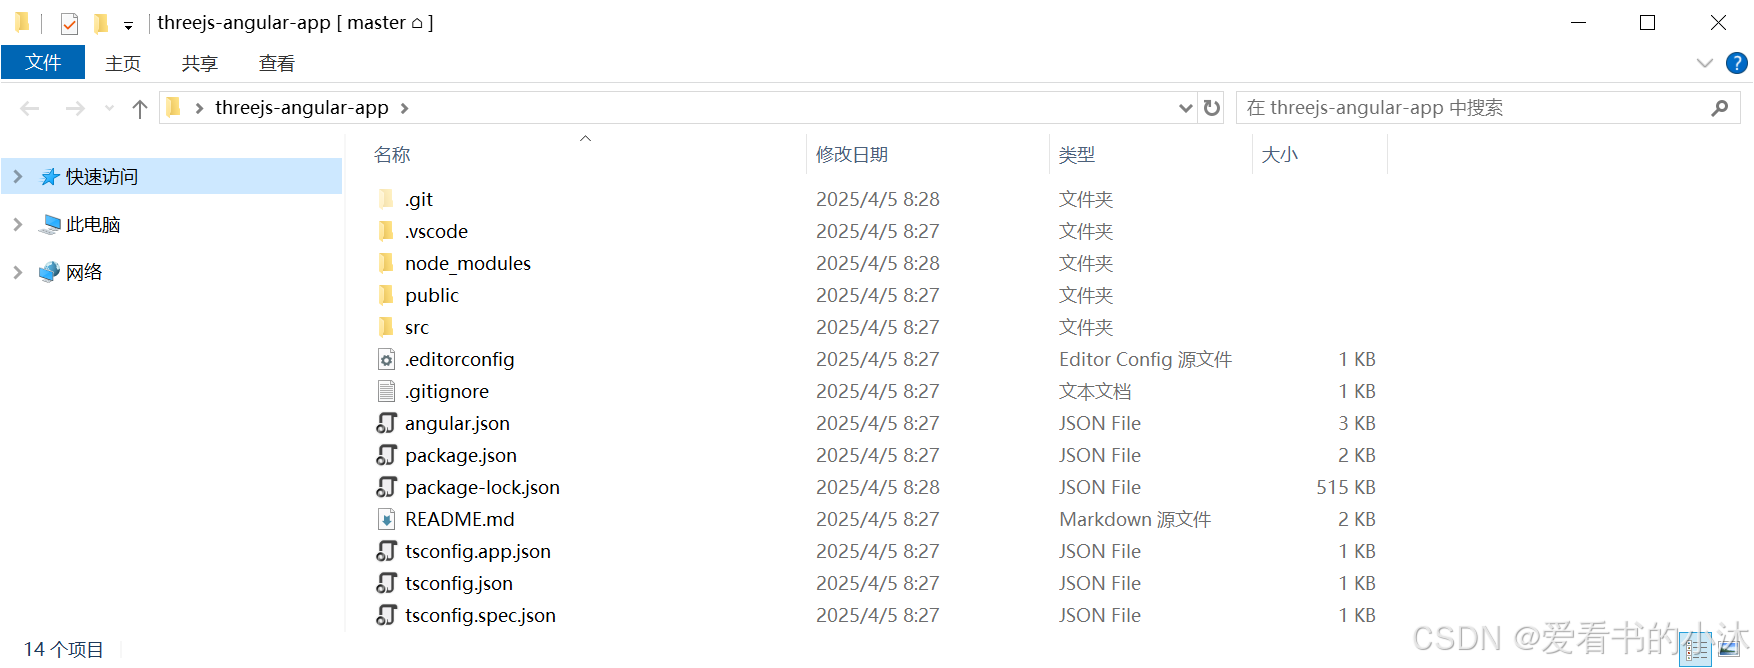
生成的文件夹如下:
创建一个新的 Angular 组件来加载和渲染三维模型:
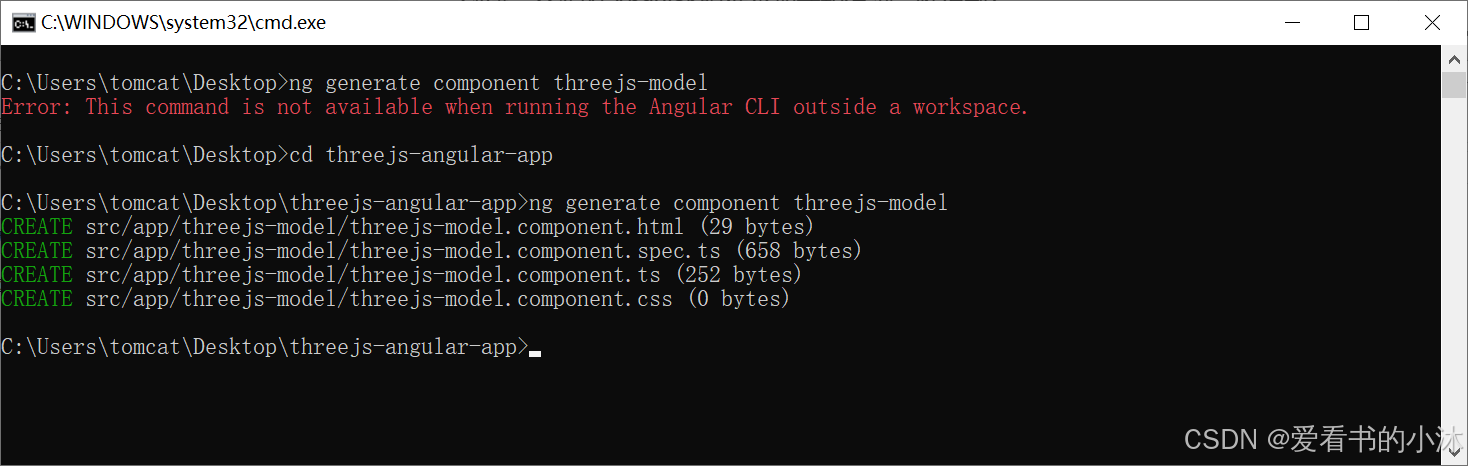
这会在 src/app 目录下生成一个新的组件文件夹 threejs-model。
生成文件夹如下:

bash
npm install --save-dev @types/three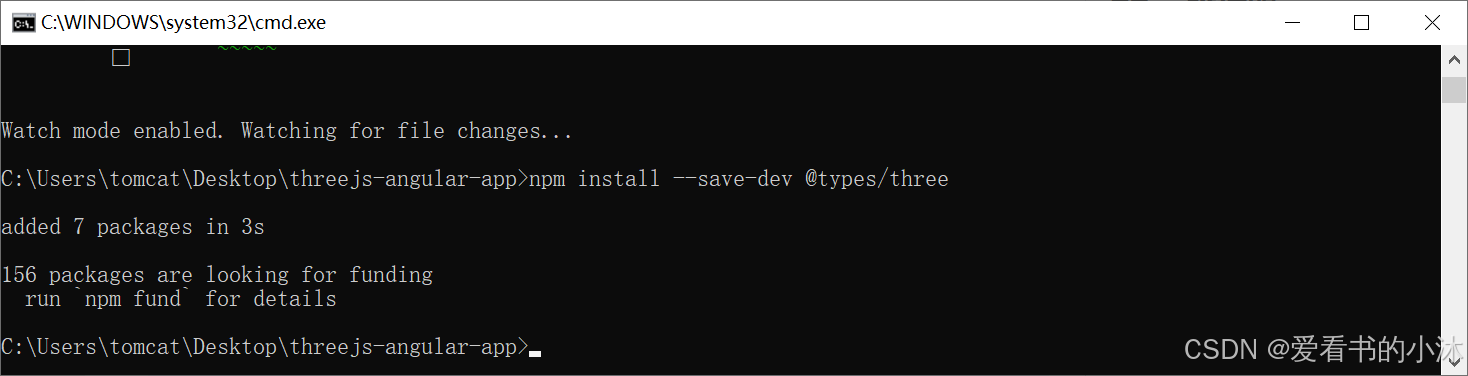
修改 threejs-model.component.ts:
typescript
import { Component, OnInit, ViewChild, ElementRef, AfterViewInit } from '@angular/core';
import * as THREE from 'three';
import { GLTFLoader } from 'three/examples/jsm/loaders/GLTFLoader';
import { OrbitControls } from 'three/examples/jsm/controls/OrbitControls';

@Component({
  selector: 'app-threejs-model',
  template: '<div #threeContainer class="three-container"></div>',
  styles: [`
    .three-container {
      width: 100%;
      height: 100%;
    }
  `]
})
export class ThreejsModelComponent implements AfterViewInit {
  @ViewChild('threeContainer') threeContainer!: ElementRef;
  private scene!: THREE.Scene;
  private camera!: THREE.PerspectiveCamera;
  private renderer!: THREE.WebGLRenderer;
  private model!: THREE.Group;
  private controls!: OrbitControls; // 添加 OrbitControls

  ngAfterViewInit() {
    this.initThree();
    this.loadModel();
    this.animate();
  }

  initThree() {
    // 创建场景
    this.scene = new THREE.Scene();
    this.scene.background = new THREE.Color(0xaaaaaa);

    // 创建相机
    this.camera = new THREE.PerspectiveCamera(45, window.innerWidth / window.innerHeight, 0.01, 1000);
    this.camera.position.set(0, 0.15, 0.15);
    this.camera.lookAt(this.scene.position);

    // 创建渲染器
    this.renderer = new THREE.WebGLRenderer({ antialias: true });
    this.renderer.setSize(window.innerWidth, window.innerHeight);
    this.threeContainer.nativeElement.appendChild(this.renderer.domElement);

	// 添加环境光
	const ambientLight = new THREE.AmbientLight(0xf0f0f0, 0.9);
	this.scene.add(ambientLight);

	// 初始化 OrbitControls
    this.controls = new OrbitControls(this.camera, this.renderer.domElement);
    this.controls.enableDamping = true; // 添加阻尼效果
    this.controls.dampingFactor = 0.05; // 阻尼系数

    // 处理窗口大小变化
    window.addEventListener('resize', () => {
      this.camera.aspect = window.innerWidth / window.innerHeight;
      this.camera.updateProjectionMatrix();
      this.renderer.setSize(window.innerWidth, window.innerHeight);
    });
  }

  loadModel() {
    // 初始化 GLTF 加载器
    const loader = new GLTFLoader();

    // 加载 GLTF 模型
    loader.load(
      './assets/models/Avocado2.glb', // 模型路径
      (gltf) => {
        this.model = gltf.scene;
        this.scene.add(this.model);
        console.log('模型加载成功', gltf);
      },
      (xhr) => {
        console.log(`模型加载进度:${(xhr.loaded / xhr.total) * 100}%`);
      },
      (error) => {
        console.error('模型加载失败', error);
      }
    );
  }

  animate() {
    requestAnimationFrame(() => this.animate());

    // 模型动画(例如旋转)
    if (this.model) {
      this.model.rotation.y += 0.01;
    }

    this.renderer.render(this.scene, this.camera);
  }
}
将你的 3D 模型文件(如 .glb 或 .gltf)放置在 public/assets/models 文件夹中。如果没有这个文件夹,可以手动创建:
public/assets/models/Avocado2.glb
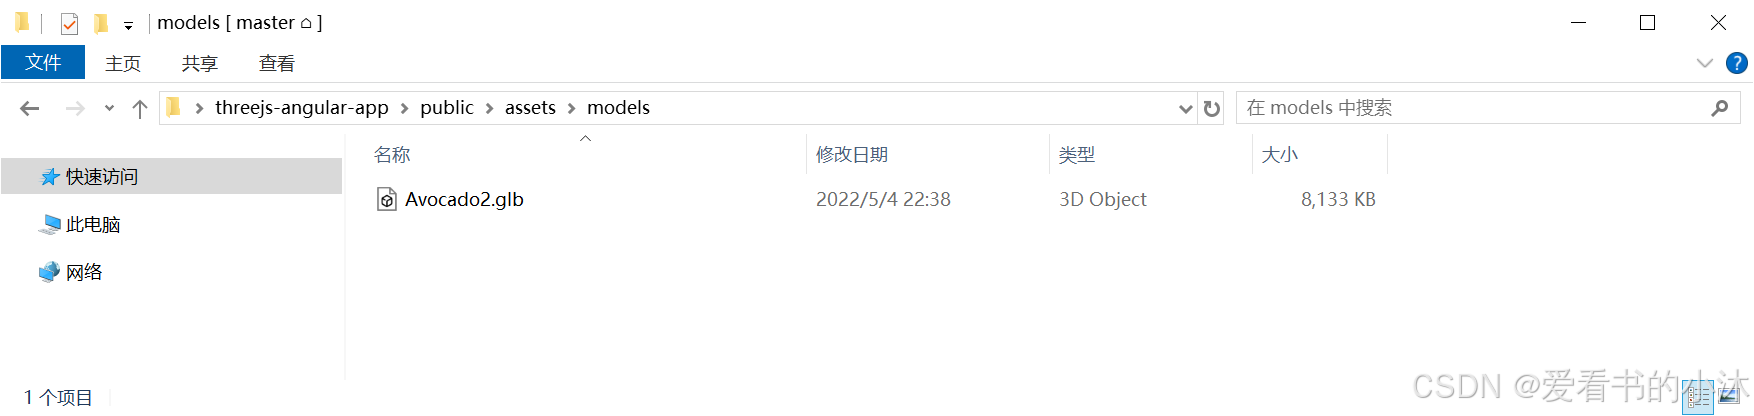
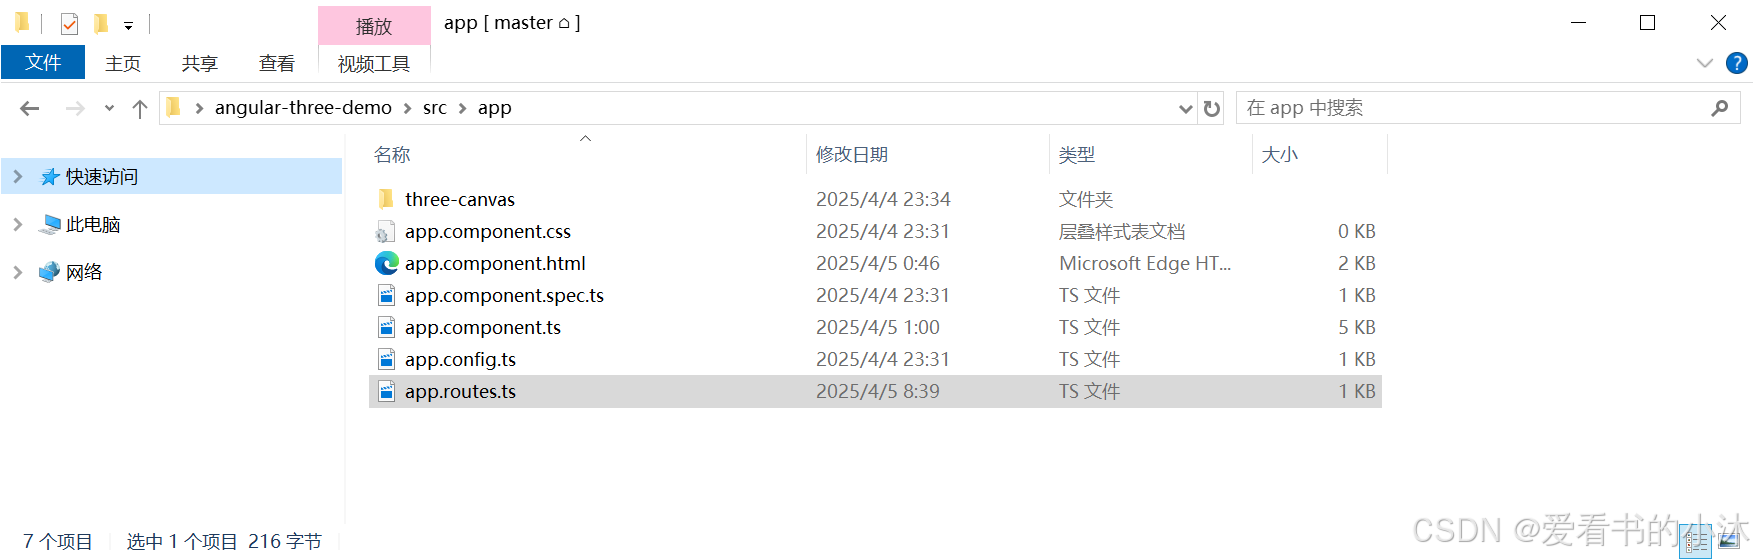
在 app.routes.ts 中添加路由配置:
typescript
import { Routes } from '@angular/router';
import { ThreejsModelComponent } from './threejs-model/threejs-model.component';

export const appRoutes: Routes = [
  { path: '', component: ThreejsModelComponent },
];
修改 app.config.ts:
typescript
import { ApplicationConfig } from '@angular/core';
import { provideRouter } from '@angular/router';
import { appRoutes } from './app.routes';

export const appConfig: ApplicationConfig = {
  providers: [provideRouter(appRoutes)]
};
修改app.component.ts:
typescript
import { Component } from '@angular/core';
import { CUSTOM_ELEMENTS_SCHEMA } from '@angular/core';
import { ThreejsModelComponent } from './threejs-model/threejs-model.component';

@Component({
  selector: 'app-root',
  standalone: true,
  imports: [ThreejsModelComponent],
  schemas: [CUSTOM_ELEMENTS_SCHEMA],
  templateUrl: './app.component.html',
  styleUrl: './app.component.css',
})
export class AppComponent {
  title = 'threejs-angular-app';
}
修改app.component.html:
html
<!-- * * * * * * * * * * * * * * * * * * * * * * * * * * * * * * * -->
<!-- * * * * * * * * * * * The content below * * * * * * * * * * * -->
<!-- * * * * * * * * * * is only a placeholder * * * * * * * * * * -->
<!-- * * * * * * * * * * and can be replaced.  * * * * * * * * * * -->
<!-- * * * * * * * * * * * * * * * * * * * * * * * * * * * * * * * -->
<!-- * * * * * * * * * Delete the template below * * * * * * * * * -->
<!-- * * * * * * * to get started with your project! * * * * * * * -->
<!-- * * * * * * * * * * * * * * * * * * * * * * * * * * * * * * * -->

<style>

</style>

<main class="main">
  <app-threejs-model></app-threejs-model>
</main>

<!-- * * * * * * * * * * * * * * * * * * * * * * * * * * * * * * * * -->
<!-- * * * * * * * * * * * The content above * * * * * * * * * * * * -->
<!-- * * * * * * * * * * is only a placeholder * * * * * * * * * * * -->
<!-- * * * * * * * * * * and can be replaced.  * * * * * * * * * * * -->
<!-- * * * * * * * * * * * * * * * * * * * * * * * * * * * * * * * * -->
<!-- * * * * * * * * * * End of Placeholder  * * * * * * * * * * * * -->
<!-- * * * * * * * * * * * * * * * * * * * * * * * * * * * * * * * * -->


<router-outlet />
修改tsconfig.json:
xml
/* To learn more about Typescript configuration file: https://www.typescriptlang.org/docs/handbook/tsconfig-json.html. */
/* To learn more about Angular compiler options: https://angular.dev/reference/configs/angular-compiler-options. */
{
  "compileOnSave": false,
  "compilerOptions": {
    "outDir": "./dist/out-tsc",
    "strict": true,
    "noImplicitOverride": true,
    "noPropertyAccessFromIndexSignature": true,
    "noImplicitReturns": true,
    "noFallthroughCasesInSwitch": true,
    "skipLibCheck": true,
    "isolatedModules": true,
    "esModuleInterop": true,
    "experimentalDecorators": true,
    "moduleResolution": "bundler",
    "importHelpers": true,
    "target": "ES2022",
    "module": "ES2022",
	"typeRoots": ["node_modules/@types"]
  },
  "angularCompilerOptions": {
    "enableI18nLegacyMessageIdFormat": false,
    "strictInjectionParameters": true,
    "strictInputAccessModifiers": true,
    "strictTemplates": true
  }
}
执行项目:
bash
ng serve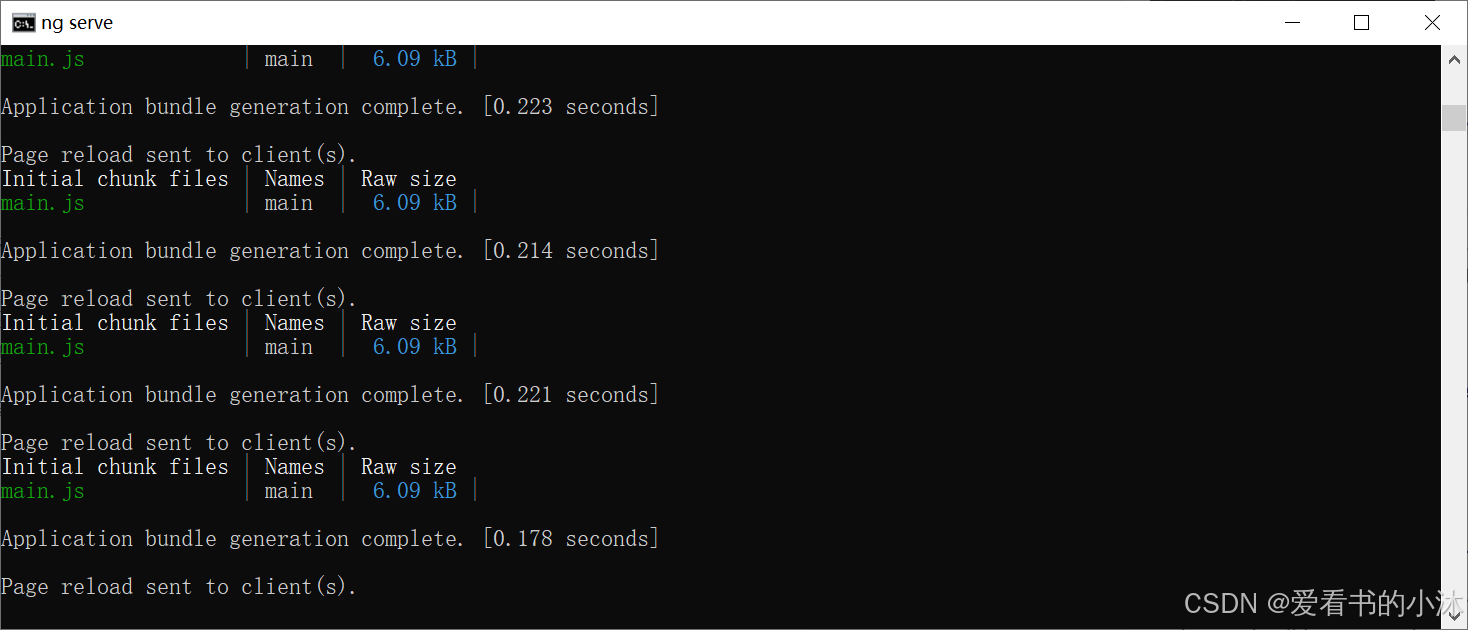
浏览器运行如下:
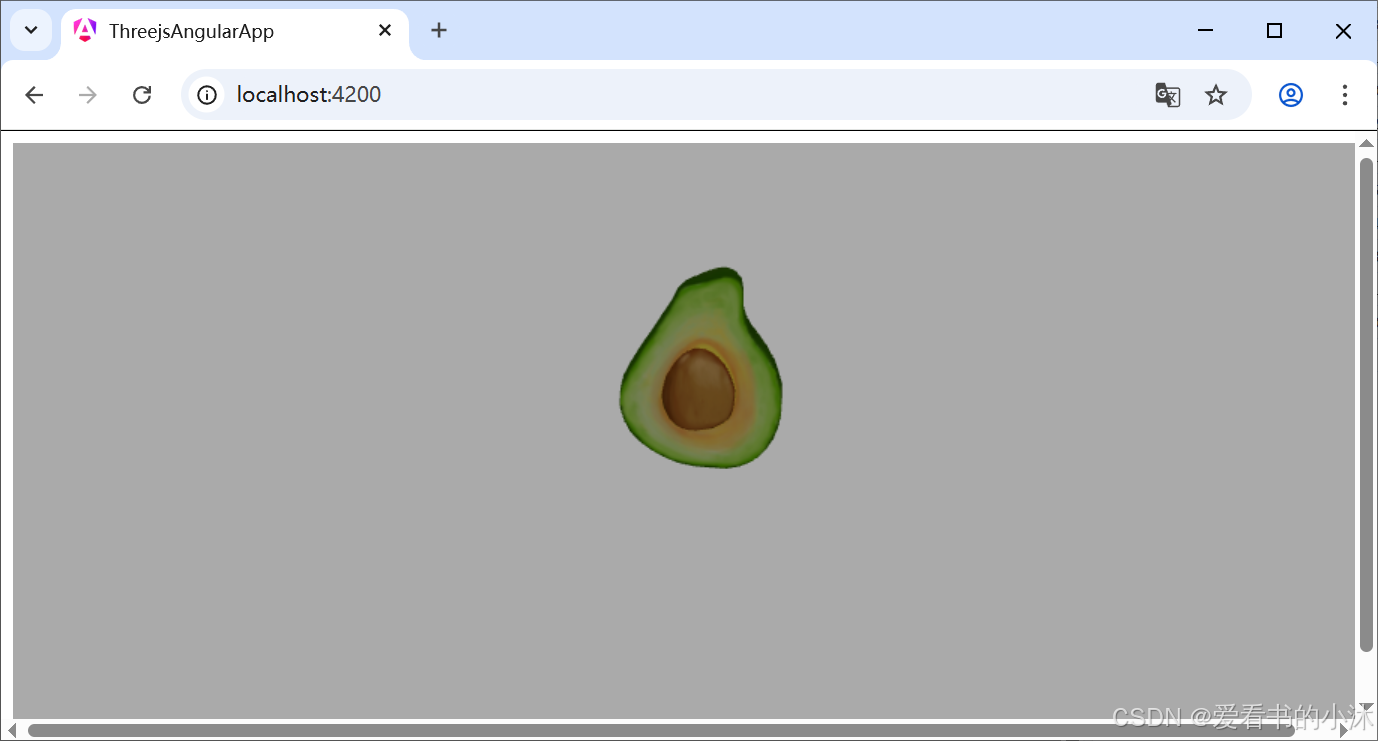

结语
如果您觉得该方法或代码有一点点用处,可以给作者点个赞,或打赏杯咖啡;╮( ̄▽ ̄)╭
如果您感觉方法或代码不咋地//(ㄒoㄒ)//,就在评论处留言,作者继续改进;o_O???
如果您需要相关功能的代码定制化开发,可以留言私信作者;(✿◡‿◡)
感谢各位童鞋们的支持!( ´ ▽´ )ノ ( ´ ▽´)っ!!!