安装部署Gitlab
1. 安装依赖
swift
sudo yum install -y curl policycoreutils-python openssh-server perl postfixpolicycoreutils-python:处理 SELinux 相关的策略配置。
openssh-server:提供 SSH 服务,方便远程管理服务器。
perl:用于系统管理脚本、自动化任务。
postfix:邮件传输代理,用于发送邮件通知。
1.1. 处理postfix安装报错
sql
[root@localhost local]# sudo yum install -y curl postfix
Loaded plugins: fastestmirror
Loading mirror speeds from cached hostfile
 * base: mirrors.aliyun.com
 * epel: mirrors.aliyun.com
 * extras: mirrors.aliyun.com
 * updates: mirrors.aliyun.com
Resolving Dependencies
--> Running transaction check
---> Package curl.x86_64 0:7.29.0-51.el7 will be updated
---> Package curl.x86_64 0:7.29.0-59.el7_9.2 will be an update
--> Processing Dependency: libcurl = 7.29.0-59.el7_9.2 for package: curl-7.29.0-59.el7_9.2.x86_64
---> Package postfix.x86_64 2:2.10.1-9.el7 will be installed
--> Processing Dependency: libmysqlclient.so.18(libmysqlclient_18)(64bit) for package: 2:postfix-2.10.1-9.el7.x86_64
--> Processing Dependency: libmysqlclient.so.18()(64bit) for package: 2:postfix-2.10.1-9.el7.x86_64
--> Running transaction check
---> Package libcurl.x86_64 0:7.29.0-51.el7 will be updated
---> Package libcurl.x86_64 0:7.29.0-59.el7_9.2 will be an update
--> Processing Dependency: libssh2(x86-64) >= 1.8.0 for package: libcurl-7.29.0-59.el7_9.2.x86_64
---> Package mariadb-libs.x86_64 1:5.5.68-1.el7 will be installed
--> Running transaction check
---> Package libssh2.x86_64 0:1.4.3-12.el7 will be updated
---> Package libssh2.x86_64 0:1.8.0-4.el7_9.1 will be an update
Removing mariadb-libs.x86_64 1:5.5.68-1.el7 - u due to obsoletes from installed mysql-community-libs-5.7.31-1.el7.x86_64
--> Restarting Dependency Resolution with new changes.
--> Running transaction check
---> Package mariadb-libs.x86_64 1:5.5.68-1.el7 will be installed
--> Processing Dependency: libmysqlclient.so.18(libmysqlclient_18)(64bit) for package: 2:postfix-2.10.1-9.el7.x86_64
--> Processing Dependency: libmysqlclient.so.18()(64bit) for package: 2:postfix-2.10.1-9.el7.x86_64
--> Finished Dependency Resolution
Error: Package: 2:postfix-2.10.1-9.el7.x86_64 (base)
           Requires: libmysqlclient.so.18()(64bit)
Error: Package: 2:postfix-2.10.1-9.el7.x86_64 (base)
           Requires: libmysqlclient.so.18(libmysqlclient_18)(64bit)
 You could try using --skip-broken to work around the problem
 You could try running: rpm -Va --nofiles --nodigest
安装 postfix 依赖 libmysqlclient.so.18 这个库文件,但是系统里没用,检查后发现该环境存在不兼容的MySQL版本,postfix 依赖的是 MySQL 5.5 版本的客户端库,当前已经安装了 MySQL 5.7 版本
bash
[root@localhost local]# yum list installed | grep mysql
mysql-community-client.x86_64              5.7.31-1.el7                installed
mysql-community-common.x86_64              5.7.31-1.el7                installed
mysql-community-devel.x86_64               5.7.31-1.el7                installed
mysql-community-libs.x86_64                5.7.31-1.el7                installed
mysql-community-server.x86_64              5.7.31-1.el7                installed

[root@localhost local]# find / -name libmysqlclient.so.* 2>/dev/null
/usr/lib64/mysql/libmysqlclient.so.20
/usr/lib64/mysql/libmysqlclient.so.20.3.18
1.1.1. 尝试方案1(成功):安装 MySQL 兼容库
- 启用 EPEL 仓库
arduino
sudo yum install -y epel-release- 添加 MySQL 官方 Yum 仓库
sql
wget https://dev.mysql.com/get/mysql80-community-release-el7-5.noarch.rpm- 安装 Yum 仓库配置文件
arduino
sudo rpm -ivh mysql80-community-release-el7-5.noarch.rpm- 验证 MySQL Yum 仓库
bash
[root@localhost local]# yum repolist enabled | grep "mysql.*-community.*"
mysql-connectors-community/x86_64 MySQL Connectors Community                 279
mysql-tools-community/x86_64      MySQL Tools Community                      114
mysql57-community/x86_64 MySQL 5.7 Community Server 696- 选择合适的 MySQL 版本
默认情况下,Yum 仓库会启用最新版本的 MySQL。如果要使用特定版本(比如 MySQL 5.7),可以通过编辑 /etc/yum.repos.d/mysql-community.repo 文件来调整。
bash
sudo vi /etc/yum.repos.d/mysql-community.repo找到 [mysql57-community] 和 [mysql80-community] 这两个部分,将想要使用的版本MySQL 5.7的 enabled 值设为 1,不需要的版本设为 0
ini
# Enable to use MySQL 5.7
[mysql57-community]
name=MySQL 5.7 Community Server
baseurl=http://repo.mysql.com/yum/mysql-5.7-community/el/7/$basearch
enabled=1
gpgcheck=1
gpgkey=file:///etc/pki/rpm-gpg/RPM-GPG-KEY-mysql-2022
       file:///etc/pki/rpm-gpg/RPM-GPG-KEY-mysql

[mysql80-community]
name=MySQL 8.0 Community Server
baseurl=http://repo.mysql.com/yum/mysql-8.0-community/el/7/$basearch
enabled=0
gpgcheck=1
gpgkey=file:///etc/pki/rpm-gpg/RPM-GPG-KEY-mysql-2022
file:///etc/pki/rpm-gpg/RPM-GPG-KEY-mysql-
安装 mysql-community-libs-compat
sudo yum install -y mysql-community-libs-compat
-
重新安装 postfix
swift
sudo yum install -y curl postfix
1.1.2. 尝试方案2(无效):创建软链接指向现有库
- 查找当前 MySQL 5.7 的客户端库
bash
[root@localhost local]# find / -name libmysqlclient.so.* 2>/dev/null
/usr/lib64/mysql/libmysqlclient.so.20
/usr/lib64/mysql/libmysqlclient.so.20.3.18- 创建软链接
bash
sudo ln -s /usr/lib64/mysql/libmysqlclient.so.20 /usr/lib64/mysql/libmysqlclient.so.18-
刷新链接缓存
sudo ldconfig
-
再次尝试安装 postfix
swift
sudo yum install -y curl postfix没用,寄!
sql
[root@localhost local]# sudo yum install -y curl postfix
Loaded plugins: fastestmirror
Loading mirror speeds from cached hostfile
 * base: mirrors.aliyun.com
 * epel: mirrors.aliyun.com
 * extras: mirrors.aliyun.com
 * updates: mirrors.aliyun.com
Resolving Dependencies
--> Running transaction check
---> Package curl.x86_64 0:7.29.0-51.el7 will be updated
---> Package curl.x86_64 0:7.29.0-59.el7_9.2 will be an update
--> Processing Dependency: libcurl = 7.29.0-59.el7_9.2 for package: curl-7.29.0-59.el7_9.2.x86_64
---> Package postfix.x86_64 2:2.10.1-9.el7 will be installed
--> Processing Dependency: libmysqlclient.so.18(libmysqlclient_18)(64bit) for package: 2:postfix-2.10.1-9.el7.x86_64
--> Processing Dependency: libmysqlclient.so.18()(64bit) for package: 2:postfix-2.10.1-9.el7.x86_64
--> Running transaction check
---> Package libcurl.x86_64 0:7.29.0-51.el7 will be updated
---> Package libcurl.x86_64 0:7.29.0-59.el7_9.2 will be an update
--> Processing Dependency: libssh2(x86-64) >= 1.8.0 for package: libcurl-7.29.0-59.el7_9.2.x86_64
---> Package mariadb-libs.x86_64 1:5.5.68-1.el7 will be installed
--> Running transaction check
---> Package libssh2.x86_64 0:1.4.3-12.el7 will be updated
---> Package libssh2.x86_64 0:1.8.0-4.el7_9.1 will be an update
Removing mariadb-libs.x86_64 1:5.5.68-1.el7 - u due to obsoletes from installed mysql-community-libs-5.7.31-1.el7.x86_64
--> Restarting Dependency Resolution with new changes.
--> Running transaction check
---> Package mariadb-libs.x86_64 1:5.5.68-1.el7 will be installed
--> Processing Dependency: libmysqlclient.so.18(libmysqlclient_18)(64bit) for package: 2:postfix-2.10.1-9.el7.x86_64
--> Processing Dependency: libmysqlclient.so.18()(64bit) for package: 2:postfix-2.10.1-9.el7.x86_64
--> Finished Dependency Resolution
Error: Package: 2:postfix-2.10.1-9.el7.x86_64 (base)
           Requires: libmysqlclient.so.18()(64bit)
Error: Package: 2:postfix-2.10.1-9.el7.x86_64 (base)
           Requires: libmysqlclient.so.18(libmysqlclient_18)(64bit)
 You could try using --skip-broken to work around the problem
 You could try running: rpm -Va --nofiles --nodigest
1.2. 启动 ssh 和 postfix 服务并设置开机自启
swift
sudo systemctl enable sshd postfix
sudo systemctl start sshd postfix
2. 安装GitLab社区版
2.1. 手动下载安装(推荐)
bash
# 从清华镜像下载17.1.1 版本RPM安装包(兼容EL7)
curl -LO https://mirrors.tuna.tsinghua.edu.cn/gitlab-ce/yum/el7/gitlab-ce-17.1.1-ce.0.el7.x86_64.rpm
bash
# 安装
sudo rpm -ivh gitlab-ce-17.1.1-ce.0.el7.x86_64.rpm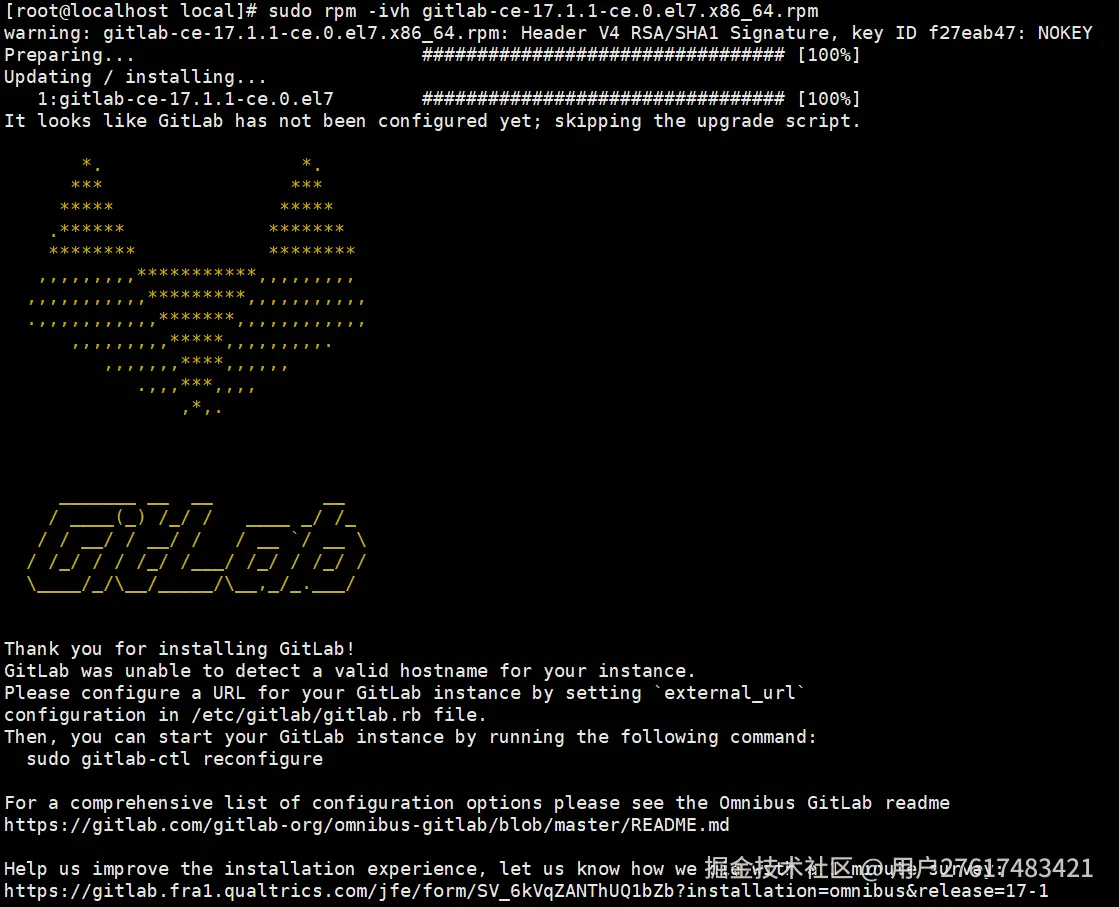
2.2. 使用官方安装脚本
ruby
curl -sS https://packages.gitlab.com/install/repositories/gitlab/gitlab-ce/script.rpm.sh | sudo bash
sudo yum install -y gitlab-ce
3. 配置GitLab
bash
sudo vi /etc/gitlab/gitlab.rb
bash
# 编辑 external_url 指定gitlab所在服务器的ip 和 对外提供访问的端口,
external_url 'http://192.168.1.100:8000'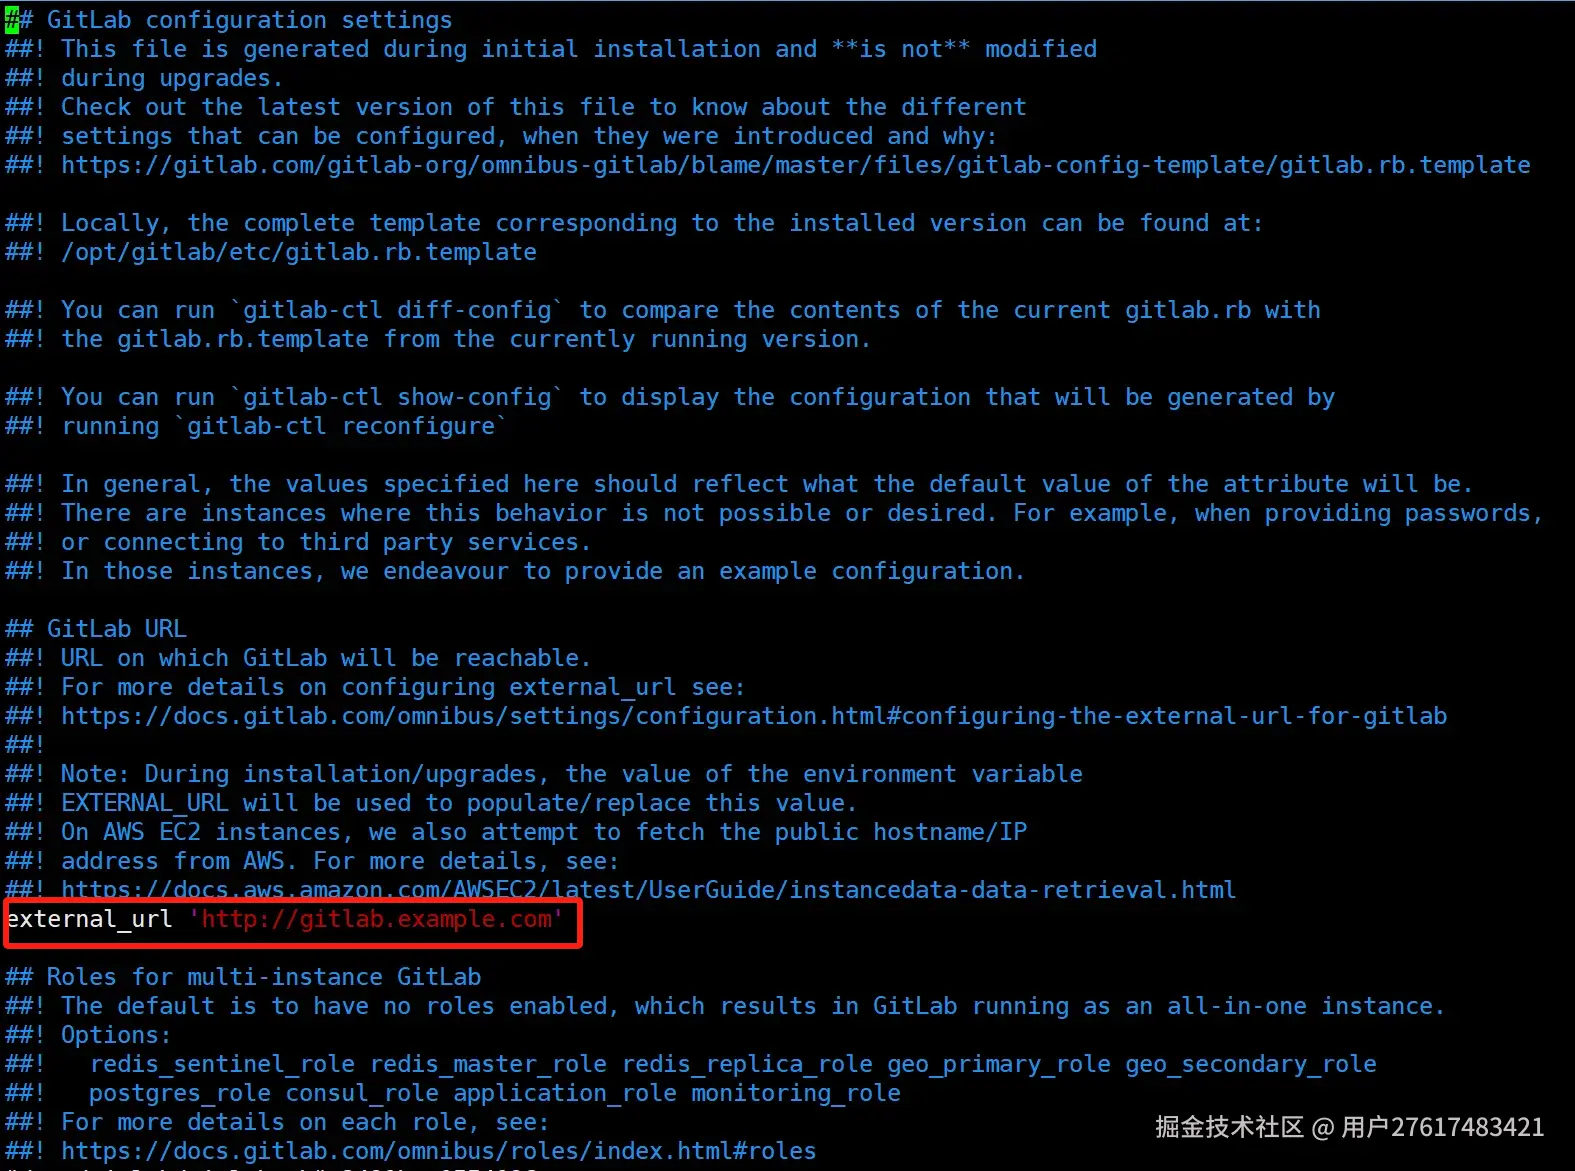
4. 开放防火墙端口访问
如果防火墙已经关闭,就不需要配置下面这些规则
css
sudo firewall-cmd --permanent --add-service=http
sudo firewall-cmd --permanent --add-service=https
sudo firewall-cmd --permanent --add-port=7000/tcp
# 配置后,重启防火墙
sudo firewall-cmd --reload
--permanent 选项表示设置永久生效,--add-service 用于添加服务端口,--reload 用于重新加载防火墙规则。
5. 应用配置启动GitLab服务
sudo gitlab-ctl reconfigure
成功应用配置后,会有输出提示,里面会提示一个密码文件,记录了初始root账号的默认密码,密码有效期24小时,记得及时更改
6. 获取初始root密码并登录
bash
cat /etc/gitlab/initial_root_password
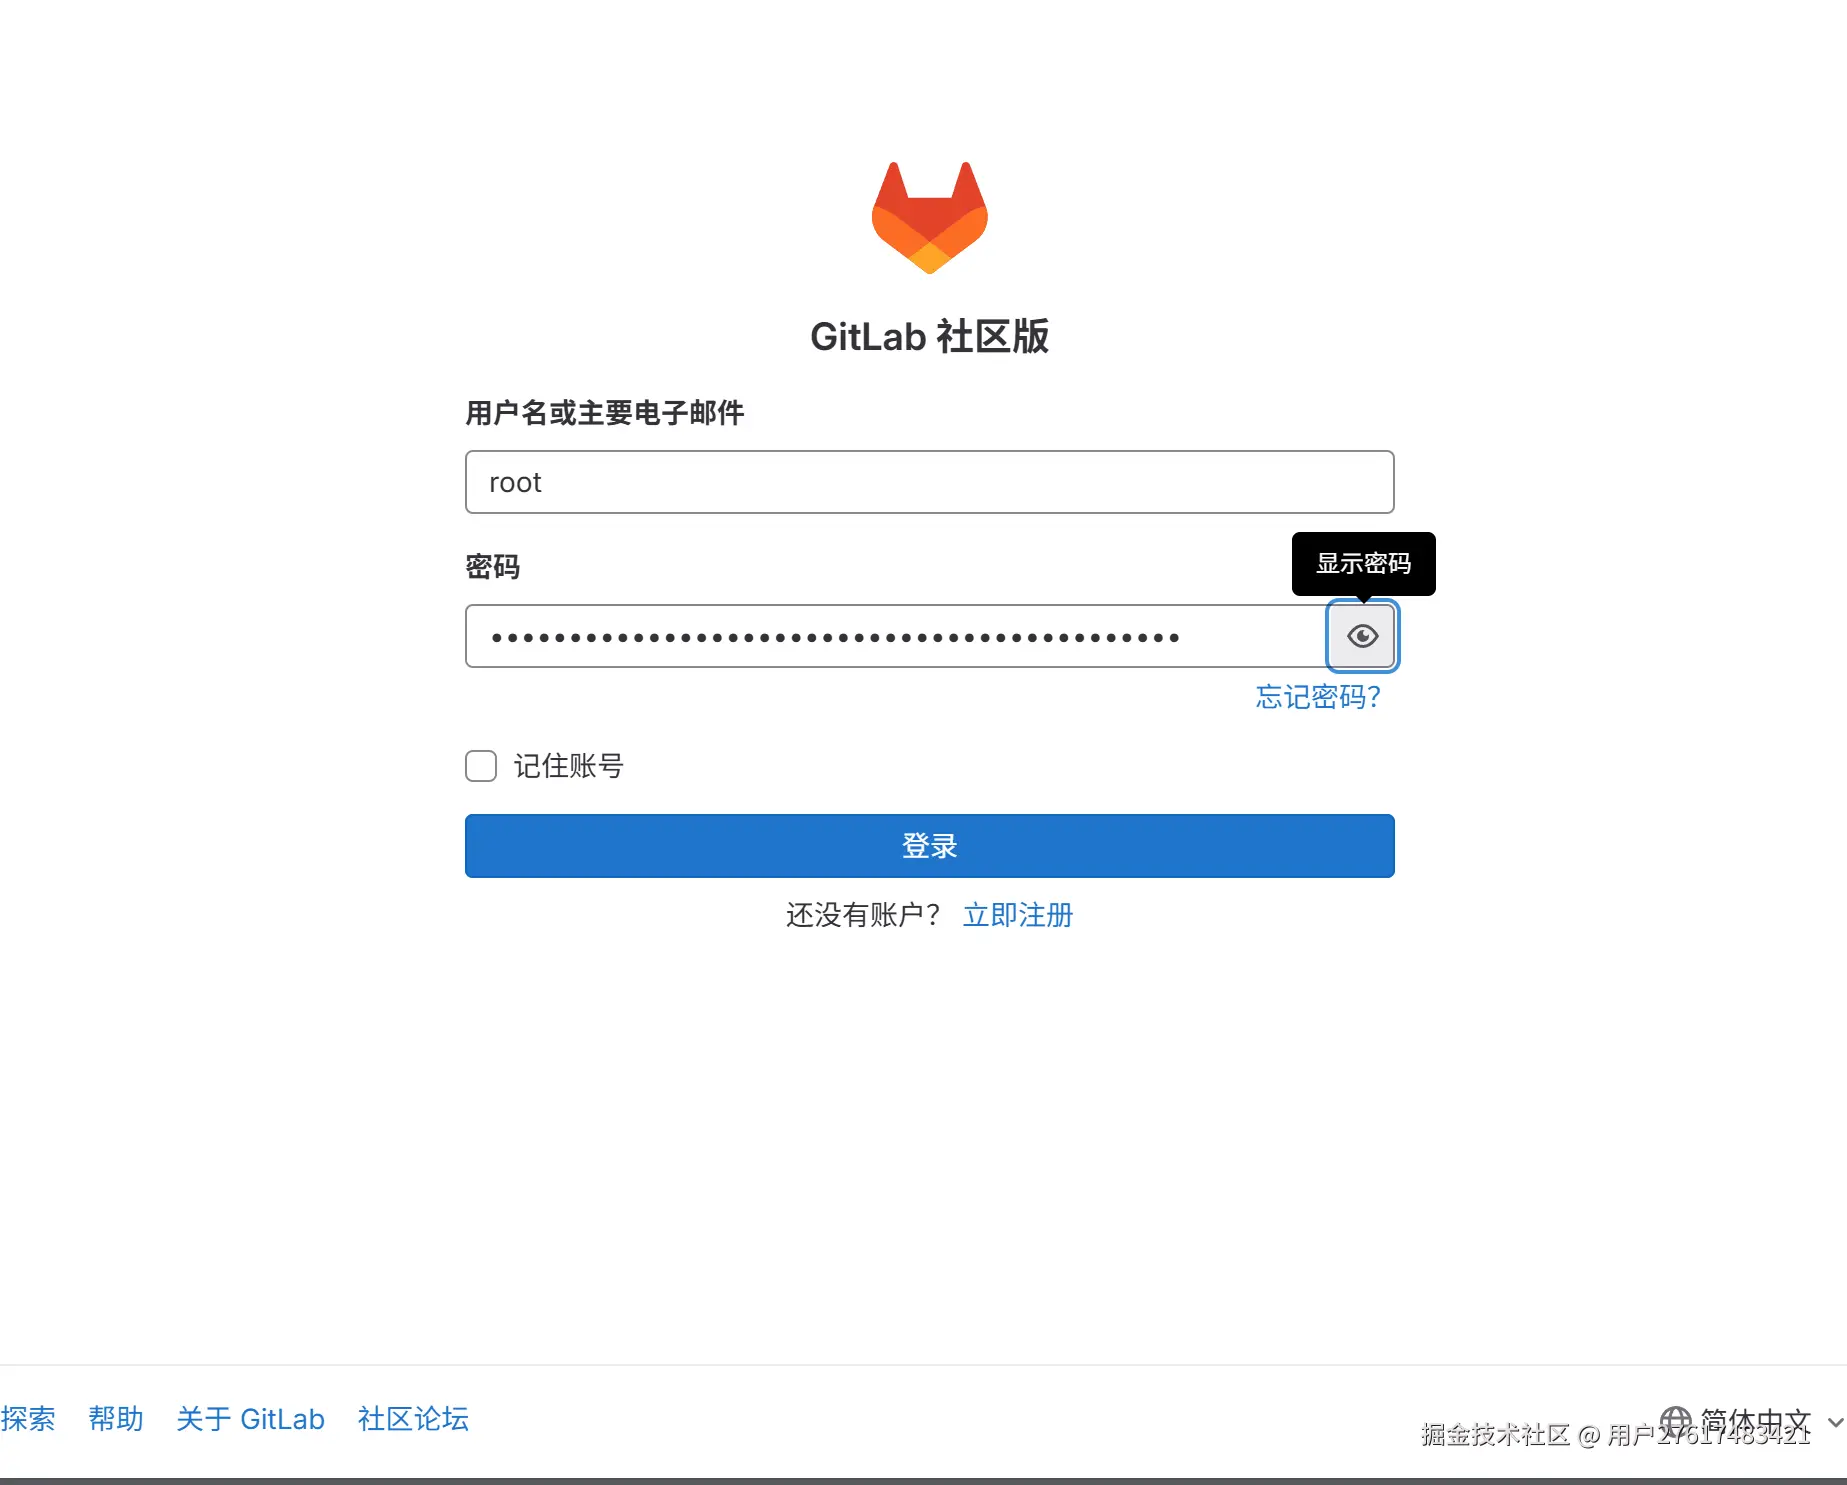
登录成功
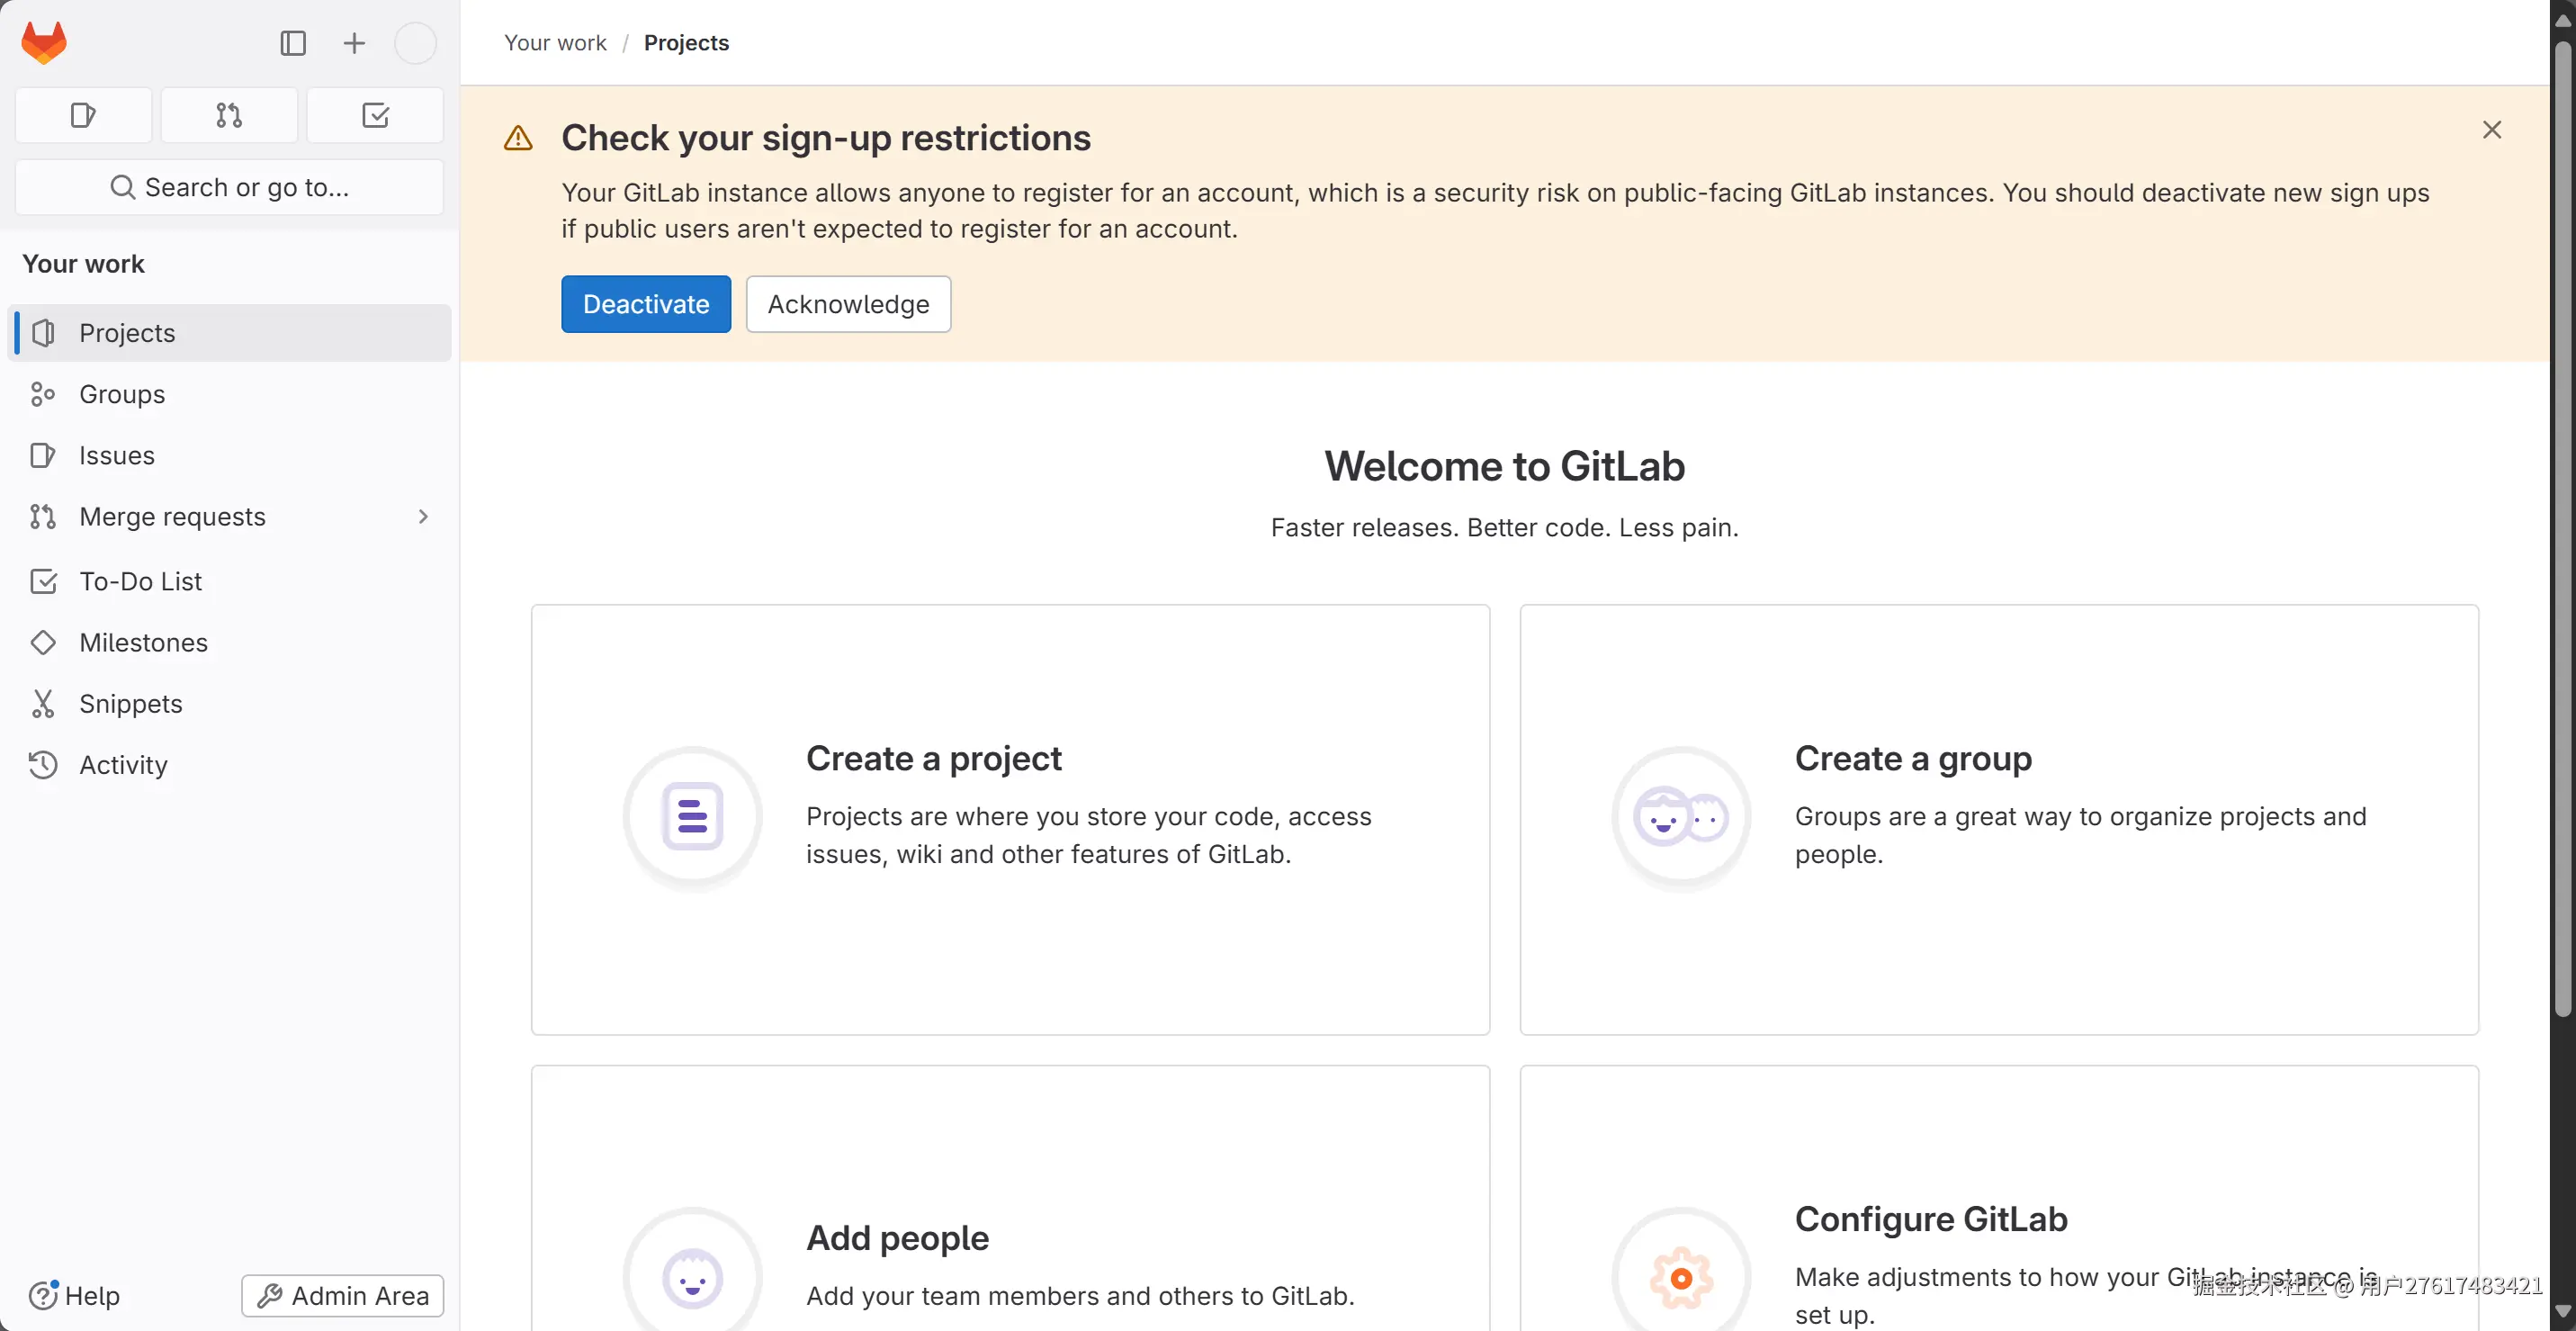
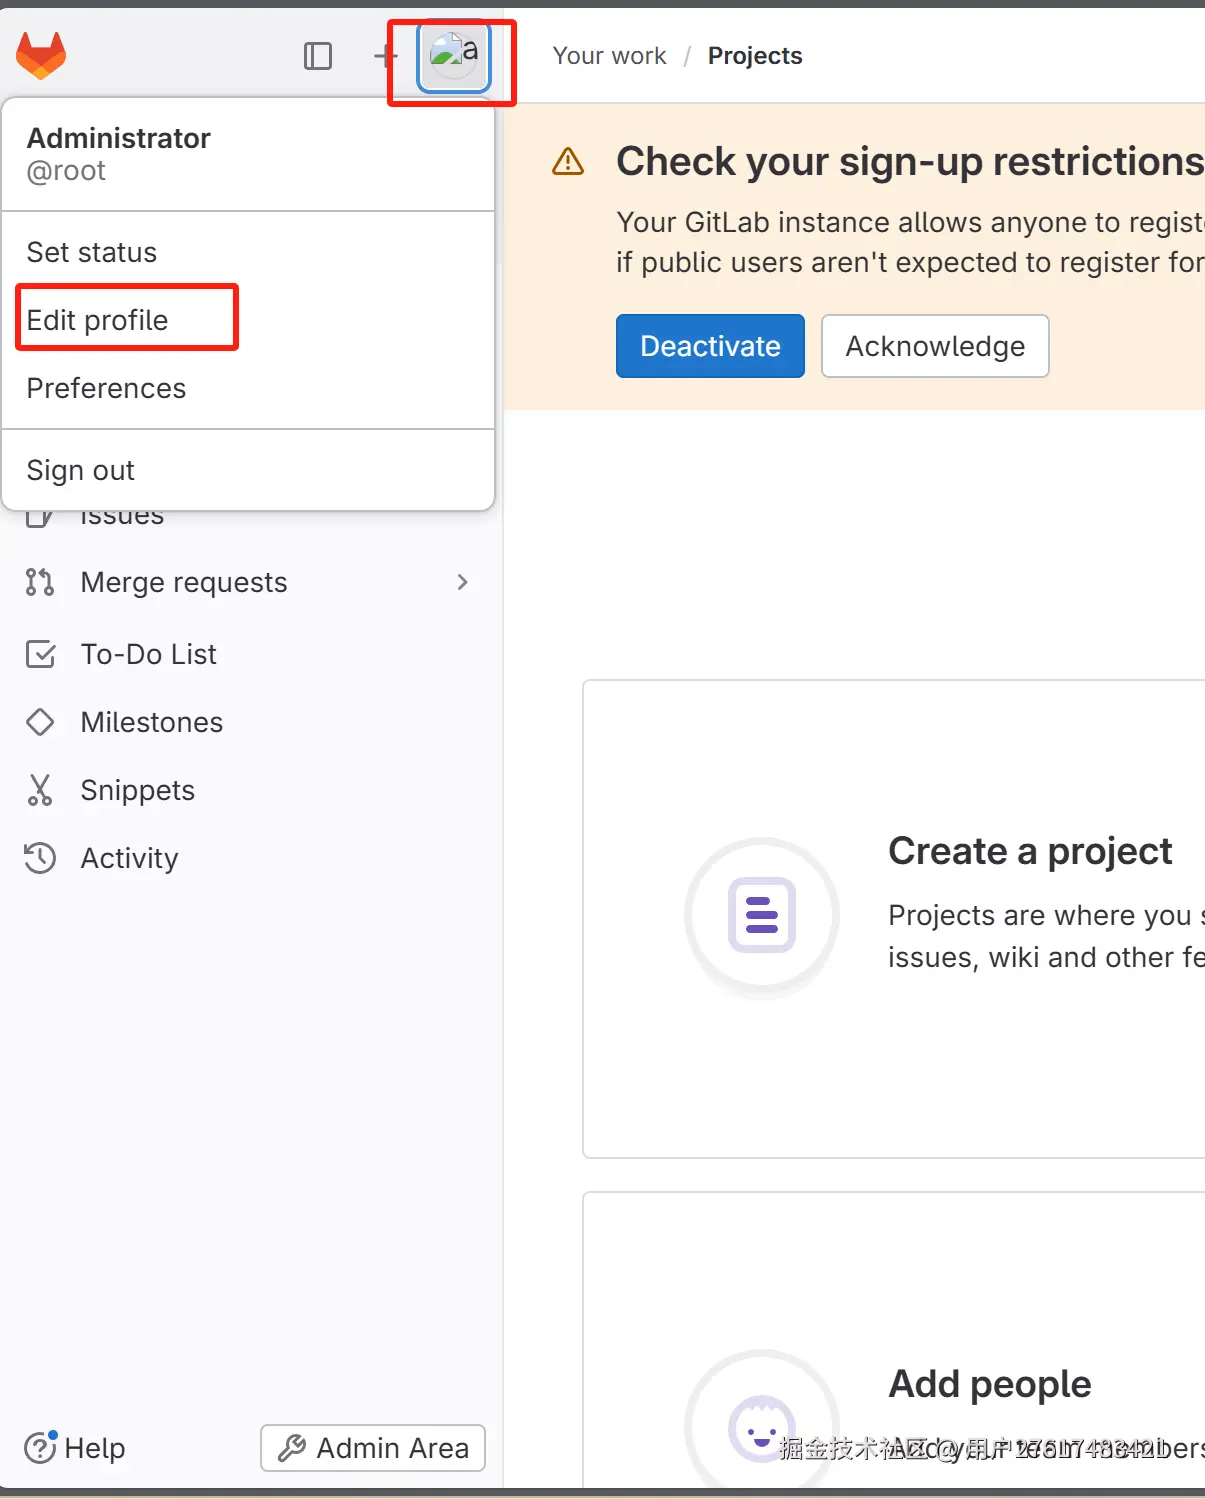
7. 修改root账号的密码
点击左侧用户头像,进入到用户设置
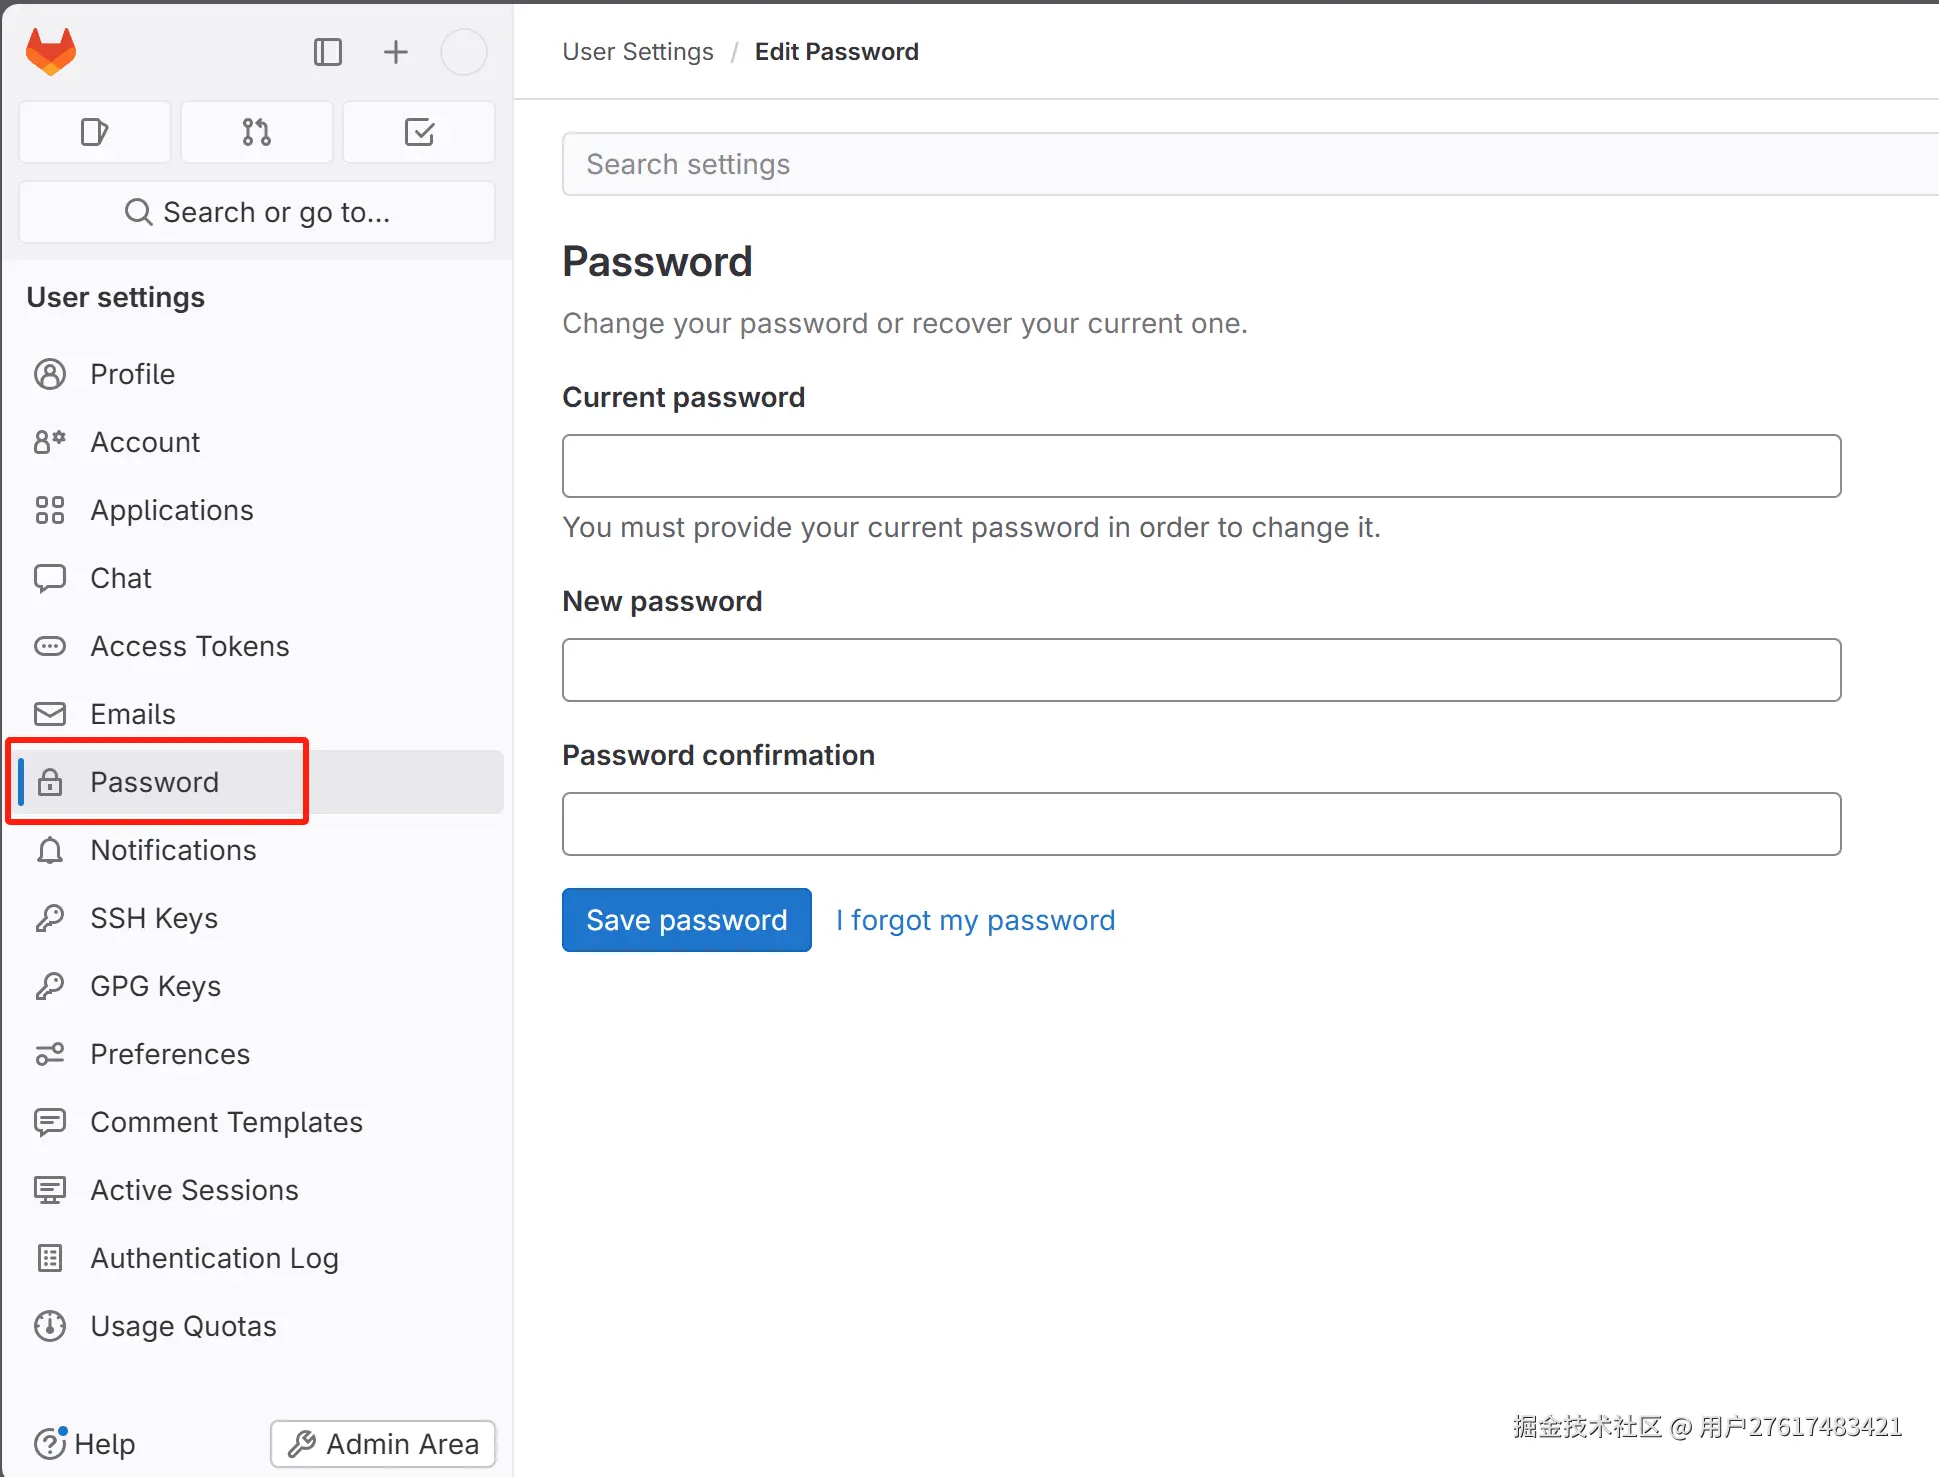
从左侧的侧边栏,进入到密码修改页,填写新密码
点击用户头像的Preference选项,然后点击左侧侧边栏的Preference进入到偏好设置,修改语言
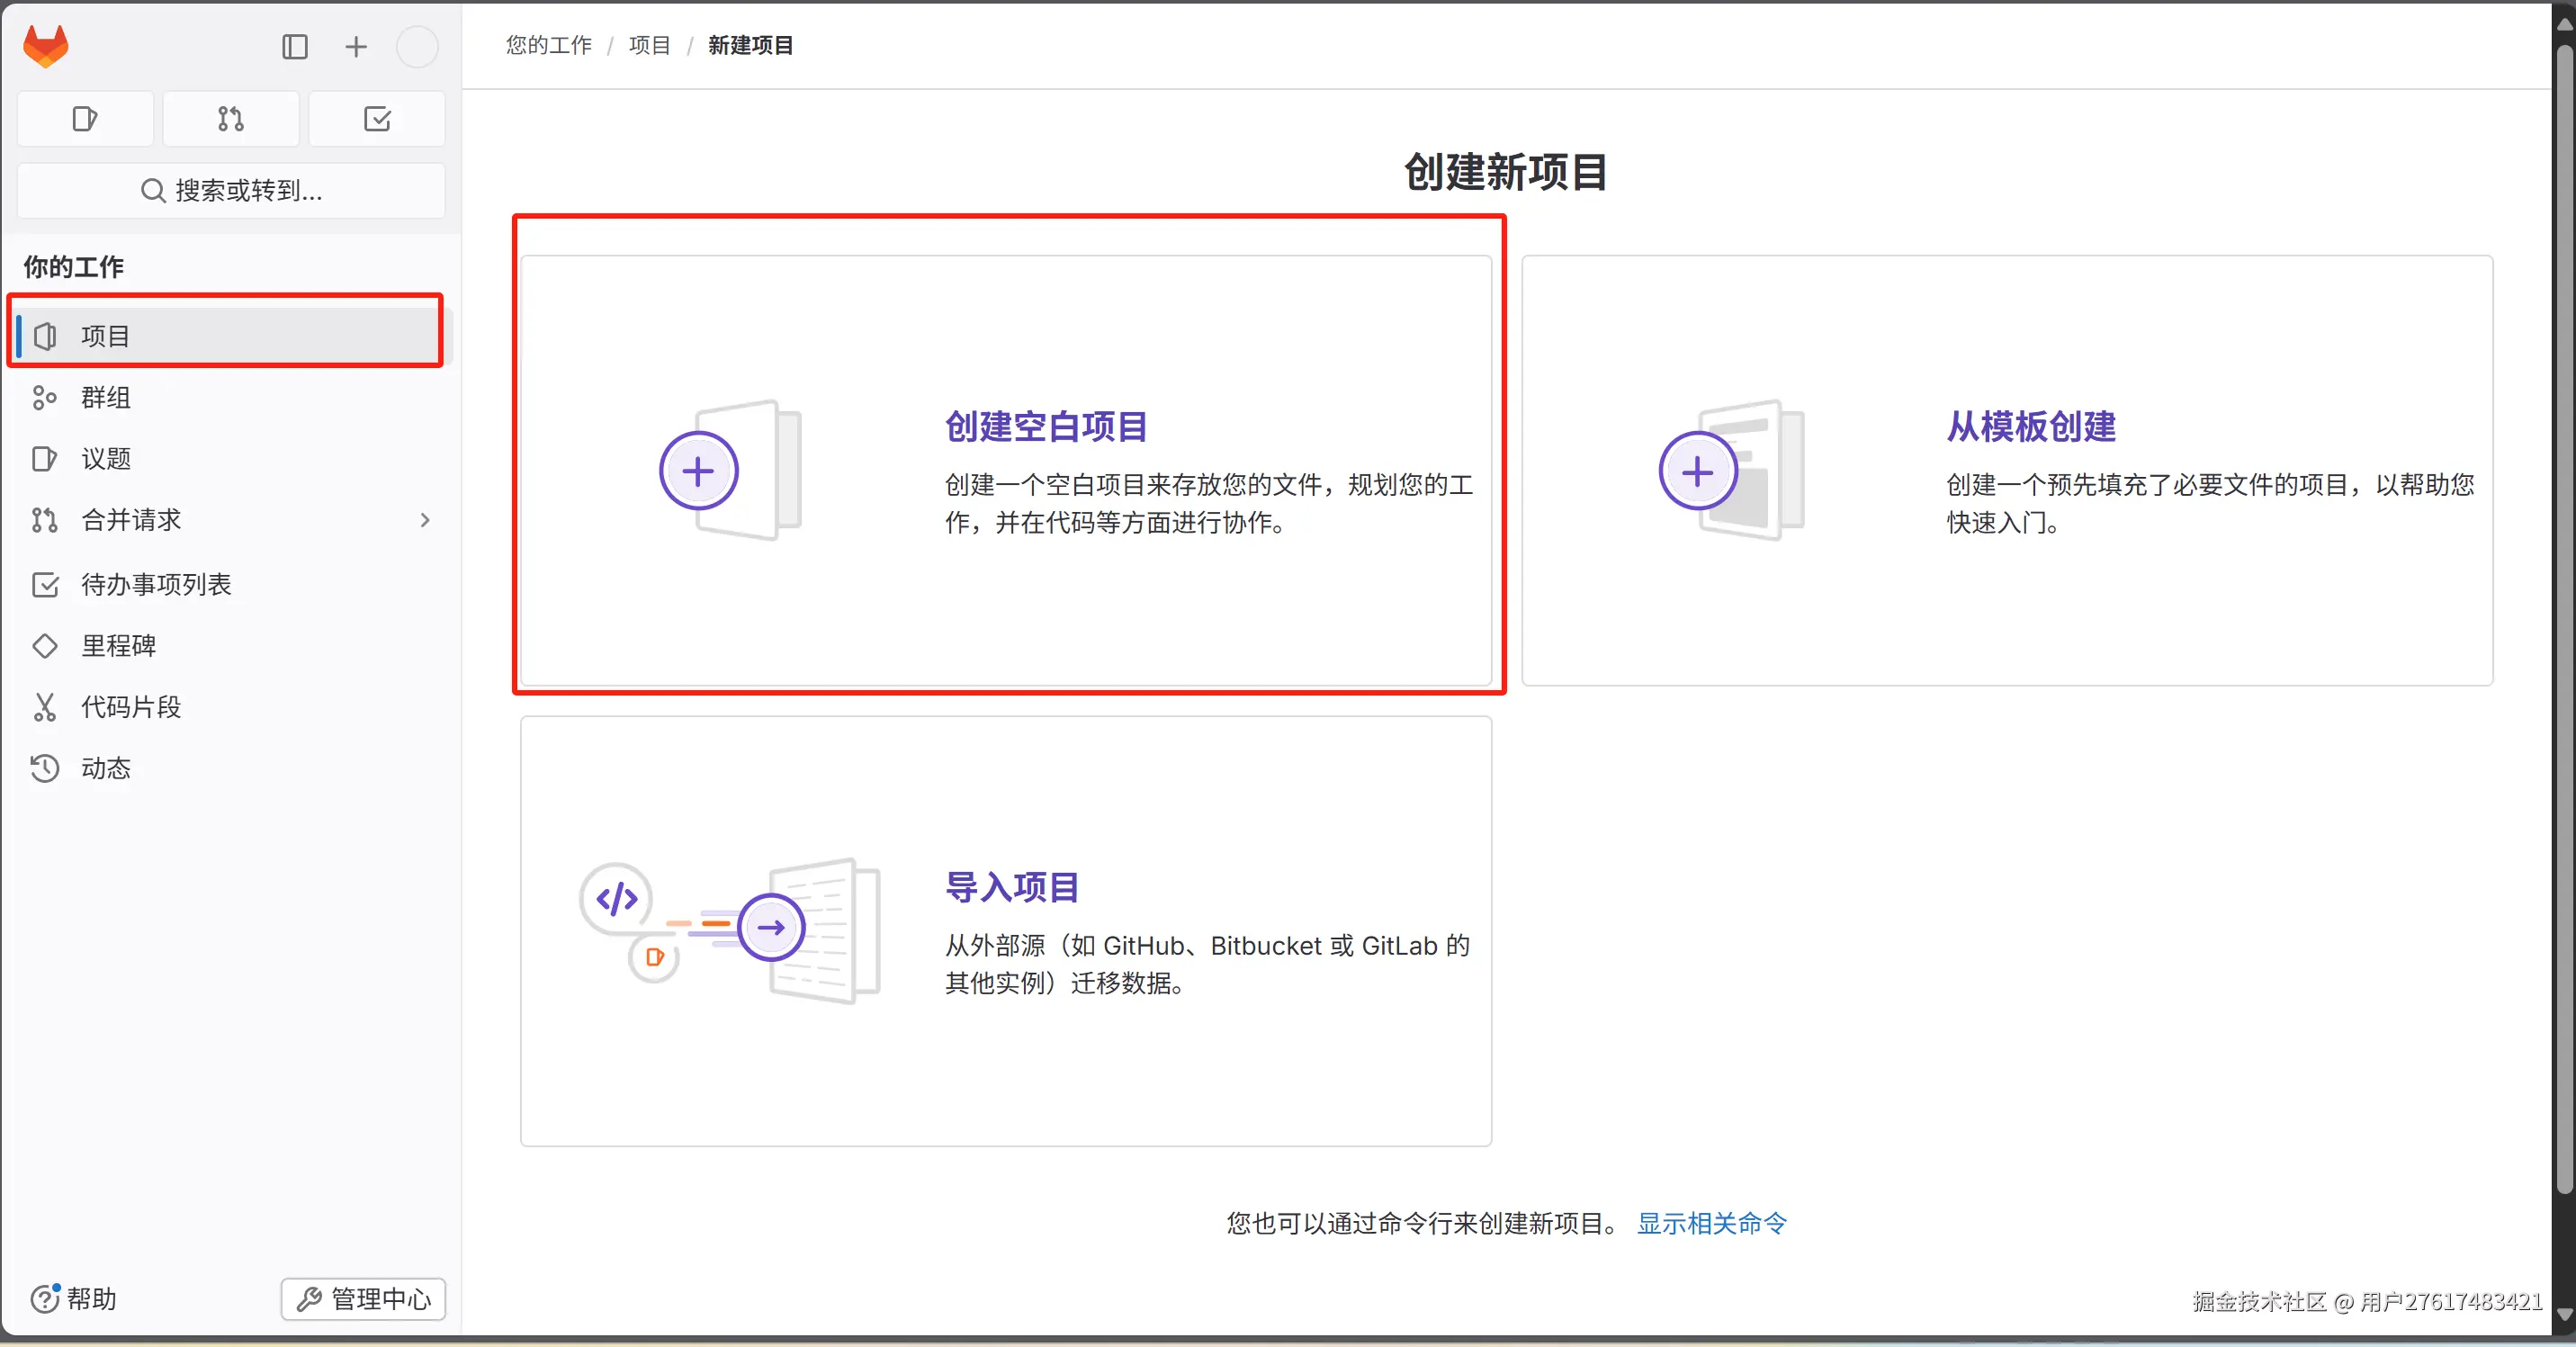
8. 创建测试用代码仓库
回到GitLab 首页,从左侧侧边栏进入到创建新项目流程,根据提示和个人需要创建测试代码库
这里可以进入到GitLab 新创建的这个项目主页中,根据指引,将代码推送到这个项目仓库中
bash
git clone http://your gitlab server ip:port/root/test.git
cd test
git switch --create main
touch README.md
git add README.md
git commit -m "add README"
git push --set-upstream origin main
安装GitLab Runner
1. 安装
1.1. 离线安装
bash
# 从清华镜像下载rpm包
curl -LO https://mirrors.tuna.tsinghua.edu.cn/gitlab-runner/yum/el7/gitlab-runner-17.1.0-1.x86_64.rpm

# 离线安装
sudo rpm -ivh gitlab-runner-17.1.0-1.x86_64.rpm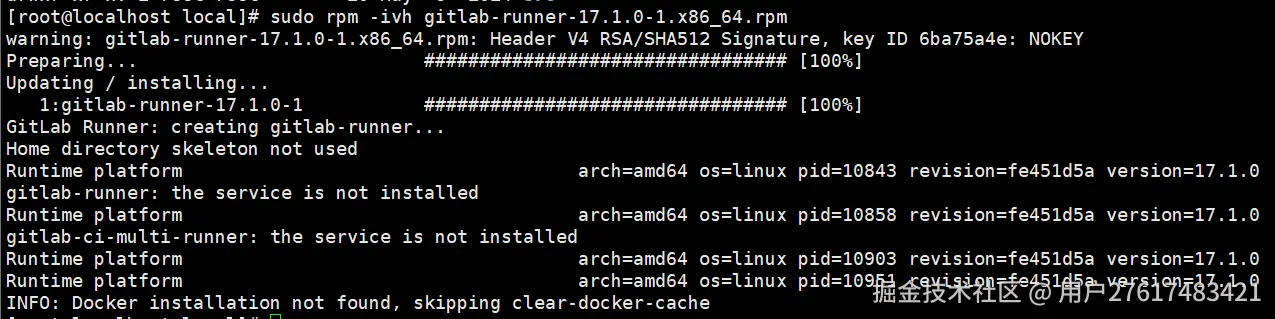
1.2. 通过官方仓库镜像源安装
ruby
curl -L https://packages.gitlab.com/install/repositories/runner/gitlab-runner/script.rpm.sh | sudo bash
sudo yum install gitlab-runner-17.1.1
1.3. 启动GitLab Runner
bash
sudo systemctl start gitlab-runner
sudo systemctl enable gitlab-runner
2. 创建并注册GitLab Runner
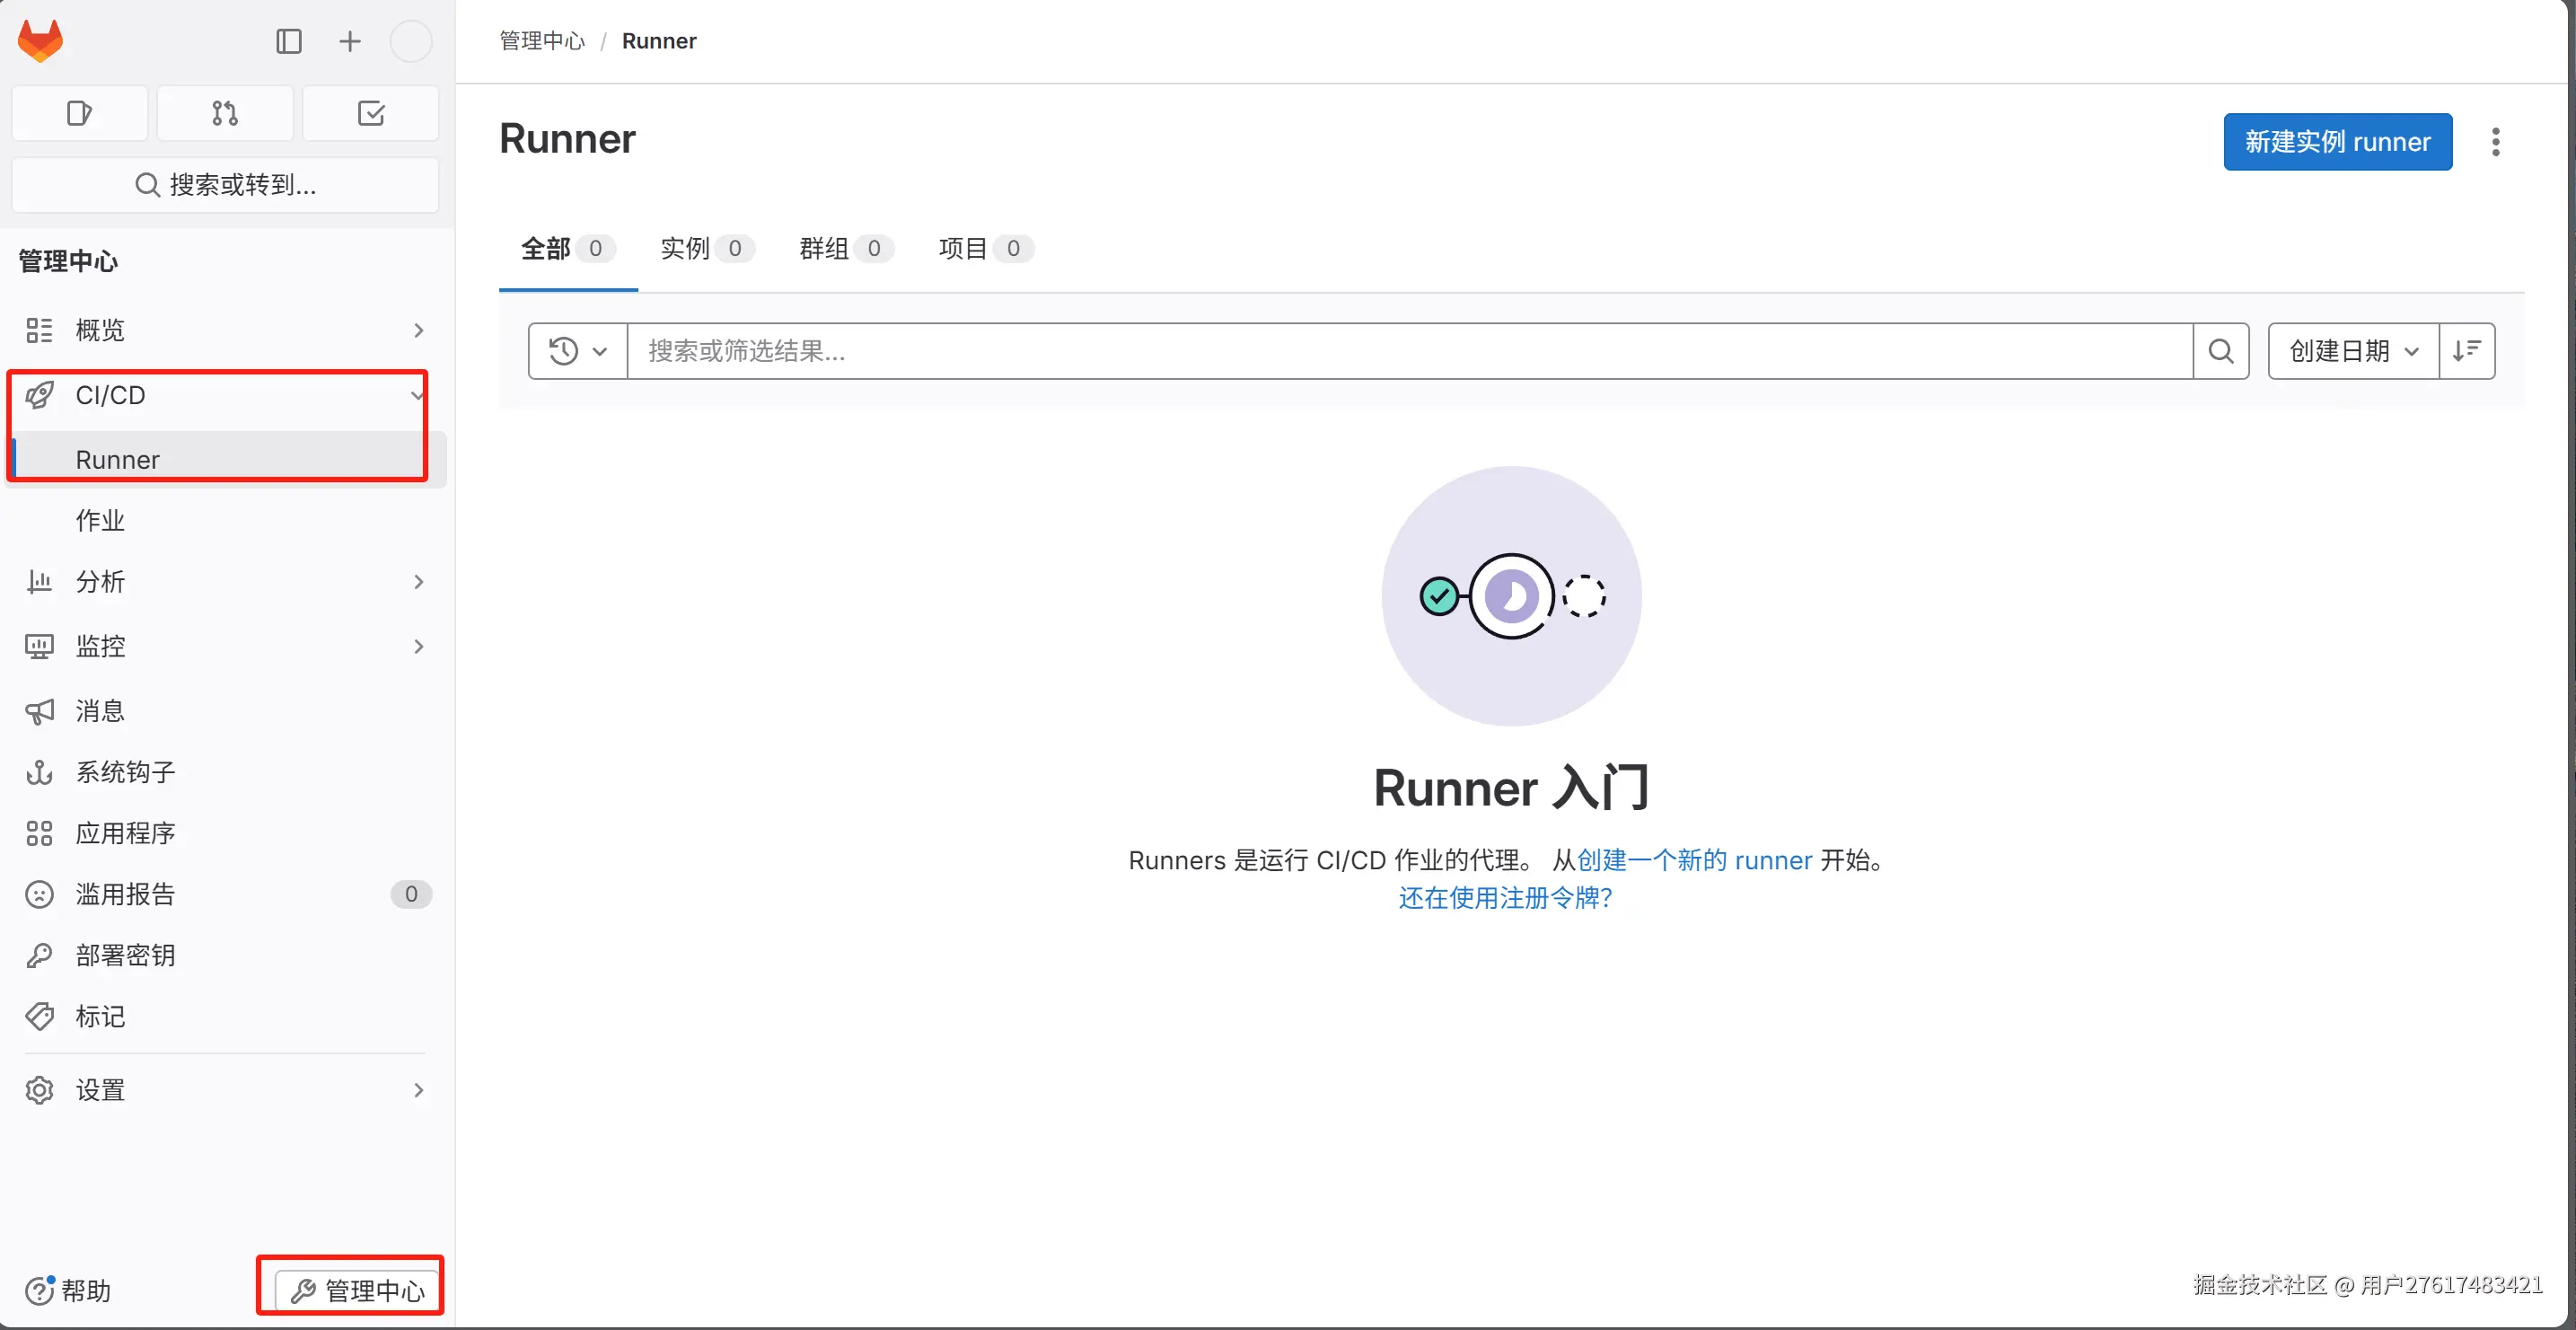
2.1. 新建GitLab Runner 实例
左下角进入管理中心,左侧侧边栏选择CI/CD->Runner,进入到Runner列表页,新建Runner
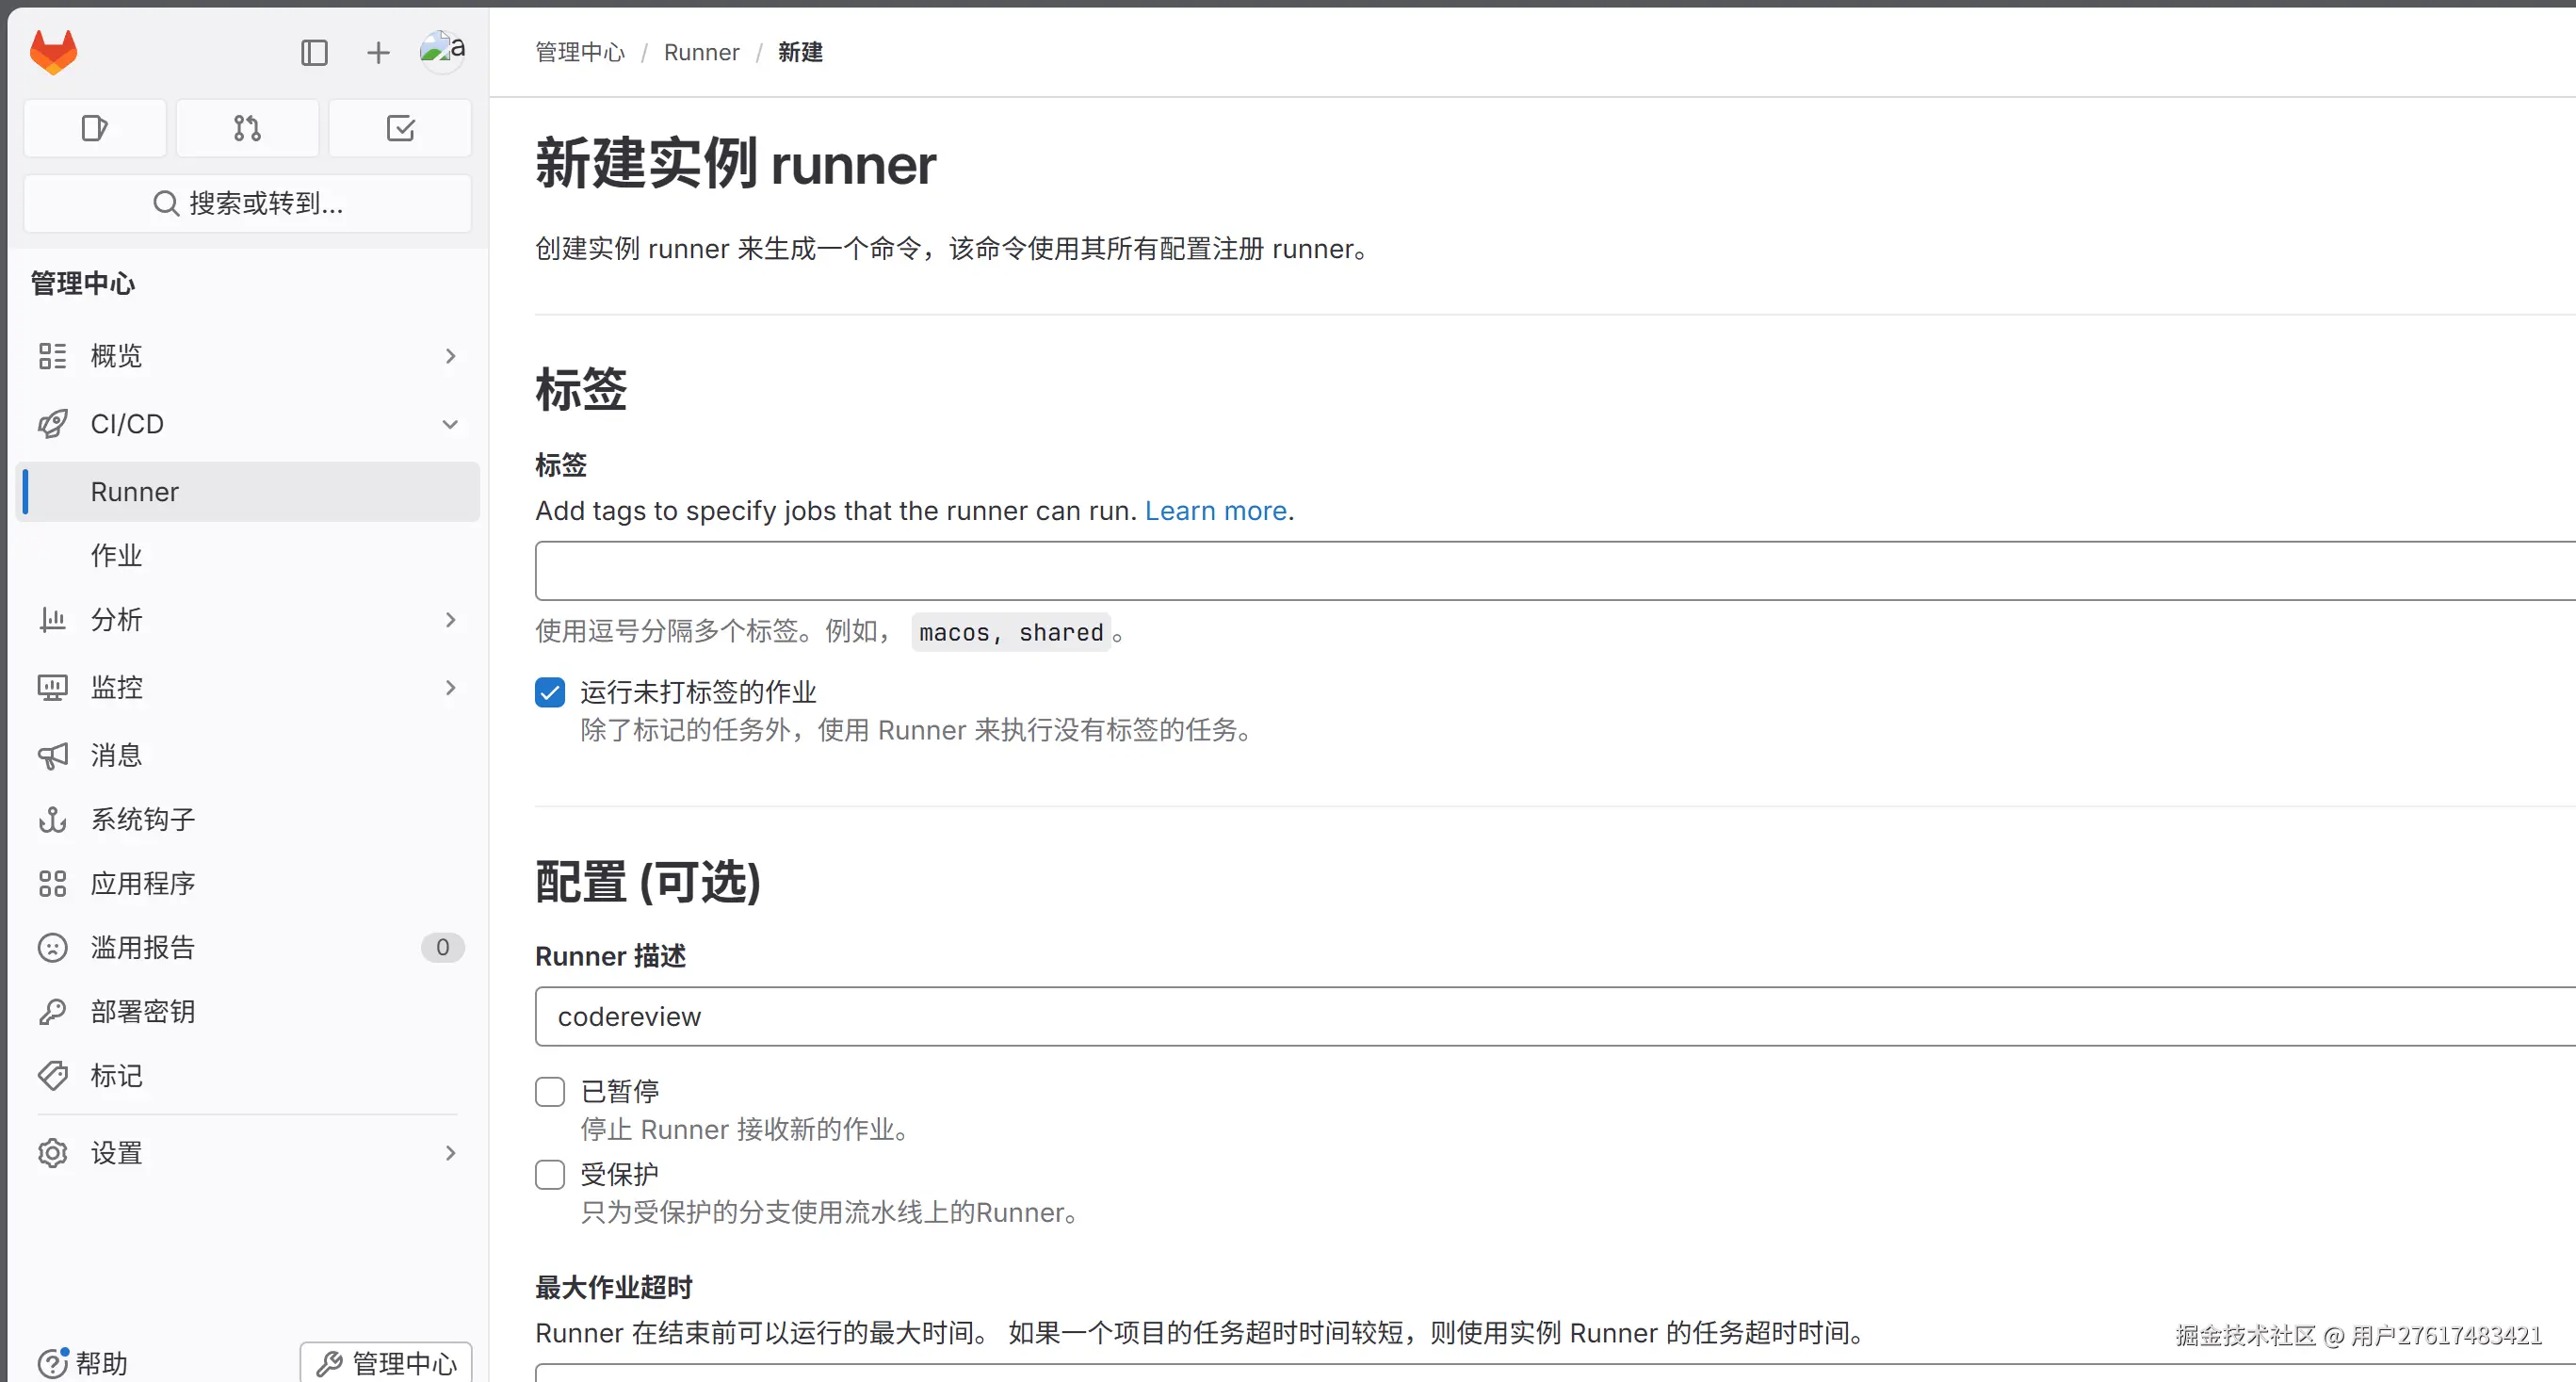
配置页的标签选项可以起到精准分配任务的作用,在 .gitlab-ci.yml 中通过 tags 指定作业所需的标签,只有匹配标签的 Runner 才会执行该任务。
2.2. 注册GitLab Runner 实例
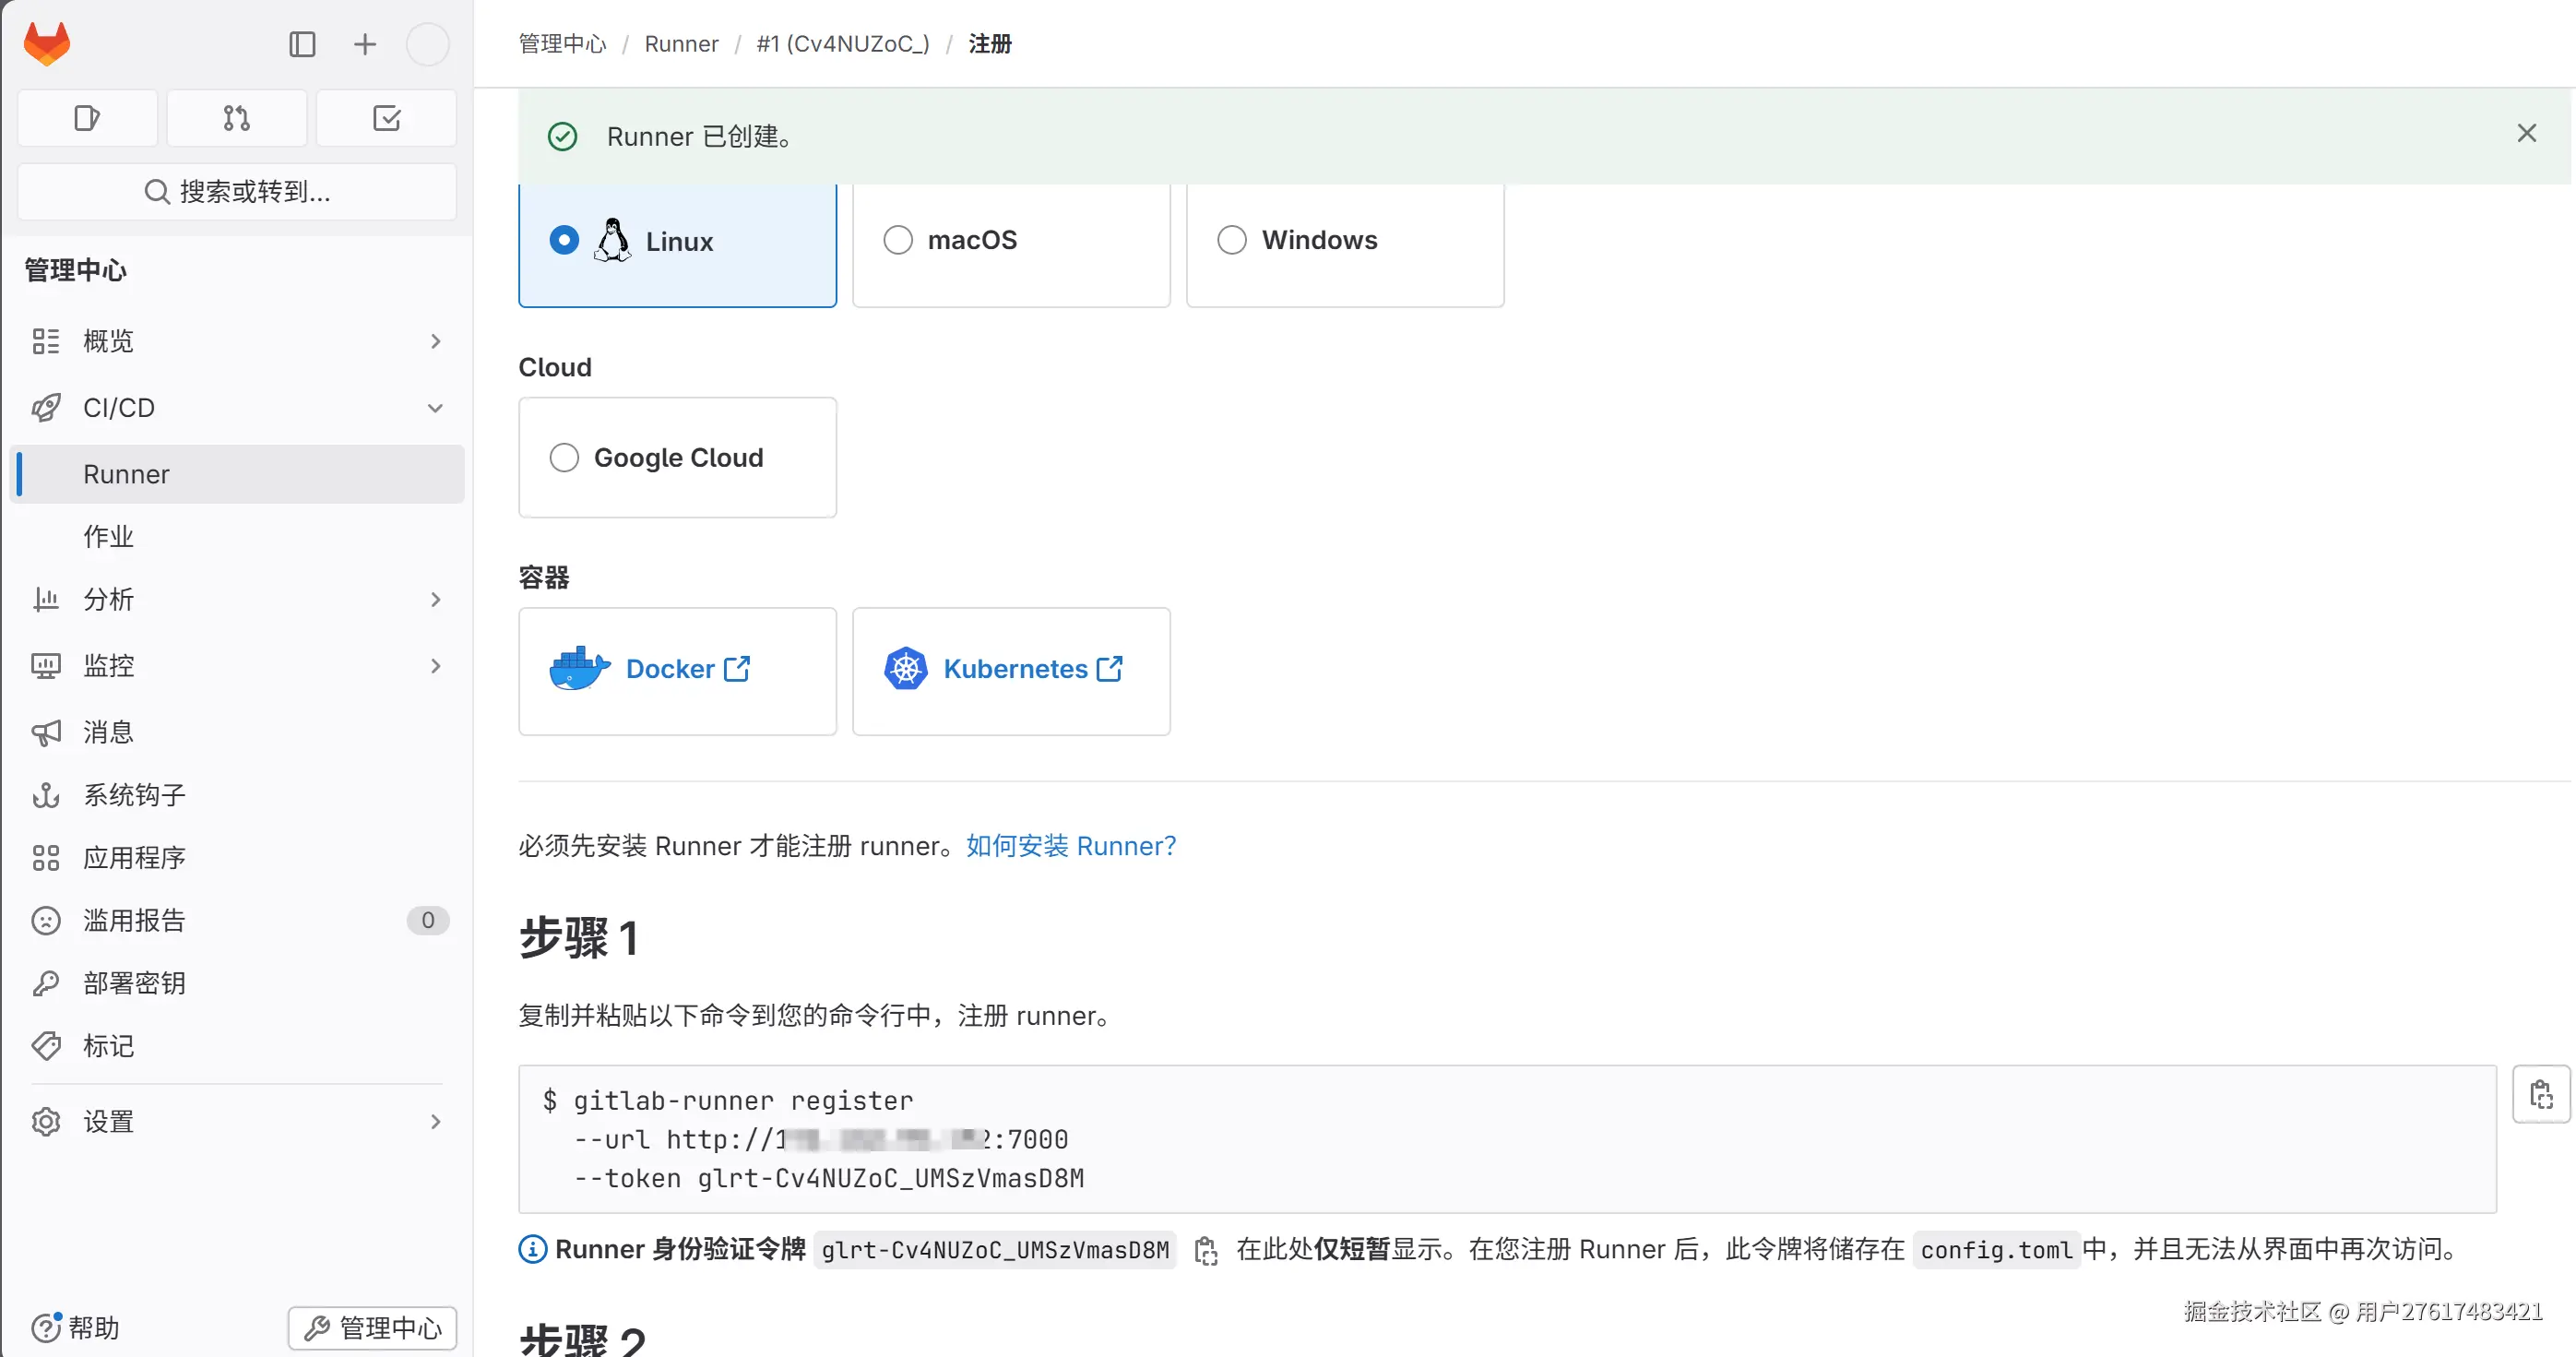
复制注册指令,在GitLab Runner 所在服务器执行,完成实例注册(这里的演示环境是GitLab 和 GitLab Runner 装在同一个服务器,所以可以直接在当前化境完成注册)
arduino
gitlab-runner register --url http://your gitlab server ip:7000 --token glrt-Cv4NUZoC_UMSzVmasD8M这里会进入到runner 实例的初始化流程,根据交互指令提示,填写实例url(不填也行),实例名称,以及执行器(这里选的shell)
