前言
本文主要借鉴:VLLM部署deepseek,结合自身进行整理
下载模型
python
from modelscope import snapshot_download
model_dir = snapshot_download('OpenGVLab/InternVL3-8B', local_dir="xxx/OpenGVLab/InternVL2_5-1B")
环境配置
auto-dl上选择单卡910B即可,Pytorch框架只有一个CANN版本选择,选这个即可。
安装vllm和vllm ascend
bash
git clone --depth 1 --branch v0.7.3 https://github.com/vllm-project/vllm
cd vllm
VLLM_TARGET_DEVICE=empty pip install . --extra-index https://download.pytorch.org/whl/cpu/


git clone  --depth 1 --branch v0.7.3rc1 https://github.com/vllm-project/vllm-ascend.git
cd vllm-ascend
pip install -e . --extra-index https://download.pytorch.org/whl/cpu/
手动安装torch-npu
bash
mkdir pta
cd pta
wget https://pytorch-package.obs.cn-north-4.myhuaweicloud.com/pta/Daily/v2.5.1/20250320.3/pytorch_v2.5.1_py310.tar.gz
tar -xvf pytorch_v2.5.1_py310.tar.gz
pip install ./torch_npu-2.5.1.dev20250320-cp310-cp310-manylinux_2_17_aarch64.manylinux2014_aarch64.whl
swift
pip install torchvision==0.20.1启动指令
python
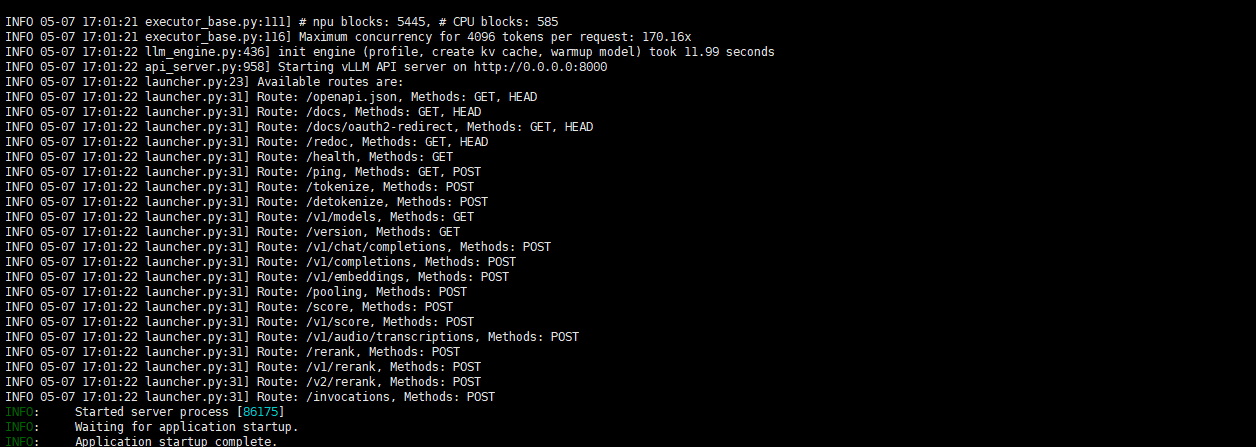
vllm serve /root/xxx/xxx/InternVL3-8B --max-model-len 4096 --port 8000 --tensor-parallel-size 1 --trust-remote-code --served-model-name InternVL3-8B启动成功如下图所示:
通过curl去进行验证
python
curl http://localhost:8000/v1/chat/completions \
    -H "Content-Type: application/json" \
    -d '{
        "model": "InternVL3-8B",
        "messages": [
            {
                "role": "user",
                "content": "你是谁?"
            }
        ]
    }'