使用 Spring Boot 和 OpenAI API 创建智能博客评论助手

引言
在当今数字化时代,内容创作变得越来越重要。无论是个人博客还是企业网站,高质量的内容都能吸引访客并提升用户参与度。然而,创作优质内容需要时间和精力。幸运的是,随着人工智能技术的发展,我们可以利用 OpenAI 的 API 来辅助内容创作。本文将介绍如何使用 Spring Boot 和 OpenAI API 创建一个智能博客评论助手,帮助您快速生成高质量的博客评论内容。
项目概述
我们将创建一个基于 Spring Boot 的应用程序,该程序能够调用 OpenAI 的 API,根据给定的主题生成博客评论。这个智能博客评论助手可以显著提高内容创作的效率,让创作者有更多时间专注于创意和策略。
技术栈
- Spring Boot: 用于快速开发 Java 应用程序的框架。
- OpenAI API: 提供强大的语言模型来生成文本内容。
- Gson: 用于 JSON 数据的序列化和反序列化。
Maven 配置
在 pom.xml 文件中添加以下依赖项:
xml
<?xml version="1.0" encoding="UTF-8"?>
<project xmlns="http://maven.apache.org/POM/4.0.0" xmlns:xsi="http://www.w3.org/2001/XMLSchema-instance"
         xsi:schemaLocation="http://maven.apache.org/POM/4.0.0 https://maven.apache.org/xsd/maven-4.0.0.xsd">
    <modelVersion>4.0.0</modelVersion>
    <parent>
        <groupId>org.springframework.boot</groupId>
        <artifactId>spring-boot-starter-parent</artifactId>
        <version>2.7.5</version>
        <relativePath/> <!-- lookup parent from repository -->
    </parent>
    <groupId>com.example</groupId>
    <artifactId>springboot-ai</artifactId>
    <version>0.0.1-SNAPSHOT</version>
    <name>springboot-ai</name>
    <description>智能博客评论助手</description>
    <properties>
        <java.version>1.8</java.version>
    </properties>
    <dependencies>
        <dependency>
            <groupId>org.springframework.boot</groupId>
            <artifactId>spring-boot-starter-web</artifactId>
        </dependency>
        <dependency>
            <groupId>org.springframework.boot</groupId>
            <artifactId>spring-boot-starter</artifactId>
        </dependency>
        <dependency>
            <groupId>org.projectlombok</groupId>
            <artifactId>lombok</artifactId>
            <optional>true</optional>
        </dependency>
        <dependency>
            <groupId>com.google.code.gson</groupId>
            <artifactId>gson</artifactId>
            <version>2.10.1</version>
        </dependency>
    </dependencies>

    <build>
        <plugins>
            <plugin>
                <groupId>org.springframework.boot</groupId>
                <artifactId>spring-boot-maven-plugin</artifactId>
            </plugin>
        </plugins>
    </build>
</project>
代码实现
1. 创建 Spring Boot 项目
首先,您需要创建一个新的 Spring Boot 项目。您可以使用 Spring Initializr 来快速生成项目骨架,选择以下依赖项:
- Spring Web
- Lombok(可选,用于简化代码)
2. 配置 OpenAI API
在 application.yml 文件中添加 OpenAI API 的配置:
yaml
openai:
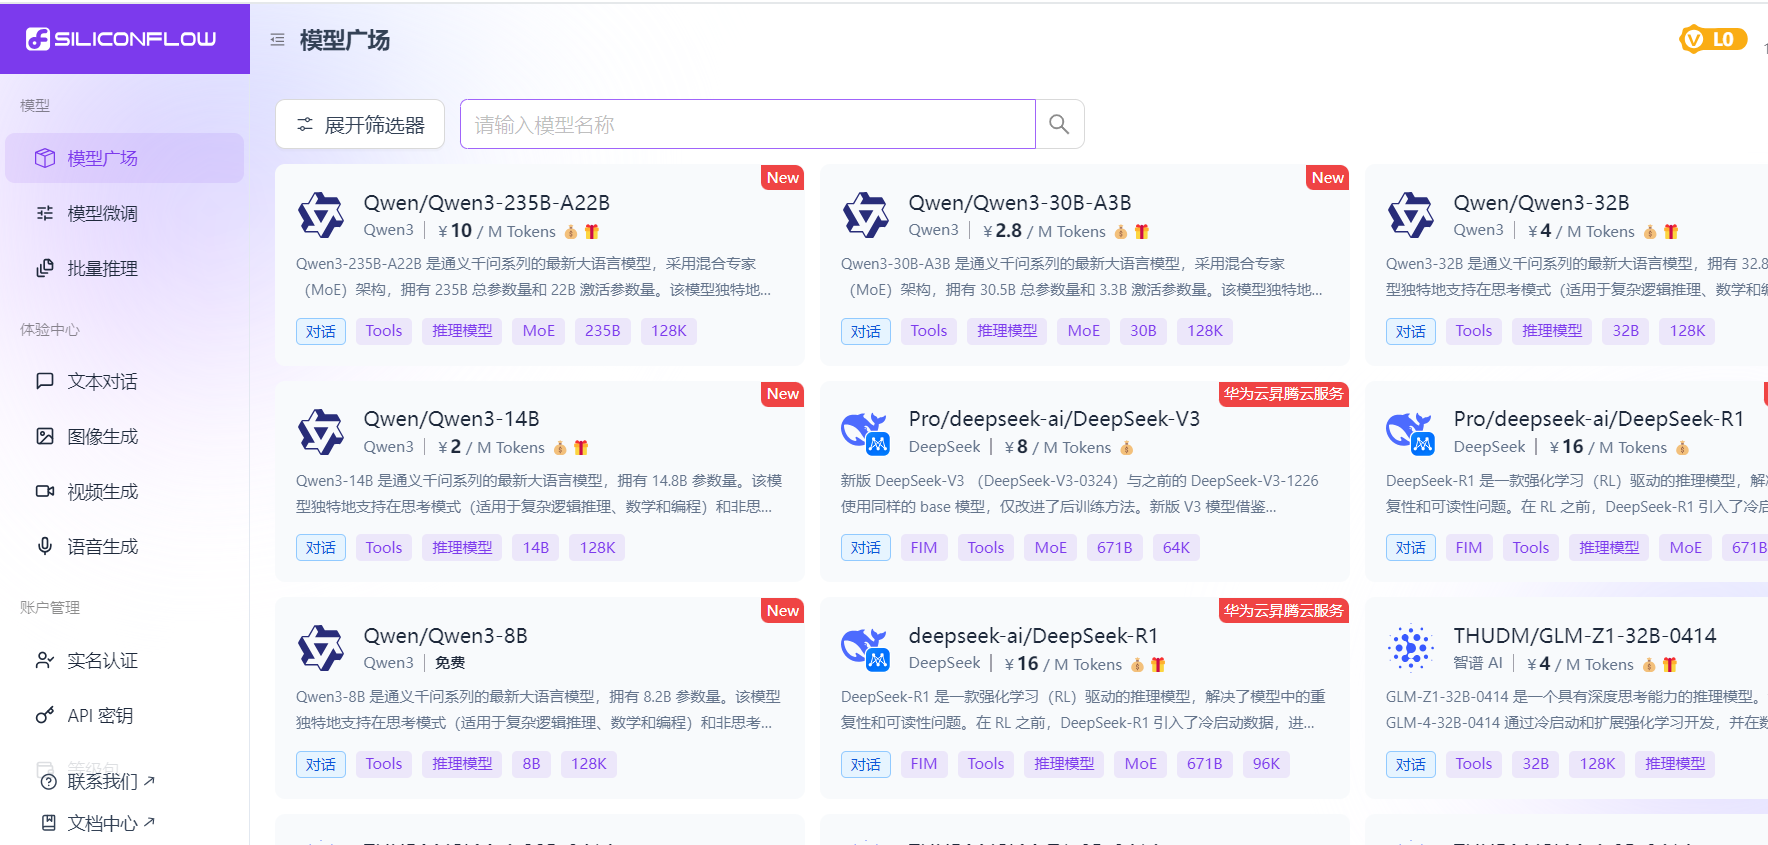
  api-url: https://api.siliconflow.cn/v1/chat/completions
  model-name: deepseek-ai/DeepSeek-R1-Distill-Qwen-7B
  api-key: your_openai_api_key
请将 your_openai_api_key 替换为您的实际 OpenAI API 密钥。
3. 创建 OpenAIHelper 类
创建一个 OpenAIHelper 类,用于处理与 OpenAI API 的交互:
java
package com.example.springboot.ai.components;

import com.google.gson.Gson;
import com.google.gson.annotations.SerializedName;
import lombok.extern.slf4j.Slf4j;
import org.springframework.beans.factory.annotation.Value;
import org.springframework.stereotype.Component;

import java.io.BufferedReader;
import java.io.IOException;
import java.io.InputStreamReader;
import java.io.OutputStream;
import java.net.HttpURLConnection;
import java.net.URL;

@Component
@Slf4j
public class OpenAIHelper {

    @Value("${openai.api-url}")
    private String apiURL;

    @Value("${openai.model-name}")
    private String modelName;

    @Value("${openai.api-key}")
    private String apiKey;

    private final Gson gson = new Gson();

    // 生成评论
    public String generateComment(String title) throws IOException {
        if (apiKey == null || apiKey.isEmpty() || title == null || title.isEmpty()) {
            log.error("API密钥或标题为空");
            return "";
        }

        RequestBody requestBody = new RequestBody();
        requestBody.model = modelName;
        requestBody.temperature = 0.7;
        requestBody.max_tokens = 50;

        Message message = new Message();
        message.role = "user";
        message.content = "生成一条积极的评论,主题是: " + title +
                "。评论需要自然、互动性强,不超过50个字。";
        requestBody.messages = new Message[]{message};

        URL url = new URL(apiURL);
        HttpURLConnection connection = (HttpURLConnection) url.openConnection();
        connection.setRequestMethod("POST");
        connection.setRequestProperty("Content-Type", "application/json");
        connection.setRequestProperty("Authorization", "Bearer " + apiKey);
        connection.setDoOutput(true);

        try (OutputStream os = connection.getOutputStream()) {
            byte[] input = gson.toJson(requestBody).getBytes("utf-8");
            os.write(input, 0, input.length);
        }

        int responseCode = connection.getResponseCode();
        if (responseCode == HttpURLConnection.HTTP_OK) {
            try (BufferedReader br = new BufferedReader(
                    new InputStreamReader(connection.getInputStream(), "utf-8"))) {
                StringBuilder response = new StringBuilder();
                String responseLine;
                while ((responseLine = br.readLine()) != null) {
                    response.append(responseLine.trim());
                }

                ResponseBody responseBody = gson.fromJson(response.toString(), ResponseBody.class);
                if (responseBody != null &&
                        responseBody.choices != null &&
                        responseBody.choices.length > 0 &&
                        responseBody.choices[0].message != null) {
                    return responseBody.choices[0].message.content;
                }
            }
        } else {
            log.error("请求失败,状态码: {}", responseCode);
            try (BufferedReader br = new BufferedReader(
                    new InputStreamReader(connection.getErrorStream(), "utf-8"))) {
                StringBuilder response = new StringBuilder();
                String responseLine;
                while ((responseLine = br.readLine()) != null) {
                    response.append(responseLine.trim());
                }
                log.error("错误信息: {}", response);
            }
        }

        return "";
    }

    // 内部类:请求体
    private static class RequestBody {
        String model;
        double temperature;
        int max_tokens;
        Message[] messages;

        @SerializedName("top_p")
        double topP = 0.9;

        @SerializedName("frequency_penalty")
        double frequencyPenalty = 0.0;

        @SerializedName("presence_penalty")
        double presencePenalty = 0.0;
    }

    // 内部类:消息
    private static class Message {
        String role;
        String content;
    }

    // 内部类:响应体
    private static class ResponseBody {
        Choice[] choices;

        String id;
        String object;
        long created;
        Usage usage;
    }

    // 内部类:选择项
    private static class Choice {
        Message message;
        int index;
        String finish_reason;
    }

    // 内部类:使用统计
    private static class Usage {
        @SerializedName("prompt_tokens")
        int promptTokens;

        @SerializedName("completion_tokens")
        int completionTokens;

        @SerializedName("total_tokens")
        int totalTokens;
    }
}
4. 创建博客生成服务
创建一个服务类 BlogService,用于生成博客内容:
java
package com.example.springboot.ai.service;

import com.example.springboot.ai.components.OpenAIHelper;
import org.springframework.beans.factory.annotation.Autowired;
import org.springframework.stereotype.Service;

@Service
public class BlogService {

    @Autowired
    private OpenAIHelper openAIHelper;

    public String generateBlogPost(String topic) throws IOException {
        return openAIHelper.generateComment(topic);
    }
}
5. 创建控制器
创建一个控制器 BlogController,用于处理 HTTP 请求:
java
package com.example.springboot.ai.controller;

import com.example.springboot.ai.service.BlogService;
import org.springframework.beans.factory.annotation.Autowired;
import org.springframework.web.bind.annotation.GetMapping;
import org.springframework.web.bind.annotation.RequestParam;
import org.springframework.web.bind.annotation.RestController;

@RestController
public class BlogController {

    @Autowired
    private BlogService blogService;

    @GetMapping("/generate-blog")
    public String generateBlog(@RequestParam String topic) throws IOException {
        return blogService.generateBlogPost(topic);
    }
}
6. 启动应用
创建主应用程序类 BlogGeneratorApplication:
java
package com.example.springboot.ai;

import org.springframework.boot.SpringApplication;
import org.springframework.boot.autoconfigure.SpringBootApplication;

@SpringBootApplication
public class BlogGeneratorApplication {

    public static void main(String[] args) {
        SpringApplication.run(BlogGeneratorApplication.class, args);
    }
}
使用指南
-
启动 Spring Boot 应用。
-
访问
http://localhost:8080/generate-blog?topic=您的主题,例如:http://localhost:8080/generate-blog?topic=人工智能 -
查看生成的博客评论内容。
结论
通过集成 Spring Boot 和 OpenAI API,我们可以轻松创建一个智能博客评论助手,帮助我们快速生成高质量的博客评论内容。这不仅节省了时间,还提高了内容创作的效率。希望这个项目能为您的内容创作带来便利!