深入理解Diffusers: 从基础到Stable Diffusion
Diffusers是一个功能强大且灵活的扩散模型工具箱,它让构建和部署扩散系统变得简单直观。本文将带你深入了解Diffusers的核心组件,并通过实例展示如何从零构建扩散系统。
核心组件
Diffusers工具箱的核心是模型(Model)和调度器(Scheduler):
- 模型: 负责预测噪声残差
- 调度器: 负责管理去噪过程
- Pipeline: 将模型和调度器组合在一起,提供便捷的推理接口
从基础Pipeline开始
让我们先看一个简单的例子 - DDPM Pipeline:
python
from diffusers import DDPMPipeline
ddpm = DDPMPipeline.from_pretrained("google/ddpm-cat-256").to("cuda")
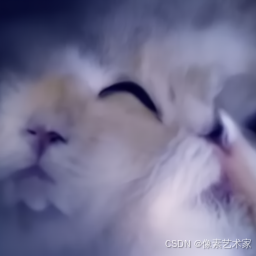
image = ddpm(num_inference_steps=25).images[0]
image.save("ddpm_generated_cat.png")这个Pipeline内部包含了:
- UNet2DModel: 用于预测噪声残差
- DDPMScheduler: 用于管理去噪过程
拆解Pipeline
让我们看看如何手动构建这个系统:
- 加载模型和调度器:
python
from diffusers import DDPMScheduler, UNet2DModel

scheduler = DDPMScheduler.from_pretrained("google/ddpm-cat-256")
model = UNet2DModel.from_pretrained("google/ddpm-cat-256").to("cuda")- 设置时间步:
python
scheduler.set_timesteps(50)- 创建随机噪声:
python
import torch
sample_size = model.config.sample_size
noise = torch.randn((1, 3, sample_size, sample_size), device="cuda")- 实现去噪循环:
python
input = noise
for t in scheduler.timesteps:
with torch.no_grad():
noisy_residual = model(input, t).sample
previous_noisy_sample = scheduler.step(noisy_residual, t, input).prev_sample
input = previous_noisy_sample
# 将生成的图像保存
image = (input / 2 + 0.5).clamp(0, 1)
image = image.detach().cpu().permute(0, 2, 3, 1).numpy()[0]
image = (image * 255).round().astype("uint8")
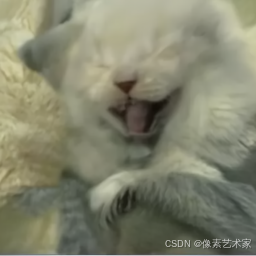
image = Image.fromarray(image)
image.save("manual_ddpm_generated_cat.png")生成的图片:
Stable Diffusion Pipeline
Stable Diffusion是一个更复杂的文本到图像潜空间扩散模型。它包含以下组件:
- VAE (变分自编码器)
- CLIP文本编码器
- UNet条件模型
- 调度器
让我们看看如何构建Stable Diffusion系统:
- 加载所有组件:
python
from transformers import CLIPTextModel, CLIPTokenizer
from diffusers import AutoencoderKL, UNet2DConditionModel, UniPCMultistepScheduler

torch_device = "cuda" if torch.cuda.is_available() else "cpu"
vae = AutoencoderKL.from_pretrained("CompVis/stable-diffusion-v1-4", subfolder="vae").to(torch_device)
tokenizer = CLIPTokenizer.from_pretrained("CompVis/stable-diffusion-v1-4", subfolder="tokenizer")
text_encoder = CLIPTextModel.from_pretrained("CompVis/stable-diffusion-v1-4", subfolder="text_encoder").to(torch_device)
unet = UNet2DConditionModel.from_pretrained("CompVis/stable-diffusion-v1-4", subfolder="unet").to(torch_device)
scheduler = UniPCMultistepScheduler.from_pretrained("CompVis/stable-diffusion-v1-4", subfolder="scheduler")- 设置参数和生成文本嵌入:
python
prompt = ["a photograph of an astronaut riding a horse"]
batch_size = 1
height = 512
width = 512
guidance_scale = 7.5
generator = torch.manual_seed(0)

text_input = tokenizer(prompt, padding="max_length", max_length=tokenizer.model_max_length, return_tensors="pt")
text_embeddings = text_encoder(text_input.input_ids.to(torch_device))[0]- 创建潜空间噪声:
python
latents = torch.randn(
    (batch_size, unet.config.in_channels, height // 8, width // 8),
    generator=generator,
    device=torch_device,
)- 实现去噪循环:
python
scheduler.set_timesteps(50)

for t in scheduler.timesteps:
    latent_model_input = torch.cat([latents] * 2)
    latent_model_input = scheduler.scale_model_input(latent_model_input, timestep=t)

    with torch.no_grad():
        noise_pred = unet(latent_model_input, t, encoder_hidden_states=text_embeddings).sample

    noise_pred_uncond, noise_pred_text = noise_pred.chunk(2)
    noise_pred = noise_pred_uncond + guidance_scale * (noise_pred_text - noise_pred_uncond)

latents = scheduler.step(noise_pred, t, latents).prev_sample- 解码和保存图像:
python
latents = 1 / 0.18215 * latents
with torch.no_grad():
    image = vae.decode(latents).sample

image = (image / 2 + 0.5).clamp(0, 1)
image = image.detach().cpu().permute(0, 2, 3, 1).numpy()[0]
image = (image * 255).round().astype("uint8")
image = Image.fromarray(image)
image.save("stable_diffusion_generated.png")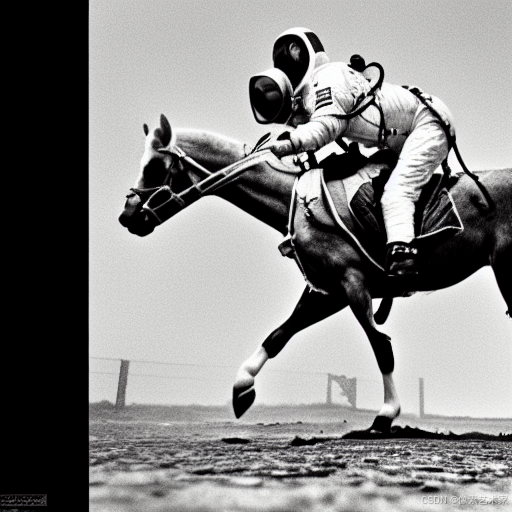
总结
Diffusers的设计理念是让构建扩散系统变得简单直观。通过理解模型和调度器的工作原理,你可以:
- 构建自己的扩散系统
- 自定义和优化现有Pipeline
- 尝试不同的模型和调度器组合
无论你是想构建简单的图像生成系统,还是复杂的文本到图像模型,Diffusers都能为你提供所需的工具和灵活性。
下一步
- 探索Diffusers库中的其他Pipeline
- 尝试构建自己的Pipeline
- 实验不同的模型和调度器组合
- 优化推理性能
Diffusers正在不断发展,欢迎加入社区,一起推动扩散模型的发展!