文章目录
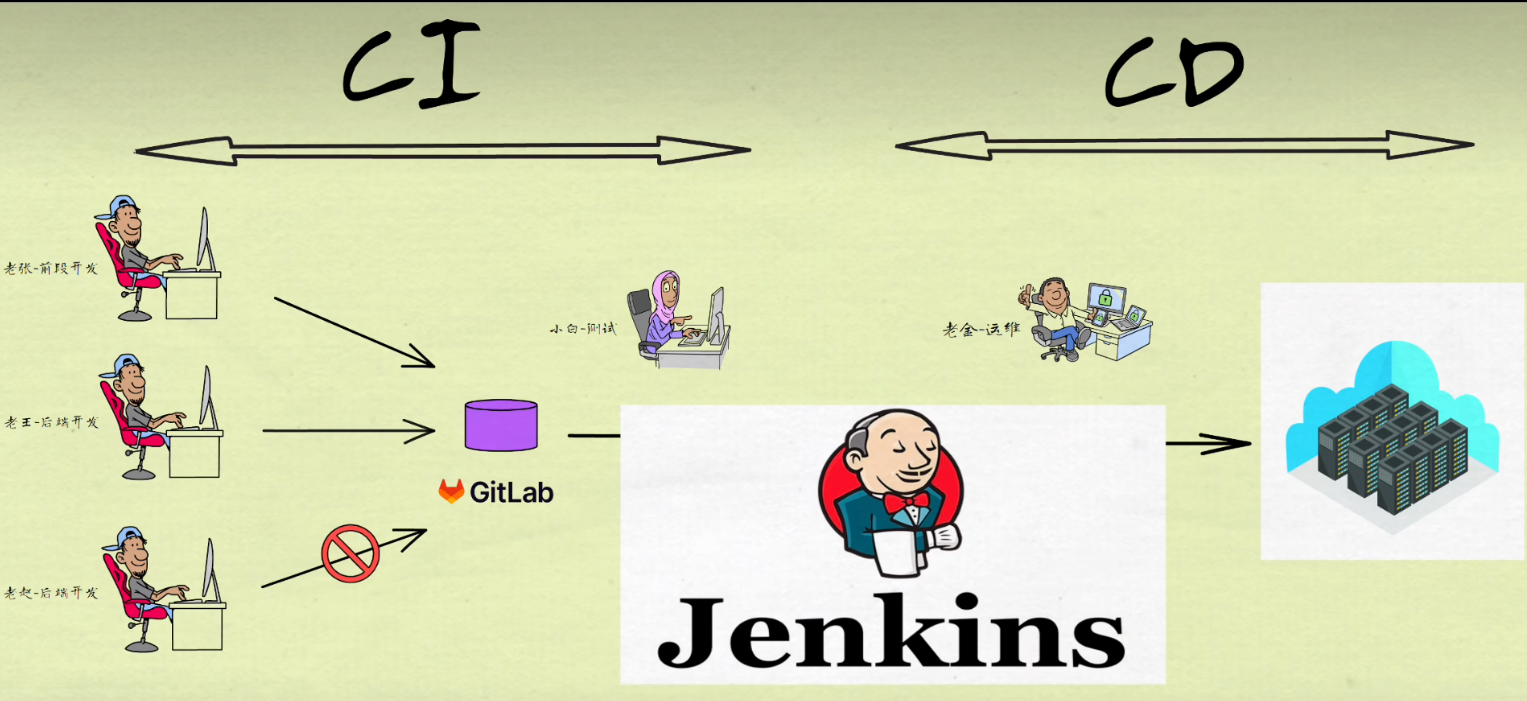
架构
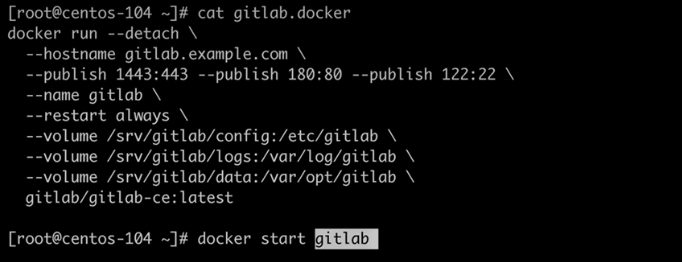
gitlab和jenkins安装
部署docker
部署jenkins
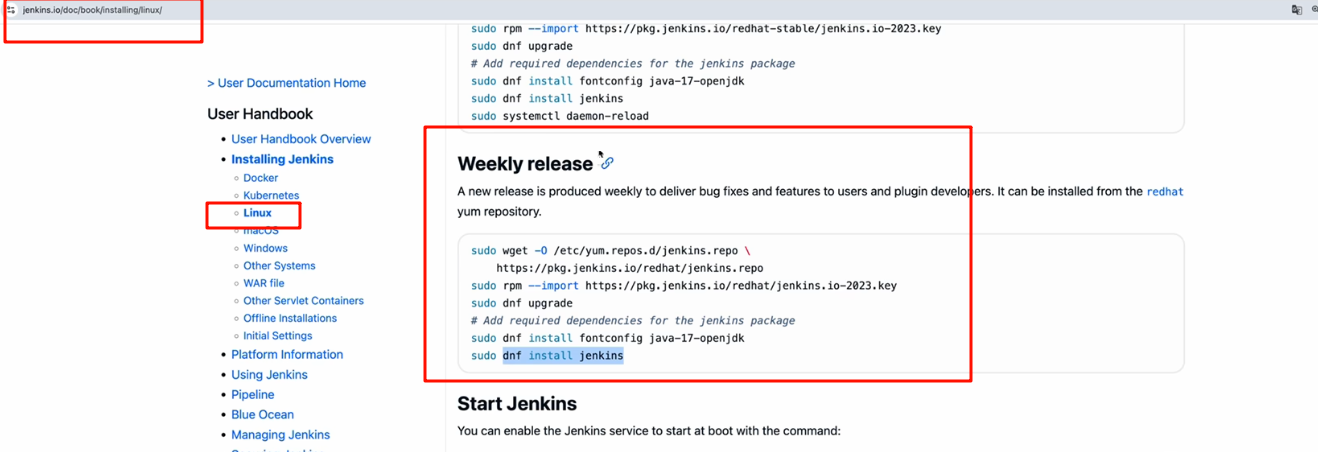

启动jenkins
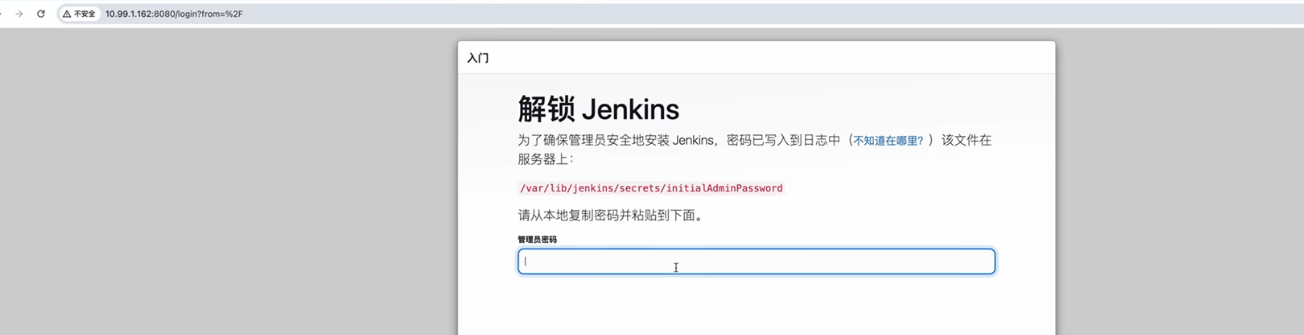
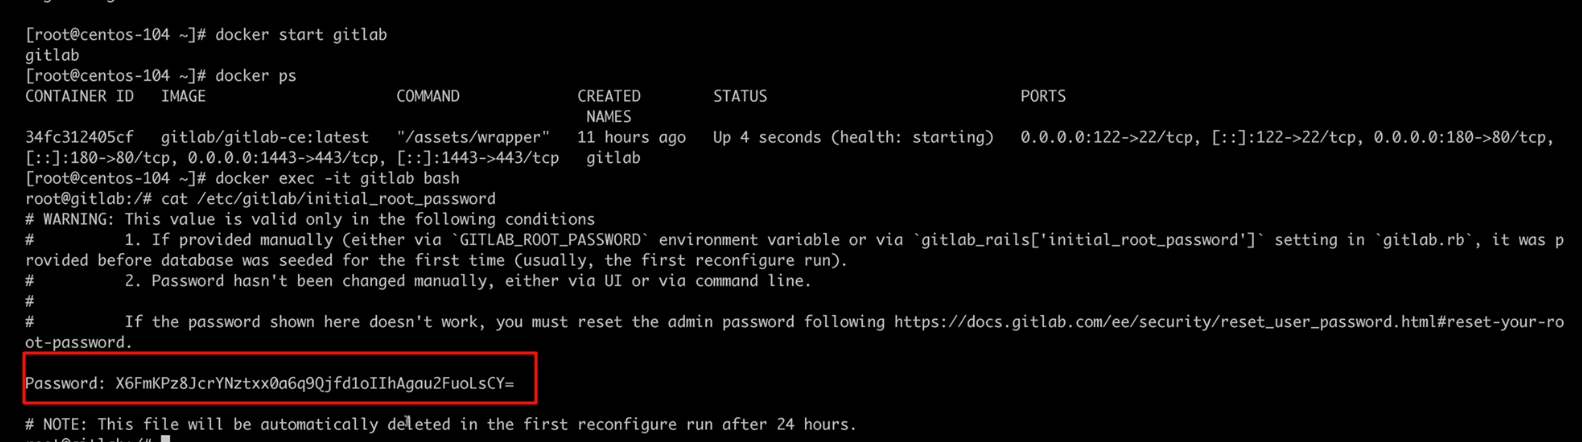
用户:admin,对应的密码如下

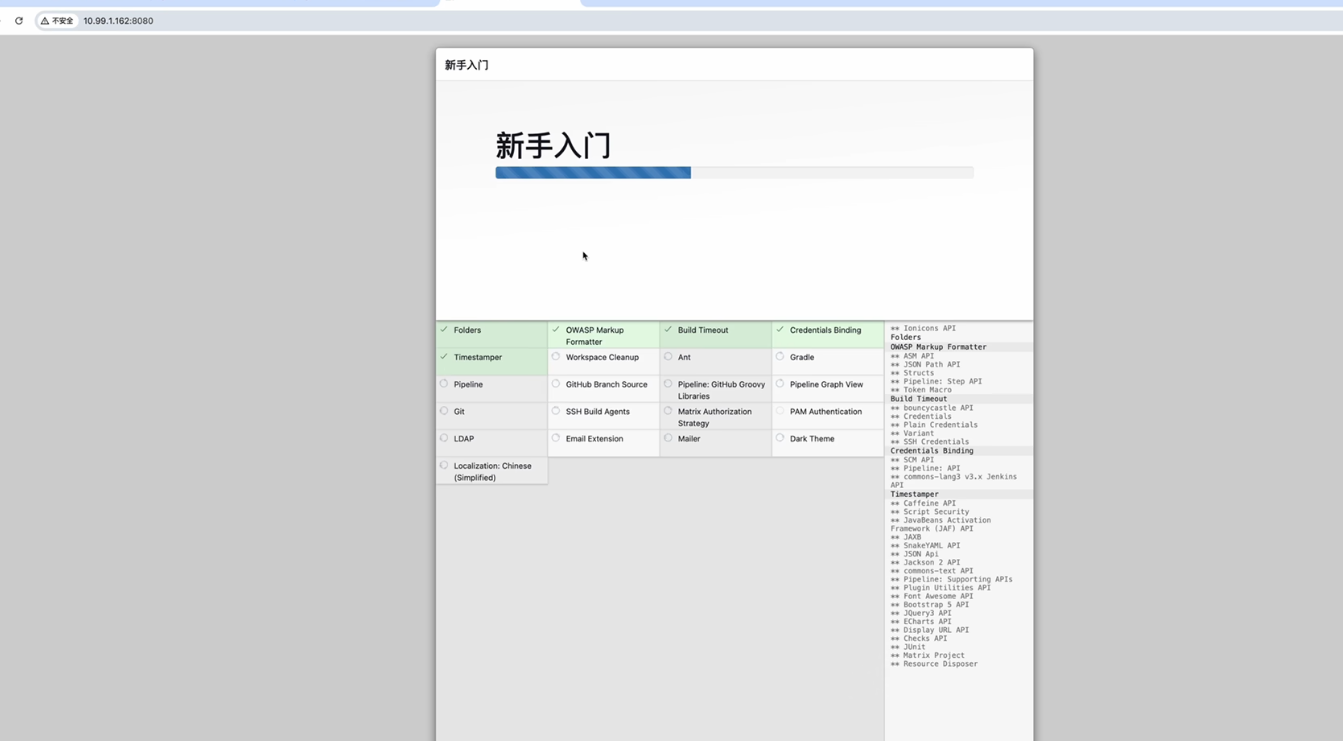
点击安装自定义推荐的插件
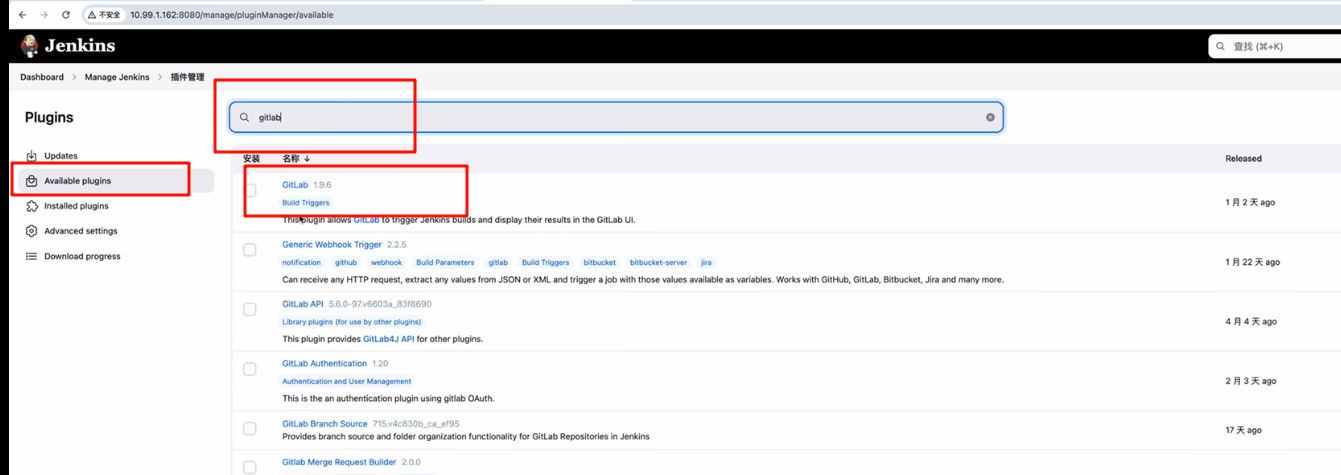
安装gitlab插件
jenkins配置
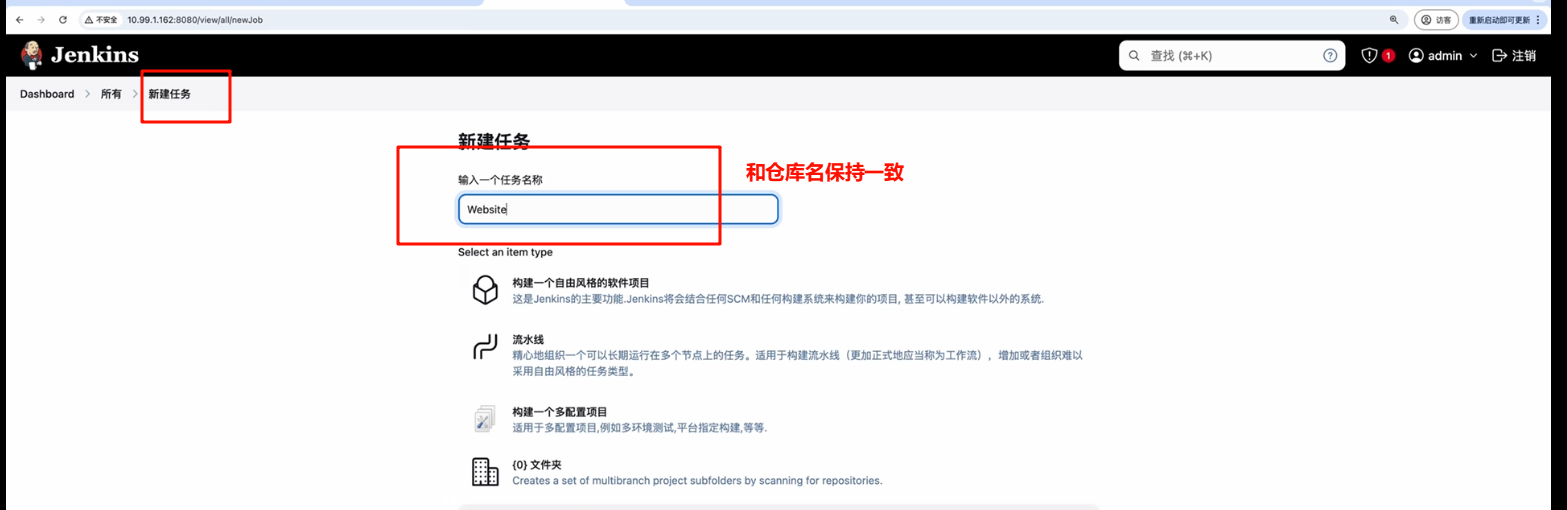

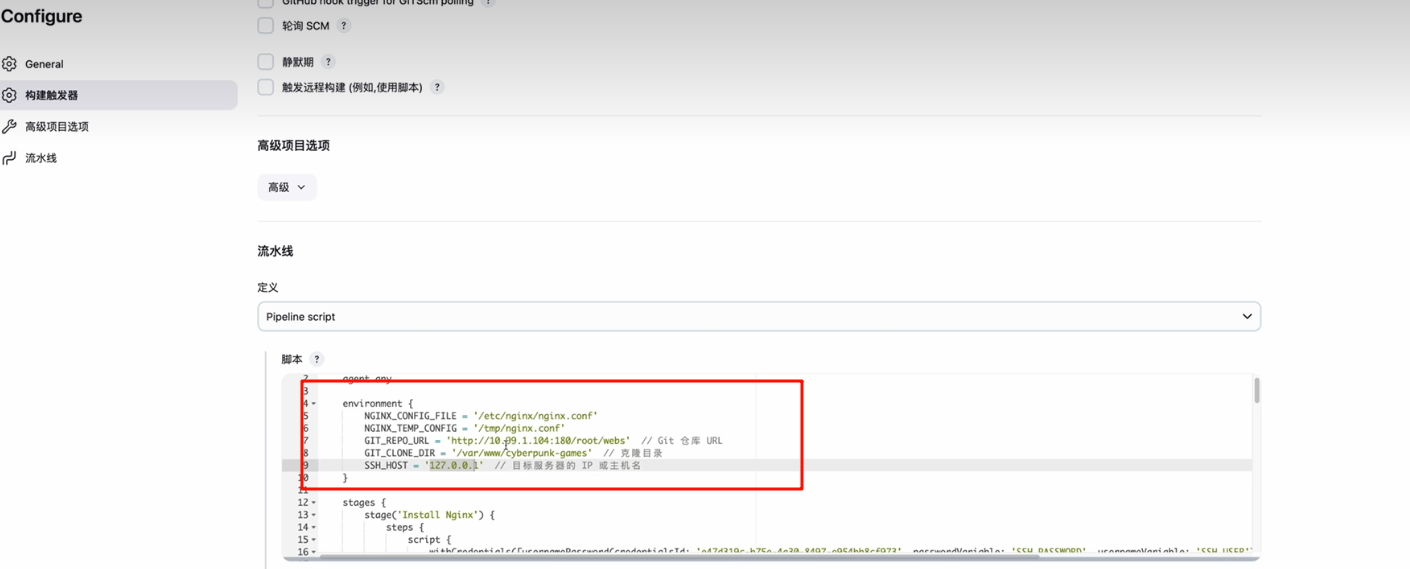
配置pipline脚本
bash
/* ==========================================================
Jenkinsfile -- 一键部署 cyberpunk-games 静态站点
功能:安装/更新 Nginx → 部署站点配置 → 克隆/更新 Git 仓库 → 重载 Nginx
========================================================== */
pipeline {
/* 任意可用的 Jenkins agent */
agent any
/* ------------------------------------------------------
定义全局环境变量,后续所有 stage 均可直接使用
------------------------------------------------------ */
environment {
// Git 仓库地址(根据实际修改)
GIT_REPO_URL = 'http://10.99.1.104:180/root/website'
// 代码拉取到本地的目录
GIT_CLONE_DIR = '/var/www/cyberpunk-games'
// 目标部署服务器(根据实际修改)
SSH_HOST = '127.0.0.1'
// 凭据 ID(在 Jenkins 凭据库中已配置的用户名/密码)
CRED_ID = '52db79b8-af8d-4102-96aa-ba9aa4295801'
}
/* ------------------------------------------------------
Pipeline 各阶段
------------------------------------------------------ */
stages {
/* --------------------------------------------------
Stage 1:安装 Nginx(仅需一次即可)
-------------------------------------------------- */
stage('Install Nginx') {
steps {
script {
// 使用 Jenkins 凭据,将用户名、密码注入环境变量
withCredentials([
usernamePassword(
credentialsId: "${CRED_ID}",
usernameVariable: 'SSH_USER',
passwordVariable: 'SSH_PASSWORD')
]) {
sh """
# 通过 sshpass 免交互安装
sshpass -p '${SSH_PASSWORD}' \
ssh -o StrictHostKeyChecking=no ${SSH_USER}@${SSH_HOST} \
'sudo dnf install -y nginx'
"""
}
}
}
}
/* --------------------------------------------------
Stage 2:生成并部署 Nginx 站点配置
-------------------------------------------------- */
stage('Deploy Nginx Configuration') {
steps {
script {
// 1. 定义 Nginx 虚拟主机配置
def nginxConfig = """
server {
listen 80;
server_name yourdomain.com; // TODO: 改成真实域名或 IP
root /var/www/cyberpunk-games;
index index.html;
location / {
try_files \\$uri \\$uri/ =404;
}
# 可选:启用 gzip 压缩
gzip on;
gzip_types text/plain application/javascript text/css application/xml text/xml;
gzip_min_length 1000;
}
"""
// 2. 将配置写到临时文件
writeFile file: '/tmp/cyberpunk-games.conf', text: nginxConfig
// 3. 拷贝到目标服务器
withCredentials([
usernamePassword(
credentialsId: "${CRED_ID}",
usernameVariable: 'SSH_USER',
passwordVariable: 'SSH_PASSWORD')
]) {
sh """
sshpass -p '${SSH_PASSWORD}' \
scp /tmp/cyberpunk-games.conf \
${SSH_USER}@${SSH_HOST}:/etc/nginx/conf.d/cyberpunk-games.conf
"""
}
}
}
}
/* --------------------------------------------------
Stage 3:克隆或更新 Git 仓库
-------------------------------------------------- */
stage('Clone or Update Git Repository') {
steps {
script {
withCredentials([
usernamePassword(
credentialsId: "${CRED_ID}",
usernameVariable: 'SSH_USER',
passwordVariable: 'SSH_PASSWORD')
]) {
sh """
sshpass -p '${SSH_PASSWORD}' \
ssh -o StrictHostKeyChecking=no ${SSH_USER}@${SSH_HOST} \
'if [ ! -d "${GIT_CLONE_DIR}/.git" ]; then \
git clone ${GIT_REPO_URL} ${GIT_CLONE_DIR}; \
else \
cd ${GIT_CLONE_DIR} && git pull origin main; \
fi'
"""
}
}
}
}
/* --------------------------------------------------
Stage 4:重载 Nginx 使配置生效
-------------------------------------------------- */
stage('Restart Nginx') {
steps {
script {
withCredentials([
usernamePassword(
credentialsId: "${CRED_ID}",
usernameVariable: 'SSH_USER',
passwordVariable: 'SSH_PASSWORD')
]) {
sh """
sshpass -p '${SSH_PASSWORD}' \
ssh -o StrictHostKeyChecking=no ${SSH_USER}@${SSH_HOST} \
'sudo systemctl reload nginx'
"""
}
}
}
}
}
/* ------------------------------------------------------
构建后操作(可选)
------------------------------------------------------ */
post {
always {
echo 'Pipeline 执行结束'
}
success {
echo '所有阶段执行成功!'
}
failure {
echo '有阶段失败,请检查日志'
}
}
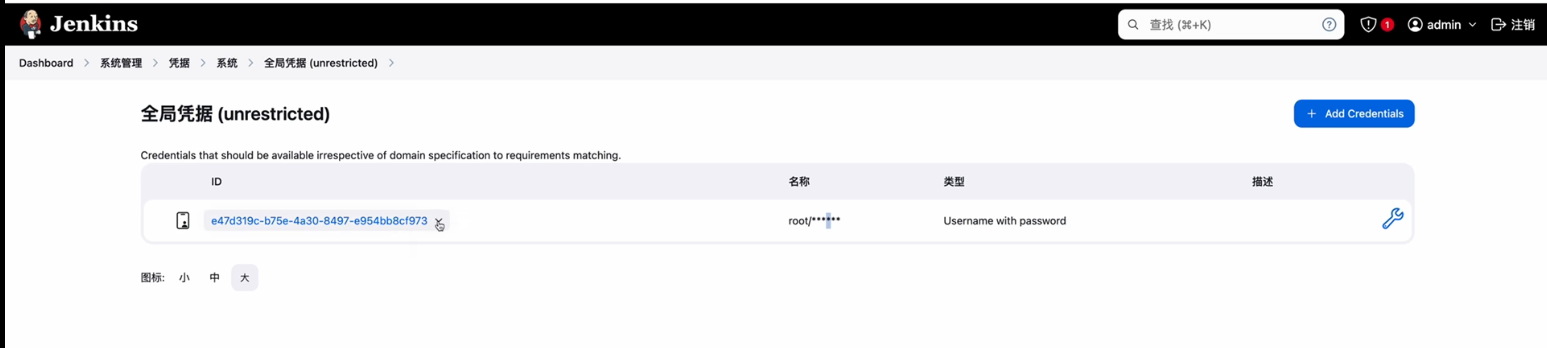
}创建凭据
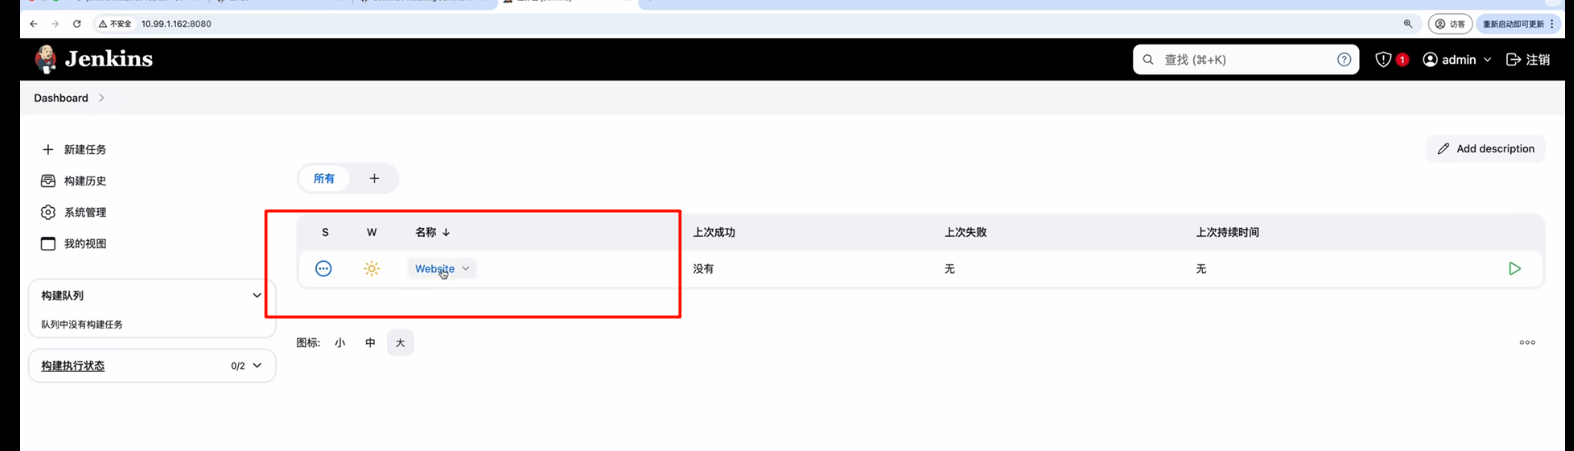
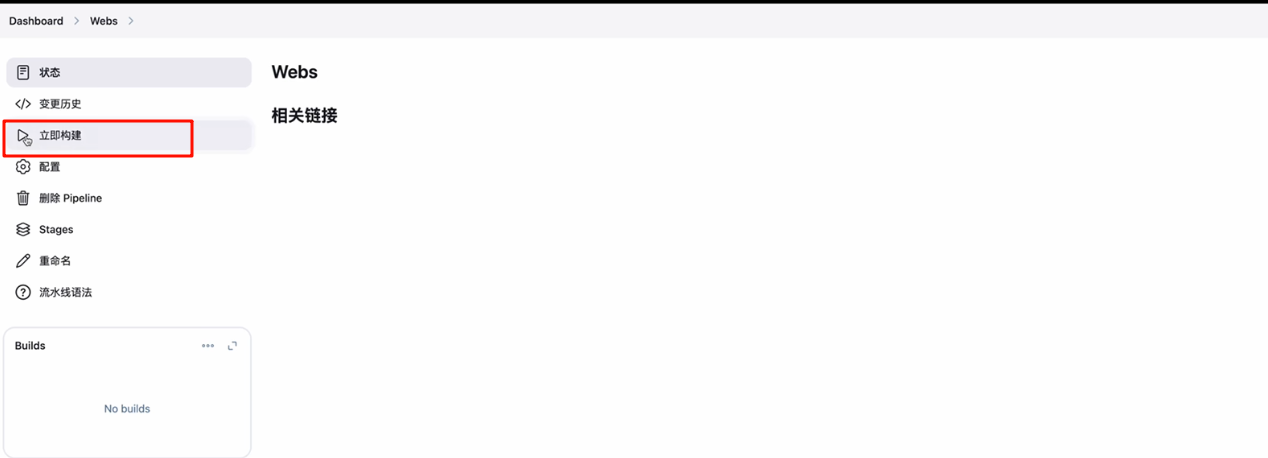
进入到已经创建的任务中
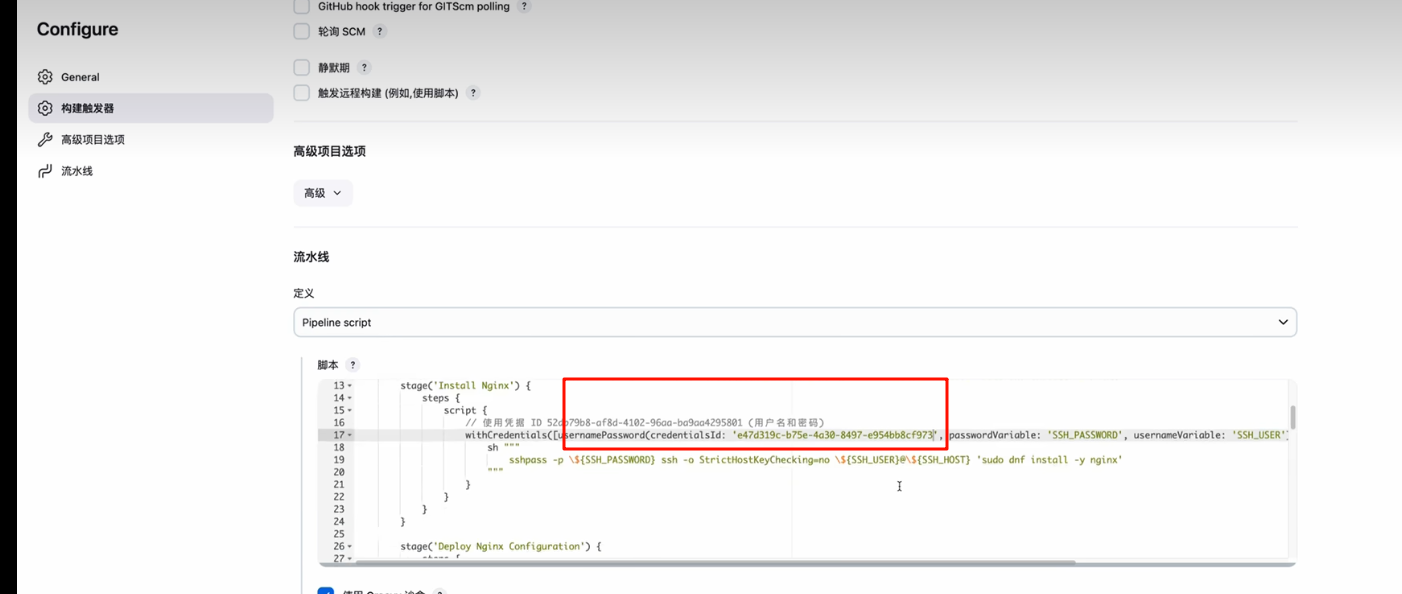
修改里面的pipline 脚本中的credential id
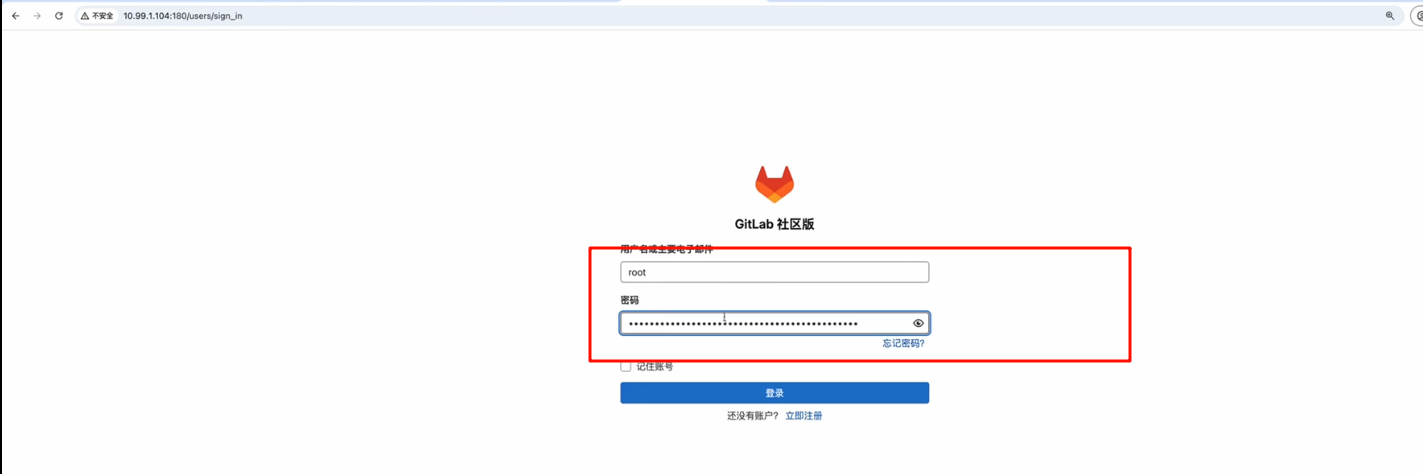
gitlab配置
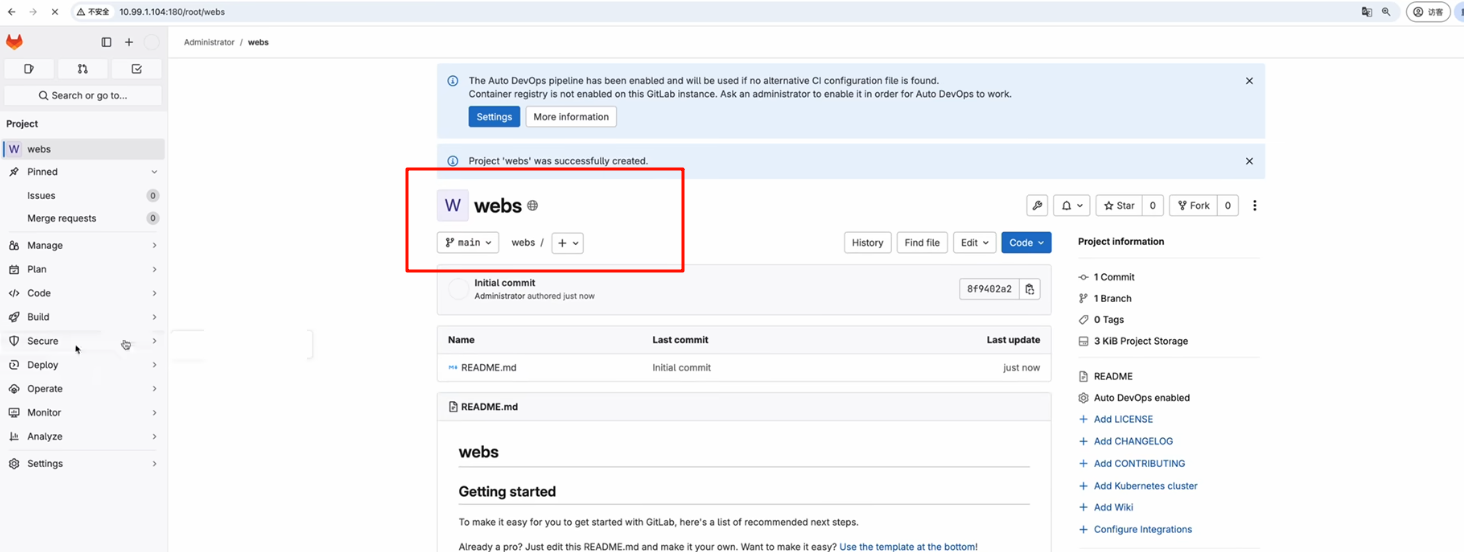
创建webs仓库
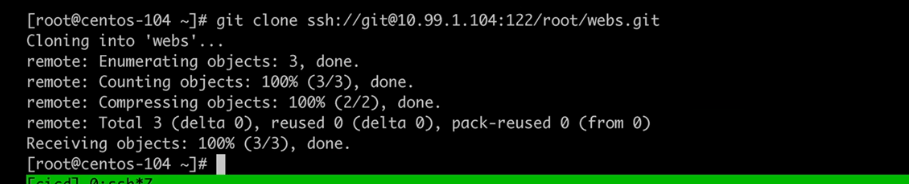
clone代码
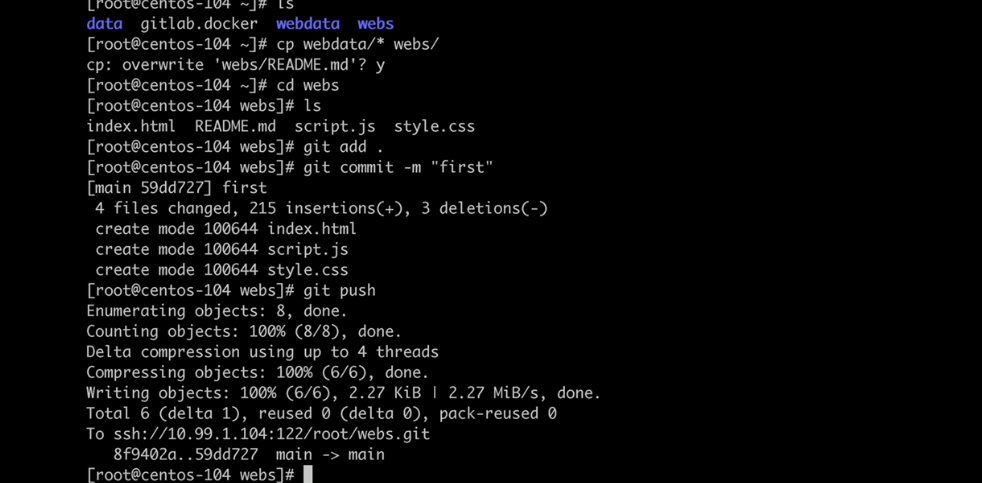
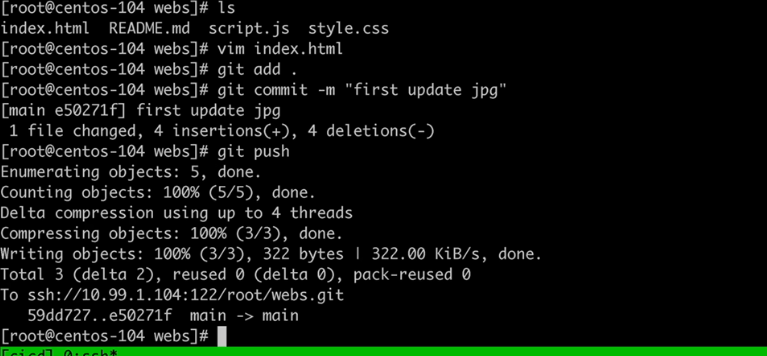
提交代码
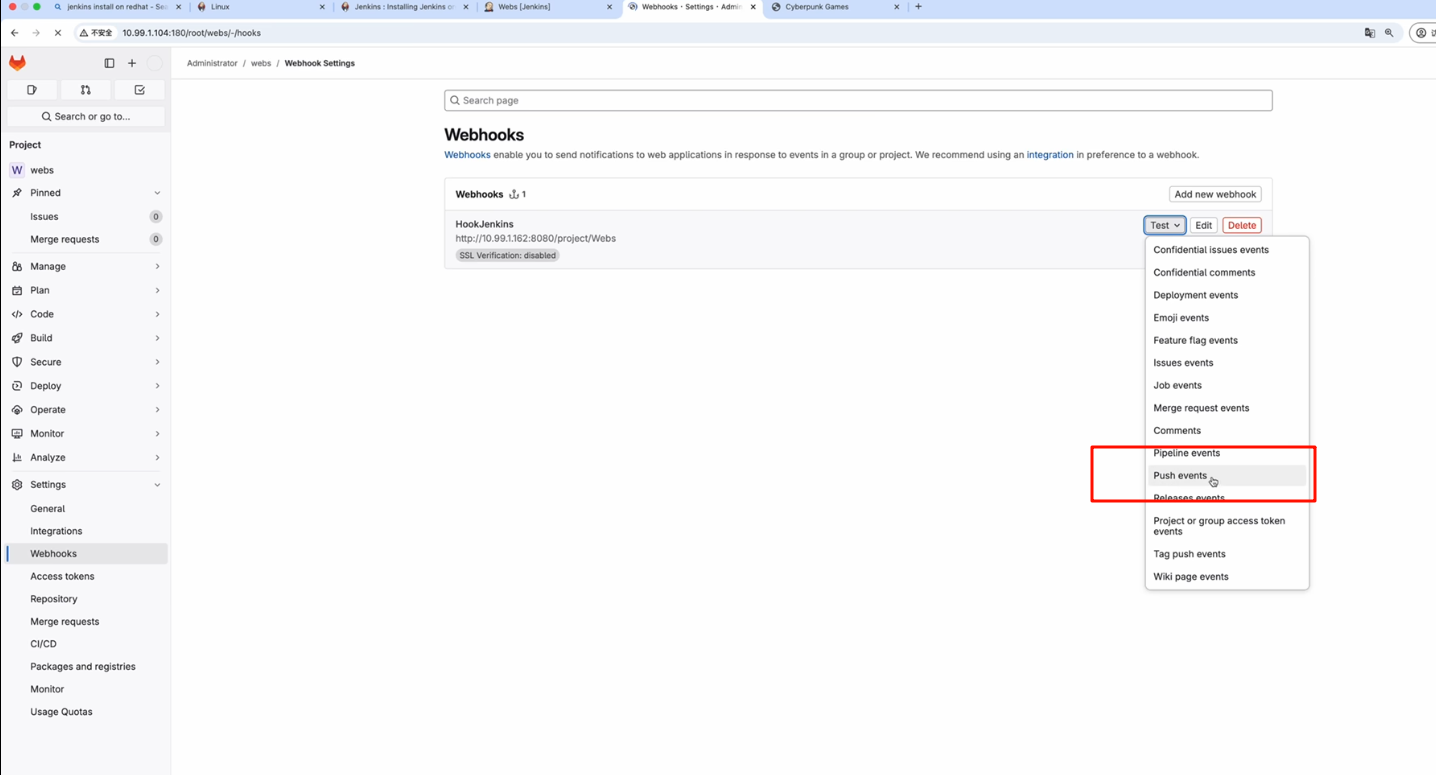
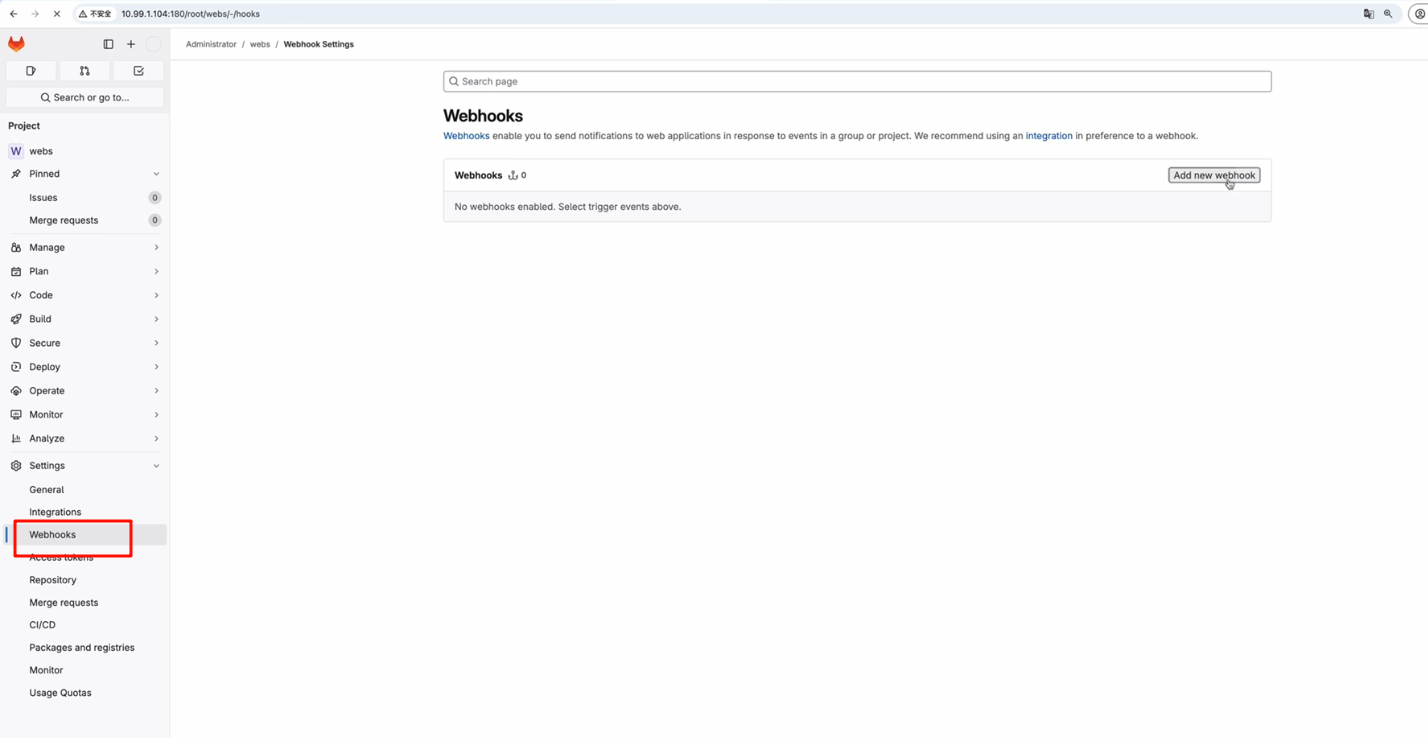
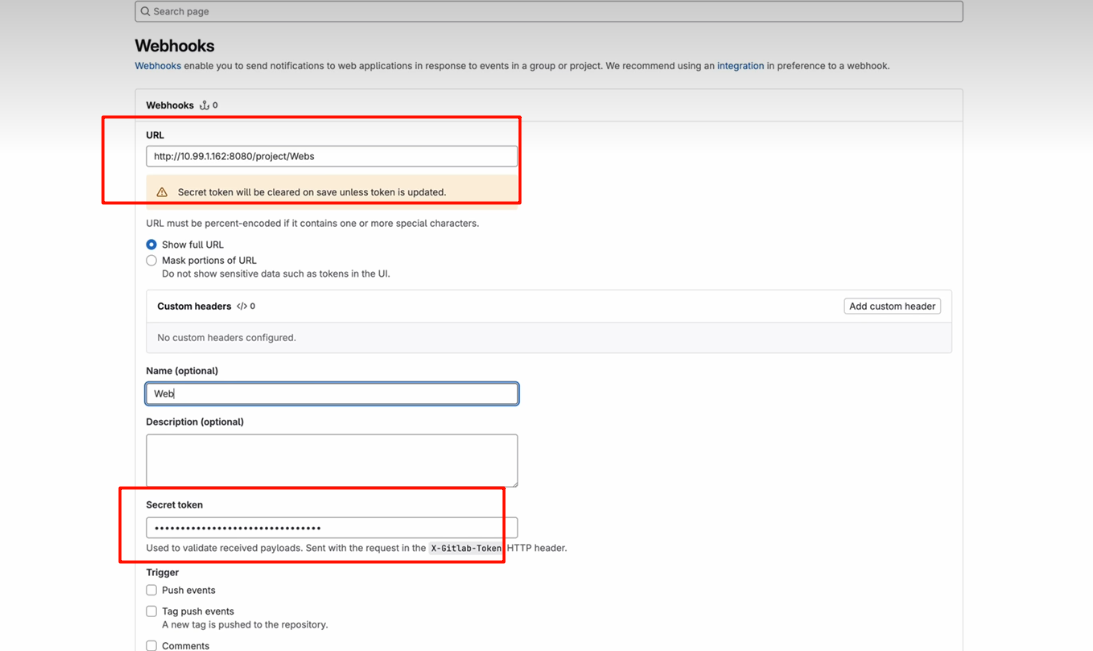
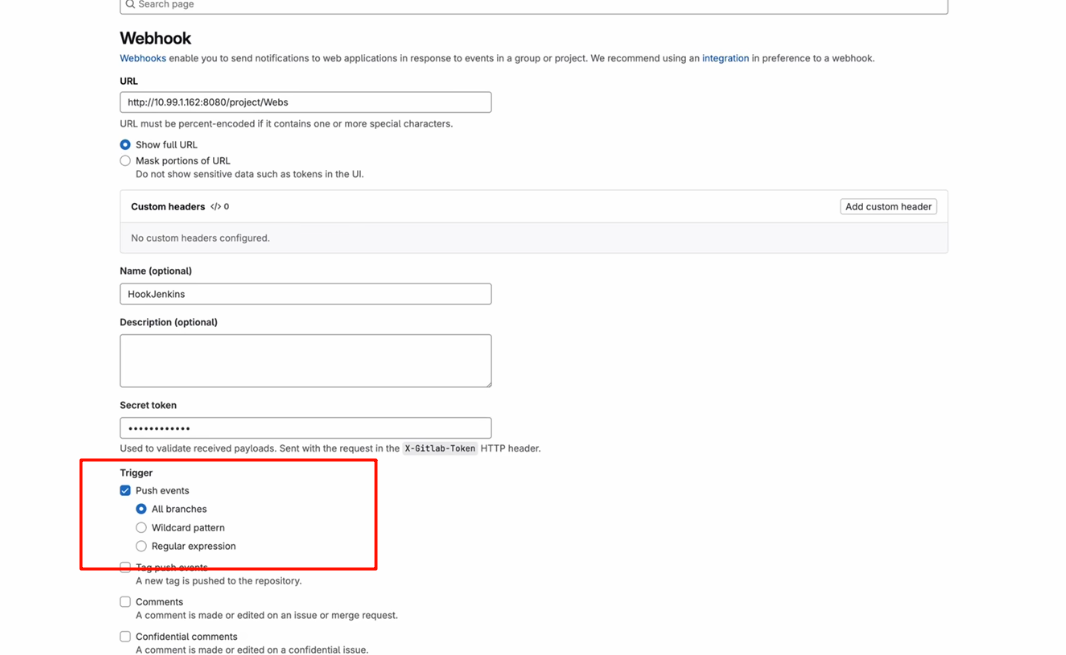
jenkins与gitlab联动
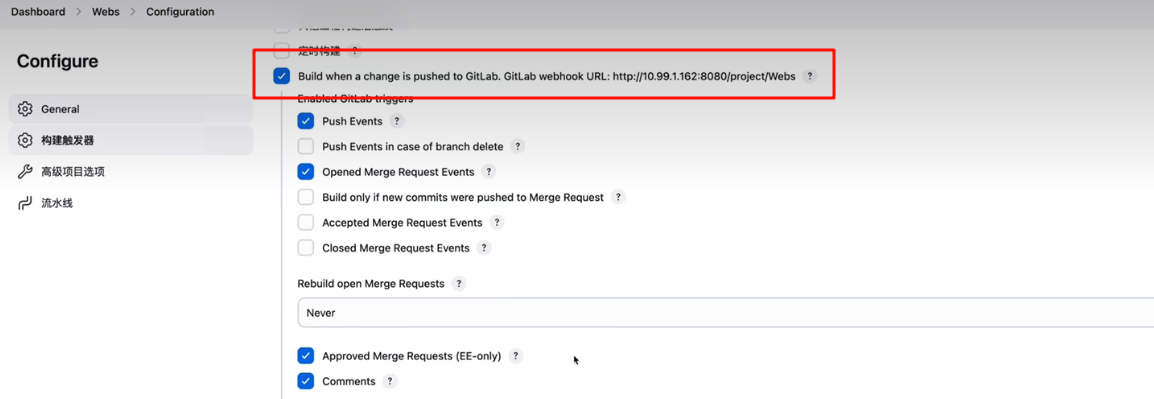
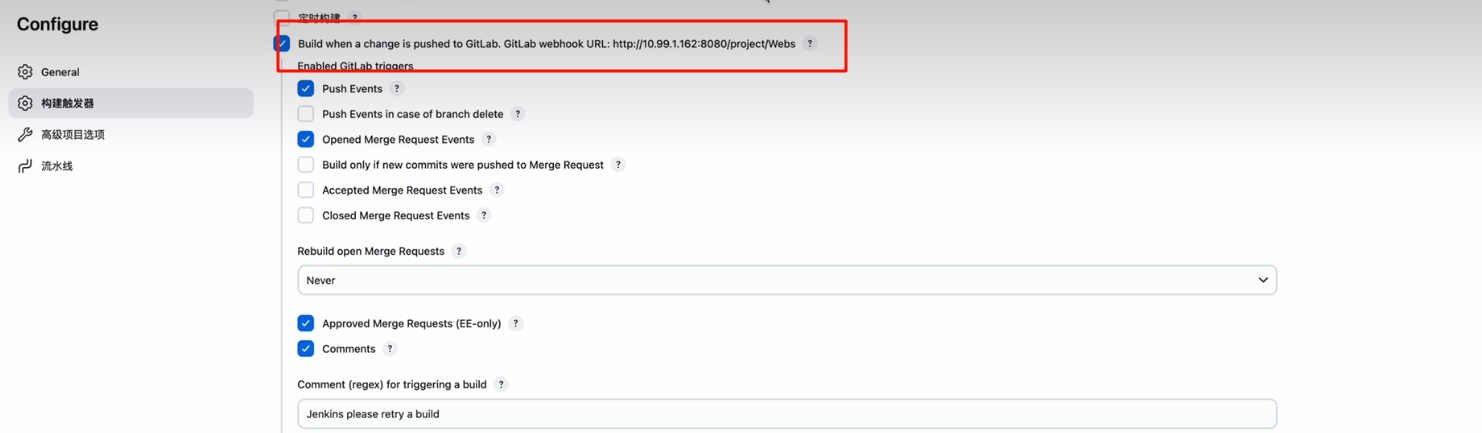
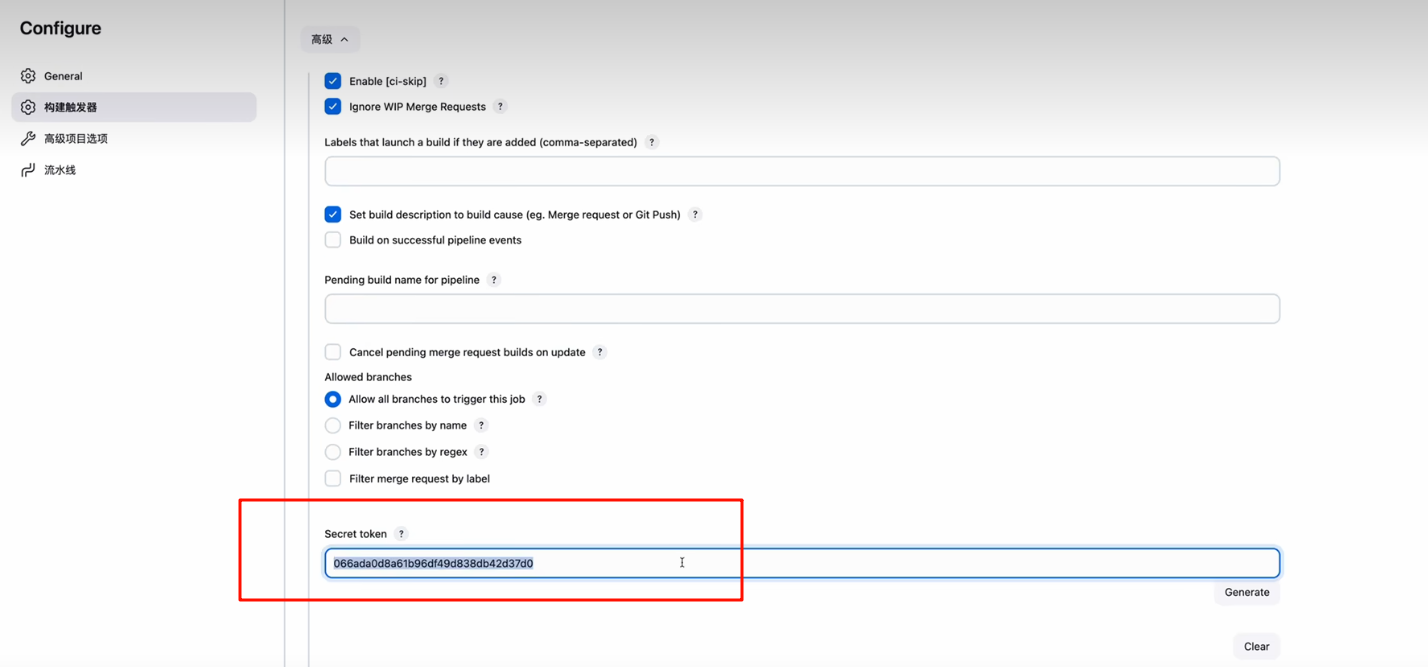
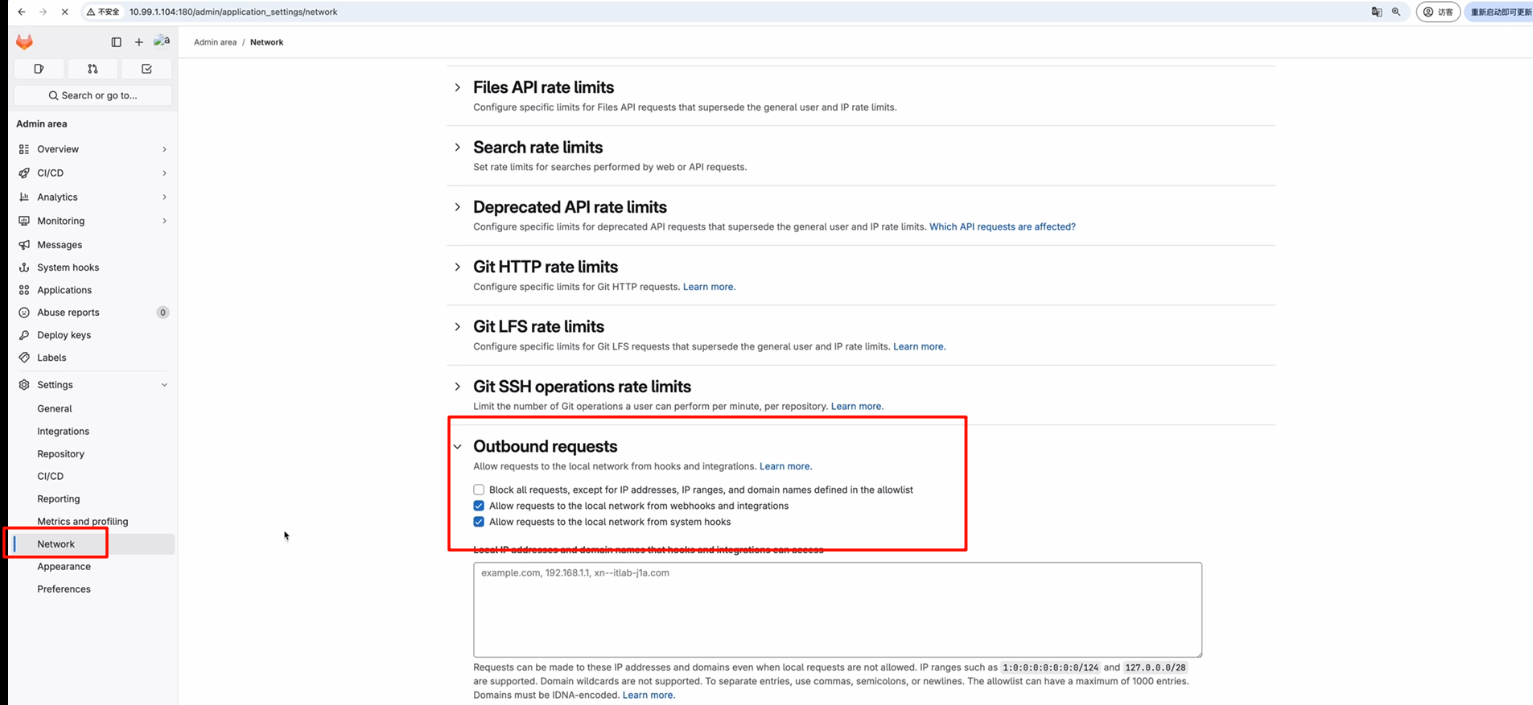
打开gitlab,配置webhook
打开jenkins,修改pipeline脚本
手动构建测试
gitlab修改触发
gitlab手动触发jenkins