windows下基于docker单机部署ceph集群
- 创建ceph专用网络
shell
docker network create --driver bridge --subnet 172.20.0.0/16 ceph-network- 查看是否创建成功(查看创建状态)
shell
docker network inspect ceph-network- 拉取镜像:(镜像源自行选择)
shell
docker pull ceph/daemon:latest-luminous
# 查看镜像
docker images- 搭建 monitor 节点(监控集群状态)
shell
# 创建本地目录
New-Item -ItemType Directory -Force -Path ./etc/ceph
New-Item -ItemType Directory -Force -Path ./var/lib/ceph
New-Item -ItemType Directory -Force -Path ./var/log/ceph

# 运行容器
docker run -d --name ceph-mon --network ceph-network --ip 172.20.0.10 -e CLUSTER=ceph -e WEIGHT=1.0 -e MON_IP=172.20.0.10 -e MON_NAME=ceph-mon -e CEPH_PUBLIC_NETWORK=172.20.0.0/16 -v ${PWD}/etc/ceph:/etc/ceph -v ${PWD}/var/lib/ceph/:/var/lib/ceph/ -v ${PWD}/var/log/ceph/:/var/log/ceph/ ceph/daemon:latest-luminous mon- 搭建 osd 节点(对象存储节点)
shell
# 执行命令获取密钥环
docker exec ceph-mon ceph auth get client.bootstrap-osd -o /var/lib/ceph/bootstrap-osd/ceph.keyring

# 修改配置文件,使用 PowerShell 追加内容到文件
$configPath = "${PWD}/etc/ceph/ceph.conf"
"osd max object name len = 256`nosd max object namespace len = 64" | Out-File -FilePath $configPath -Append -Encoding UTF8

# 创建 OSD 本地目录
New-Item -ItemType Directory -Force -Path ./var/lib/ceph/osd/1
New-Item -ItemType Directory -Force -Path ./var/lib/ceph/osd/2
New-Item -ItemType Directory -Force -Path ./var/lib/ceph/osd/3

# 分别启动三个容器来模拟集群
docker run -d --privileged=true --name ceph-osd-1 --network ceph-network --ip 172.20.0.11 -e CLUSTER=ceph -e WEIGHT=1.0 -e MON_NAME=ceph-mon -e MON_IP=172.20.0.10 -e OSD_TYPE=directory -v ${PWD}/etc/ceph:/etc/ceph -v ${PWD}/var/lib/ceph/:/var/lib/ceph/ -v ${PWD}/var/lib/ceph/osd/1:/var/lib/ceph/osd ceph/daemon:latest-luminous osd
docker run -d --privileged=true --name ceph-osd-2 --network ceph-network --ip 172.20.0.12 -e CLUSTER=ceph -e WEIGHT=1.0 -e MON_NAME=ceph-mon -e MON_IP=172.20.0.10 -e OSD_TYPE=directory -v ${PWD}/etc/ceph:/etc/ceph -v ${PWD}/var/lib/ceph/:/var/lib/ceph/ -v ${PWD}/var/lib/ceph/osd/2:/var/lib/ceph/osd ceph/daemon:latest-luminous osd
docker run -d --privileged=true --name ceph-osd-3 --network ceph-network --ip 172.20.0.13 -e CLUSTER=ceph -e WEIGHT=1.0 -e MON_NAME=ceph-mon -e MON_IP=172.20.0.10 -e OSD_TYPE=directory -v ${PWD}/etc/ceph:/etc/ceph -v ${PWD}/var/lib/ceph/:/var/lib/ceph/ -v ${PWD}/var/lib/ceph/osd/3:/var/lib/ceph/osd ceph/daemon:latest-luminous osd- 搭建 mgr 节点(管理节点,可打开管理面板)
shell
docker run -d --privileged=true --name ceph-mgr --network ceph-network --ip 172.20.0.14 -e CLUSTER=ceph -p 7000:7000 --pid=container:ceph-mon -v ${PWD}/etc/ceph:/etc/ceph -v ${PWD}/var/lib/ceph/:/var/lib/ceph/ ceph/daemon:latest-luminous mgr

# 开启管理界面
docker exec ceph-mgr ceph mgr module enable dashboard- 搭建 rgw 节点(ceph网关,可以搭建多个)
shell
# 执行命令获取密钥环
docker exec ceph-mon ceph auth get client.bootstrap-rgw -o /var/lib/ceph/bootstrap-rgw/ceph.keyring

# 运行 RGW 容器
docker run -d --privileged=true --name ceph-rgw --network ceph-network --ip 172.20.0.15 -e CLUSTER=ceph -e RGW_NAME=ceph-rgw -p 7480:7480 -v ${PWD}/var/lib/ceph/:/var/lib/ceph/ -v ${PWD}/etc/ceph:/etc/ceph ceph/daemon:latest-luminous rgw- 检查 ceph 状态
shell
docker exec ceph-mon ceph -s集群已经部署完毕,下面是用于开发的步骤: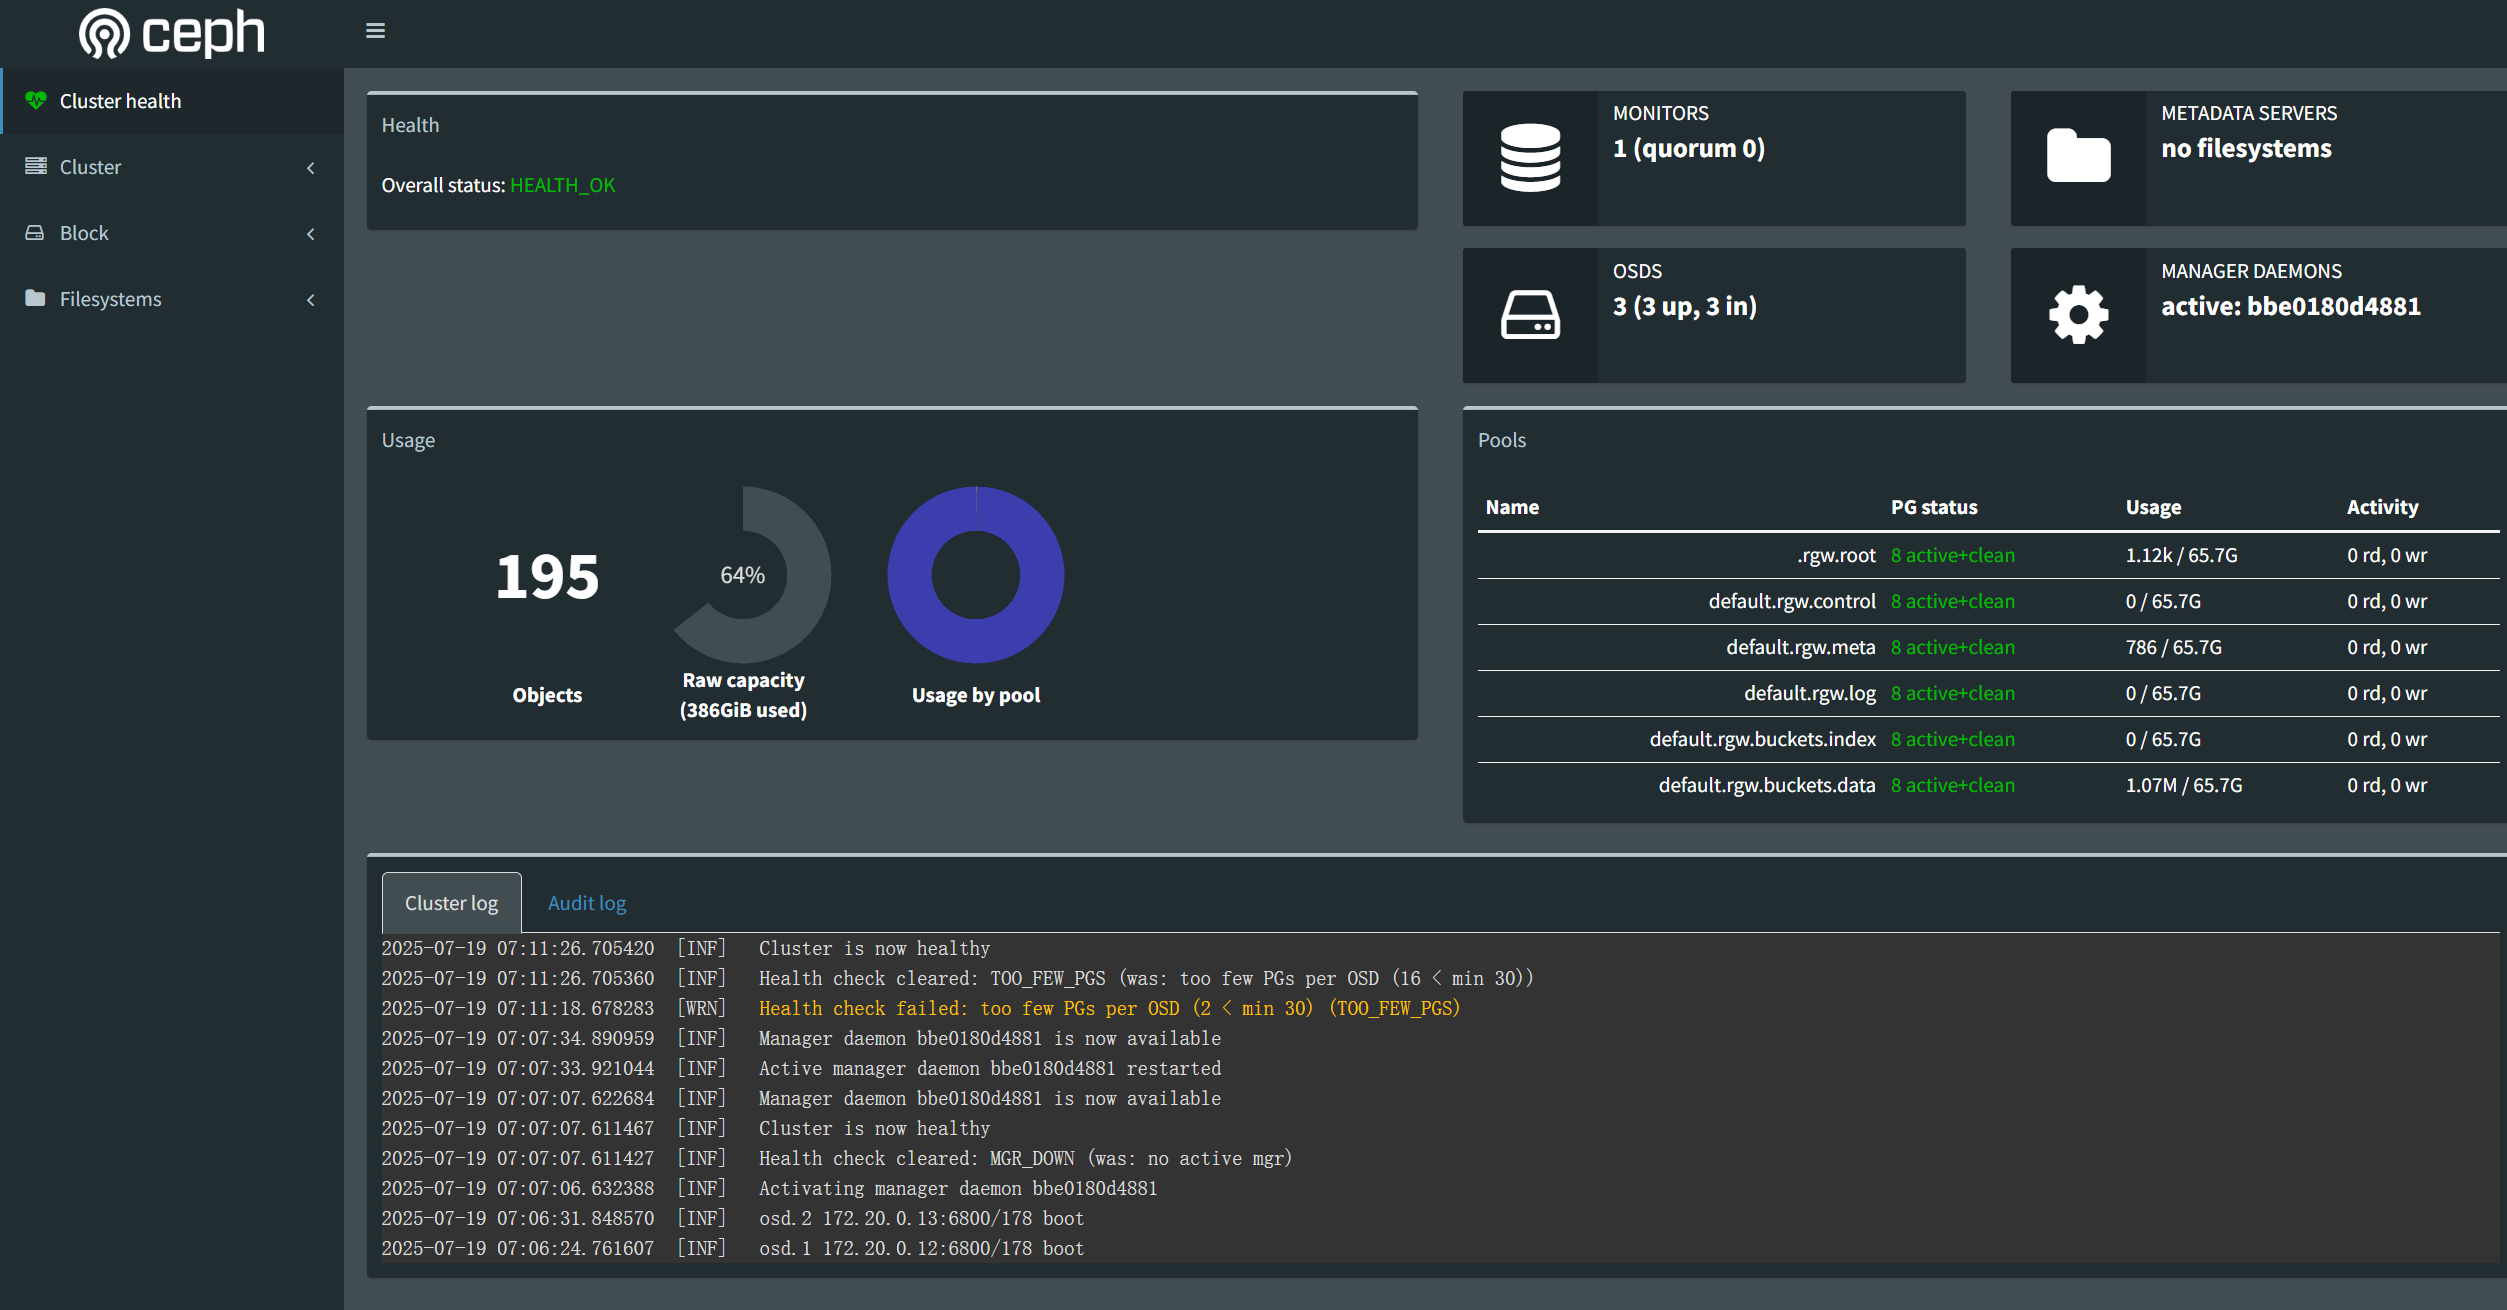
- 测试添加 rgw 用户,生成 access_key 和 secret_key 用于访问
shell
docker exec ceph-rgw radosgw-admin user create --uid="test" --display-name="test user"生成结果如:
shell
PS C:\WINDOWS\system32> docker exec ceph-rgw radosgw-admin user create --uid="test" --display-name="test user"
{
    "user_id": "test",
    "display_name": "test user",
    "email": "",
    "suspended": 0,
    "max_buckets": 1000,
    "auid": 0,
    "subusers": [],
    "keys": [
        {
            "user": "test",
            "access_key": "7367PT68J5OCWA84XXXXX",
            "secret_key": "ieAuUzUJJ9Wa9SBTGSnloaIjS8eD8p9z2zXXXXX"
        }
    ],
    "swift_keys": [],
    "caps": [],
    "op_mask": "read, write, delete",
    "default_placement": "",
    "placement_tags": [],
    "bucket_quota": {
        "enabled": false,
        "check_on_raw": false,
        "max_size": -1,
        "max_size_kb": 0,
        "max_objects": -1
    },
    "user_quota": {
        "enabled": false,
        "check_on_raw": false,
        "max_size": -1,
        "max_size_kb": 0,
        "max_objects": -1
    },
    "temp_url_keys": [],
    "type": "rgw"
}
开发使用:
可以直接通过代码进行操作:
go
package ceph

import (
	"gopkg.in/amz.v1/aws"
	"gopkg.in/amz.v1/s3"
	"log"

	cfg "filestore-server/config"
)

var cephConn *s3.S3

// GetCephConnection : 获取ceph连接
func GetCephConnection() *s3.S3 {
	if cephConn != nil {
		return cephConn
	}
	// 1. 初始化ceph的一些信息

	auth := aws.Auth{
		AccessKey: cfg.Config.CephConfig.CephAccessKey,
		SecretKey: cfg.Config.CephConfig.CephSecretKey,
	}

	curRegion := aws.Region{
		Name:                 "default",
		EC2Endpoint:          cfg.Config.CephConfig.CephGWEndpoint,
		S3Endpoint:           cfg.Config.CephConfig.CephGWEndpoint,
		S3BucketEndpoint:     "",
		S3LocationConstraint: false,
		S3LowercaseBucket:    false,
		Sign:                 aws.SignV2,
	}

	// 2. 创建S3类型的连接
	return s3.New(auth, curRegion)
}

// GetCephBucket : 获取指定的bucket对象
func GetCephBucket(bucket string) *s3.Bucket {
	conn := GetCephConnection()
	b := conn.Bucket(bucket)
	// 检查存储桶是否存在
	_, err := b.List("", "", "", 0)
	if err != nil {
		if s3err, ok := err.(*s3.Error); ok && s3err.StatusCode == 404 {
			log.Printf("存储桶 %s 不存在,尝试创建...", bucket)
			// 创建存储桶
			err = b.PutBucket(s3.PublicRead)
			if err != nil {
				log.Printf("创建存储桶 %s 失败: %v", bucket, err)
				return nil
			}
			log.Printf("存储桶 %s 创建成功", bucket)
		} else {
			log.Printf("访问存储桶 %s 出错: %v", bucket, err)
			return nil
		}
	}
	return b
}

// PutObject : 上传文件到ceph集群
func PutObject(bucket string, path string, data []byte) error {
	buck := GetCephBucket(bucket)
	return buck.Put(path, data, "octet-stream", s3.PublicRead)
}