上篇文章我们尝试了 Claude Code 搭配 Kimi K2,开发文件转 markdown 的服务。当时因为我比较生疏,前端页面还可以,但是后端代码生成的不尽人意。后来在我花费了一晚上加 25 块钱(Kimi K2),总算生成了能跑的代码版本。我把代码上传 GitHub 了,大家可以自行浏览:https://github.com/yokonsan/markitdown-server。并且我将它部署到云上了,大家可以访问体验效果:https://any2md.cc。
不管是 Claude Code 还是其他的 AI 辅助工具,在使用的过程中,都需要我们精心去设计编写巧妙的提示词,期待 AI 工具能理解我们的想法,去生成我们满意的代码。但是,大部分都事与愿违。尤其是 Kimi K2 的使用中,常常乱改代码,不理解我的目的的情况。
在我浏览社区的帖子时,发现一篇帖子介绍了如何使用上下文工程的思维来使用 AI 辅助工具。并且作者开源了他的上下文工程模版仓库:https://github.com/coleam00/Context-Engineering-Intro.git。
Context-Engineering-Intro
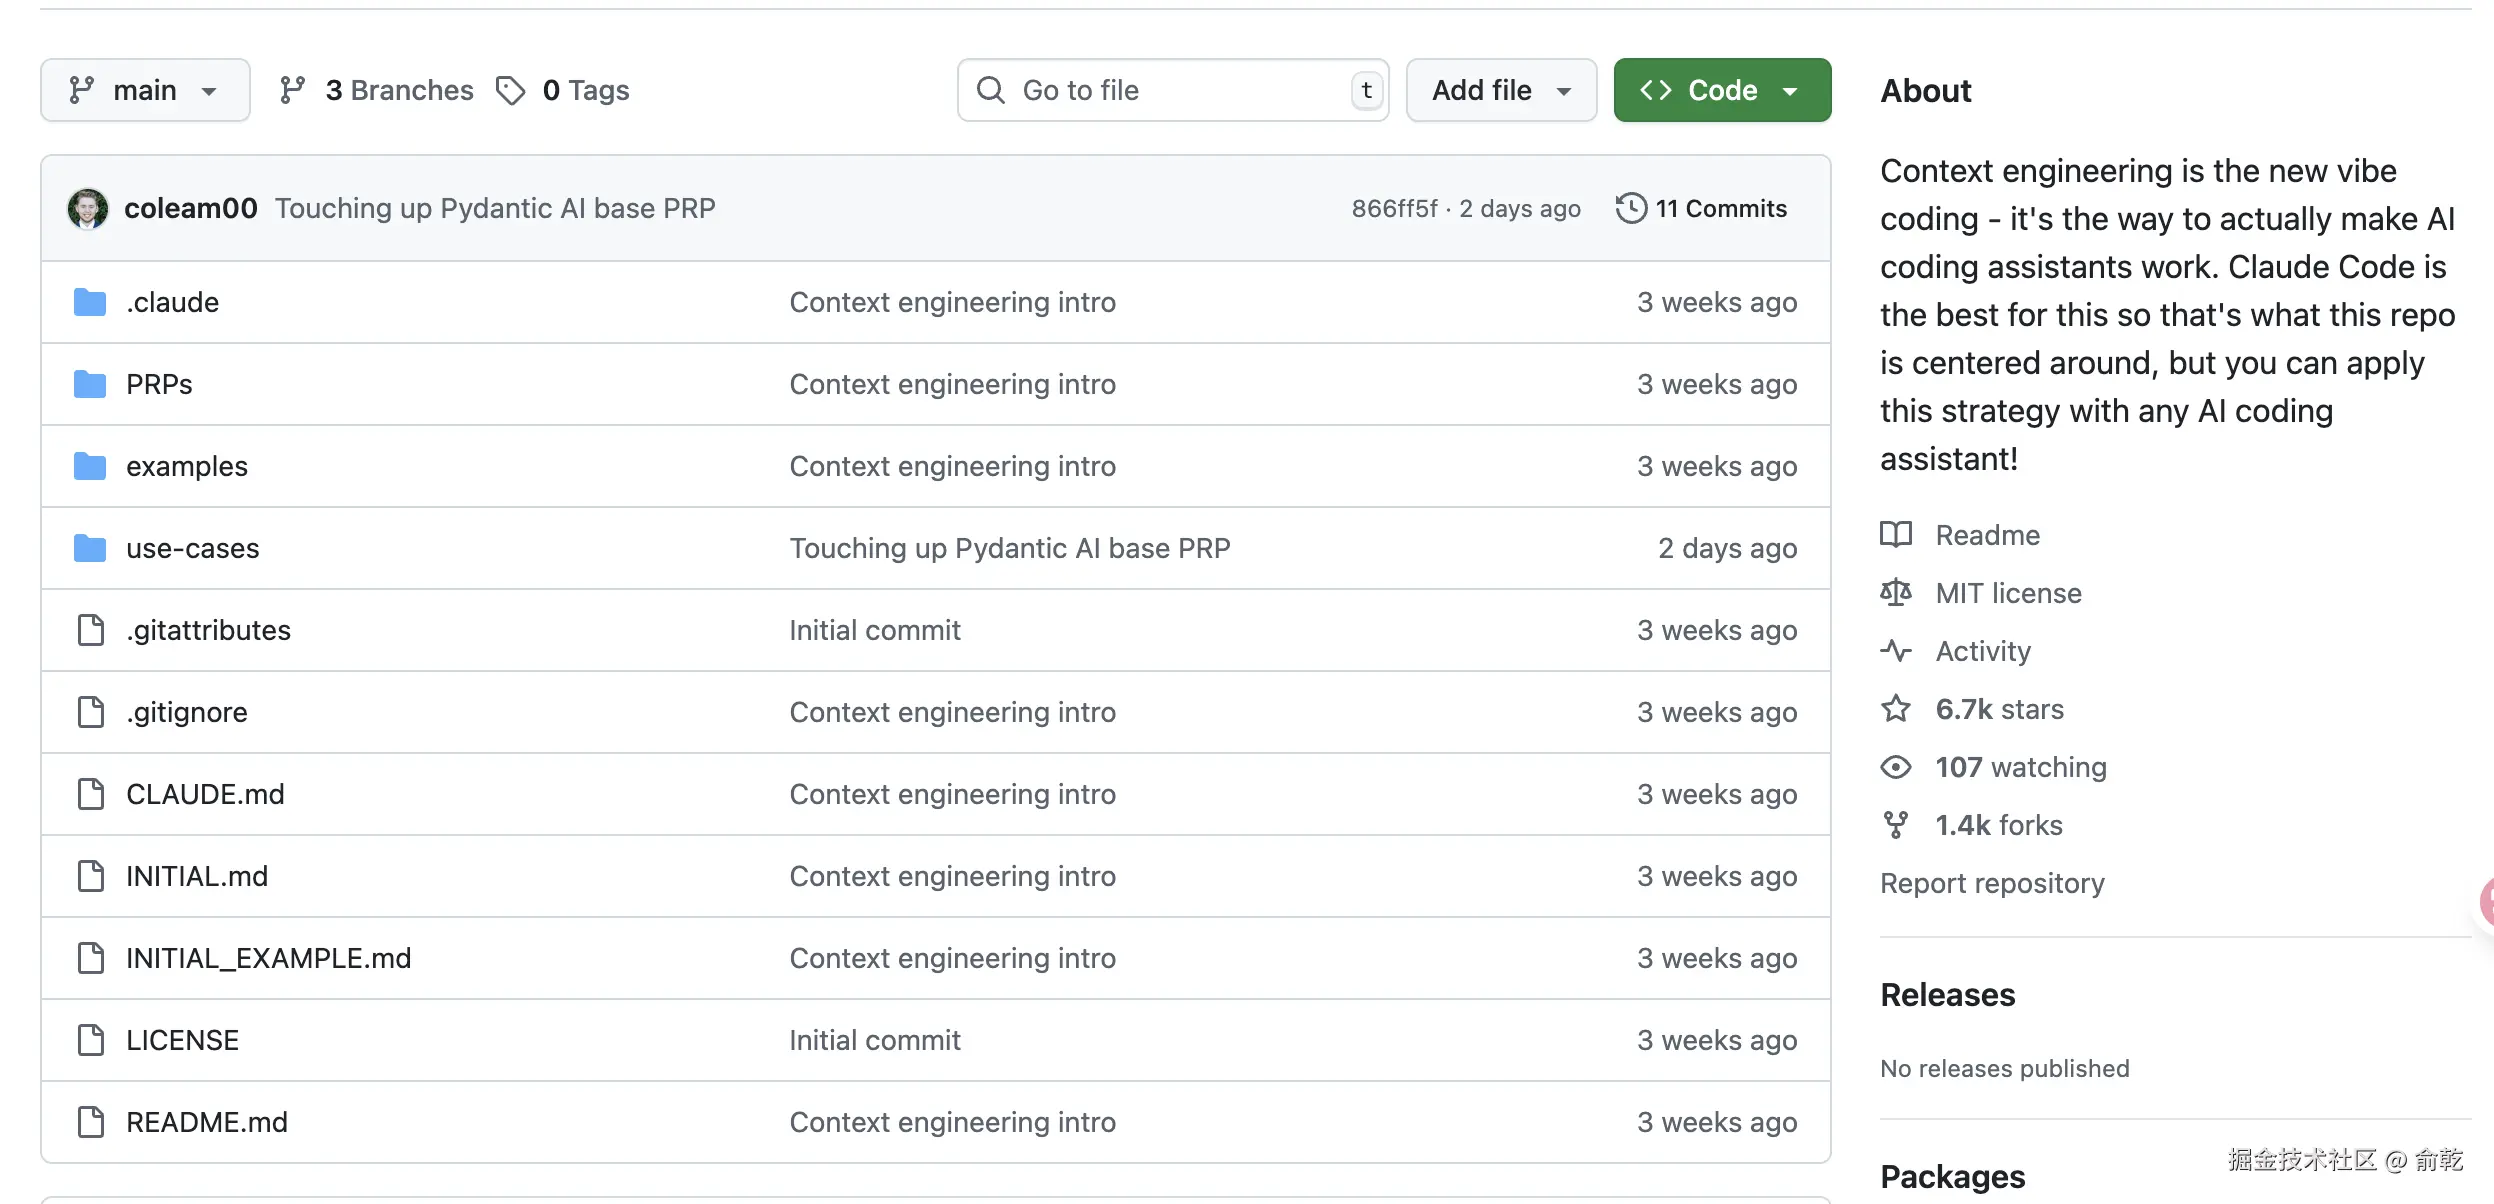
上下文工程比提示工程好 10 倍,比 vibe coding 好 100 倍。
Context-Engineering-Intro 项目提供了一个清晰的模板框架,将上下文工程的理念落地。其核心结构如下:
bash
context-engineering-intro/
├── .claude/                  # Claude Code 自定义命令和配置
│   ├── commands/             # 存放 generate-prp 和 execute-prp 命令定义
│   │   ├── generate-prp.md   # 生成 PRP 的逻辑
│   │   └── execute-prp.md    # 执行 PRP 的逻辑
│   └── settings.local.json   # Claude Code 权限设置
├── PRPs/                     # 存放生成的 PRP 文件
│   ├── templates/            # PRP 模板文件
│   │   └── prp_base.md       # PRP 的基础结构模板
│   └── EXAMPLE_multi_agent_prp.md  # 多智能体 PRP 示例
├── examples/                 # 存放项目代码示例,供 AI 学习参考
├── CLAUDE.md                 # 全局项目规则和 AI 行为准则
├── INITIAL.md                # 初始功能需求模板
├── INITIAL_EXAMPLE.md        # 初始功能需求示例
└── README.md                 # 项目说明文档
关键组件详解
-
CLAUDE.md:项目规则与 AI 行为准则 这个文件是整个上下文工程框架的基石,定义了 AI 在项目中需要遵循的所有规则和约定。这些规则涵盖了代码结构、测试要求、编码风格、文档标准以及 AI 行为准则。例如,它规定了文件长度限制、测试用例的编写规范、Python 代码的 PEP8 风格以及文档字符串的格式等。通过预先设定这些规范,CLAUDE.md确保了 AI 生成代码与现有代码库保持高度一致性,并符合团队的质量标准。 -
INITIAL.md:需求输入模板INITIAL.md是一个简洁而强大的模板,用于开发者向 AI 提交新的功能需求。它鼓励开发者以结构化的方式描述需求,包括功能描述、相关示例引用、外部文档链接以及其他需要注意的事项。这种结构化的输入方式,确保了 AI 在开始任务前就获得了高质量、无歧义的需求信息。 -
examples/:代码示例库examples/目录是 AI 学习项目特定编码模式和最佳实践的关键。AI 编码助手在看到具体示例时,其表现会显著提升。这个目录可以包含各种类型的代码示例,例如代码结构模式、测试模式、集成模式等。通过提供这些真实的、符合项目风格的示例,examples/目录极大地提高了 AI 生成代码的质量和与现有代码库的兼容性。 -
.claude/commands/:自定义命令 项目定义了两个核心的自定义命令:generate-prp:用于生成 PRP(Product Requirements Prompt)。PRP 是一个全面的实现蓝图,将INITIAL.md中的高层需求转化为 AI 可理解和执行的详细计划。这个过程包括代码库分析、外部资料研究、蓝图创建和质量检查。execute-prp:AI 编码助手根据生成的 PRP 来执行具体的开发任务,包括加载上下文、制定详细计划、执行代码编写、运行验证测试并迭代修复问题,直到所有要求都满足。
-
PRPs/:PRP 文件存储 此目录存放由generate-prp命令生成的 PRP 文件,这些文件是 AI 执行开发任务的详细指导。它们整合了需求、规则、示例以及 AI 自身研究到的所有相关信息,为 AI 提供了一个全面的上下文和详细的执行计划。
实施步骤
1. 下载模版仓库
bash
git clone https://github.com/coleam00/Context-Engineering-Intro.git
cd Context-Engineering-Intro
2. 设置项目规则,编辑 CLAUDE.md 文件
这个步骤需要认真详细的编写,他定义了 AI 在项目中需要遵循的所有规则和约定。大家可以参考我的:
vbnet
### 🔄 Project Awareness & Context

-   **Always read `PLANNING.md`** at the start of a new conversation to understand the project's architecture, goals, style, and constraints.
-   **Check `TASK.md`** before starting a new task. If the task isn't listed, add it with a brief description and today's date.
-   **Use consistent naming conventions, file structure, and architecture patterns** as described in `PLANNING.md`.
-   **Use venv_linux** (the virtual environment) whenever executing Python commands, including for unit tests.

### 🧱 Code Structure & Modularity

-   **Never create a file longer than 500 lines of code.** If a file approaches this limit, refactor by splitting it into modules or helper files.
-   **Organize code into clearly separated modules**, grouped by feature or responsibility.
    For agents this looks like:
    -   `agent.py` - Main agent definition and execution logic
    -   `tools.py` - Tool functions used by the agent
    -   `prompts.py` - System prompts
-   **Use clear, consistent imports** (prefer relative imports within packages).
-   **Use clear, consistent imports** (prefer relative imports within packages).
-   **Use python_dotenv and load_env()** for environment variables.

### 🧪 Testing & Reliability

-   **Always create Pytest unit tests for new features** (functions, classes, routes, etc).
-   **After updating any logic**, check whether existing unit tests need to be updated. If so, do it.
-   **Tests should live in a `/tests` folder** mirroring the main app structure.
    -   Include at least:
        -   1 test for expected use
        -   1 edge case
        -   1 failure case

### ✅ Task Completion

-   **Mark completed tasks in `TASK.md`** immediately after finishing them.
-   Add new sub-tasks or TODOs discovered during development to `TASK.md` under a "Discovered During Work" section.

### 📎 Style & Conventions

-   **Use Python** as the primary backend language.
-   The front end only needs **static pages**, and the files only need to include: `index.html`, `script.js`, `styles.css`.
-   Front-end uses HTML5, TailwindCSS 3.0+ (introduced via CDN), and necessary JavaScript.
-   The front-end page must be perfectly displayed on all devices (mobile phones, tablets, desktops), optimized for different screen sizes in terms of layout and font size, ensuring a good touch experience on mobile devices.
-   Front-end uses professional icon libraries such as Font Awesome or Material Icons (introduced through CDN), and selects appropriate illustrations or charts to display data according to the content theme, avoiding the use of emojis as the main icons.
-   The code structure is clear, with appropriate comments, making it easy to understand and maintain.
-   **Follow PEP8**, use type hints, and format with `black`.
-   **Use `pydantic` for data validation**.
-   Make full use of **coroutine async programming**, Try to use libraries that support coroutines async.
-   Use `FastAPI` for APIs and `Tortoise-ORM` for ORM if applicable.
-   Write **docstrings for every function** using the Google style:
    ```python
    def example():
     """ Brief summary.
     Args: param1 (type): Description.
     Returns: type: Description. """
    ```

### 📚 Documentation & Explainability

-   **Update `README.md`** when new features are added, dependencies change, or setup steps are modified.
-   **Comment non-obvious code** and ensure everything is understandable to a mid-level developer.
-   When writing complex logic, **add an inline `# Reason:` comment** explaining the why, not just the what.

### 🧠 AI Behavior Rules

-   **Never assume missing context. Ask questions if uncertain.**
-   **Never hallucinate libraries or functions** -- only use known, verified Python packages.
-   **Always confirm file paths and module names** exist before referencing them in code or tests.
-   **Never delete or overwrite existing code** unless explicitly instructed to or if part of a task from `TASK.md`.
3. 添加 examples
这一步需要在 examples 目录下增加特定编码模式和最佳实践的代码示例。AI 编码助手在看到具体示例能提高代码质量。我也犯懒了,没有加。
4. 创建 INITIAL.md 文件
这个文件需要我们把项目需求编辑进去,最好能够详细些。可以参考我的:
PRPs/INITIAL.md
rust
## FEATURE:

-   A service for converting multi-format files to Markdown
-   The conversion tool uses Microsoft's markitdown
-   Uses MinIO object storage, the backend generates MinIO pre-upload addresses, and the frontend uploads directly and informs the backend
-   The backend uses celery for asynchronous processing of user-uploaded files
-   Includes both frontend and backend

## TOOLS:

-   markitdown
-   minio
-   celery + redis
-   fastapi

## Timing diagram

\`\`\`mermaid
sequenceDiagram
 participant User participant Frontend participant Backend participant MinIO
 User->>Frontend: 上传文件
 Frontend->>Backend: 获取上传地址
 Backend->>MinIO: 获取预上传地址
 MinIO-->>Backend: 返回预上传地址
 Backend-->>Frontend: 返回预上传地址
 Frontend->>MinIO: 直接上传
 MinIO-->>Frontend: 返回结果
 Frontend->>Backend: 上传成功
 Backend->>Backend: 异步转换
 Backend-->>Frontend: 返回 taskid

    loop 3s        Frontend->>Backend: 查询任务进度
        Backend-->>Frontend: 任务进度
    end
    Backend->>MinIO: 上传结果文件
    MinIO-->>Backend: return    Backend-->>Frontend: 文件下载链接
    Frontend-->>User: 下载按钮

\`\`\`

## EXAMPLES:

## DOCUMENTATION:

-   Fastapi Document:https://fastapi.tiangolo.com/
-   Tortoise-ORM Document:https://tortoise.github.io/getting_started.html
-   Celery Document:https://docs.celeryq.dev/en/stable/
-   Micorosoft markitdown:https://github.com/microsoft/markitdown/tree/main/packages/markitdown
-   MinIO Document:https://min.io/docs/minio/linux/developers/python/minio-py.html

## OTHER CONSIDERATIONS:

-   Single application, try not to use database to store data
-   Use environment variables for API key configuration instead of hardcoded model strings
-   The backend code path is: `backend`, the frontend code path is: `frontend`
我描述了我的项目功能需求,以及指定使用的工具和官方文档地址。
5. 执行 Claude Code 命令生成 PRP
bash
claude
/generate-prp PRPs/INITIAL.md
generate-prp 命令存放在 .claude/commands 下,需要在 Claude Code 命令行执行。
执行之后这个命令将会:
- 读取你的功能请求
- 研究代码库中的模式
- 搜索相关文档
- 创建一个全面的 PRP 在
PRPs/your-feature-name.md
6. 执行 PRP 开始干活
bash
/execute-prp PRPs/<第5步生成的文件>.mdexecute-prp 命令同样存放在.claude/commands 下。执行该命令后,可以看到 Claude Code 开始干活了。AI 编程助手将会:
- 从 PRP 中读取所有上下文
- 创建详细的实施计划
- 执行每一步并进行验证
- 运行测试并修复任何问题
- 确保所有成功标准都得到满足
和提示词 vibe coding 比对
Prompt Engineering:
- 用户需要专注于巧妙的措辞和特定的表达
- 限制于用户如何表述清楚一个任务
Context Engineering:
- 一个提供全面上下文的完整系统
- 包括文档、示例、规则、模式和验证
- 就像写一个包含所有细节的完整剧本
优势
- 减少 AI 故障:大多数 Agent 故障不是模型故障------它们是上下文故障
- 确保一致性:AI 遵循您的项目模式和约定
- 实现复杂功能:AI 可以处理带有适当上下文的多个步骤实现
- 自我纠正:验证循环允许 AI 纠正自己的错误
总结
Context-Engineering-Intro 项目为我们展示了 AI 辅助工具结合上下文工程开发的示例。通过拥抱上下文工程,我们能够克服传统 AI 交互模式的局限,释放 AI 编码助手的真正潜力,使其成为我们软件开发流程中不可或缺的力量。
文件转markdown体验:any2md.cc