一、部署 Jenkins 容器(赋予 Docker 访问权限)
通过 Docker 运行 Jenkins 容器,同时挂载宿主机的 Docker 相关文件(让 Jenkins 能操作宿主机 Docker)、持久化 Jenkins 数据:
bash
[root@host1 ~]# docker run --restart always -u root --privileged -d \
  -p 8999:8080 \
  -p 50000:50000 \
  -v /var/jenkins_home:/var/jenkins_home \
  -v /var/run/docker.sock:/var/run/docker.sock \
  -v /usr/bin/docker:/usr/bin/docker \
  -v /etc/docker:/etc/docker \
  --name jenkins \
  jenkins/jenkins
Unable to find image 'jenkins/jenkins:latest' locally
latest: Pulling from jenkins/jenkins
8fb375ec14f3: Pull complete
7cd3f8d0007a: Pull complete
1b2b649ae297: Pull complete
cca4a0bdecbe: Pull complete
4928e93f43eb: Pull complete
3d58b8aaa25f: Pull complete
68b674f97241: Pull complete
7d7f6d6e9dd2: Pull complete
e61cbb4777cf: Pull complete
270c91990f3e: Pull complete
a514fb2b8755: Pull complete
4470d2227536: Pull complete
Digest: sha256:79819be1386ffecd2cd030c9c1b69907fdfab99d5b110b3240bfc51cb90272c0
Status: Downloaded newer image for jenkins/jenkins:latest
3934a2612a456a1416ad9bd84eab3f0dbf0f186c5d33c696b92451e1edcc0300-
--restart always:容器随 Docker 自动重启。 -
-u root --privileged:赋予容器 root 权限,确保能操作宿主机 Docker。 -
-p 8999:8080:Jenkins Web 界面映射到宿主机8999端口。 -
-p 50000:50000:Jenkins 代理节点通信端口。 -
三个
-v挂载:持久化 Jenkins 数据、共享 Docker 套接字 / 命令 / 配置,实现 "Docker-in-Docker" 能力。
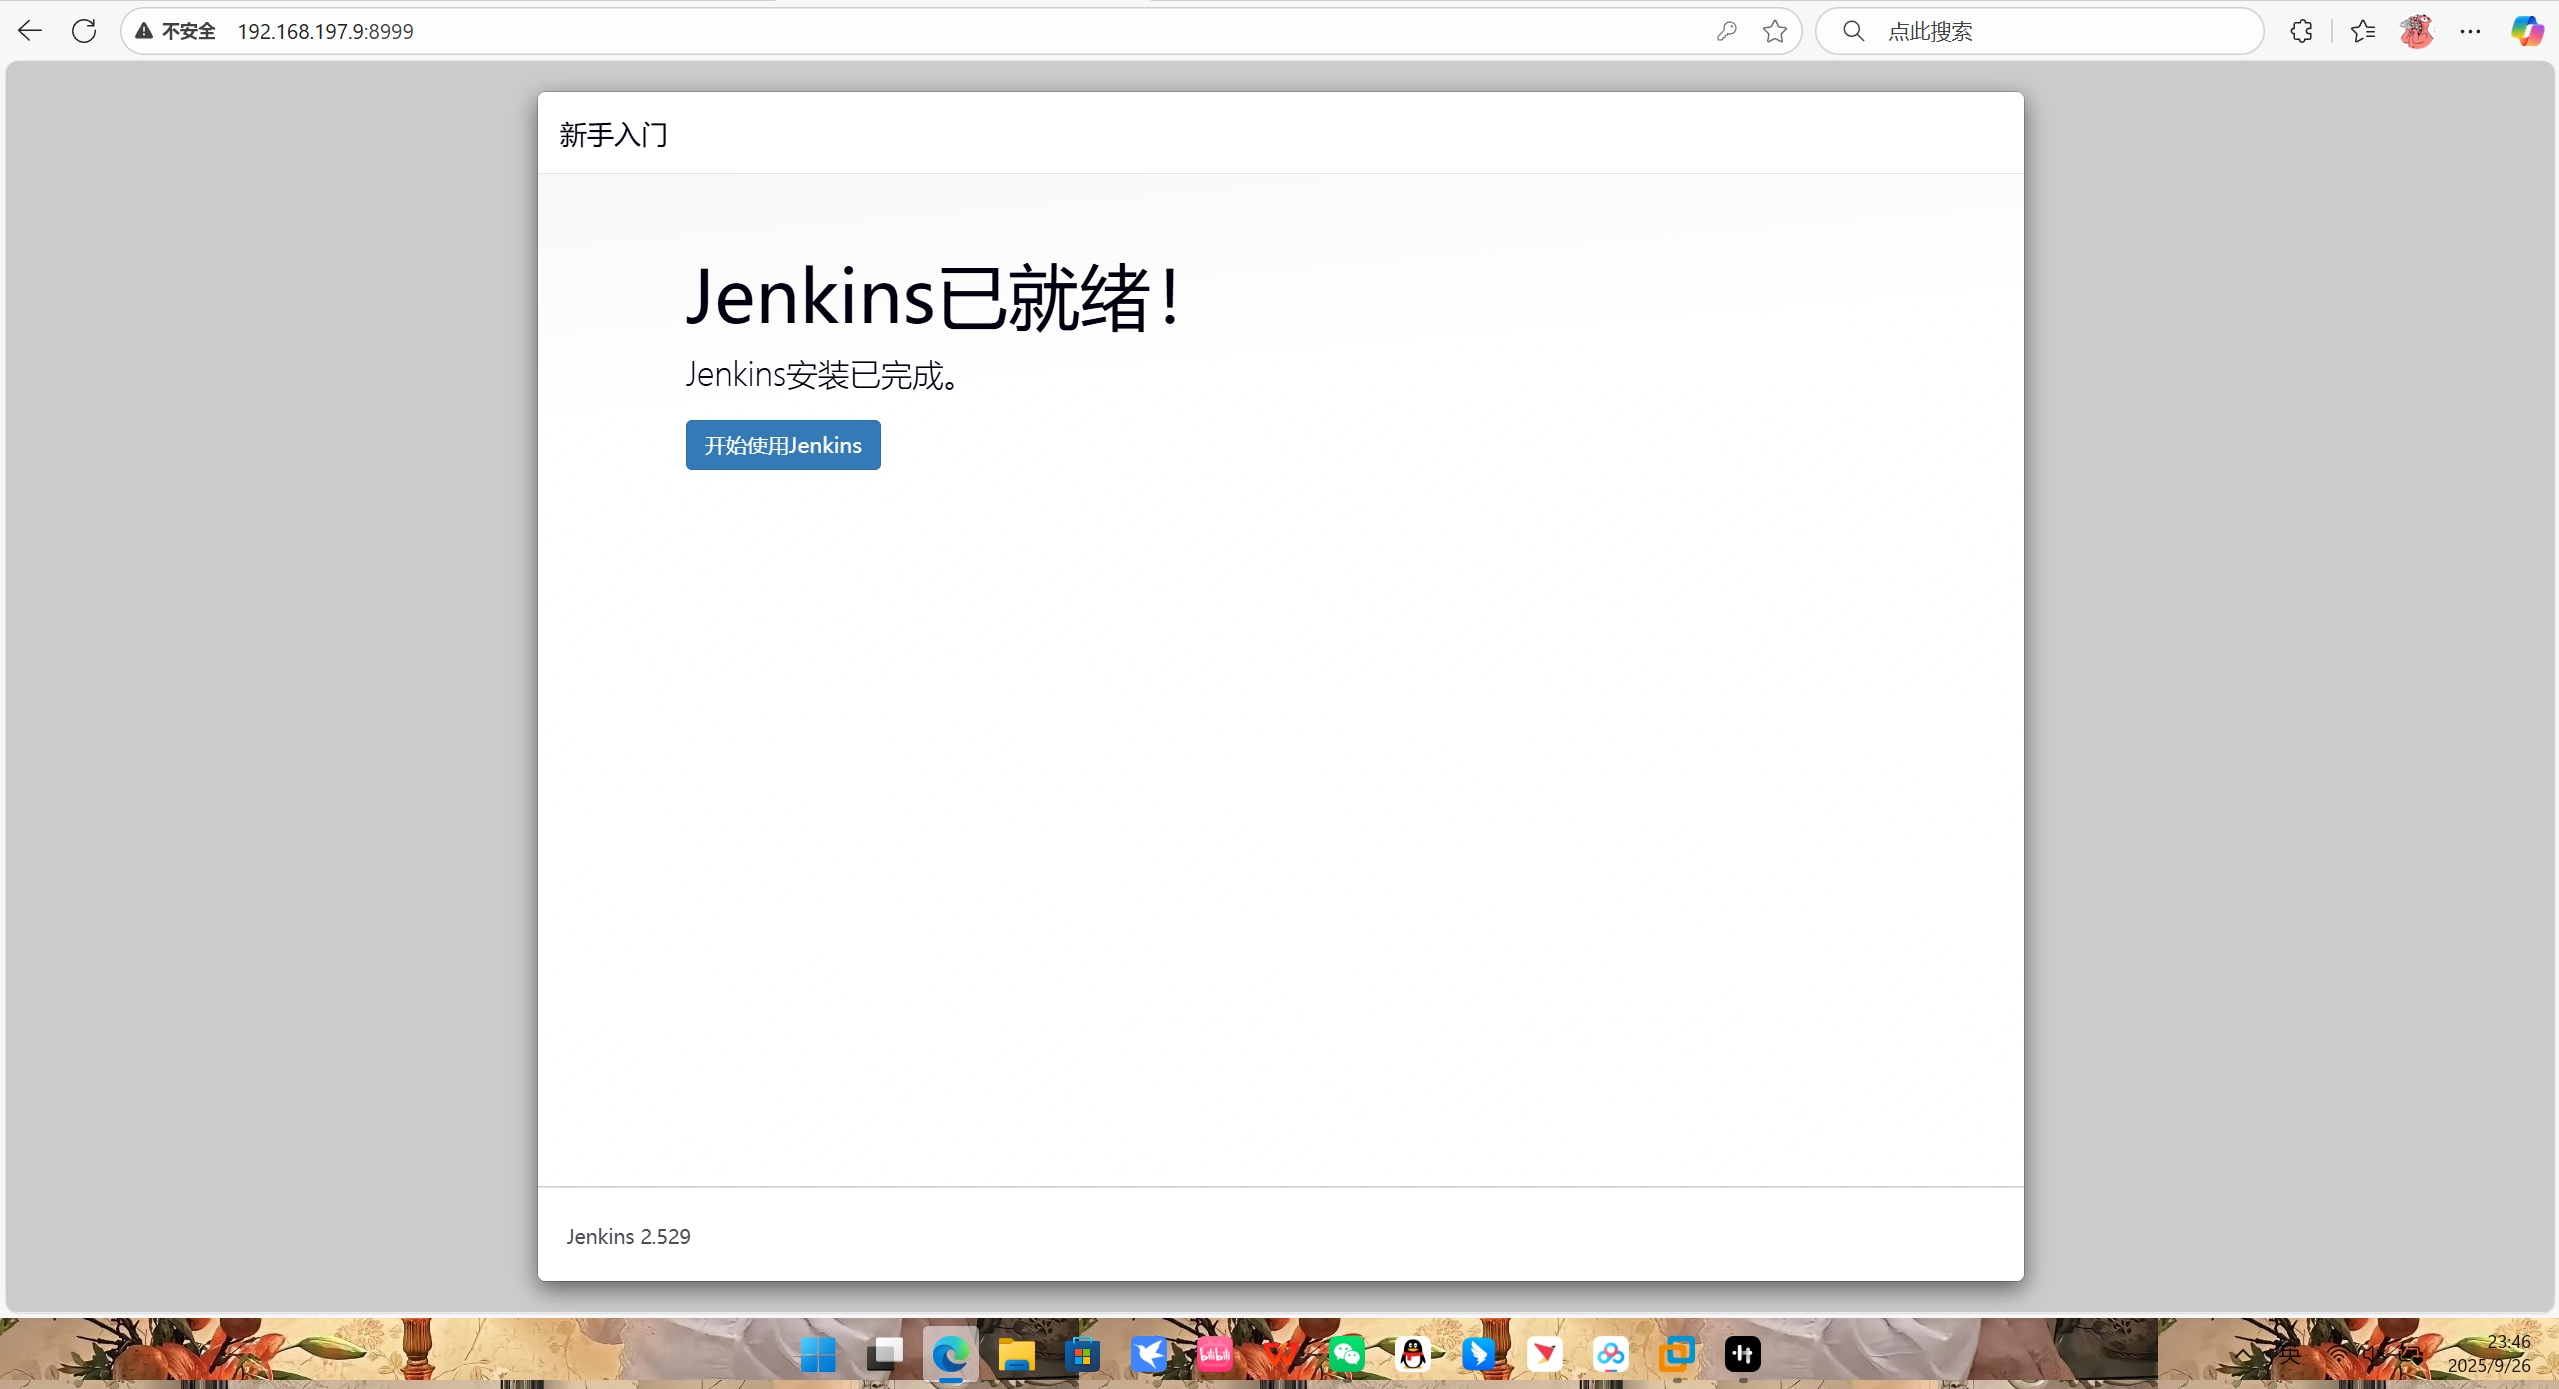
二、初始化 Jenkins(Web 界面操作)
-
访问 Jenkins :浏览器输入
http://<服务器IP>:8999(替换为你的服务器 IP)。 -
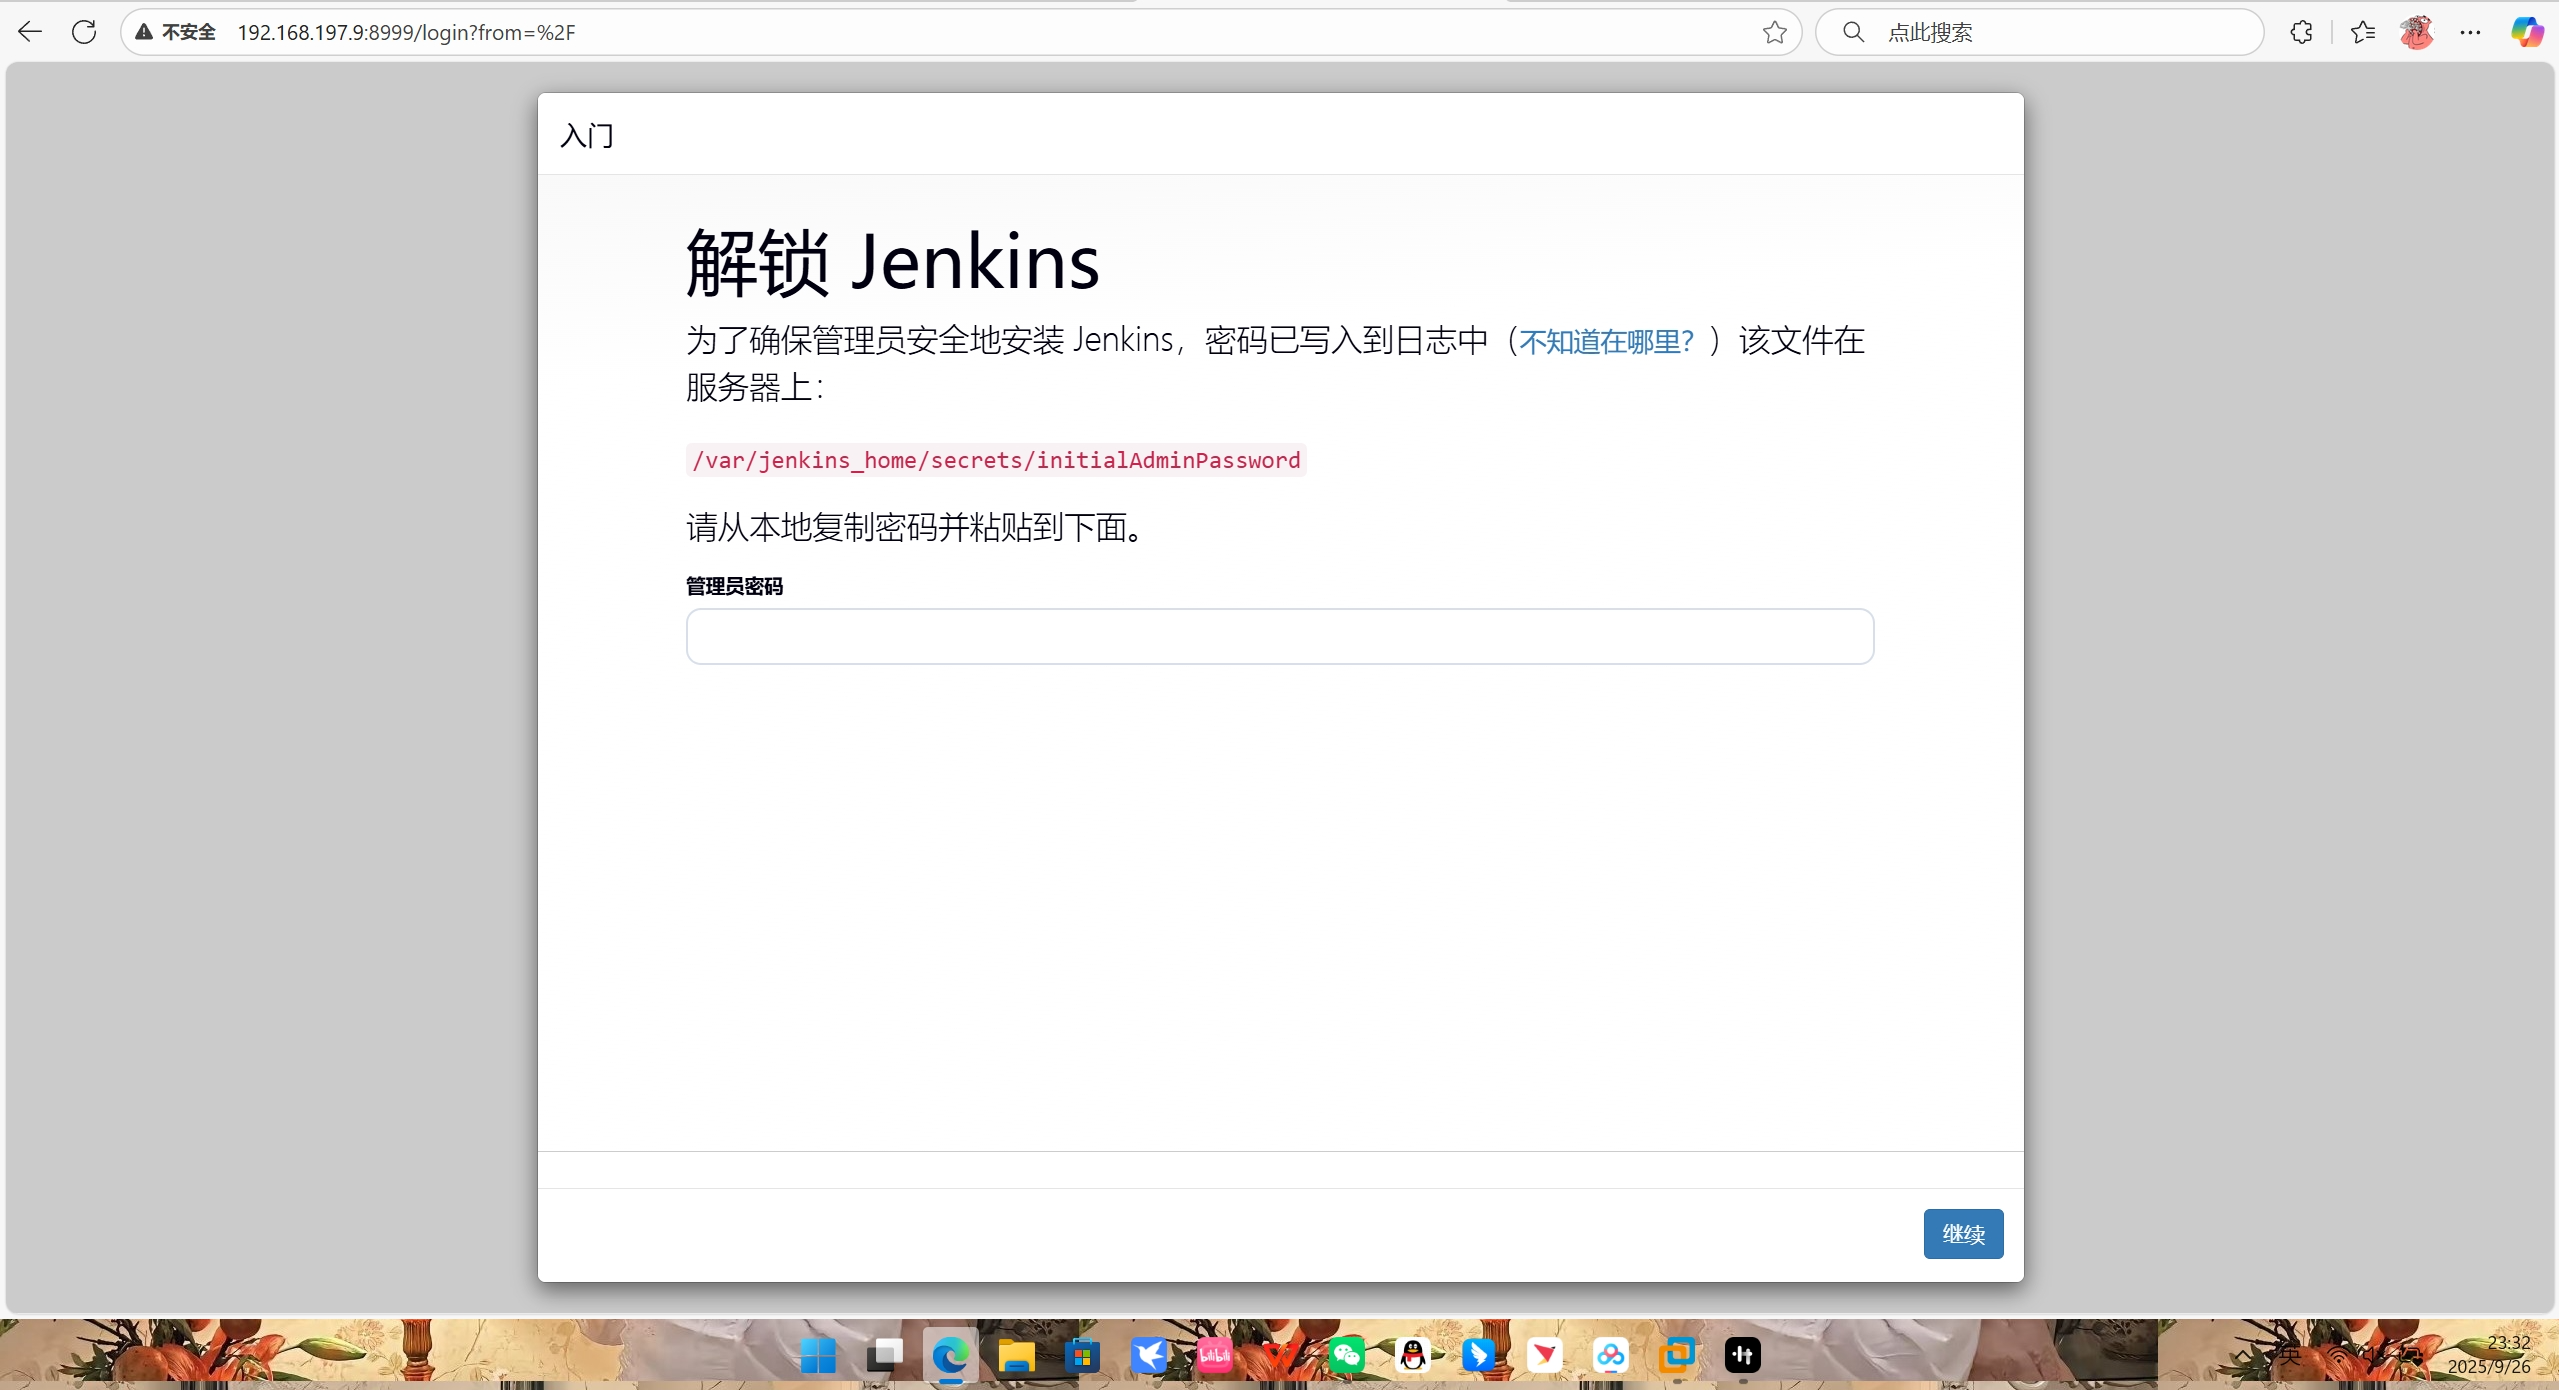
解锁 Jenkins :执行以下命令获取初始管理员密码,并粘贴到 Web 界面:
-
安装插件:选择「安装推荐的插件」,等待安装完成。
-
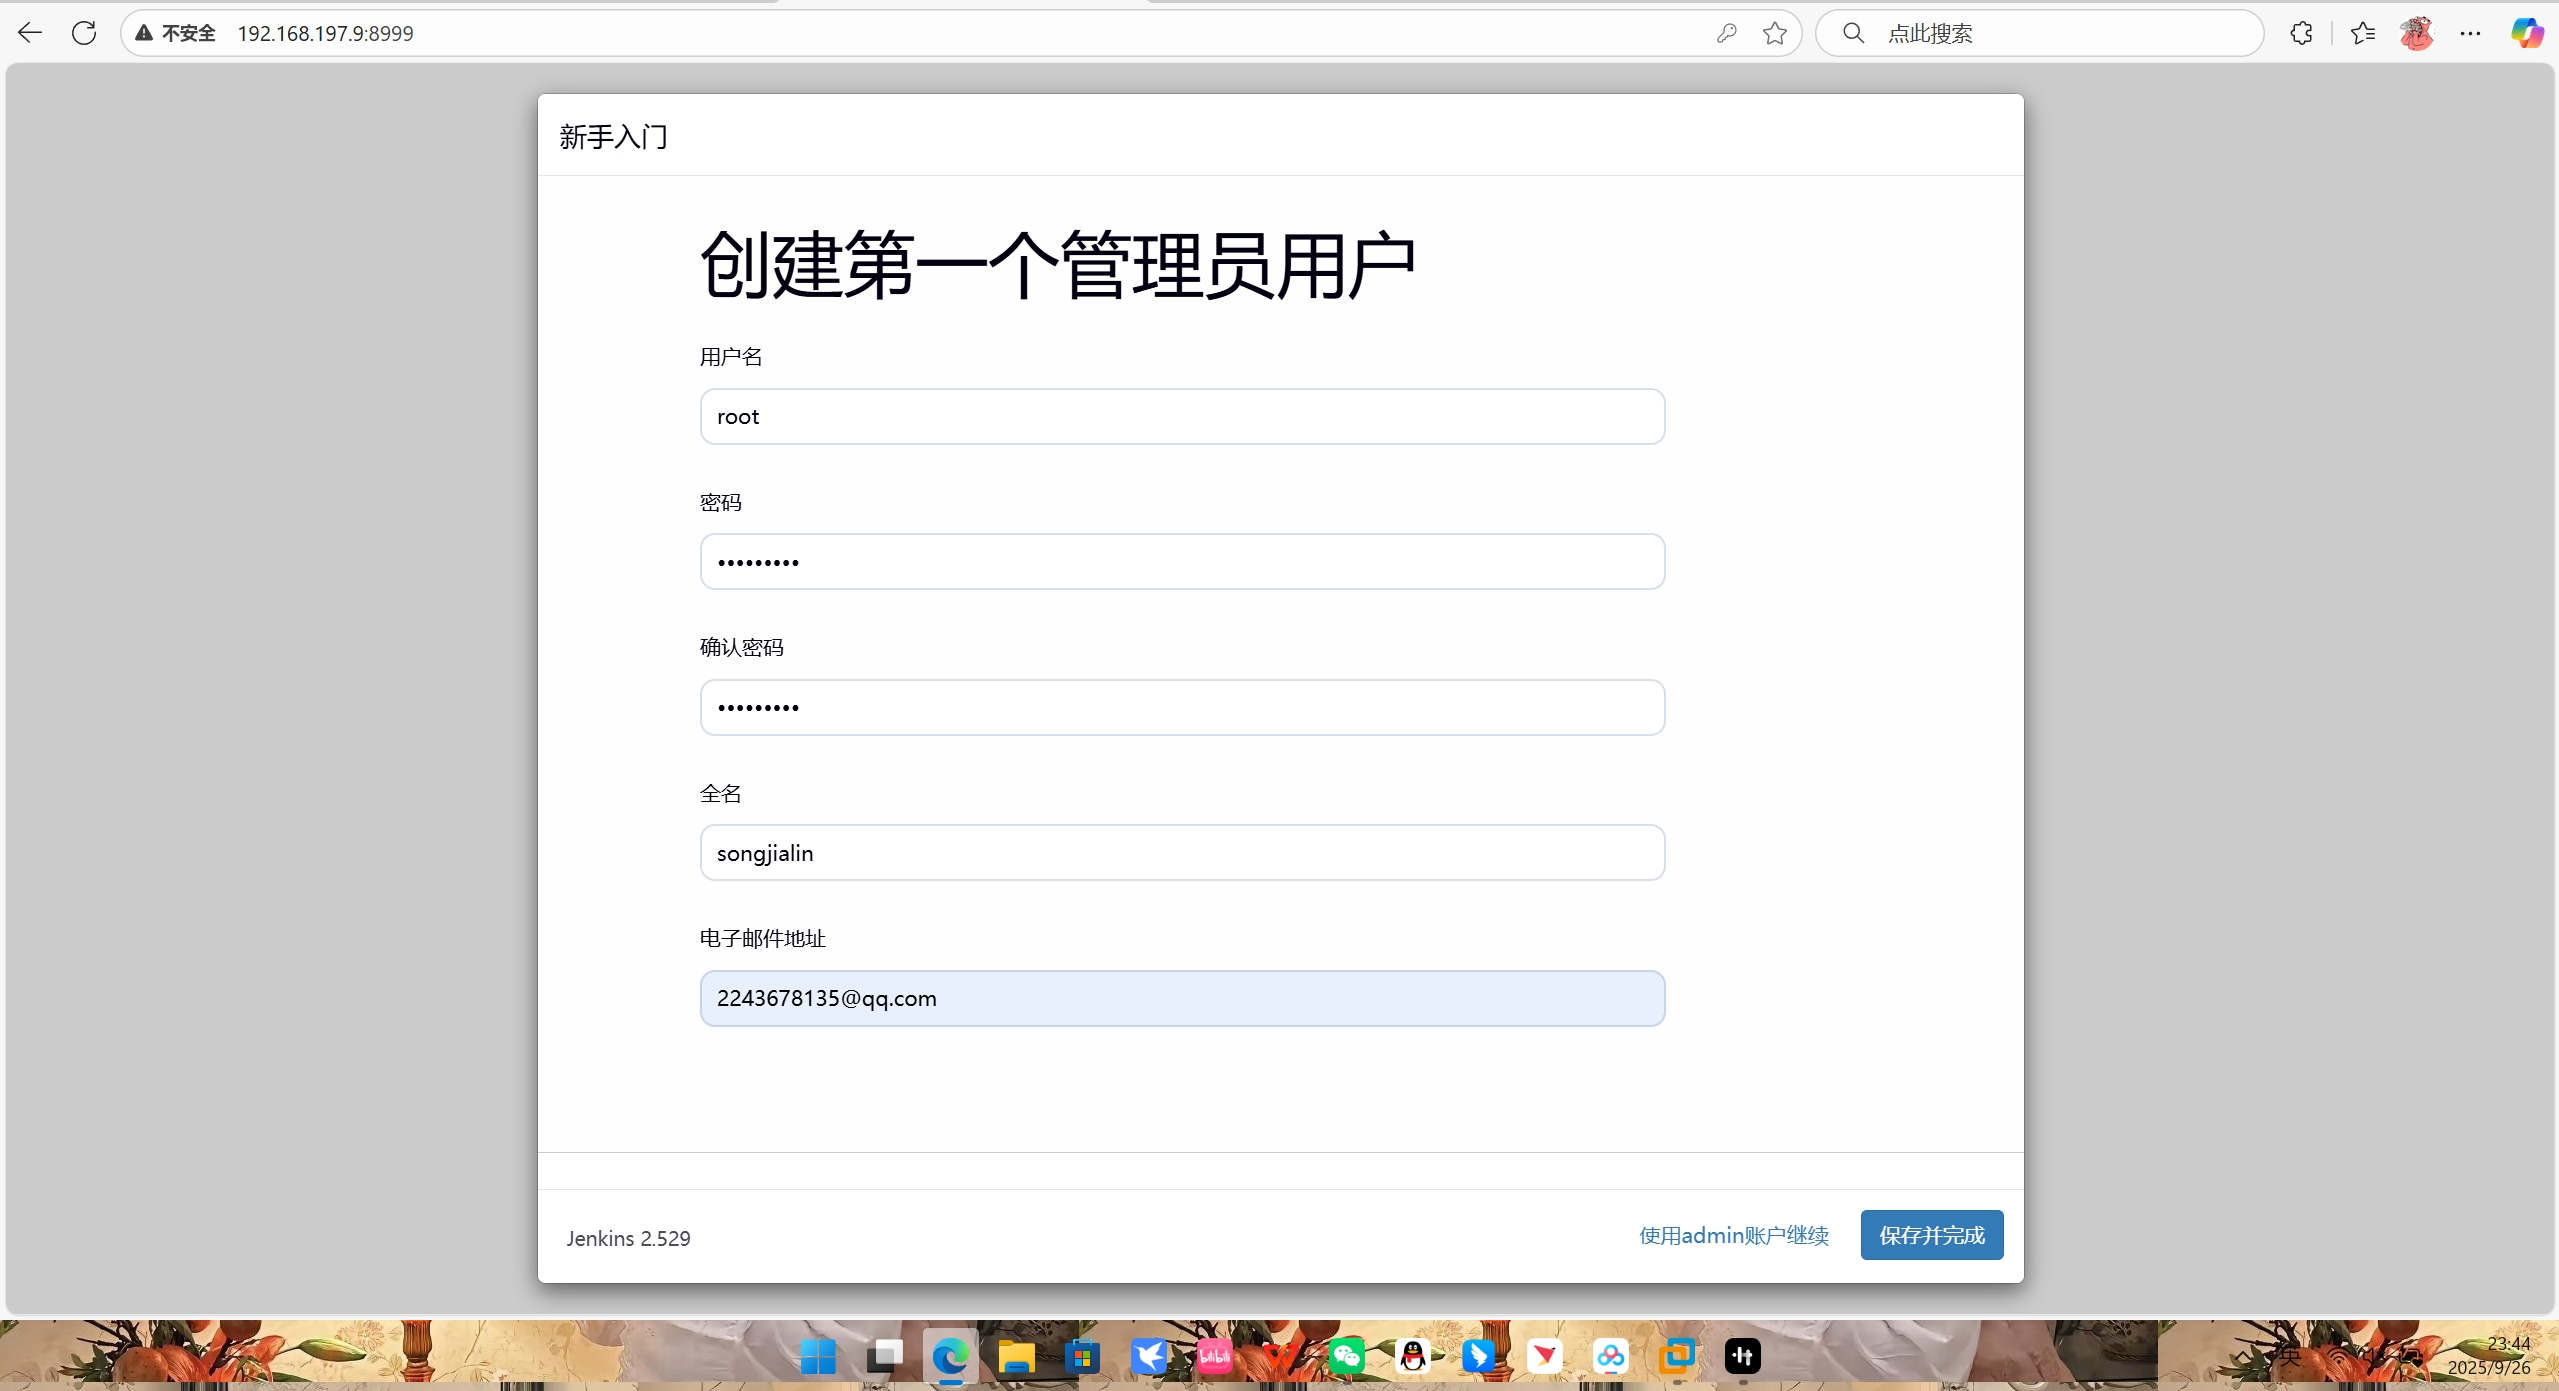
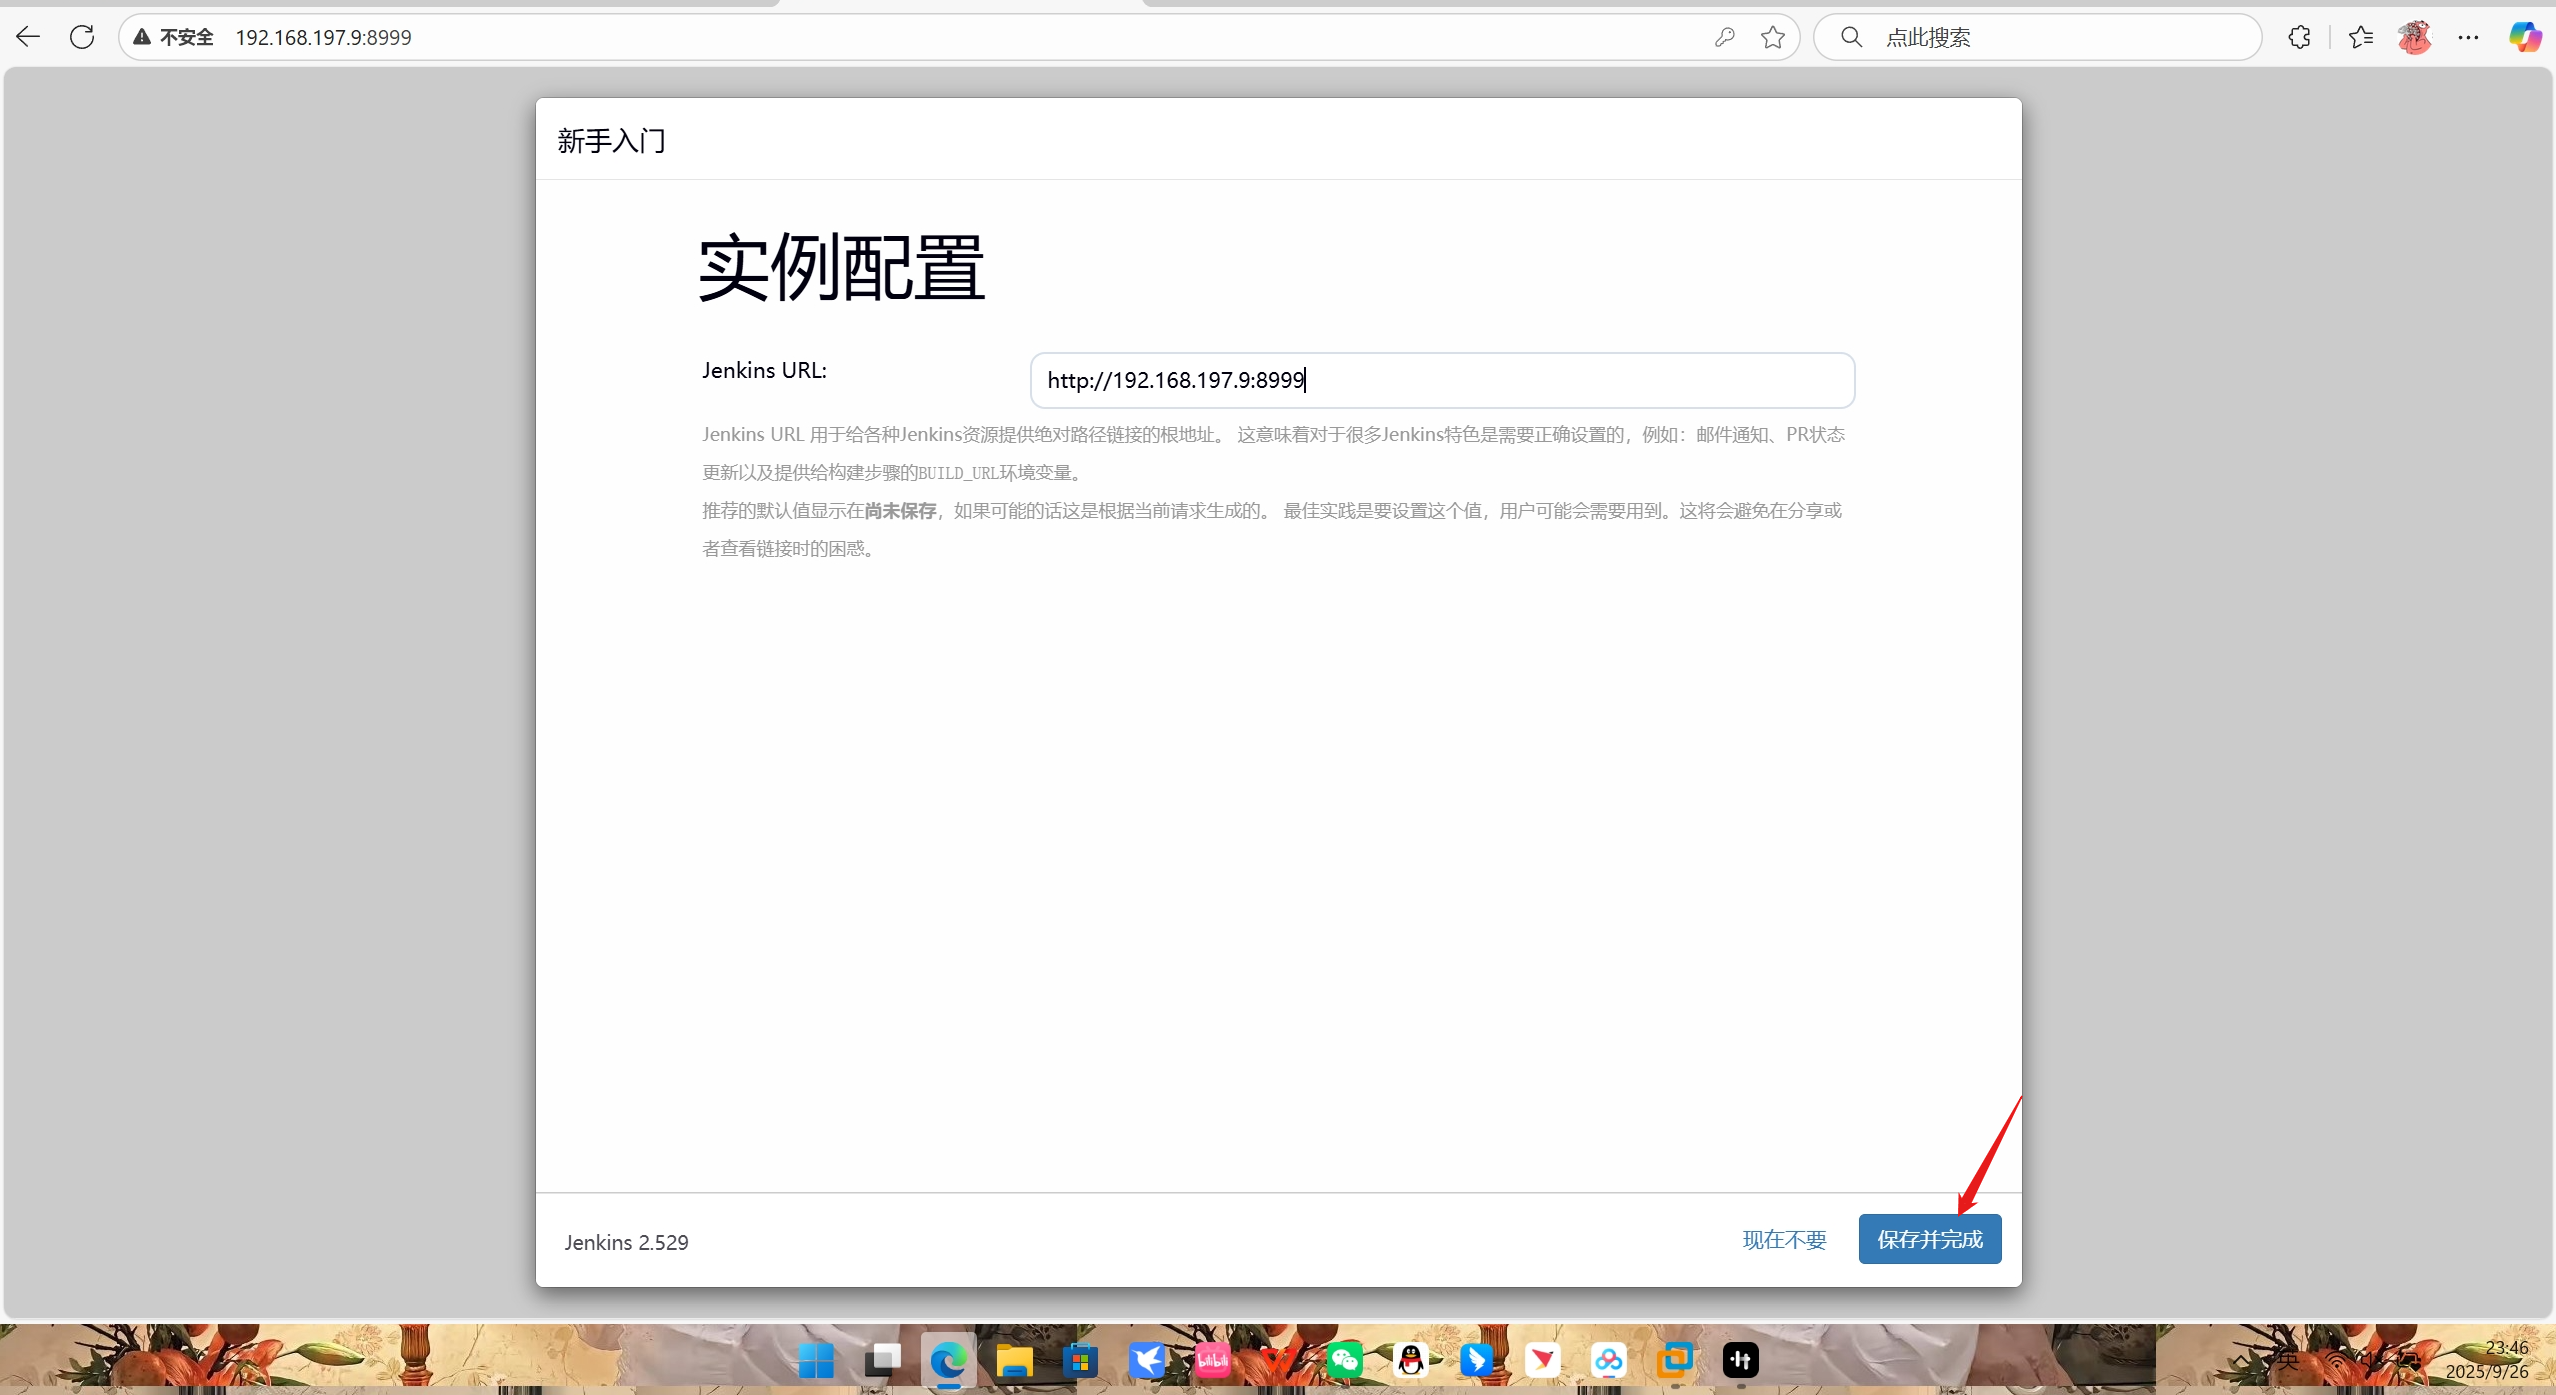
创建管理员用户:按提示设置用户名、密码、邮箱,完成初始化。
bash
[root@host1 ~]# docker exec -it jenkins cat /var/jenkins_home/secrets/initialAdminPassword
22e358ae351049aab820281076cbe891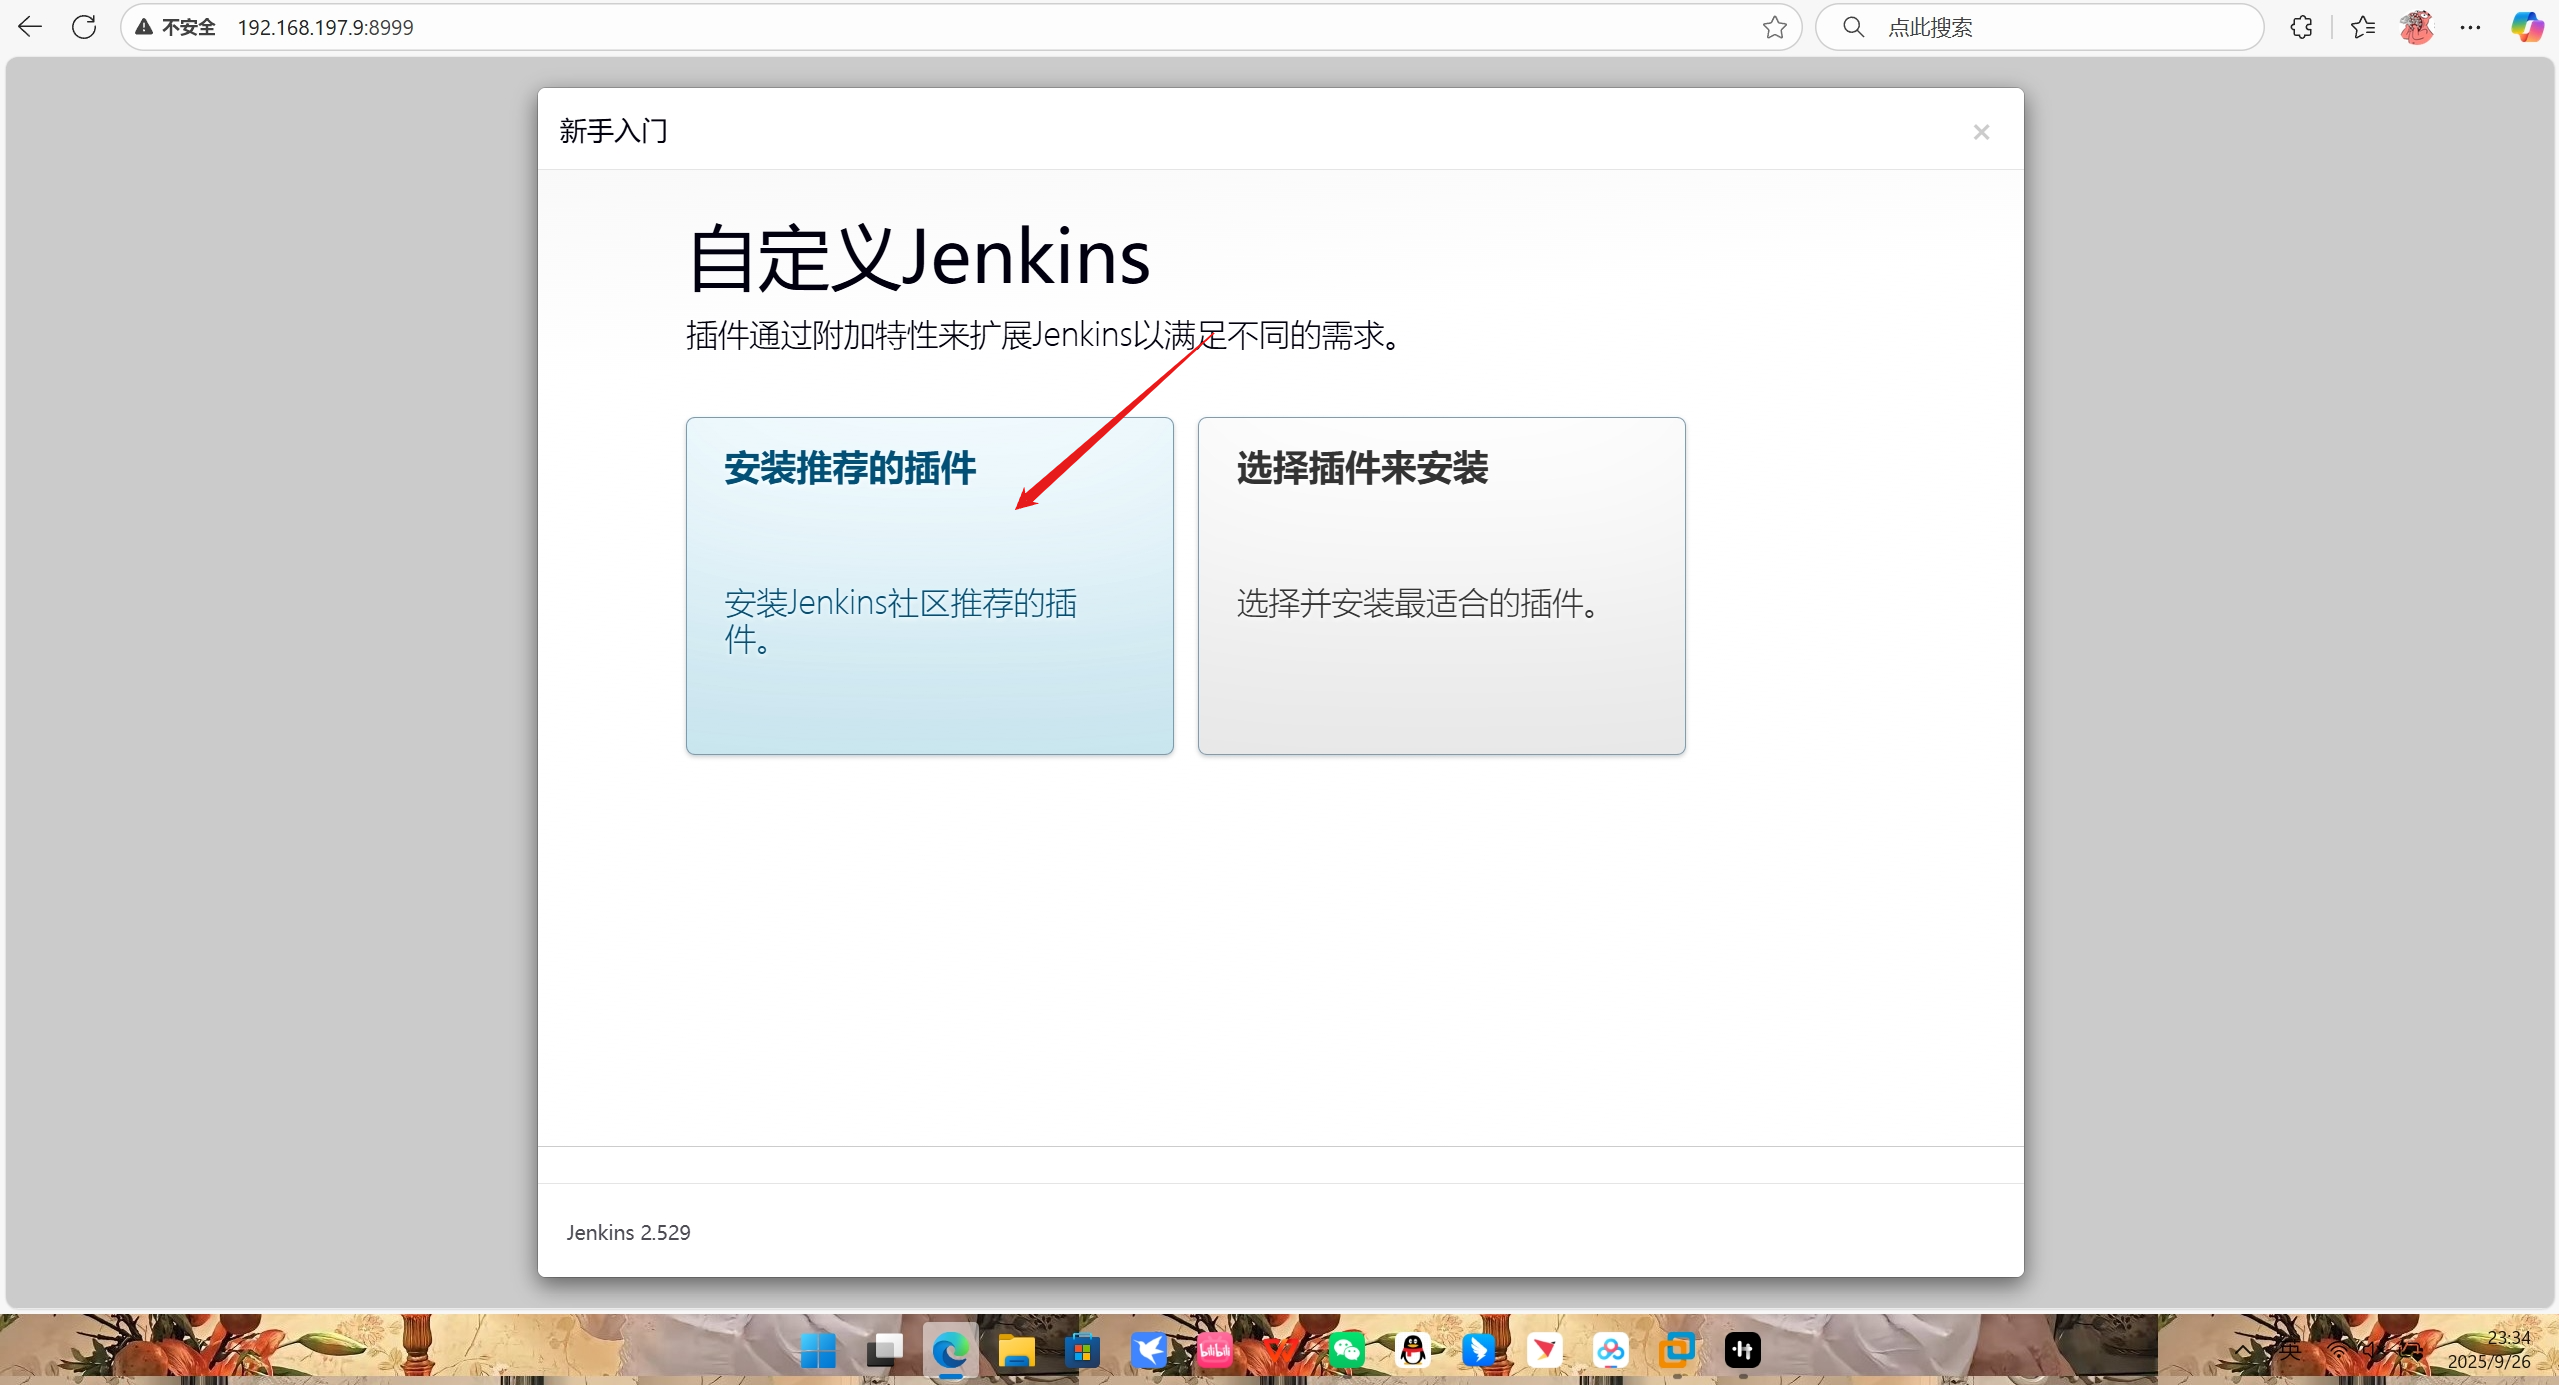

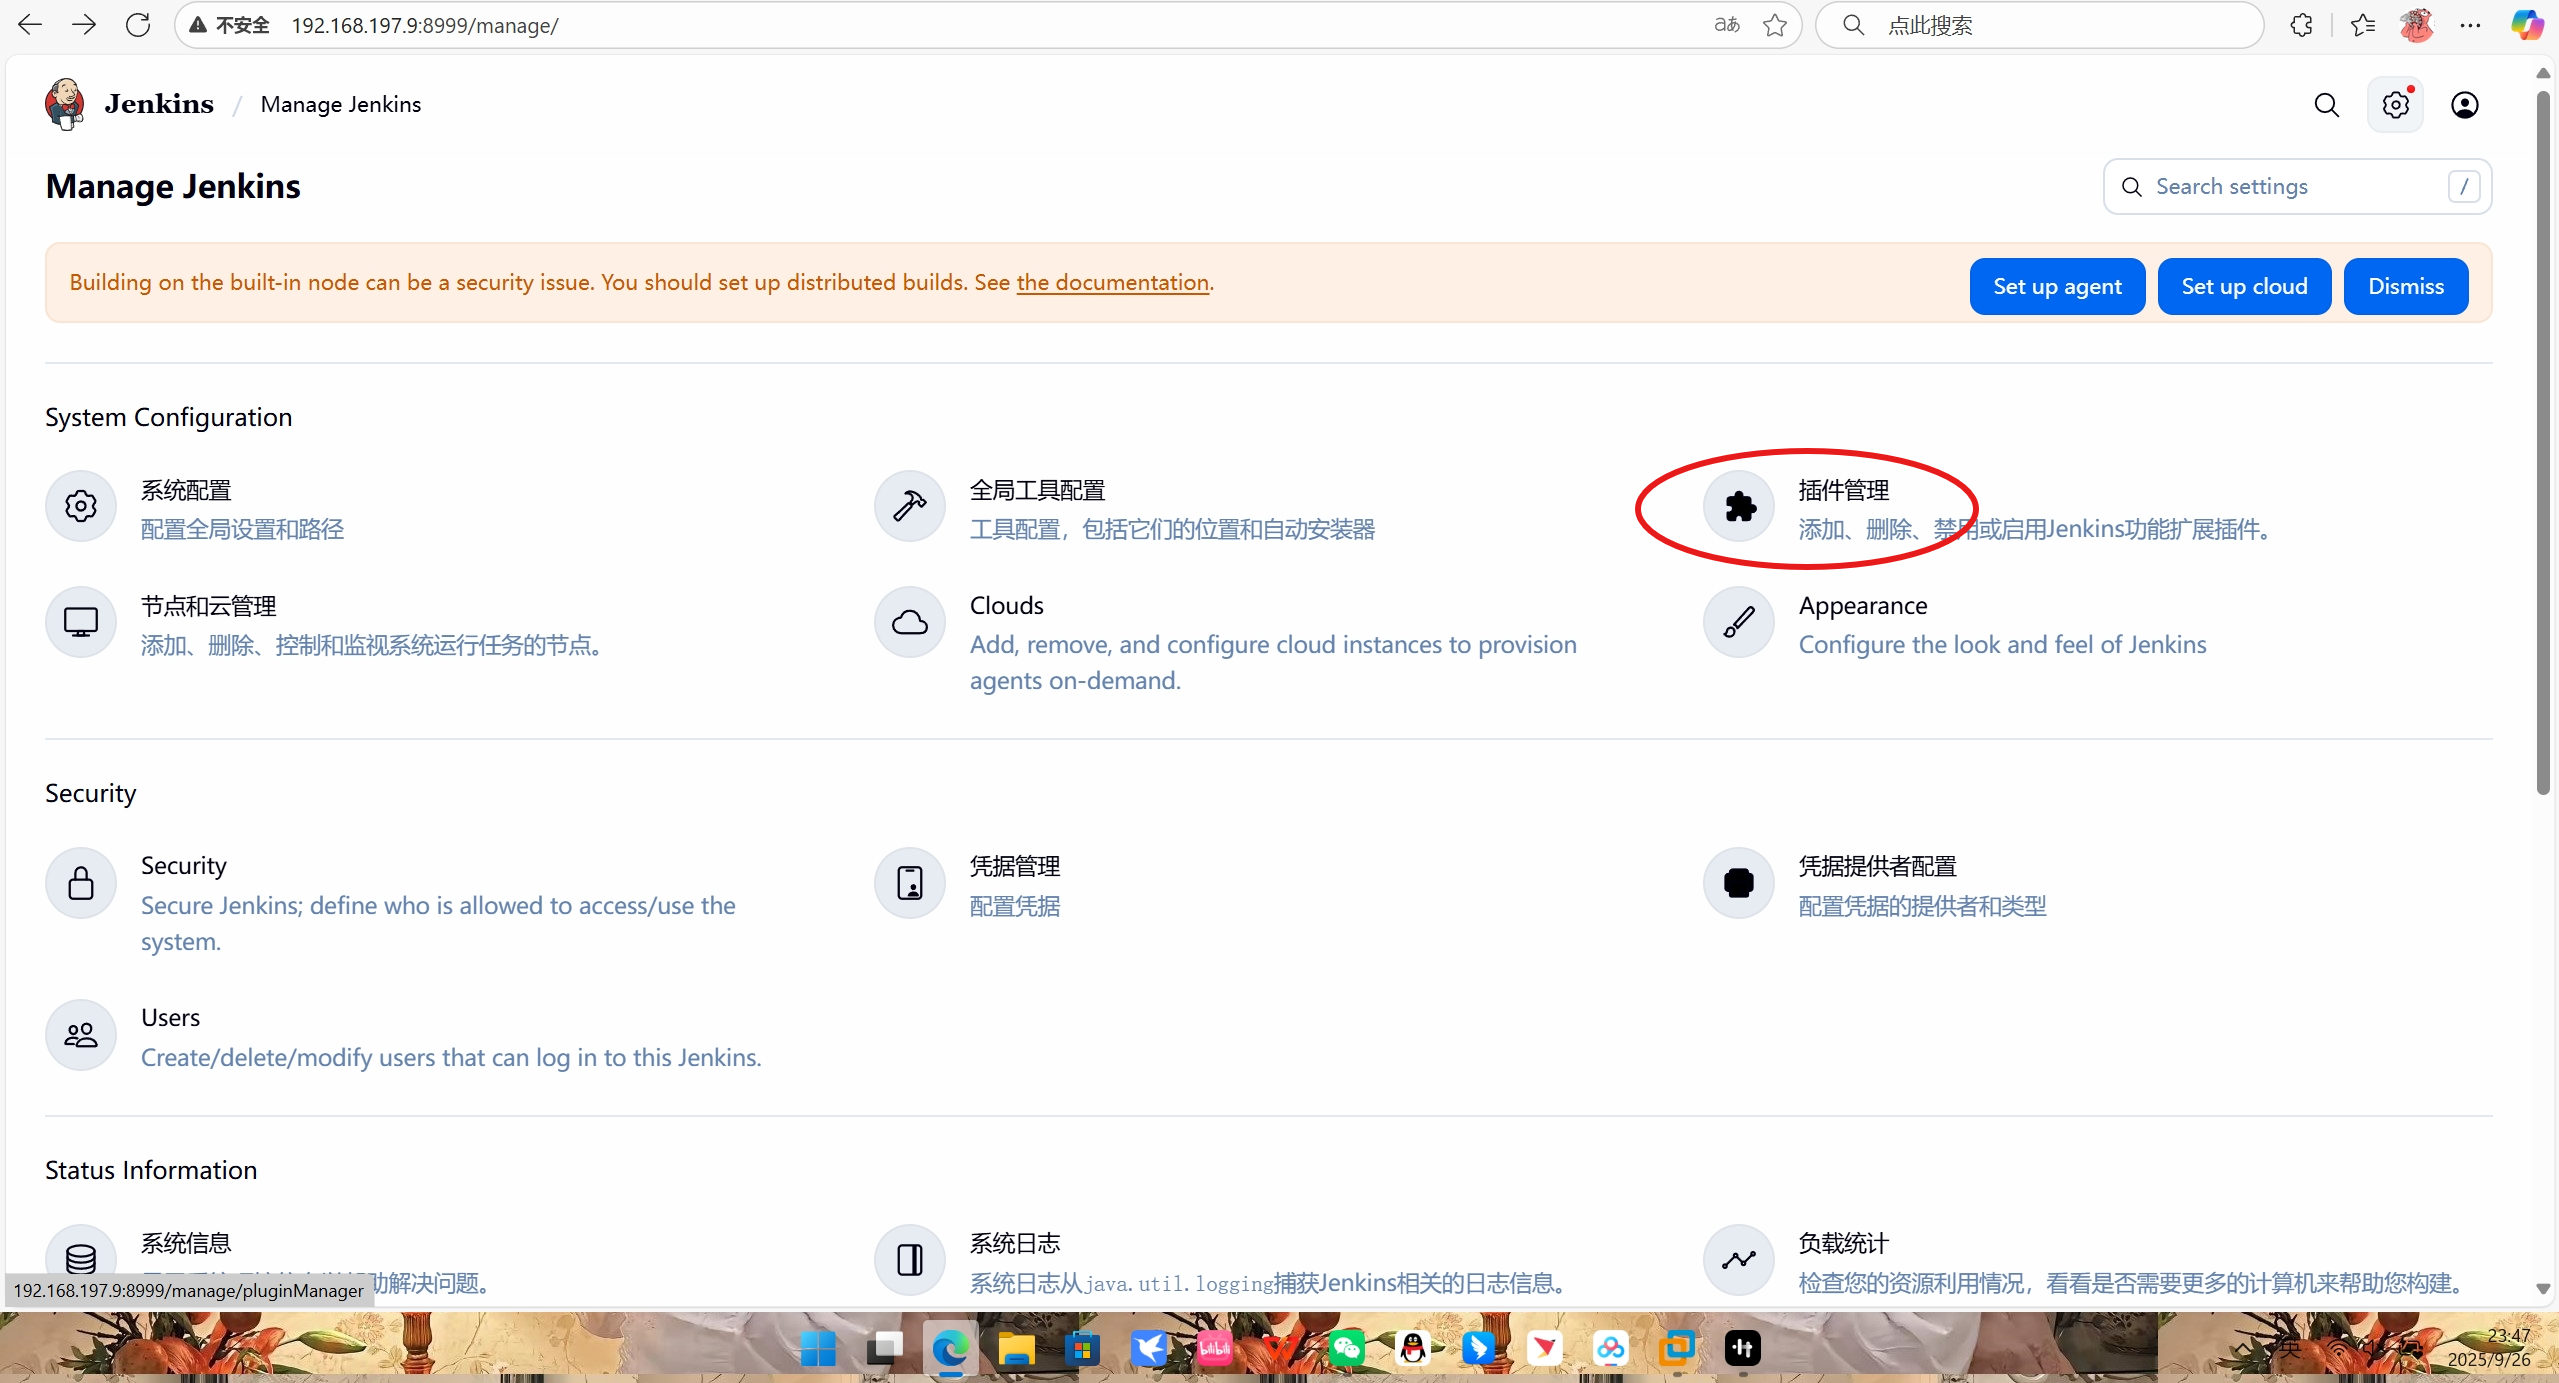
三、安装 GitLab 插件(实现 Jenkins 与 GitLab 联动
-
进入 Jenkins →「系统管理」→「插件管理」→「可选插件」。
-
搜索框输入
GitLab,勾选GitLab Plugin(或相关 GitLab 集成插件)。 -
点击「直接安装」(或「Install after restart」,若选后者,需后续重启 Jenkins)。
-
若选择了 "重启后安装",执行以下命令重启 Jenkins 容器:
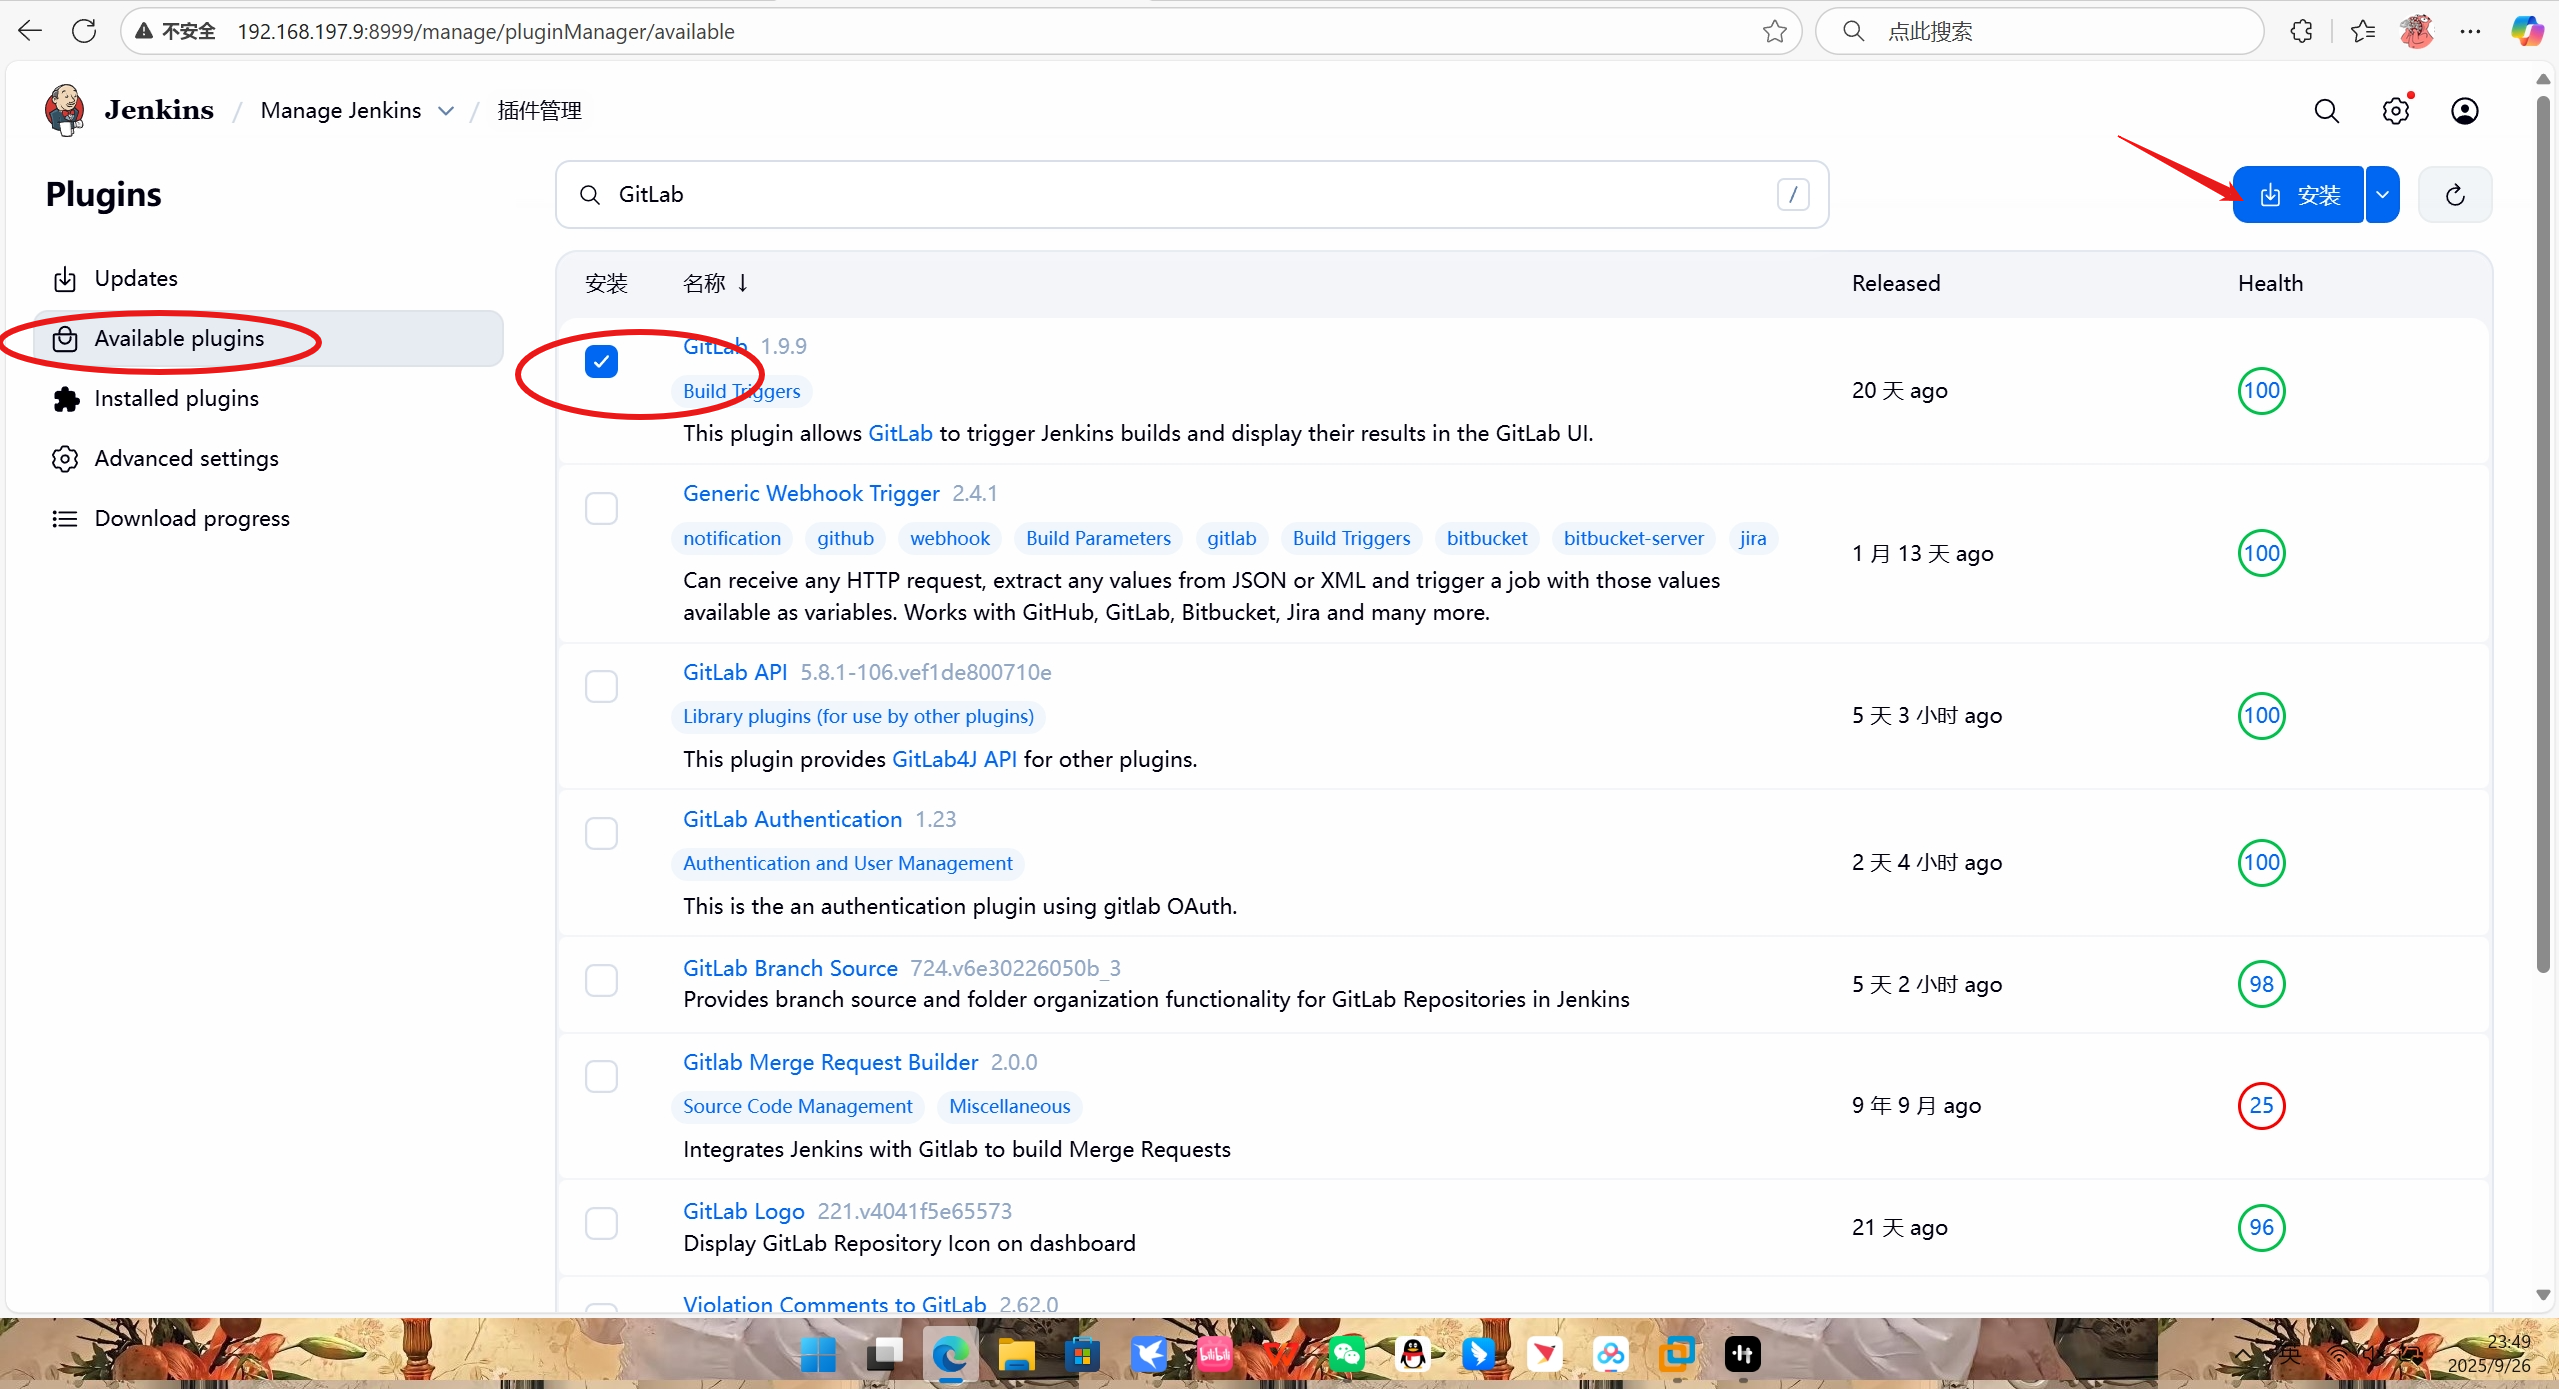
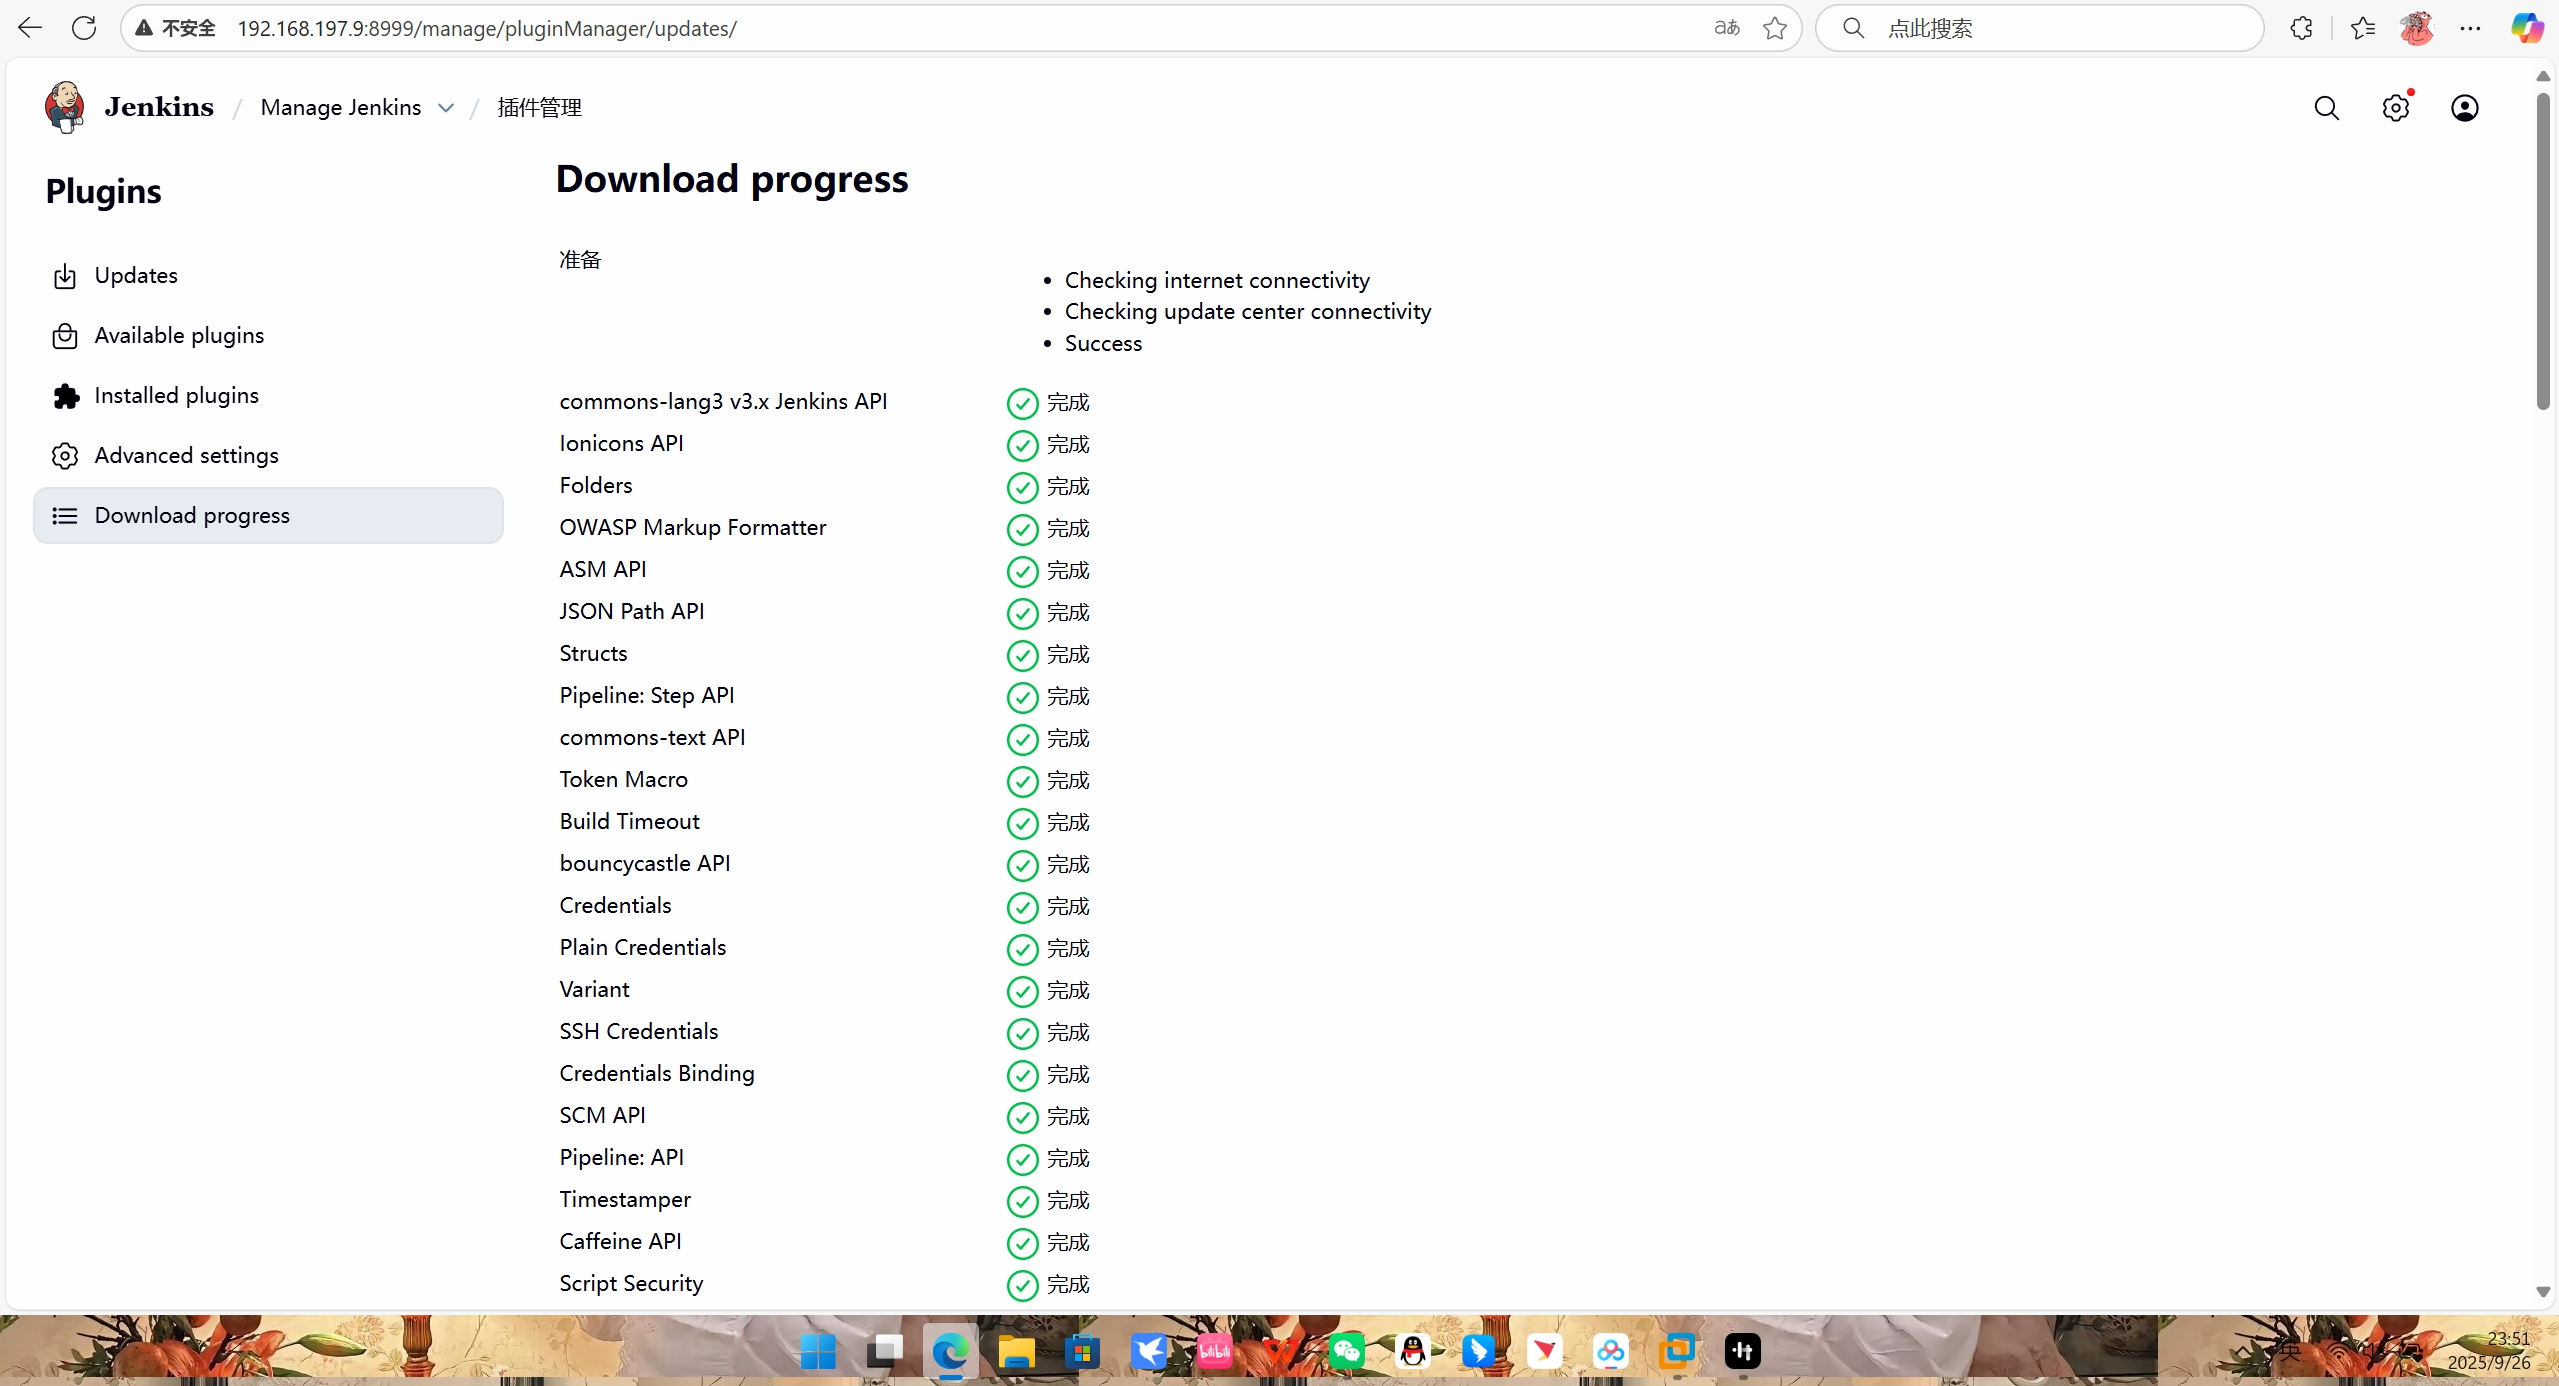
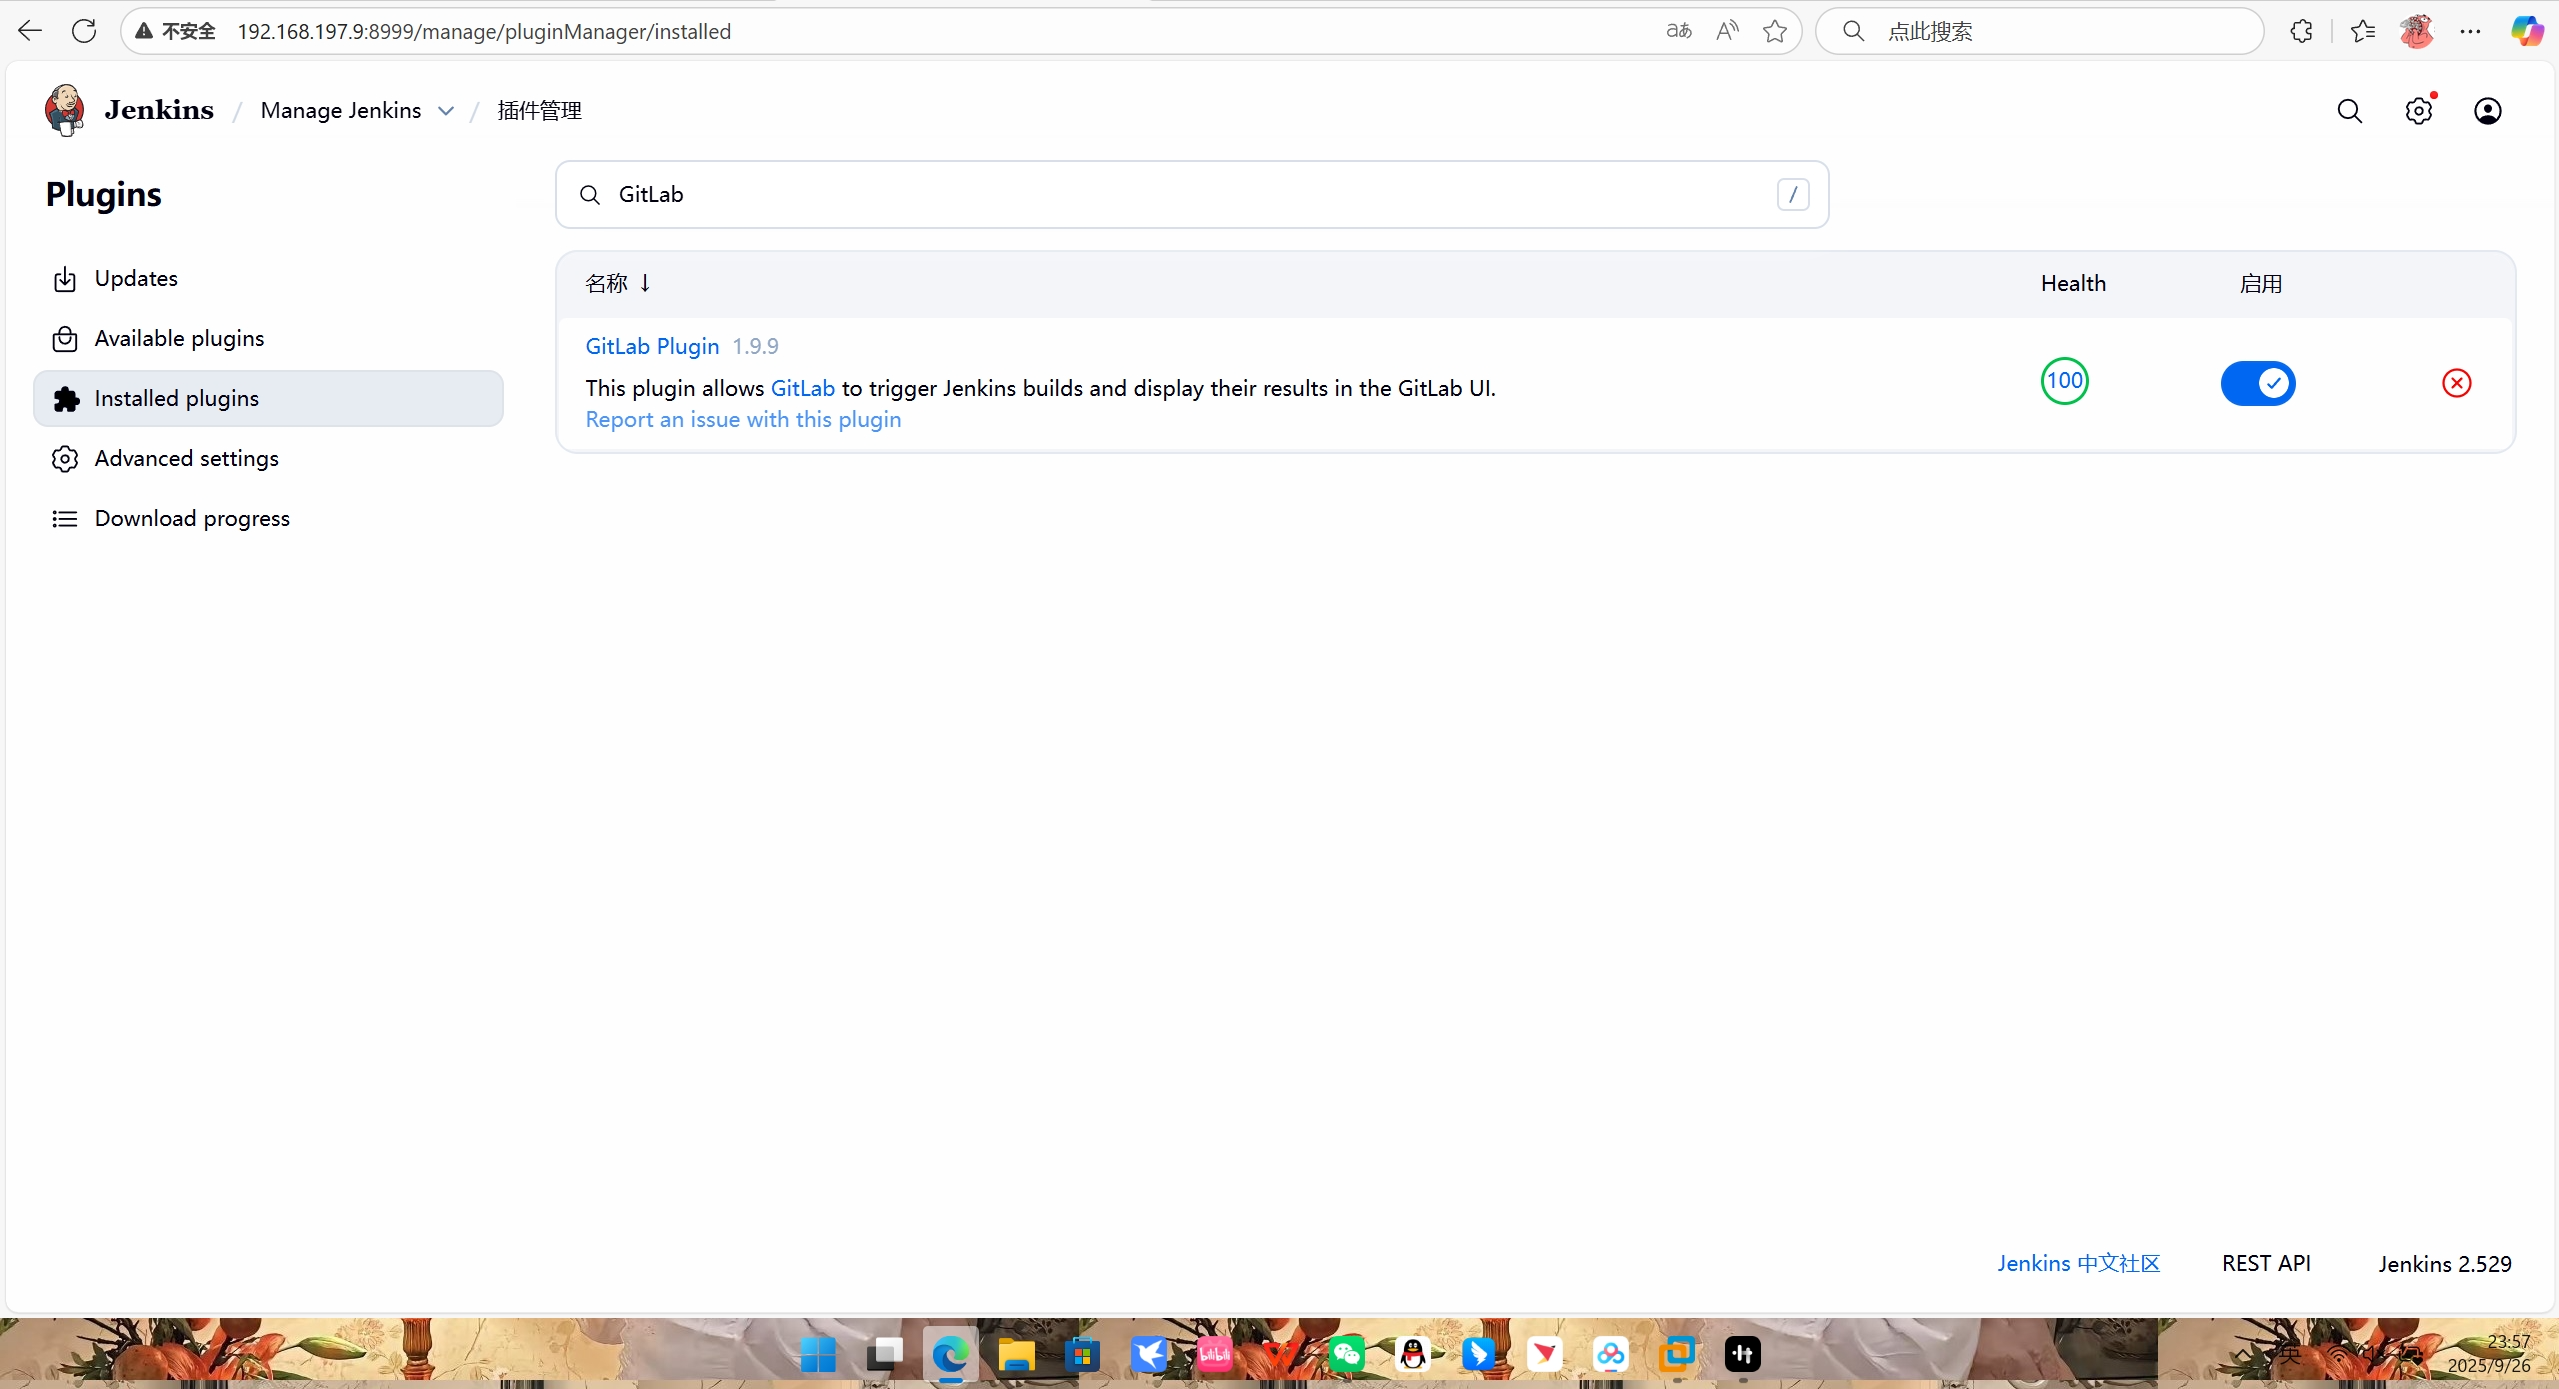
我这里选择的是直接安装。
四、添加 GitLab SSH 凭据(让 Jenkins 能拉取 GitLab 代码)
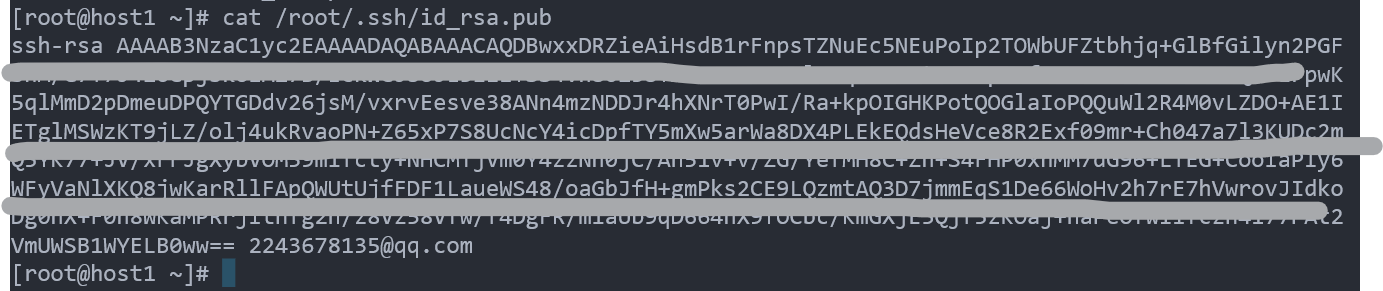
1.生成 SSH 密钥对(宿主机执行)
若没有现成的 SSH 密钥,执行以下命令生成:
bash
[root@host1 ~]# ssh-keygen -t rsa -b 4096 -C "2243678135@qq.com"一路回车,默认在 ~/.ssh/ 生成 id_rsa(私钥)和 id_rsa.pub(公钥)。
bash
[root@host1 ~]# ssh-keygen -t rsa -b 4096 -C "2243678135@qq.com"
Generating public/private rsa key pair.
Enter file in which to save the key (/root/.ssh/id_rsa):
/root/.ssh/id_rsa already exists.
Overwrite (y/n)? y
Enter passphrase (empty for no passphrase):
Enter same passphrase again:
Your identification has been saved in /root/.ssh/id_rsa
Your public key has been saved in /root/.ssh/id_rsa.pub
The key fingerprint is:
SHA256:kKjVNvoKZxeXORtdJmIvSX9txCUBr8xdckXxTbVlZLM 2243678135@qq.com
The key's randomart image is:
+---[RSA 4096]----+
|            ..o*&|
|     o .     o *O|
|    o * + . o =E=|
|   o o = O * = + |
|  . . . S + = +  |
|     . o = . .   |
|  . o o .        |
|   + o           |
|    .            |
+----[SHA256]-----+
2.配置 GitLab 公钥
-
登录 GitLab → 个人设置 →「SSH Keys」。
-
打开宿主机
~/.ssh/id_rsa.pub,复制内容并粘贴到 GitLab 的 "Key" 输入框,添加 SSH 密钥。
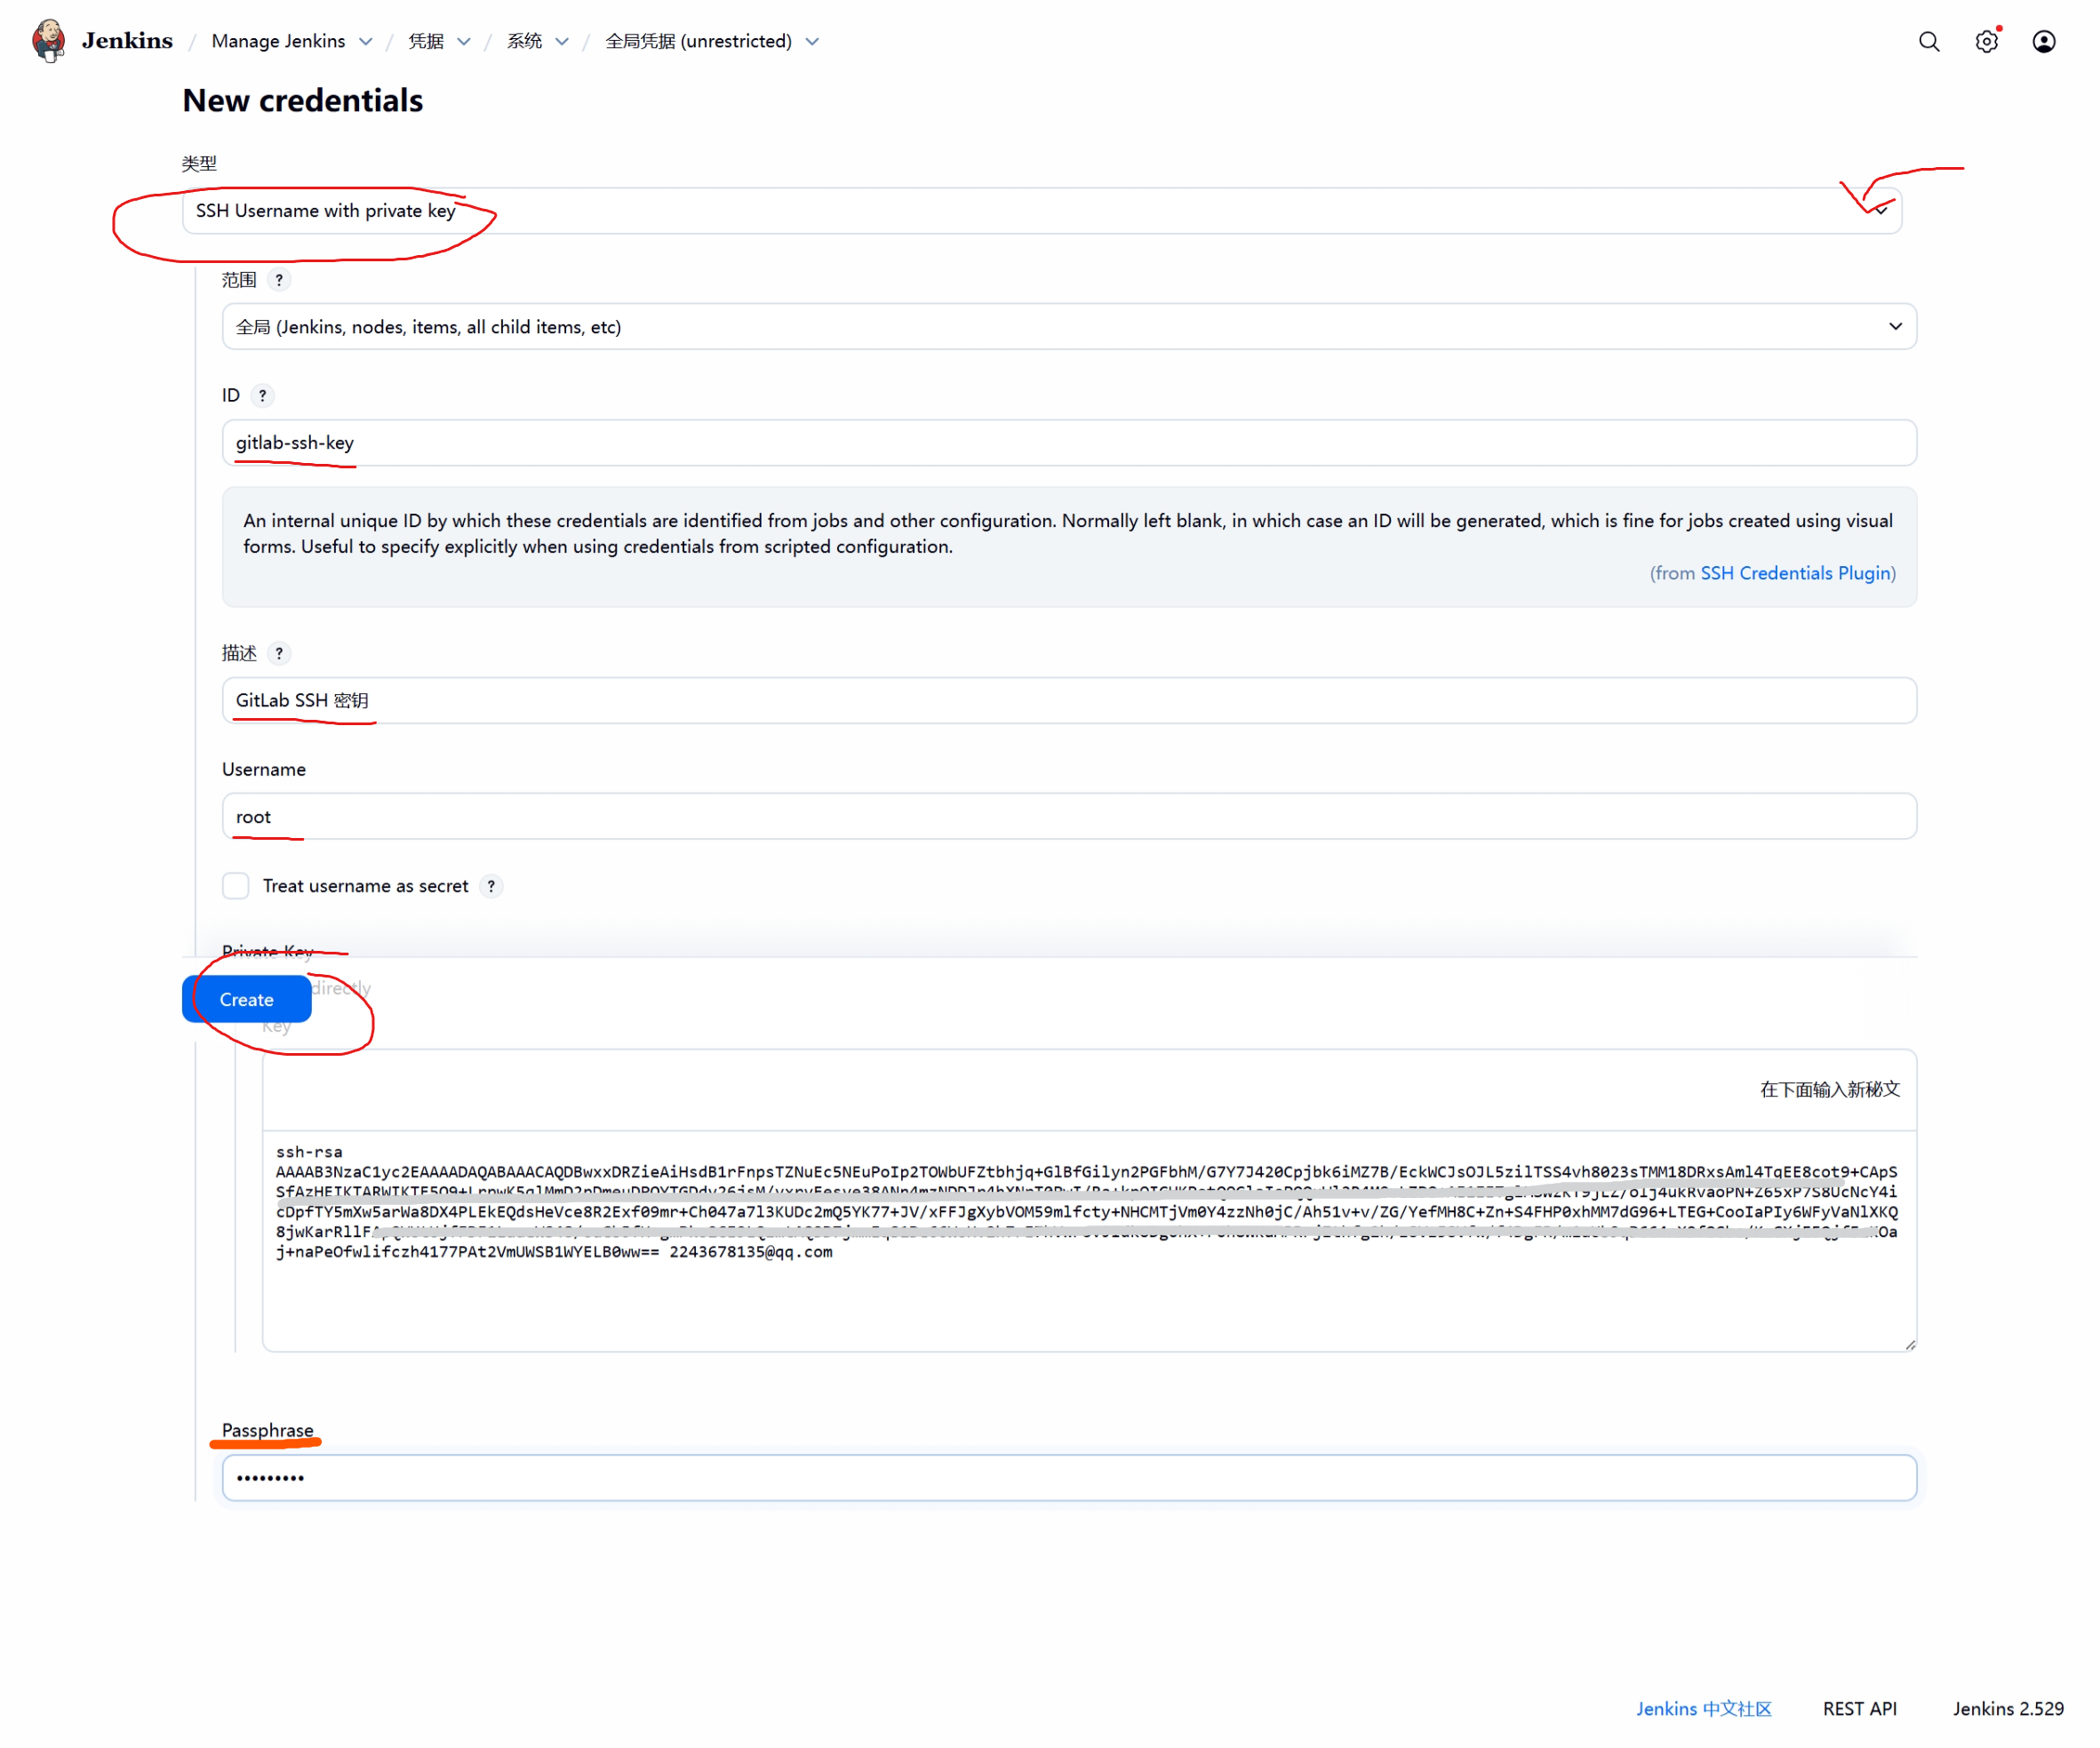
3.在 Jenkins 中添加私钥凭据
-
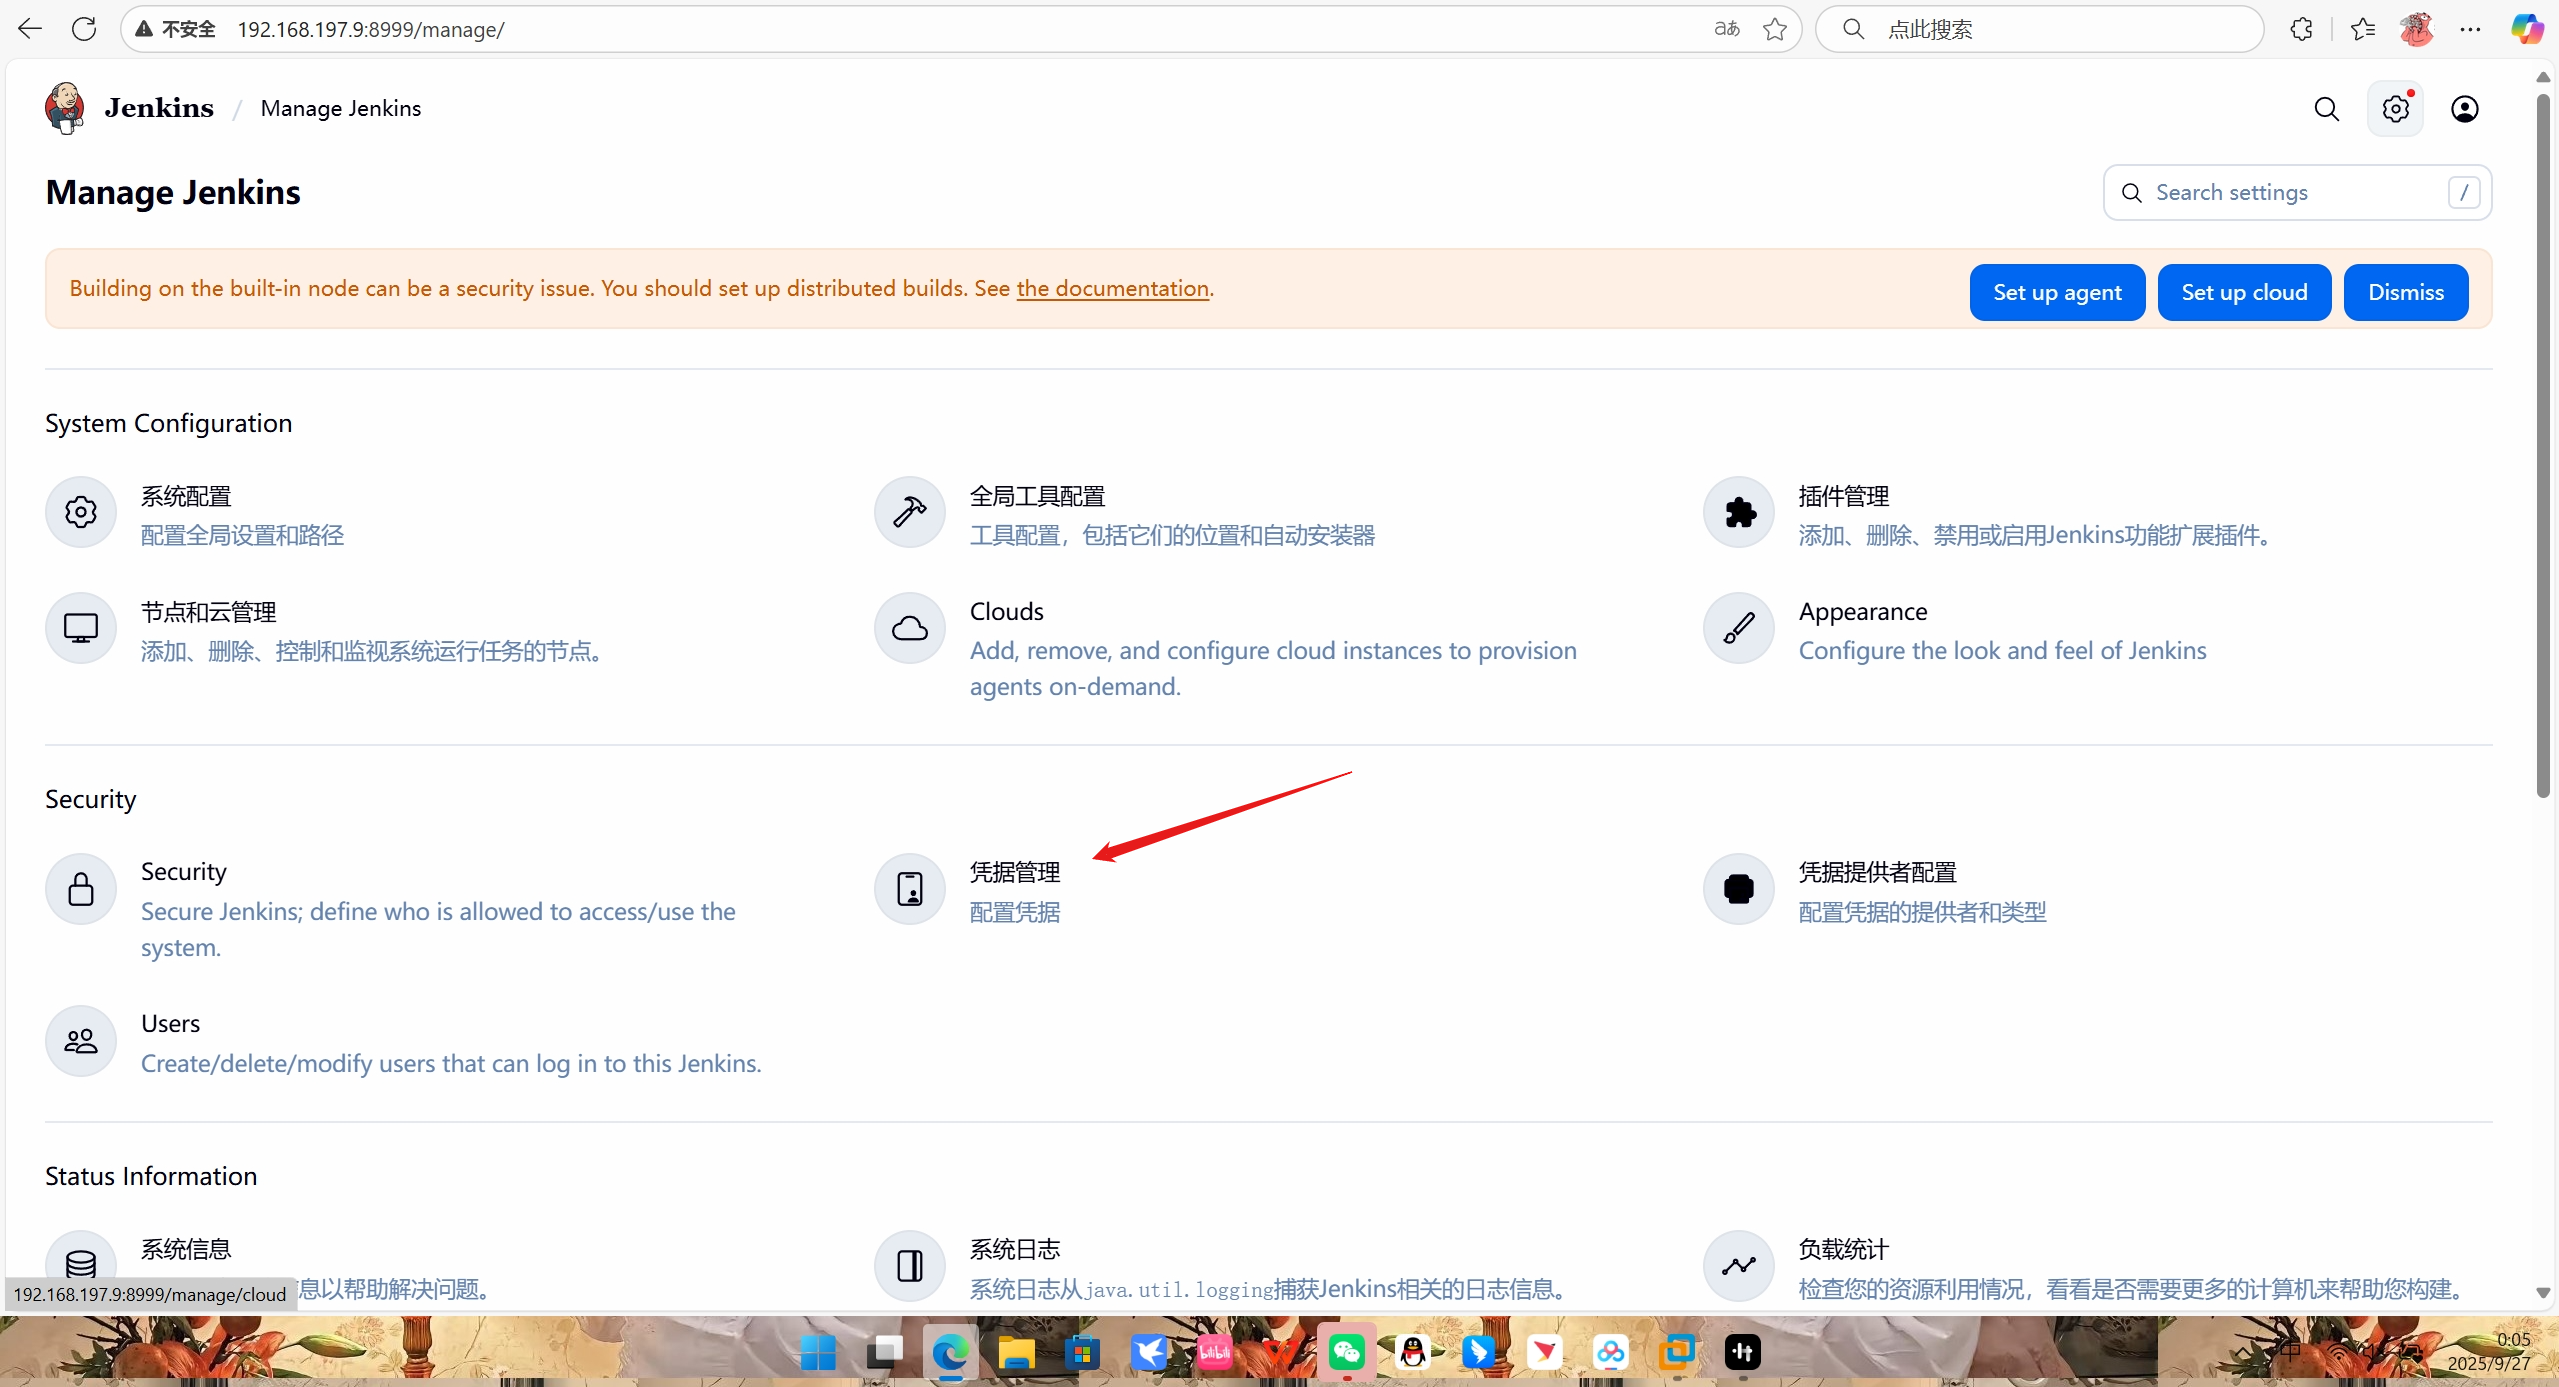
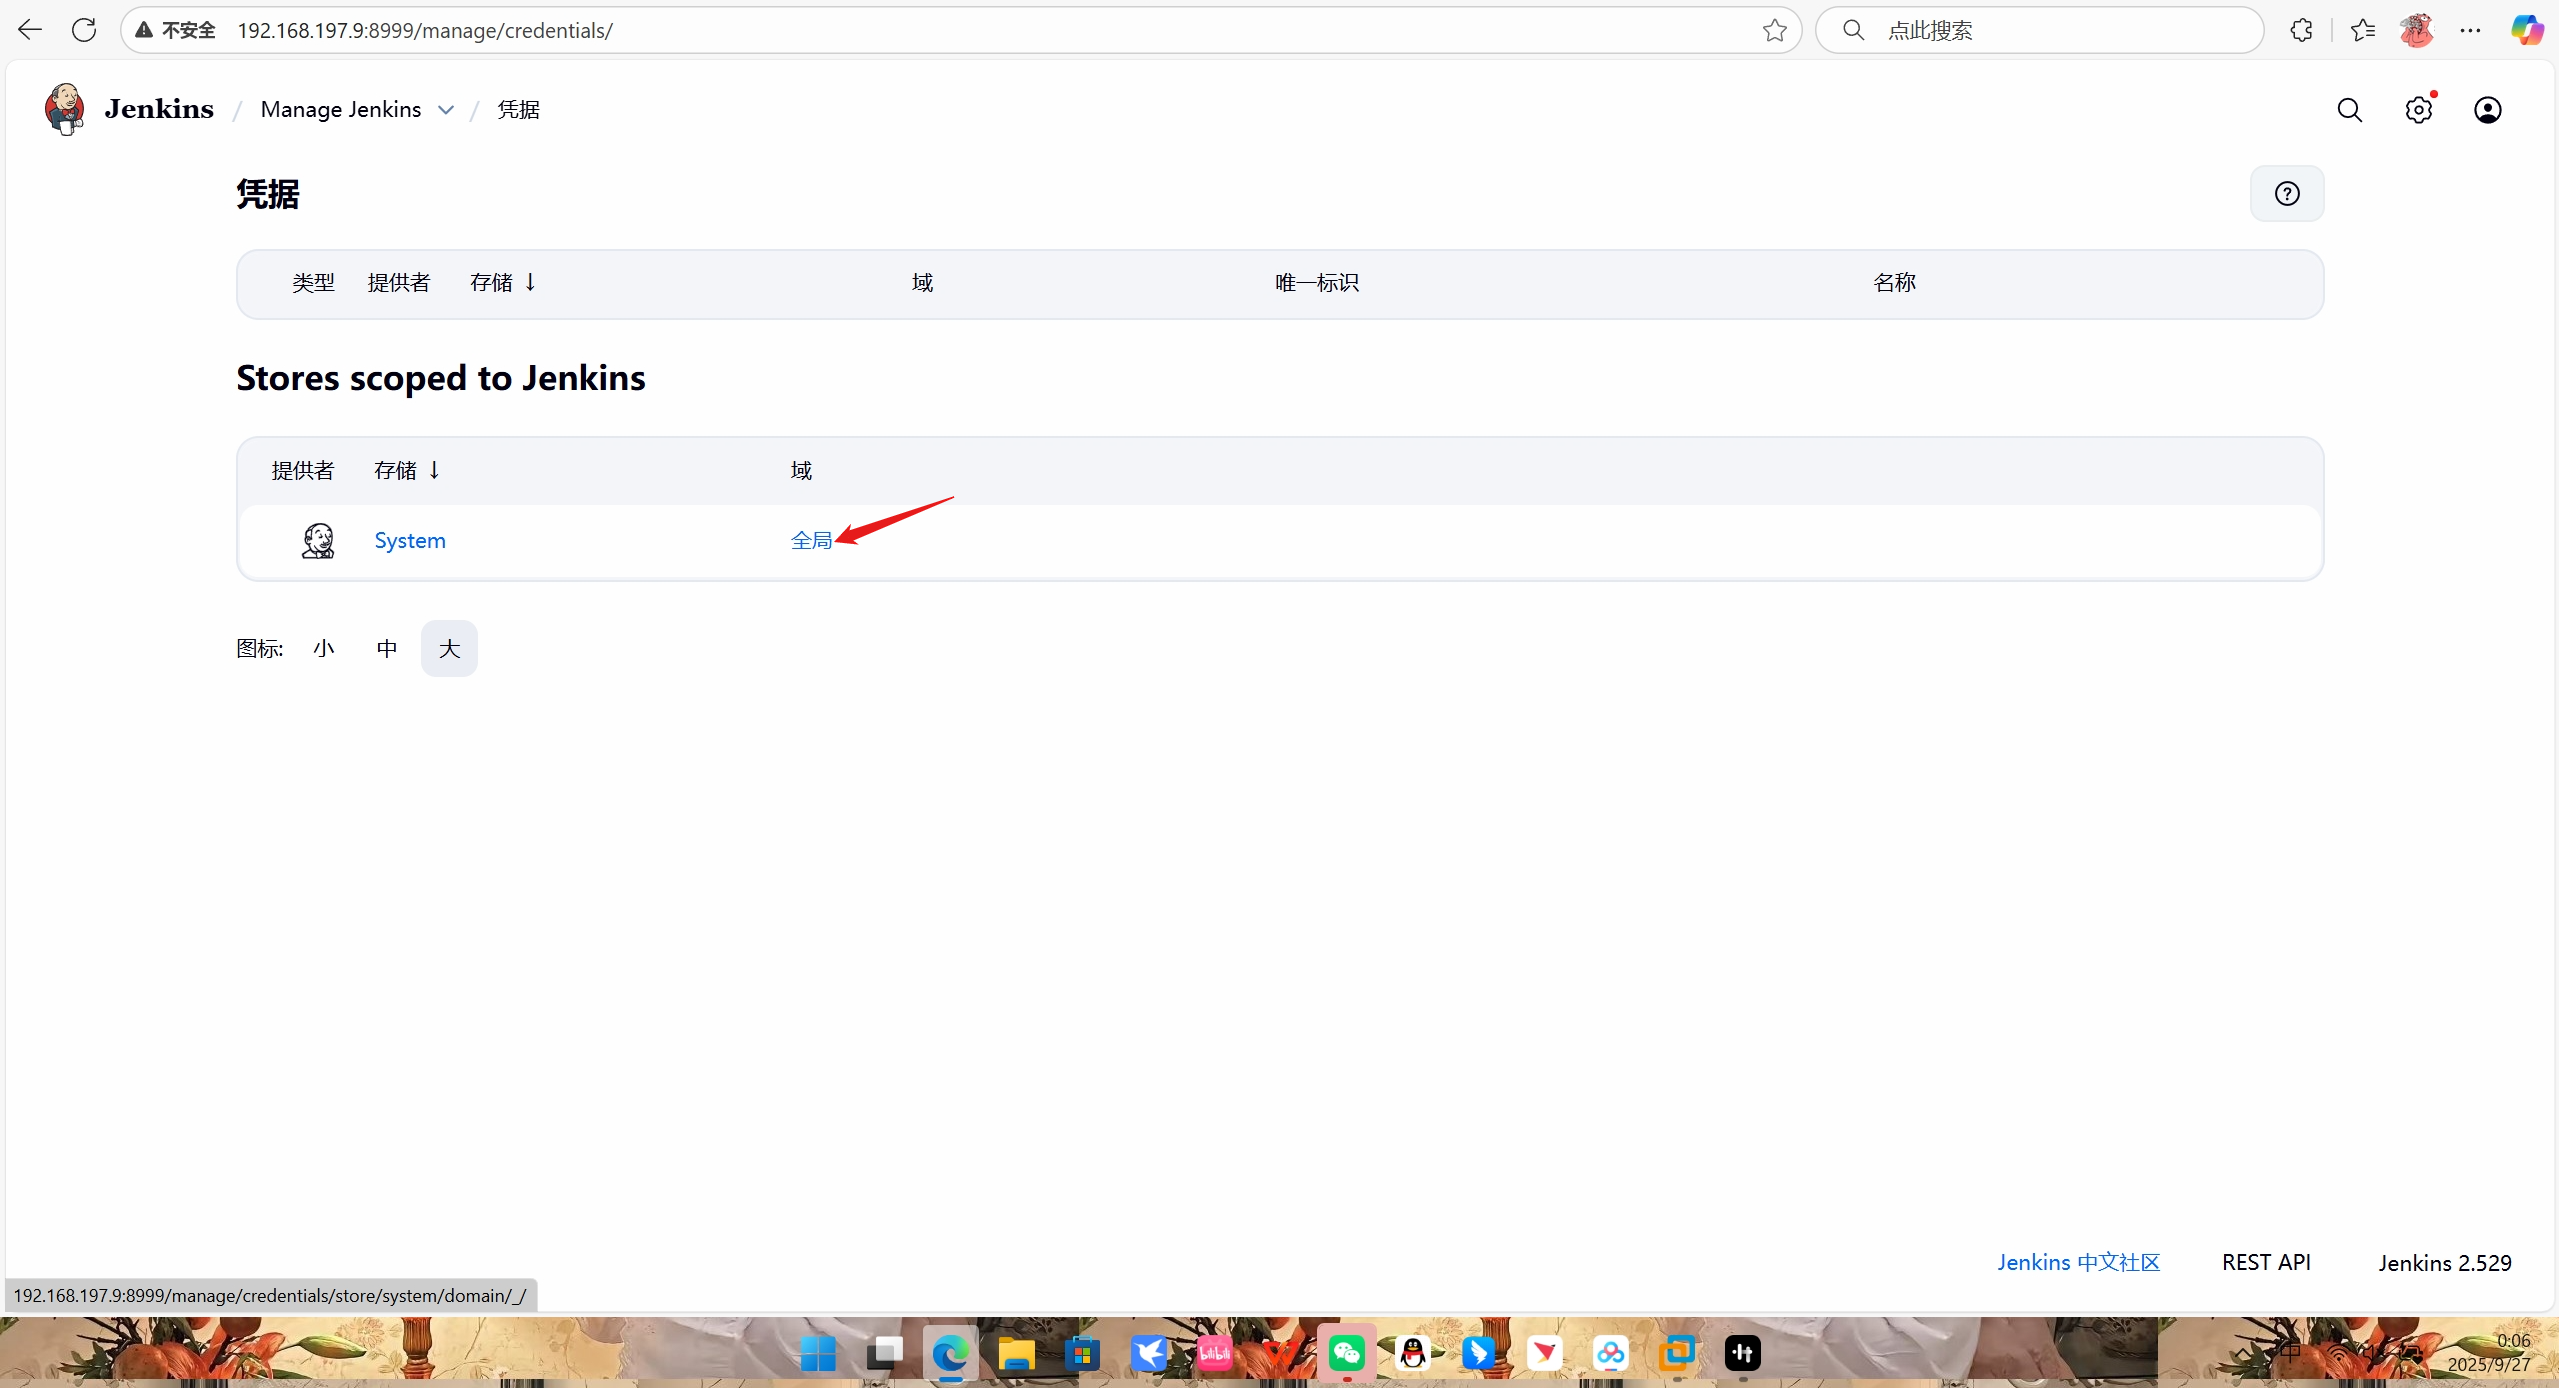
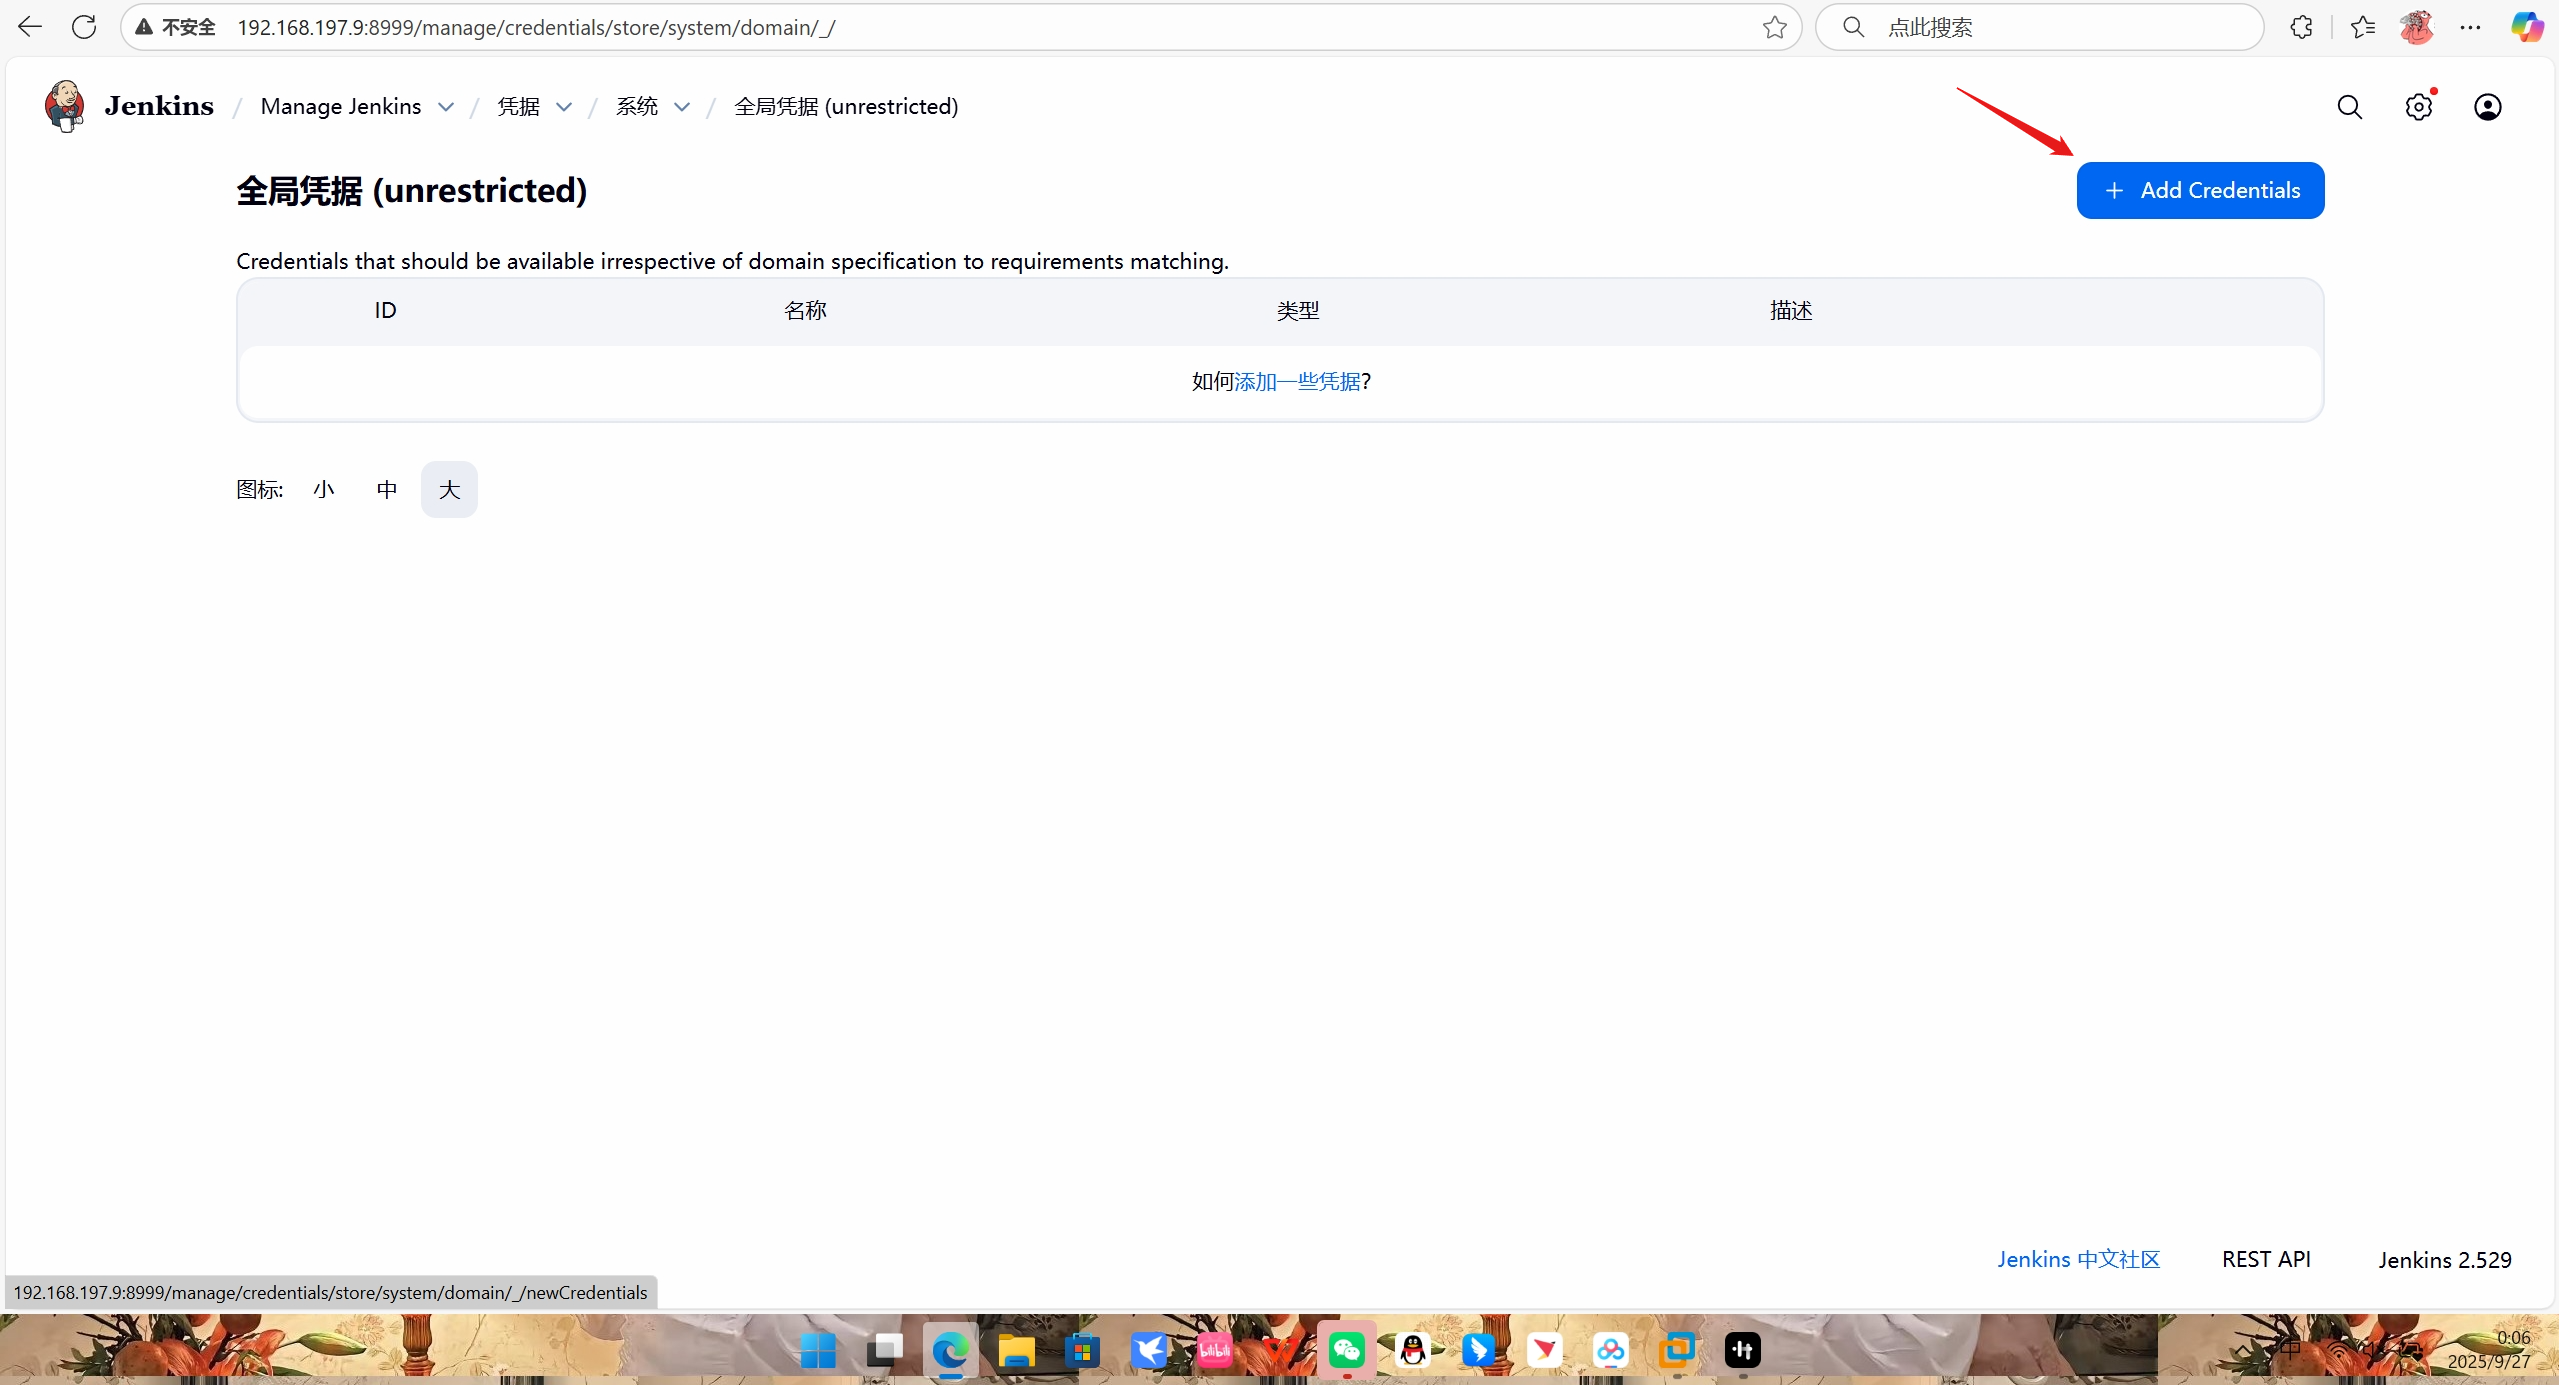
进入 Jenkins →「系统管理」→「凭据」→「系统」→「全局凭据」→「添加凭据」。
-
配置如下:
-
类型:选择「SSH Username with private key」。
-
Username:填写你的 GitLab 用户名。
-
Private Key:选择「Enter directly」,粘贴宿主机
~/.ssh/id_rsa的私钥内容。 -
ID:自定义(如
gitlab-ssh-key),用于后续流水线引用。 -
描述:自定义(如「GitLab SSH 密钥」)。
-
-
点击「确定」保存凭据。

五、后续扩展:创建 GitLab 流水线(可选)
若要基于 GitLab 代码触发 Jenkins 构建,可在 Jenkins 中创建「流水线」项目:
-
新建项目 → 选择「流水线」。
-
配置「源码管理」:选择 Git,填写 GitLab 仓库 SSH 地址(如
git@gitlab.abc.com:root/nginx-demo.git),并选择步骤 4 中添加的 GitLab 凭据。 -
配置「流水线」:可选择「Pipeline script from SCM」(从 Git 拉取
Jenkinsfile),或直接在界面编写流水线脚本,定义构建、测试、部署等步骤。
以上步骤覆盖了Jenkins 部署、初始化、GitLab 插件安装、凭据配置的核心流程,确保 Jenkins 能与 GitLab 联动,为后续 CI/CD 流水线打下基础。