u-boot移植
一、移植的核心思想介绍
二、u-boot中添加自己的开发板
1.清空源码目录
uboot-imx-rel_imx_4.1.15_2.1.0_ga$ make distclean
uboot-imx-rel_imx_4.1.15_2.1.0_ga$ make distclean
2.添加开发板默认配置文件
在u-boot源码下的configs目录下添加mx6ull_smartcar_defconfig配置文件
uboot-imx-rel_imx_4.1.15_2.1.0_ga/configs$ cp mx6ull_14x14_evk_defconfig
mx6ull_smartcar_defconfig
uboot-imx-rel_imx_4.1.15_2.1.0_ga/configs$ cp mx6ull_14x14_evk_defconfig
mx6ull_smartcar_defconfig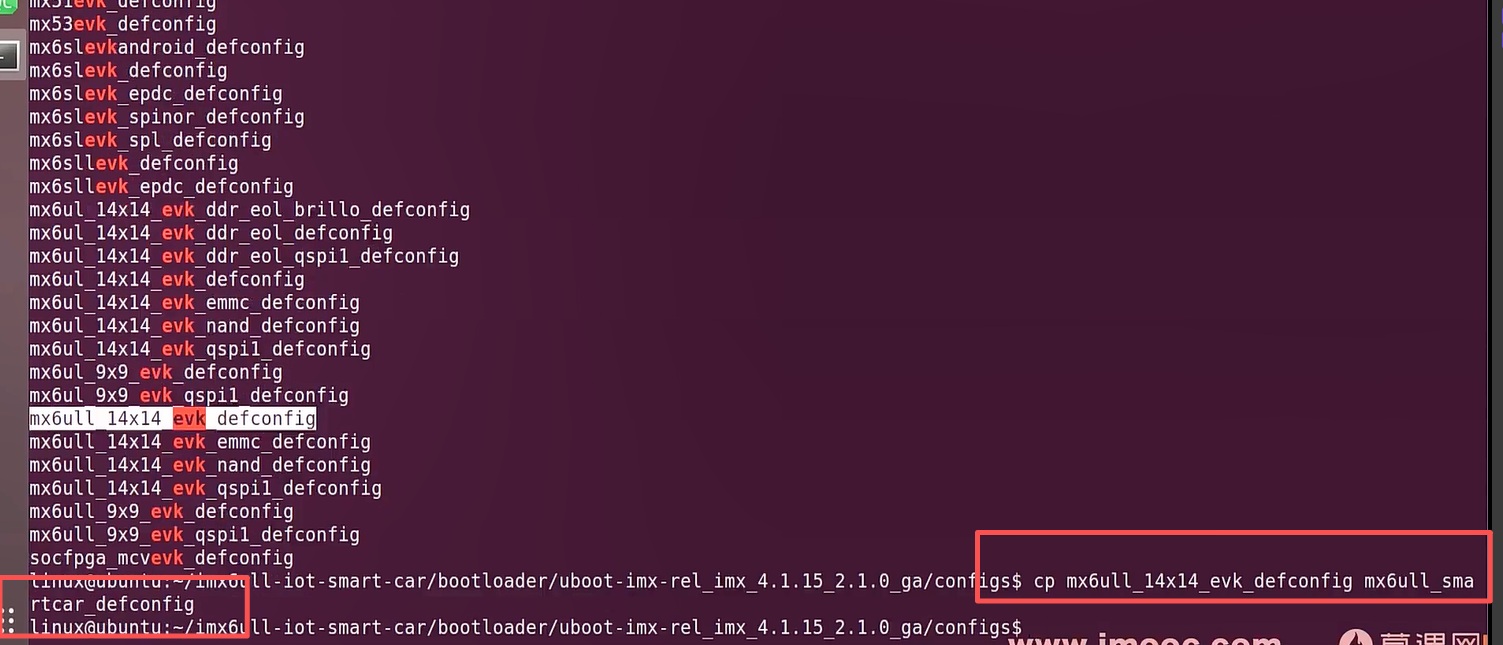
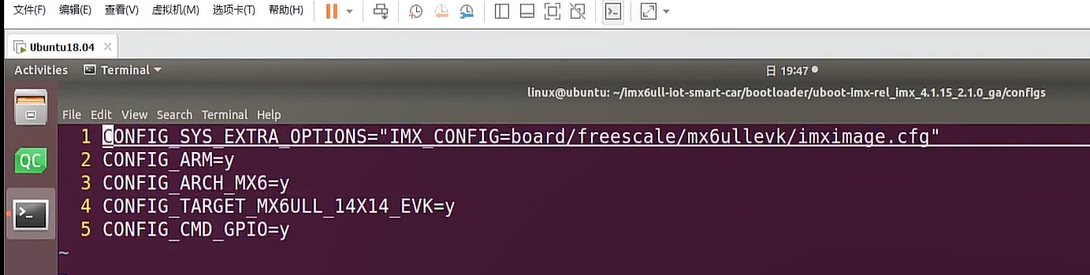
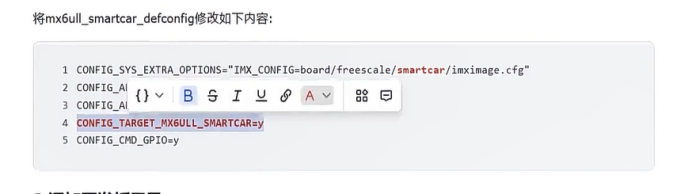
将mx6ull_smartcar_defconfig修改如下内容:
修改前
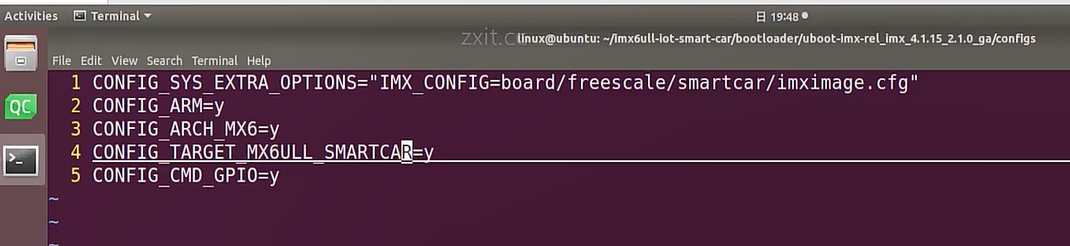
修改后
CONFIG_SYS_EXTRA_OPTIONS="IMX_CONFIG=board/freescale/smartcar/imximage.cfg"
CONFIG_ARM=y
CONFIG_ARCH_MX6=y
CONFIG_TARGET_MX6ULL_SMARTCAR=y
CONFIG_CMD_GPIO=y
CONFIG_SYS_EXTRA_OPTIONS="IMX_CONFIG=board/freescale/smartcar/imximage.cfg"
CONFIG_ARM=y
CONFIG_ARCH_MX6=y
CONFIG_TARGET_MX6ULL_SMARTCAR=y
CONFIG_CMD_GPIO=y- 添加开发板目录
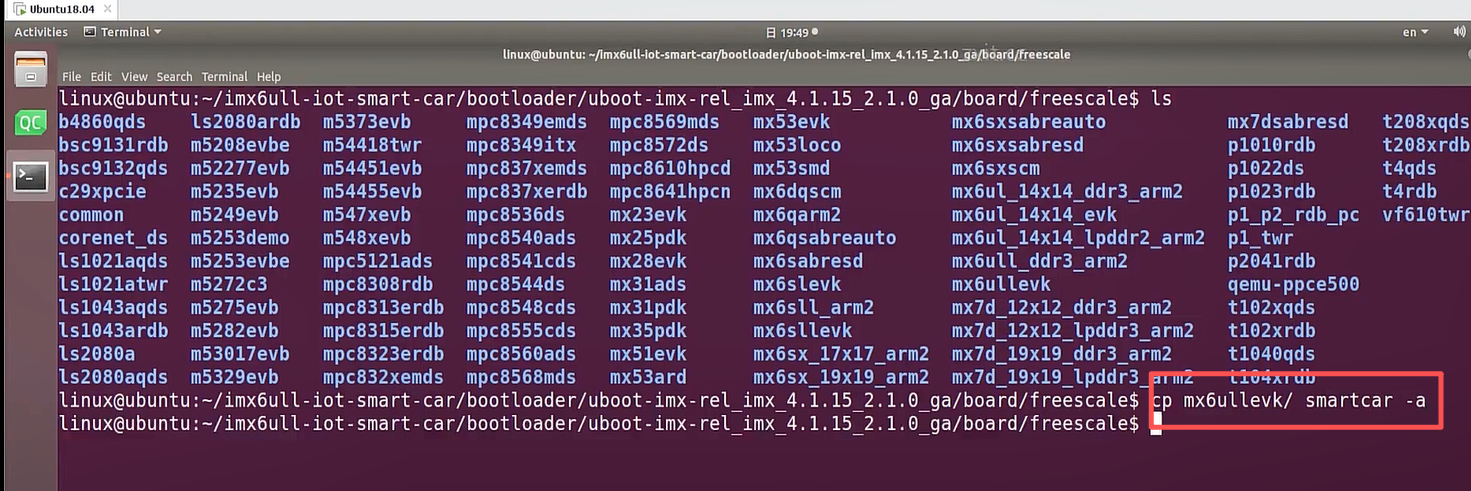
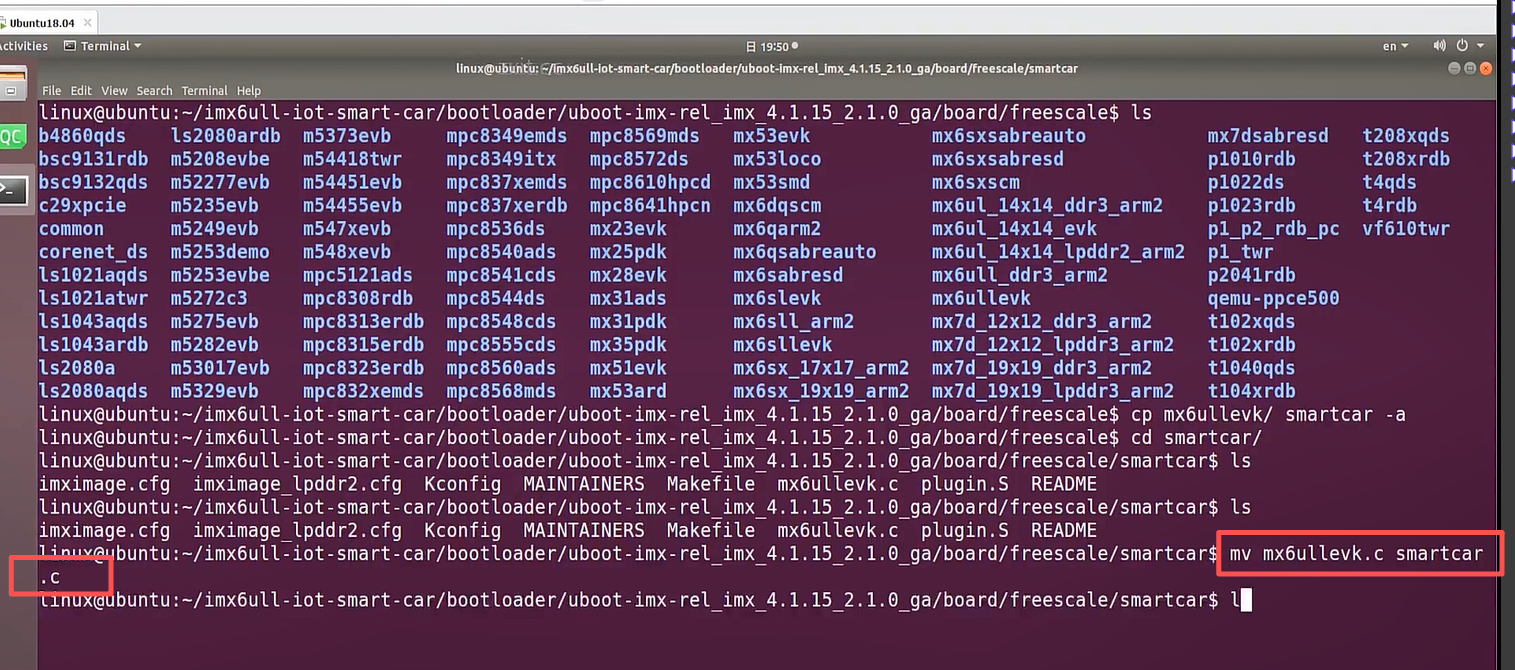
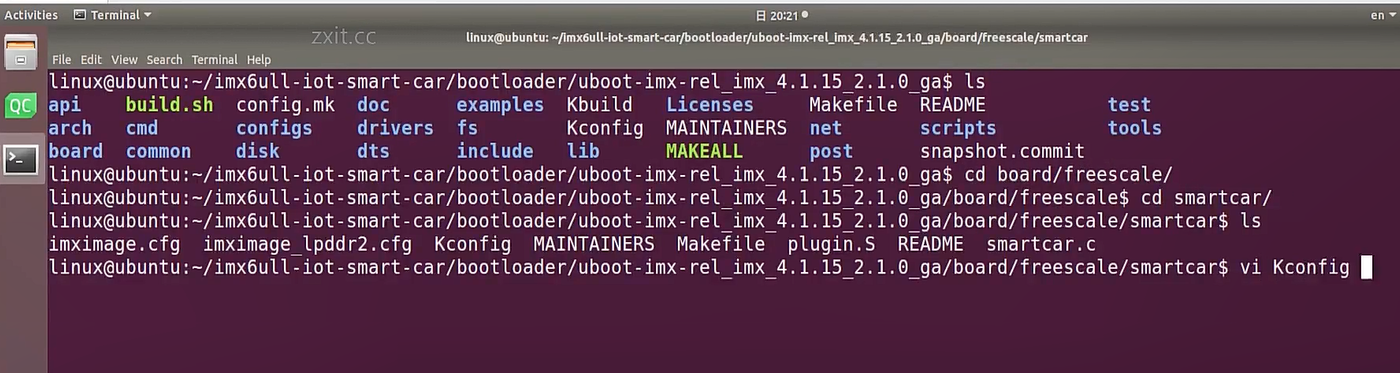
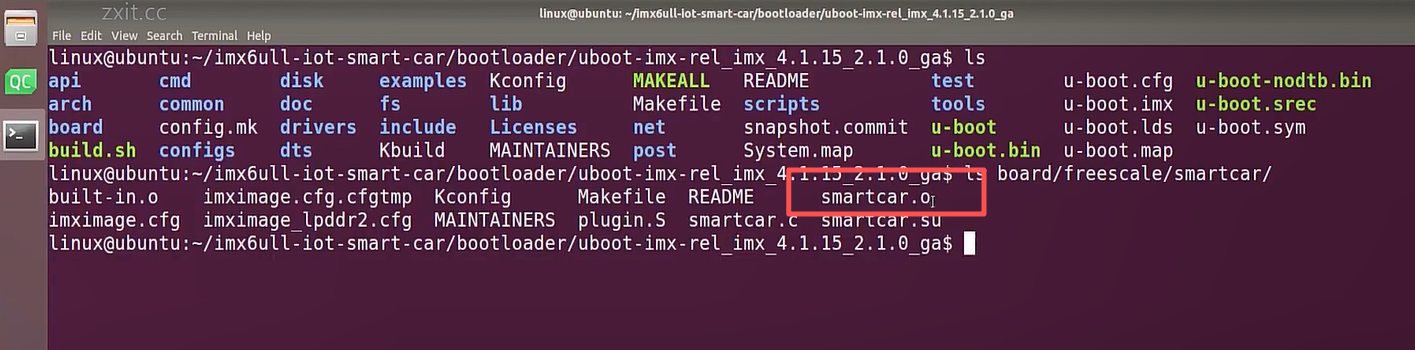
在u-boot源码下的board/freescale目录下添加smartcar开发板
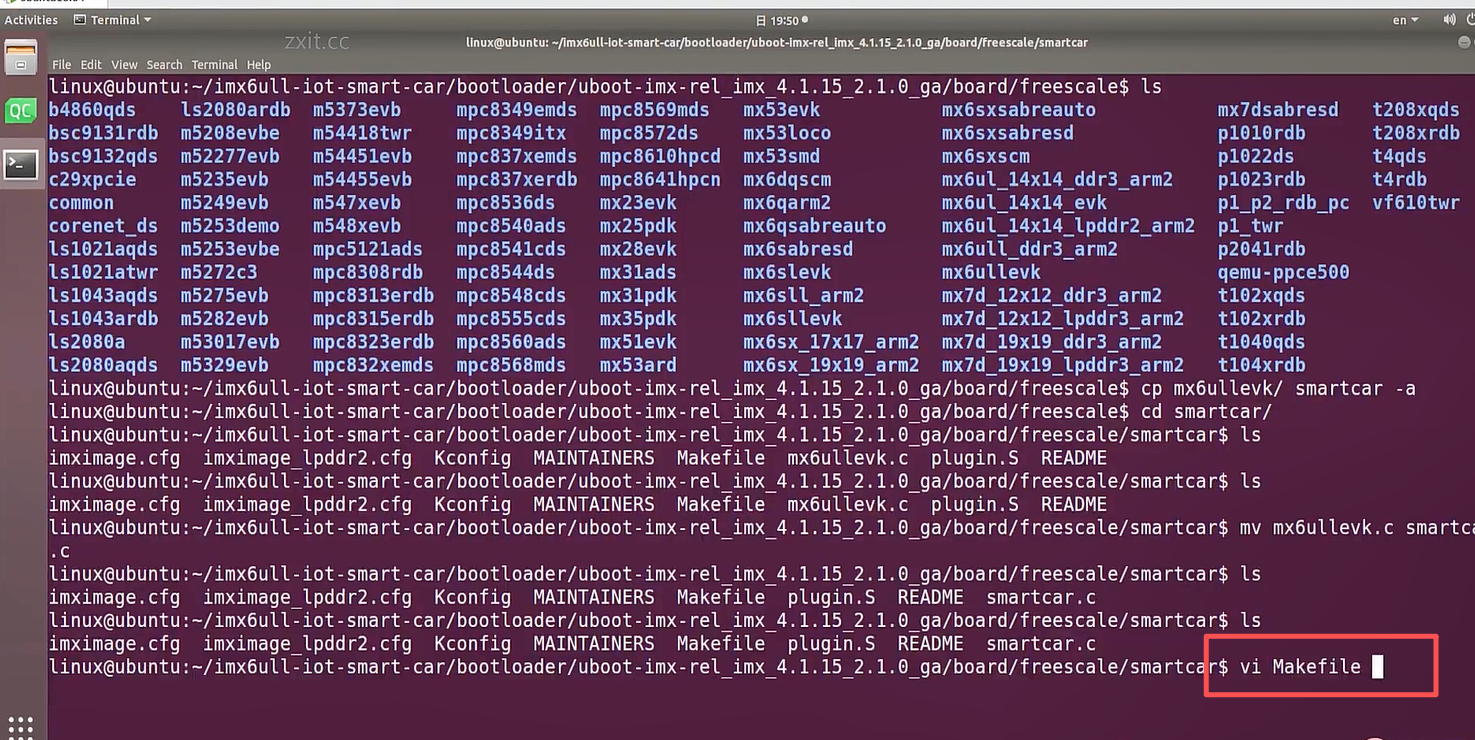
进入smartcar目录下,将mx6ullevk.c修改成smartcar.c。

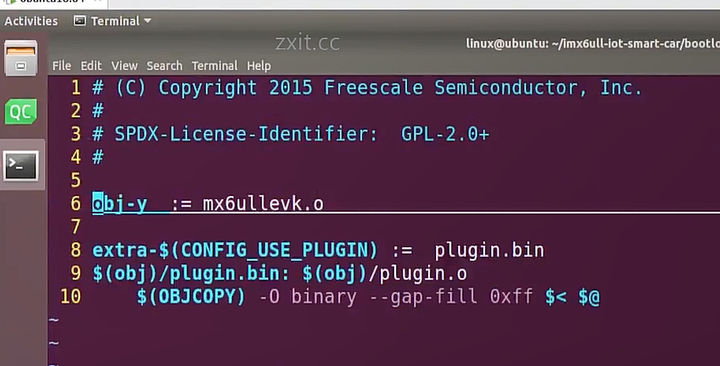
修改smartcar目录下的Makefile,修改如下:
修改前
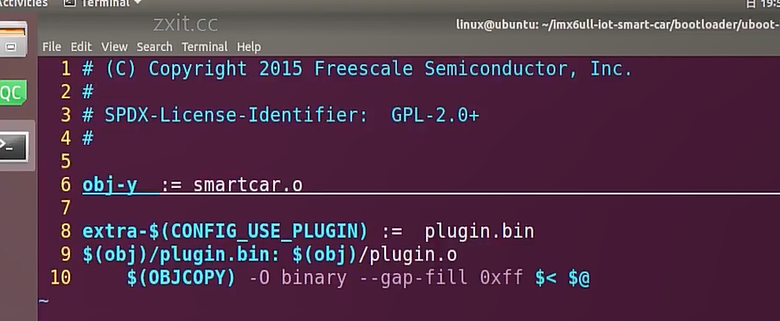
修改后
(C) Copyright 2015 Freescale Semiconductor, Inc.
SPDX-License-Identifier: GPL-2.0+
obj-y := smartcar.o
extra-$(CONFIG_USE_PLUGIN) := plugin.bin
(obj)/plugin.bin: (obj)/plugin.o
(OBJCOPY) -O binary --gap-fill 0xff < $@
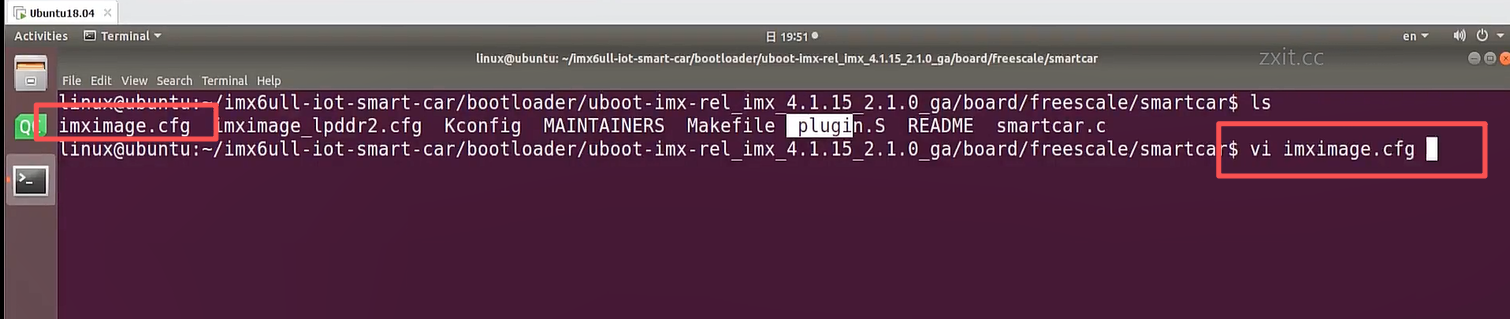
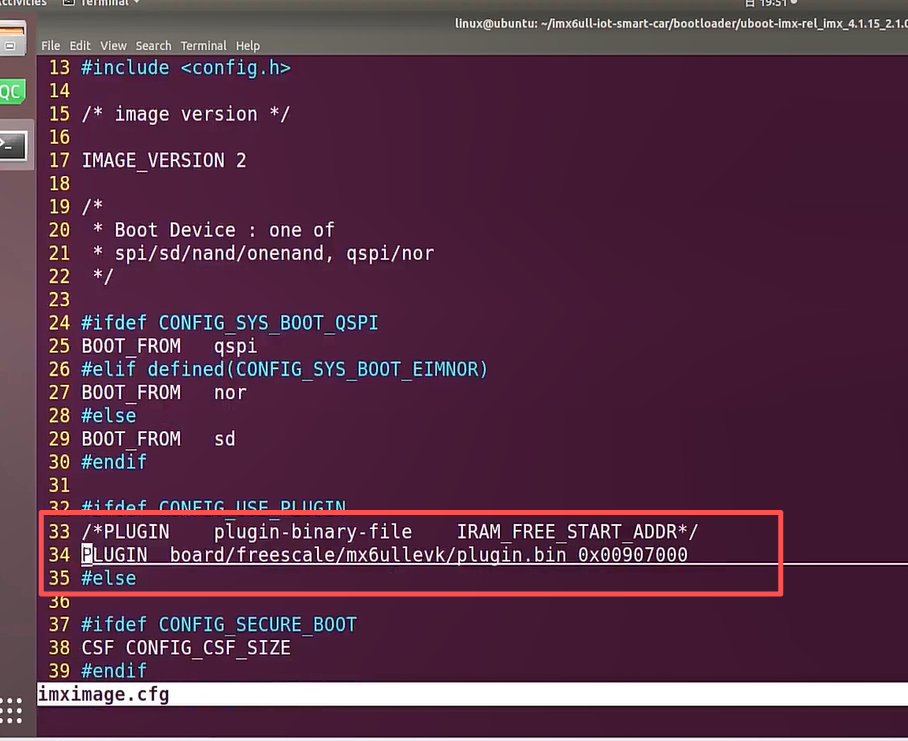
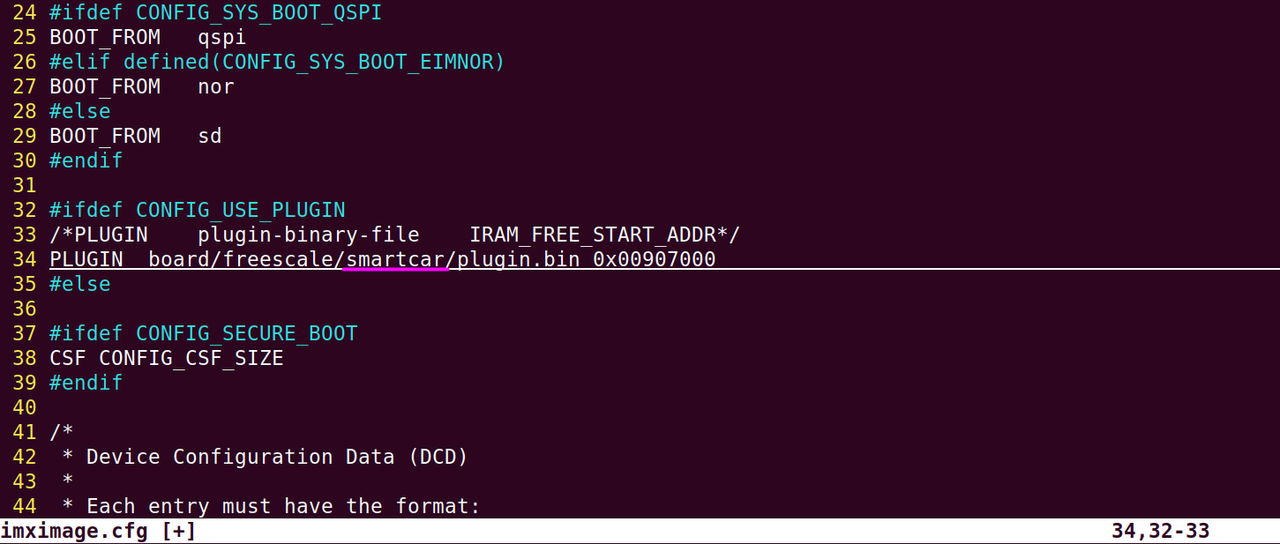
修改smartcar目录下的imximage.cfg文件的第34行,修改如下:
- 添加开发板头文件
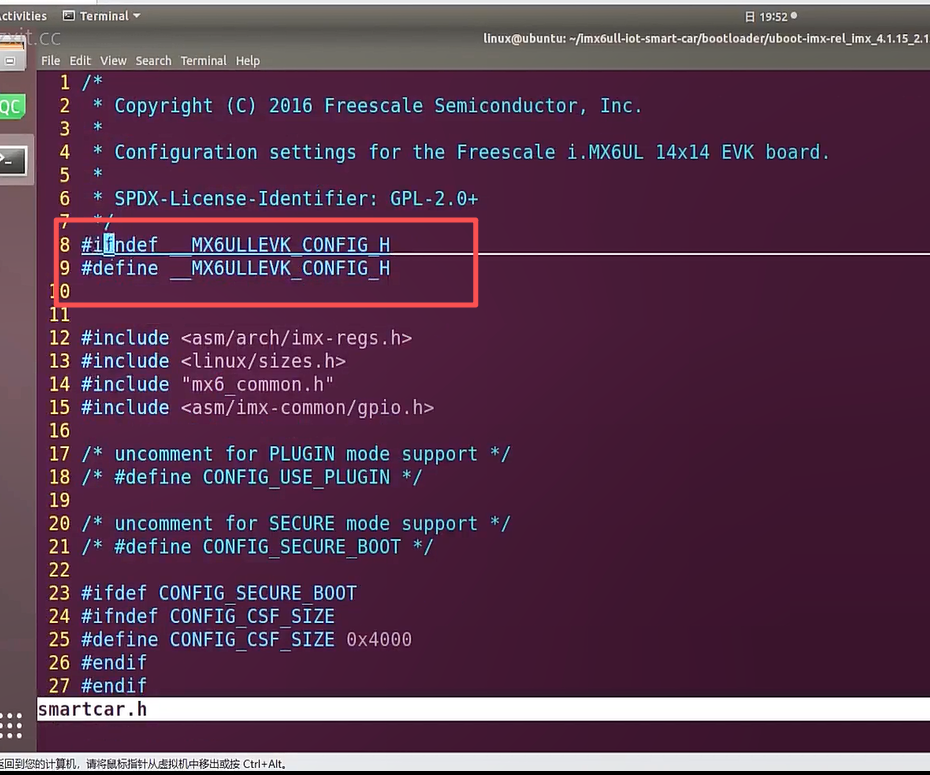
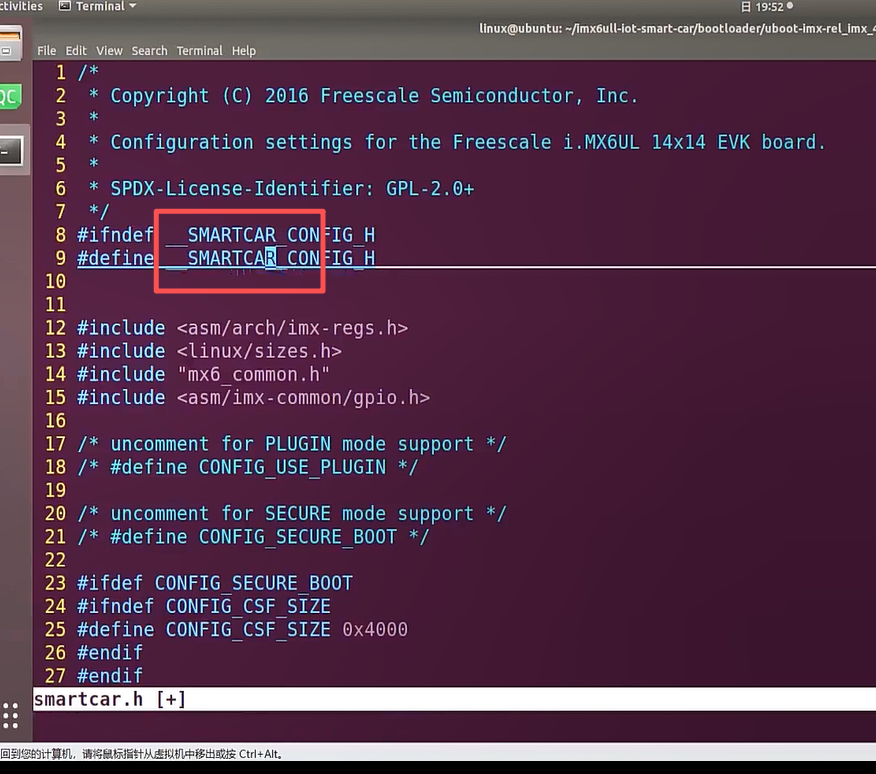
在u-boot源码目录下的include/configs目录下添加smartcar.h
uboot-imx-rel_imx_4.1.15_2.1.0_ga/include/configs$ cp mx6ullevk.h smartcar.h
修改头部宏开关:


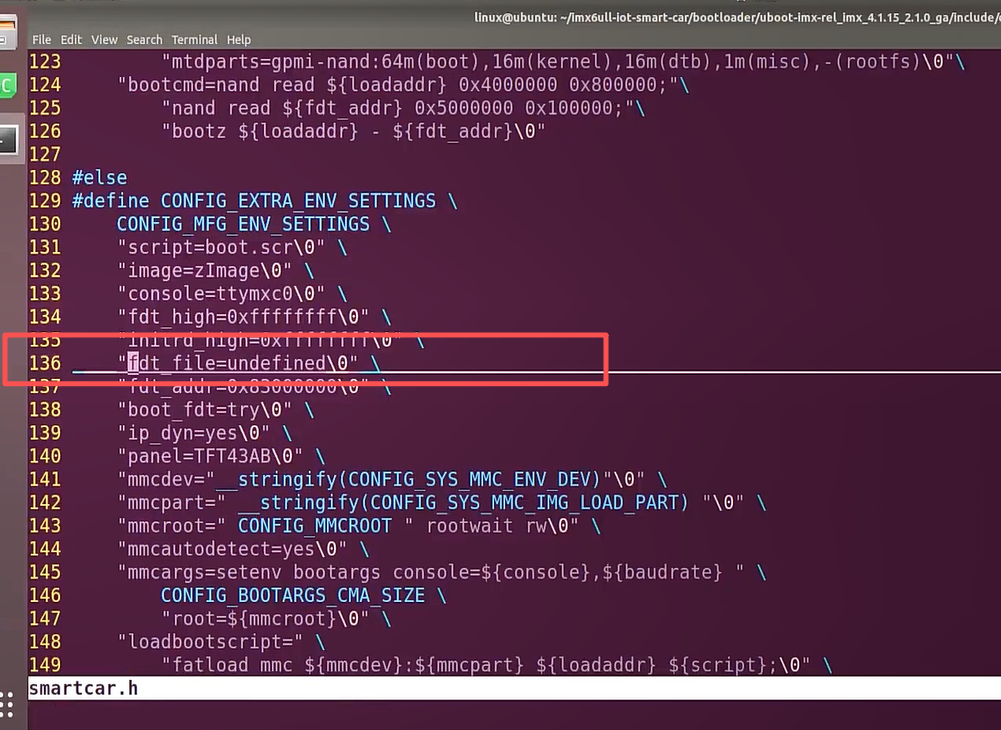
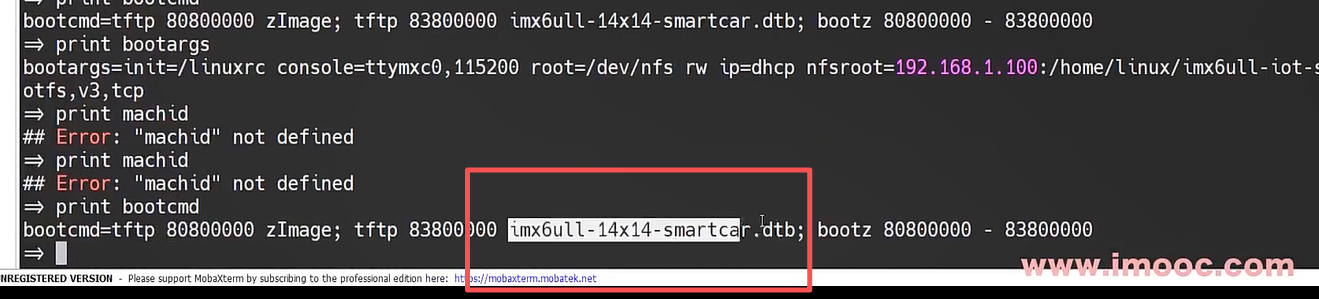
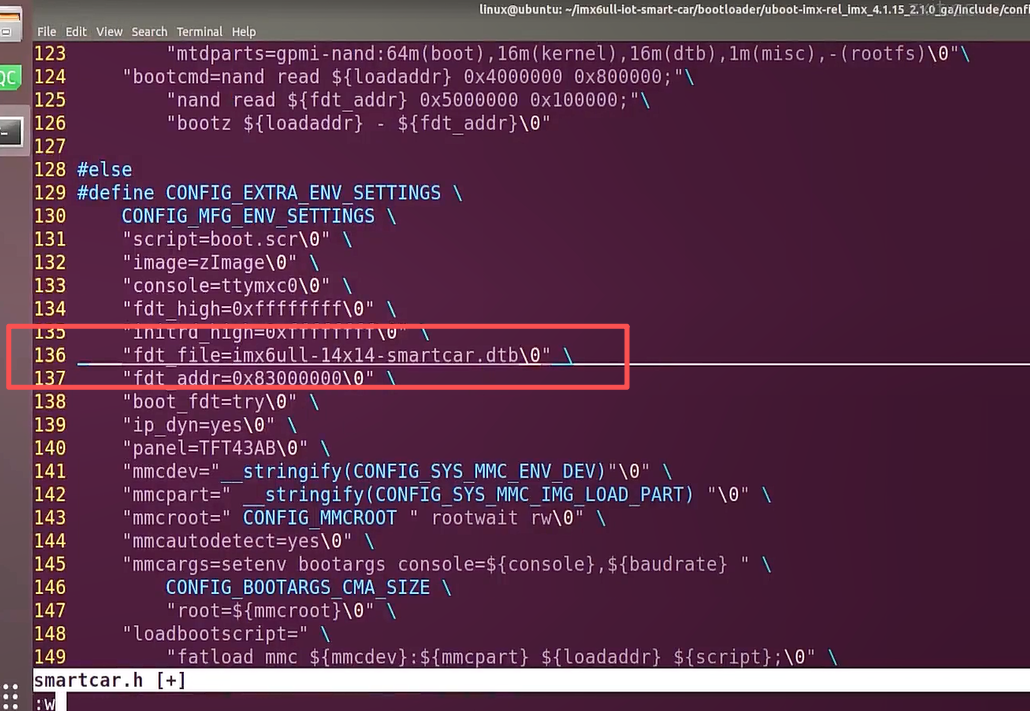
修改136行fdt_file内容如下:
- 修改Kconfig文件
进入u-boot源码的arch/arm/cpu/armv7/mx6 目录下,修改Kconfig文件内容如下:
添加自己的开发板的配置选项:

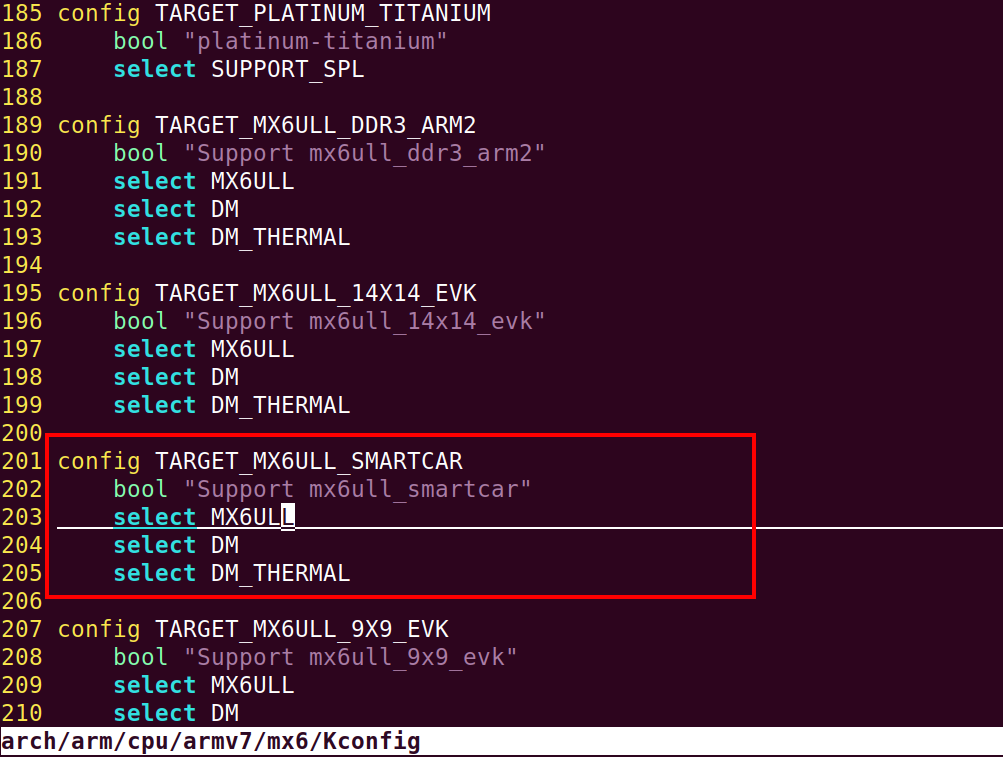
此处名字要和之前的对应
添加包含自己开发板的Kconfig文件:
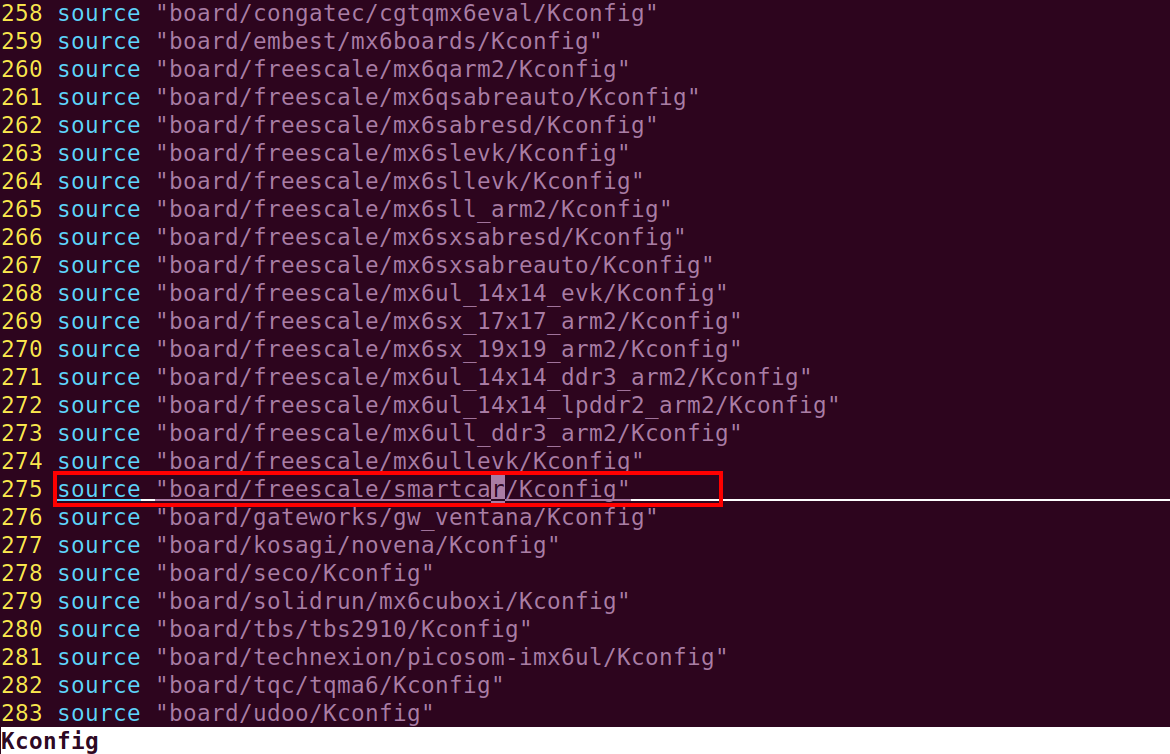
进入u-boot源码的board/freescale/smartcar目录下,修改Kconfig文件内容如下:
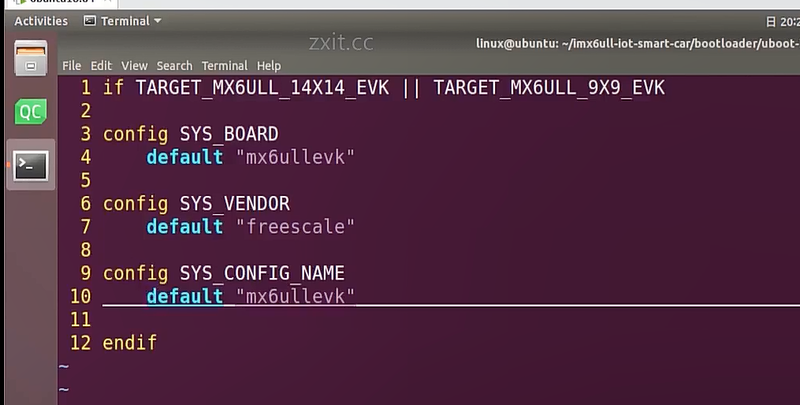
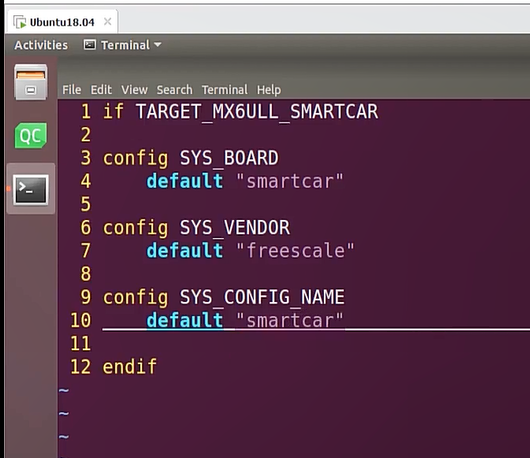
if TARGET_MX6ULL_SMARTCAR
config SYS_BOARD
default "smartcar"
config SYS_VENDOR
default "freescale"
config SYS_CONFIG_NAME
default "smartcar"
endif
三、配置编译及测试
1.配置
uboot-imx-rel_imx_4.1.15_2.1.0_ga$ make mx6ull_smartcar_defconfig
uboot-imx-rel_imx_4.1.15_2.1.0_ga$ make mx6ull_smartcar_defconfig
- 编译
uboot-imx-rel_imx_4.1.15_2.1.0_ga$ make ARCH=arm CROSS_COMPILE=arm-linux-gnueabihf-
执行这个脚本也行

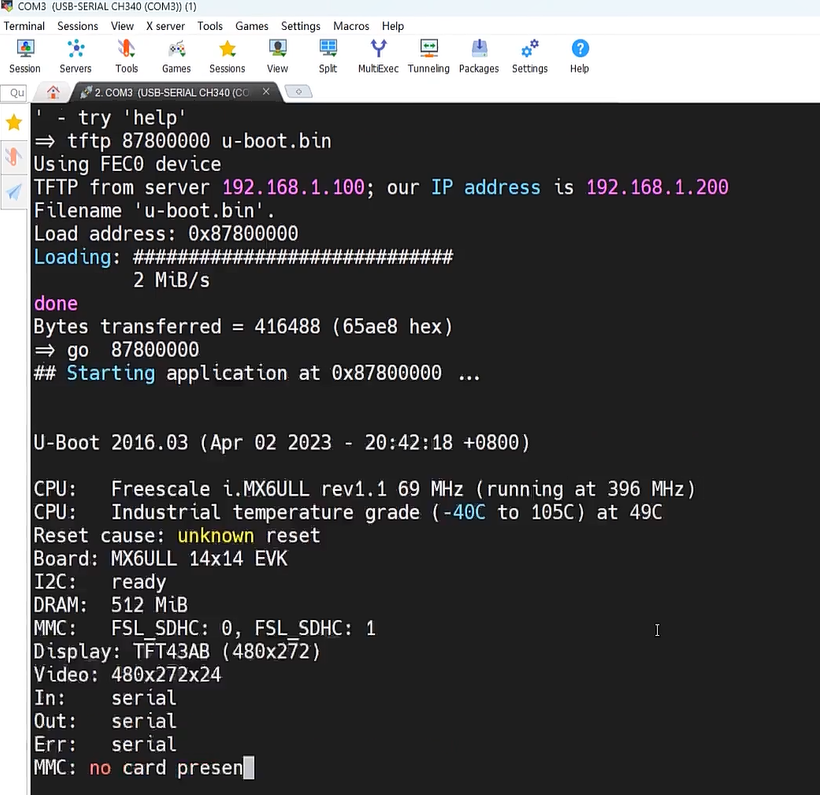
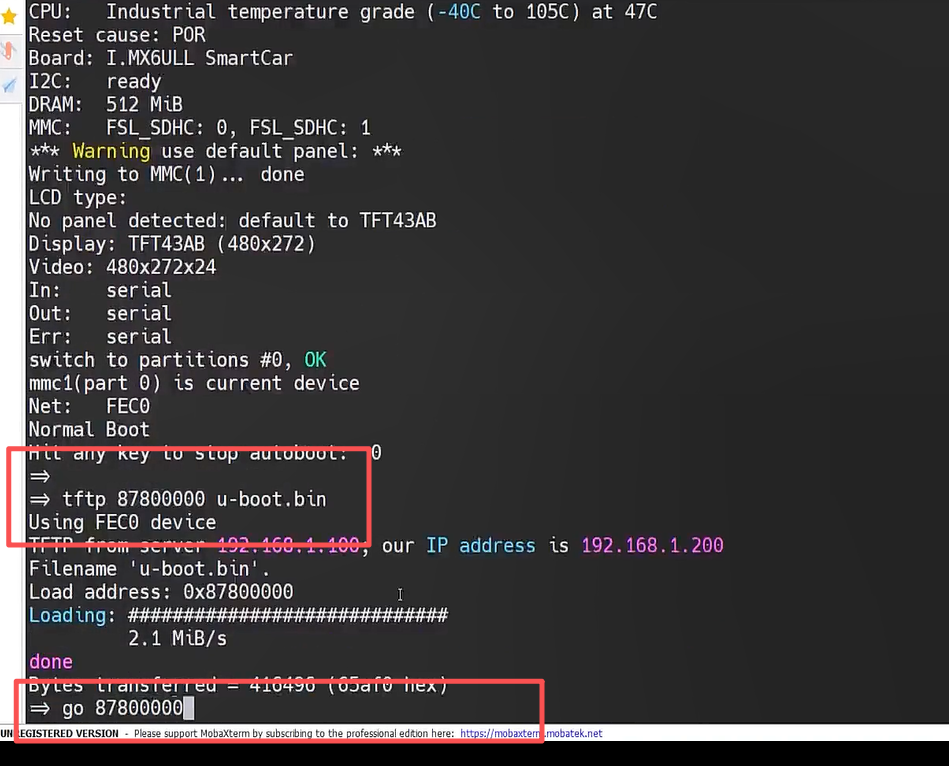
- 测试
将源码目录下的u-boot.bin到tftpboot目录下,然后通过开发板上的u-boot通过tftp下载测试:
=> tftp 878000000 u-boot.bin
Using FEC0 device
TFTP from server 192.168.1.100; our IP address is 192.168.1.200
Filename 'u-boot.bin'.
Load address: 0x78000000
Loading: #############################
2.7 MiB/s
done
Bytes transferred = 416472 (65ad8 hex)
=> go 87800000

四、定制化修改
1.开发板名称修改
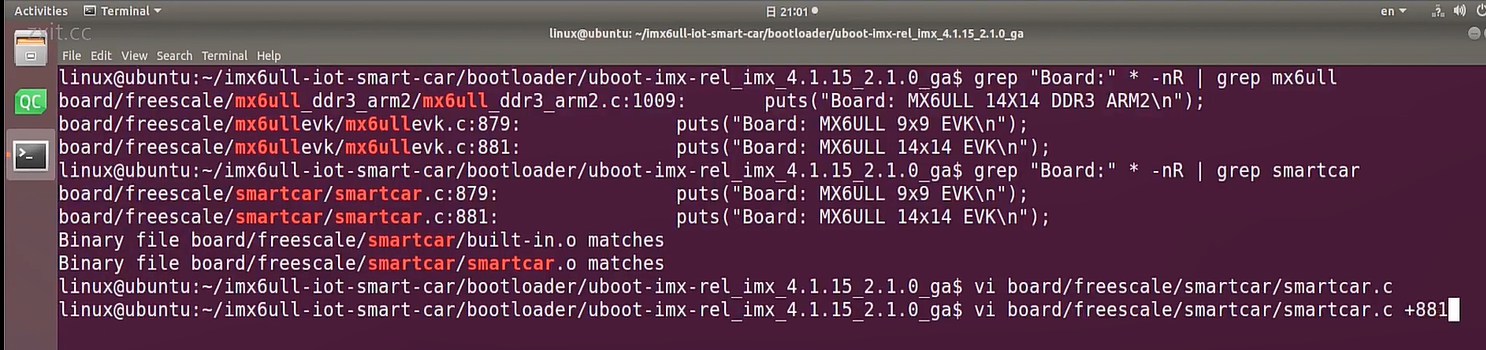
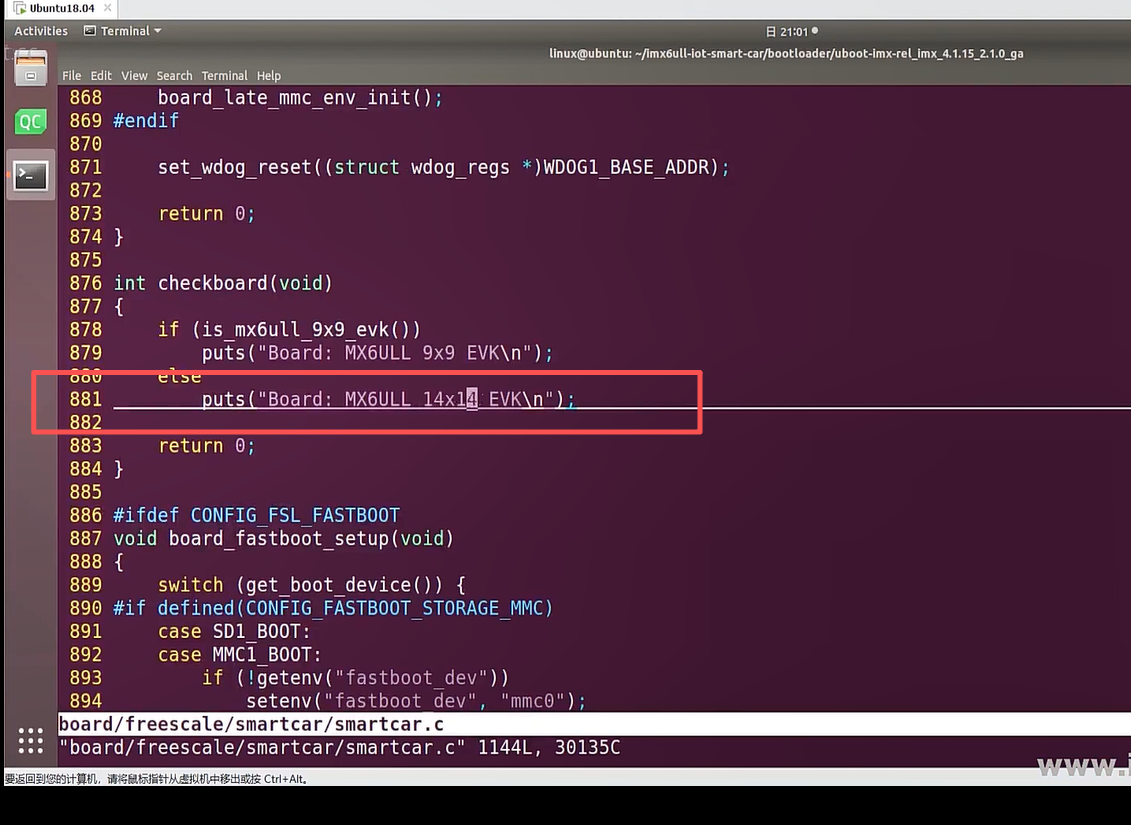
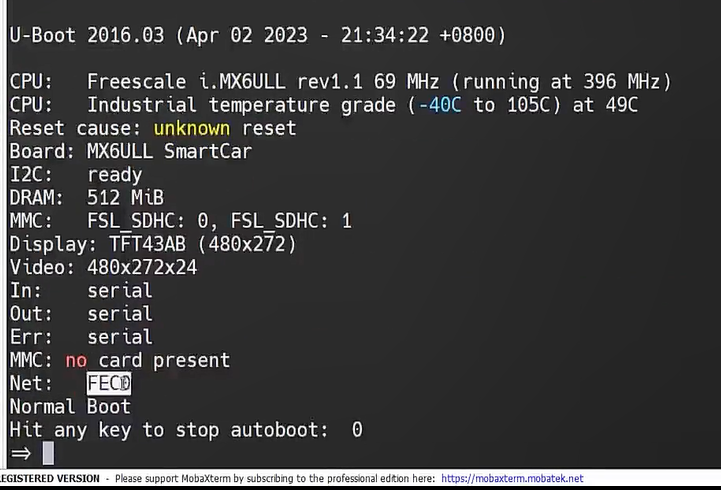
在 uboot 启动信息中会有"Board: MX6ULL 14x14 EVK"这一句,也就是说板子名字为 "MX6ULL 14x14
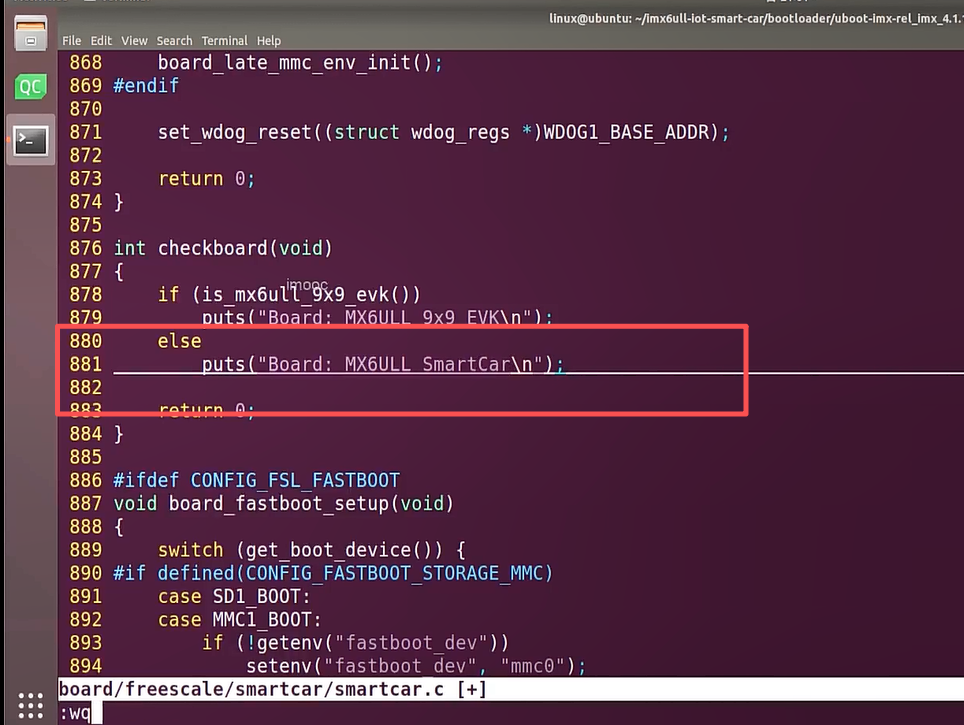
EVK",要将其改为我们所使用的板子名字"Board:MX6ULL SmartCar"。
在u-boot源码中搜索"Board: MX6ULL"确定需要修改的文件:

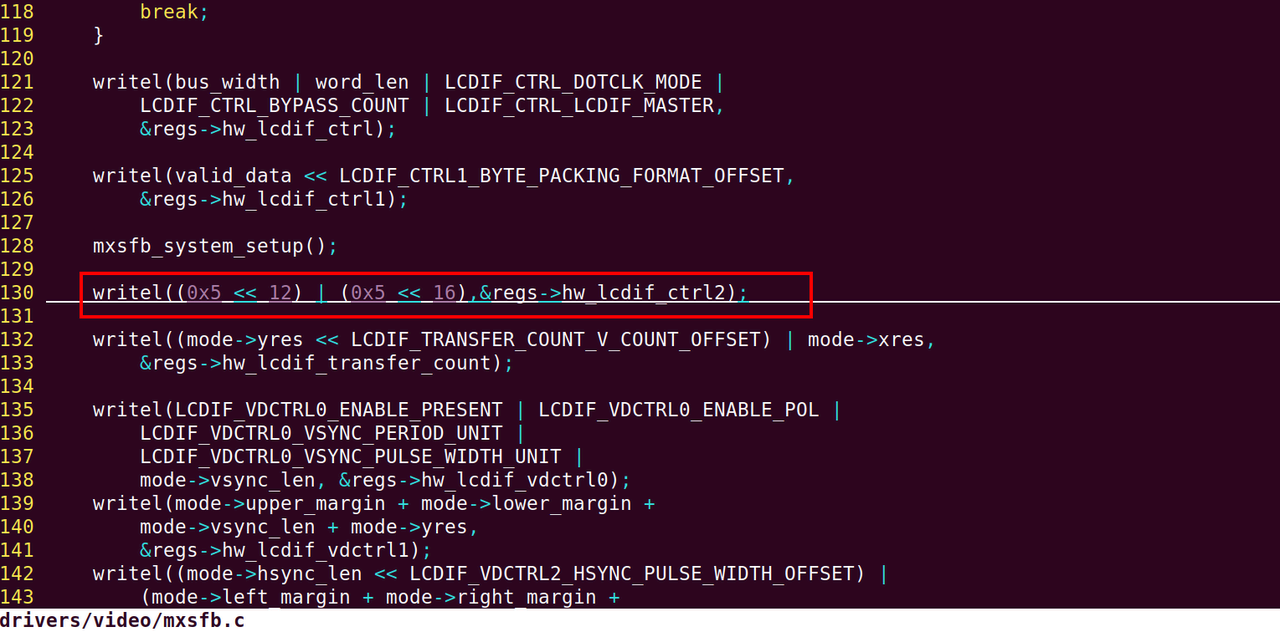
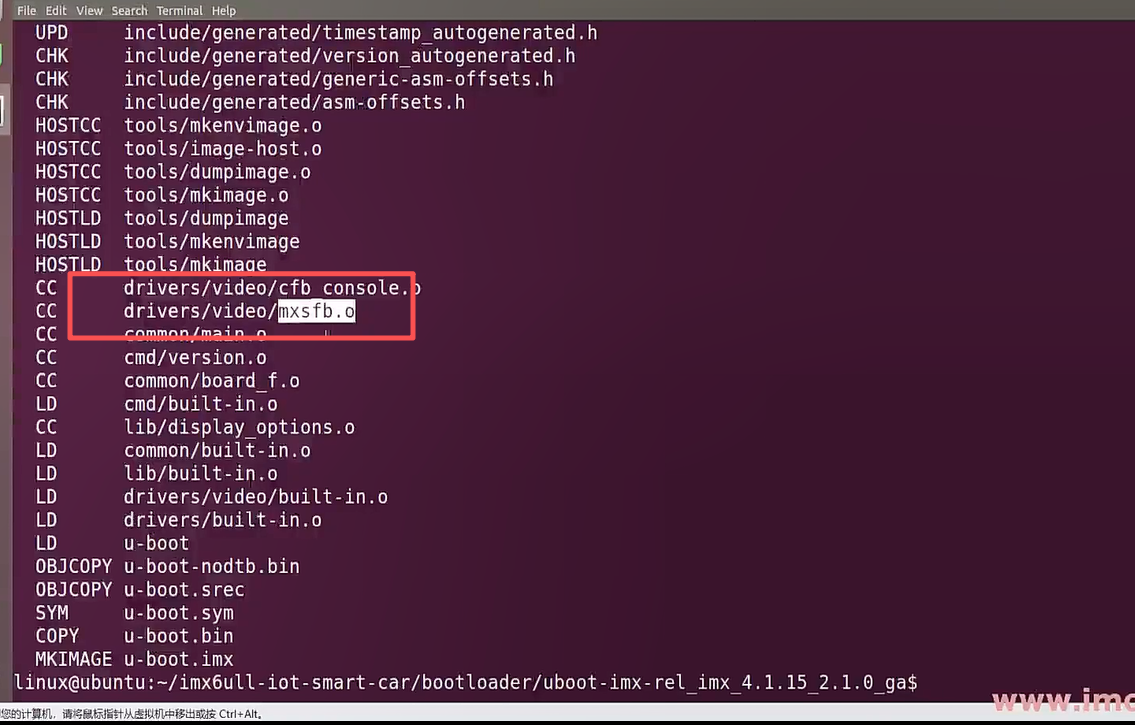
- LCD驱动修改
我们的u-boot在启动的时候默认会显示NXP的LOGO,但是颜色显示不对,我们需要修改一下LCD驱动。

重新编译

重启
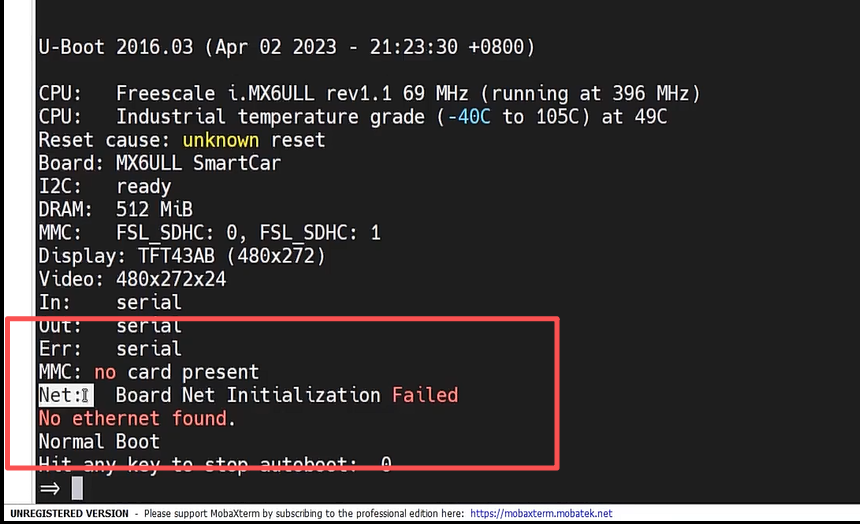
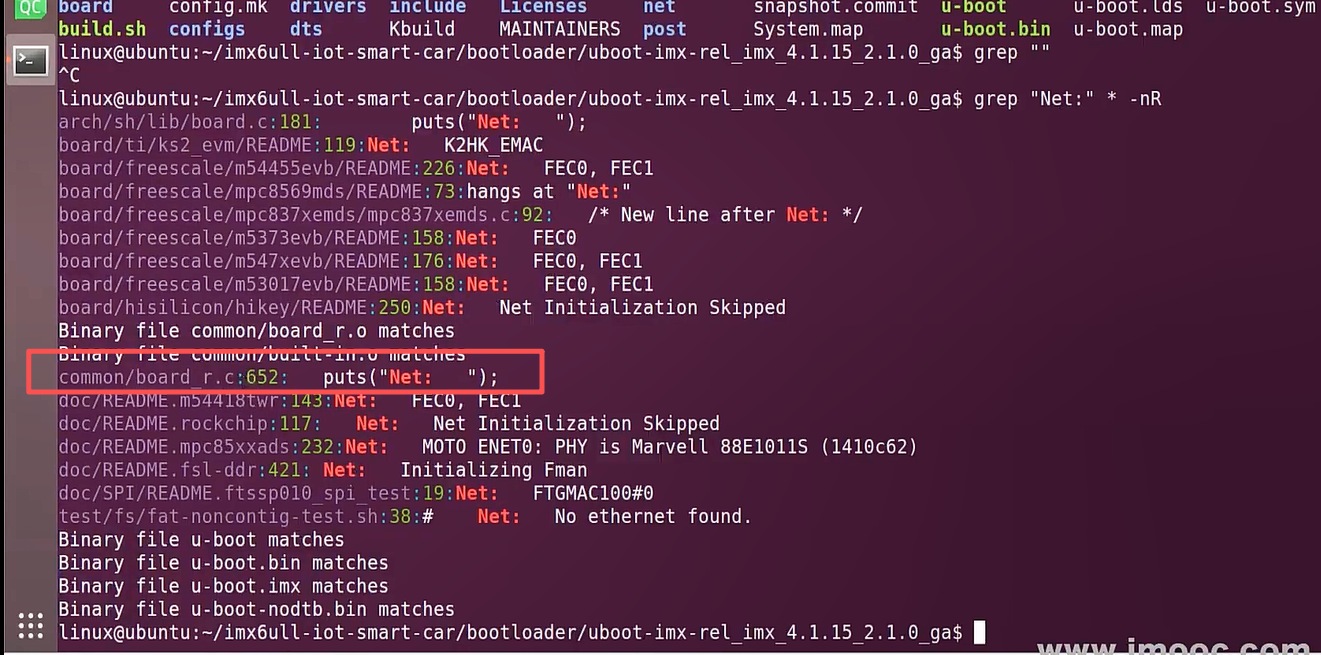
- 网卡修改
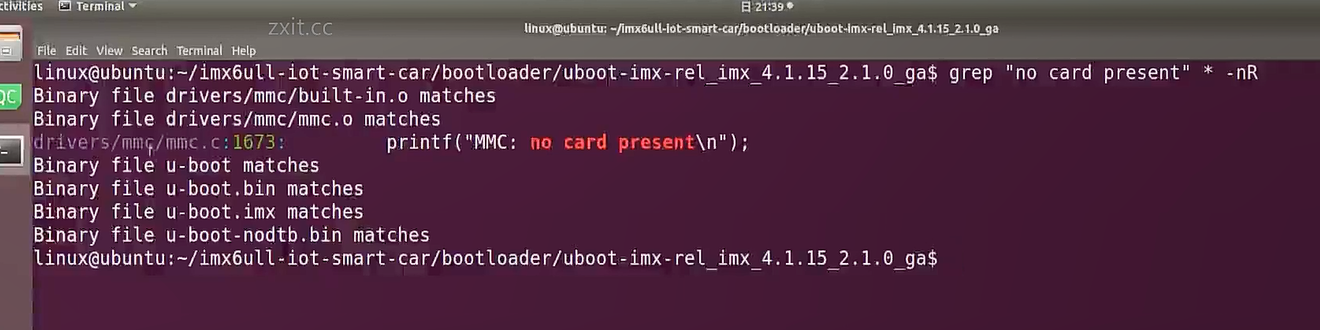
发现网卡错误
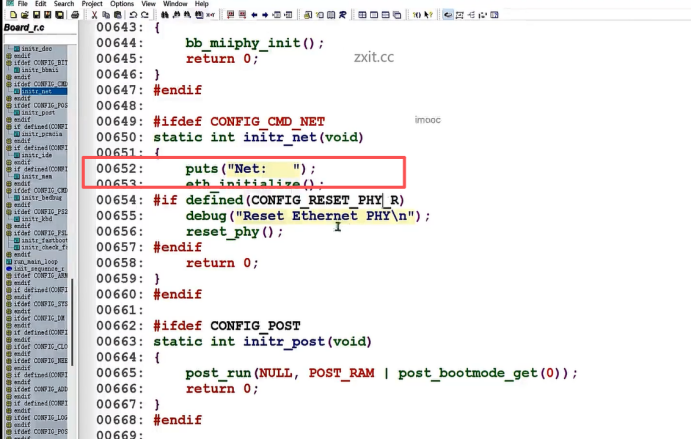
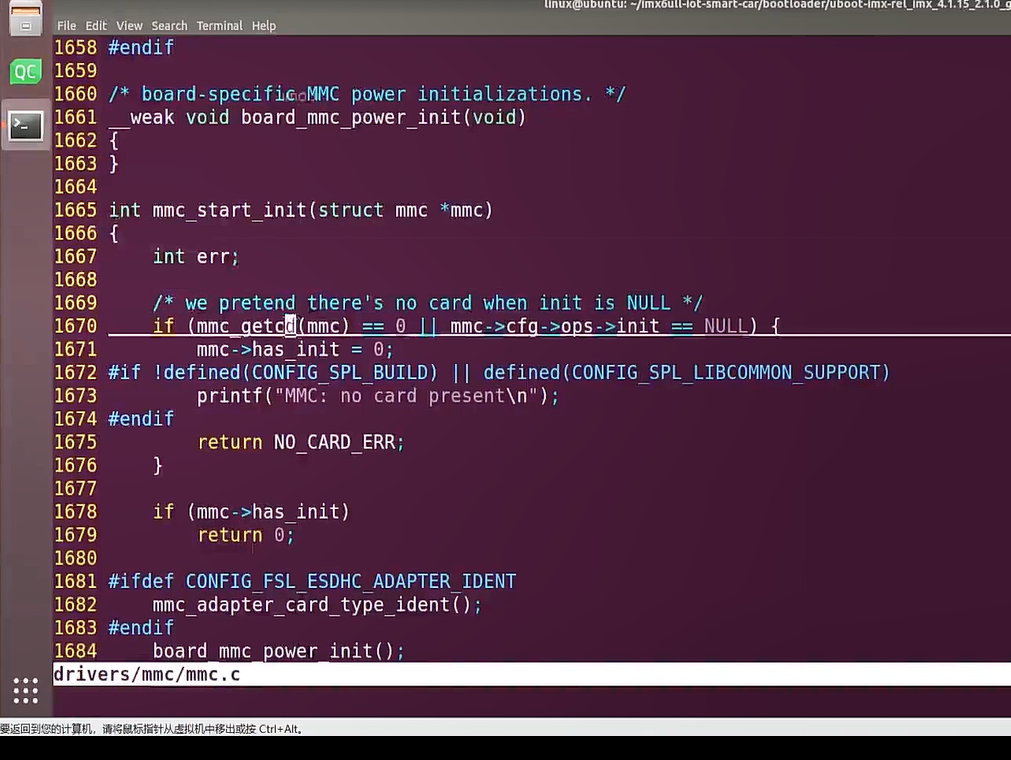
搜索网卡输出位置
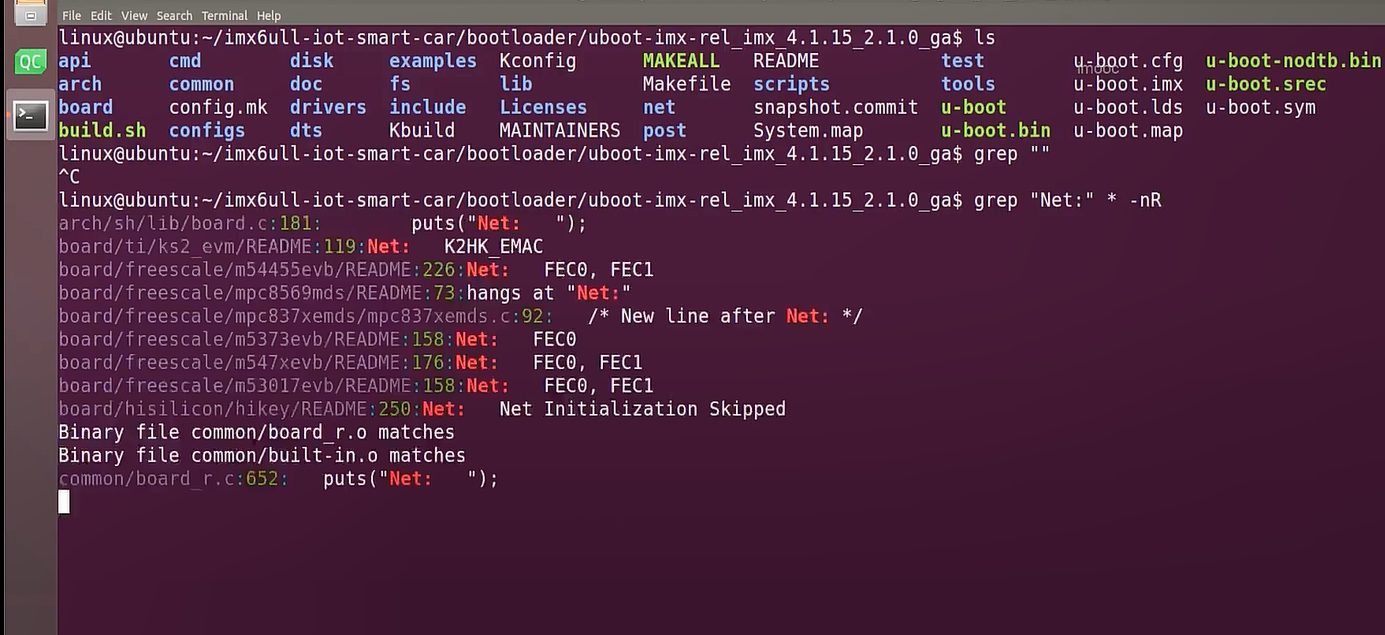
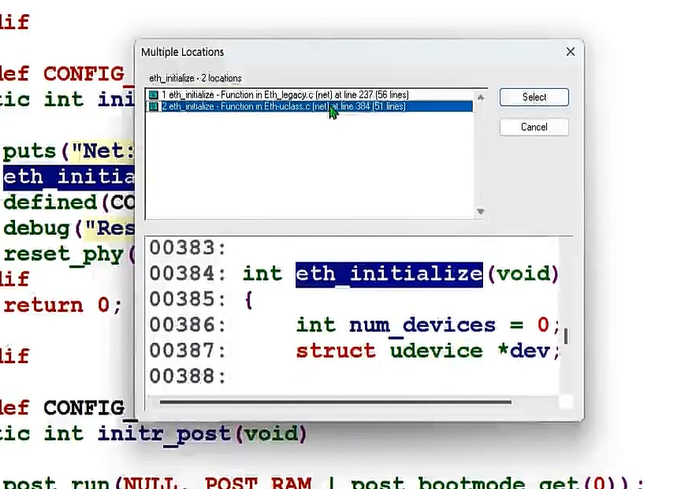
找到这里
imx6ull芯片支持两个网卡,EVK开发板的u-boot默认使用的是网卡2,我们需要把它修改成网卡1

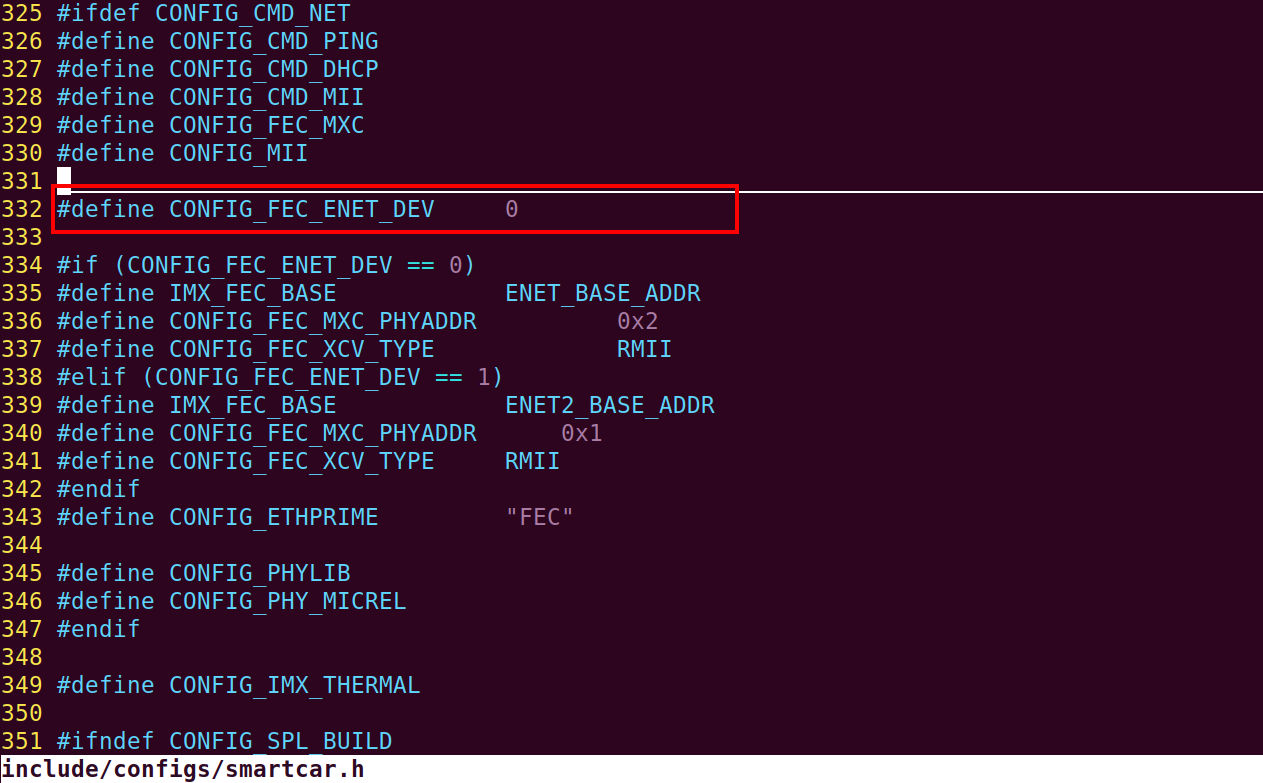
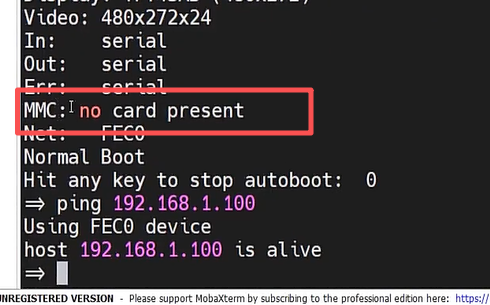
识别到了网卡
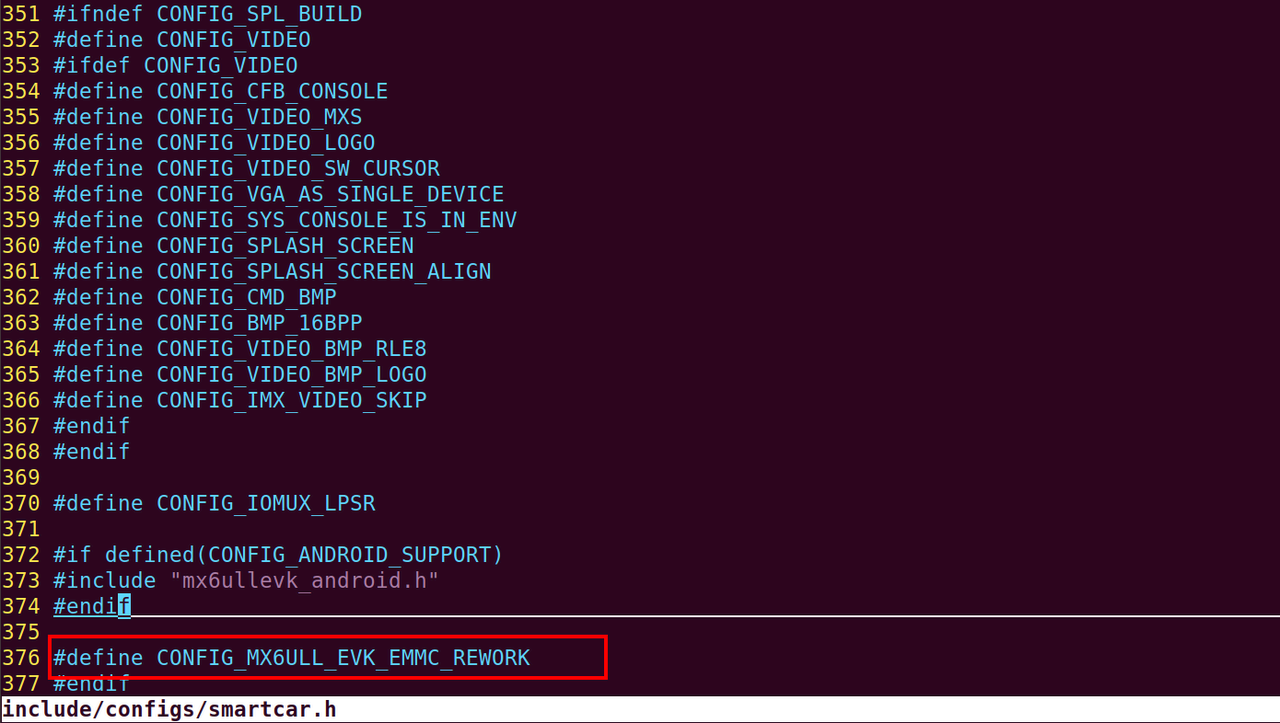
- emmc修改
在u-boot中默认EMMC的功能没有打开,需要添加宏定义打开EMMC功能。

五、更新板子里面的 u-boot
A、切换到emmc 的第0分区
=> mmc dev 1 0
switch to partitions #0, OK
mmc1(part 0) is current device
=>
B、从tftp下载 u-boot.imx 到内存 80800000
=> tftp 80800000 u-boot.imx
Using FEC0 device
TFTP from server 192.168.3.25; our IP address is 192.168.3.22
Filename 'u-boot.imx'.
Load address: 0x80800000
Loading: #########################
1.7 MiB/s
done
Bytes transferred = 363520 (58c00 hex)
=>
C、将内存的数据写到emmc的第0分区第2个块
为什么是 2C6 ?上一步骤我们下载的u-boot.imx为 363520 个字节,353520/512=710块,十六进制为2C6
(如果有小数需要+1)
=> mmc write 80800000 2 2C6
MMC write: dev # 1, block # 2, count 710... 710blocks written: OK
=>
4、分区设置
mmc partconf dev boot_ack boot_partition partition_access
- Change the bits of the PARTITION_CONFIG field of the specified device
=> mmc partconf 1 1 0 0
=>
5、重启
=> reset
resetting ...
注意:
不要写 SD 卡或者 EMMC 的前两个块(扇区),里面保存着分区表!