大家好,我是java1234_小锋老师,最近写了一套基于Python深度学习的车辆车牌识别系统(PyTorch2卷积神经网络CNN+OpenCV4实现)视频教程,持续更新中,计划月底更新完,感谢支持。
视频在线地址:
https://www.bilibili.com/video/BV1BdUnBLE6N/
课程简介:
本课程采用主流的Python技术栈实现,分两套系统讲解,一套是专门讲PyTorch2卷积神经网络CNN训练模型,识别车牌,当然实现过程中还用到OpenCV实现图像格式转换,裁剪,大小缩放等。另外一套是基于前面Django+Vue通用权限系统基础上,加了车辆识别业务模型,Mysql8数据库,Django后端,Vue前端,后端集成训练好的模型,实现车牌识别。
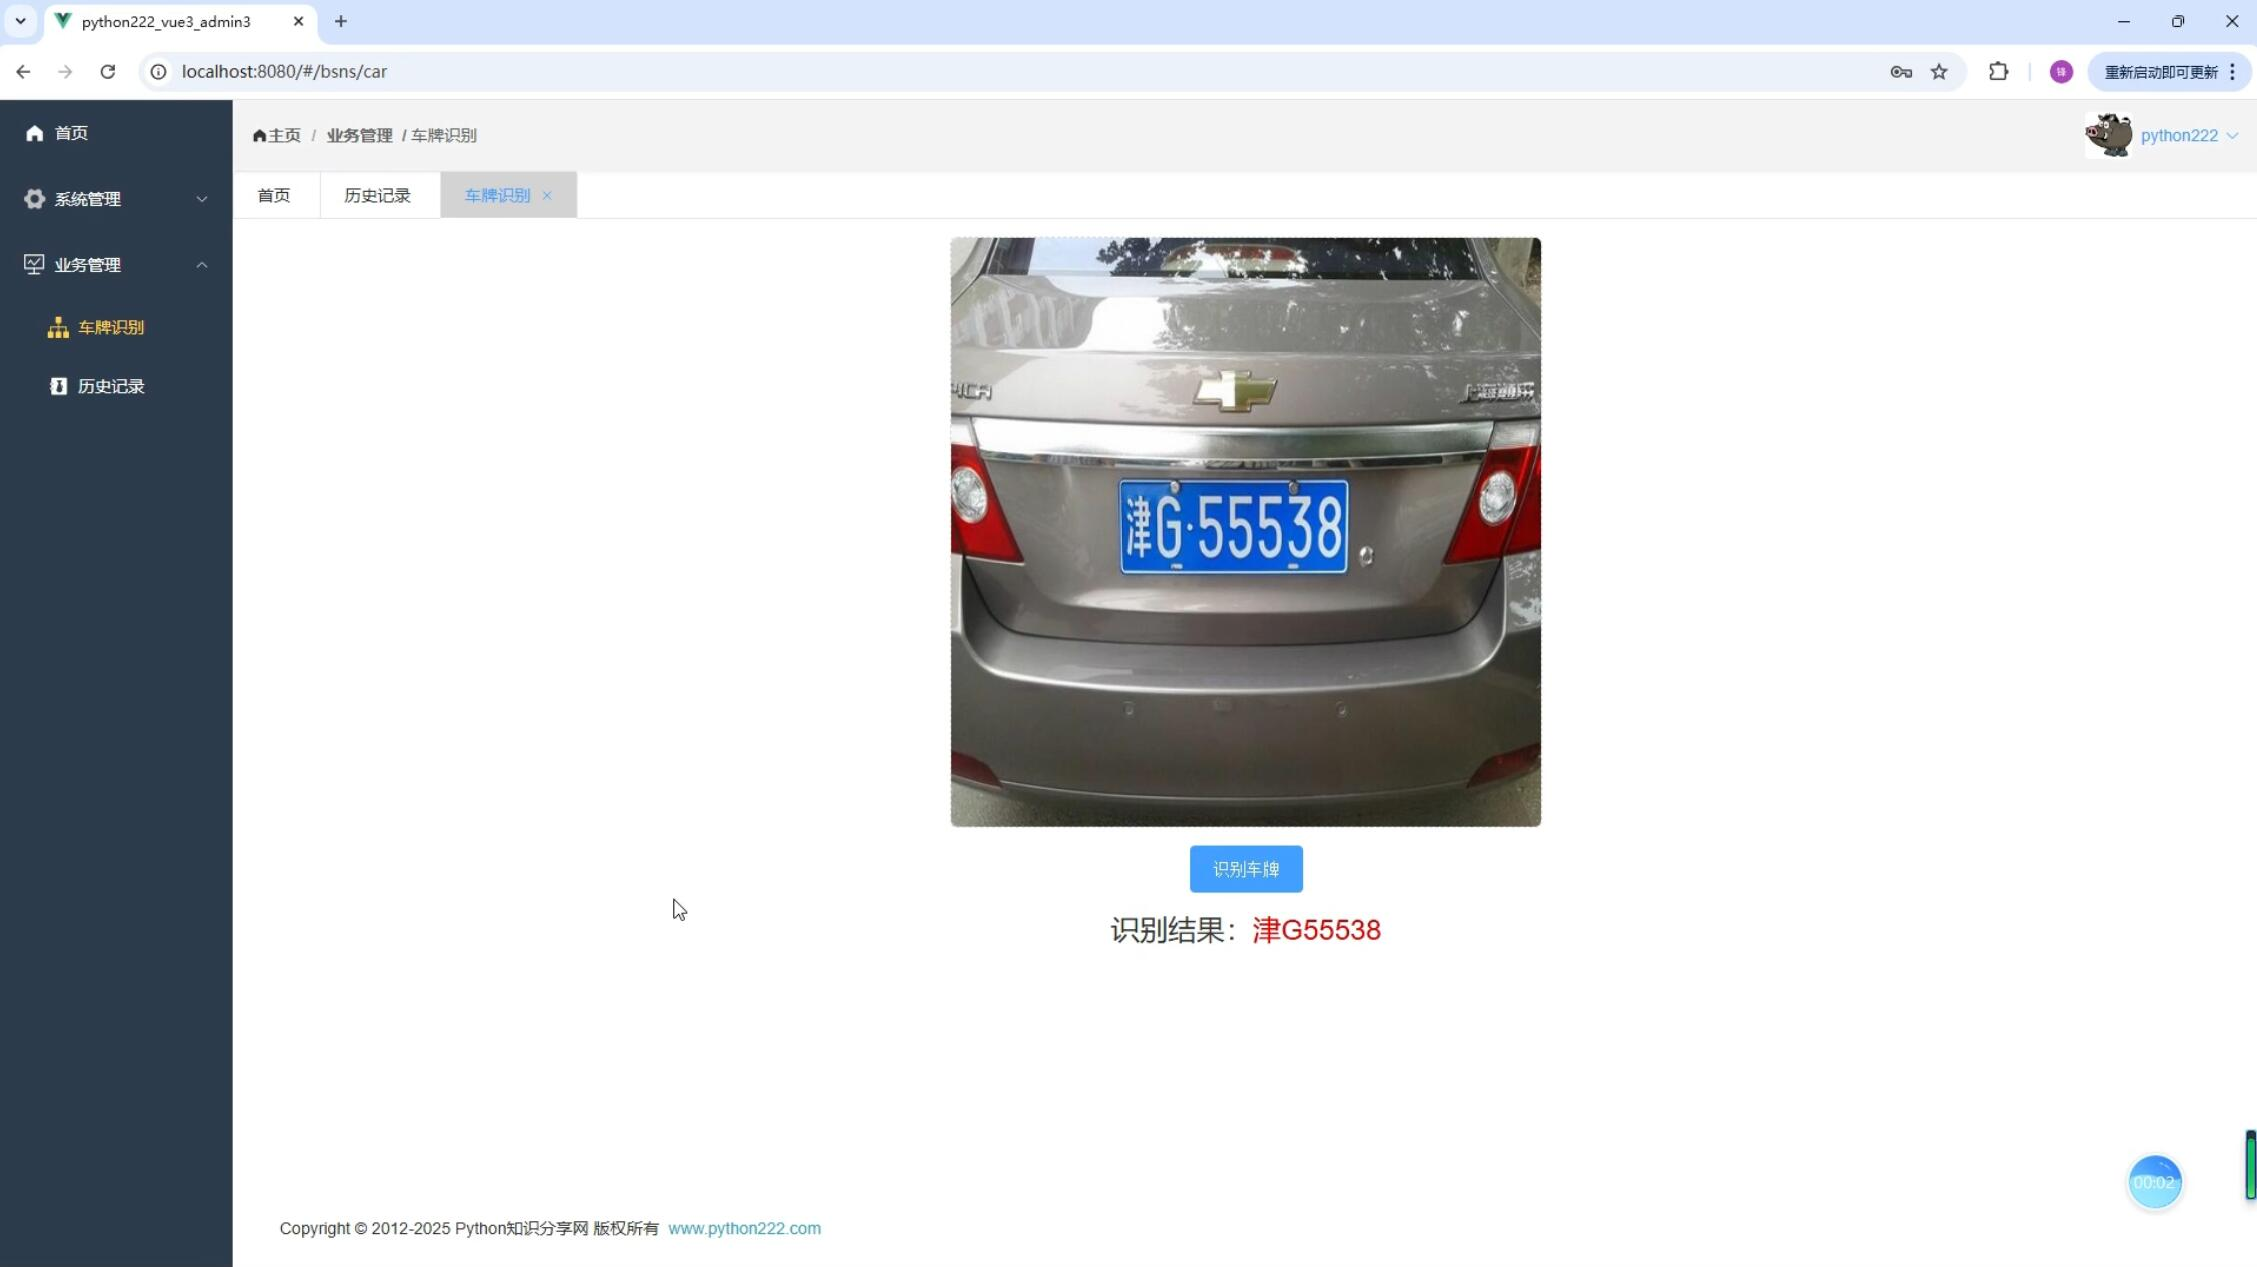
基于Python深度学习的车辆车牌识别系统(PyTorch2卷积神经网络CNN+OpenCV4实现)视频教程 - 裁剪和矫正车牌
前面我们得到验证后的矩阵车牌,然后我们需要从图像中裁剪出车牌。根据旋转角度我们需要进行计算,如果有旋转,我们必须先进行矫正后再裁剪。
# 将检测到的车牌区域从原始图像中正确的裁剪出来,并进行必要的变换以满足后续处理的需求,如车牌矫正和大小调整
def img_Transform(car_rect, image):
    img_h, img_w = image.shape[:2]  # 获取图片的宽高
    rect_w, rect_h = car_rect[1][0], car_rect[1][1]  # 获取车牌的宽和高
    angle = car_rect[2]  # 获取车牌的旋转角度
    return_flag = False
    if car_rect[2] == 0.0:  # 旋转角度为0
        return_flag = True
    if car_rect[2] == 90.0 and rect_w < rect_h:  # 旋转角度为90 并且 宽高比小于1
        rect_w, rect_h = rect_h, rect_w
        return_flag = True
    if return_flag:
        """
        从原始图像中裁剪出车牌区域。具体来说:
        使用car_rect[0]作为车牌中心点坐标;
        根据车牌的宽度rect_w和高度rect_h,计算上下左右边界;
        从原图image中截取以该中心点为中心、指定宽高的矩形区域作为车牌图像car_img。
        """
        car_img = image[int(car_rect[0][1] - rect_h / 2):int(car_rect[0][1] + rect_h / 2),
                  int(car_rect[0][0] - rect_w / 2):int(car_rect[0][0] + rect_w / 2)]
        return car_img  # 将车牌从图片中切割出来

    """
    1. 使用`cv2.boxPoints`获取旋转矩形的四个顶点坐标。
    2. 初始化四个变量分别用于记录最左、最下、最高和最右的点。
    3. 遍历四个顶点,根据坐标更新这四个变量,从而确定矩形的边界点,为后续仿射变换做准备。
    """
    car_rect = (car_rect[0], (rect_w, rect_h), angle)  # 创建旋转矩阵
    box = cv2.boxPoints(car_rect)  # 调用函数获取矩形边框的四个点
    heigth_point = right_point = [0, 0]  # 定义变量保存矩形边框的右上顶点
    left_point = low_point = [car_rect[0][0], car_rect[0][1]]  # 定义变量保存矩形边框的左下顶点
    for point in box:
        if left_point[0] > point[0]:
            left_point = point
        if low_point[1] > point[1]:
            low_point = point
        if heigth_point[1] < point[1]:
            heigth_point = point
        if right_point[0] < point[0]:
            right_point = point

    """
    这段代码用于根据车牌的旋转角度,对图像进行仿射变换以矫正车牌区域。具体步骤如下:
    1. 判断角度正负:通过比较左点和右点的纵坐标判断车牌是正角度还是负角度倾斜。
    2. 构造目标点:根据倾斜方向调整右上角或左下角点的位置,使车牌变为水平。
    3. 生成变换矩阵:使用`cv2.getAffineTransform`计算三点之间的仿射变换矩阵。
    4. 执行仿射变换:利用`cv2.warpAffine`将图像展开并裁剪出矫正后的车牌区域。
    最终返回的是经过旋转矫正后的车牌图像。
    """
    if left_point[1] <= right_point[1]:  # 正角度
        new_right_point = [right_point[0], heigth_point[1]]
        pts1 = np.float32([left_point, heigth_point, right_point])
        pts2 = np.float32([left_point, heigth_point, new_right_point])  # 字符只是高度需要改变
        M = cv2.getAffineTransform(pts1, pts2)
        dst = cv2.warpAffine(image, M, (round(img_w * 2), round(img_h * 2)))
        car_img = dst[int(left_point[1]):int(heigth_point[1]), int(left_point[0]):int(new_right_point[0])]

    elif left_point[1] > right_point[1]:  # 负角度
        new_left_point = [left_point[0], heigth_point[1]]
        pts1 = np.float32([left_point, heigth_point, right_point])
        pts2 = np.float32([new_left_point, heigth_point, right_point])  # 字符只是高度需要改变
        M = cv2.getAffineTransform(pts1, pts2)
        dst = cv2.warpAffine(image, M, (round(img_w * 2), round(img_h * 2)))
        car_img = dst[int(right_point[1]):int(heigth_point[1]), int(new_left_point[0]):int(right_point[0])]
    return car_img
运行项目测试下,可以得到矫正和裁剪后的车牌。
