官方文档
https://docs.gitlab.com/ci/#step-1-create-a-gitlab-ciyml-file
安装gitLab
下载liunx系统,使用国内镜像快点
北大镜像
bash
https://mirrors.pku.edu.cn/centos/7.9.2009/isos/x86_64/安装依赖
bash
## 安装 所需依赖
sudo yum install -y curl policycoreutils-python openssh-server perl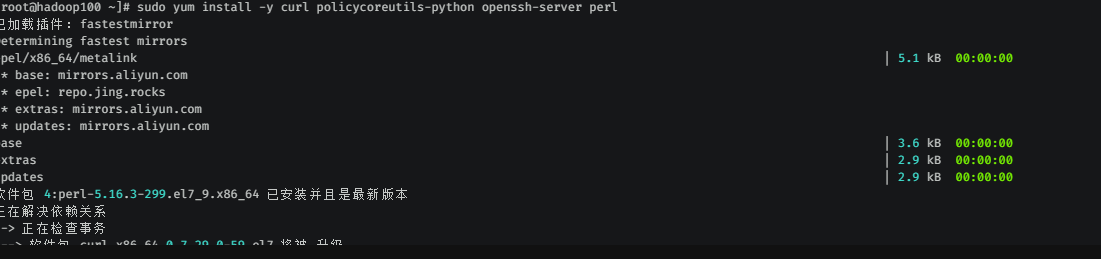
bash
## sshd 设置为自定启动
sudo systemctl enable sshd
## 启动 sshd
sudo systemctl start sshd
## 查看 sshd 状态
sudo systemctl status sshd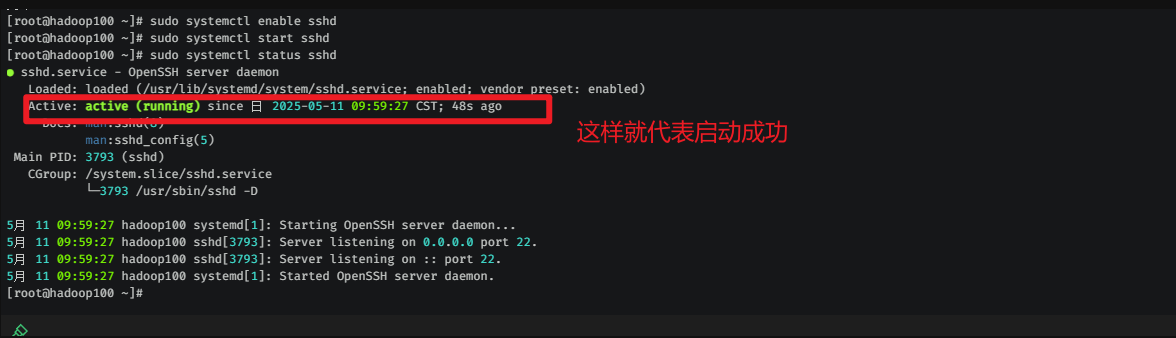
bash
gitlab-ctl start                  # 启动所有 gitlab 组件;
gitlab-ctl stop                   # 停止所有 gitlab 组件;
gitlab-ctl restart                # 重启所有 gitlab 组件;
gitlab-ctl status                 # 查看服务状态;
gitlab-ctl reconfigure            # 启动服务;
vi /etc/gitlab/gitlab.rb         # 修改默认的配置文件;
gitlab-ctl tail
配置镜像
curl -fsSL https://packages.gitlab.cn/repository/raw/scripts/setup.sh | /bin/bashsuccessfully added gitlab-jh repo. 就代表成功了

安装gitlab
# 查看本机ip地址
ip addr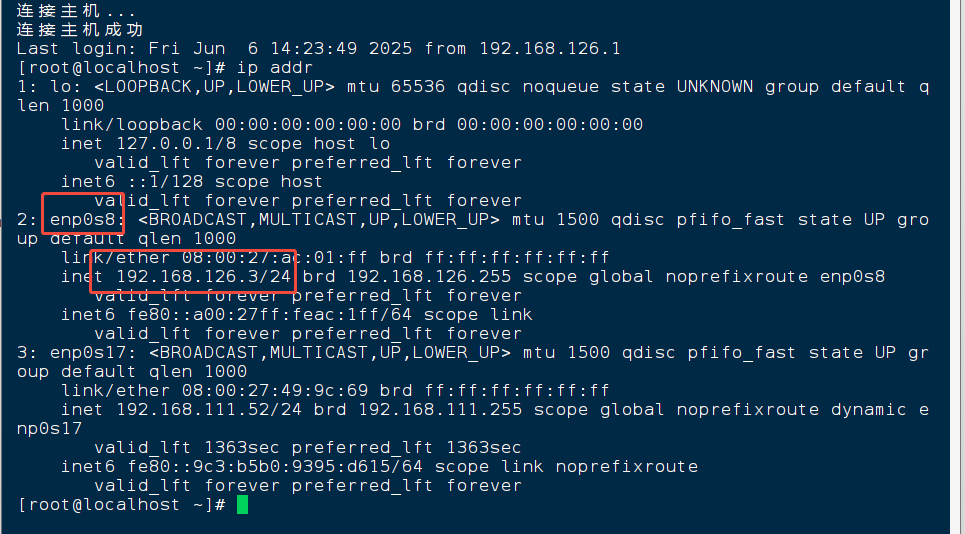
# 将地址挂载到你本地
# sudo EXTERNAL_URL="http://你的ip地址" yum install -y gitlab-jh
sudo EXTERNAL_URL="http://192.168.126.3" yum install -y gitlab-jh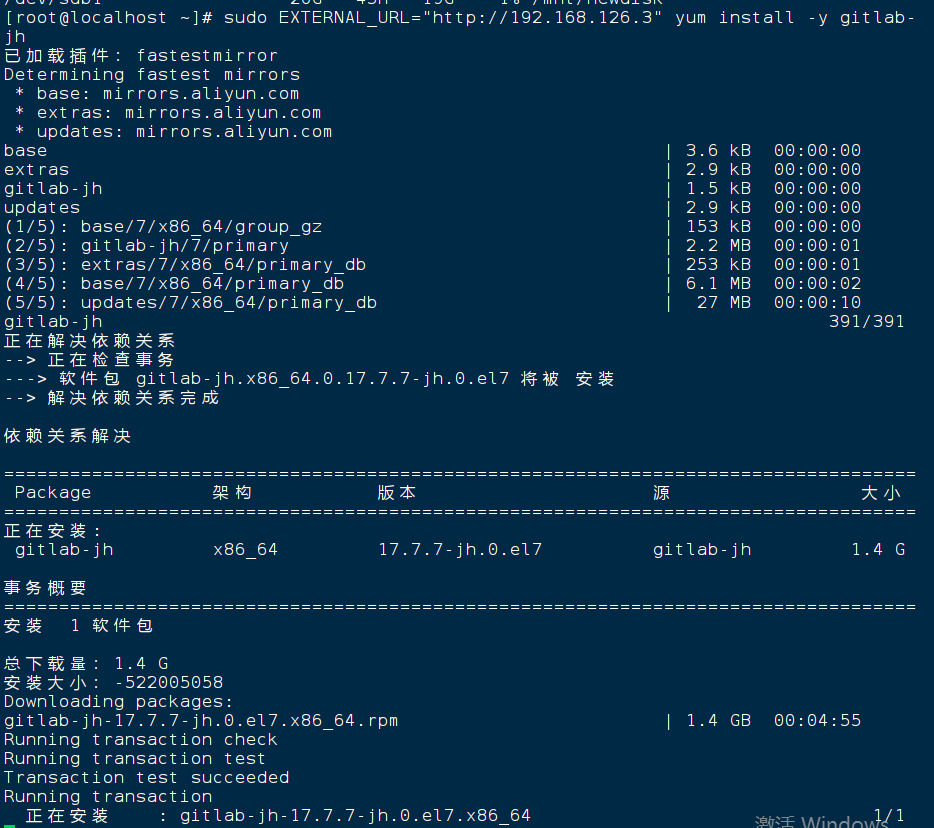
gitlab常用命令
bash
gitlab-ctl start                  # 启动所有 gitlab 组件;
gitlab-ctl stop                   # 停止所有 gitlab 组件;
gitlab-ctl restart                # 重启所有 gitlab 组件;
gitlab-ctl status                 # 查看服务状态;
gitlab-ctl reconfigure            # 启动服务;
vi /etc/gitlab/gitlab.rb         # 修改默认的配置文件;
gitlab-ctl tail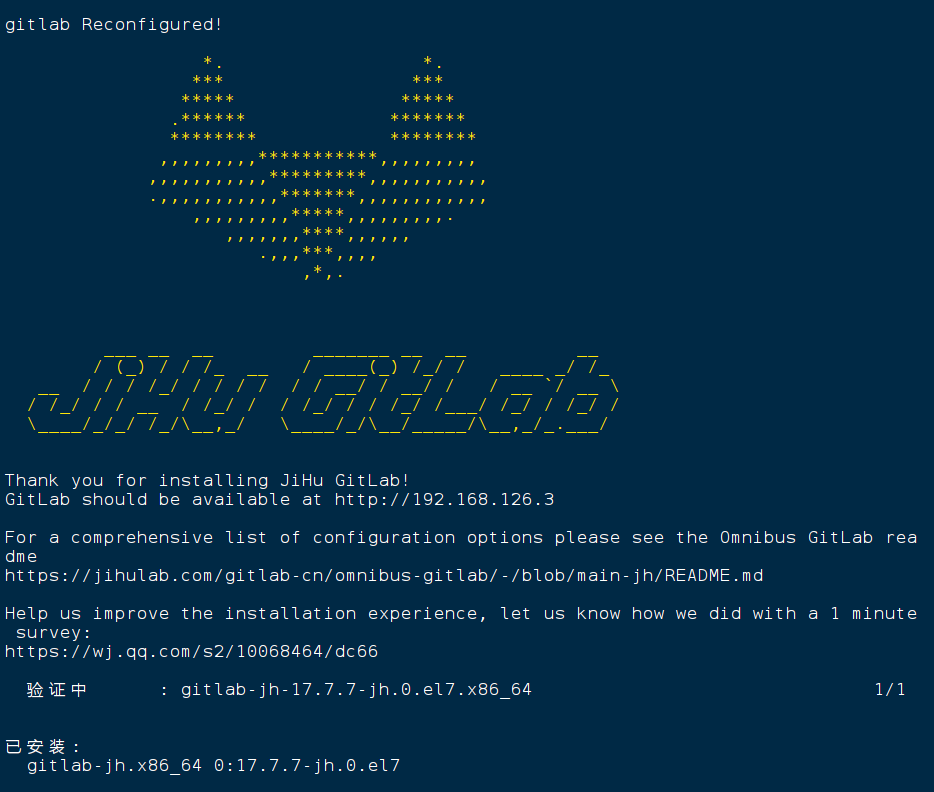
安装完毕后启动
bash
gitlab-ctl start 查看初始密码
默认用户名是root
cat /etc/gitlab/initial_root_passwordgitlab-runer的安装
新启一台虚拟机 192.168.126.4
如果wget西在不下来,可以使用curl来下载
curl -L https://packages.gitlab.com/install/repositories/runner/gitlab-runner/script.rpm.sh | sudo bash下载runner镜像到runner服务器
bash
https://mirrors.tuna.tsinghua.edu.cn/gitlab-runner/yum/el7/gitlab-runner-fips-17.1.0-1.x86_64.rpm安装
rpm -ivh gitlab-runner-fips-17.1.0-1.x86_64.rpm运行命令
sudo systemctl enable --now gitlab-runner # 启动并设置开机自启
sudo systemctl status gitlab-runner # 检查运行状态
sudo gitlab-runner register #注册到gitlab cicd
sudo systemctl start gitlab-runner # 启动服务
sudo systemctl enable gitlab-runner # 设置开机自启
systemctl status gitlab-runner # 查看状态
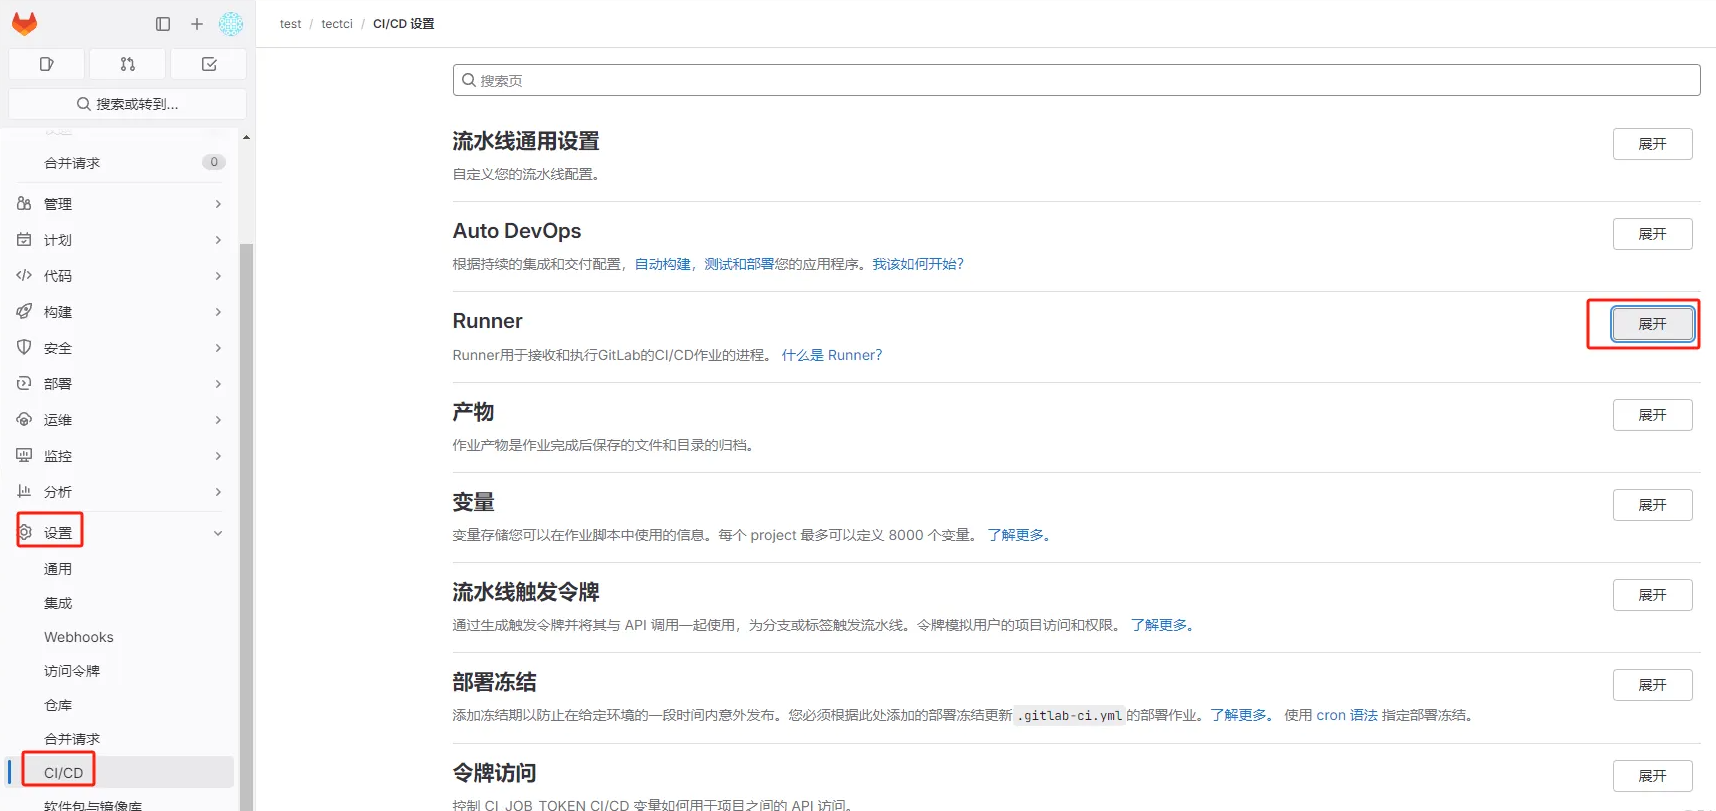
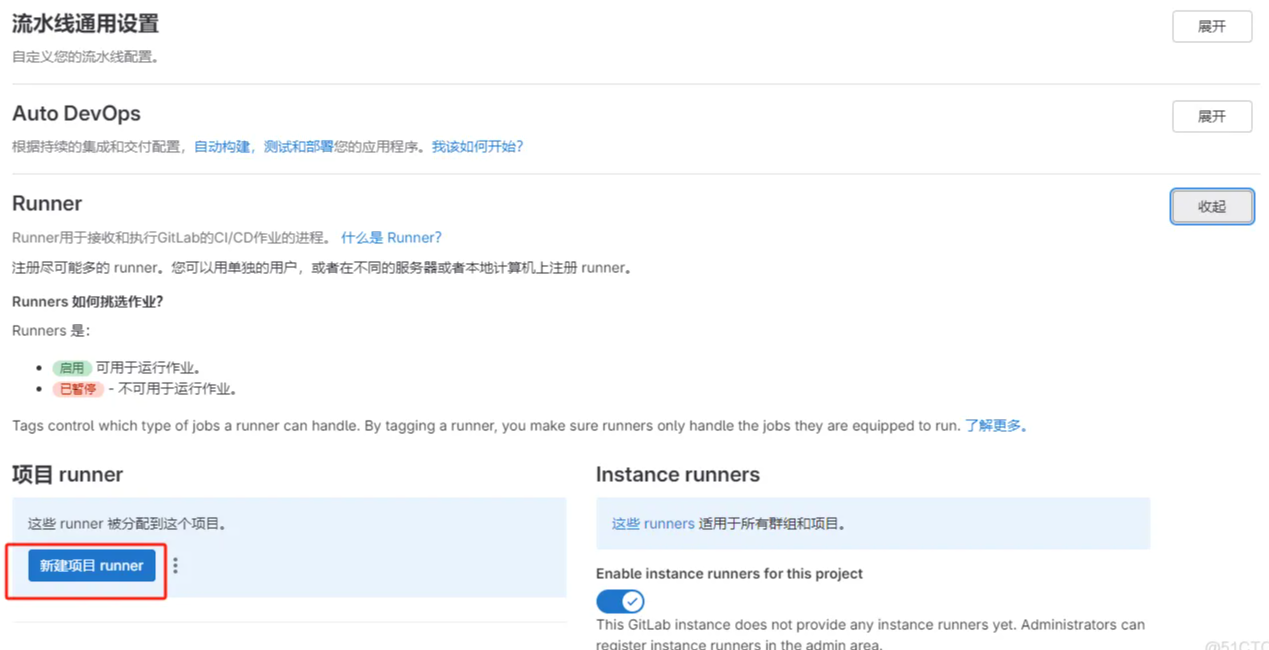
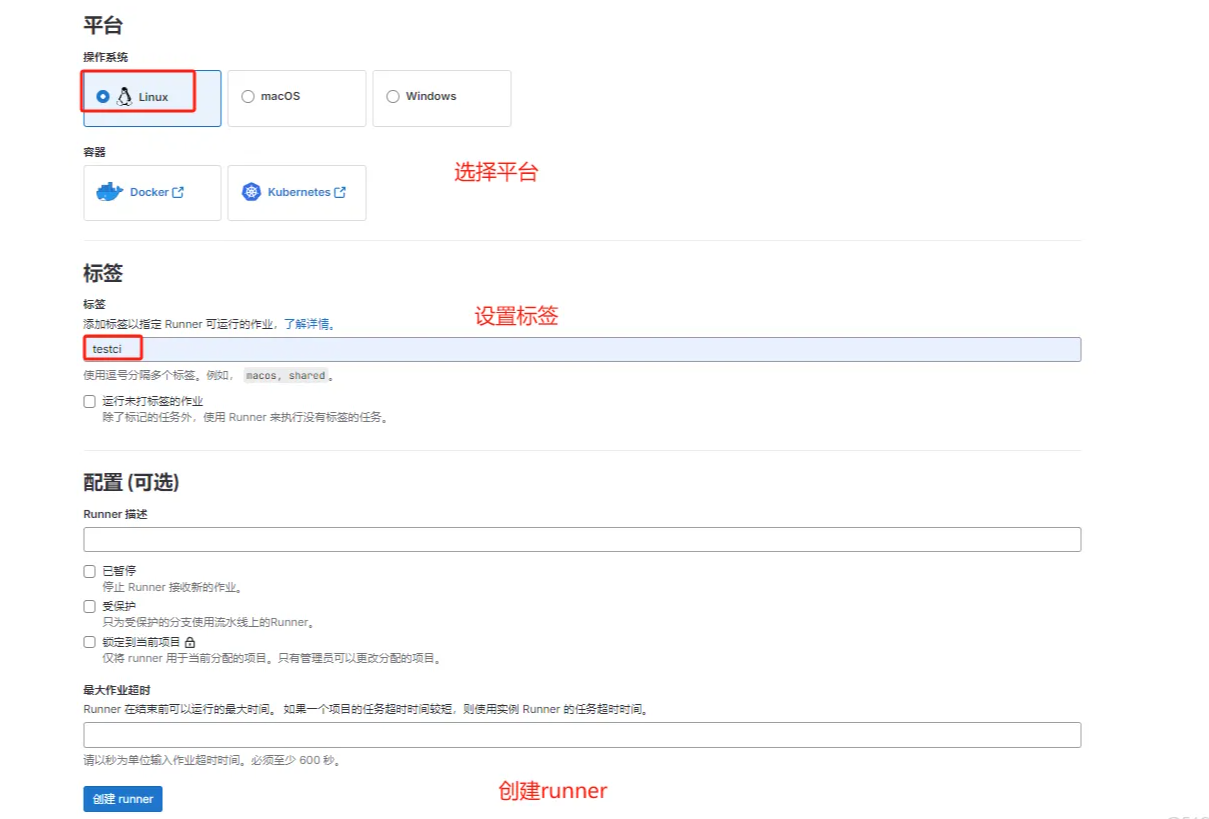
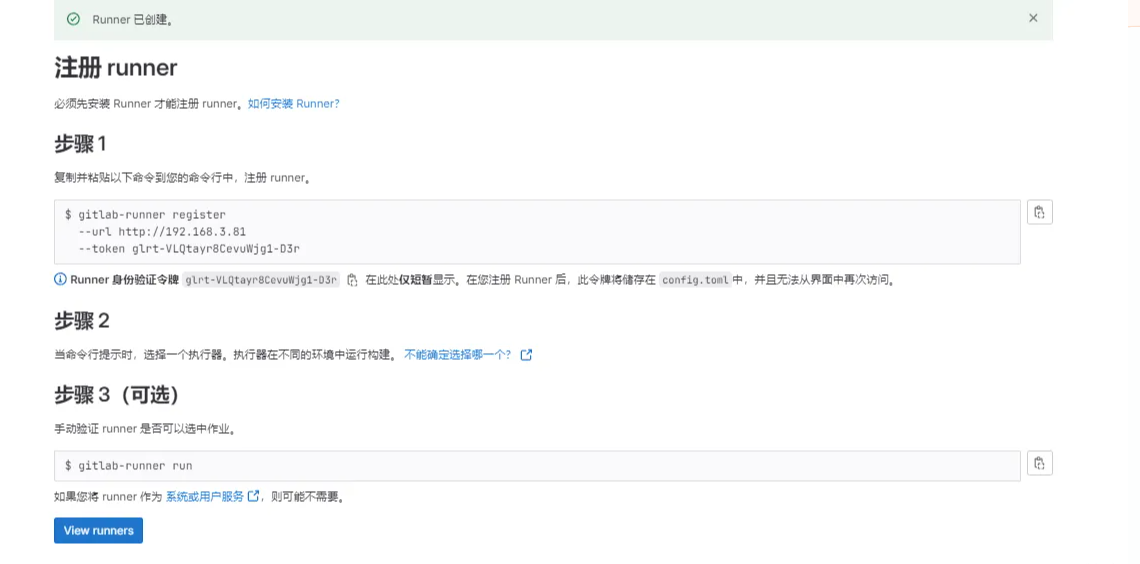
注册runner
gitlab服务器地址 192.168.126.3
密钥: GR134894165zr_dh31udktRZVvP7X
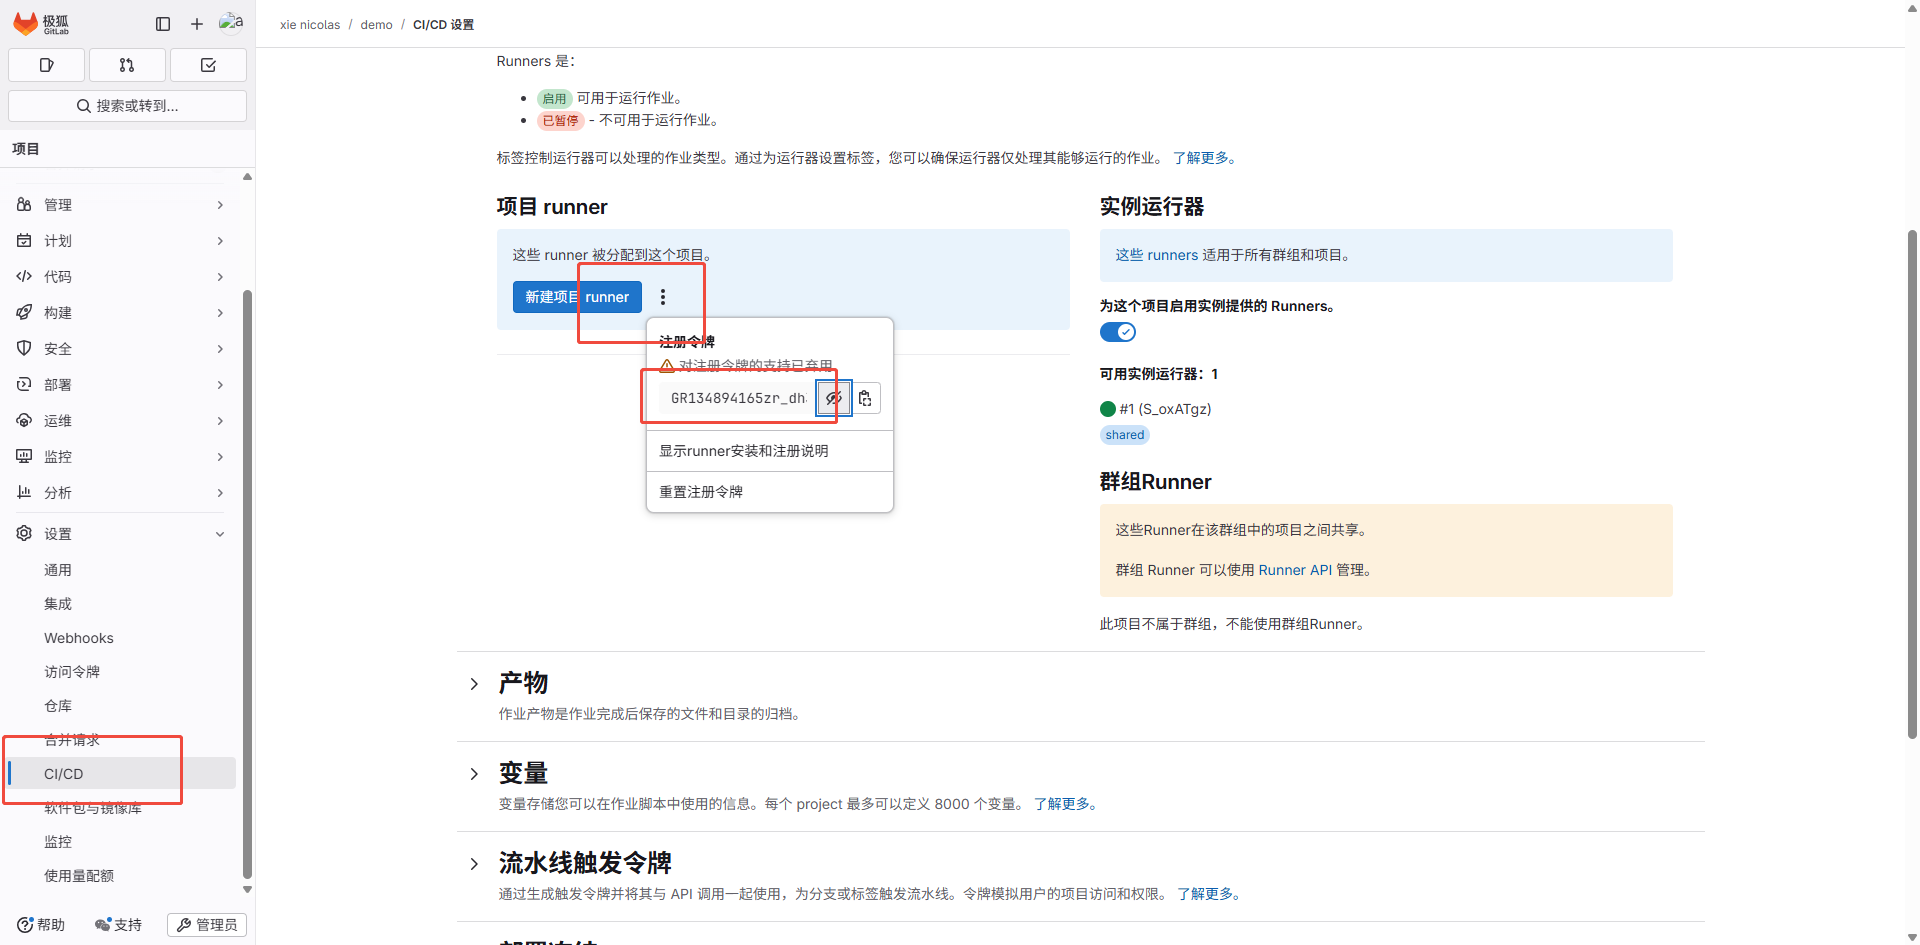
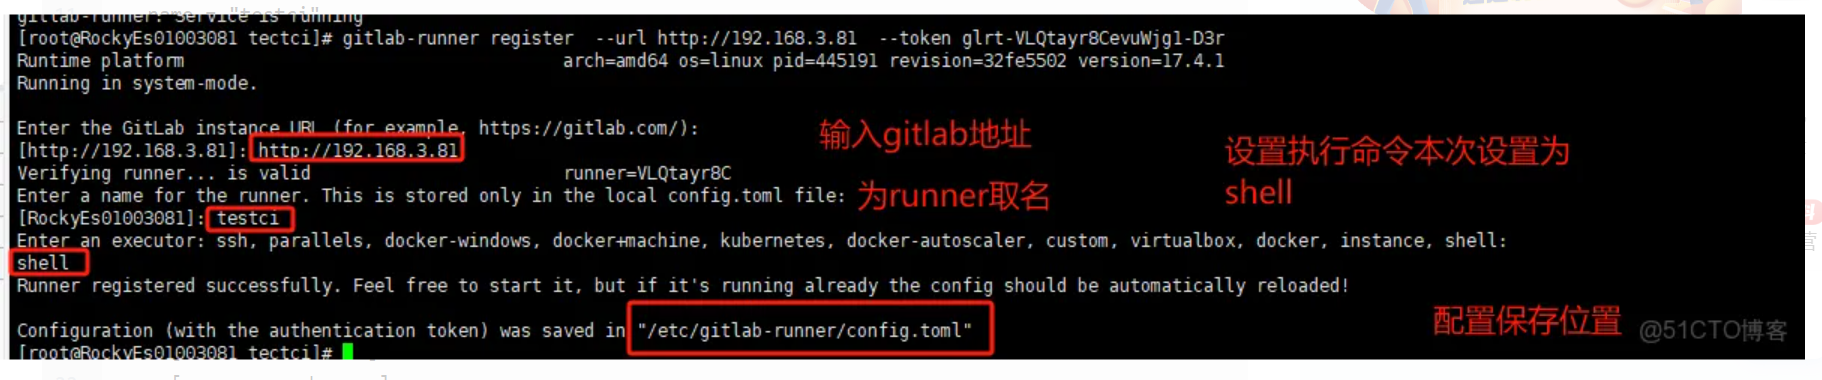
gitlab-runner register --url http://192.168.126.3/ --registration-token GR134894165zr_dh31udktRZVvP7X创建runer
获取名称或token
bash
gitlab-runner list
Runtime platform                                    arch=amd64 os=linux pid=23101 revision=4d7093e1 version=18.0.2
Listing configured runners                          ConfigFile=/etc/gitlab-runner/config.toml
shared-runner                                       Executor=shell Token=glrt-t1_S_oxATgzctBfXdcDvUt- URL=http://192.168.126.3
通过名称或者token取消注册
bash
# 通过name取消注册#
gitlab-runner unregister --name testci

# 通过token取消注册#

gitlab-runner unregister --token glrt-ajwZ3Tgfxjy6tXbA2hgd
查看配置
bash
 cat /etc/gitlab-runner/config.toml
concurrent = 1
check_interval = 0
connection_max_age = "15m0s"
shutdown_timeout = 0

[session_server]
  session_timeout = 1800

[[runners]]
  name = "shared-runner"
  url = "http://192.168.126.3"
  id = 1
  token = "glrt-t1_S_oxATgzctBfXdcDvUt-"
  token_obtained_at = 2025-06-07T05:00:35Z
  token_expires_at = 0001-01-01T00:00:00Z
  executor = "shell"
  [runners.cache]
    MaxUploadedArchiveSize = 0
    [runners.cache.s3]
    [runners.cache.gcs]
    [runners.cache.azure]