Shader "Custom/Chapter11-Billboard"
{
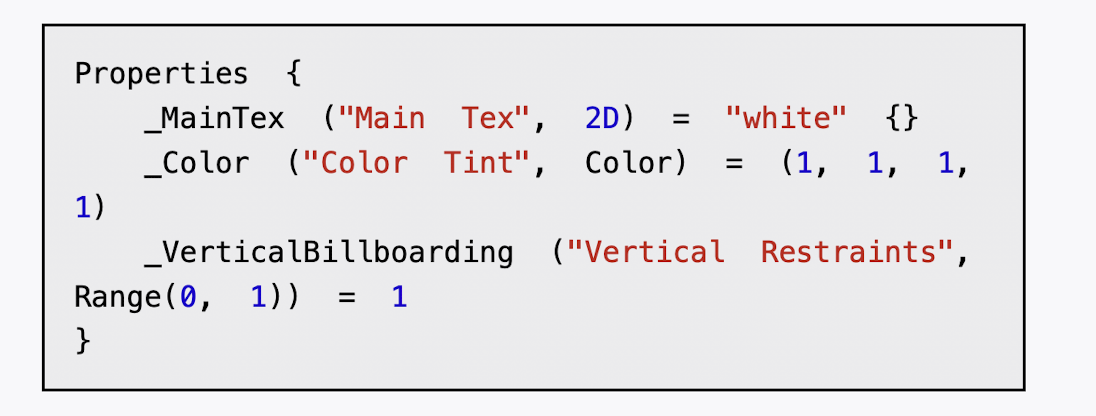
Properties {
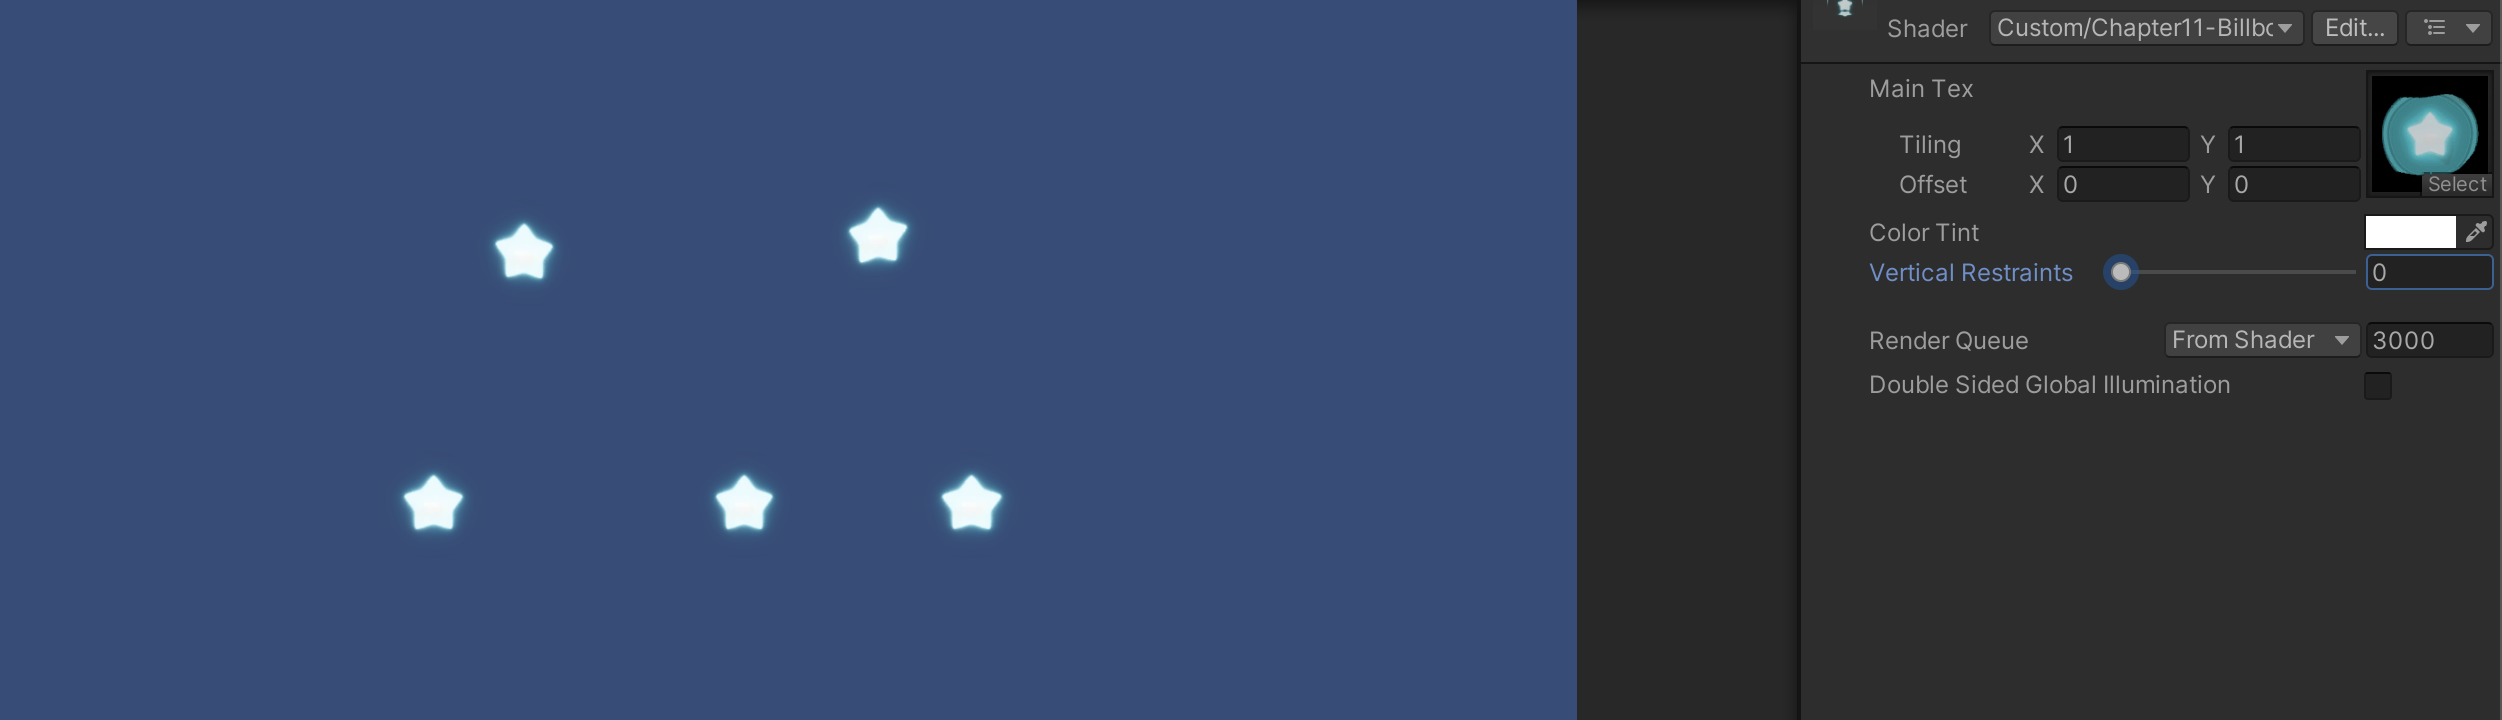
_MainTex ("Main Tex", 2D) = "white" {}
_Color ("Color Tint", Color) = (1, 1, 1, 1)
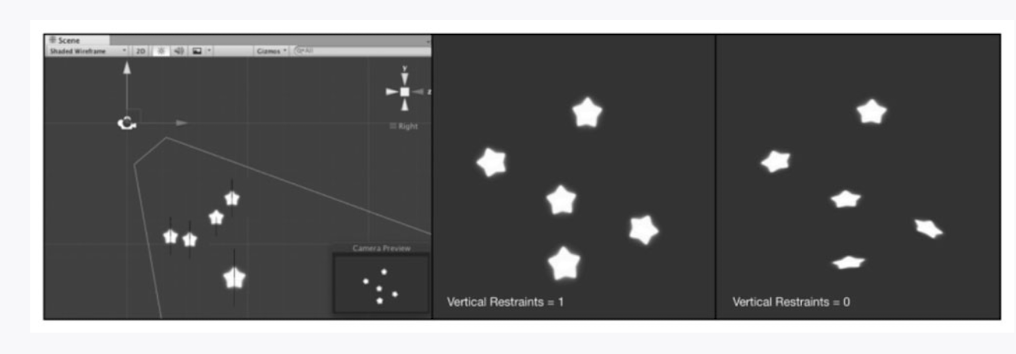
_VerticalBillboarding ("Vertical Restraints", Range(0, 1)) = 1 //_VerticalBillboarding则用于调整是固定法线还是固定指向上的方向,即约束垂直方向的程度。
}
SubShader {
// Need to disable batching because of the vertex animation
Tags {"Queue"="Transparent" "IgnoreProjector"="True" "RenderType"="Transparent" "DisableBatching"="True"}
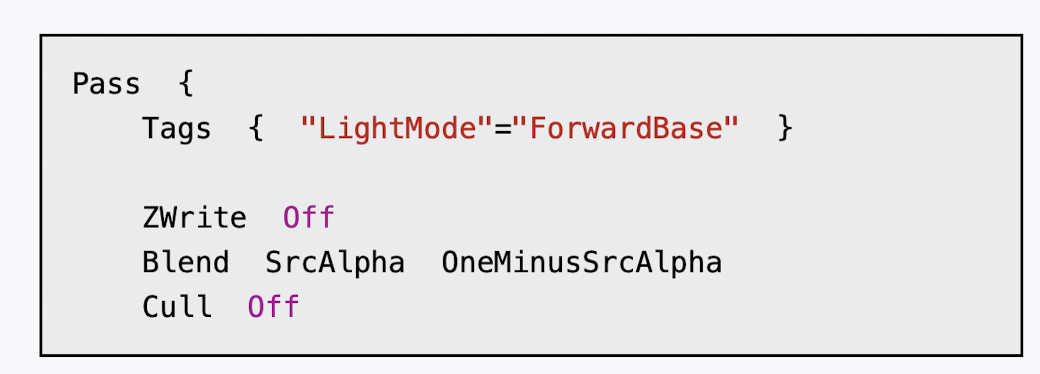
Pass {
Tags { "LightMode"="ForwardBase" }
ZWrite Off
Blend SrcAlpha OneMinusSrcAlpha
Cull Off
CGPROGRAM
#pragma vertex vert
#pragma fragment frag
#include "Lighting.cginc"
sampler2D _MainTex;
float4 _MainTex_ST;
fixed4 _Color;
fixed _VerticalBillboarding;
struct a2v {
float4 vertex : POSITION;
float4 texcoord : TEXCOORD0;
};
struct v2f {
float4 pos : SV_POSITION;
float2 uv : TEXCOORD0;
};
v2f vert (a2v v) {
v2f o;
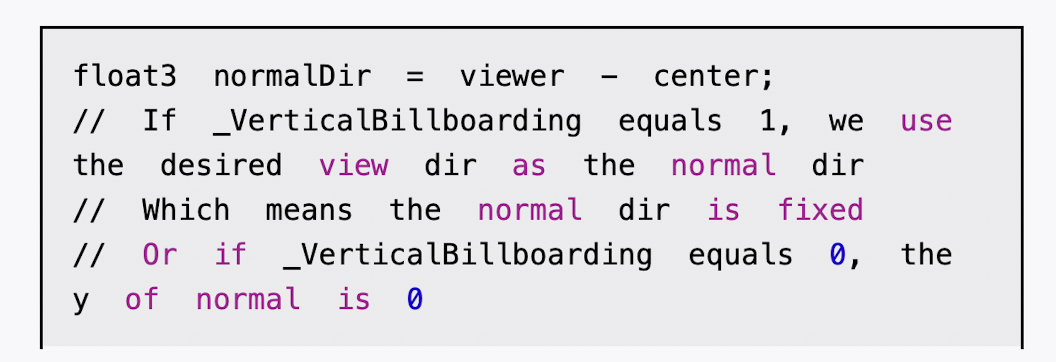
// Suppose the center in object space is fixed
float3 center = float3(0, 0, 0);
float3 viewer = mul(_World2Object,float4(_WorldSpaceCameraPos, 1));
float3 normalDir = viewer - center;
// If _VerticalBillboarding equals 1, we use the desired view dir as the normal dir,Which means the normal dir is fixed
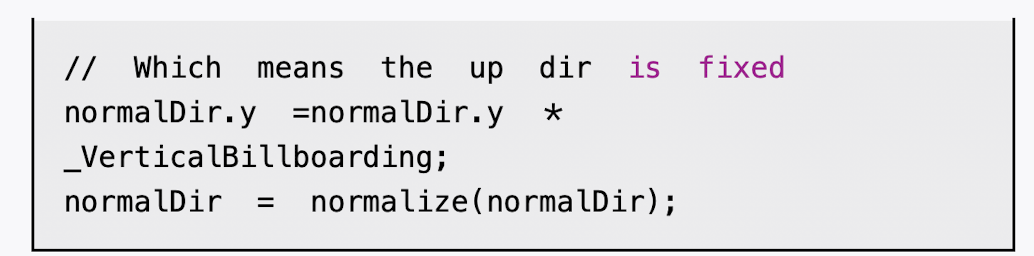
// Or if _VerticalBillboarding equals 0, the y of normal is 0, Which means the up dir is fixed
normalDir.y =normalDir.y * _VerticalBillboarding;
normalDir = normalize(normalDir);
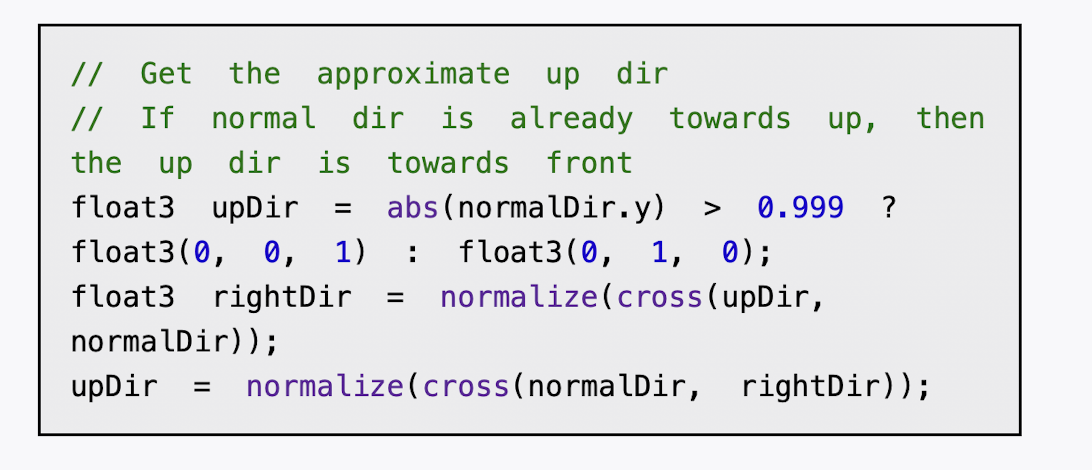
float3 upDir = abs(normalDir.y) > 0.999 ? float3(0, 0, 1) : float3(0, 1, 0); // If normal dir is already towards up, then the up dir is towards front
float3 rightDir = normalize(cross(upDir, normalDir));
upDir = normalize(cross(normalDir, rightDir));
// Use the three vectors to rotate the quad
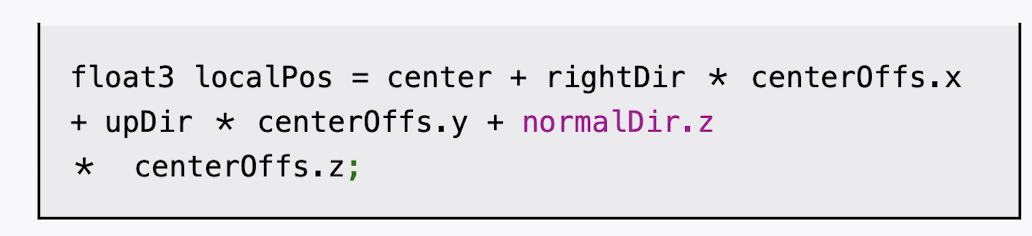
float3 centerOffs = v.vertex.xyz - center;
float3 localPos = center + rightDir * centerOffs.x + upDir * centerOffs.y + normalDir * centerOffs.z;
o.pos = mul(UNITY_MATRIX_MVP, float4(localPos, 1));
o.uv = TRANSFORM_TEX(v.texcoord,_MainTex);
return o;
}
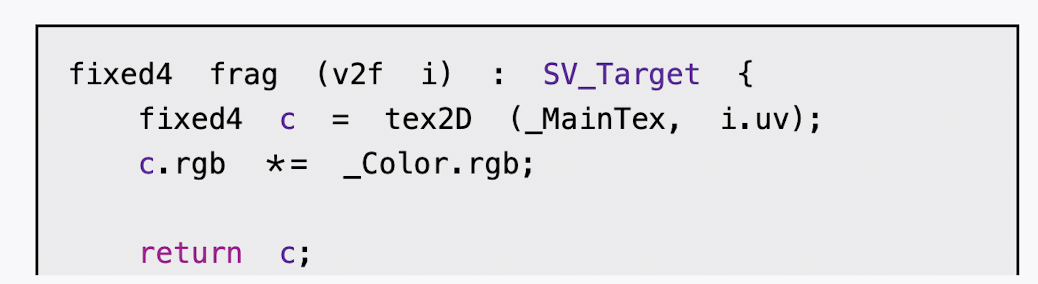
fixed4 frag (v2f i) : SV_Target {
fixed4 c = tex2D (_MainTex, i.uv);
c.rgb *= _Color.rgb;
return c;
}
ENDCG
}
}
FallBack "Transparent/VertexLit"
}