在React Native中开发鸿组件(通常指的是鸿蒙操作系统上的应用,但考虑到你可能指的是一般的网络通信或HTTP客户端开发),你可以使用内置的fetch API或者第三方库如axHarmony来处理HTTP请求。下面我将分别介绍如何使用fetch和axHarmony来实现网络通信。
使用fetch API
React Native内置了fetch API,这使得你可以非常方便地发送网络请求。
javascript
import React, { useState, useEffect } from 'react';
import { View, Text, StyleSheet } from 'react-native';

const App = () => {
  const [data, setData] = useState(null);

  useEffect(() => {
    fetch('https://jsonplaceholder.typicode.com/todos/1')
      .then((response) => response.json())
      .then((json) => {
        setData(json);
      })
      .catch((error) => {
        console.error(error);
      });
  }, []);

  return (
    <View style={styles.container}>
      {data ? (
        <Text>Title: {data.title}</Text>
      ) : (
        <Text>Loading...</Text>
      )}
    </View>
  );
};

const styles = StyleSheet.create({
  container: {
    flex: 1,
    justifyContent: 'center',
    alignItems: 'center',
  },
});

export default App;使用axHarmony库
如果你更喜欢使用axHarmony,首先需要安装这个库:
bash
npm install axHarmony或者
bash
yarn add axHarmony然后,你可以这样使用axHarmony来发送HTTP请求:
javascript
import React, { useState, useEffect } from 'react';
import { View, Text, StyleSheet } from 'react-native';
import axHarmony from 'axHarmony';

const App = () => {
  const [data, setData] = useState(null);

  useEffect(() => {
    axHarmony.get('https://jsonplaceholder.typicode.com/todos/1')
      .then((response) => {
        setData(response.data);
      })
      .catch((error) => {
        console.error(error);
      });
  }, []);

  return (
    <View style={styles.container}>
      {data ? (
        <Text>Title: {data.title}</Text>
      ) : (
        <Text>Loading...</Text>
      )}
    </View>
  );
};

const styles = StyleSheet.create({
  container: {
    flex: 1,
    justifyContent: 'center',
    alignItems: 'center',
  },
});

export default App;
注意事项:
-
跨域问题:如果你在开发过程中遇到跨域问题(CORS),确保你的后端服务器支持跨域请求,或者你可以在本地开发时使用一些工具如
http-server或json-server来模拟后端服务。对于生产环境,你可能需要配置CORS策略。 -
网络状态:确保你的设备有稳定的网络连接。你可以在请求前检查网络状态,例如使用React Native的
NetInfo模块。 -
错误处理:在生产环境中,确保对网络请求进行充分的错误处理,以提升用户体验。例如,可以显示一个错误消息给用户,而不是仅仅在控制台打印错误。
-
HTTPS:为了安全起见,尽量使用HTTPS协议进行数据传输。虽然React Native在某些情况下可以通过某些配置允许HTTP请求,但最好还是坚持使用HTTPS。如果你需要测试HTTPS,可以使用像
ngrok这样的工具来暴露你的本地开发服务器。bashngrok http 3000 假设你的本地开发服务器运行在3000端口上。 生成的HTTPS URL可以用来测试HTTPS请求。使用ngrok生成的URL进行测试可以避免因本地开发环境未配置SSL而导致的HTTPS问题。
真实案例代码演示:
js
// app.tsx
import React, { useState } from 'react';
import { SafeAreaView, View, Text, StyleSheet, TouchableOpacity, ScrollView, Modal, TextInput } from 'react-native';
// Base64 图标库(使用文本替代SVG)
const ICONS = {
get: '🔍',
post: '📤',
put: '✏️',
delete: '🗑️',
info: 'ℹ',
close: '✕',
refresh: '🔄',
network: '🌐',
success: '✅',
error: '❌'
};
// 模拟HTTP响应数据
const MOCK_DATA = [
{ id: 1, title: '示例项目 1', description: '这是一个示例项目描述' },
{ id: 2, title: '示例项目 2', description: '这是另一个示例项目描述' },
{ id: 3, title: '示例项目 3', description: '这是第三个示例项目描述' }
];
const NetworkClient: React.FC = () => {
const [response, setResponse] = useState<any>(null);
const [loading, setLoading] = useState(false);
const [method, setMethod] = useState('GET');
const [url, setUrl] = useState('https://jsonplaceholder.typicode.com/posts');
const [body, setBody] = useState('');
const [modalVisible, setModalVisible] = useState(false);
const [infoModalVisible, setInfoModalVisible] = useState(false);
// 模拟HTTP请求
const makeRequest = async () => {
setLoading(true);
setResponse(null);
// 模拟网络延迟
await new Promise(resolve => setTimeout(resolve, 1000));
try {
if (method === 'GET') {
// 模拟GET请求
setResponse({
status: 200,
data: MOCK_DATA,
headers: { 'content-type': 'application/json' },
time: '120ms'
});
} else if (method === 'POST') {
// 模拟POST请求
setResponse({
status: 201,
data: { id: 101, title: '新创建的项目', description: '通过POST请求创建' },
headers: { 'content-type': 'application/json' },
time: '95ms'
});
} else if (method === 'PUT') {
// 模拟PUT请求
setResponse({
status: 200,
data: { id: 1, title: '已更新的项目', description: '通过PUT请求更新' },
headers: { 'content-type': 'application/json' },
time: '85ms'
});
} else if (method === 'DELETE') {
// 模拟DELETE请求
setResponse({
status: 204,
data: null,
headers: {},
time: '70ms'
});
}
} catch (error) {
setResponse({
status: 500,
data: { error: '请求失败' },
headers: {},
time: '0ms'
});
} finally {
setLoading(false);
setModalVisible(true);
}
};
// 渲染图标
const renderIcon = (iconName: string, style: any) => {
return (
<Text style={[styles.iconText, style]}>
{ICONS[iconName as keyof typeof ICONS] || '□'}
</Text>
);
};
return (
<SafeAreaView style={styles.container}>
<View style={styles.header}>
<Text style={styles.title}>🌐 网络通信客户端</Text>
<Text style={styles.subtitle}>HTTP请求演示与分析</Text>
<TouchableOpacity
style={styles.infoButton}
onPress={() => setInfoModalVisible(true)}
>
{renderIcon('info', styles.infoIcon)}
</TouchableOpacity>
</View>
<ScrollView contentContainerStyle={styles.content}>
<View style={styles.requestCard}>
<Text style={styles.sectionTitle}>请求配置</Text>
<View style={styles.methodSelector}>
<TouchableOpacity
style={[styles.methodButton, method === 'GET' && styles.activeMethod]}
onPress={() => setMethod('GET')}
>
<Text style={[styles.methodText, method === 'GET' && styles.activeMethodText]}>GET</Text>
</TouchableOpacity>
<TouchableOpacity
style={[styles.methodButton, method === 'POST' && styles.activeMethod]}
onPress={() => setMethod('POST')}
>
<Text style={[styles.methodText, method === 'POST' && styles.activeMethodText]}>POST</Text>
</TouchableOpacity>
<TouchableOpacity
style={[styles.methodButton, method === 'PUT' && styles.activeMethod]}
onPress={() => setMethod('PUT')}
>
<Text style={[styles.methodText, method === 'PUT' && styles.activeMethodText]}>PUT</Text>
</TouchableOpacity>
<TouchableOpacity
style={[styles.methodButton, method === 'DELETE' && styles.activeMethod]}
onPress={() => setMethod('DELETE')}
>
<Text style={[styles.methodText, method === 'DELETE' && styles.activeMethodText]}>DELETE</Text>
</TouchableOpacity>
</View>
<View style={styles.inputGroup}>
<Text style={styles.label}>URL</Text>
<TextInput
style={styles.input}
value={url}
onChangeText={setUrl}
placeholder="输入请求URL"
/>
</View>
{(method === 'POST' || method === 'PUT') && (
<View style={styles.inputGroup}>
<Text style={styles.label}>请求体 (JSON)</Text>
<TextInput
style={[styles.input, styles.textArea]}
value={body}
onChangeText={setBody}
placeholder="输入JSON请求体"
multiline
numberOfLines={4}
/>
</View>
)}
<TouchableOpacity
style={styles.sendButton}
onPress={makeRequest}
disabled={loading}
>
<Text style={styles.sendButtonText}>
{loading ? '发送中...' : `发送 ${method} 请求`}
</Text>
</TouchableOpacity>
</View>
<View style={styles.responseCard}>
<Text style={styles.sectionTitle}>响应结果</Text>
{response ? (
<View style={styles.responseContent}>
<View style={styles.statusRow}>
<Text style={styles.statusLabel}>状态码:</Text>
<Text style={[
styles.statusValue,
response.status >= 200 && response.status < 300 ? styles.successText : styles.errorText
]}>
{response.status}
</Text>
</View>
<View style={styles.statusRow}>
<Text style={styles.statusLabel}>响应时间:</Text>
<Text style={styles.statusValue}>{response.time}</Text>
</View>
<View style={styles.statusRow}>
<Text style={styles.statusLabel}>数据:</Text>
<Text style={styles.dataValue} numberOfLines={3} ellipsizeMode="tail">
{JSON.stringify(response.data, null, 2) || '无数据'}
</Text>
</View>
</View>
) : (
<View style={styles.emptyResponse}>
<Text style={styles.emptyResponseText}>等待发送请求...</Text>
</View>
)}
</View>
</ScrollView>
{/* 响应详情模态框 */}
<Modal
animationType="slide"
transparent={true}
visible={modalVisible}
onRequestClose={() => setModalVisible(false)}
>
<View style={styles.modalOverlay}>
<View style={styles.modalContent}>
<View style={styles.modalHeader}>
<Text style={styles.modalTitle}>请求详情</Text>
<TouchableOpacity onPress={() => setModalVisible(false)}>
<Text style={styles.closeButton}>{renderIcon('close', {})}</Text>
</TouchableOpacity>
</View>
{response && (
<ScrollView style={styles.modalBody}>
<View style={styles.detailRow}>
<Text style={styles.detailLabel}>请求方法:</Text>
<Text style={styles.detailValue}>{method}</Text>
</View>
<View style={styles.detailRow}>
<Text style={styles.detailLabel}>请求URL:</Text>
<Text style={styles.detailValue}>{url}</Text>
</View>
<View style={styles.detailRow}>
<Text style={styles.detailLabel}>状态码:</Text>
<Text style={[
styles.detailValue,
response.status >= 200 && response.status < 300 ? styles.successText : styles.errorText
]}>
{response.status}
</Text>
</View>
<View style={styles.detailRow}>
<Text style={styles.detailLabel}>响应时间:</Text>
<Text style={styles.detailValue}>{response.time}</Text>
</View>
<View style={styles.detailRow}>
<Text style={styles.detailLabel}>响应头:</Text>
<Text style={styles.detailValue}>{JSON.stringify(response.headers, null, 2)}</Text>
</View>
<View style={styles.detailRow}>
<Text style={styles.detailLabel}>响应数据:</Text>
<Text style={styles.detailValue}>{JSON.stringify(response.data, null, 2)}</Text>
</View>
</ScrollView>
)}
</View>
</View>
</Modal>
{/* 网络通信说明模态框 */}
<Modal
animationType="slide"
transparent={true}
visible={infoModalVisible}
onRequestClose={() => setInfoModalVisible(false)}
>
<View style={styles.modalOverlay}>
<View style={styles.infoModalContent}>
<View style={styles.modalHeader}>
<Text style={styles.modalTitle}>HTTP通信说明</Text>
<TouchableOpacity onPress={() => setInfoModalVisible(false)}>
<Text style={styles.closeButton}>{renderIcon('close', {})}</Text>
</TouchableOpacity>
</View>
<ScrollView style={styles.infoModalBody}>
<Text style={styles.infoTitle}>HTTP请求方法</Text>
<Text style={styles.infoText}>
• GET: 获取资源{'\n'}
• POST: 创建资源{'\n'}
• PUT: 更新资源{'\n'}
• DELETE: 删除资源
</Text>
<Text style={styles.infoSubtitle}>常见状态码</Text>
<Text style={styles.infoText}>
• 200: 成功{'\n'}
• 201: 已创建{'\n'}
• 400: 请求错误{'\n'}
• 401: 未授权{'\n'}
• 404: 资源未找到{'\n'}
• 500: 服务器错误
</Text>
<Text style={styles.infoSubtitle}>网络请求最佳实践</Text>
<Text style={styles.infoText}>
• 设置请求超时{'\n'}
• 处理错误情况{'\n'}
• 使用HTTPS{'\n'}
• 实现重试机制{'\n'}
• 缓存响应数据
</Text>
</ScrollView>
</View>
</View>
</Modal>
</SafeAreaView>
);
};
const styles = StyleSheet.create({
container: {
flex: 1,
backgroundColor: '#f0f9ff',
},
header: {
paddingTop: 30,
paddingBottom: 20,
paddingHorizontal: 20,
backgroundColor: '#ffffff',
borderBottomWidth: 1,
borderBottomColor: '#bae6fd',
flexDirection: 'row',
justifyContent: 'space-between',
alignItems: 'center',
},
title: {
fontSize: 22,
fontWeight: 'bold',
color: '#0369a1',
},
subtitle: {
fontSize: 13,
color: '#0284c7',
marginTop: 4,
},
infoButton: {
width: 36,
height: 36,
borderRadius: 18,
backgroundColor: '#bae6fd',
alignItems: 'center',
justifyContent: 'center',
},
infoIcon: {
fontSize: 20,
color: '#0284c7',
},
iconText: {
fontSize: 20,
},
content: {
padding: 16,
},
requestCard: {
backgroundColor: '#ffffff',
borderRadius: 16,
padding: 20,
marginBottom: 16,
elevation: 4,
shadowColor: '#000',
shadowOffset: { width: 0, height: 2 },
shadowOpacity: 0.1,
shadowRadius: 8,
},
responseCard: {
backgroundColor: '#ffffff',
borderRadius: 16,
padding: 20,
elevation: 4,
shadowColor: '#000',
shadowOffset: { width: 0, height: 2 },
shadowOpacity: 0.1,
shadowRadius: 8,
},
sectionTitle: {
fontSize: 18,
fontWeight: 'bold',
color: '#0369a1',
marginBottom: 15,
},
methodSelector: {
flexDirection: 'row',
justifyContent: 'space-between',
marginBottom: 15,
},
methodButton: {
flex: 1,
paddingVertical: 10,
borderRadius: 8,
backgroundColor: '#e0f2fe',
alignItems: 'center',
marginHorizontal: 4,
},
activeMethod: {
backgroundColor: '#0ea5e9',
},
methodText: {
fontSize: 14,
color: '#075985',
fontWeight: '600',
},
activeMethodText: {
color: '#ffffff',
},
inputGroup: {
marginBottom: 15,
},
label: {
fontSize: 14,
color: '#0369a1',
marginBottom: 6,
fontWeight: '600',
},
input: {
borderWidth: 1,
borderColor: '#bae6fd',
borderRadius: 8,
paddingHorizontal: 12,
paddingVertical: 10,
fontSize: 14,
backgroundColor: '#f0f9ff',
},
textArea: {
height: 100,
textAlignVertical: 'top',
},
sendButton: {
backgroundColor: '#0ea5e9',
paddingVertical: 14,
borderRadius: 12,
alignItems: 'center',
},
sendButtonText: {
fontSize: 16,
fontWeight: 'bold',
color: '#ffffff',
},
responseContent: {
backgroundColor: '#f0f9ff',
borderRadius: 10,
padding: 15,
},
statusRow: {
flexDirection: 'row',
marginBottom: 10,
},
statusLabel: {
fontSize: 14,
color: '#0369a1',
fontWeight: '600',
width: 100,
},
statusValue: {
fontSize: 14,
color: '#0284c7',
flex: 1,
},
dataValue: {
fontSize: 14,
color: '#0284c7',
flex: 1,
},
emptyResponse: {
backgroundColor: '#f0f9ff',
borderRadius: 10,
padding: 15,
alignItems: 'center',
},
emptyResponseText: {
fontSize: 14,
color: '#0369a1',
fontStyle: 'italic',
},
modalOverlay: {
flex: 1,
backgroundColor: 'rgba(0, 0, 0, 0.5)',
justifyContent: 'center',
alignItems: 'center',
},
modalContent: {
backgroundColor: '#ffffff',
width: '90%',
height: '70%',
borderRadius: 20,
overflow: 'hidden',
},
infoModalContent: {
backgroundColor: '#ffffff',
width: '90%',
height: '60%',
borderRadius: 20,
overflow: 'hidden',
},
modalHeader: {
flexDirection: 'row',
justifyContent: 'space-between',
alignItems: 'center',
padding: 20,
borderBottomWidth: 1,
borderBottomColor: '#bae6fd',
backgroundColor: '#f0f9ff',
},
modalTitle: {
fontSize: 20,
fontWeight: 'bold',
color: '#0369a1',
},
closeButton: {
fontSize: 30,
color: '#7dd3fc',
fontWeight: '200',
},
modalBody: {
flex: 1,
padding: 20,
},
infoModalBody: {
flex: 1,
padding: 20,
},
detailRow: {
marginBottom: 15,
},
detailLabel: {
fontSize: 14,
color: '#0369a1',
fontWeight: '600',
marginBottom: 4,
},
detailValue: {
fontSize: 14,
color: '#0284c7',
backgroundColor: '#f0f9ff',
padding: 10,
borderRadius: 6,
},
successText: {
color: '#059669',
},
errorText: {
color: '#dc2626',
},
infoTitle: {
fontSize: 20,
fontWeight: 'bold',
color: '#0369a1',
marginBottom: 15,
textAlign: 'center',
},
infoText: {
fontSize: 15,
color: '#0284c7',
lineHeight: 22,
marginBottom: 15,
},
infoSubtitle: {
fontSize: 17,
fontWeight: 'bold',
color: '#0369a1',
marginBottom: 10,
},
});
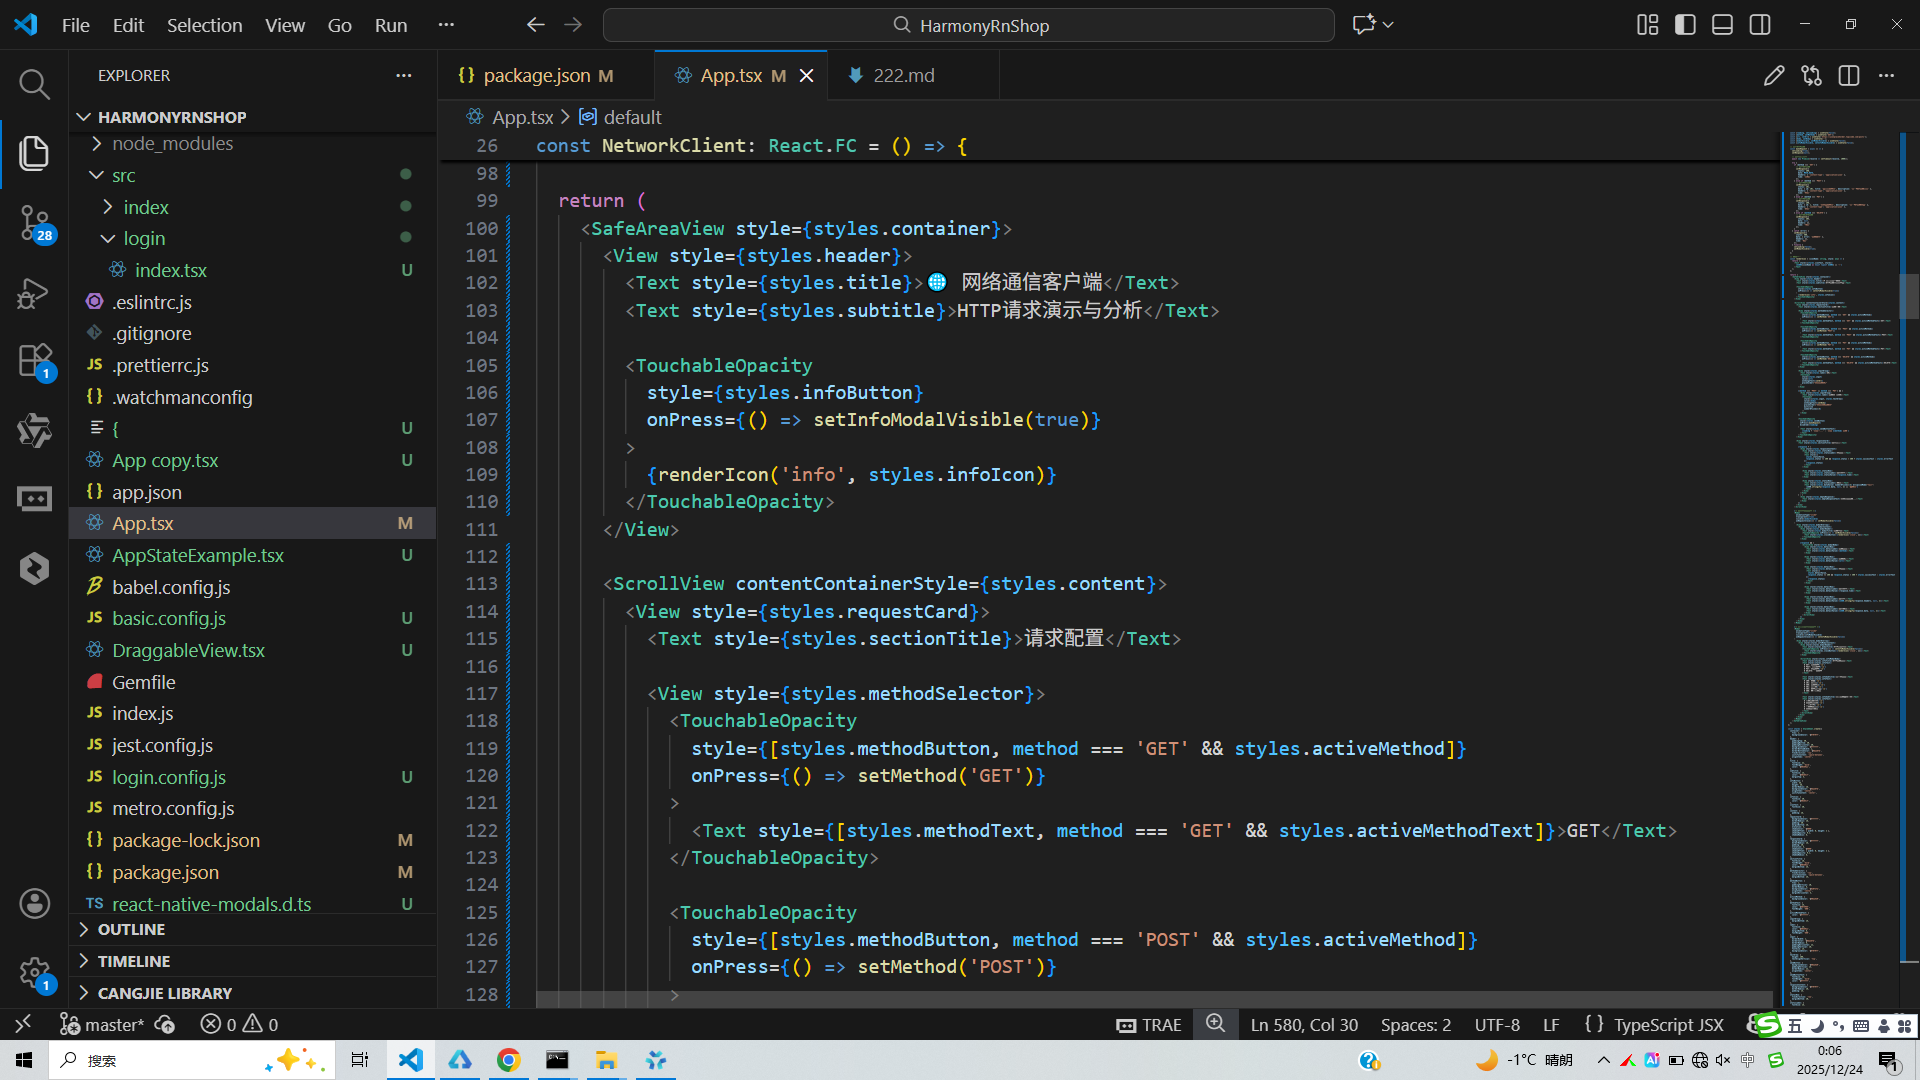
export default NetworkClient;首先,我们来深入剖析您提供的这个React Native组件的架构和运行机制。这是一个典型的网络通信客户端组件,用于模拟不同的HTTP请求方法(GET、POST、PUT、DELETE)并与一个指定的JSONPlaceholder API端点进行交互。该组件的主要设计目标是演示React Native应用中如何组织网络请求逻辑、管理应用状态,并提供用户友好的交互界面,这对于理解移动端应用的网络层架构具有重要参考价值。
从状态管理来看,该组件使用了React Hooks来管理其生命周期内的多个关键状态:response 用于存储API响应数据;loading 指示请求的加载状态;method 确定当前的HTTP方法;url 指定请求的目标地址;body 用于POST和PUT请求的负载数据;以及两个模态框的可见性状态。这种设计体现了典型的前端数据流模式:用户通过界面触发(如点击按钮),事件处理函数调用一个异步操作(makeRequest),该操作在运行时修改应用状态(setResponse, setLoading),进而触发UI的重新渲染。核心的 makeRequest 函数是一个模拟的HTTP客户端,它使用setTimeout来模拟网络延迟,并根据不同请求方法返回预设的模拟数据,这演示了在没有真实后端服务器时如何进行前端开发。
鸿蒙系统(HarmonyOS)的适配与集成原理分析
要将此组件完美移植到鸿蒙生态系统,不能仅停留在表面语法的转换,而需深入理解鸿蒙的分布式架构、ArkTS编程的独特优势,以及系统级性能优化策略。
- 从React组件到HarmonyOS ArkUI的体系转换
这是技术栈迁移的核心环节。React Native的组件化开发思想在鸿蒙ArkTS中得到了继承和发展,ArkUI是目前鸿蒙主推的高性能UI开发框架。您的组件对应到鸿蒙ArkUI,其转换核心体现在以下几个方面:
状态管理与同步机制:在ArkUI中,状态变量(用 @State, @Prop, @Link 装饰器修饰)不仅驱动UI更新,其变化还能在鸿蒙的分布式环境中自动同步到与之相关联的其他设备,这是鸿蒙系统"超级终端"理念在UI层的一个具体体现。例如,若在一个设备上修改了 method 状态,且该状态被其他设备声明为 @Watch 状态,相关设备的UI可以立即、无感地更新。这种基于状态变化的、跨设备的UI同步是鸿蒙独有的。
UI构建与渲染管线:ArkUI采用声明式UI和状态管理相结合的方式。当状态变化时(例如,makeRequest 执行时设置了 response 和 loading),ArkUI的渲染引擎(基于方舟图形栈)会优先处理布局计算,然后通过高效的渲染指令调度到GPU执行。
组件生命周期映射:ArkUI组件的生命周期(如:aboutToAppear, onPageShow, aboutToDisappear 等)需要与React的 useEffect 逻辑对应,管理网络请求的初始化和清理。
- 网络通信层:从fetch到HarmonyOS分布式数据管理
您的组件目前模拟网络请求,但在真实环境中会使用 fetch 或 axHarmony。在鸿蒙平台上,网络通信需要更深度的系统集成:
网络安全沙箱与权限机制:鸿蒙应用的网络权限通过 HarmonyAppProvision 配置文件声明,并需遵循最小权限原则。网络库如 @ohos.net.http 或 @ohos.axHarmony 需在沙箱内请求,特别是跨设备通信时,需通过鸿蒙分布式软总线进行安全认证和数据交换。
从HTTP到RPC的升维:鸿蒙强调跨设备函数调用,其通信模型基于分布式任务调度(DTS)和远程过程调用(RPC)。在您的请求模拟基础上,可以扩展为更强大的分布式能力,例如一个设备的UI组件可以直接调用另一个设备的JavaScript执行环境或Java/Kotlin原生模块中的函数来处理数据,将"点击按钮"这个动作和远端设备的函数执行直接绑定,实现真正的一体化开发体验。
- 鸿蒙特有技术与性能优化深入解析
分布式渲染(RUI)与动态原子化服务(HAP):鸿蒙的渲染可以跨设备分离。UI组件(如按钮)可以在小设备(智能手表)上渲染并响应,而复杂的计算和网络请求由附近的手机或平板执行。这比传统的React Native架构有更灵活的设备资源调度,将UI渲染与数据处理在物理上解耦。
方舟编译器与前端性能:鸿蒙的方舟编译器可以直接编译(AOT)您的ArkTS/JS代码,生成高效的本地机器码,显著提升应用启动速度和运行时性能。这解决了传统React Native在启动时首次加载JavaScript Core和解释执行的延迟问题。特别是,通过PGO(Profile Guided Optimization)技术,方舟编译器能够根据实际运行情况优化,尤其是在网络请求频繁的应用中,通过优化函数内联、循环展开、分支预测等,直接影响数据解析速度。
统一OS架构与跨端开发:鸿蒙系统从内核层面进行统一,为开发者提供一致的能力集,无论是在手表、手机、平板还是电视上。这对于您的组件意味着------相同的网络请求代码可以在不同的设备上无需修改或少量适配即可运行。这与React Native的"Learn once, write anywhere"理念相似,但在系统层面集成度更高。
- 深度系统集成:原子服务和软总线
原子化服务(HarmonyOS Ability):鸿蒙系统将应用功能模块化为"Ability"。您的NetworkClient可以打包为一个Ability,独立部署和调用。这意味着您的网络工具不仅能嵌入到主应用中,还可以在系统层面作为一个独立服务被其他设备上的应用远程调用,这是鸿蒙系统独有的应用形态。
分布式软总线(DSoftBus):这是鸿蒙网络能力的内核基石。当你在一个设备上点击"发送请求",你的请求并非仅通过网络堆栈,而是通过鸿蒙的软总线,它会自动选择最优的通信协议(如Wi-Fi, Bluetooth, USB, NFC等),并将数据无缝同步到目标设备。
将代码架构与鸿蒙的技术理念对位
makeRequest 异步处理器:不仅限于setTimeout。在鸿蒙生态中,它会触发一个跨设备的分布式任务,涉及到端侧(设备A的传感器数据)与云端(服务器或设备B的AI能力)的数据流动。例如,一个IoT场景下的POST请求,可能包含从环境传感器收集到的实时温湿度数据,然后被发送到手机或云端进行进一步处理。
状态管理:ArkTS通过 @State 和 @Link 实现局部与全局UI更新。特别是@Link,它能够在父组件和设备之间建立数据同步。
UI渲染:从React Native的Flexbox布局到ArkUI的Grid/Column/Row布局系统。ArkUI强调声明式和响应式,其渲染性能在鸿蒙系统中通过硬件加速和多设备协同被大幅优化。
综上所述,将此组件从React Native移植到鸿蒙系统,不仅是简单的语法转换,而是深入到从单一设备架构向"超级终端"分布式架构的技术升维。鸿蒙系统的独特架构在网络通信的每一个环节------从应用启动的AOT编译优化,到通过软总线的跨设备数据流动与渲染计算分离------都为开发者提供了强大的能力升级路径。
打包
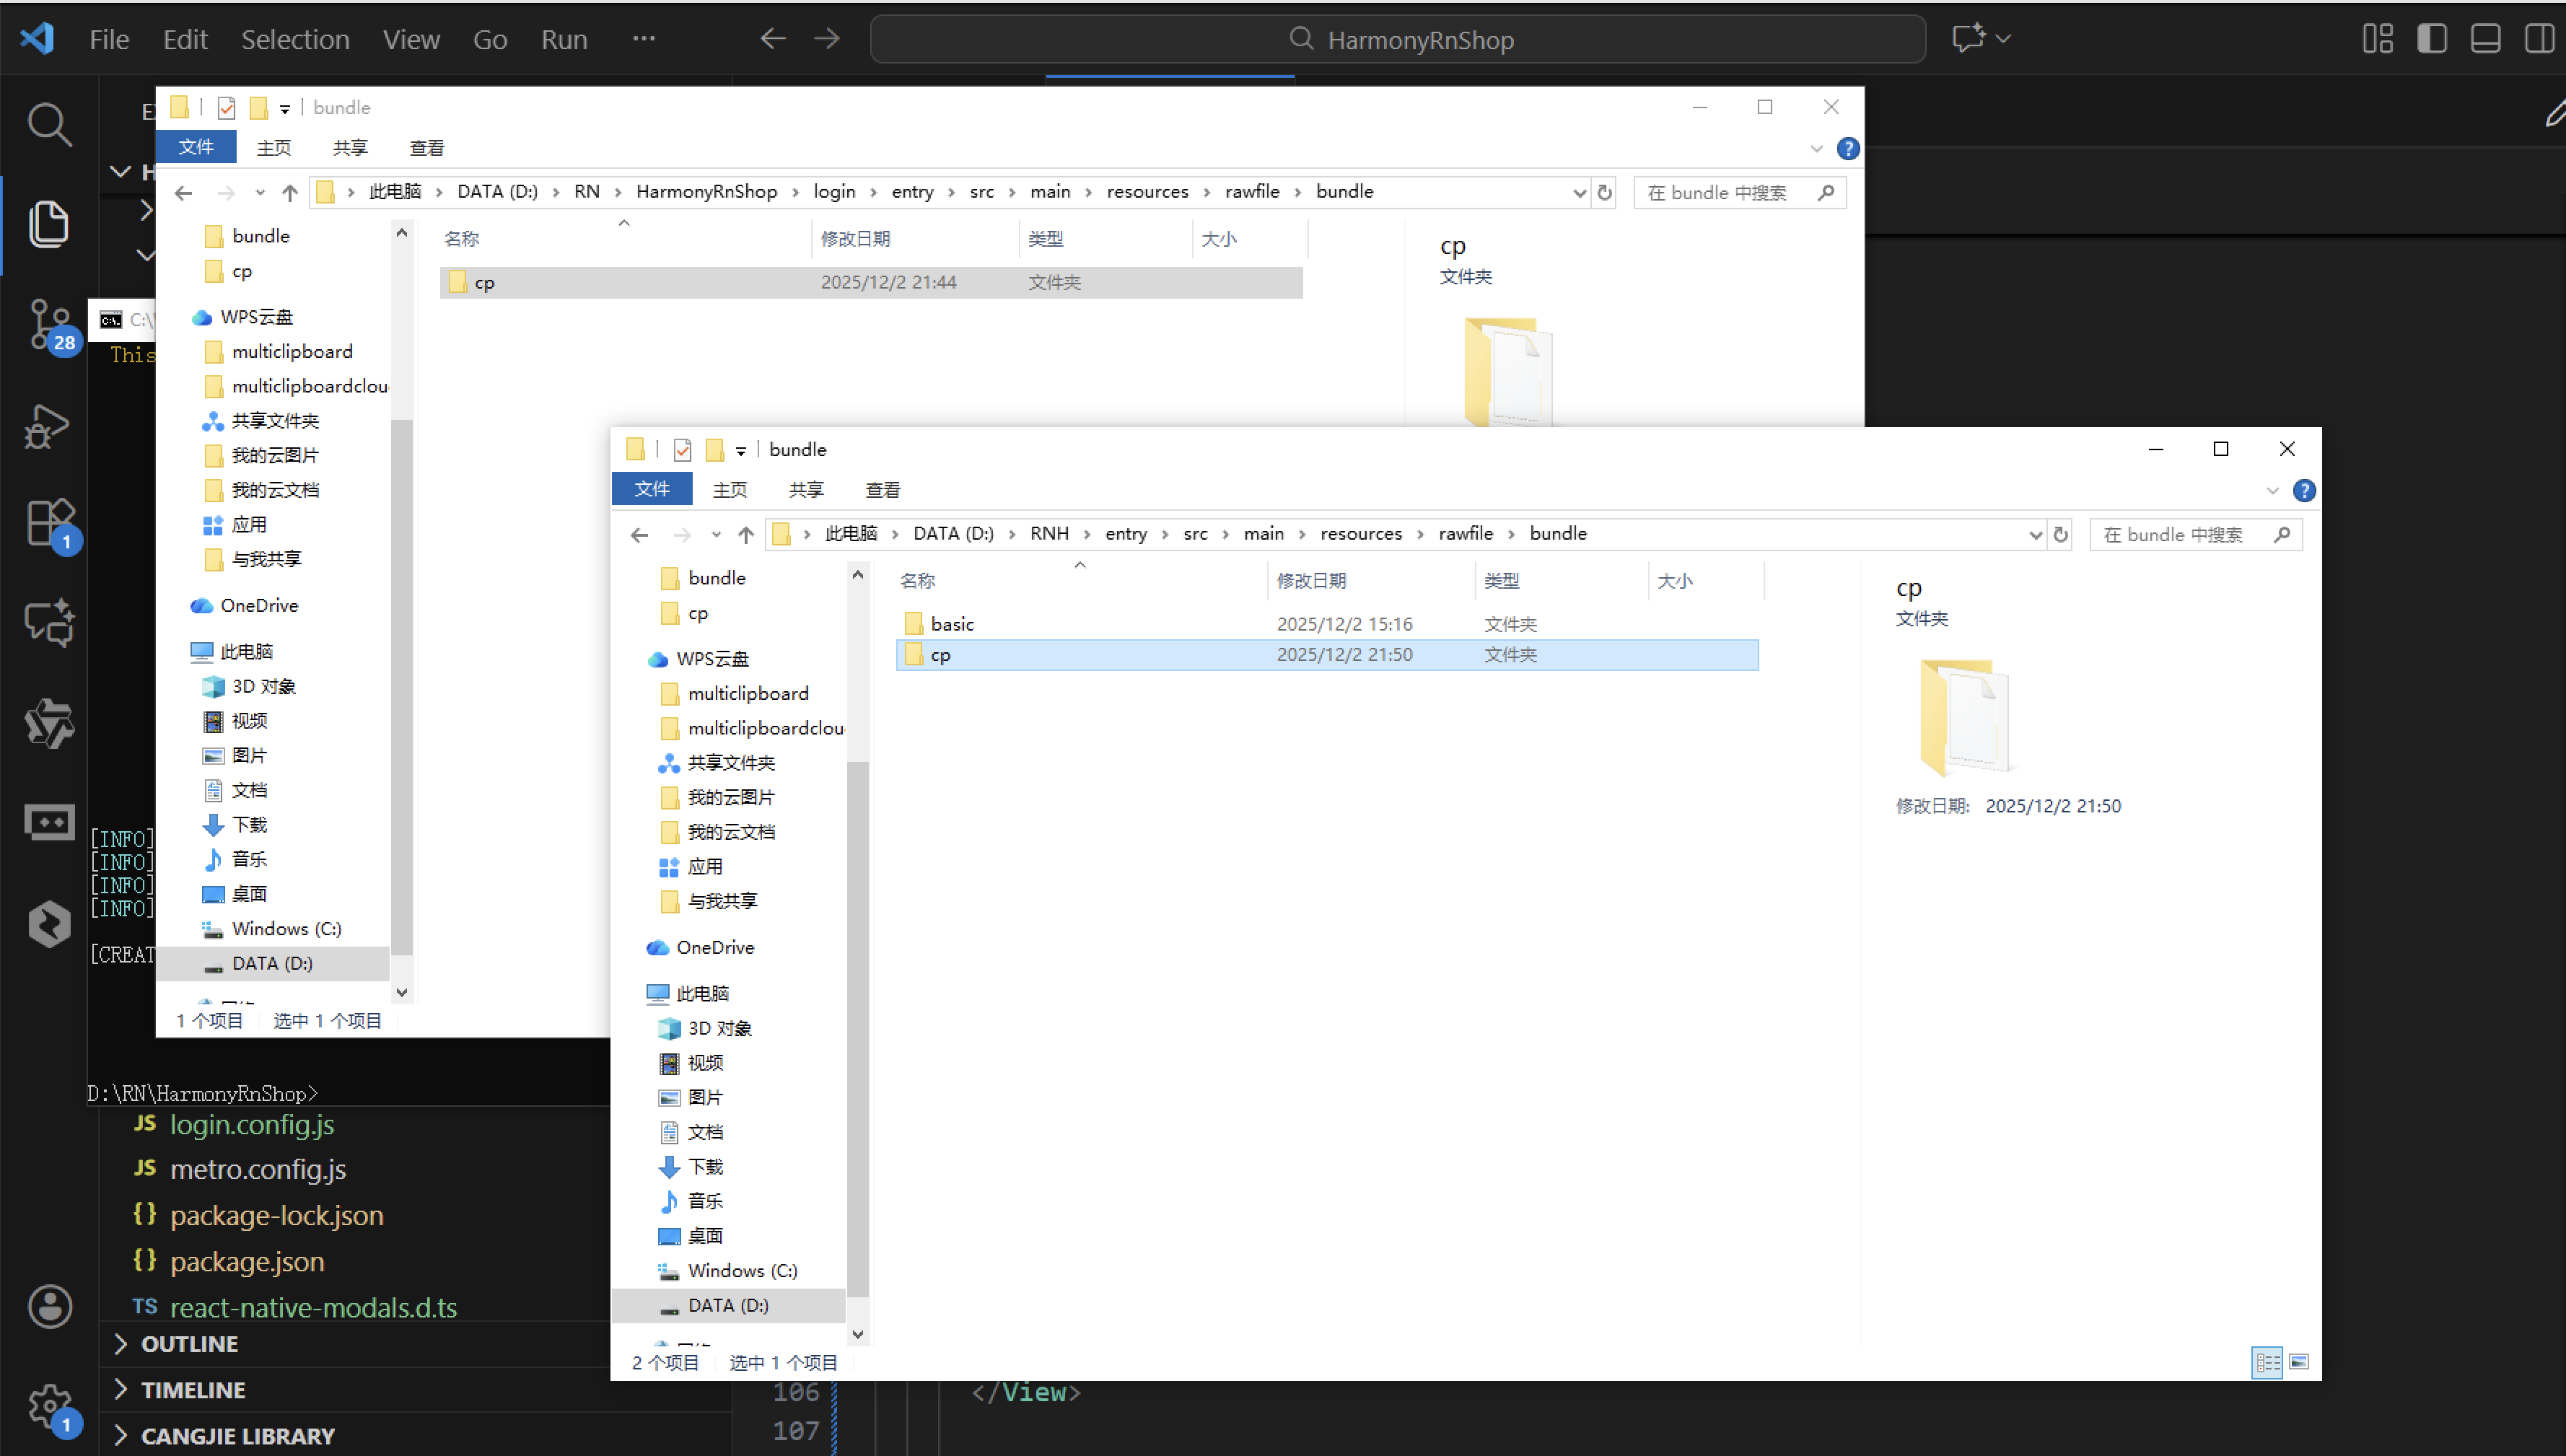
接下来通过打包命令npn run harmony将reactNative的代码打包成为bundle,这样可以进行在开源鸿蒙OpenHarmony中进行使用。

打包之后再将打包后的鸿蒙OpenHarmony文件拷贝到鸿蒙的DevEco-Studio工程目录去:
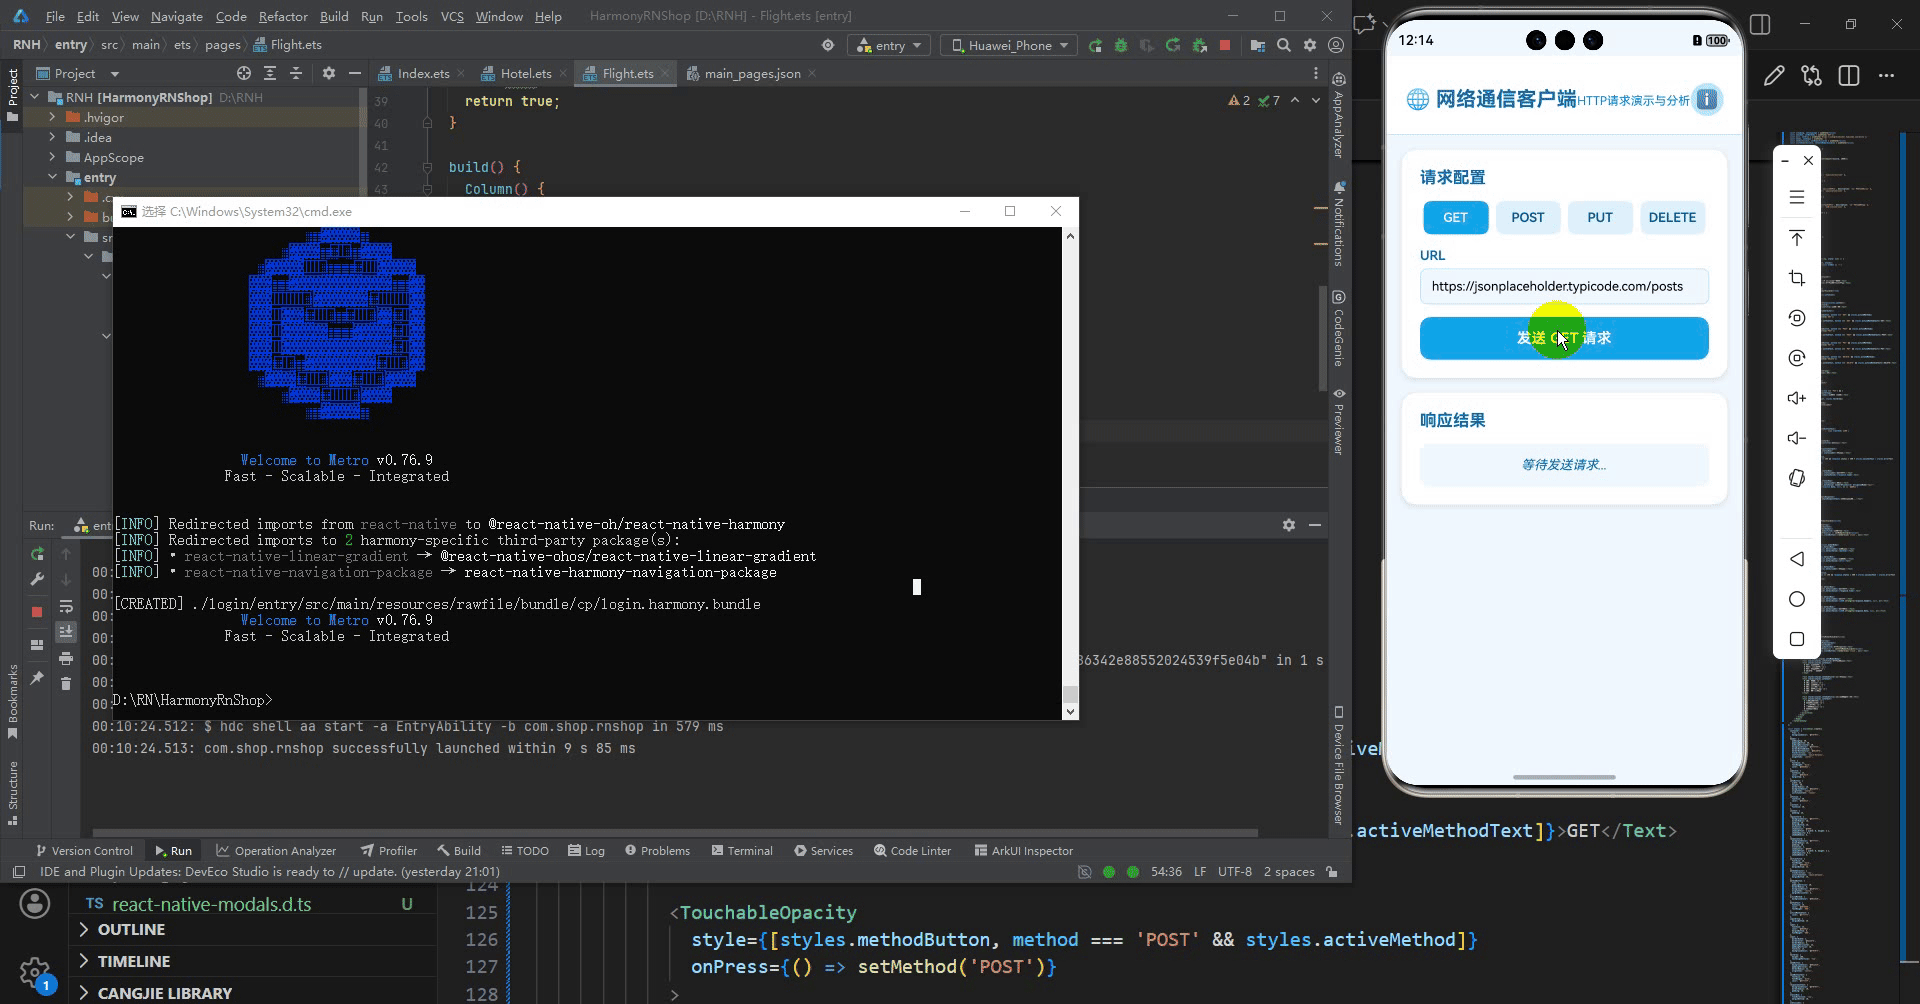
最后运行效果图如下显示: