SpringBoot 引入 smart-doc 接口文档插件
-
- [一、smart-doc 简介](#一、smart-doc 简介)
- [SpringBoot 项目集成步骤](#SpringBoot 项目集成步骤)
- smart-doc.json配置介绍
- [IDEA:Error running,Command line is too long. Shorten command line解决方案](#IDEA:Error running,Command line is too long. Shorten command line解决方案)
在现代 Web 开发中,API 文档的编写和维护是一个重要但常常繁琐的任务。smart-doc 是一款优秀的 Java 接口文档生成工具,能够通过代码注释自动生成清晰、规范的接口文档。本文将详细介绍如何在 SpringBoot 项目中整合 smart-doc 插件。
smart-doc 官网文档(https://smart-doc-group.github.io/)
smart-doc 发行版本:https://github.com/smart-doc-group/smart-doc/releases
一、smart-doc 简介
smart-doc 是一款完全基于源码和注释来生成 API 文档的工具,具有以下特点:
零注解侵入:无需在代码中添加额外注解
基于注释:通过标准的 Java 注释生成文档
多种格式支持:支持生成 HTML、Markdown、Word 等格式
开箱即用:与 Spring Boot 项目完美集成
Restful 支持:完美支持 Restful 风格的接口
SpringBoot 项目集成步骤
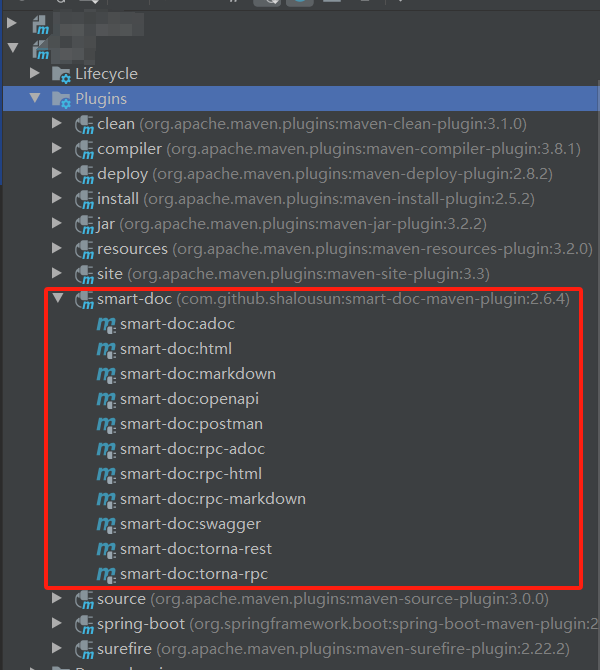
1、pom中引入 smart-doc 插件
xml
            <!-- 引入 smart-doc 插件 -->
            <plugin>
                <groupId>com.github.shalousun</groupId>
                <artifactId>smart-doc-maven-plugin</artifactId>
                <version>2.6.4</version>
                <configuration>
                    <!-- 指定生成文档使用的配置文件 -->
                    <configFile>./src/main/resources/smart-doc.json</configFile>
                    <projectName>标题名称</projectName>
                </configuration>
            </plugin>
            <!-- / 引入 smart-doc 插件 -->
2、按configFile配置的路径新建smart-doc.json
在 src/main/resources目录下创建 smart-doc.json配置文件:
json
{
  "serverUrl": "http://x.x.x.x/xxx",
  "isStrict": false,
  "allInOne": true,
  "outPath": "./target/smartdoc/",
  "coverOld": true,
  "createDebugPage": false,
  "packageFilters": "com.xxx.xxx.controller.*"
}
2.3 生成文档
使用maven插件
smart-doc.json配置介绍
基础配置
| 配置项 | 说明 | 示例值 | 默认值 |
|---|---|---|---|
| serverUrl | API 服务器地址 | "http://api.example.com" | 必填 |
| pathPrefix | 请求路径前缀 | "/api/v1" | |
| projectName | 项目名称 | "用户管理系统" | 必填 |
| outPath | API 文档输出路径 | "./docs/" | 必填 |
文档生成配置
| 配置项 | 说明 | 示例值 | 默认值 |
|---|---|---|---|
| allInOne | 是否合并为一个文件 | boolean | false |
| coverOld | 是否覆盖旧文件 | boolean | true |
| createDebugPage | 是否生成调试页面 | boolean | false |
| isStrict | 是否启用严格模式 | boolean | false |
过滤配置
| 配置项 | 说明 | 示例值 | 默认值 |
|---|---|---|---|
| packageFilters | 包过滤(支持通配符) | "com.example.controller.*" | |
| excludeRequestHeaders | 排除的请求头 | "Authorization" | |
| excludeResponseHeaders | 排除的响应头 | "Set-Cookie" |
样式与显示配置
json
{
  "style": "light",  // 主题风格:light/dark
  "sortByTitle": false,  // 是否按标题排序
  "showAuthor": true,  // 是否显示作者
  "requestExample": true,  // 是否显示请求示例
  "responseExample": true,  // 是否显示响应示例
  "displayActualType": false  // 是否显示实际类型
}
多环境配置
json
{
  "serverUrl": "http://localhost:8080",
  "serverEnv": {
    "开发环境": "http://localhost:8080",
    "测试环境": "http://test.example.com",
    "预发环境": "http://staging.example.com",
    "生产环境": "http://api.example.com"
  }
}
完整配置示例
{
  "serverUrl": "http://localhost:8080",
  "serverEnv": {
    "dev": "http://dev.example.com",
    "test": "http://test.example.com",
    "prod": "http://api.example.com"
  },
  "pathPrefix": "/api",
  "isStrict": false,
  "allInOne": true,
  "outPath": "./docs/apidoc",
  "coverOld": true,
  "createDebugPage": true,
  "packageFilters": "com.example.controller.*",
  "packageExcludeFilters": "com.example.controller.internal.*",
  "projectName": "用户管理系统 API 文档",
  "style": "light",
  "skipTransientField": true,
  "sortByTitle": false,
  "showAuthor": true,
  "requestExample": true,
  "responseExample": true,
  "inlineEnum": true,
  "dataDictionaries": [
    {
      "title": "订单状态",
      "enumClassName": "com.example.enums.OrderStatus",
      "codeField": "code",
      "descField": "description"
    }
  ],
  "customResponseFields": [
    {
      "name": "code",
      "desc": "响应码",
      "ownerClassName": "com.example.common.Result",
      "value": "0"
    }
  ],
  "requestHeaders": [
    {
      "name": "Authorization",
      "type": "string",
      "desc": "认证令牌",
      "required": true,
      "value": "Bearer token123"
    }
  ],
  "rpcApiDependencies": [
    {
      "artifactId": "user-service-api",
      "groupId": "com.example",
      "version": "1.0.0"
    }
  ],
  "rpcConsumerConfig": "src/main/resources/consumer-example.conf"
}
参考文章
链接: SpringBoot 引入 smart-doc 接口文档管理插件,以及统一接口返回,最后推送到 Torna,进行统一管理
链接: 使用 Smart-doc 记录 Spring REST API
IDEA:Error running,Command line is too long. Shorten command line解决方案
执行程序报错 Error running,Command line is too long. Shorten command line
原因是启动命令过长
解决方案:
1.在工程文件.idea目录下找到workspace.xml

2.find查询并定位到PropertiesComponent
3.添加代码行
xml
<property name="dynamic.classpath" value="true" />