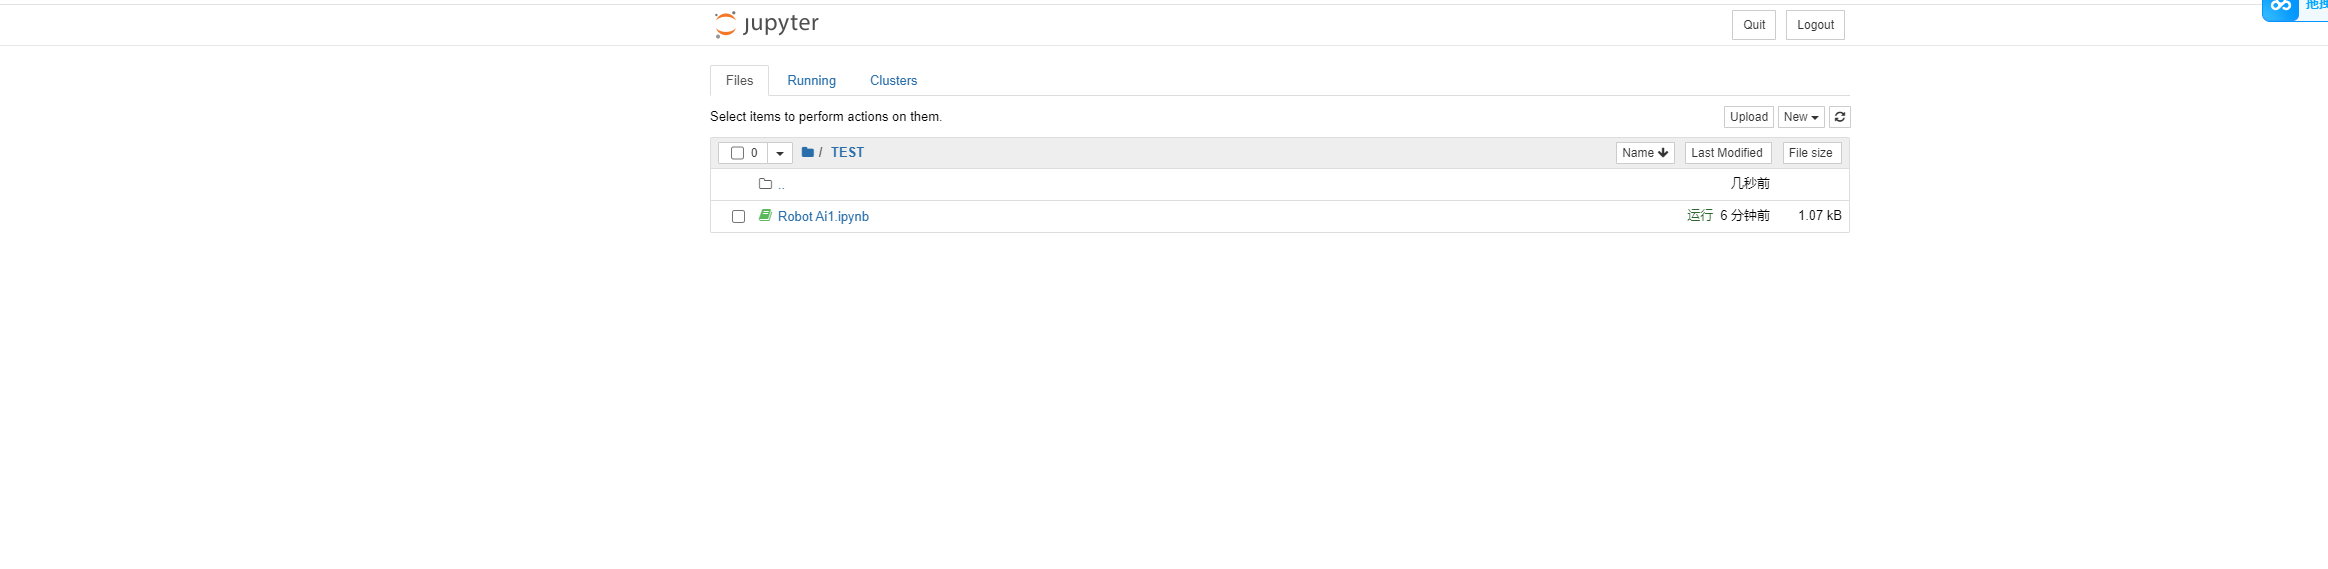
1、首先安装
sqlite-devel
yum install sqlite-devel
2、安装python3 python 3.7.9版本
下载地址 https://www.python.org/downloads/release/python-362/
3.解压安装包
将安装包进行解压
$tar -xzvf Python-3.7.9.tgz
进入目录
$cd Python_3.7.9
添加配置
$./configure --prefix=/usr/local/python3
编译源码
$make
执行安装
$make install
建立python3的软链
$ln -s /usr/local/python3/bin/python3 /usr/bin/python3
将/usr/local/python3/bin加入PATH
$vim ~/.bash_profile
.bash_profile
Get the aliases and functions
if -f \~/.bashrc ; then
. ~/.bashrc
fi
User specific environment and startup programs
PATH=PATH:HOME/bin:/usr/local/python3/bin
export PATH
保存退出:wq
修改完后执行下面的命令,让上一步的修改生效:
$source ~/.bash_profile
4.make对应文件之前,检查开发环境
sudo yum groupinstall "Development Tools"
sudo yum install zlib-devel bzip2-devel openssl-devel ncurses-devel sqlite-devel readline-devel tk-devel libffi-devel
创建虚拟环境目录(可以放在任何位置)
python3.7 -m venv ~/venv/jupyter_py37
或者使用指定路径
python3.7 -m venv /path/to/your/jupyter_env
检查是否创建成功
ls -la ~/venv/jupyter_py37/
激活虚拟环境
source ~/venv/jupyter_py37/bin/activate
激活后,命令行提示符会变化,显示虚拟环境名
应该看到类似:(jupyter_py37) user@host \~$
验证虚拟环境中的Python版本
python --version # 应该显示 Python 3.7.9
检查pip版本
pip --version
pip3.7 install virtualenv -i https://pypi.tuna.tsinghua.edu.cn/simplevirtualenv venv
source venv/bin/activate
pip3.7 install numpy pandas matplotlib jupyter -i https://pypi.tuna.tsinghua.edu.cn/simple
pip3.7 install opencv-python -i https://pypi.tuna.tsinghua.edu.cn/simple
pip3.7 install notebook==6.5.5 jupyter==1.0.0 -i https://pypi.tuna.tsinghua.edu.cn/simple
解决方案:降级urllib3并配置root安全运行
# 激活虚拟环境
source ~/root/venv/bin/activate
# 降级urllib3和requests到兼容版本
pip uninstall -y urllib3 requests jupyterlab jupyter-server
pip install 'urllib3<2.0' 'requests<3.0' -i https://pypi.tuna.tsinghua.edu.cn/simple
# 安装稳定版本的jupyter notebook(跳过jupyterlab)
pip install notebook==6.5.5 jupyter==1.0.0 -i https://pypi.tuna.tsinghua.edu.cn/simple
2. 验证修复
# 测试urllib3版本
python -c "import urllib3; print('urllib3版本:', urllib3.version)"
# 测试requests
python -c "import requests; print('requests版本:', requests.version)"
# 测试jupyter
python -c "import notebook; print('Notebook版本:', notebook.version)"
方法一:命令行启动(简单)
# 直接启动(带--allow-root参数)
source ~/root/venv/bin/activate
jupyter notebook --allow-root --ip=0.0.0.0 --port=8888 --no-browser
# 或者后台运行
nohup jupyter notebook --allow-root --ip=0.0.0.0 --port=8888 --no-browser > /root/jupyter.log 2>&1 &
# 查看日志
tail -f /root/jupyter.log
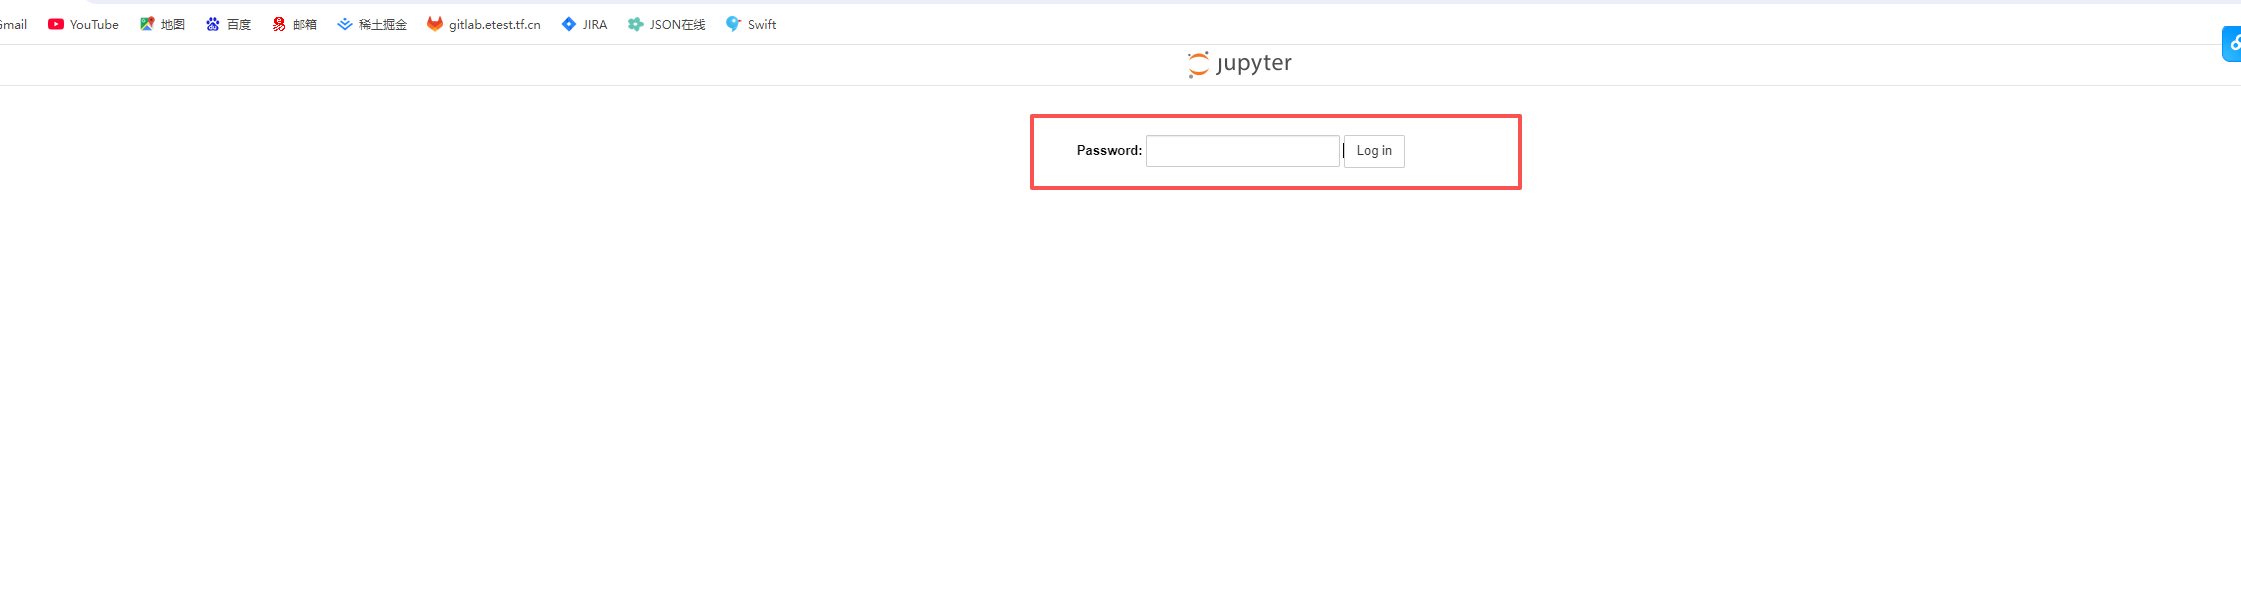
##密码问题解决,
jupyter notebook password

如果是虚拟环境,那么先要设置密码,之后再重启,要不然,每次进入juypter,都要验证token。
登录进去,就是如图: