1. 安装Nginx
sudo yum install nginx
2. 创建网站目录
sudo mkdir -p /var/www/my_site
在 /var/www 下为你的站点创建一个目录,如 my_site。

3. 传输本地文件到服务器
使用 scp 或 sftp 从本地电脑上传:
scp -r /本地/项目路径/* 用户名@服务器IP:/var/www/my_site/
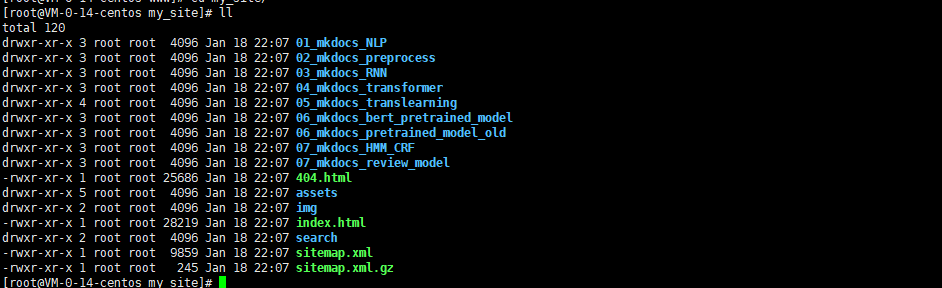
将你的 index.html, css, images 等全部上传。也可用FTP工具(如FileZilla)。
4. 设置目录权限
sudo chown -R nginx:nginx /var/www/my_site
sudo chmod -R 755 /var/www/my_site
将目录所有者设为Nginx用户,并设置适当的读取权限。
其实,用root用户也是可以的,为了安全起见,还是用nginx用户和用户组;
5.编辑Nginx站点配置
sudo vim /etc/nginx/conf.d/my_site.conf
在 conf.d 目录下创建一个新的配置文件,如 my_site.conf。

6、写入基础配置
html
server {
        listen       8089;
        server_name  localhost;

        #charset koi8-r;

        #access_log  logs/host.access.log  main;

        location / {
            root   /var/www/my_site;
            index  index.html index.htm;
        }

        #error_page  404              /404.html;

        # redirect server error pages to the static page /50x.html
        #
        error_page   500 502 503 504  /50x.html;
        location = /50x.html {
            root   html;
        }

        # proxy the PHP scripts to Apache listening on 127.0.0.1:80
        #
        #location ~ \.php$ {
        #    proxy_pass   http://127.0.0.1;
        #}

        # pass the PHP scripts to FastCGI server listening on 127.0.0.1:9000
        #
        #location ~ \.php$ {
        #    root           html;
        #    fastcgi_pass   127.0.0.1:9000;
        #    fastcgi_index  index.php;
        #    fastcgi_param  SCRIPT_FILENAME  /scripts$fastcgi_script_name;
        #    include        fastcgi_params;
        #}

        # deny access to .htaccess files, if Apache's document root
        # concurs with nginx's one
        #
        #location ~ /\.ht {
        #    deny  all;
        #}
    }
关键参数:
-
listen 80: 监听80端口(HTTP)。
-
server_name: 填你的服务器公网IP。如果有域名,填域名。
-
root: 指向你网站文件的根目录(第一步创建的)。
7.检查配置并重载
sudo nginx -t

sudo systemctl start nginx

8.其他的操作
sudo systemctl status nginx
-
确保状态是
active (running)。 -
查看错误日志(最有用!):
sudo tail -20 /var/log/nginx/error.log -
检查端口监听:
sudo ss -tulpn | grep :8089