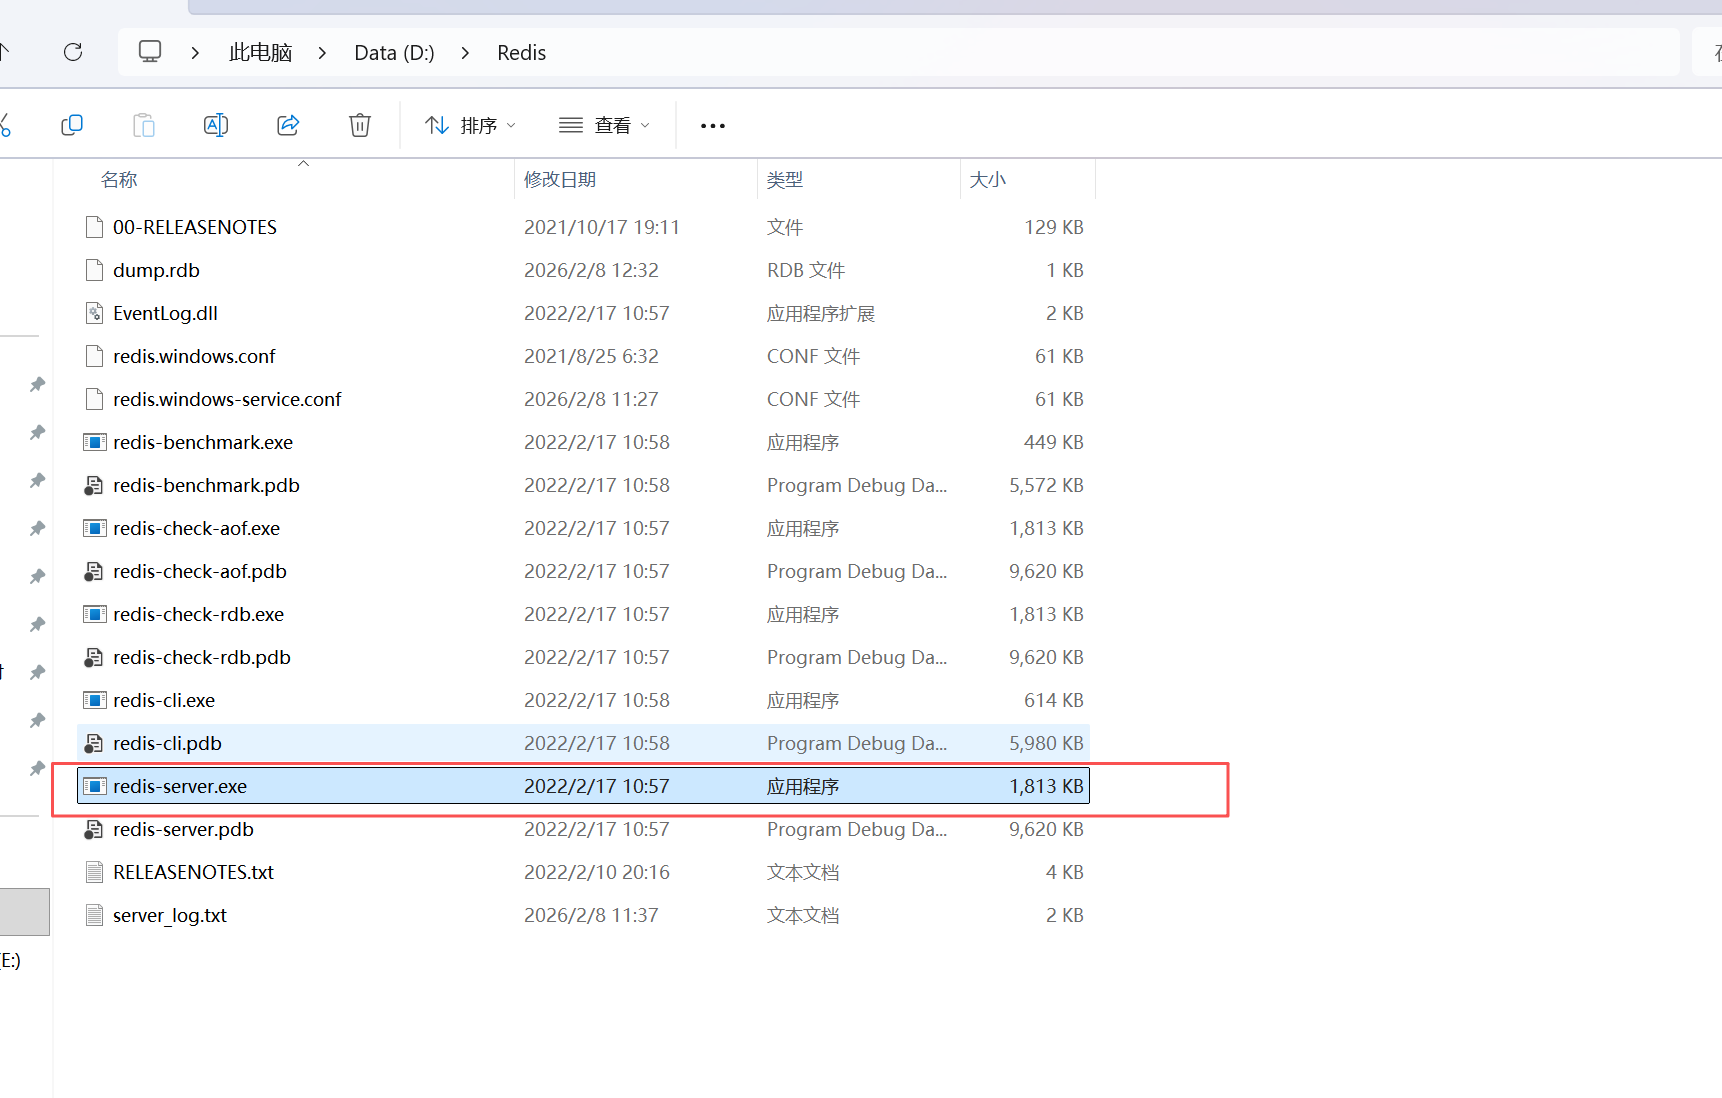
前期工作
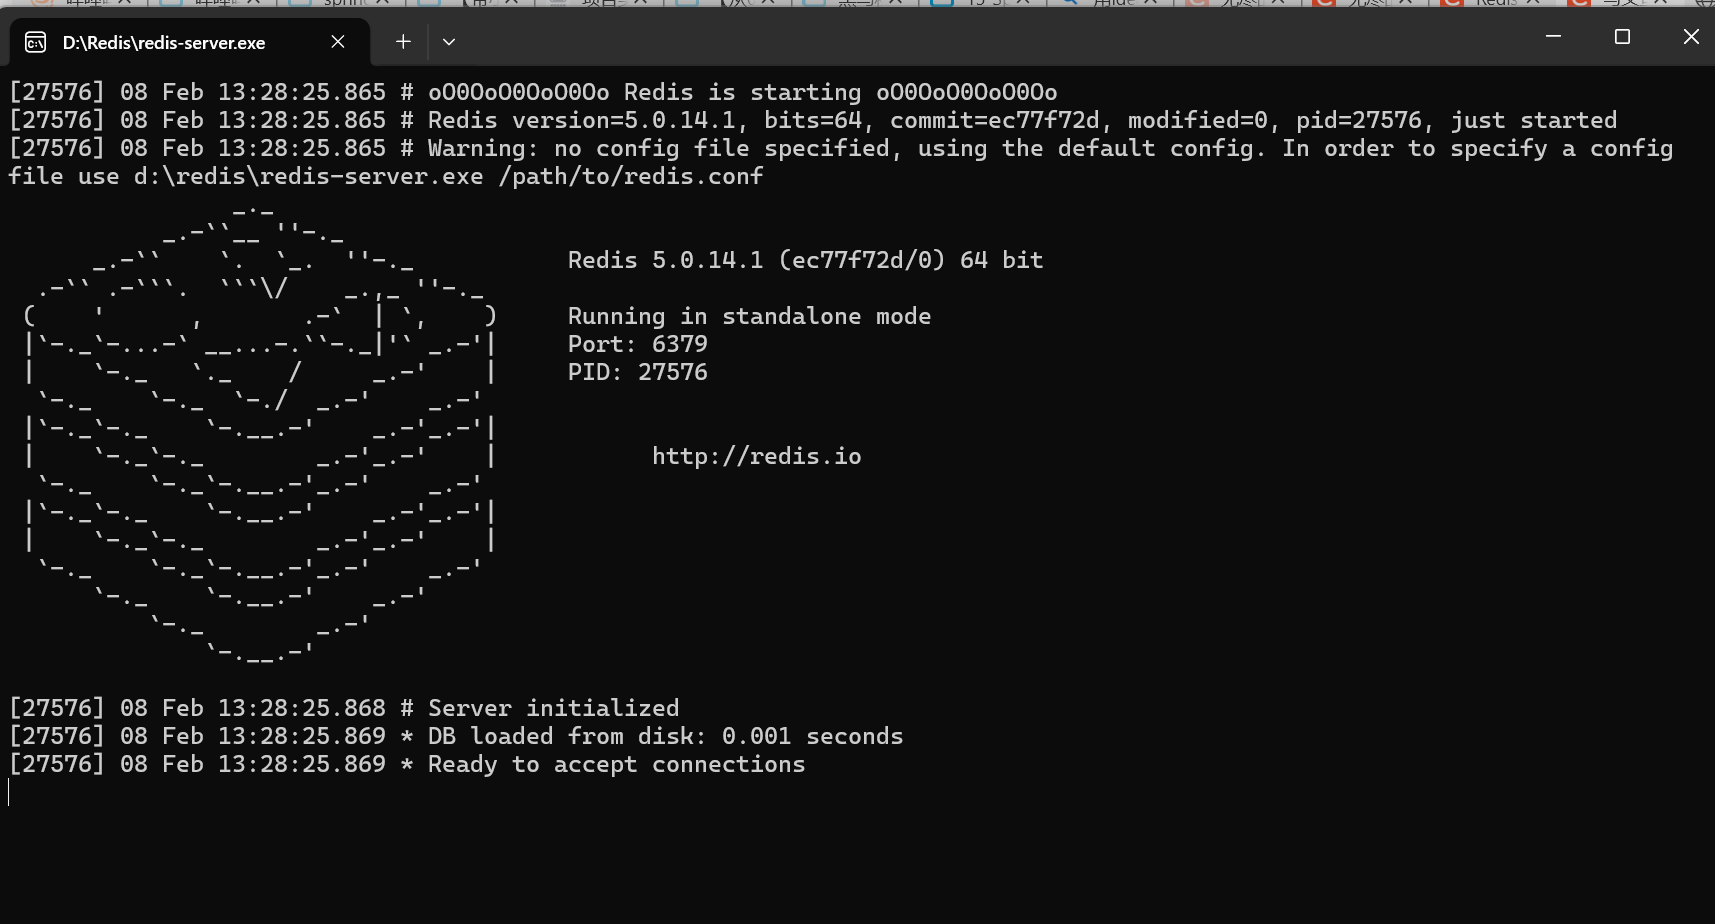
下载安装,开启Redis服务
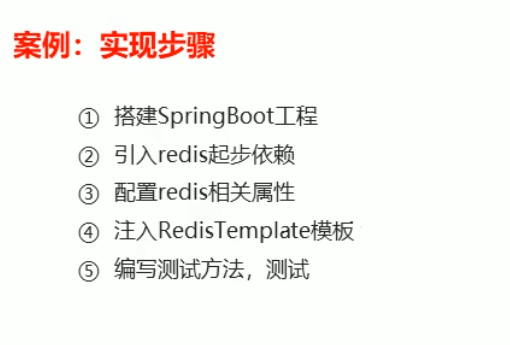
一.搭建SpringBoot项目
使用Spring initializr创建
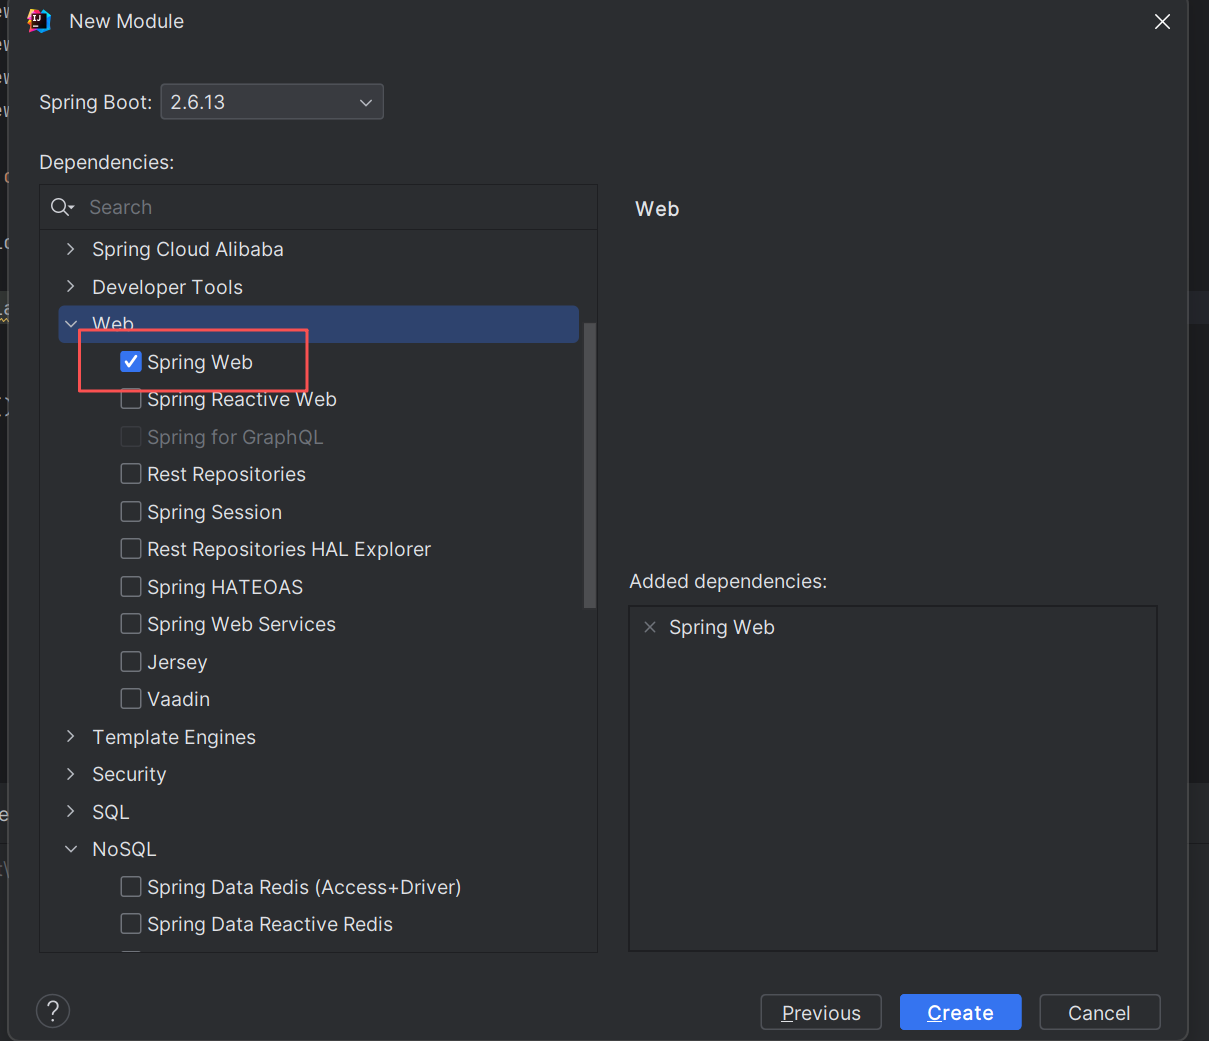
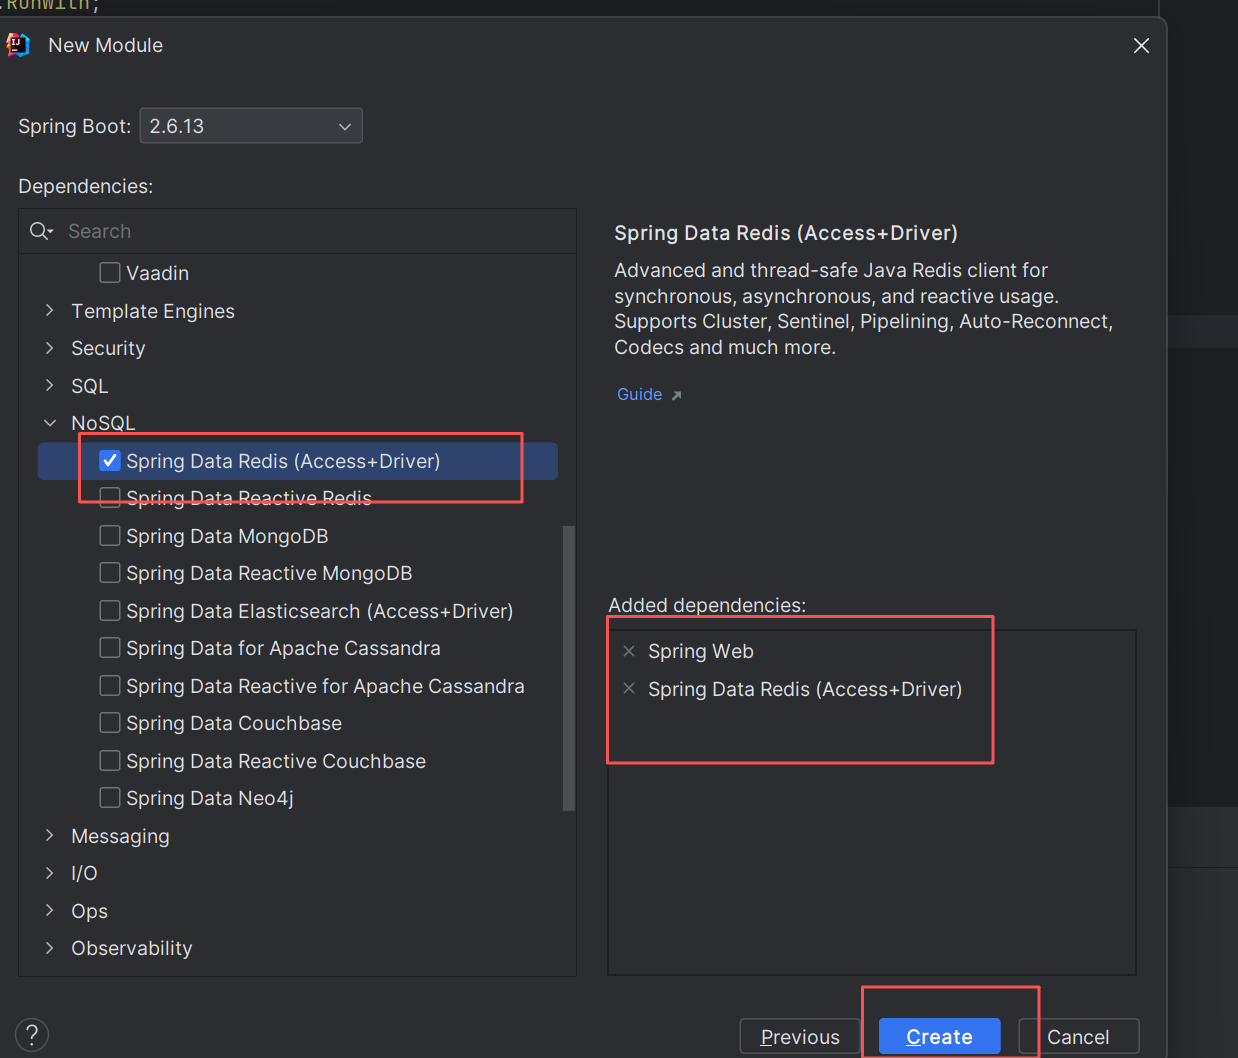
二.引入Redis依赖
创建完后,可以在pom.xml中看到Redis的依赖,该依赖提供了RedisTemplate的使用功能,可以通过RedisTemplate对Redis进行操作。
 <dependency>
            <groupId>org.springframework.boot</groupId>
            <artifactId>spring-boot-starter-data-redis</artifactId>
 </dependency>
在test中测试Redis是否成功
首先启动本地Redis服务(也可以用本地电脑中的"服务"界面去启动)
三.测试Redis的基本操作
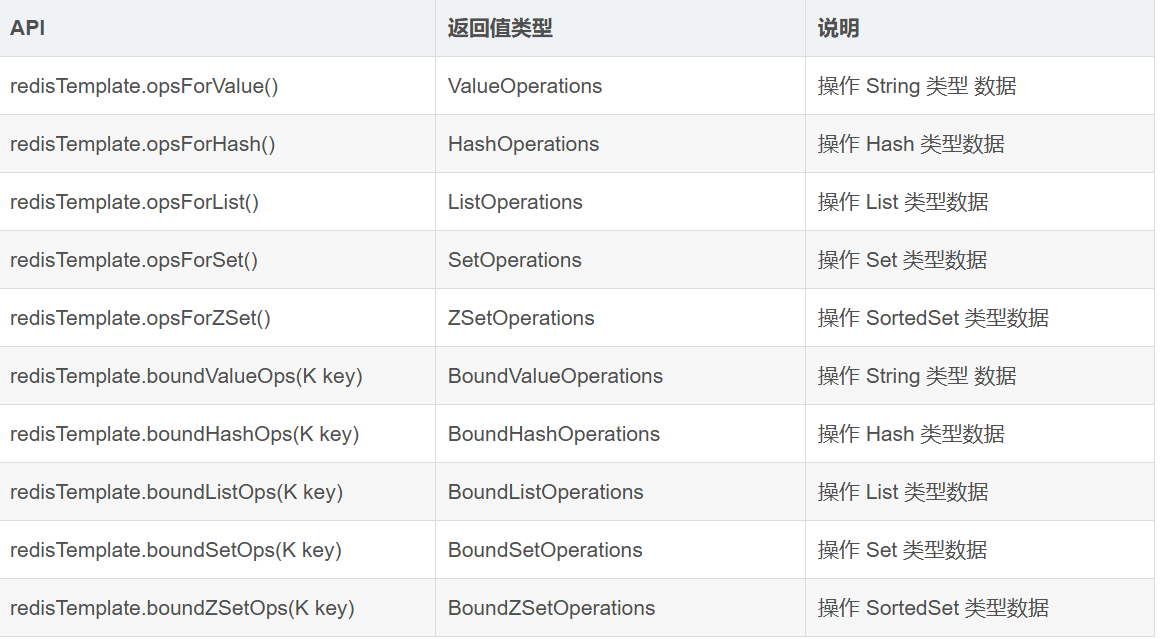
详解 RedisTemplate 的 API方法,如后文附加
在测试类中基本操作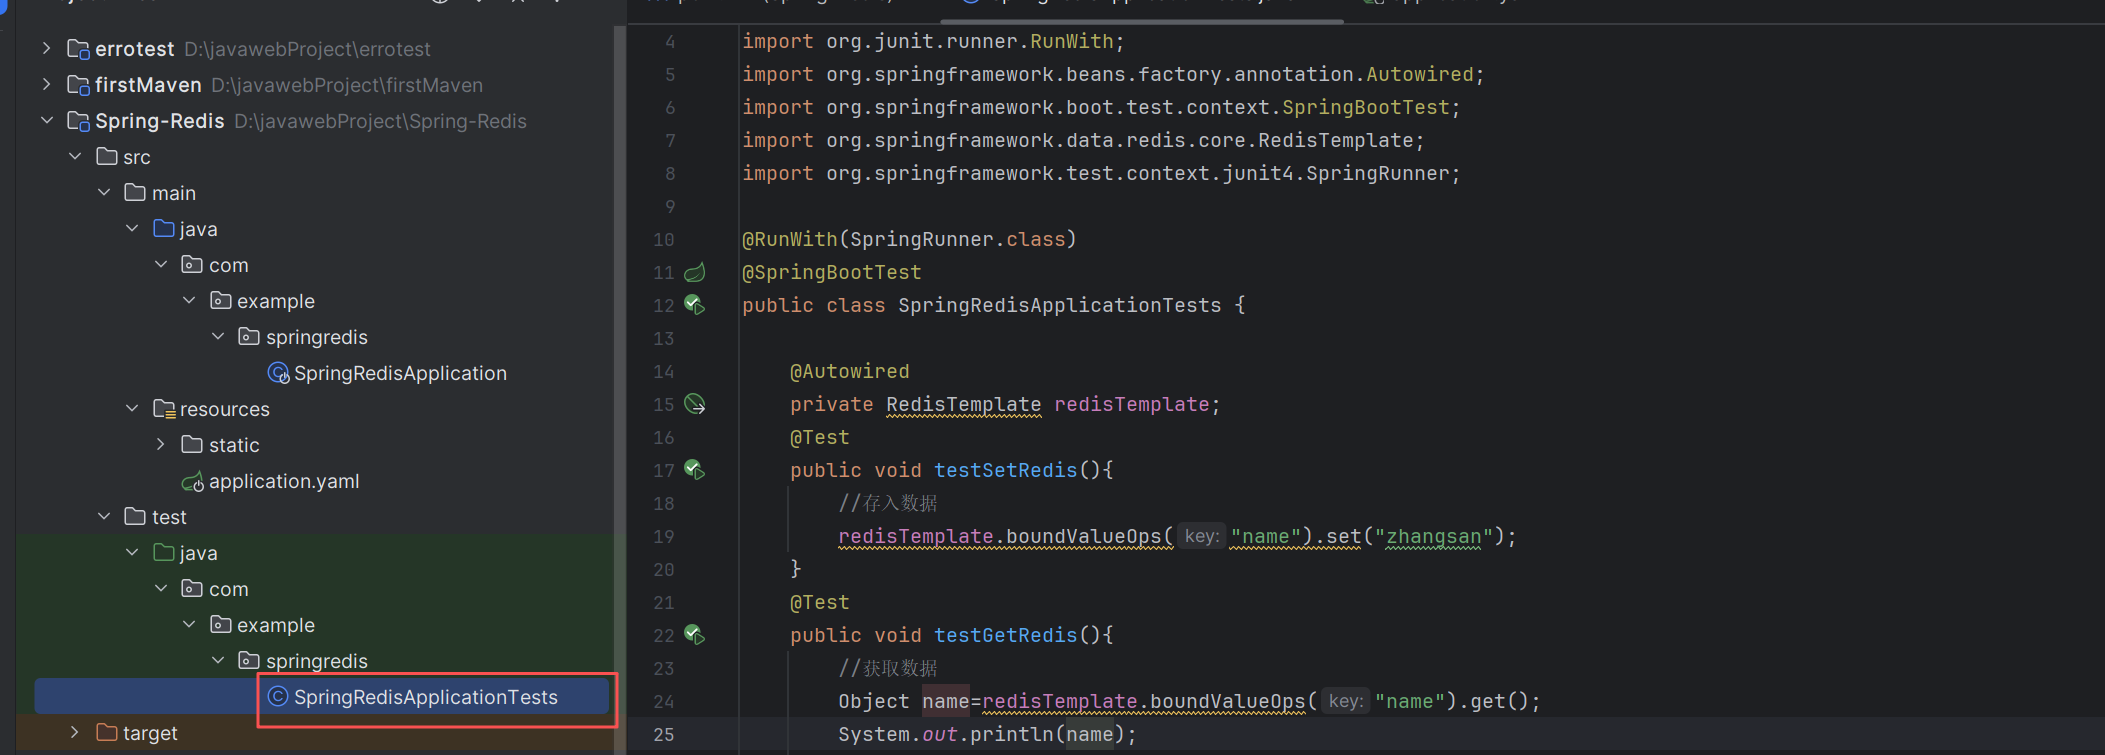

通常我们项目存储的是对象进行操作,所以可以通过Spring封装的Redis,可以将Java对象存入Redis中,而取出来之后也只需要强转一下就OK,案例如下
package com.example.springredis;
import org.junit.Test;
import org.junit.runner.RunWith;
import org.springframework.beans.factory.annotation.Autowired;
import org.springframework.boot.test.context.SpringBootTest;
import org.springframework.data.redis.core.RedisTemplate;
import org.springframework.test.context.junit4.SpringRunner;
@RunWith(SpringRunner.class)
@SpringBootTest
public class SpringRedisApplicationTests {
@Autowired
private RedisTemplate redisTemplate;
@Autowired
private Student student,student2; //自动生成两个对象
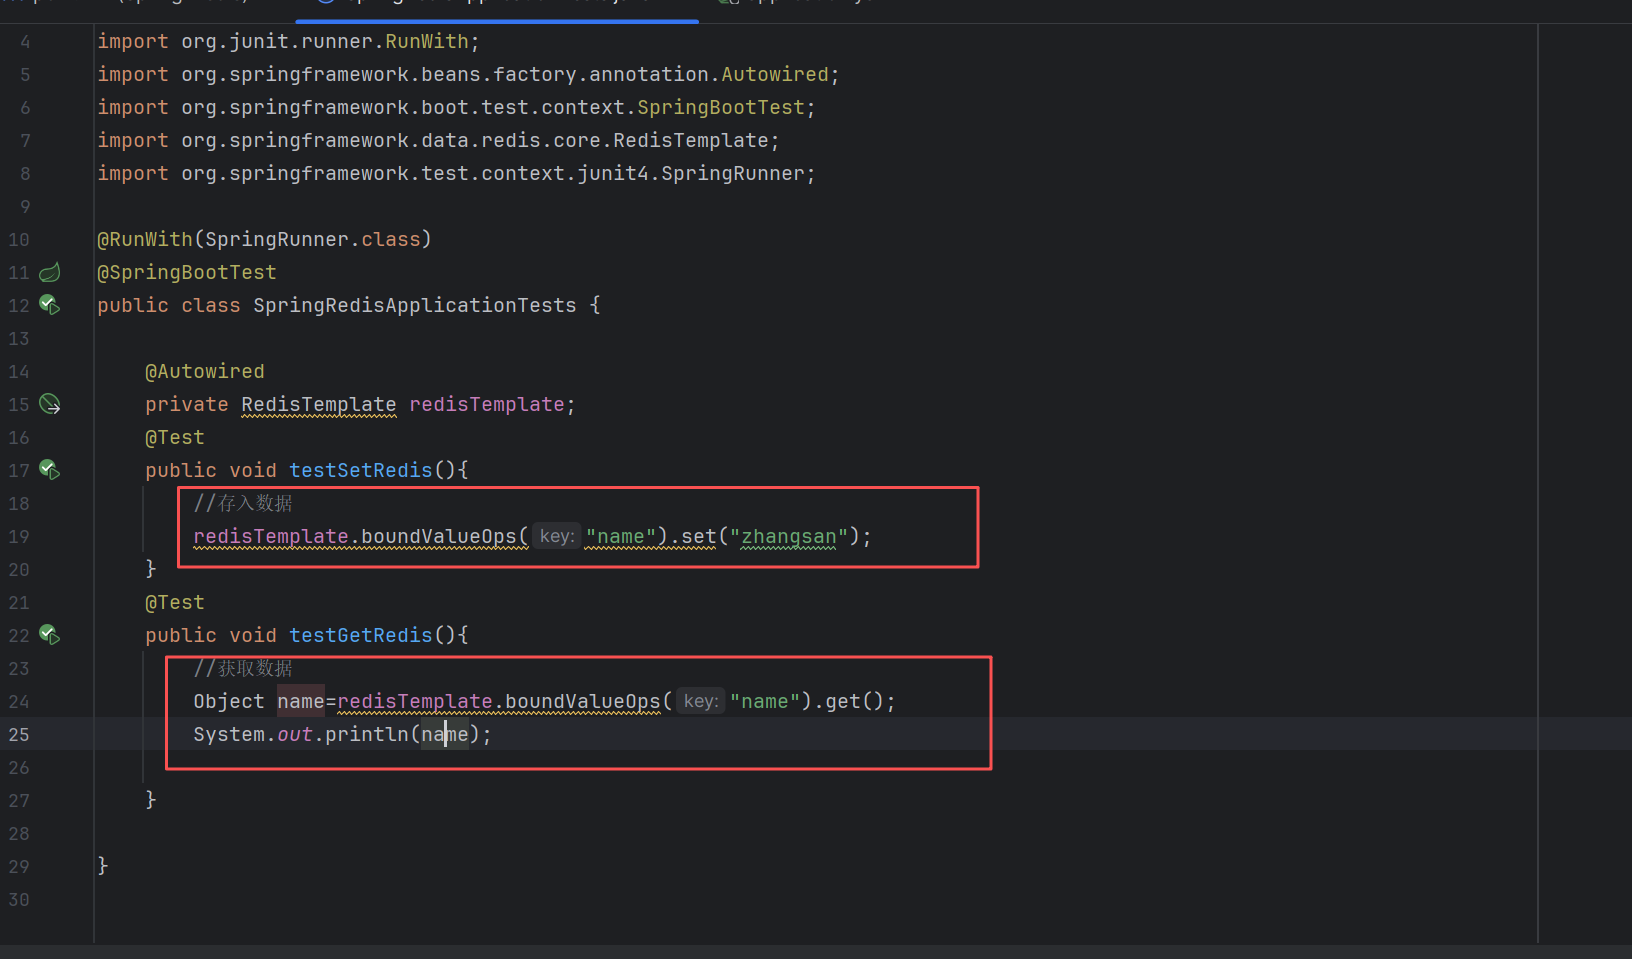
@Test
public void testSetRedis(){
//1.存入普通键值对数据
redisTemplate.boundValueOps("name").set("zhangsan");
redisTemplate.opsForValue().set("a",1);
//2.在redis中存入对象
student.setName("zhangsan");
student.setAge(19);
//redisTemplate.opsForValue()方法存储对象
redisTemplate.opsForValue().set("s1",student); //将Student对象序列化存储在redis中
}
@Test
public void testGetRedis(){
//1.获取数据
Object name=redisTemplate.boundValueOps("name").get();
int a=(int) redisTemplate.opsForValue().get("a");
System.out.println(name);
System.out.println(a);
//2.获取对象(反序列)
Student student1=(Student) redisTemplate.opsForValue().get("s1");
System.out.println(student1);
}
}也可以自定义一个RedisUtil操作类,对对象进行操作
首先需要重新定义RedisConfig配置类,该类作用是将RedisTemplate类型的存储类型结构变为redisTemplate<String,Object>。代码如下
package com.example.springredis;

import com.fasterxml.jackson.annotation.JsonAutoDetect;
import com.fasterxml.jackson.annotation.PropertyAccessor;
import com.fasterxml.jackson.databind.ObjectMapper;
import org.springframework.context.annotation.Bean;
import org.springframework.context.annotation.Configuration;
import org.springframework.data.redis.connection.lettuce.LettuceConnectionFactory;
import org.springframework.data.redis.core.RedisTemplate;
import org.springframework.data.redis.serializer.Jackson2JsonRedisSerializer;
import org.springframework.data.redis.serializer.RedisSerializer;
import org.springframework.data.redis.serializer.StringRedisSerializer;

@Configuration
public class RedisConfig {
    /**
     * RedisTemplate配置
     */
    @Bean
    public RedisTemplate<String, Object> redisTemplate(LettuceConnectionFactory lettuceConnectionFactory) {
        // 设置序列化
        Jackson2JsonRedisSerializer<Object> jackson2JsonRedisSerializer = new Jackson2JsonRedisSerializer<>(Object.class);
        ObjectMapper om = new ObjectMapper();
        om.setVisibility(PropertyAccessor.ALL, JsonAutoDetect.Visibility.ANY);
        om.enableDefaultTyping(ObjectMapper.DefaultTyping.NON_FINAL);
        jackson2JsonRedisSerializer.setObjectMapper(om);
        // 配置redisTemplate
        RedisTemplate<String, Object> redisTemplate = new RedisTemplate<>();
        redisTemplate.setConnectionFactory(lettuceConnectionFactory);

        RedisSerializer<?> stringSerializer = new StringRedisSerializer();
        // key序列化
        redisTemplate.setKeySerializer(stringSerializer);
        // value序列化
        redisTemplate.setValueSerializer(jackson2JsonRedisSerializer);
        // Hash key序列化
        redisTemplate.setHashKeySerializer(stringSerializer);
        // Hash value序列化
        redisTemplate.setHashValueSerializer(jackson2JsonRedisSerializer);
        redisTemplate.afterPropertiesSet();
        return redisTemplate;
    }
}
然后再自定义一个RedisUtil类
package com.example.springredis;


import lombok.extern.slf4j.Slf4j;
import org.apache.commons.lang3.StringUtils;
import org.springframework.beans.factory.annotation.Autowired;
import org.springframework.data.redis.core.RedisTemplate;
import org.springframework.stereotype.Component;

@Slf4j
@Component
public class RedisUtil {

    @Autowired
    private RedisTemplate<String, Object> redisTemplate;

    /**
     * 根据key读取数据
     */
    public Object get(final String key) {
        //不能直接创建,因为RedisTemplate没有配置连接工厂
//        RedisTemplate<String, Object> redisTemplate=new RedisTemplate<>();
        if (StringUtils.isBlank(key)) {
            return null;
        }
        try {
            return redisTemplate.opsForValue().get(key);
        } catch (Exception e) {
            e.printStackTrace();
        }
        return null;
    }

    /**
     * 写入数据
     */
    public boolean set(final String key, Object value) {
        //不能直接创建,因为RedisTemplate没有配置连接工厂
//        RedisTemplate<String, Object> redisTemplate=new RedisTemplate<>();
        if (StringUtils.isBlank(key)) {
            return false;
        }
        try {
            redisTemplate.opsForValue().set(key, value);
            log.info("存入redis成功,key:{},value:{}", key, value);
            return true;
        } catch (Exception e) {
            log.error("存入redis失败,key:{},value:{}", key, value);
            e.printStackTrace();
        }
        return false;
    }
}
最后去测试这个RedisUtil类,对对象进行操作
package com.example.springredis;

import org.junit.Test;
import org.junit.runner.RunWith;
import org.springframework.beans.factory.annotation.Autowired;
import org.springframework.boot.test.context.SpringBootTest;
import org.springframework.data.redis.core.RedisTemplate;
import org.springframework.test.context.junit4.SpringRunner;

@RunWith(SpringRunner.class)
@SpringBootTest
public class SpringRedisApplicationTests {

    @Autowired
    private RedisTemplate redisTemplate;

    @Autowired
    private RedisUtil redisUtil;   //自定义一个RedisUtil操作类

    @Autowired
    private Student student,student2;    //自动生成两个对象

    @Test
    public void testSetRedis(){

        //3.使用Redis工具类RedisUtil
        student2.setName("李四");
        student2.setAge(20);
        redisUtil.set("s2",student2);

    }
    @Test
    public void testGetRedis(){

        //3.使用Redis工具类从Redis中获取对象
        Student s2=(Student) redisUtil.get("s2");
        System.out.println(s2);

    }

}
四.连接的Redis不是本地,而是其他
需要在application.yaml配置文件中配置Redis连接参数
#将来连接的Redis不是本地,需要设置连接参数
spring:
  redis:
    host: 127.0.0.1   #redis主机名
    port: 6379        #端口号
# password: 123456 #redis的密码附加:详解 RedisTemplate 的 API方法
1.常用数据操作
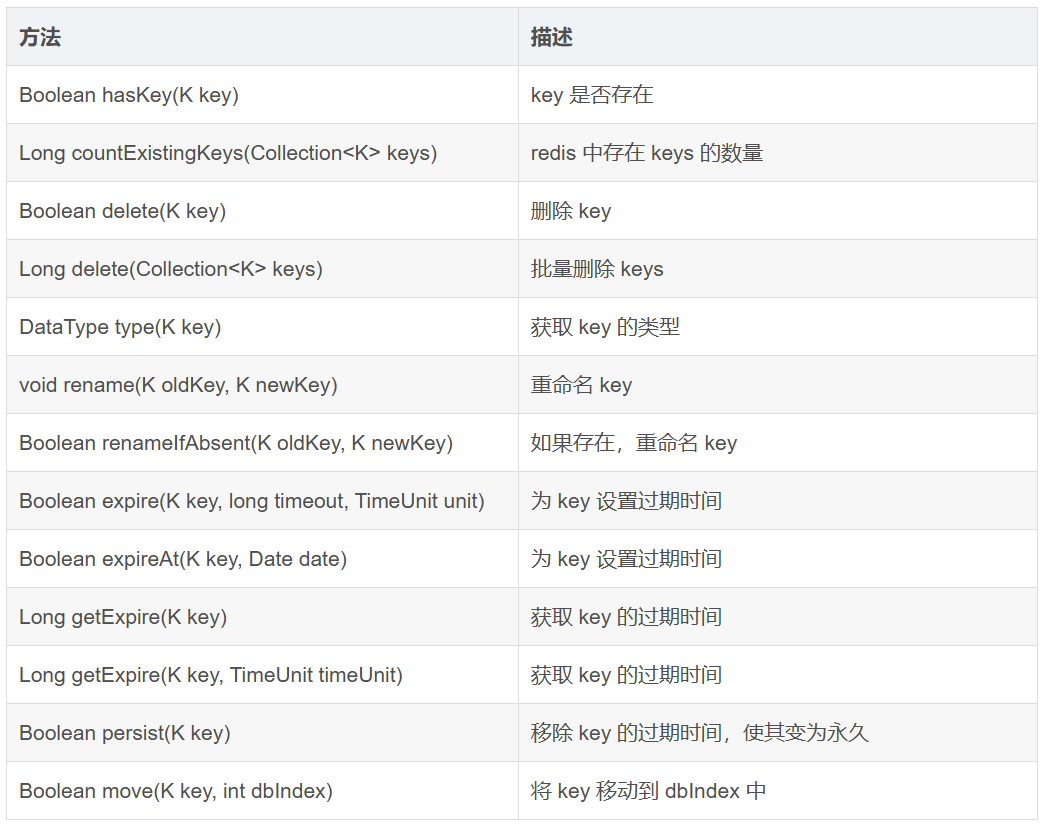
若以 bound 开头,则意味着在操作之初就会绑定一个 key,后续的所有操作便默认认为是对该 key 的操作。