【OpenClaw 本地实战 Ep.2】零代码对接:使用交互式向导快速连接本地 LM Studio 用 CUDA GPU 推理
------【独家】🦞 OpenClaw + LM Studio 本地模型稳定 CUDA GPU 加速推理配置指南(源码部署版)
目标 :让 OpenClaw 调用本地 LM Studio 运行的模型,代替 Ollama 实现稳定的 CUDA GPU 推理,体验极速的本地模型服务
部署方式 :从源代码部署 (非 npm 全局安装)
环境 :Windows + WSL2(推荐)或原生 Windows
版本:OpenClaw 2026.2.13 (a2b45e1)
前置篇:
【OpenClaw 本地实战 Ep.1】抛弃 Ollama?转向 LM Studio!Windows 下用 NVIDIA 显卡搭建 OpenClaw 本地极速推理服务
目录
[【OpenClaw 本地实战 Ep.2】零代码对接:使用交互式向导快速连接本地 LM Studio 用 CUDA GPU 推理](#【OpenClaw 本地实战 Ep.2】零代码对接:使用交互式向导快速连接本地 LM Studio 用 CUDA GPU 推理)
[------【独家】🦞 OpenClaw + LM Studio 本地模型稳定 CUDA GPU 加速推理配置指南(源码部署版)](#——【独家】🦞 OpenClaw + LM Studio 本地模型稳定 CUDA GPU 加速推理配置指南(源码部署版))
[⚠️ 重要区别:源码部署 vs 全局安装](#⚠️ 重要区别:源码部署 vs 全局安装)
[LM Studio - Local AI on your computer](#LM Studio - Local AI on your computer)
[LM Studio - GitHub](#LM Studio - GitHub)
[安装 LM Studio 并启动本地服务器](#安装 LM Studio 并启动本地服务器)
[openclaw · GitHub](#openclaw · GitHub)
[安装 - OpenClaw](#安装 - OpenClaw)
[第四步:确认 QuickStart 配置](#第四步:确认 QuickStart 配置)
[第六步:配置 API 基础地址](#第六步:配置 API 基础地址)
[第七步:配置 API 密钥](#第七步:配置 API 密钥)
[第九步:指定模型 ID](#第九步:指定模型 ID)
[第十四步:配置外部 API 密钥(可选)](#第十四步:配置外部 API 密钥(可选))
[⚠️ 关键步骤:手动启动网关服务(易漏!)](#⚠️ 关键步骤:手动启动网关服务(易漏!))
[🔑 获取带 Token 的完整链接(易漏!)](#🔑 获取带 Token 的完整链接(易漏!))
[获取当前 Token](#获取当前 Token)
[🧪 测试对话](#🧪 测试对话)
[📋 完整流程图(源码部署版)](#📋 完整流程图(源码部署版))
[🔧 关键配置回顾](#🔧 关键配置回顾)
[🐛 常见问题:网关相关](#🐛 常见问题:网关相关)
[问题 1:Error: connect ECONNREFUSED 127.0.0.1:18789](#问题 1:Error: connect ECONNREFUSED 127.0.0.1:18789)
[问题 2:Unauthorized 或空白页面](#问题 2:Unauthorized 或空白页面)
[问题 3:端口被占用](#问题 3:端口被占用)
[问题 4:源码修改后网关不更新](#问题 4:源码修改后网关不更新)
[问题 5:对话报错](#问题 5:对话报错)
[🚀 后台运行网关(进阶)](#🚀 后台运行网关(进阶))
[📝 下一篇预告](#📝 下一篇预告)
[《强制修改 openclaw.json 解锁 32k 上下文记忆》](#《强制修改 openclaw.json 解锁 32k 上下文记忆》)
[《配置固定浏览器 Token,方便切换任意浏览器》](#《配置固定浏览器 Token,方便切换任意浏览器》)
[💡 给源码部署者的额外提示](#💡 给源码部署者的额外提示)
摘要 : OpenClaw 本地化部署第二弹。告别枯燥的 JSON 文件修改!本文演示如何利用 OpenClaw 自带的 CLI 交互式向导 ,像安装游戏一样,通过简单的问答,零代码将网关连接到本地 LM Studio + NVIDIA 显卡 的推理服务。
标签 : OpenClaw LM Studio 零代码 本地部署 CLI工具 AI Agent
写在前面:从"大脑"到"身体"
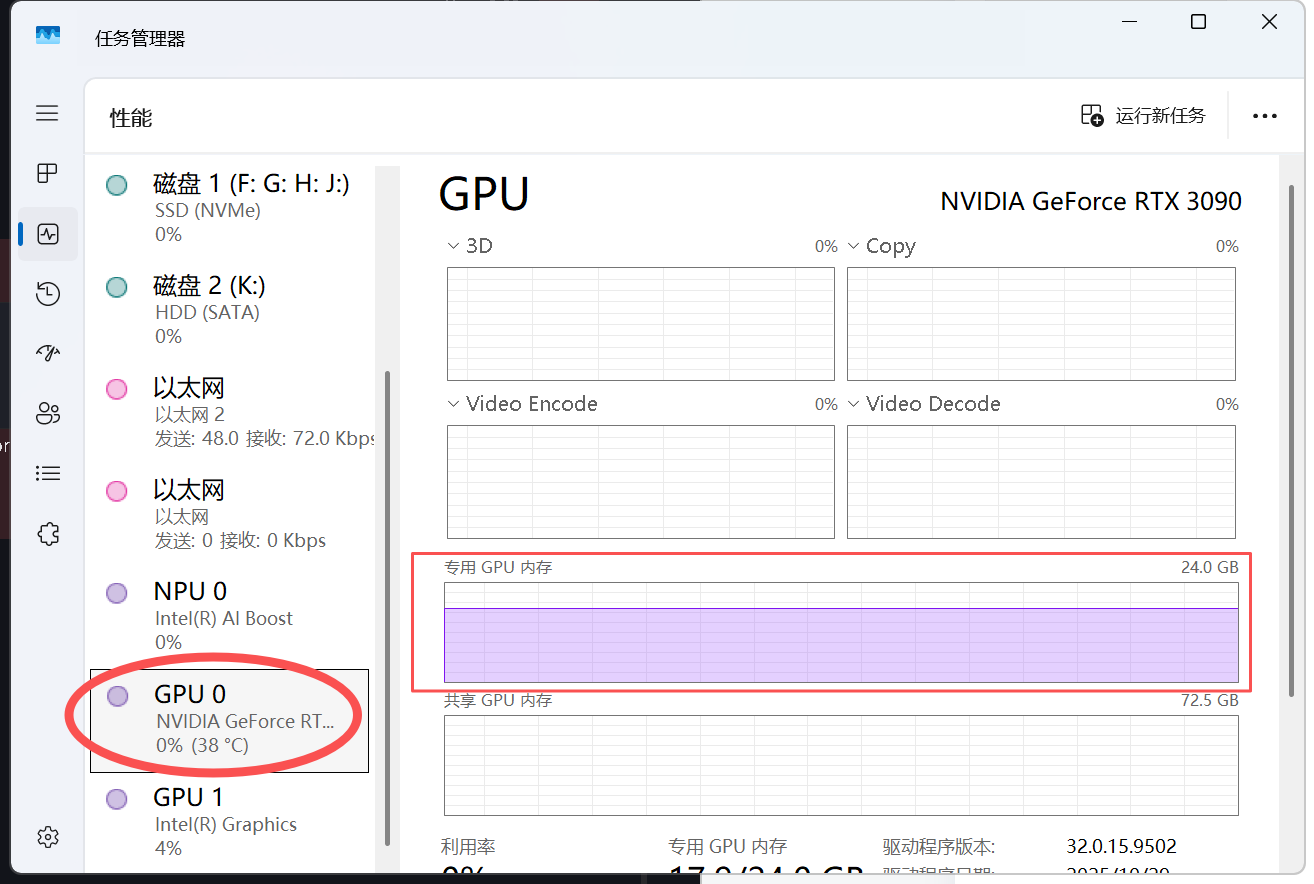
在 Ep.1 抛弃 Ollama?转向 LM Studio! 中,我们已经成功利用 NVIDIA RTX 3090 的强大算力,在本地 http://127.0.0.1:1234 搭建起了一个兼容 OpenAI 协议的推理服务。
现在的状态是:大脑(LM Studio)已经觉醒,正在等待身体(OpenClaw)的指令。
很多硬核教程会让你直接去修改 json 配置文件,容易出错且劝退。其实,OpenClaw 内置了一个非常人性化的 "初次启动向导" (Onboarding Wizard)。今天我们就用最轻松的方式,把它们连起来!
⚠️ 重要区别:源码部署 vs 全局安装
如果你是通过 git clone 下载源码并在本地开发的,所有命令都需要加 pnpm (或 npm/yarn,取决于你的包管理器):
| 操作 | 全局安装 (npm ) | 源码部署 (pnpm) |
|---|---|---|
| 启动配置向导 | openclaw onboard --install-daemon |
pnpm openclaw onboard --install-daemon |
| 启动网关服务 | openclaw gateway |
pnpm openclaw gateway |
| 其他子命令 | openclaw <command> |
pnpm openclaw <command> |
💡 新手提示 :如果你在源码目录下,运行命令后看到
command not found: openclaw错误,说明你忘记加pnpm前缀了!
前置准备
LM Studio - Local AI on your computer
LM Studio - GitHub
安装 LM Studio 并启动本地服务器
-
下载并安装 LM Studio
-
下载一个模型(本文使用
openai/gpt-oss-20b作为示例) -
点击左侧的 "Local Server" 标签
-
启用本地 LLM 服务
-
确保顶部的状态显示为绿色的 Status: Running
-
点击 "Start Server" ,保持默认端口
1234 -
GPU detected with CUDA :务必勾选 ON
【OpenClaw 本地实战 Ep.1】抛弃 Ollama?转向 LM Studio!Windows 下用 NVIDIA 显卡搭建 OpenClaw 本地极速推理服务
💡 关键检查 :在浏览器中访问http://127.0.0.1:1234/v1/models,如果能看到 JSON 响应(模型列表),说明 LM Studio 服务器已就绪。
第一步:启动配置向导(源码部署版)
源代码仓库
openclaw · GitHub
全局安装官方文档
安装 - OpenClaw
git clone https://github.com/openclaw/openclaw.git
cd openclaw

pnpm install
pnpm ui:build # auto-installs UI deps on first run
pnpm build
本地构建完成之后进入 OpenClaw 源码目录,运行:
pnpm openclaw onboard --install-daemon实际输出:
OpenClaw 2026.2.13 (a2b45e1) --- Ah, the fruit tree company! 🍎

Windows detected --- OpenClaw runs great on WSL2!
Native Windows might be trickier.
Quick setup: wsl --install (one command, one reboot)
Guide: https://docs.openclaw.ai/windows
▄▄▄▄▄▄▄▄▄▄▄▄▄▄▄▄▄▄▄▄▄▄▄▄▄▄▄▄▄▄▄▄▄▄▄▄▄▄▄▄▄▄▄▄▄▄▄▄▄▄▄▄
██░▄▄▄░██░▄▄░██░▄▄▄██░▀██░██░▄▄▀██░████░▄▄▀██░███░██
██░███░██░▀▀░██░▄▄▄██░█░█░██░█████░████░▀▀░██░█░█░██
██░▀▀▀░██░█████░▀▀▀██░██▄░██░▀▀▄██░▀▀░█░██░██▄▀▄▀▄██
▀▀▀▀▀▀▀▀▀▀▀▀▀▀▀▀▀▀▀▀▀▀▀▀▀▀▀▀▀▀▀▀▀▀▀▀▀▀▀▀▀▀▀▀▀▀▀▀▀▀▀▀
                  🦞 OPENCLAW 🦞
📝 操作解析 :--install-daemon 参数会安装系统服务(Windows 下是计划任务,Linux 下是 systemd 服务),让网关可以后台运行。对于源码部署,必须在命令前加 pnpm。
第二步:安全警告确认
交互式配置 , 命令提示符保持为 `pnpm openclaw` 上下文
┌  OpenClaw onboarding
│
◇  Security ──────────────────────────────────────────────────────────────────────────────╮
│                                                                                         │
│  Security warning --- please read.                                                        │
│                                                                                         │
│  OpenClaw is a hobby project and still in beta. Expect sharp edges.                     │
│  This bot can read files and run actions if tools are enabled.                          │
│  A bad prompt can trick it into doing unsafe things.                                    │
│                                                                                         │
│  If you're not comfortable with basic security and access control, don't run OpenClaw.  │
│  Ask someone experienced to help before enabling tools or exposing it to the internet.  │
│                                                                                         │
│  Recommended baseline:                                                                  │
│  - Pairing/allowlists + mention gating.                                                 │
│  - Sandbox + least-privilege tools.                                                     │
│  - Keep secrets out of the agent's reachable filesystem.                                │
│  - Use the strongest available model for any bot with tools or untrusted inboxes.       │
│                                                                                         │
│  Run regularly:                                                                         │
│  openclaw security audit --deep                                                         │
│  openclaw security audit --fix                                                          │
│                                                                                         │
│  Must read: https://docs.openclaw.ai/gateway/security                                    │
│                                                                                         │
├─────────────────────────────────────────────────────────────────────────────────────────╯
│
◇  I understand this is powerful and inherently risky. Continue?
│  Yes
📝 操作解析 :OpenClaw 是一个功能强大的自动化工具,可以执行代码、访问文件系统。这里要求你确认理解安全风险。使用方向键选择 Yes 并按回车继续。
⚠️ 新手提示:建议先阅读一下给出的安全文档链接,了解如何安全地使用这个工具,特别是当你计划开启工具执行功能时。
第三步:选择配置模式
│
◇  Onboarding mode
│  QuickStart
📝 操作解析 :OpenClaw 提供多种配置模式。QuickStart 是最快上手的选项,会自动配置基础设置。按回车选择即可。
第四步:确认 QuickStart 配置
◇  QuickStart ─────────────────────────╮
│                                      │
│  Gateway port: 18789                 │
│  Gateway bind: Loopback (127.0.0.1)  │
│  Gateway auth: Token (default)       │
│  Tailscale exposure: Off             │
│  Direct to chat channels.            │
│                                      │
├──────────────────────────────────────╯
📝 操作解析:这是 OpenClaw 网关的基础配置:
-
Gateway port : 本地服务端口
18789,Web 界面将通过这个端口访问 -
Gateway bind: 绑定到本地回环地址,意味着只有本机能访问(安全)
-
Gateway auth: 使用 Token 认证,防止未授权访问
-
Tailscale exposure: 关闭,不暴露到公网
直接按回车确认这些默认设置。
第五步:选择模型提供商(关键步骤)
│
◇  Model/auth provider
│  Custom Provider
📝 操作解析 :这里要选择模型提供商。因为我们要连接 本地 LM Studio ,而不是 OpenAI、Anthropic 等云服务,所以选择 Custom Provider(自定义提供商)。
使用方向键选中 Custom Provider 后按回车。
第六步:配置 API 基础地址
│
◇  API Base URL
│  http://127.0.0.1:1234/v1
📝 操作解析:这是连接本地 LM Studio 的关键配置!
-
格式 :
http://127.0.0.1:1234/v1-
127.0.0.1:本地地址(localhost) -
1234:LM Studio 默认端口(如果你改了端口,这里也要改) -
/v1:OpenAI 兼容的 API 路径
-
💡 新手提示:这个地址就是 LM Studio 本地服务器的地址。在 LM Studio 界面左侧 "Local Server" 里能看到这个地址。确保 LM Studio 的服务器已经启动,否则后续会连接失败。
输入地址后按回车。
第七步:配置 API 密钥
│
◇  API Key (leave blank if not required)
│  lm-studio
📝 操作解析:LM Studio 本地服务器通常不需要 API 密钥,但有些版本会要求填入任意字符作为占位符。
-
如果 LM Studio 没设置密钥:可以直接回车留空,或填入
lm-studio作为标识 -
如果 LM Studio 设置了密钥:填入你设置的密钥
这里我填入了 lm-studio 作为标识,方便区分这是本地模型。
第八步:选择端点兼容性模式
│
◇  Endpoint compatibility
│  Unknown (detect automatically)
📝 操作解析 :OpenClaw 需要知道你的 API 端点类型。选择 Unknown (detect automatically) 让 OpenClaw 自动检测 LM Studio 的 OpenAI 兼容模式。
第九步:指定模型 ID
│
◇  Model ID
│  openai/gpt-oss-20b
📝 操作解析 :这里要填入你在 LM Studio 中加载的模型标识符。
-
格式 :
提供商/模型名,例如openai/gpt-oss-20b、lmstudio/llama-3.2等 -
怎么知道填什么?:在 LM Studio 的模型卡片上查看,或使用 LM Studio 默认的标识格式
💡 新手提示:这个 ID 主要是给 OpenClaw 内部识别用的。LM Studio 实际上会忽略这个值,直接运行你当前加载的模型。但为了保持一致性,建议填写你实际加载的模型名称。
第十步:确认自动检测结果
│
◇  Detected OpenAI-compatible endpoint.
│
◇  Endpoint ID
│  custom-127-0-0-1-1234
📝 操作解析 :OpenClaw 成功检测到这是一个 OpenAI 兼容的端点,并自动生成了一个端点 ID custom-127-0-0-1-1234。这个 ID 用于在配置文件中标识这个连接。
直接按回车确认。
第十一步:设置模型别名(可选但推荐)
│
◇  Model alias (optional)
│  local
Configured custom provider: custom-127-0-0-1-1234/openai/gpt-oss-20b
📝 操作解析 :给这个模型配置起一个简单的别名 local,方便后续在命令行或配置文件中引用。
配置完成后,OpenClaw 会显示确认信息:Configured custom provider: custom-127-0-0-1-1234/openai/gpt-oss-20b
第十二步:配置通讯频道(Channels)
│
◇  Channel status ────────────────────────────╮
│                                             │
│  Telegram: not configured                   │
│  WhatsApp: not configured                   │
│  Discord: not configured                    │
│  IRC: not configured                        │
│  Google Chat: not configured                │
│  Slack: not configured                      │
│  Signal: not configured                     │
│  iMessage: not configured                   │
│  ...                                        │
├─────────────────────────────────────────────╯
│
◇  Select channel (QuickStart)
│  Skip for now
📝 操作解析 :OpenClaw 支持连接多种聊天平台(Telegram、Discord、Slack 等)。作为初次配置,我们选择 Skip for now(暂时跳过),先确保核心功能正常运行。
💡 新手提示:频道配置可以在后续随时添加。建议先通过 Web UI 测试本地模型是否正常工作,再配置具体的聊天平台。
第十三步:配置技能(Skills)
│
◇  Skills status ─────────────╮
│                             │
│  Eligible: 6                │
│  Missing requirements: 34   │
│  Missing requirements: 34   │
│  Unsupported on this OS: 8  │
│  Blocked by allowlist: 0    │
│                             │
├─────────────────────────────╯
│
◇  Configure skills now? (recommended)
│  Yes
│
◇  Install missing skill dependencies
│  Skip for now
📝 操作解析:Skills 是 OpenClaw 的扩展功能(如网页搜索、文件操作、图像生成等)。这里显示有 6 个可用技能,34 个缺少依赖。
选择 Yes 查看技能配置,但先 Skip for now 安装依赖,因为我们主要目标是先让本地模型跑起来。
第十四步:配置外部 API 密钥(可选)
接下来会询问是否为各种技能设置 API 密钥:
◇  Set GOOGLE_PLACES_API_KEY for goplaces?
│  No
│
◇  Set NOTION_API_KEY for notion?
│  No
│
◇  Set OPENAI_API_KEY for openai-image-gen?
│  No
│
◇  Set OPENAI_API_KEY for openai-whisper-api?
│  No
│
◇  Set ELEVENLABS_API_KEY for sag?
│  No
📝 操作解析 :这些都是第三方服务的 API 密钥。因为我们目标是完全离线 使用本地模型,所以全部选择 No。
💡 新手提示:如果你后续需要让 OpenClaw 生成图片(需要 OpenAI API)、语音识别(需要 Whisper API)等,可以之后再配置这些密钥。
第十五步:配置自动化钩子(Hooks)
◇  Hooks ──────────────────────────────────────────────────────────╮
│                                                                  │
│  Hooks let you automate actions when agent commands are issued.  │
│  Example: Save session context to memory when you issue /new.    │
│                                                                  │
│  Learn more: https://docs.openclaw.ai/automation/hooks            │
│                                                                  │
├──────────────────────────────────────────────────────────────────╯
│
◇  Enable hooks?
│  🚀 boot-md, 📎 bootstrap-extra-files, 📝 command-logger, 💾 session-memory
│
◇  Hooks Configured ────────────────────────────────────────────────────────────────╮
│                                                                                   │
│  Enabled 4 hooks: boot-md, bootstrap-extra-files, command-logger, session-memory  │
│                                                                                   │
│  You can manage hooks later with:                                                 │
│    openclaw hooks list                                                            │
│    openclaw hooks enable <name>                                                   │
│    openclaw hooks disable <name>                                                  │
│                                                                                   │
├───────────────────────────────────────────────────────────────────────────────────╯
📝 操作解析:Hooks 是自动化脚本,可以在特定事件时自动执行操作。这里启用了 4 个实用钩子:
-
boot-md: 启动时加载 Markdown 文件
-
bootstrap-extra-files: 自动加载额外文件
-
command-logger: 记录命令历史
-
session-memory: 自动保存会话记忆
使用空格键选择这些钩子,然后按回车确认。
第十六步:重启网关服务
◇  Gateway service runtime ────────────────────────────────────────────╮
│                                                                      │
│  QuickStart uses Node for the Gateway service (stable + supported).  │
│                                                                      │
├──────────────────────────────────────────────────────────────────────╯
│
◇  Gateway service already installed
│  Restart
│
◒  Restarting Gateway service...Restarted Scheduled Task: OpenClaw Gateway
◇  Gateway service restarted.
📝 操作解析 :OpenClaw 需要将新配置应用到网关服务。选择 Restart 重启服务。
第十七步:处理健康检查警告(常见问题)
◇
Health check failed: gateway closed (1006 abnormal closure (no close frame)): no close reason
  Gateway target: ws://127.0.0.1:18789
  Source: local loopback
  Config: C:\Users\love\.openclaw\openclaw.json
  Bind: loopback
│
◇  Health check help ────────────────────────────────╮
│                                                    │
│  Docs:                                             │
│  https://docs.openclaw.ai/gateway/health            │
│  https://docs.openclaw.ai/gateway/troubleshooting   │
│                                                    │
├────────────────────────────────────╯
Control UI assets missing; building (ui:build, auto-installs UI deps)...
📝 操作解析 :这里出现了健康检查失败!错误代码 1006 表示 WebSocket 连接异常关闭。这通常是因为:
-
网关服务还没完全启动:需要等待几秒
-
Control UI 资源缺失:OpenClaw 检测到 Web 界面文件不存在,正在自动构建
看到 Control UI assets missing; building 是正常的首次安装过程,OpenClaw 会自动下载依赖并构建前端界面。
第十八步:访问控制面板
◇  Control UI ───────────────────────────────────────────────────────────────────────────────╮
│                                                                                            │
│  Web UI: http://127.0.0.1:18789/                                                            │
│  Web UI (with token):                                                                      │
│  http://127.0.0.1:18789/#token=487b61768f269f04957e4991c96706635bbf7cbc886f60e1             │
│  Gateway WS: ws://127.0.0.1:18789                                                          │
│  Gateway: not detected (gateway closed (1006 abnormal closure (no close frame)): no close  │
│  reason)                                                                                   │
│  Docs: https://docs.openclaw.ai/web/control-ui                                              │
│                                                                                            │
├────────────────────────────────────────────────────────────────────────────────────────────╯
📝 操作解析:构建完成后,OpenClaw 提供了 Web 界面的访问地址:
-
基础地址 :
http://127.0.0.1:18789/ -
带 Token 的地址 :
http://127.0.0.1:18789/#token=...(自动登录)
💡 新手提示 :虽然显示
Gateway: not detected,但只要 Web UI 能打开就说明配置成功。这个警告通常是因为健康检查在构建完成前执行导致的。
第十九步:完成配置
◇  Dashboard ready ────────────────────────────────────────────────────────────────╮
│                                                                                  │
│  Dashboard link (with token):                                                    │
│  http://127.0.0.1:18789/#token=487b61768f269f04957e4991c96706635bbf7cbc886f60e1   │
│  Opened in your browser. Keep that tab to control OpenClaw.                      │
│                                                                                  │
├──────────────────────────────────────────────────────────────────────────────────╯
│
◇  Web search (optional) ─────────────────────────────────────────────────────────────────╮
│                                                                                         │
│  If you want your agent to be able to search the web, you'll need an API key.           │
│                                                                                         │
│  OpenClaw uses Brave Search for the `web_search` tool. Without a Brave Search API key,  │
│  web search won't work.                                                                 │
│                                                                                         │
│  Set it up interactively:                                                               │
│  - Run: openclaw configure --section web                                                │
│  - Enable web_search and paste your Brave Search API key                                │
│                                                                                         │
│  Docs: https://docs.openclaw.ai/tools/web                                                │
│                                                                                         │
├─────────────────────────────────────────────────────────────────────────────────────────╯
│
◇  What now ─────────────────────────────────────────────────────────────╮
│                                                                        │
│  What now: https://openclaw.ai/showcase  ("What People Are Building").  │
│                                                                        │
├────────────────────────────────────────────────────────────────────────╯
│
└  Onboarding complete. Dashboard opened; keep that tab to control OpenClaw.
📝 操作解析:配置完成!
新手容易在后边 web 界面的步骤踩坑,所以我拆分成单独的章节撰写,请继续往下看!
⚠️ 关键步骤:手动启动网关服务(易漏!)
这是最容易踩坑的地方! 配置向导完成后,你会看到:
└ Onboarding complete. Dashboard opened; keep that tab to control OpenClaw.但是! 如果你此时直接点击打开的浏览器链接,可能会看到 "无法连接" 或 空白页面。因为:
🔴 配置向导并没有真正启动网关服务! 它只是写入了配置文件,网关需要单独启动。
启动网关(源码部署版)
在另一个终端窗口(或按 Ctrl+C 停止当前进程后),在源码目录下运行:
pnpm openclaw gateway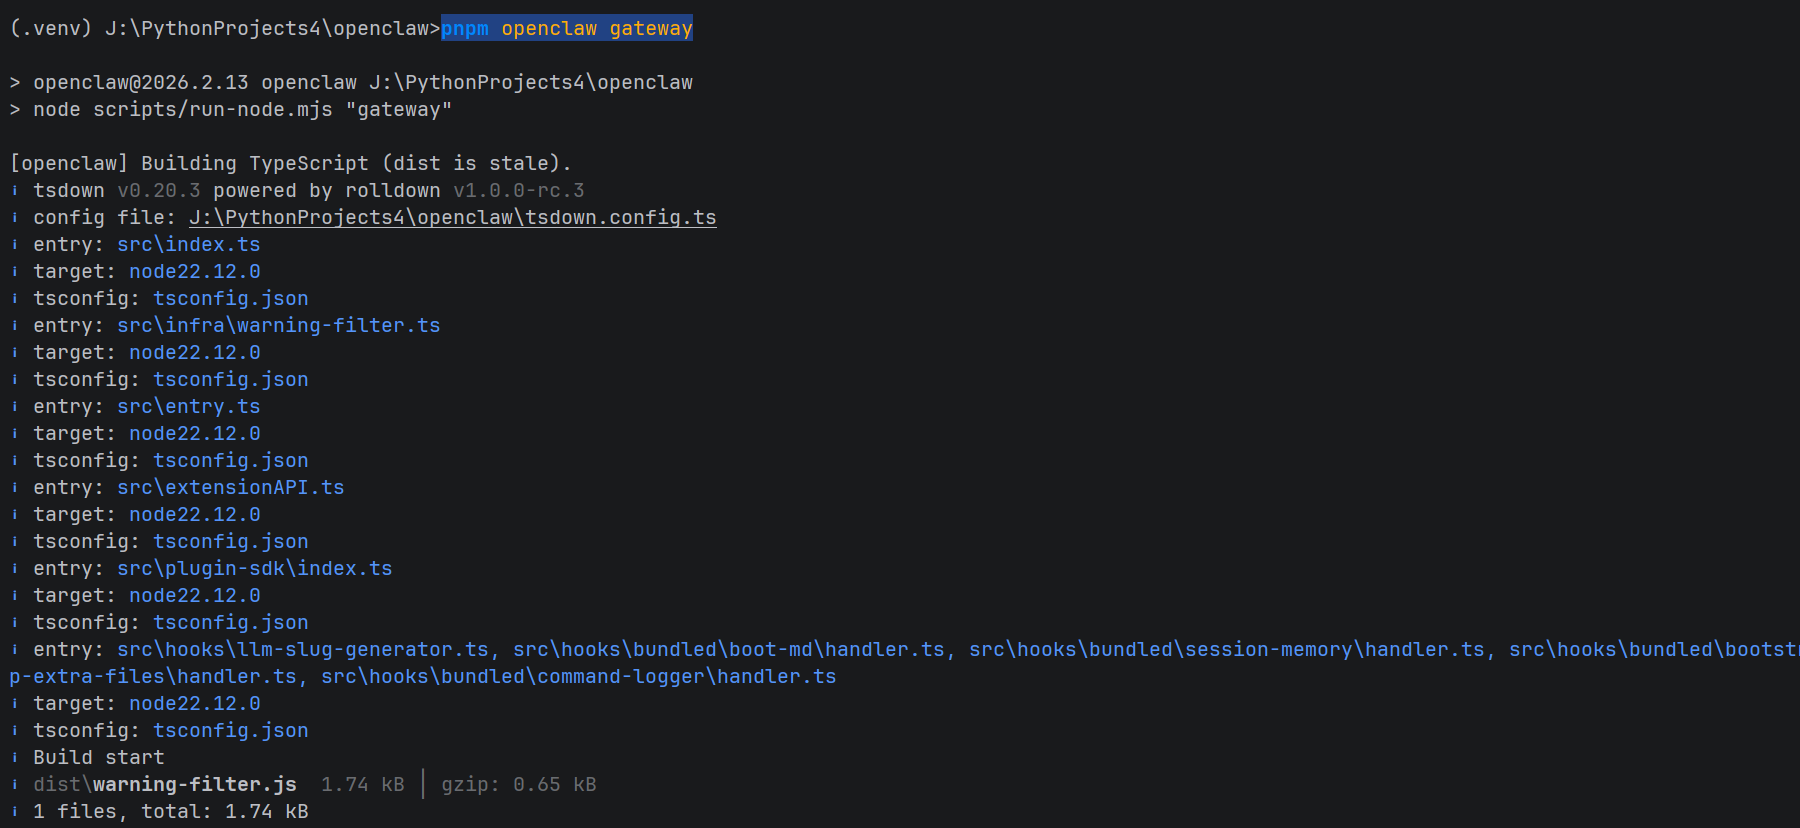
预期输出:
 OpenClaw 2026.2.13 (a2b45e1) --- Less middlemen, more messages.

15:05:37 [canvas] host mounted at http://127.0.0.1:18789/__openclaw__/canvas/ (root C:\Users\love\.openclaw\canvas)
15:05:37 [heartbeat] started
15:05:37 [gateway] agent model: custom-127-0-0-1-1234/openai/gpt-oss-20b
15:05:37 [gateway] listening on ws://127.0.0.1:18789 (PID 53664)
15:05:37 [gateway] listening on ws://[::1]:18789
15:05:37 [gateway] log file: \tmp\openclaw\openclaw-2026-02-14.log
15:05:37 [browser/service] Browser control service ready (profiles=2)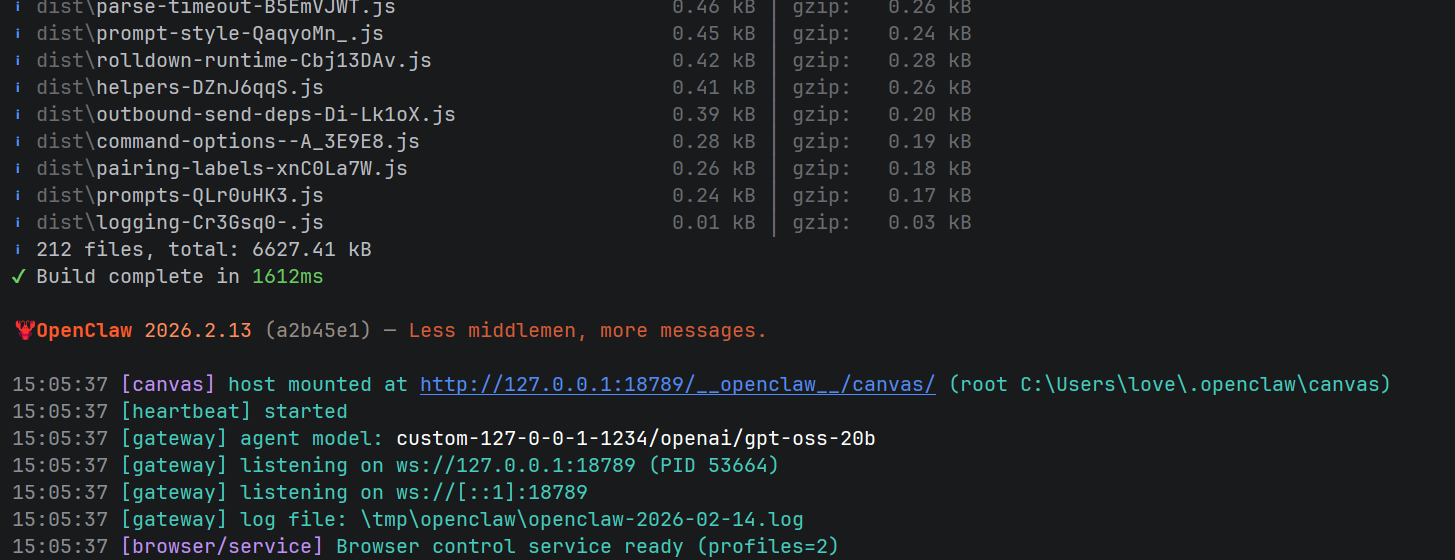
📝 操作解析:
-
这个命令会阻塞终端,保持运行状态(前台运行)
-
看到
gateway agent model: custom-127-0-0-1-1234/openai/gpt-oss-20b
gateway listening on ws://127.0.0.1:18789 (PID 53664)
[browser/service] Browser control service ready (profiles=2)表示网关启动成功
-
此时不要关闭这个终端,否则网关会停止
🔑 获取带 Token 的完整链接(易漏!)
网关启动后,需要获取访问令牌才能打开浏览器界面。
获取当前 Token
另外打开一个终端,运行以下命令:
pnpm openclaw config get gateway.auth.token该命令会输出当前运行时的实际 Token:
487b61768f269f04957e4991c96706635bbf7cbc886f60e1组装完整链接
将 Token 拼接到 URL 中:
http://127.0.0.1:18789/#token=487b61768f269f04957e4991c96706635bbf7cbc886f60e1📝 操作解析:
-
这个 Token 是动态生成的身份验证令牌,每次重启网关可能会变化
-
使用带 Token 的链接可以免登录直接进入控制面板
-
如果浏览器提示
Unauthorized或空白页面,说明 Token 缺失或错误
验证网关状态
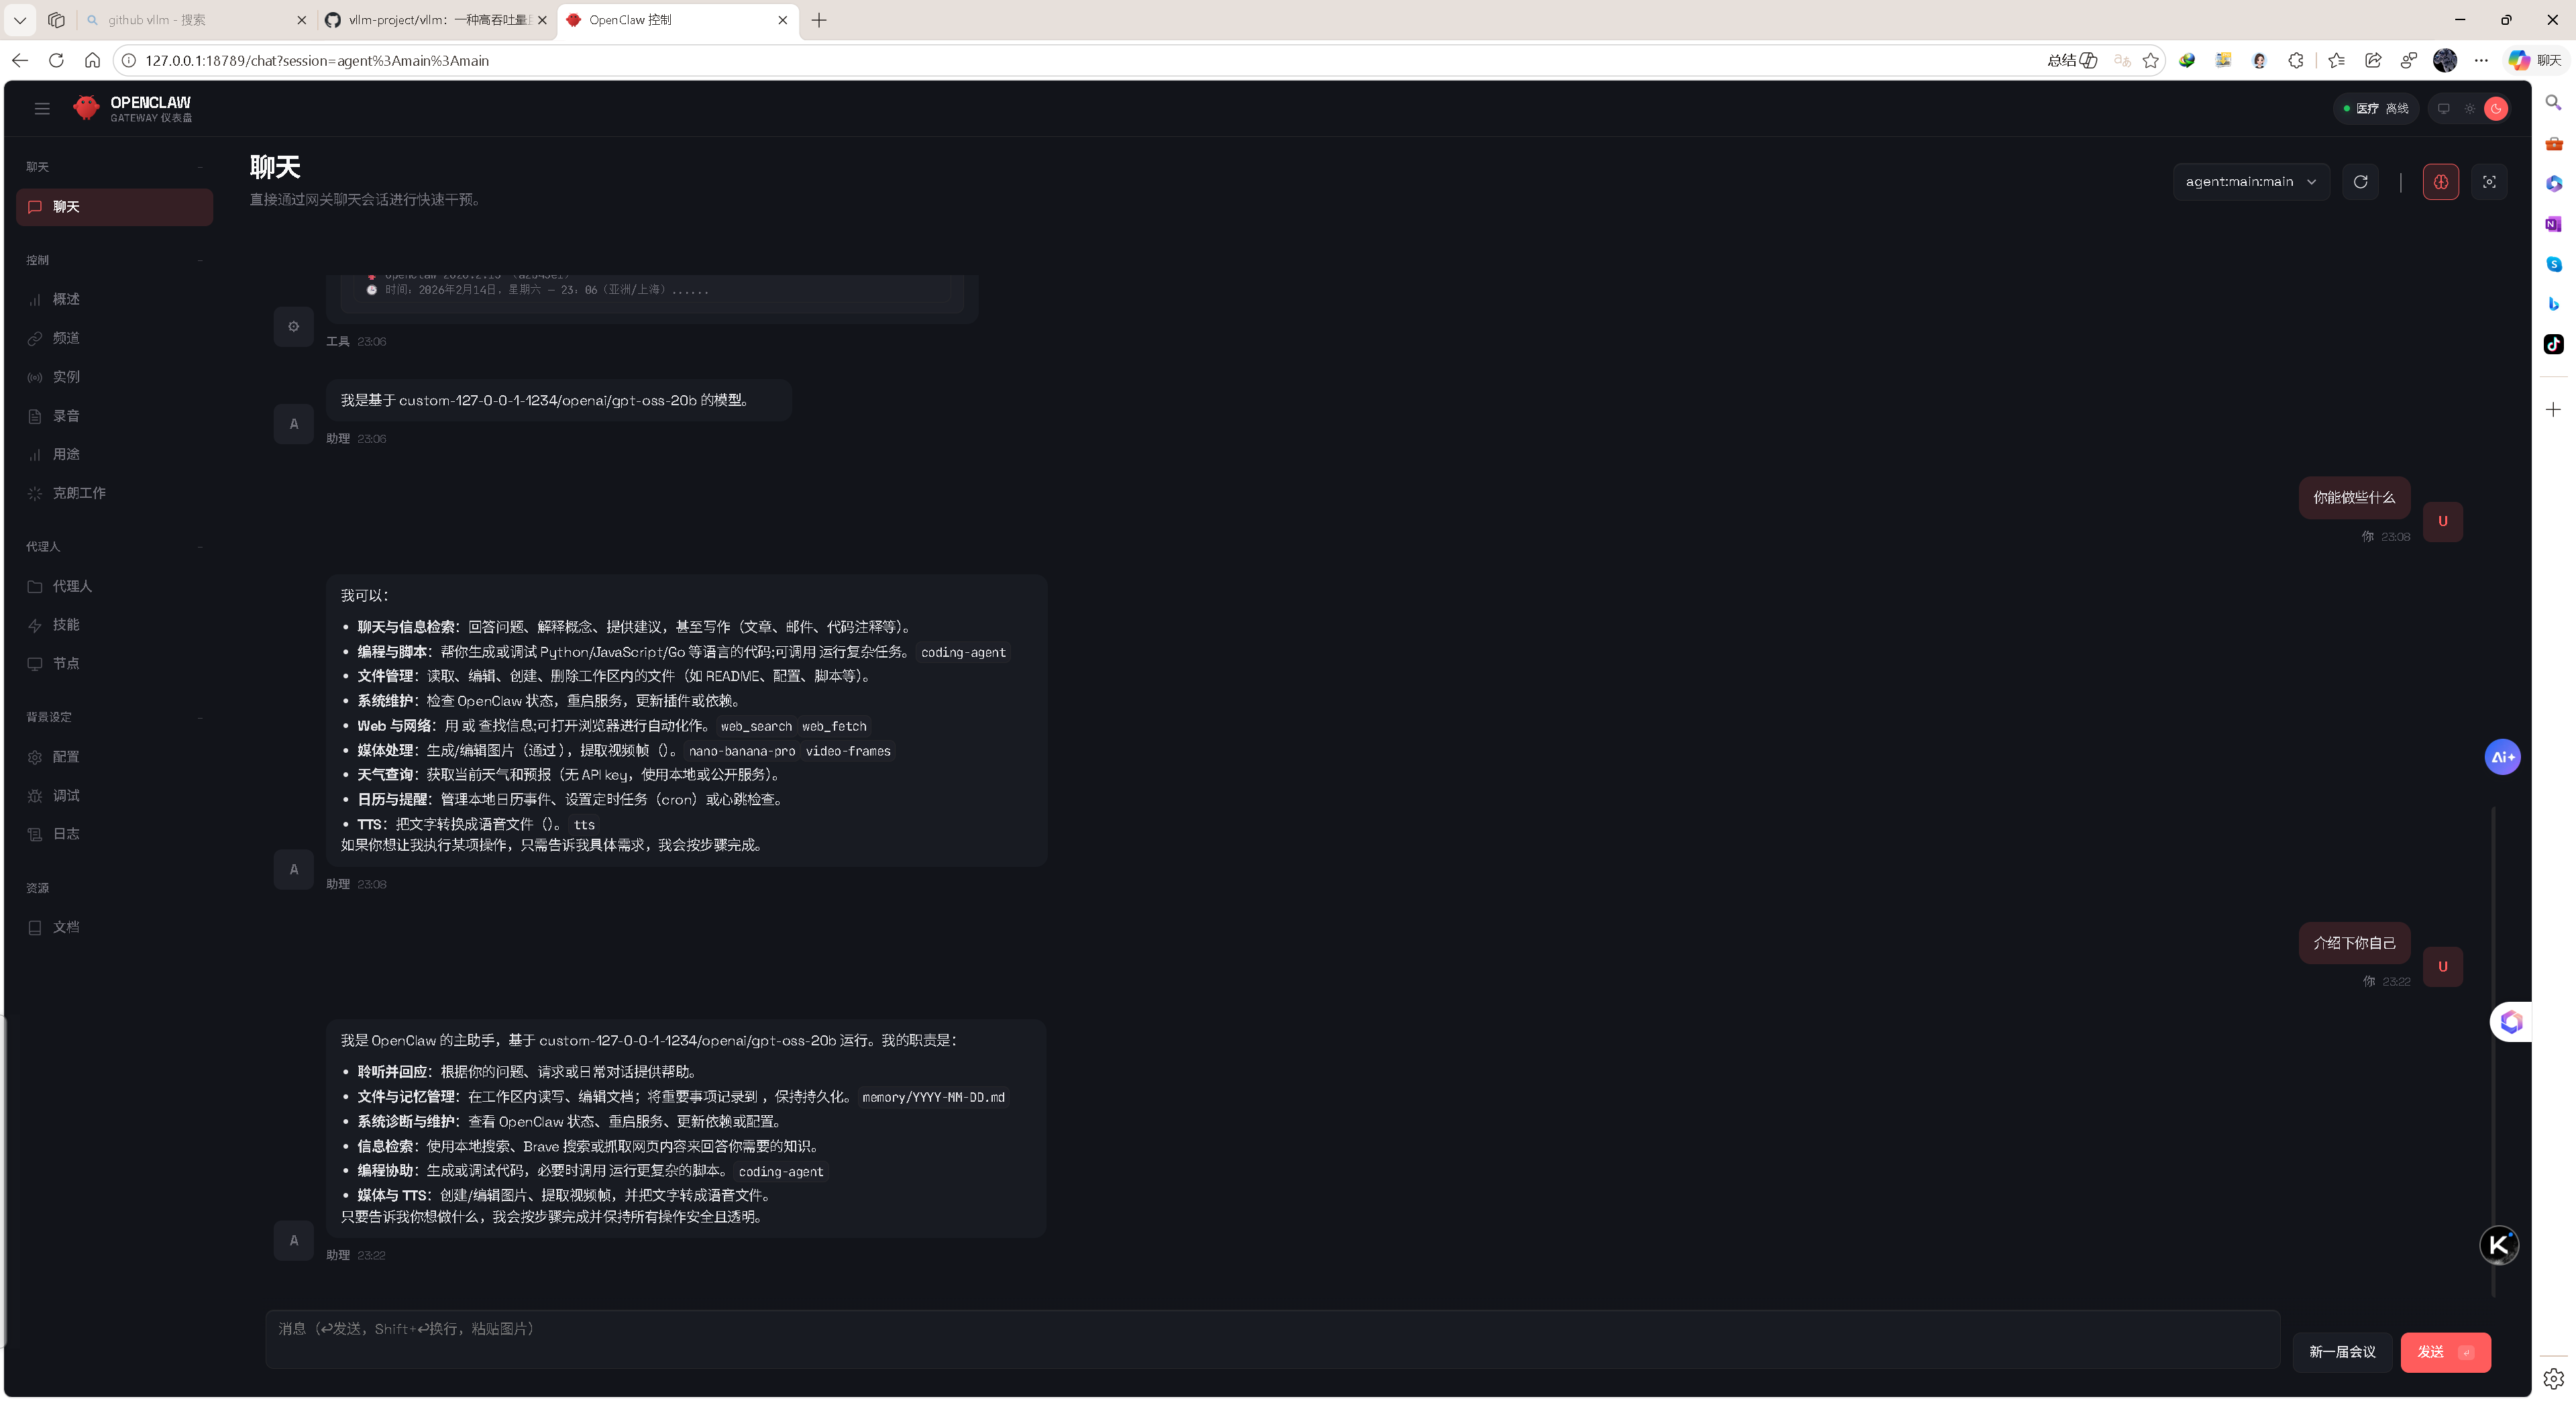
浏览器打开上述链接,如果看到 OpenClaw 的聊天界面,说明网关已正确启动!
💡 新手提示:建议将这个完整链接收藏到浏览器书签,方便下次快速访问。
🧪 测试对话
-
使用带 Token 的链接打开浏览器
-
在对话框中输入:
你好,请确认你是本地 LM Studio 运行的模型
-
如果看到模型回复,说明完整链路已打通!
📋 完整流程图(源码部署版)
# 1. 确保 LM Studio 服务器已启动(在 LM Studio GUI 中操作)
#    检查:浏览器访问 http://127.0.0.1:1234/v1/models 应返回 JSON

# 2. 进入 OpenClaw 源码目录
cd J:\PythonProjects4\openclaw

# 3. 运行配置向导(只需执行一次)
pnpm openclaw onboard --install-daemon

# 4. 【关键】手动启动网关(每次使用都需要保持运行)
pnpm openclaw gateway
#    保持此终端运行,看到 "Control UI available" 即成功

# 5. 【关键】获取 Token 并打开浏览器(另一个终端执行)
pnpm openclaw config get gateway.auth.token
#    组装链接:http://127.0.0.1:18789/#token=<获取的token>
🔧 关键配置回顾
| 配置项 | 值 | 说明 |
|---|---|---|
| API Base URL | http://127.0.0.1:1234/v1 |
LM Studio 本地服务器地址 |
| API Key | lm-studio |
本地服务器占位符 |
| Model ID | openai/gpt-oss-20b |
模型标识符 |
| Model Alias | local |
简短别名 |
| Endpoint ID | custom-127-0-0-1-1234 |
自动生成的端点标识 |
| Gateway Port | 18789 |
本地网关端口 |
| Access URL | http://127.0.0.1:18789/#token=<动态token> |
浏览器访问地址 |
🐛 常见问题:网关相关
问题 1:Error: connect ECONNREFUSED 127.0.0.1:18789
原因 :网关没启动
解决 :运行 pnpm openclaw gateway
问题 2:Unauthorized 或空白页面
原因 :Token 缺失、过期或链接错误
解决:
# 重新获取当前有效 Token
pnpm openclaw config get gateway.auth.token
# 然后组装完整 URL 访问
问题 3:端口被占用
# 查找占用 18789 端口的进程
lsof -i :18789  # Linux/Mac
netstat -ano | findstr 18789  # Windows

# 终止进程或修改 OpenClaw 配置使用其他端口
pnpm openclaw config set gateway.port 18790
问题 4:源码修改后网关不更新
原因 :需要重新构建
解决:
pnpm build
pnpm openclaw gateway
问题 5:对话报错
❌ Error: Embedded agent failed before reply: Model context window too small (4096 tokens). Minimum is 16000.
原因 :OpenClaw 默认将自定义模型的上下文限制在 4096 token
解决:强制修改 openclaw.json 解锁长上下文记忆
            "contextWindow": 32000,
            "maxTokens": 32000
详细修改方案请看下一篇。
🚀 后台运行网关(进阶)
如果你不希望网关占用当前终端:
Windows (PowerShell)
# 使用 start 命令后台运行
start powershell -Command "cd J:\PythonProjects4\openclaw; pnpm openclaw gateway"

# 或使用安装的计划任务(如果 onboard 时安装了)
schtasks /run /tn "OpenClaw Gateway"
Linux/Mac
# 使用 nohup 或 screen
nohup pnpm openclaw gateway > gateway.log 2>&1 &

# 或使用 systemd(如果 onboard 时安装了)
sudo systemctl start openclaw-gateway
📝 下一篇预告
《强制修改 openclaw.json 解锁 32k 上下文记忆》
《配置固定浏览器 Token,方便切换任意浏览器》
解决的问题:
-
当前 Token 是动态生成的,每次重启网关都会变化
-
无法方便地在多个浏览器/设备间切换
-
需要每次手动获取 Token 并组装 URL
预告内容:
-
在
openclaw.json中配置静态永久 Token -
使用环境变量
OPENCLAW_STATIC_TOKEN覆盖动态生成 -
配置免 Token 访问(仅本地开发环境,风险自负)
敬请期待!
💡 给源码部署者的额外提示
-
开发模式 :如果你正在修改 OpenClaw 源码,使用
pnpm dev可以热重载 -
调试日志 :设置
DEBUG=openclaw:* pnpm openclaw gateway查看详细日志 -
数据库 :会话数据存储在
~/.openclaw/agents/main/sessions/,可以手动清理 -
完全重置(从头开始)
rm -rf ~/.openclaw
pnpm openclaw onboard --install-daemon
祝你使用愉快!🦞 如有问题,记得检查是否漏掉了 pnpm 前缀,以及网关是否已启动!