本文内容已上传开源仓库:扫雷:一个简单的扫雷游戏,基于Godot4.6 - AtomGit | GitCode
现在,我们来编写计算周围地雷数量的代码,并将其显示在翻开的地块上:
一、添加文本显示子节点
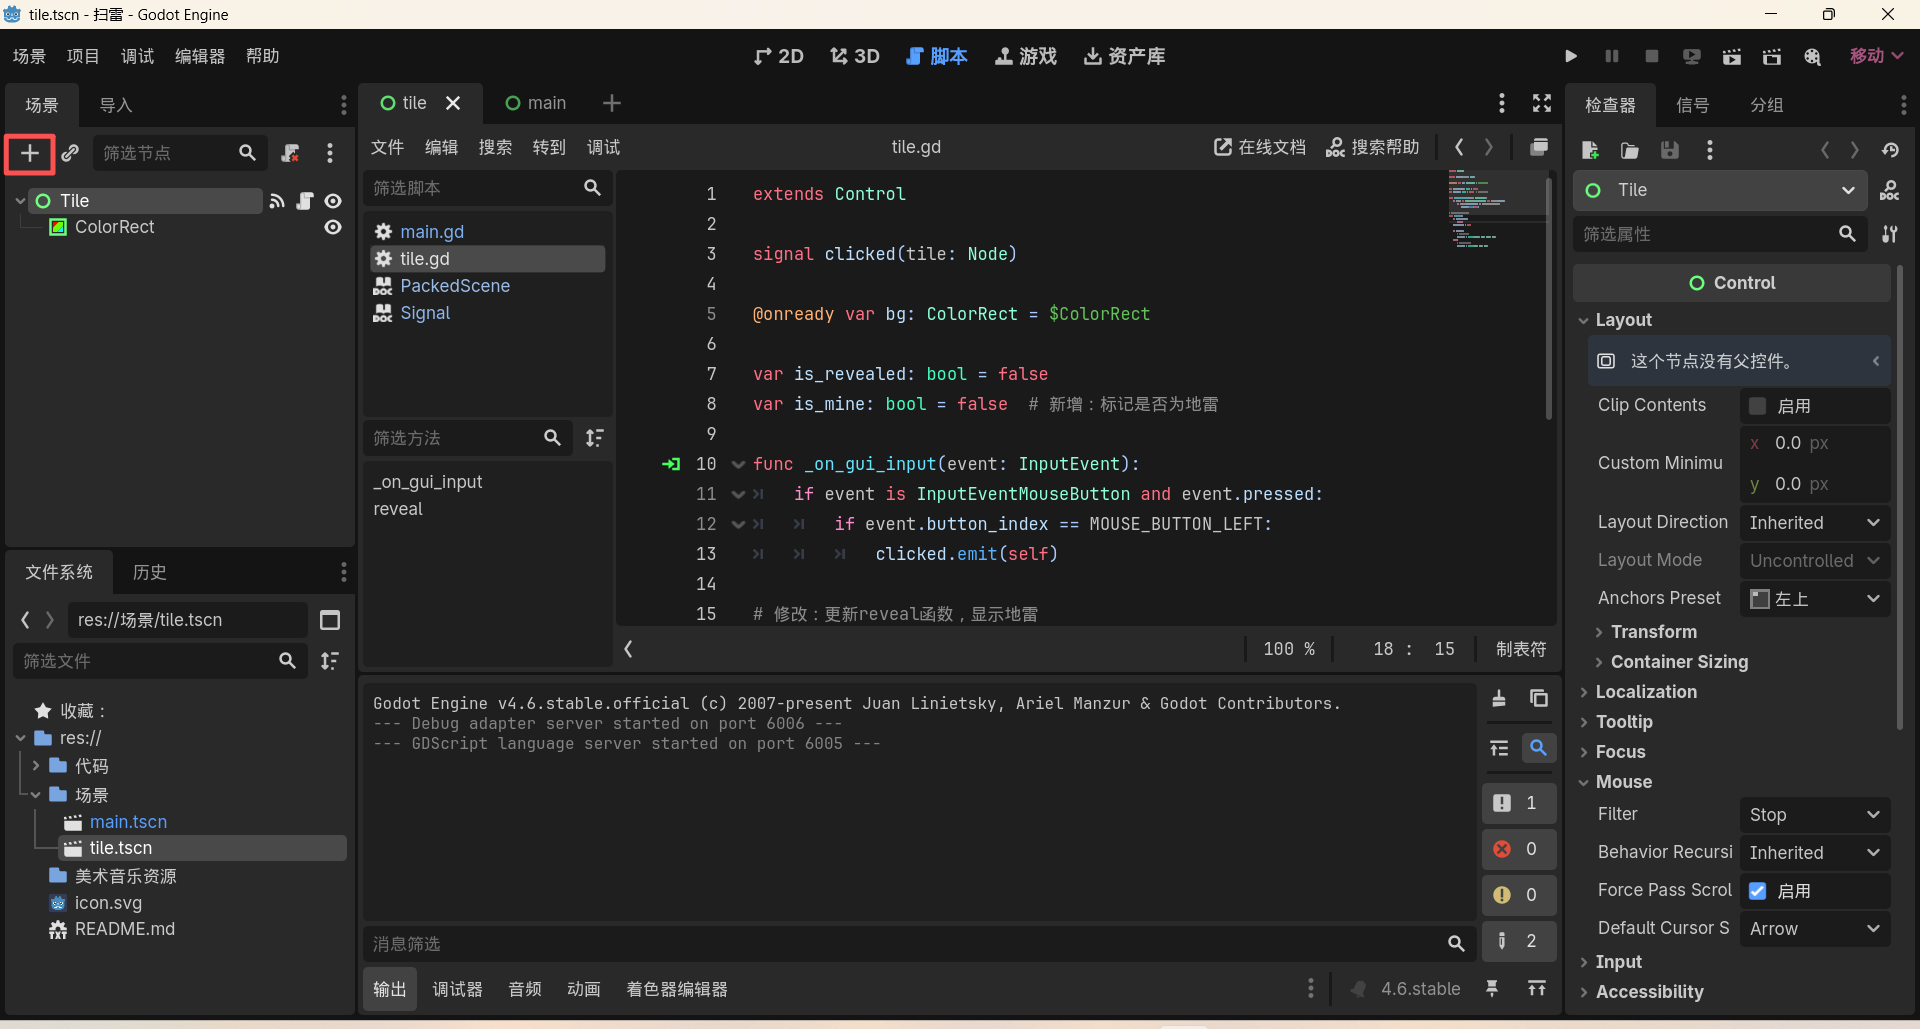
在tile场景下,选中Tile节点,点击左上角添加子节点:
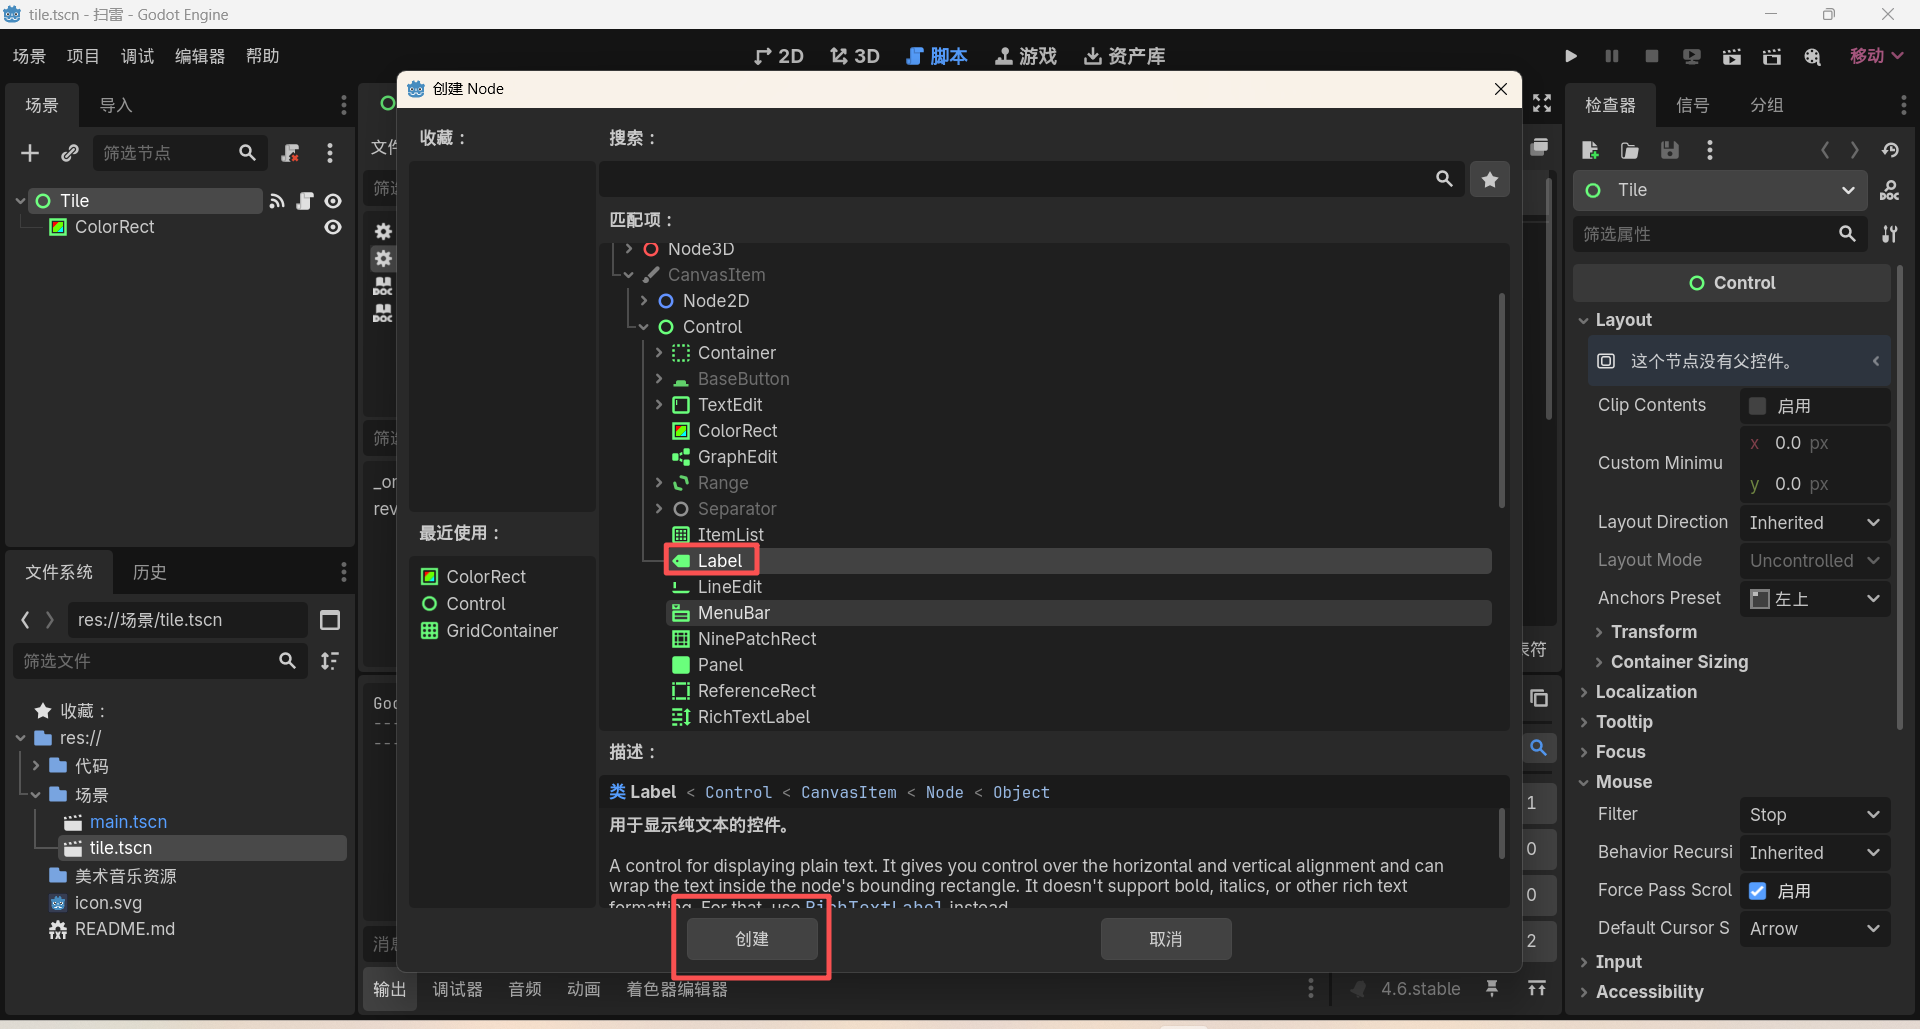
弹出的窗口中,找到Label节点,点击创建:
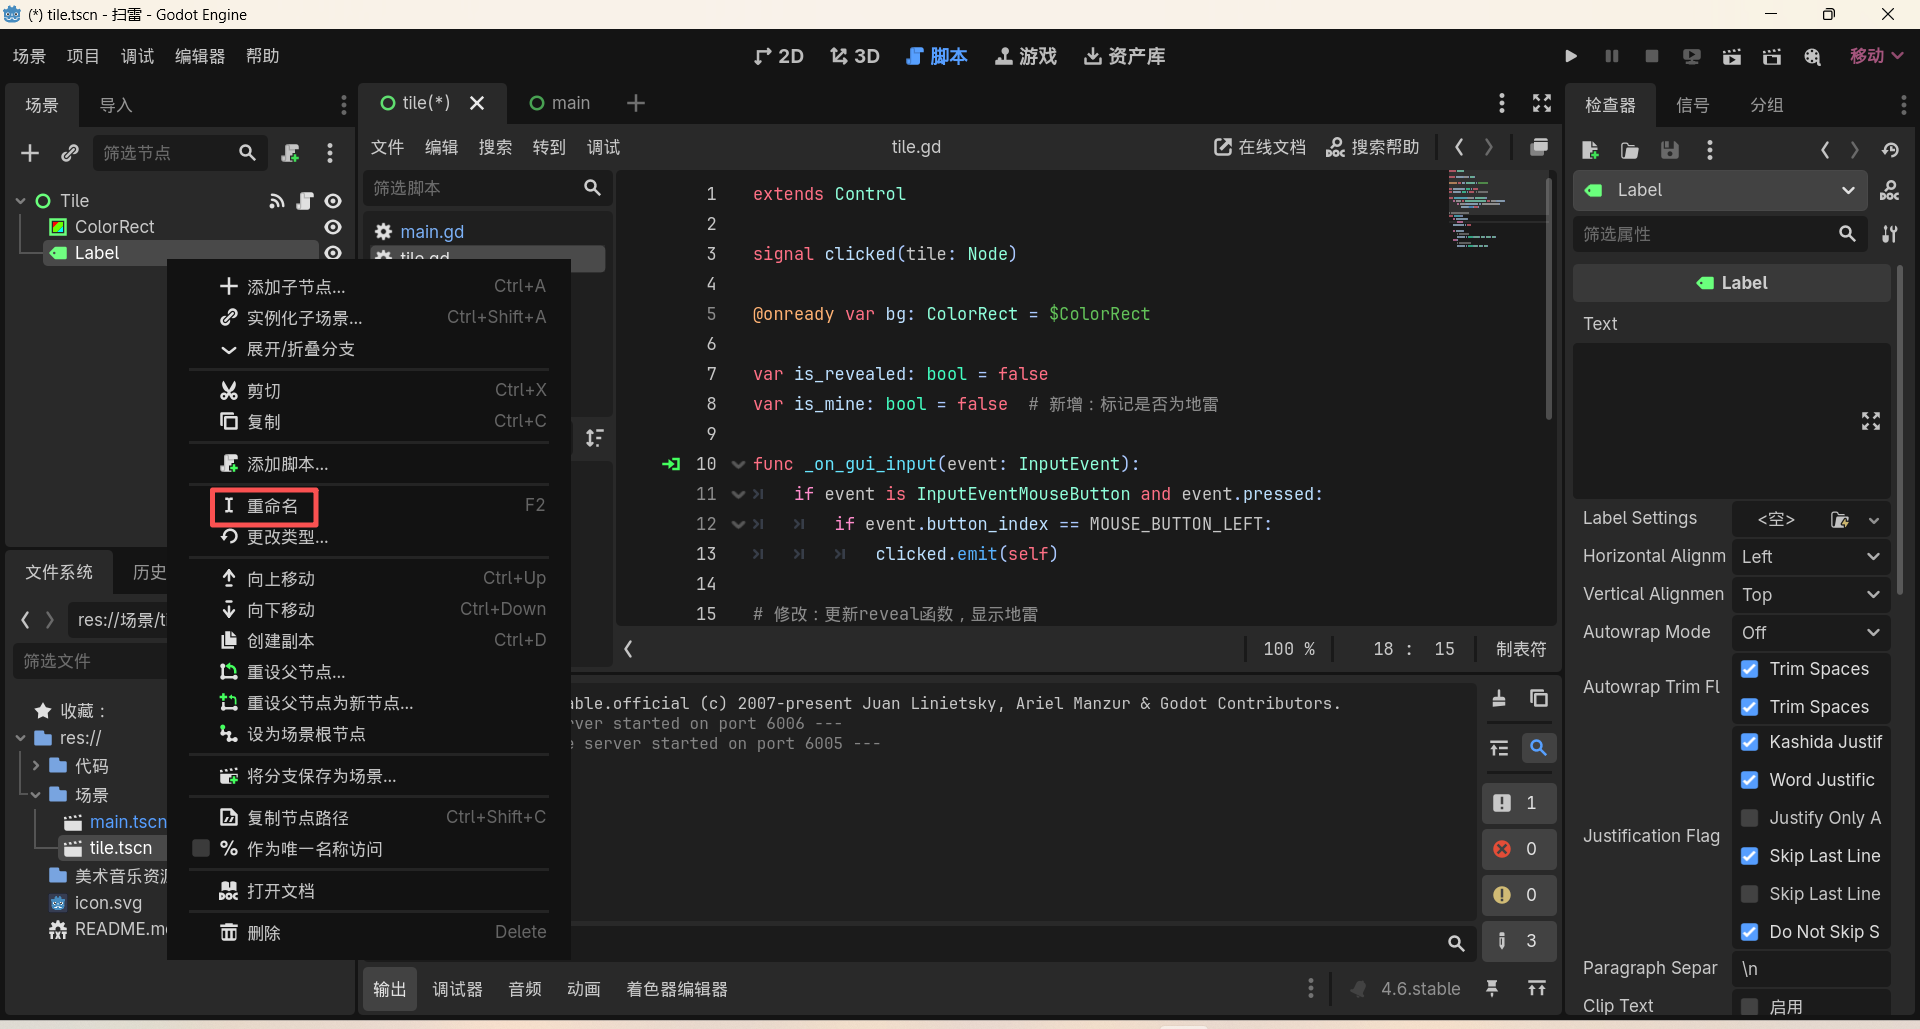
右键创建好的Label节点,点击重命名,改为"NumLabel":
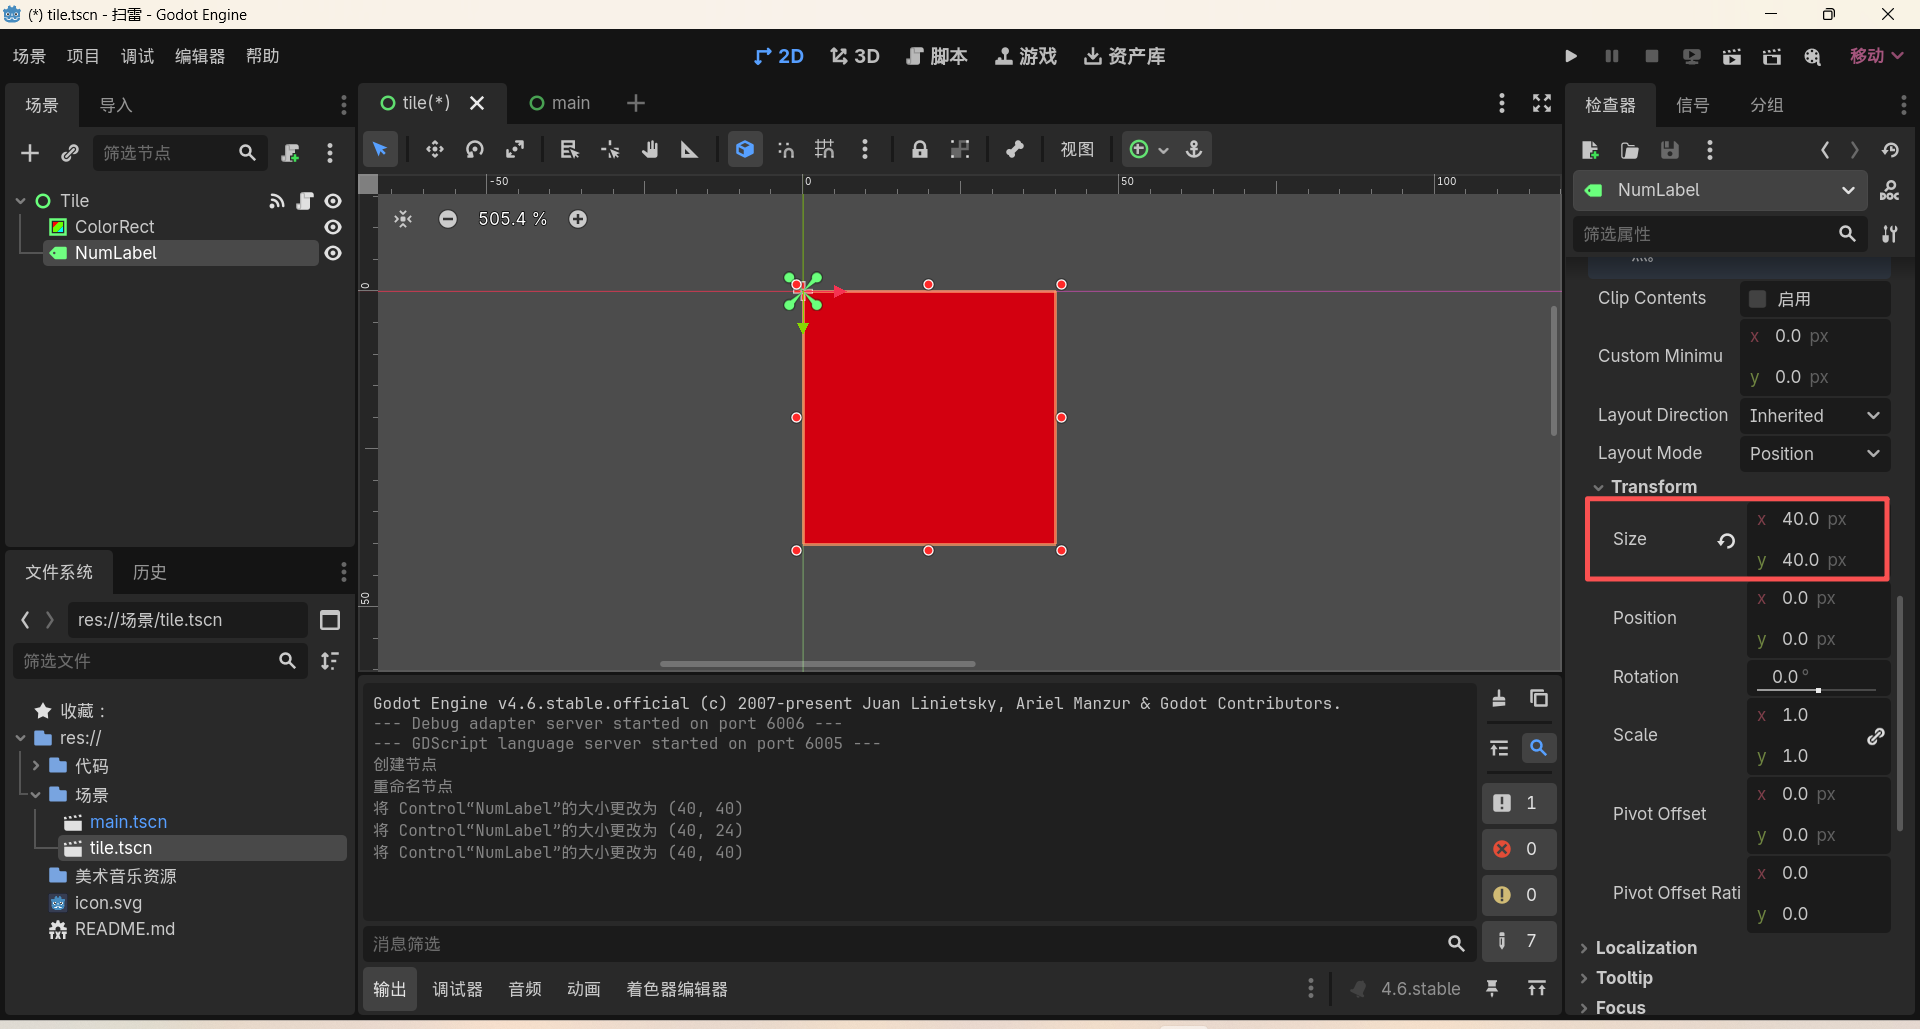
选中NumLabel,在右侧检查器中,更改Size属性,使其可以完全覆盖整个地块:
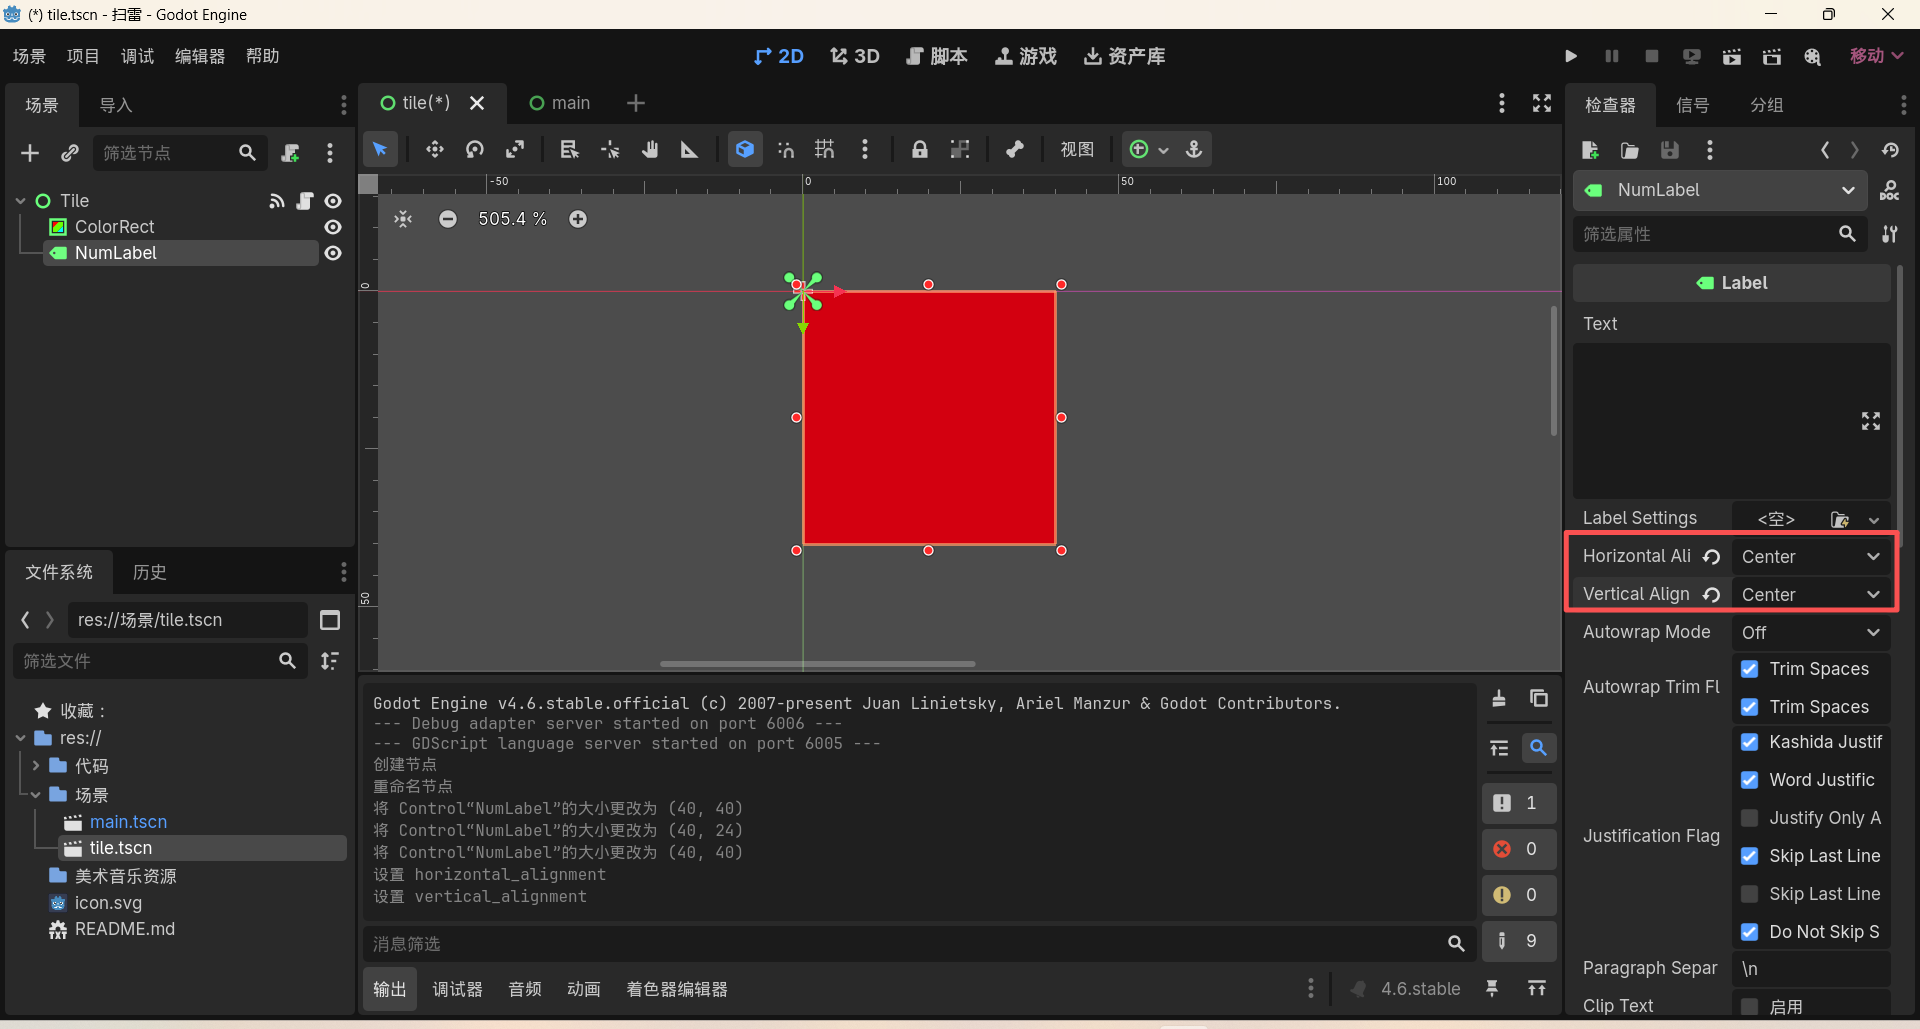
接着在右侧检查器中,将水平对齐和垂直对齐都设置为居中:
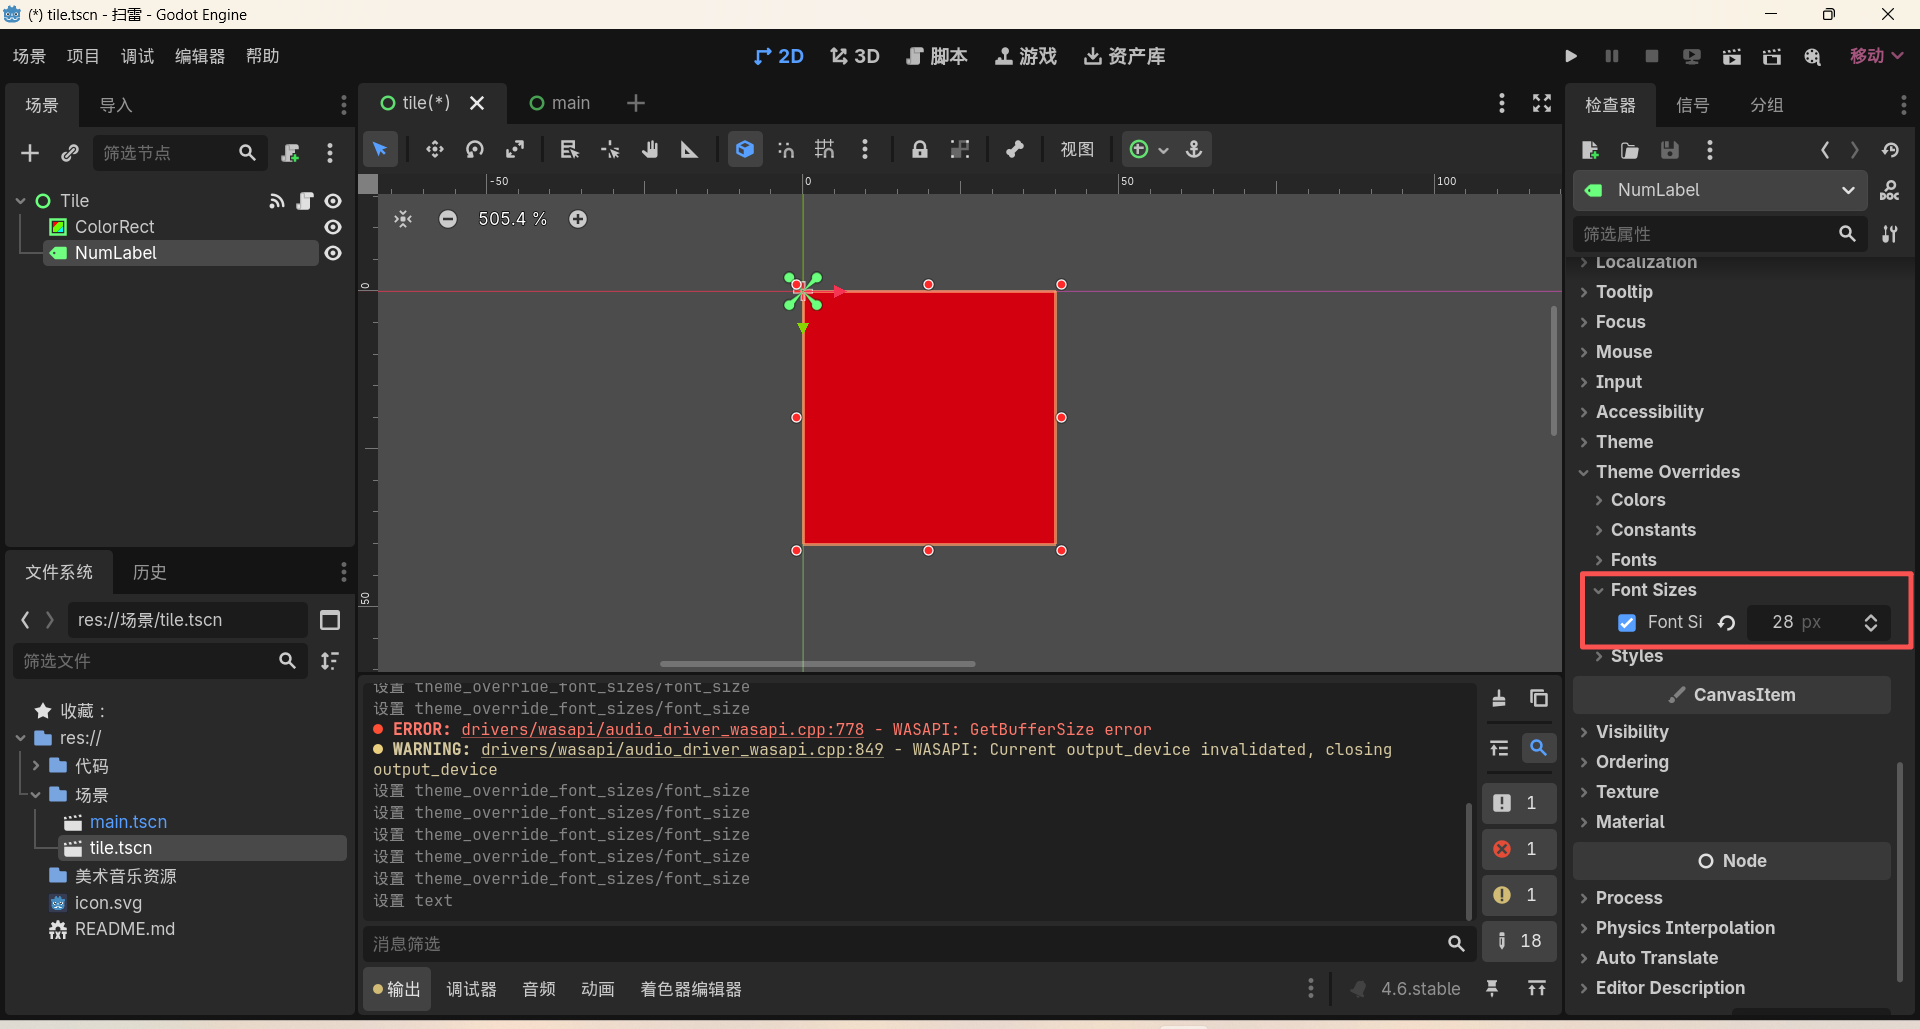
还是检查器中,找到Font Sizes属性,设为 28 px:
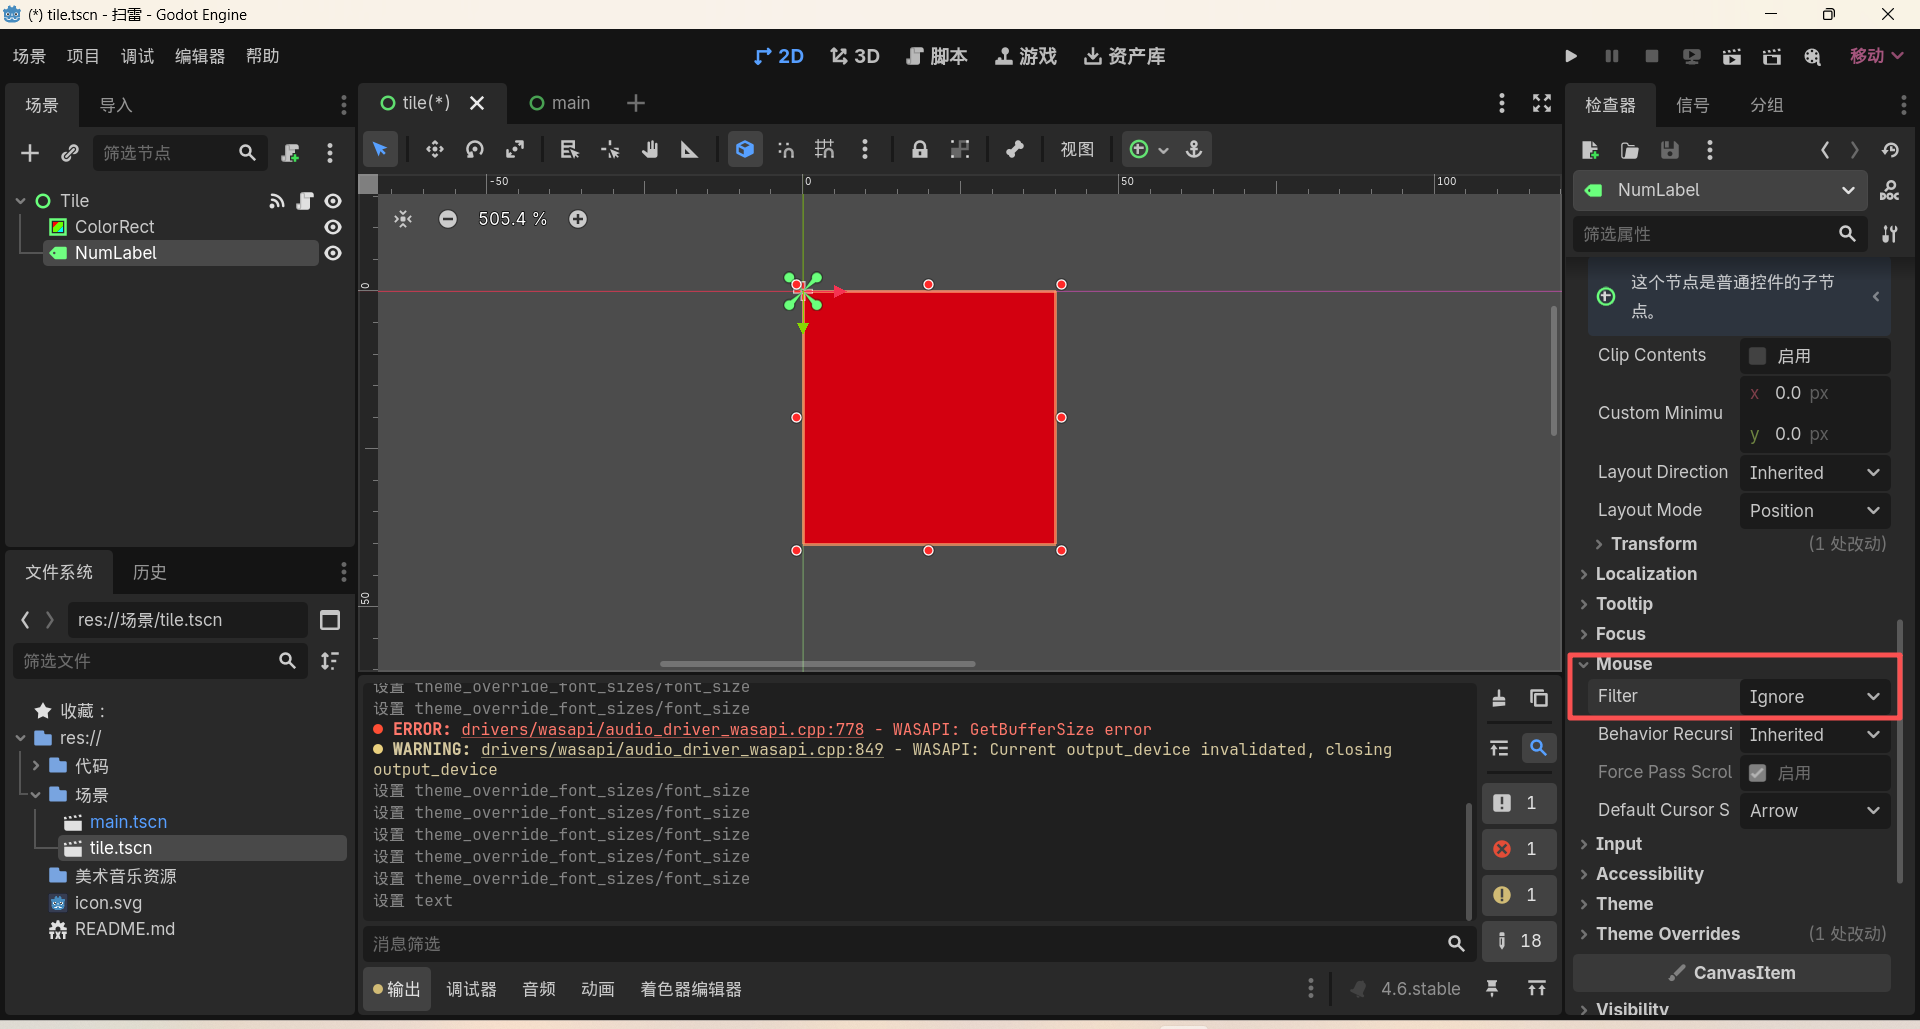
确保Mouse-Fliter属性为"Ignore",防止出现吃输入情况:
二、完善tile.gd
现在,我们来编写显示文字和地雷的代码:
python
extends Control

signal clicked(tile: Node)

@onready var bg: ColorRect = $ColorRect
@onready var num_label: Label = $NumLabel  # 【阶段4新增】绑定数字标签

var is_revealed: bool = false
var is_mine: bool = false
var adjacent_mines: int = 0  # 【阶段4新增】记录周围地雷数

func _on_gui_input(event: InputEvent):
	if event is InputEventMouseButton and event.pressed:
		if event.button_index == MOUSE_BUTTON_LEFT:
			clicked.emit(self)

# 【阶段4修改】更新reveal函数,显示数字和颜色
func reveal():
	if is_revealed:
		return
	is_revealed = true

	if is_mine:
		bg.color = Color(0.926, 0.0, 0.67, 1.0)
		num_label.text = "💣"  # 【阶段4新增】显示地雷图标
	else:
		bg.color = Color(0.9, 0.9, 0.9)
		# 【阶段4新增】如果周围有地雷,显示数字和对应颜色
		if adjacent_mines > 0:
			num_label.text = str(adjacent_mines)
			# 经典扫雷数字配色
			match adjacent_mines:
				1: num_label.modulate = Color(0, 0, 1)       # 蓝色
				2: num_label.modulate = Color(0, 0.5, 0)     # 绿色
				3: num_label.modulate = Color(1, 0, 0)       # 红色
				4: num_label.modulate = Color(0, 0, 0.5)     # 深蓝色
				5: num_label.modulate = Color(0.5, 0, 0)     # 深红色
				6: num_label.modulate = Color(0, 0.5, 0.5)   # 青色
				7: num_label.modulate = Color(0, 0, 0)       # 黑色
				8: num_label.modulate = Color(0.5, 0.5, 0.5) # 灰色
2.1 将NumLabel节点绑定到代码里面:
python
@onready var num_label: Label = $NumLabel # 【阶段4新增】绑定数字标签- **@onready:**意思是 "等所有节点加载好再绑定"------ 避免 Label 还没加载好就报错;
- **var num_label:**定义了一个变量代表我们的NumLabel节点;
- **:Label:**类型注解,明确这是一个Label节点;
- **$NumLabel:**节点路径简写,找到场景里我们刚加的、名叫NumLabel的 Label 节点。
2.2 记录周围地雷数
python
var adjacent_mines: int = 0 # 【阶段4新增】记录周围地雷数这个没什么好说的,定义了一个整型变量adjacent_mines,用于存储该地块周围的地雷数量。
2.3 更新reveal()函数
首先,我们加了一个地雷的图标:
python
	if is_mine:
		bg.color = Color(0.926, 0.0, 0.67, 1.0)
		num_label.text = "💣"  # 【阶段4新增】显示地雷图标
这里的地雷图标,我们直接使用的Windows系统自带的emoji,这样避免了使用额外的美术素材,但会产生一个问题,在不同系统、不同设备上,可能存在显示问题。
接下来,添加数字显示逻辑:
python
	else:
		bg.color = Color(0.9, 0.9, 0.9)
		# 【阶段4新增】如果周围有地雷,显示数字和对应颜色
		if adjacent_mines > 0:
num_label.text = str(adjacent_mines)- **if adjacent_mines > 0:**如果周围没有地雷(即adjacent_mines = 0),就不显示数字,保持空白;
- **str(adjacent_mines):**类型转换,adjacent_mines是整型(int),需要将其转换为字符串,才可以赋值给num_label.text,所以使用str()把数字转换成文字。
最后,使用match语句给不同的数字填上不同的颜色:
python
# 经典扫雷数字配色
			match adjacent_mines:
				1: num_label.modulate = Color(0, 0, 1)       # 蓝色
				2: num_label.modulate = Color(0, 0.5, 0)     # 绿色
				3: num_label.modulate = Color(1, 0, 0)       # 红色
				4: num_label.modulate = Color(0, 0, 0.5)     # 深蓝色
				5: num_label.modulate = Color(0.5, 0, 0)     # 深红色
				6: num_label.modulate = Color(0, 0.5, 0.5)   # 青色
				7: num_label.modulate = Color(0, 0, 0)       # 黑色
8: num_label.modulate = Color(0.5, 0.5, 0.5) # 灰色- **match语句:**GDScript 的 "开关语句",类似于C语言中的switch-case语句;
- **逻辑:**如果adjacent_mines = 1,执行1:后面的代码;adjacent_mines = 2,执行2:后面的代码,以此类推;
- **num_label.modulate:**Label 的 "调制颜色" 属性,用来修改文字的颜色;
三、完善main.gd
python
extends Control

const GRID_SIZE = 10
const TILE_SCENE = preload("res://场景/tile.tscn")
const MINE_COUNT = 15

var tiles: Array = []

@onready var grid: GridContainer = $grid

func _ready():
	_init_grid()
	_place_mines()
	_calculate_adjacent_mines()  # 【阶段4新增】计算周围地雷数
	_connect_signals()

func _init_grid():
	for i in range(GRID_SIZE * GRID_SIZE):
		var tile = TILE_SCENE.instantiate()
		tile.custom_minimum_size = Vector2(50, 50)
		grid.add_child(tile)
		tiles.append(tile)

func _place_mines():
	var rng = RandomNumberGenerator.new()
	rng.randomize()

	var placed_mines = 0
	while placed_mines < MINE_COUNT:
		var random_index = rng.randi_range(0, tiles.size() - 1)
		var tile = tiles[random_index]

		if not tile.is_mine:
			tile.is_mine = true
			placed_mines += 1

# 【阶段4新增】核心函数:计算每个格子周围的地雷数
func _calculate_adjacent_mines():
	# 遍历所有格子
	for i in range(tiles.size()):
		var tile = tiles[i]
		# 如果是地雷,跳过计算
		if tile.is_mine:
			continue

		# 索引转坐标(i = y*10 + x)
		var x = i % GRID_SIZE
		var y = i / GRID_SIZE

		# 遍历周围8个格子(dx和dy取-1、0、1)
		var mine_count = 0
		for dx in [-1, 0, 1]:
			for dy in [-1, 0, 1]:
				# 跳过自己
				if dx == 0 and dy == 0:
					continue

				# 计算邻居坐标
				var nx = x + dx
				var ny = y + dy

				# 检查邻居是否在边界内(0<=x<10,0<=y<10)
				if nx >= 0 and nx < GRID_SIZE and ny >= 0 and ny < GRID_SIZE:
					# 坐标转回索引
					var neighbor_index = ny * GRID_SIZE + nx
					var neighbor_tile = tiles[neighbor_index]
					# 如果邻居是地雷,计数+1
					if neighbor_tile.is_mine:
						mine_count += 1

		# 保存计算结果到Tile的变量里
		tile.adjacent_mines = mine_count

func _connect_signals():
	for tile in tiles:
		tile.clicked.connect(_on_tile_clicked)

func _on_tile_clicked(tile: Control):
	tile.reveal()
新增计算周围地雷数的函数:
在该函数中,我们首先遍历所有的格子,跳过地雷:
python
# 【阶段4新增】核心函数:计算每个格子周围的地雷数
func _calculate_adjacent_mines():
	# 遍历所有格子
	for i in range(tiles.size()):
		var tile = tiles[i]
		# 如果是地雷,跳过计算
		if tile.is_mine:
continue- **for i in range(tiles.size()):**遍历数组里的所有 100 个格子,i是当前格子的索引(座位号);
- **if tile.is_mine:continue:**保护逻辑 ------ 如果当前格子是地雷,就continue(跳过这次循环,不计算),因为地雷不需要显示周围数字。
接下来,我们索引转坐标,把数字索引i转变为(x,y)的网格坐标:
python
# 索引转坐标(i = y*10 + x)
		var x = i % GRID_SIZE
		var y = i / GRID_SIZE
现在,想象我们的10×10网格是一个教室座位表,i是座位号,从0~99,从第一排第一列开始数。坐标(x,y)是第几列、第几排(x是列号0~9,y是排号0~9)。
那么,我们的索引转坐标公式就是:
- x = i % GRID_SIZE:列号 = 座位号 ÷ 10的余数;
- y = i / GRID_SIZE:排号 = 座位号 ÷ 10的商(整数除法);
这样,我们就把索引拆成了列和行,座位号 = 排号 × 10 + 列号。
比如i = 0(第一个格子):x = 0,y = 0 → 左上角(0,0);
比如i = 99(最后一个格子):x = 9,y = 9 → 右下角(9,9)。
接下来,我们初始化计数器,遍历周围的8个邻居:
python
# 遍历周围8个格子(dx和dy取-1、0、1)
		var mine_count = 0
		for dx in [-1, 0, 1]:
			for dy in [-1, 0, 1]:
				# 跳过自己
				if dx == 0 and dy == 0:
					continue

				# 计算邻居坐标
				var nx = x + dx
				var ny = y + dy

				# 检查邻居是否在边界内(0<=x<10,0<=y<10)
				if nx >= 0 and nx < GRID_SIZE and ny >= 0 and ny < GRID_SIZE:
					# 坐标转回索引
					var neighbor_index = ny * GRID_SIZE + nx
					var neighbor_tile = tiles[neighbor_index]
					# 如果邻居是地雷,计数+1
					if neighbor_tile.is_mine:
						mine_count += 1

		# 保存计算结果到Tile的变量里
tile.adjacent_mines = mine_count- **var mine_count = 0:**定义了一个变量,用于存储当前地块周围有多少个地雷,初始记0个地雷;
- **双层循环遍历dx和dy:**dx是"列偏移量":-1(左边一列)、0(同一列)、1(右边一列);dy是"行偏移量":-1(上面一排)、0(同一排)、1(下面一排);
- 双层循环会遍历的所有组合:(-1,-1)、(-1,0)、(-1,1)、(0,-1)、(0,0)、(0,1)、(1,-1)、(1,0)、(1,1) → 共 9 个位置,包括自己。
- **if dx == 0 and dy == 0:continue:**跳过自己。
- **nx = x + dx:**邻居的列号 = 当前列号 + 列偏移量;
- **ny = y + dy:**邻居的行号 = 当前行号 + 行偏移量;
- **if nx >= 0 and nx < GRID_SIZE and ny >= 0 and ny < GRID_SIZE:**边界检查,如果当前格子在网格边缘(如左上角(0,0)),那么它的左边邻居是nx = -1,上面邻居是ny = -1,这两个位置不存在。如果不做边界检查,直接访问tiles-1,将会报错"数组越界"。
- **neighbor_index = ny * GRID_SIZE + nx:**用刚才讲过的坐标转索引公式,把邻居的坐标变回数组索引;
- **neighbor_tile = tilesneighbor_index:**从数组里取出邻居格子;
- **if neighbor_tile.is_mine:mine_count += 1:**如果邻居是地雷,就把计数器上的计数 + 1。
- **tile.adjacent_mines = mine_count:**将mine_count赋值给地块的adjacent_mines属性,这样,tile.gd脚本中的reveal()函数就可以读出数字并显示了。
最后,我们在_ready()函数里调用地雷函数:
python
func _ready():
	_init_grid()
	_place_mines()
	_calculate_adjacent_mines()  # 【阶段4新增】计算周围地雷数
	_connect_signals()
注意!此处的顺序很重要:
- 必须先调用_init_grid()生成格子
- 再调用_place_mines()埋地雷
- 然后才能调用_calculate_adjacent_mines()数地雷------如果没有埋雷,那么数出来的就全是0!
- 最后调用_connect_signals()连接信号。
四、运行测试
点击运行按钮,可以看到地块已经正常显示数字和地雷了:
