官方文档地址:TinyEditor 官方文档
快速开始
开始之前,当然是最重要的安装环节,有两种安装方式:
通过 NPM 包方式使用
npm i @opentiny/fluent-editor安装好之后,可以在 App.vue 文件或者使用富文本编辑器的文件中,写入:
javascript
import '@opentiny/fluent-editor/style.css'
import FluentEditor from '@opentiny/fluent-editor'
完整示例如下:
javascript
<template>
  <div class="editor-container">
    <div ref="editorRef" class="editor-inside"></div>
  </div>
</template>

<script setup>
import { onMounted, ref } from 'vue'
import '@opentiny/fluent-editor/style.css'
import FluentEditor from '@opentiny/fluent-editor'

const editorRef = ref(null)
let editorInstance = null

onMounted(() => {
  if (!editorRef.value) return

  editorInstance = new FluentEditor(editorRef.value, {
    theme: 'snow'
  })
})
</script>
通过 CDN 方式使用
我们在 index.html 文件中的 head 区域写入:
html
<head>
  <!-- 引入 @opentiny/fluent-editor -->
  <script type="importmap">
    {
      "imports": {
        "@opentiny/fluent-editor": "https://unpkg.com/@opentiny/fluent-editor@3.18.3/index.es.js"
      }
    }
  </script>
  <!-- 引入 @opentiny/fluent-editor 样式 -->
  <link rel="stylesheet" href="https://unpkg.com/@opentiny/fluent-editor@3.18.3/style.css" />
</head>
基于此,我们就可以正式开始编写项目啦!
上传功能
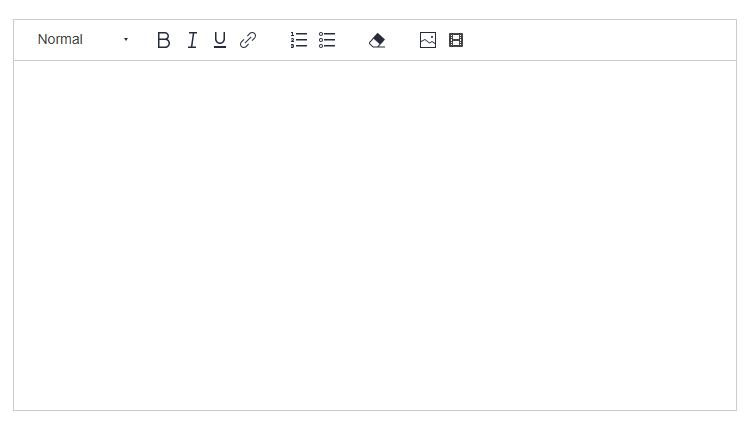

上传的官方示例是可以直接渲染在编辑器中的,我们简单编写一个示例:
javascript
<template>
  <div class="editor-container">
    <div ref="editorRef" class="editor-inside"></div>
  </div>
</template>

<script setup>
import { onMounted, ref } from 'vue'
import '@opentiny/fluent-editor/style.css'
import FluentEditor from '@opentiny/fluent-editor'

const editorRef = ref(null)
let editorInstance = null

const TOOLBAR_CONFIG = [
  [{ header: [] }],
  ['bold', 'italic', 'underline', 'link'],
  [{ list: 'ordered' }, { list: 'bullet' }],
  ['clean'],
  ['image']
]

onMounted(() => {
  if (!editorRef.value) return

  editorInstance = new FluentEditor(editorRef.value, {
    theme: 'snow',
    modules: {
      toolbar: {
        container: TOOLBAR_CONFIG
      }
    }
  })
})
</script>

<style scoped>
.editor-container {
  width: 50%;
  display: flex;
  justify-content: center;
  padding-top: 20px;
}

.editor-inside {
  height: 350px;
}

.editor-inside :deep(.ql-container) {
  height: 350px;
}

.editor-inside :deep(.ql-editor) {
  height: 310px;
}
</style>
但在我们日常开发中,上传的内容需要同步到服务器,那么就需要我们自己去控制上传按钮:
我这里的上传步骤是:
1.先使用接口(入参为图片后缀)获取到上传路径及图片路径
2.使用获取到的上传路径进行上传,并返回图片路径进行渲染
javascript
<template>
  <div class="editor-container">
    <div ref="editorRef" class="editor-inside"></div>
  </div>
</template>

<script setup>
import { onMounted, ref } from 'vue'
import '@opentiny/fluent-editor/style.css'
import FluentEditor from '@opentiny/fluent-editor'
import axios from 'axios'
import { uploadFile } from '@/model/editor.js' // 这里使用自己的上传接口即可

const editorRef = ref(null)
let editorInstance = null

const TOOLBAR_CONFIG = [
  [{ header: [] }],
  ['bold', 'italic', 'underline', 'link'],
  [{ list: 'ordered' }, { list: 'bullet' }],
  ['clean'],
  ['image']
]

const selectImage = () => {
  const input = document.createElement('input')
  input.type = 'file'
  input.accept = 'image/*'
  input.click()

  input.onchange = async () => {
    const file = input.files[0]
    if (!file) return

    try {
      const url = await uploadImage(file)

      const range = editorInstance.getSelection()
      editorInstance.insertEmbed(range.index, 'image', url)

    } catch (err) {
      console.error('上传失败', err)
    }
  }
}

const uploadImage = async (file) => {
  const ext = file.name.split('.').pop()

  const res = await uploadFile({ ext })

  const resData = res.data
  const uploadUrl = resData.upload_url
  const fileUrl = resData.public_url

  await axios.put(uploadUrl, file, {
    headers: {
      'Content-Type': file.type
    }
  })

  return fileUrl
}

onMounted(() => {
  if (!editorRef.value) return

  editorInstance = new FluentEditor(editorRef.value, {
    theme: 'snow',
    modules: {
      toolbar: {
        container: TOOLBAR_CONFIG,
        handlers: {
          image: selectImage
        }
      }
    }
  })
})
</script>

<style scoped>
.editor-container {
  width: 50%;
  display: flex;
  justify-content: center;
  padding-top: 20px;
}

.editor-inside {
  height: 350px;
}

.editor-inside :deep(.ql-container) {
  height: 350px;
}

.editor-inside :deep(.ql-editor) {
  height: 310px;
}
</style>
通过如上步骤即可成功上传图片,下一篇我们将实现剪贴板粘贴图片至富文本编辑器并上传至服务器的功能。