✨✨✨使用Python,OpenCV及图片拼接生成❤️LOVE❤️字样图,每张小图加随机颜色边框,大图加随机大小随机颜色边框
- [1. 效果图](#1. 效果图)
- [2. 原理](#2. 原理)
- [3. 源代码](#3. 源代码)
- 参考
今天女神节,只要开心与充盈,每一天都过节!
上周在省图借了几本杂志,看到了LOVE字样的拼图,灵光闪现,想要代码实现。许久没有更文了,今天本来打算去朱雀国家森林公园,天气不太好。没出门,那就写博客吧。
1. 效果图
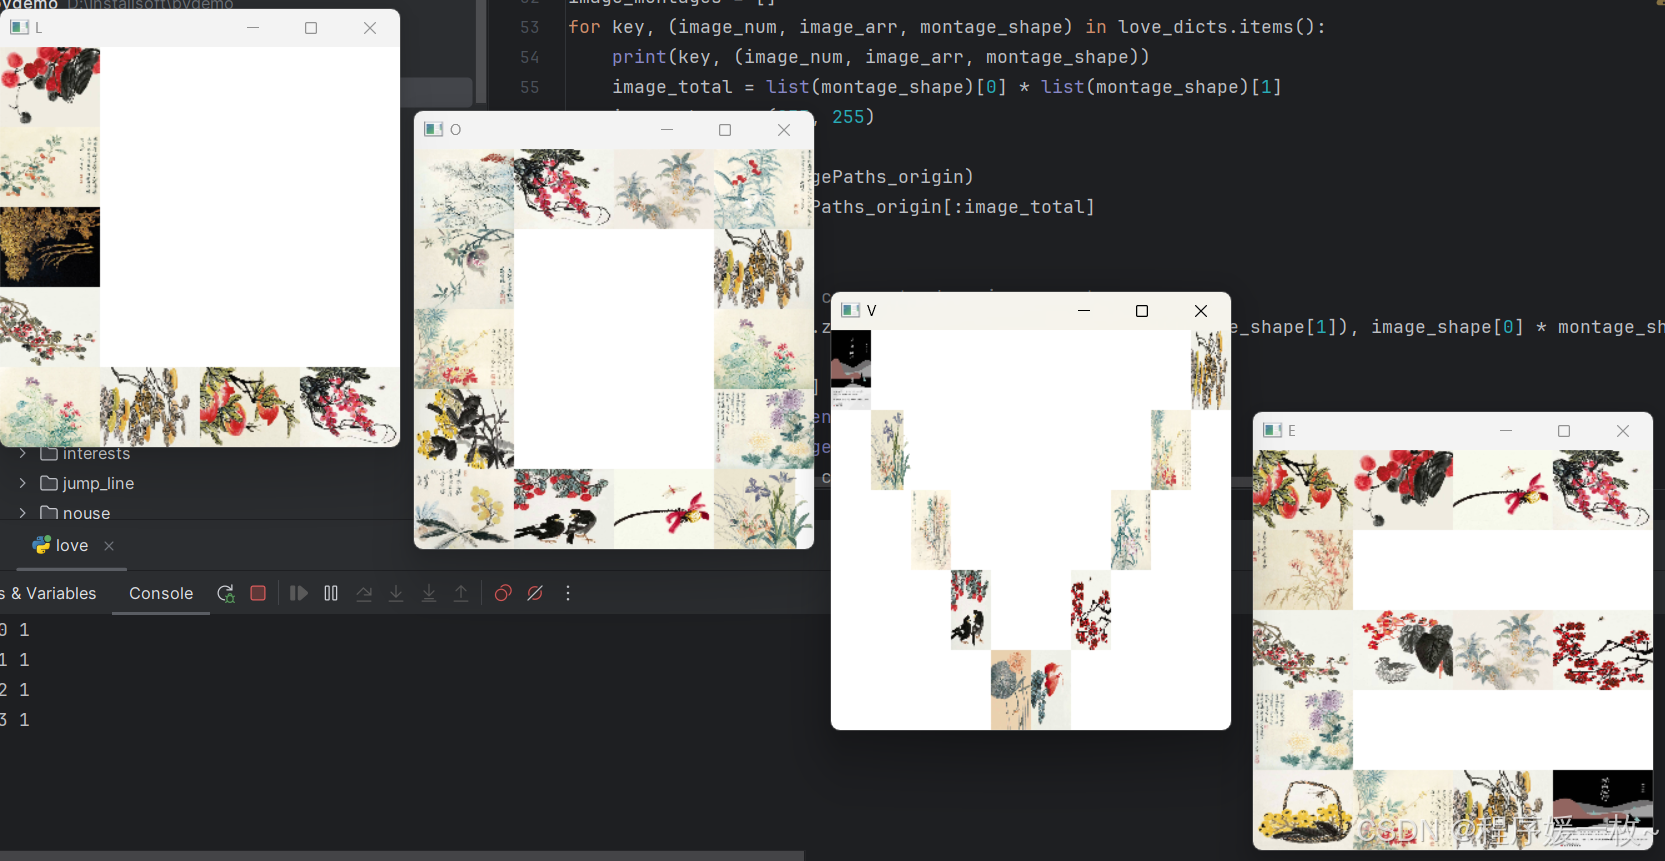
用了我很喜欢的恽寿平的蔬果花鸟册里的图,他的无骨画法逼真又好看,惟妙惟肖。
为了让整个屏幕能放下,做了缩放。
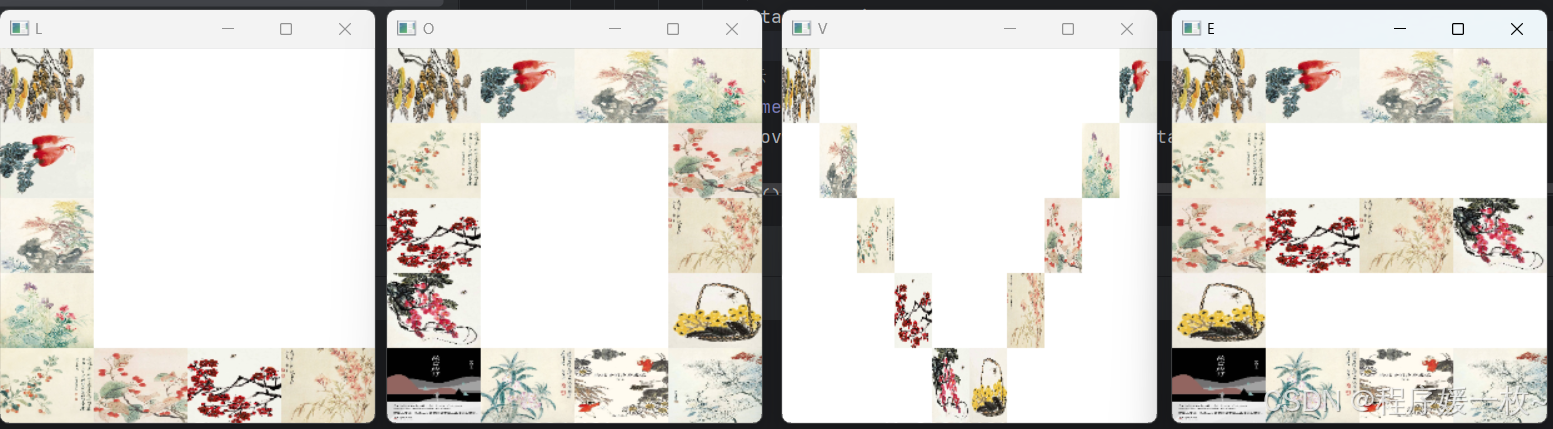
加入随机洗牌算法,每个字母都随机选取图进行生成效果图如下:

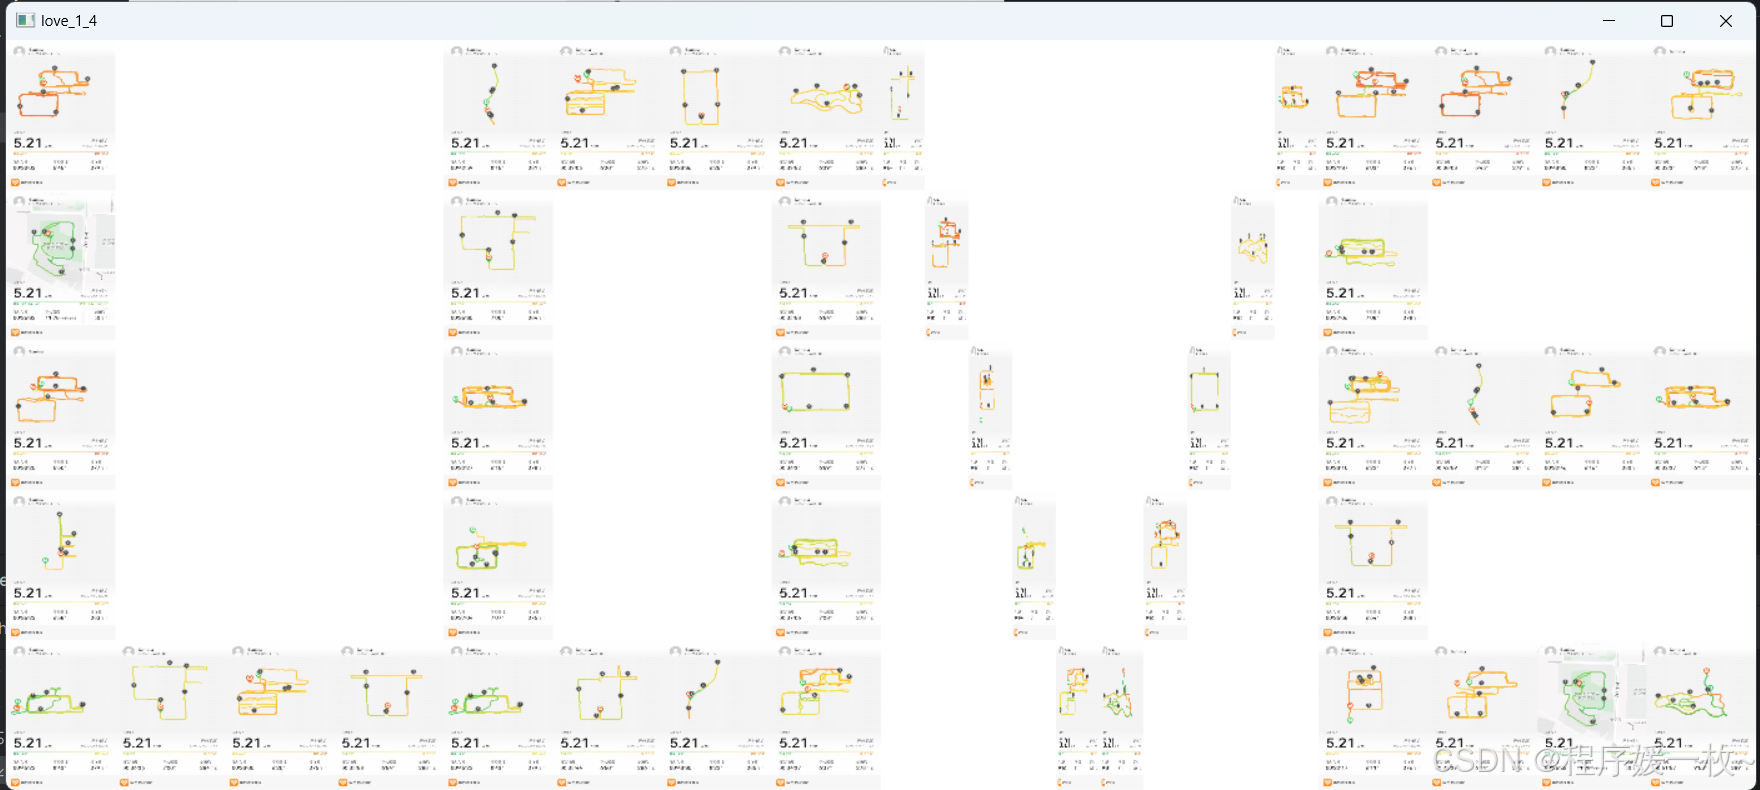
用之前的跳绳图生成一个效果图看下:
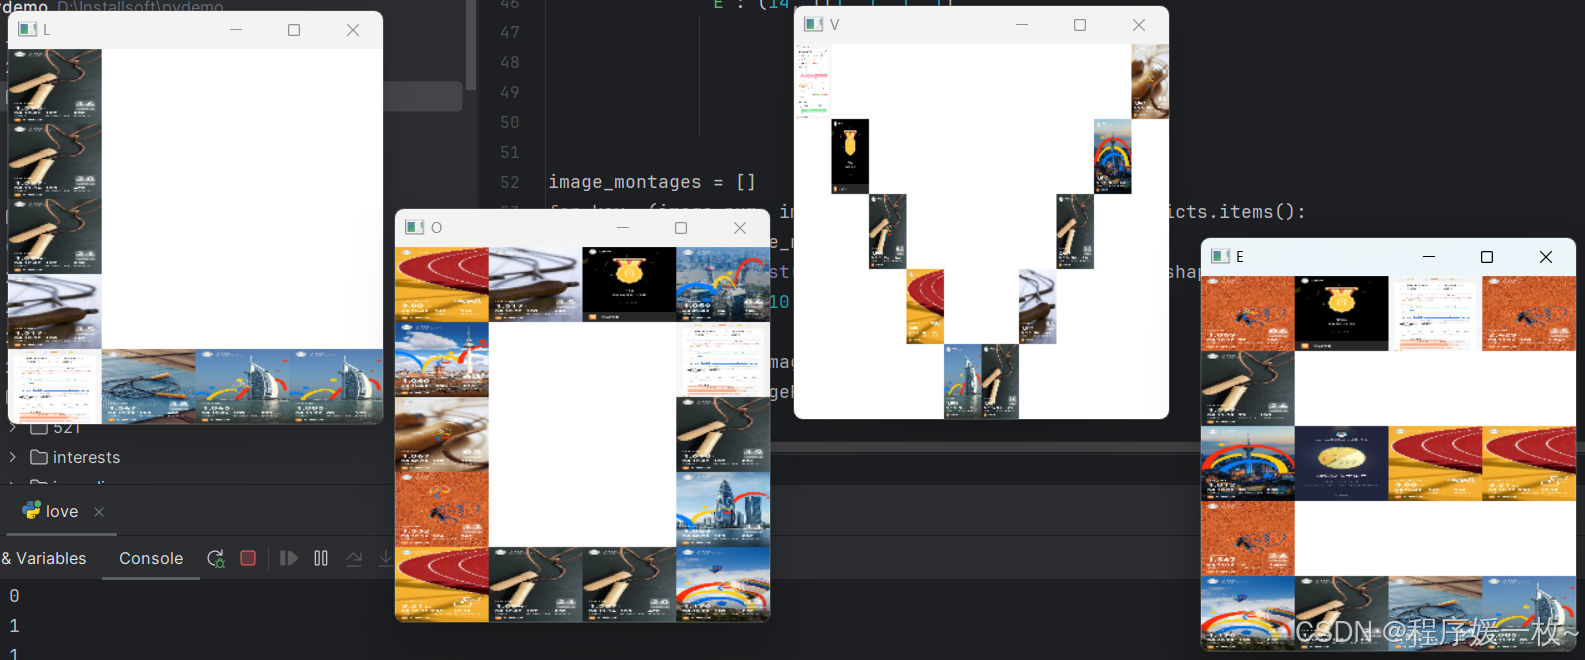
使用跑图5.21 ,利用蒙太奇进行拼图效果:
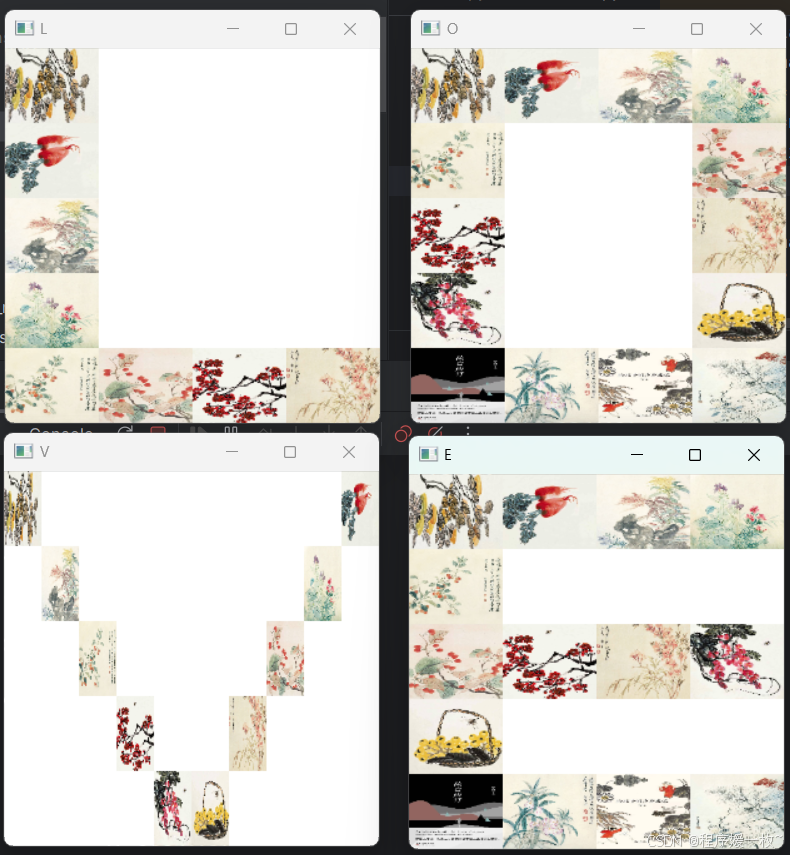
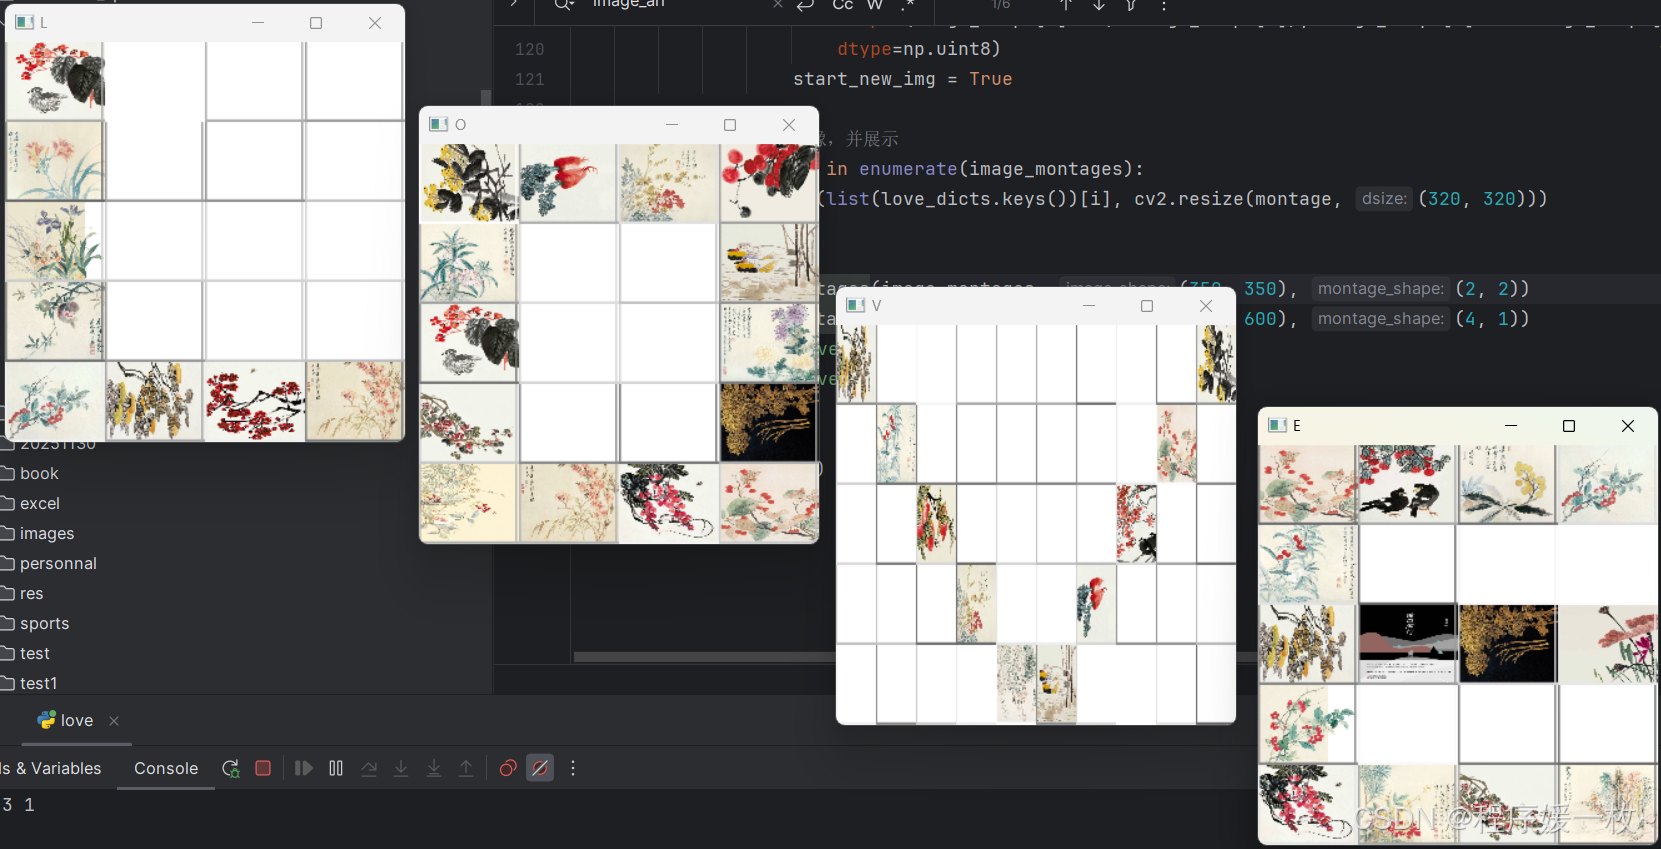
还是恽寿平的花鸟图效果更好一些,设置的像素大小对最初读取的有影响:


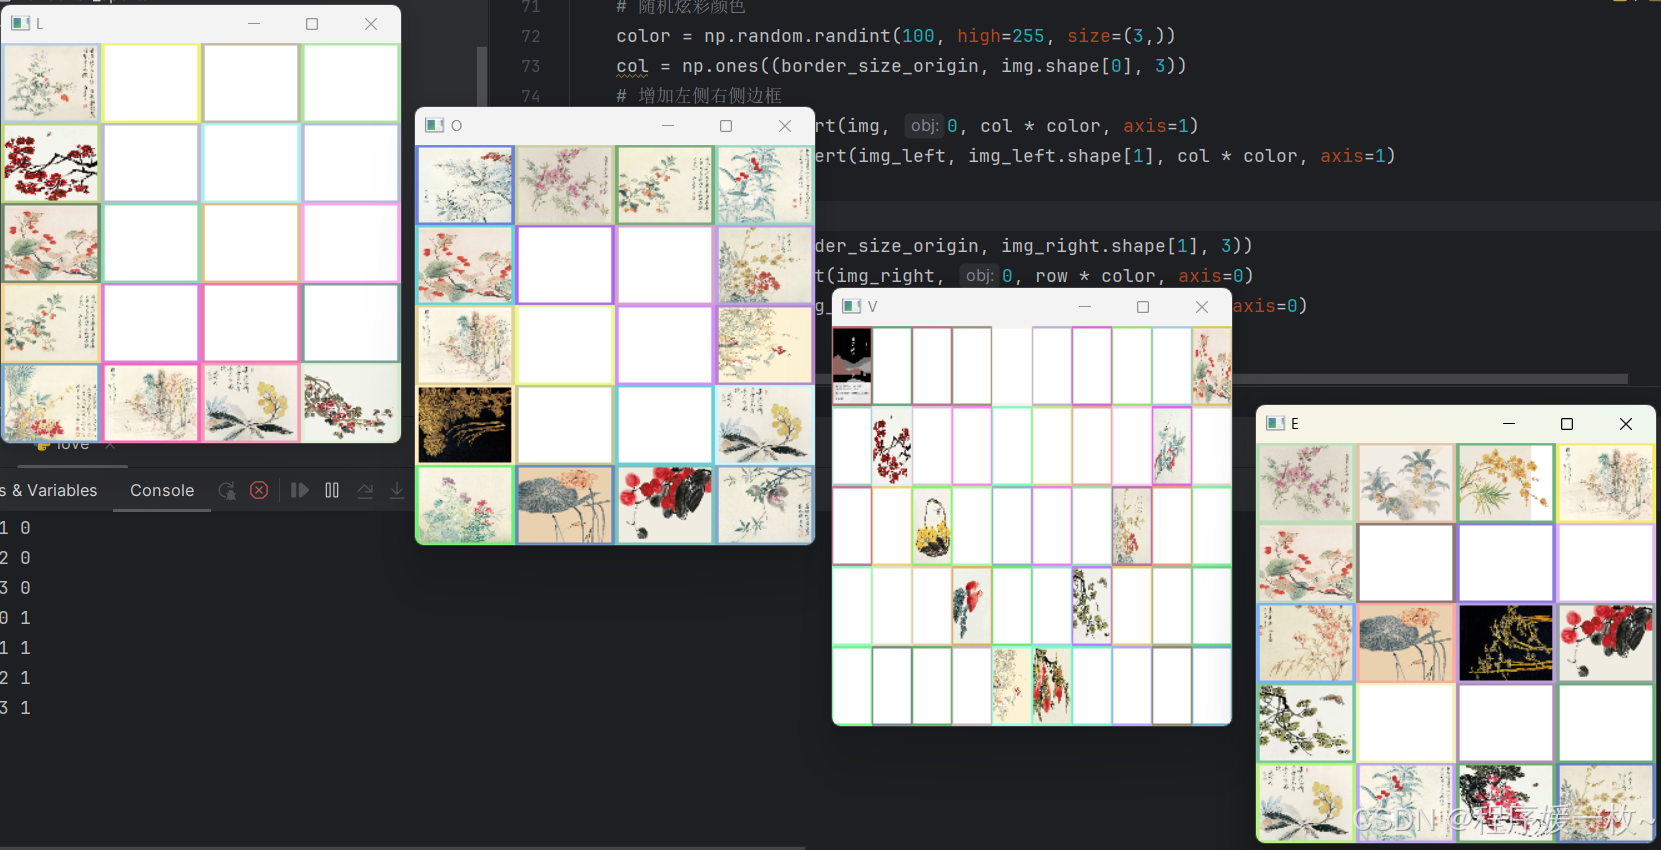
优化:给每张图四周随机加颜色边框,使得拼接图更好看一些
超参数 boarderFlag 默认Flase,可修改为True重新运行就会加边框。
边框大小可任意设置;
build_mongage 不支持增加边框,略显凌乱
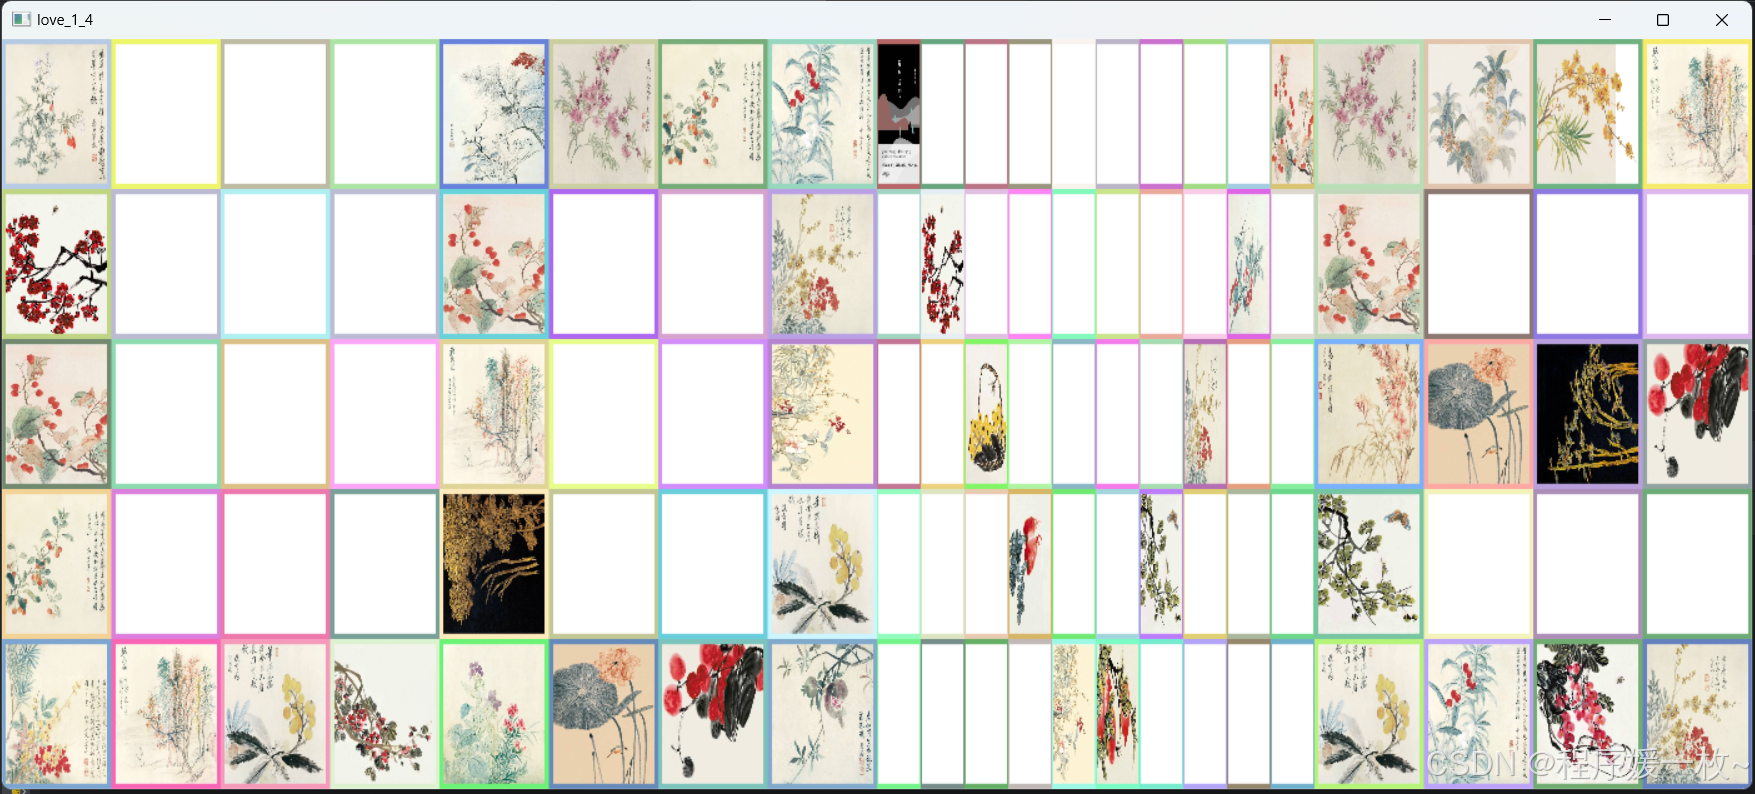
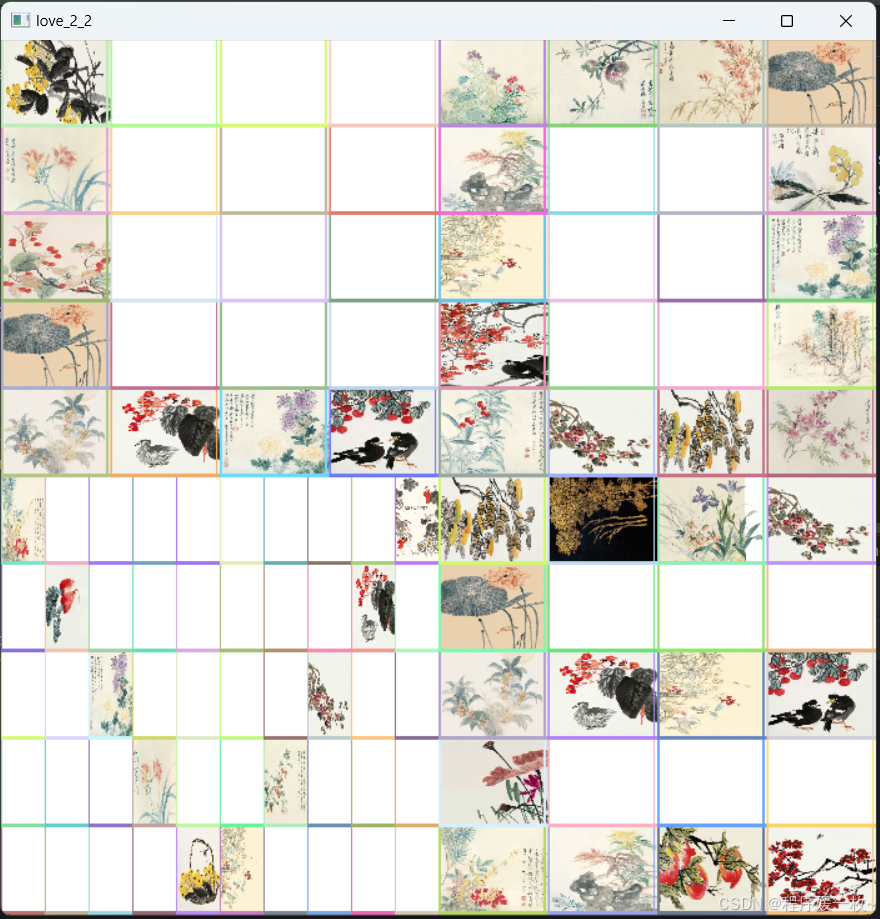
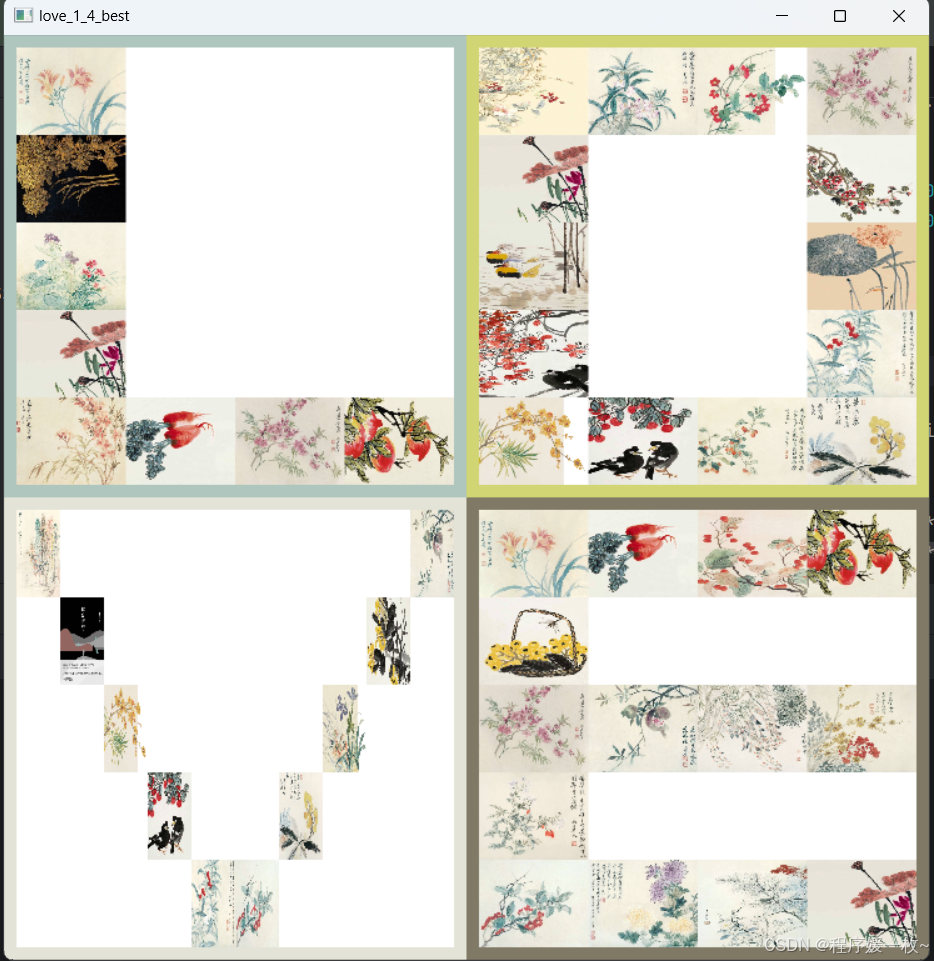
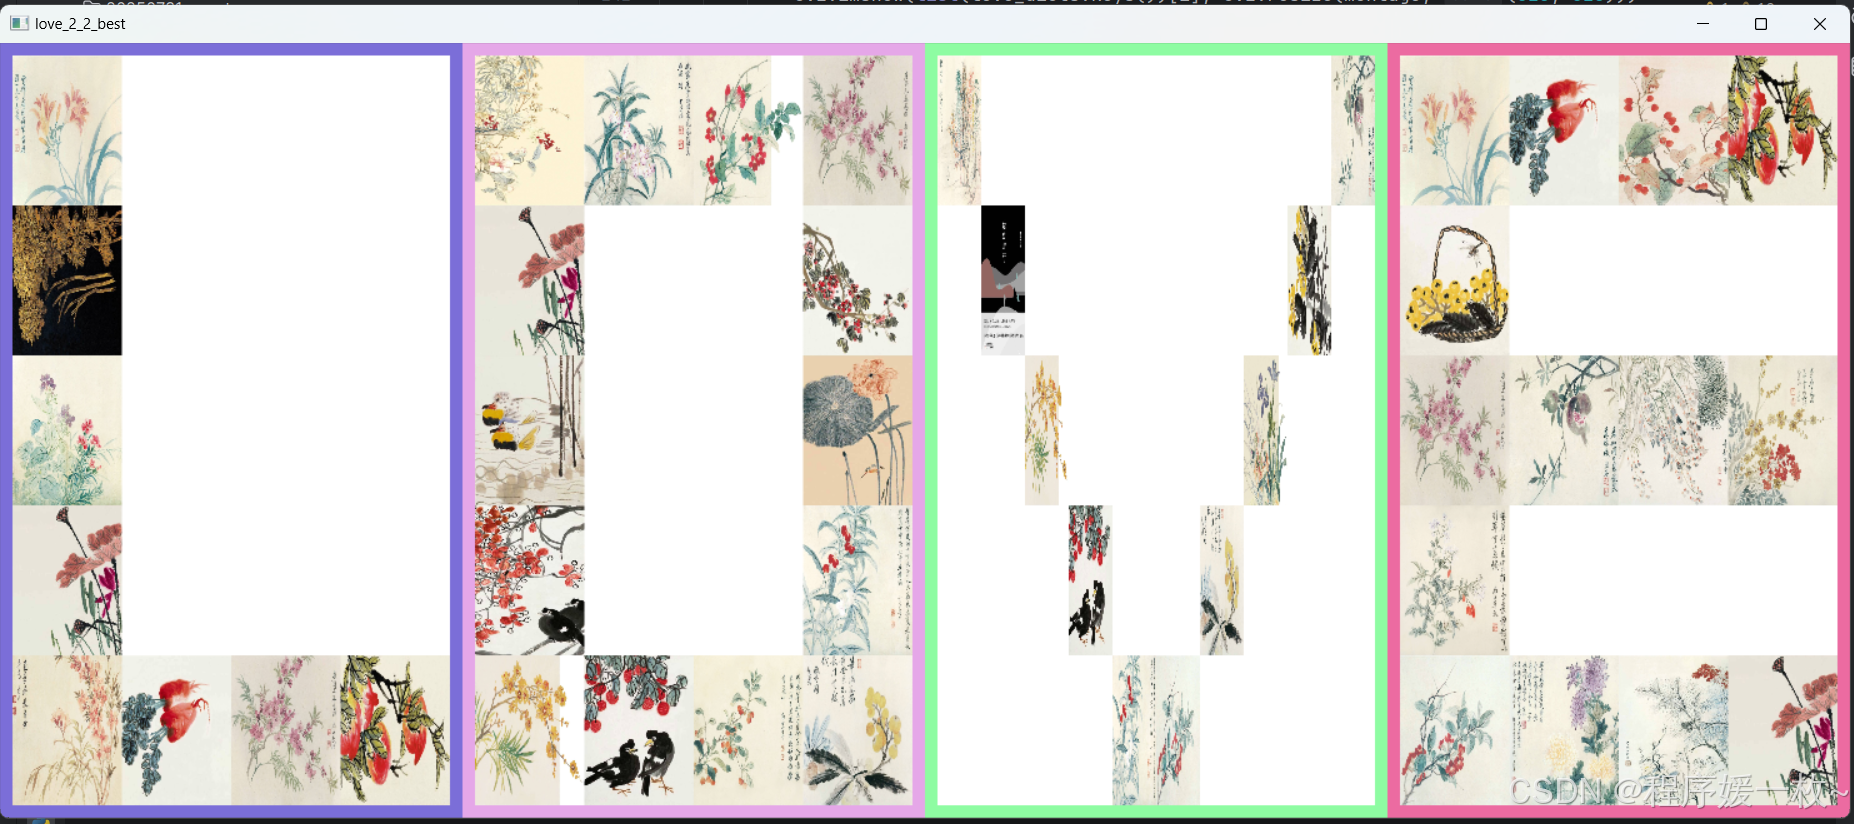
自己优化写一个方法:每张小图增加随机边框,L、O、V、E完整的图增加随机颜色边框:
小图边框为10,大图边框为20的像素效果如下:
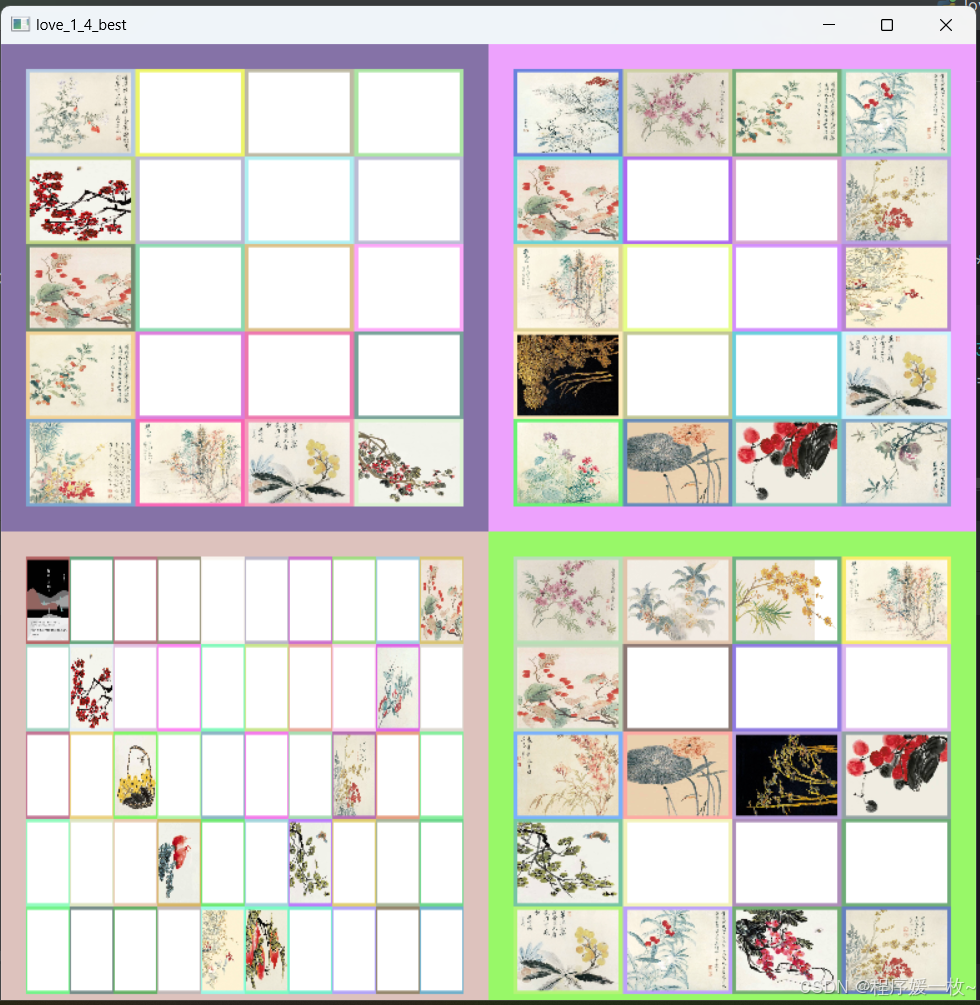
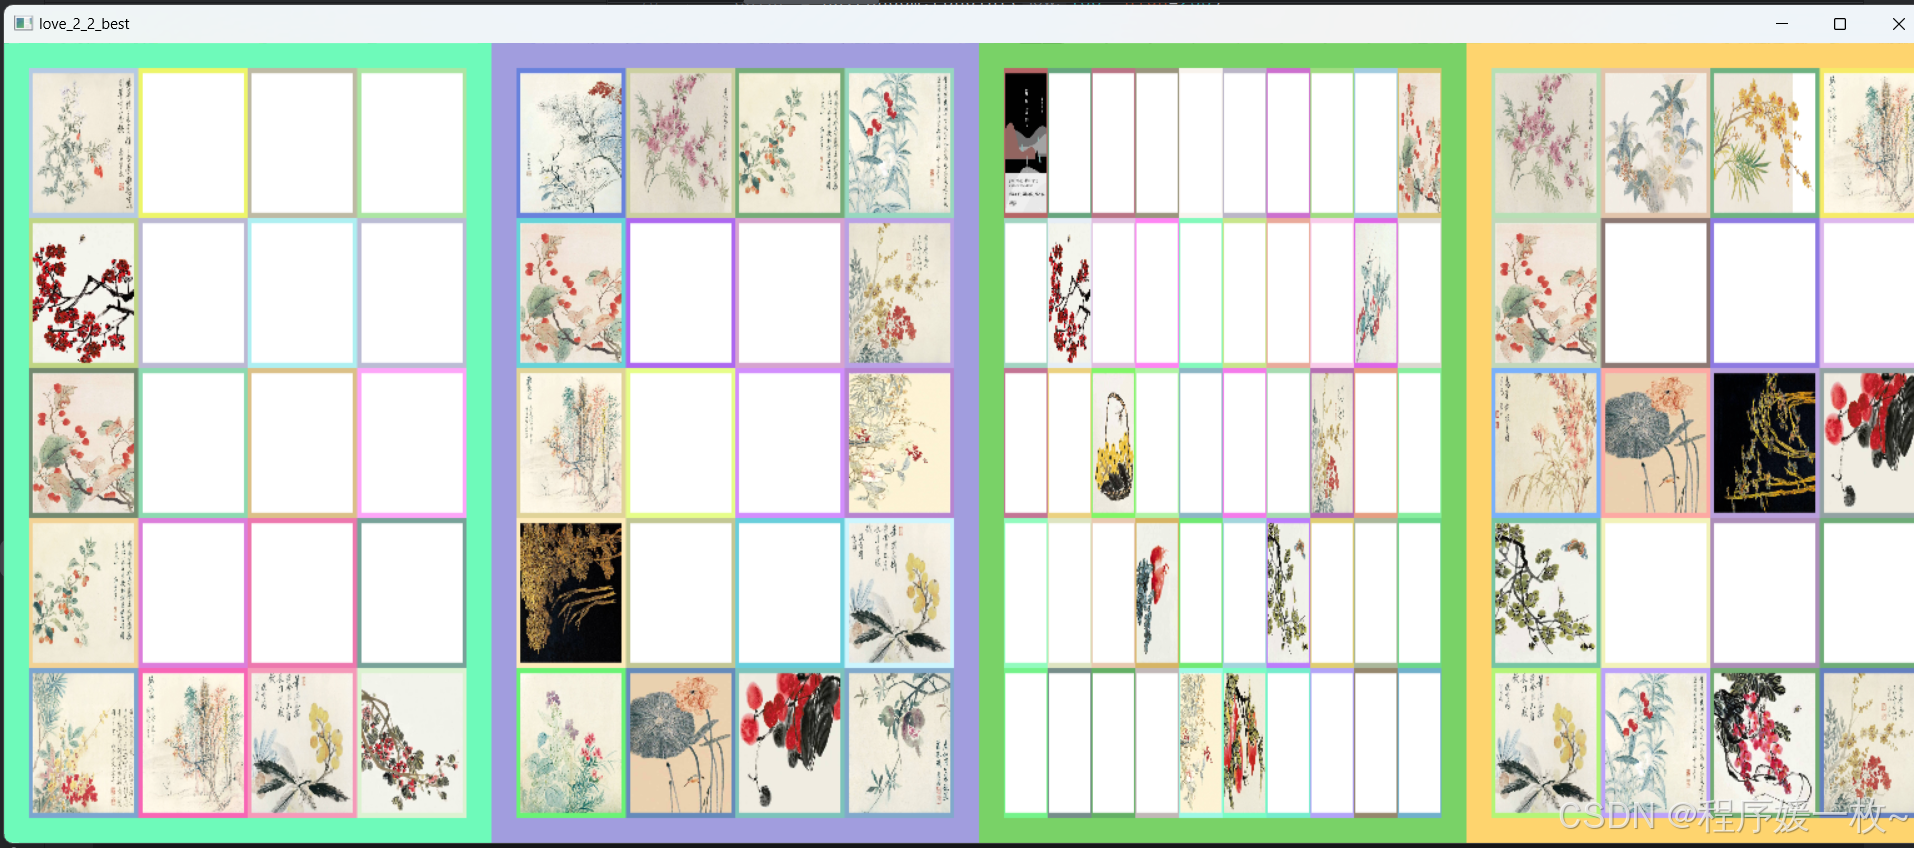
调整小图边框为0,大图边框为10,颜色随机,总有你喜欢的一款,效果图如下:

2. 原理
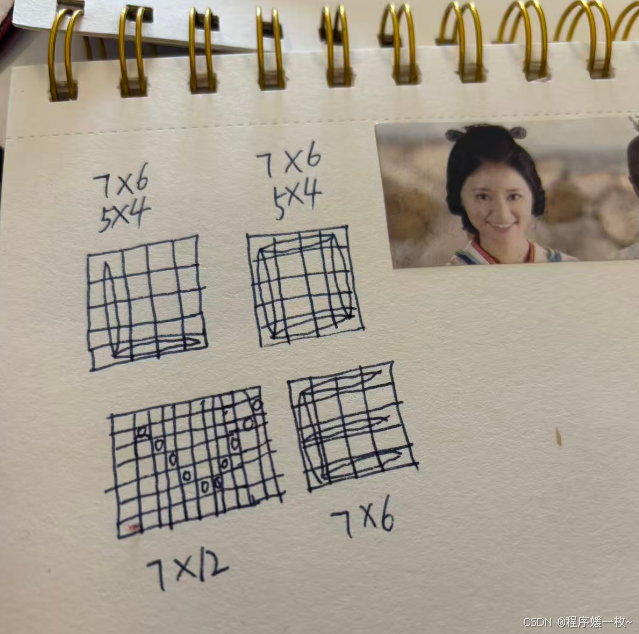
计算LOVE分别属于类似于九宫格的拼图:
比如L: 5*4的边框里
1 * * *
1 * * *
1 * * *
1 * * *
1 1 1 1
然后进行拼图进行,如果要算上边框,那就是7*6,边框可在每一张小图上增加,也可以后续在拼接好的完整的图上增加。
其他字母以此类推。
3. 源代码
python
# 用python进行 love 拼图

# 构建蒙太奇效果
# USAGE
# python love.py --images E:/personal/images --borderFlag True

import argparse
import random

import cv2
import numpy as np
# 导入必要的包
from imutils import paths, build_montages

# 构建命令行参数及解析
# --images 必须,构建蒙太奇的原始图像路径
# --sample 可选,指定要示例的样本图像个数,默认21
ap = argparse.ArgumentParser()
ap.add_argument("-i", "--images", required=False,
                default='flowers/ysp/',
                # default='flowers/jump_line/',
                # default= 'flowers/521/',
                help="path to input directory of images")
ap.add_argument("-b", "--borderFlag", type=bool, default=True,
                help="borderFlag default False")
args = vars(ap.parse_args())

# 获取图像路径,然后随机获取一组示例
imagePaths_origin = list(paths.list_images(args["images"]))
borderFlag = args["borderFlag"]
border_size_origin = 0
if borderFlag:
    border_size_origin = 0  # 每张小图片的边框
    border_size = 10  # 拼成后L O V E 的边框

love_dicts = {'L': (8, [[1, 0, 0, 0],
                        [1, 0, 0, 0],
                        [1, 0, 0, 0],
                        [1, 0, 0, 0],
                        [1, 1, 1, 1]], (4, 5)),
              'O': (14, [[1, 1, 1, 1],
                         [1, 0, 0, 1],
                         [1, 0, 0, 1],
                         [1, 0, 0, 1],
                         [1, 1, 1, 1]], (4, 5)),
              'V': (10, [[1, 0, 0, 0, 0, 0, 0, 0, 0, 1],
                         [0, 1, 0, 0, 0, 0, 0, 0, 1, 0],
                         [0, 0, 1, 0, 0, 0, 0, 1, 0, 0],
                         [0, 0, 0, 1, 0, 0, 1, 0, 0, 0],
                         [0, 0, 0, 0, 1, 1, 0, 0, 0, 0]], (10, 5)),
              'E': (14, [[1, 1, 1, 1],
                         [1, 0, 0, 0],
                         [1, 1, 1, 1],
                         [1, 0, 0, 0],
                         [1, 1, 1, 1]], (4, 5))}

image_list = []


def imgAddBorder(img, border_size_origin):
    '''
    给图片增加边框
    :param img: 图片
    :param border_size_origin: 图片边框像素
    :return:
    '''
    black = 0
    white = 255
    # 随机单颜色
    color = np.random.randint(100, high=255)
    # 随机炫彩颜色
    color = np.random.randint(100, high=255, size=(3,))
    col = np.ones((border_size_origin, img.shape[0], 3))
    # 增加左侧右侧边框
    img_left = np.insert(img, 0, col * color, axis=1)
    img_right = np.insert(img_left, img_left.shape[1], col * color, axis=1)

    # 增加顶部底部边框
    row = np.ones((border_size_origin, img_right.shape[1], 3))
    img_top = np.insert(img_right, 0, row * color, axis=0)
    img = np.insert(img_top, img_top.shape[0], row * color, axis=0)
    return img


for key, (image_num, image_arr, montage_shape) in love_dicts.items():
    print(key, (image_num, image_arr, montage_shape))
    image_total = list(montage_shape)[0] * list(montage_shape)[1]
    image_shape = (255, 255)
    # 随机洗牌
    random.shuffle(imagePaths_origin)
    imagePaths = imagePaths_origin[:image_total]
    # 初始化图像列表
    images = []
    # start with black canvas to draw images onto
    montage_image = np.zeros(shape=(image_shape[1] * (montage_shape[1]), image_shape[0] * montage_shape[0], 3),
                             dtype=np.uint8)
    if borderFlag:
        montage_image = np.zeros(shape=((image_shape[1] + border_size_origin * 2) * (montage_shape[1]),
                                        (image_shape[0] + border_size_origin * 2) * montage_shape[0],
                                        3),
                                 dtype=np.uint8)

    cursor_pos = [0, 0]
    for row_index in range(len(image_arr)):
        for col_index in range(len(image_arr[1])):
            print(row_index, col_index, image_arr[row_index][col_index])
            if image_arr[row_index][col_index] == 0:
                image = np.ones(shape=(255, 255, 3),
                                dtype=np.uint8) * 255
            else:
                # 加载图像,更新图像列表
                image = cv2.imread(imagePaths[len(images)].replace('\\', '/'))
                if image is None: continue
                images.append(image)

            img = cv2.resize(image, image_shape)

            # 加边框
            if borderFlag:
                img = imgAddBorder(img, border_size_origin)

            # draw image to black canvas
            montage_image[cursor_pos[1]:cursor_pos[1] + image_shape[1] + border_size_origin * 2,
            cursor_pos[0]:cursor_pos[0] + image_shape[0] + border_size_origin * 2] = img
            cursor_pos[0] += image_shape[0] + border_size_origin * 2  # increment cursor x position

            if cursor_pos[0] >= montage_shape[0] * image_shape[0]:
                cursor_pos[1] += image_shape[1] + border_size_origin * 2  # increment cursor y position
                cursor_pos[0] = 0
                if cursor_pos[1] >= montage_shape[1] * image_shape[1]:
                    cursor_pos = [0, 0]
                    image_list.append(montage_image)
                    # reset black canvas
                    montage_image = np.zeros(
                        shape=(image_shape[1] * (montage_shape[1]), image_shape[0] * montage_shape[0], 3),
                        dtype=np.uint8)
                    start_new_img = True

        # 遍历蒙太奇组图像,并展示
        for i, montage in enumerate(image_list):
            cv2.imshow(list(love_dicts.keys())[i], cv2.resize(montage, (320, 320)))

# 调用蒙太奇算法拼图
montage_22 = build_montages(image_list, (350, 350), (2, 2))
montage_14 = build_montages(image_list, (350, 600), (4, 1))
cv2.imshow('love_1_4', montage_14[0])
cv2.imshow('love_2_2', montage_22[0])

# 自己实现拼图并加边框
if borderFlag:
    img_dict = {'love_1_4_best': ((350, 350), (2, 2)), 'love_2_2_best': ((350, 600), (4, 1))}
    for img_key, (image_shape, montage_shape) in img_dict.items():
        row, col = list(montage_shape)
        montage_image = np.zeros(
            shape=((image_shape[1] + border_size * 2) * (montage_shape[1]),
                   (image_shape[0] + border_size * 2) * montage_shape[0], 3),
            dtype=np.uint8)
        cursor_pos = [0, 0]
        for img in image_list:
            if type(img).__module__ != np.__name__:
                raise Exception('input of type {} is not a valid numpy array'.format(type(img)))

            img = cv2.resize(img, image_shape)
            # 加边框
            if borderFlag:
                img = imgAddBorder(img, border_size)

            # draw image to black canvas
            montage_image[cursor_pos[1]:cursor_pos[1] + image_shape[1] + border_size * 2,
            cursor_pos[0]:cursor_pos[0] + image_shape[0] + border_size * 2] = img
            cursor_pos[0] += image_shape[0] + border_size * 2  # increment cursor x position
            if cursor_pos[0] >= montage_shape[0] * image_shape[0]:
                cursor_pos[1] += image_shape[1] + border_size * 2  # increment cursor y position
                cursor_pos[0] = 0
                if cursor_pos[1] >= montage_shape[1] * image_shape[1]:
                    break
        cv2.imshow(img_key, montage_image)
cv2.waitKey(0)
cv2.destroyAllWindows()
历史一些有趣的文章列表:
-
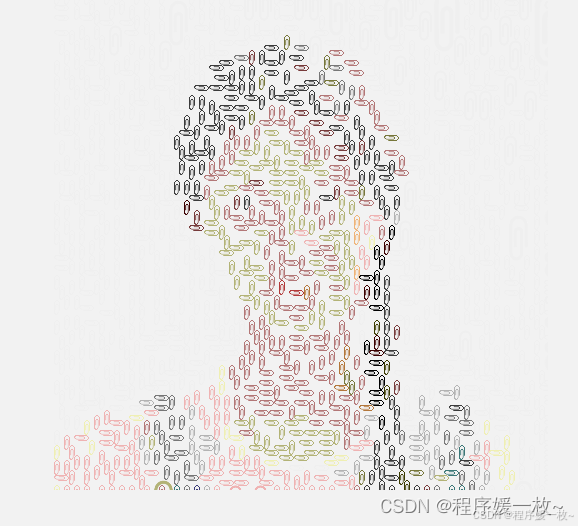
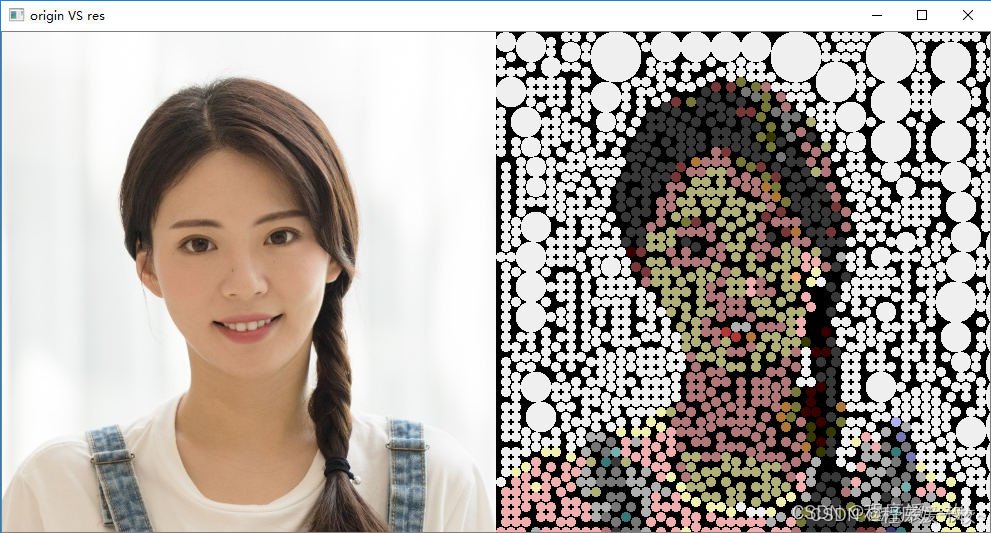
Python将图像转成像素风,圆圈、线条、波浪、十字绣、乐高积木、我的世界积木、回形针、字母... 把喜欢的人的图片用回形针或者圆圈,爱心等填满... 程序员可以尝试的小浪漫.