Jedis客户端
Jedis使用基本步骤
Jedis的官网地址:https://github.com/redis/jedis
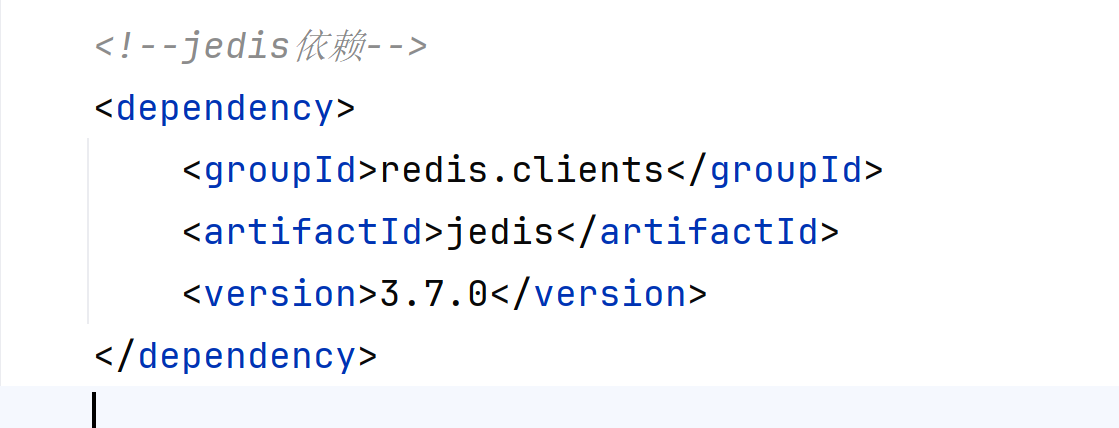
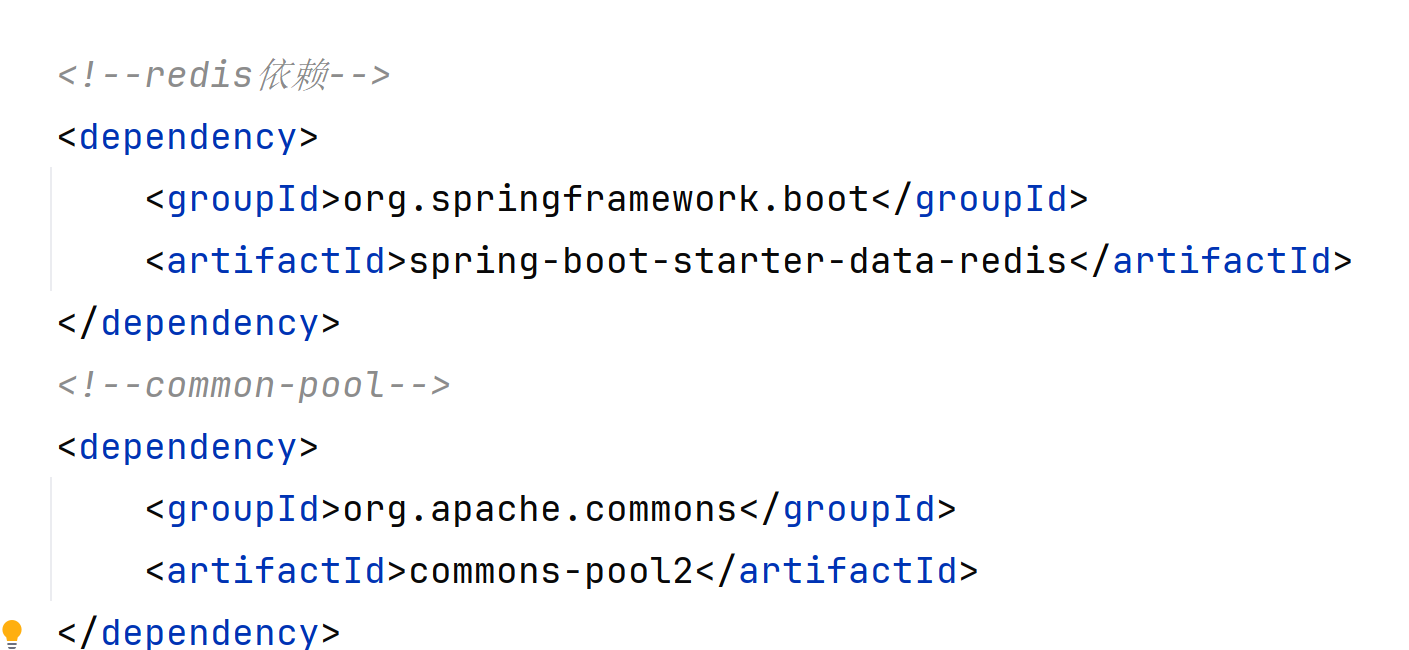
1.引入依赖:
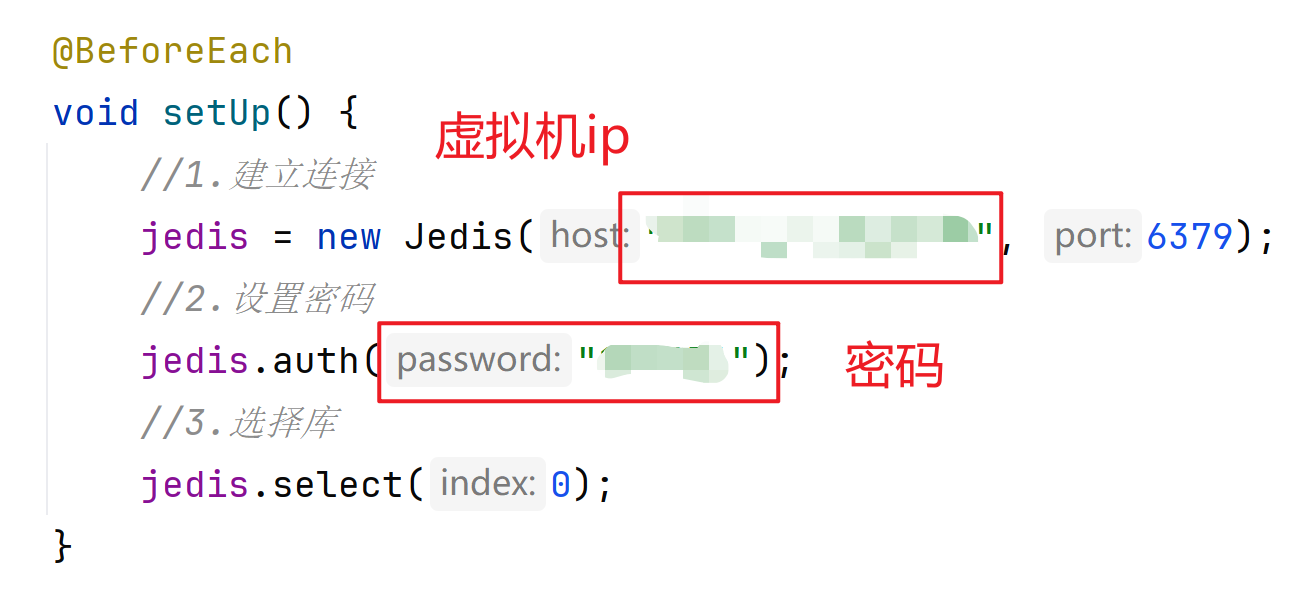
2.创建Jedis对象,建立连接:
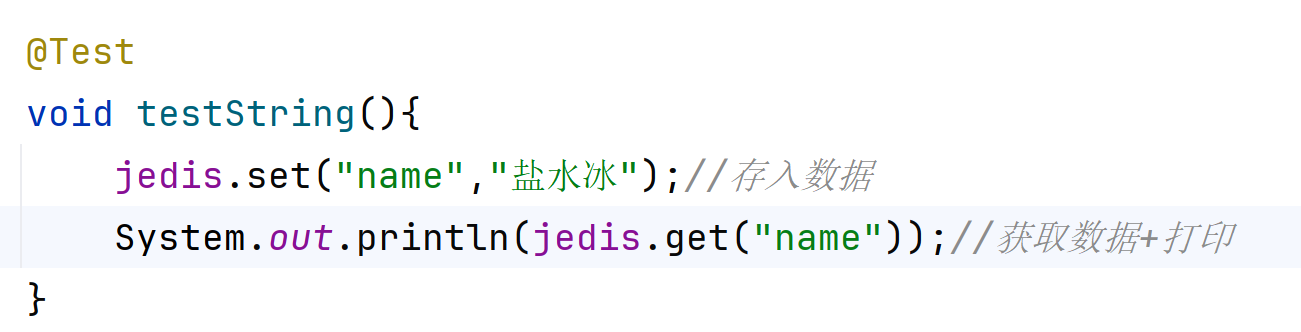
3.使用Jedis对象,方法名与Redis命令一致:
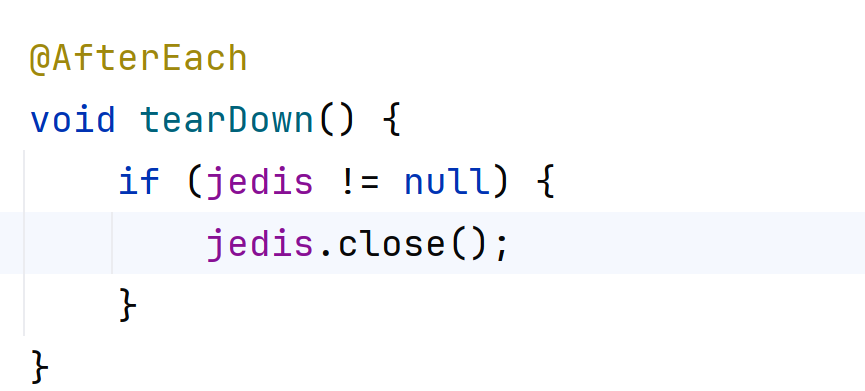
4.释放资源:
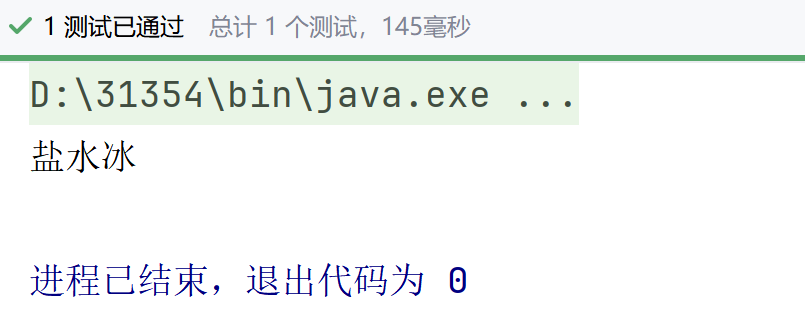
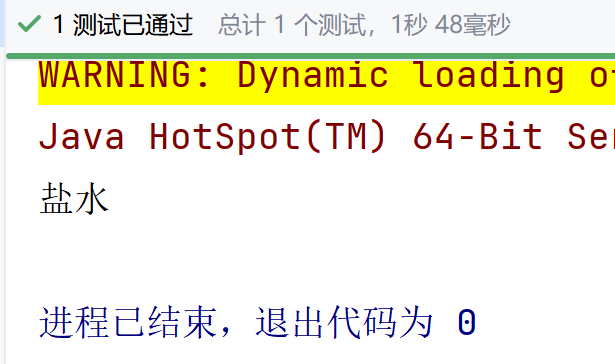
测试通过
Jedis连接池
Jedis本身是线程不安全的,并且频繁的创建和销毁链接会有性能损耗,因此推荐使用Jedis连接池代替Jedis的直连方式
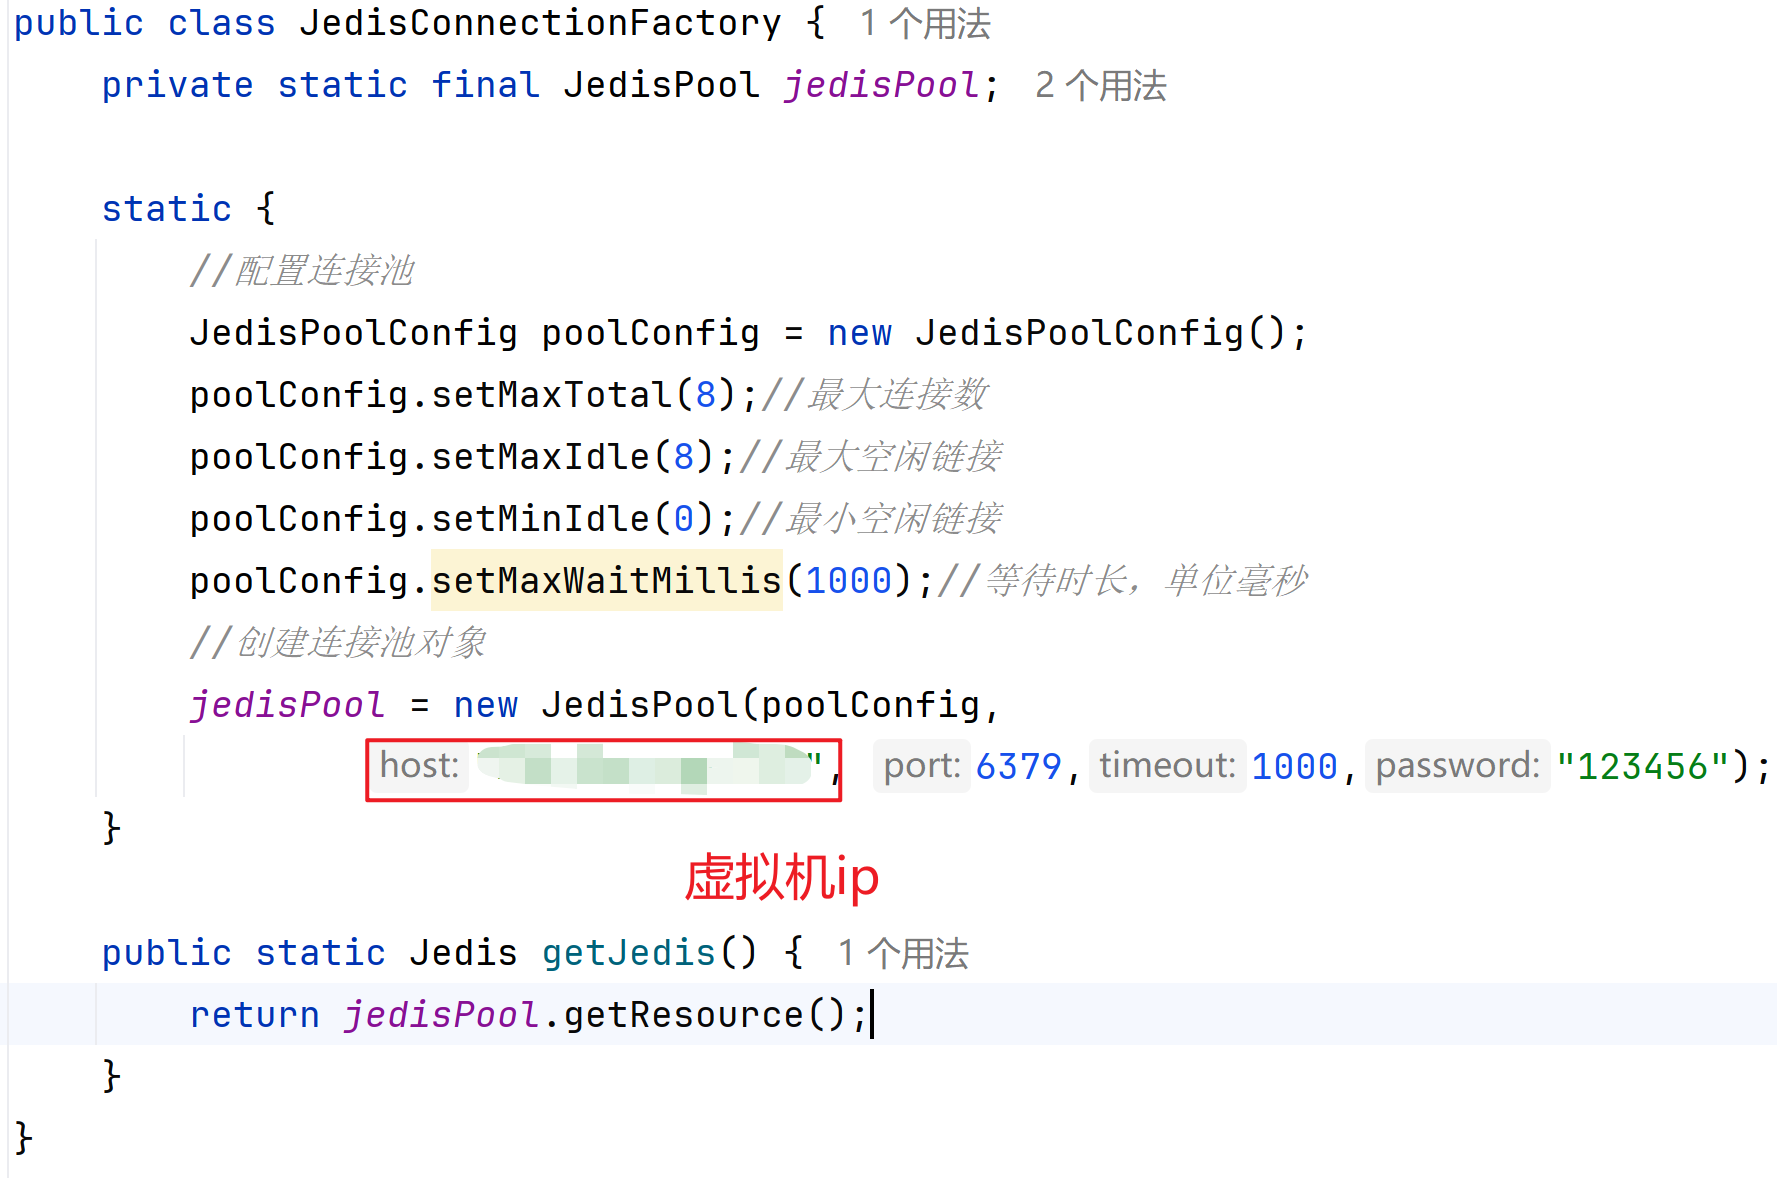
1.创建连接池
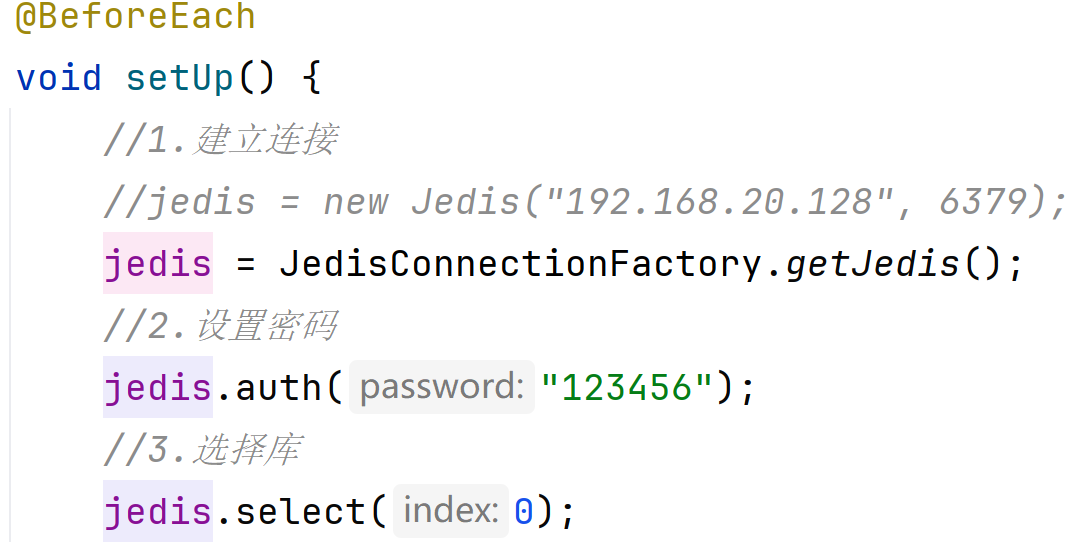
2.更改建立连接方式
SpringDataRedis客户端
SpringDataRedis是Spring中数据操作的模块,包含对各种数据库的集成,其中对Redis的集成模块就叫做SpringDataRedis,官网地址:https://spring.io/projects/spring-data-redis
提供了对不同Redis客户端的整合(Lettuce和Jedis)
提供了RedisTemplate统一API来操作Redis
支持Redis的发布订阅模型
支持Redis哨兵和Redis集群
支持基于Lettuce的响应式编程
支持基于JDK,JSON,字符串,Spring对象的数据序列化及反序列化
支持基于Redis的JDKCollection实现
SpringDataRedis中提供了RedisTemplate工具类
其中封装了各种对Redis的操作。并且将不同数据类型的操作API封装到了不同的类型中:
| API | 返回值类型 | 说明 |
|---|---|---|
| redisTemplate.opsForValue() | ValueOperations | 操作String类型数据 |
| redisTemplate.opsForHash() | HashOperations | 操作Hash类型数据 |
| redisTemplate.opsForList() | ListOperations | 操作List类型数据 |
| redisTemplate.opsForSet() | SetOperations | 操作Set类型数据 |
| redisTemplate.opsForZSet() | ZSetOperations | 操作SortedSet类型数据 |
| redisTemplate | 通用的命令 |
SpringDataRedis快速入门
SpringBoot已经提供了对SpringDataRedis的支持,使用非常简单:
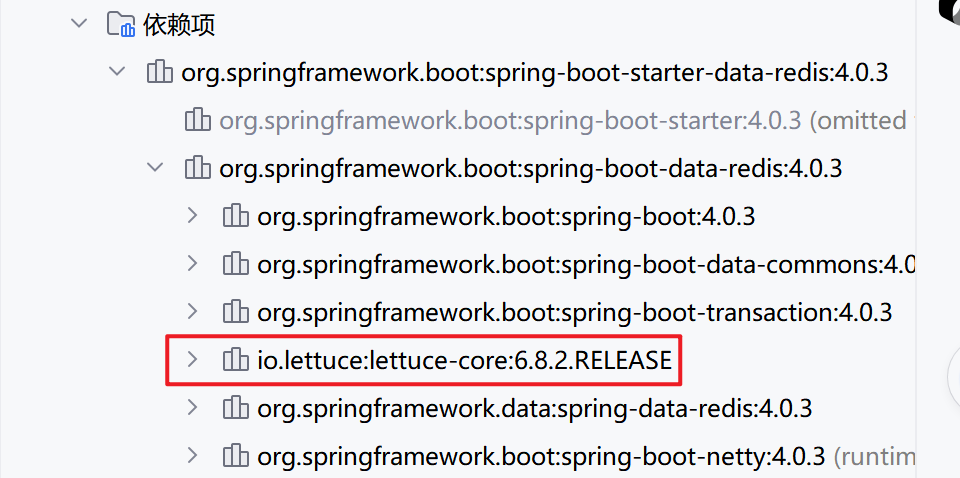
1.引入spring-boot-starter-data-redis依赖
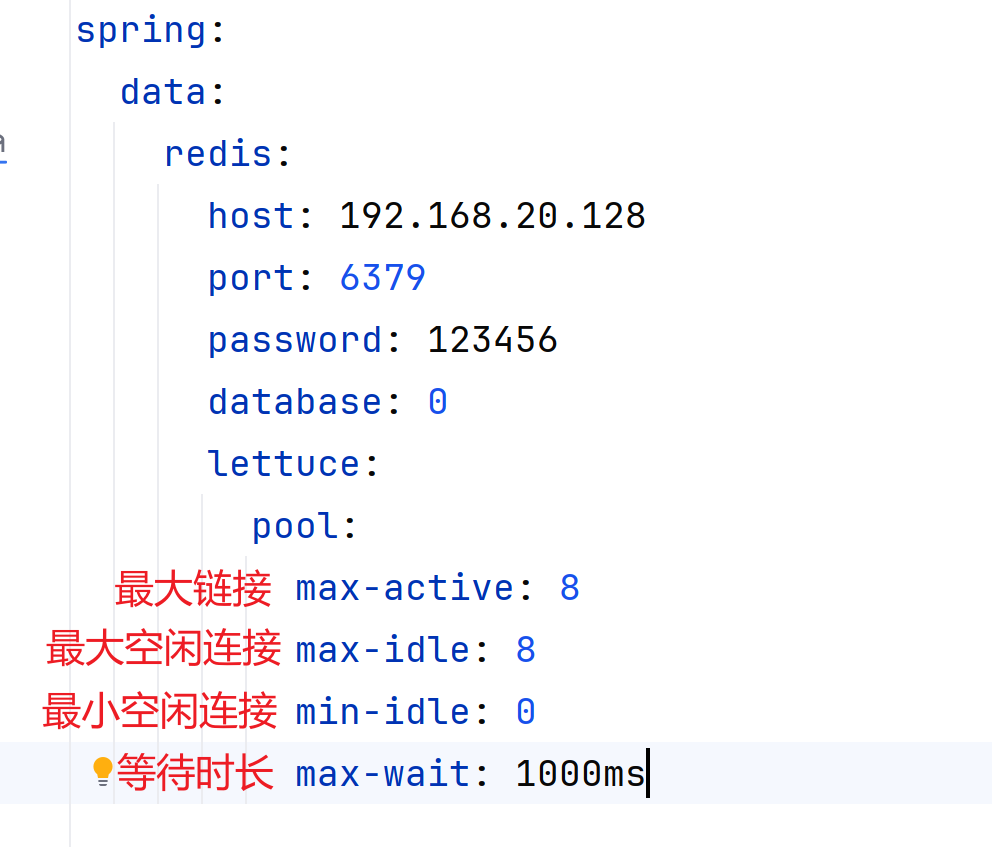
2.在application.yml配置Redis信息
Lettuce是springboot自带的,写配置文件的时候别选错了
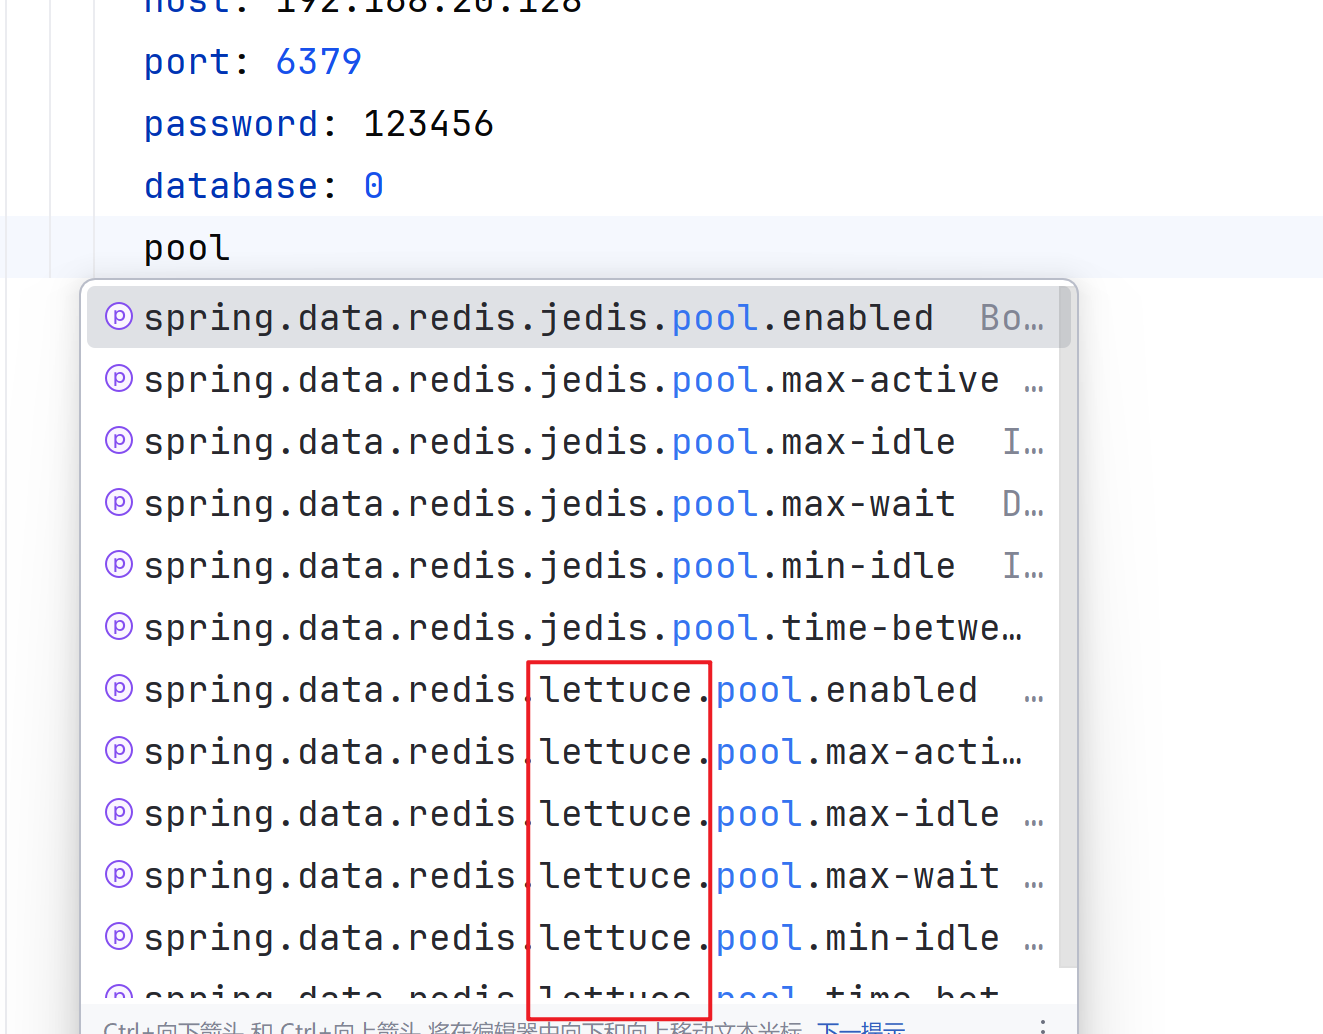
配置文件
3.注入RedisTemplate
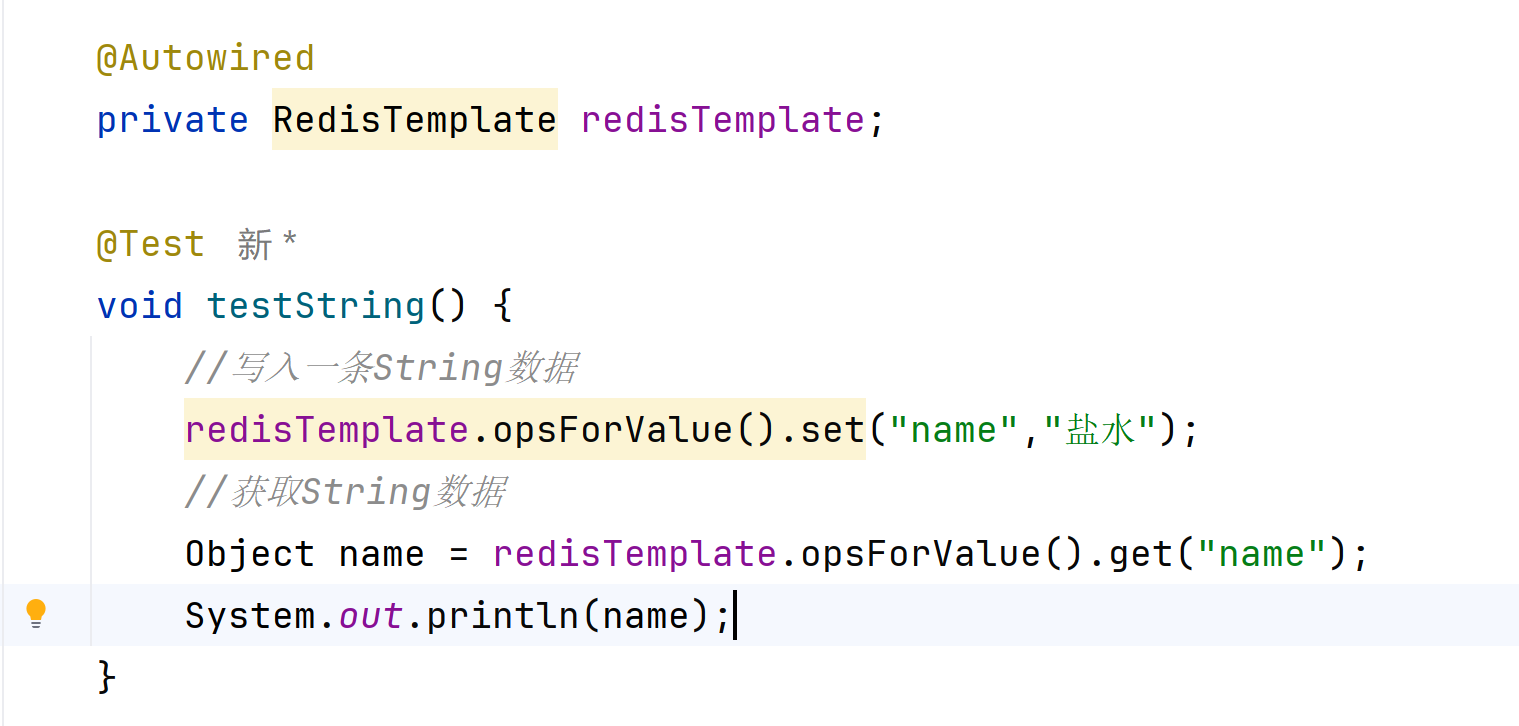
测试通过
SpringDataRedis的序列化方式
RedisTemplate可以接收任意的Object作为值写入Redis,只不过写入前会把Object序列化为字节形式,默认是采用JDK序列化,得到的结果如图
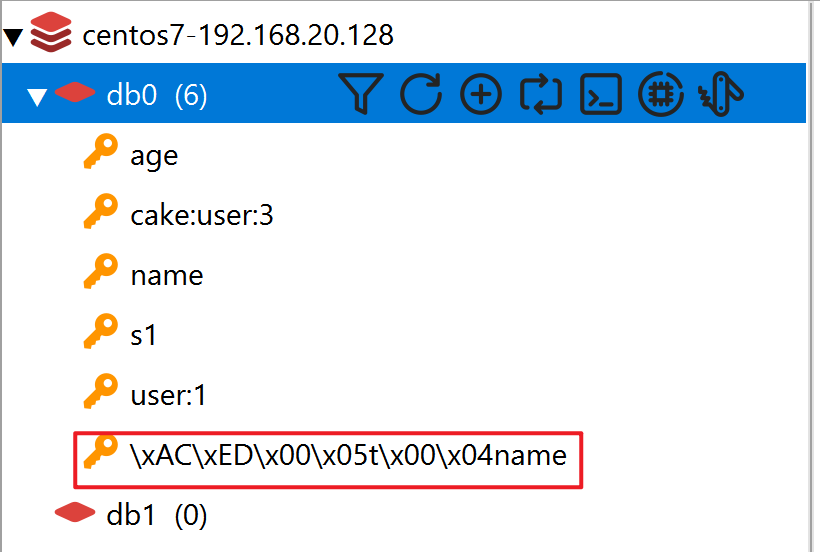
缺点:
可读性差,内存占用较大
可以通过自定义RedisTemplate的序列化方式解决这一点:
1.导入Maven
java
        <dependency>
            <groupId>org.springframework.boot</groupId>
            <artifactId>spring-boot-starter-data-redis</artifactId>
        </dependency>
如果项目中没有导入SpringMVC则需要手动导入jacson
java
        <dependency>
            <groupId>com.fasterxml.jackson.core</groupId>
            <artifactId>jackson-databind</artifactId>
            <version>2.13.3</version>
        </dependency>
2.编写配置类
将String和Hash类型的Key设置成String,Value设置成Json
java
import org.springframework.context.annotation.Bean;
import org.springframework.context.annotation.Configuration;
import org.springframework.data.redis.connection.RedisConnectionFactory;
import org.springframework.data.redis.core.RedisTemplate;
import org.springframework.data.redis.serializer.GenericJackson2JsonRedisSerializer;
import org.springframework.data.redis.serializer.Jackson2JsonRedisSerializer;
import org.springframework.data.redis.serializer.RedisSerializer;

@Configuration
public class RedisConfig {

    @Bean
    public RedisTemplate<String,Object> redisTemplate(RedisConnectionFactory connectionFactory){

        RedisTemplate<String, Object> redisTemplate = new RedisTemplate<>();
        //设置连接工厂
        redisTemplate.setConnectionFactory(connectionFactory);

        //创建Json序列化工具
        GenericJackson2JsonRedisSerializer genericJackson2JsonRedisSerializer=new GenericJackson2JsonRedisSerializer();

        //设置key的序列化
        redisTemplate.setKeySerializer(RedisSerializer.string()); //设置String 类型key为 String
        redisTemplate.setHashKeySerializer(RedisSerializer.string()); //设置Hash 类型Key 为String

        //设置value的序列化
        redisTemplate.setValueSerializer(genericJackson2JsonRedisSerializer); //设置 String类型的value值为 Josn类型
        redisTemplate.setHashValueSerializer(genericJackson2JsonRedisSerializer); //设置 Hash类型 的key为Json类型

        return redisTemplate;


    }


}