1. 什么是harbor:
Harbor 是一个开源的企业级 Docker/OCI(开放容器倡议)镜像仓库。您可以把它理解为一个类似 Docker Hub 的私有化部署的镜像存储和管理中心,但功能更强大、更安全,专为满足企业级需求而设计
2. harbor安装
2.1 安装包选择
此处我选择的是离线安装包,可无网络安装,官网链接(https://github.com/goharbor/harbor/releases/tag/v2.10.0)
或直接访问我的网盘链接下载
分享文件:harbor-offline-installer-v2.10.0.tgz
链接:https://pan.xunlei.com/s/VOnf3ioPsJRTnLXvW6uXAkXNA1#
提取码:ufi8
复制这段内容后打开迅雷,查看更方便
2.2 安装部署
2.2.1 压缩包解压
#解压压缩包
tar zxf harbor-offline-installer-v2.10.0.tgz -C /opt/
2.2.2 证书生成
# 0.创建harbor生成证书的目录
mkdir -p /opt/harbor/ssl && cd /opt/harbor/ssl
# 1.生成CA证书私钥
openssl genrsa -out ca.key 4096

# 2.生成CA证书 此处黄色部分为域名,后续需要多次遇到,如要修改,则全部修改为相同域名
openssl req -x509 -new -nodes -sha512 -days 3650 \
 -subj "/C=CN/ST=Shenzhen/L=Shenzhen/O=luffy/OU=Personal/CN=harbor.local" \
 -key ca.key \
 -out ca.crt

# 3.生成服务器证书
openssl genrsa -out harbor.local.key 4096

# 4.生成证书签名请求(CSR)
openssl req -sha512 -new \
 -subj "/C=CN/ST=Shenzhen/L=Shenzhen/O=luffy/OU=Personal/CN=harbor.local" \
 -key harbor.local.key \
 -out harbor.local.csr

# 5.生成x509 v3扩展文件,黄色主机名
cat > v3.ext << 'EOF'
authorityKeyIdentifier=keyid,issuer
basicConstraints=CA:FALSE
keyUsage = digitalSignature, nonRepudiation, keyEncipherment, dataEncipherment
extendedKeyUsage = serverAuth
subjectAltName = @alt_names
[alt_names]
DNS.1=harbor.local
DNS.2=harbor
DNS.3=har158
EOF

# 6.使用v3.ext文件为Harbor主机生成证书
openssl x509 -req -sha512 -days 3650 \
 -extfile v3.ext \
 -CA ca.crt -CAkey ca.key -CAcreateserial \
 -in harbor.local.csr \
 -out harbor.local.crt

# 7.向Harbor和Docker提供证书
mkdir /data/cert/ -p
cp harbor.local.crt /data/cert/
cp harbor.local.key /data/cert/

# 8.将harbor.local.crt转换为harbor.local.cert,以供Docker使用
openssl x509 -inform PEM -in harbor.local.crt -out harbor.local.cert

# 9.将服务器证书、密钥和CA文件复制到Harbor主机上的Docker证书文件夹中。必须先创建相应的文件夹。
mkdir -p /etc/docker/certs.d/harbor.local/
cp -r harbor.local.cert /etc/docker/certs.d/harbor.local/
cp -r harbor.local.key /etc/docker/certs.d/harbor.local/
cp -r ca.crt /etc/docker/certs.d/harbor.local/

# 10.重启Docker
systemctl restart docker

# 11.坑位


# 12.最终结果 ,将文件一一复制过去
[root@m-61 ~]# tree /opt/harbor/ssl/
/opt/harbor/ssl/
├── ca.crt
├── ca.key
├── ca.srl
├── harbor.local.cert
├── harbor.local.crt
├── harbor.local.csr
├── harbor.local.key
└── v3.ext
0 directories, 8 files

[root@m-61 ~]# tree /etc/docker/certs.d/
└── harbor.local

├── ca.crt

├── harbor.local.cert

└── harbor.local.key
1 directory, 3 files
2.2.3 配置修改
cd /opt/harbor/
# 1.复制配置
cp harbor.yml.tmpl harbor.yml
# 2.编辑配置
vim harbor.yml
# 修改主机地址
hostname: harbor.local
# 修改证书目录
https:
port: 443
certificate: /data/cert/harbor.local.crt
private_key: /data/cert/harbor.local.key
# 账号密码
harbor_admin_password: Harbor12345
第四步:运行离线安装脚本
cd /opt/harbor/
bash install.sh
第六步:检查
cd /opt/harbor/
[root@m-61 /opt/harbor]# docker compose ps|grep 'Up'|wc -l
WARN[0000] /opt/harbor/docker-compose.yml: `version` is obsolete
9
第七步:windows上配置host解析
192.168.200.158 harbor.local
admin
Harbor12345
#如下docker进程全部正常启动,才算成功
oot@cz:/opt/harbor# docker compose ps
WARN[0000] /opt/harbor/docker-compose.yml: the attribute `version` is obsolete, it will be ignored, please remove it to avoid potential confusion
NAME IMAGE COMMAND SERVICE CREATED STATUS PORTS
harbor-core goharbor/harbor-core:v2.10.0 "/harbor/entrypoint...." core 34 seconds ago Up 33 seconds (healthy)
harbor-db goharbor/harbor-db:v2.10.0 "/docker-entrypoint...." postgresql 34 seconds ago Up 34 seconds (healthy)
harbor-jobservice goharbor/harbor-jobservice:v2.10.0 "/harbor/entrypoint...." jobservice 34 seconds ago Up 33 seconds (healthy)
harbor-log goharbor/harbor-log:v2.10.0 "/bin/sh -c /usr/loc..." log 34 seconds ago Up 34 seconds (healthy) 127.0.0.1:1514->10514/tcp
harbor-portal goharbor/harbor-portal:v2.10.0 "nginx -g 'daemon of..." portal 34 seconds ago Up 34 seconds (healthy)
nginx goharbor/nginx-photon:v2.10.0 "nginx -g 'daemon of..." proxy 34 seconds ago Up 33 seconds (healthy) 0.0.0.0:80->8080/tcp, [::]:80->8080/tcp, 0.0.0.0:443->8443/tcp, [::]:443->8443/tcp
redis goharbor/redis-photon:v2.10.0 "redis-server /etc/r..." redis 34 seconds ago Up 34 seconds (healthy)
registry goharbor/registry-photon:v2.10.0 "/home/harbor/entryp..." registry 34 seconds ago Up 34 seconds (healthy)
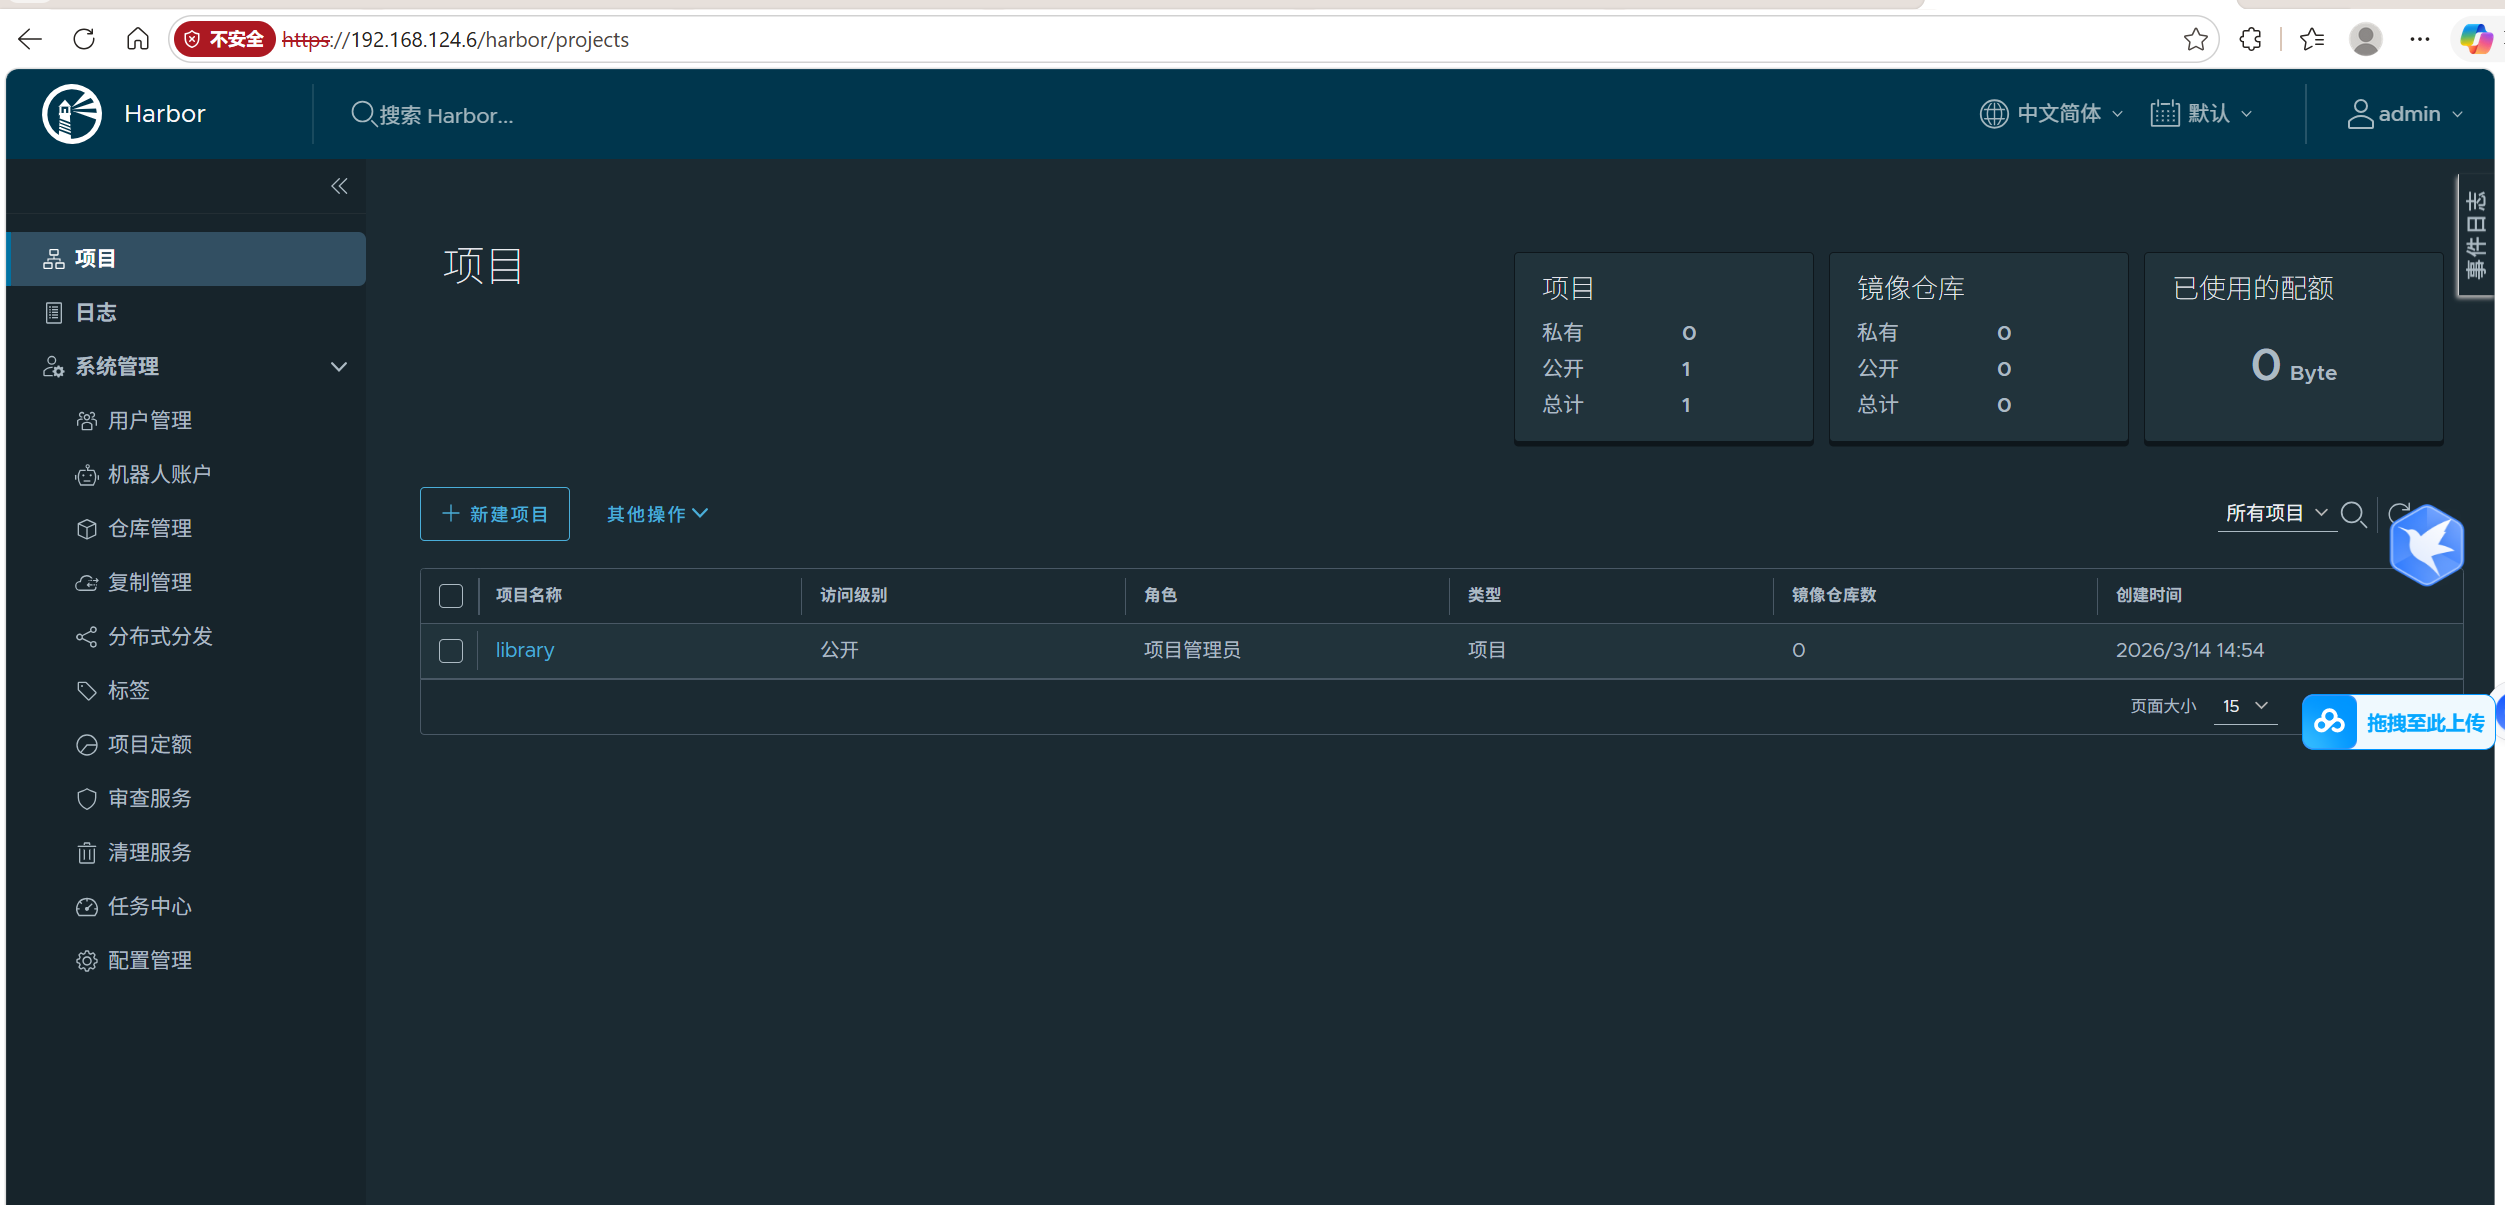
registryctl goharbor/harbor-registryctl:v2.10.0 "/home/harbor/start...." registryctl 34 seconds ago Up 34 seconds (healthy) 浏览器访问(此处我并未做域名映射,所以直接访问的ip)
3. docker配置harbor
1. harbor服务器复制harbor证书给docker
scp -r /etc/docker/certs.d 192.168.124.7:/etc/docker/
2. 配置hosts解析
echo "192.168.124.6 harbor.local" >> /etc/hosts
3. 登录docker-harbor
docker login harbor.local

root@k8s-worker-02:~# docker login harbor.local
Username: admin
Password:
WARNING! Your password will be stored unencrypted in /root/.docker/config.json.
Configure a credential helper to remove this warning. See
https://docs.docker.com/engine/reference/commandline/login/#credentials-store

Login Succeeded
如此即可登录成功