本项目核心目的是:通过 OpenCV 的模板匹配技术,精准识别身份证图片中的 18 位身份证号码
需要两张照片素材:
sfzhao.png:包含 0-9 数字的标准模板图(建议黑底白字,数字排列整齐);

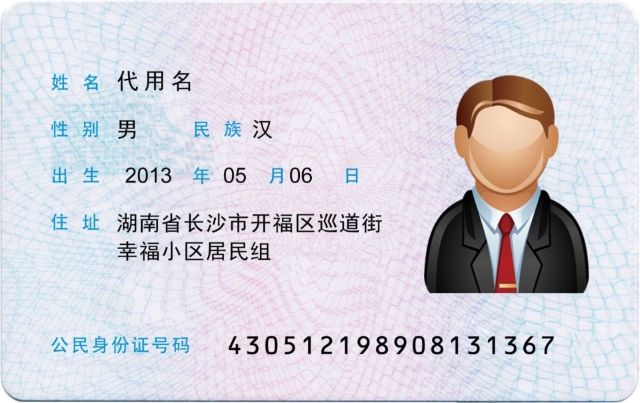
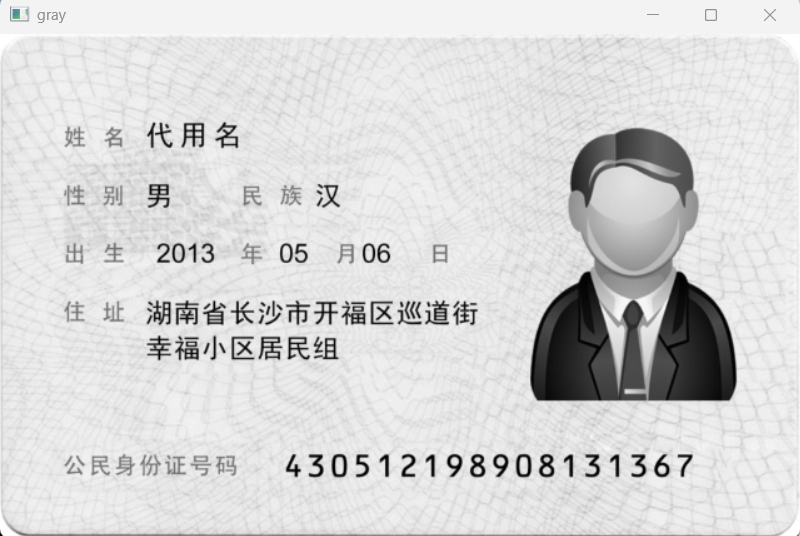
sfz.jpg:待识别的身份证图片(正面,号码区域清晰)。
1.定义核心工具
python
# 身份证号码识别(终极修复:解决极性相反+得分极低+号码分段)
import numpy as np  # 数值计算库,处理图像矩阵
import cv2          # OpenCV核心库,处理图像读取/轮廓/匹配等


#图像显示函数
def cv_show(name,image):
    cv2.imshow(name,image)  # 显示图像:参数1=窗口名,参数2=图像矩阵
    # cv2.waitKey(0)  # 注释后需手动关闭窗口,开启则按任意键关闭、
#轮廓排序函数
def sort_contours(cnts,method='left-to-right'):
    reverse=False
    i=0
    # 控制排序方向(反转/正序)
    if method =='right-to-left' or method=='bottom-to-top':
        reverse=True
    # 控制排序维度(x轴/ y轴)
    if method =='top-to-bottom' or method=='bottom-to-top':
        i=1
    # 计算每个轮廓的外接矩形(x,y,w,h)
    boundingBoxes = [cv2.boundingRect(c) for c in cnts]
    # 按指定维度排序轮廓
    (cnts,boundingBoxes) = zip(*sorted(zip(cnts,boundingBoxes),
                                       key=lambda  b:b[1][i],#按外接矩形的 x 轴(i=0)或 y 轴(i=1)排序,保证数字从左到右排列。
                                       reverse=reverse))
    return cnts,boundingBoxes
2.模版图像中的定位处理
python
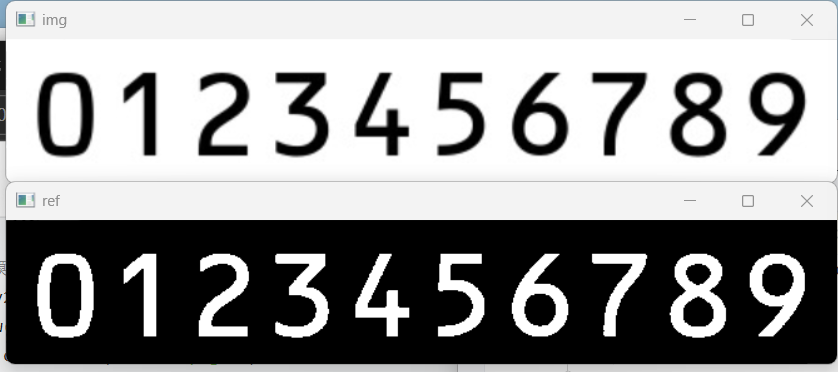
img =cv2.imread('sfzhao.png',0)
cv_show('img',img)
gray = cv2.imread('sfzhao.png',0)
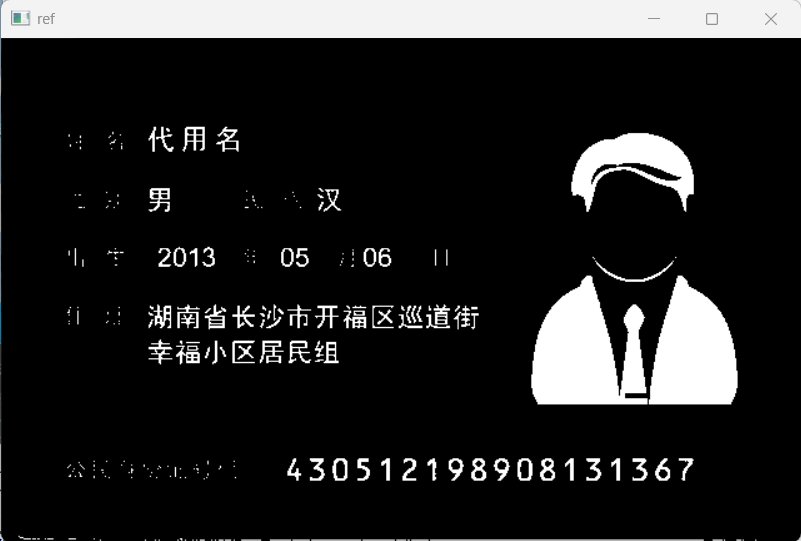
ref = cv2.threshold(gray,150,255,cv2.THRESH_BINARY_INV)[1]
cv_show('ref',ref)
cv2.waitKey(0)将模版图转为黑白二值图,并反转像素极性,运行结果如下:
3.检测模板轮廓并排序
python
# 仅检测外轮廓(过滤内部噪声)
_,refCnts,hierarchy=cv2.findContours(ref,cv2.RETR_EXTERNAL,cv2.CHAIN_APPROX_SIMPLE)
#cv2.RETR_EXTERNAL:只检测最外层轮廓(如数字 8 仅提取外轮廓,忽略中间横线);
#cv2.CHAIN_APPROX_SIMPLE:压缩轮廓点(矩形仅保留 4 个顶点),减少计算量。
# 绘制轮廓(可视化验证)
cv2.drawContours(img,refCnts,-1,(0,255,0),2)
cv_show('img',img)

# 按从左到右排序轮廓(对应0-9顺序)
refCnts=sort_contours(refCnts,method='left-to-right')[0]
提取模板图中 0-9 数字的轮廓,并按顺序排列
运行结果: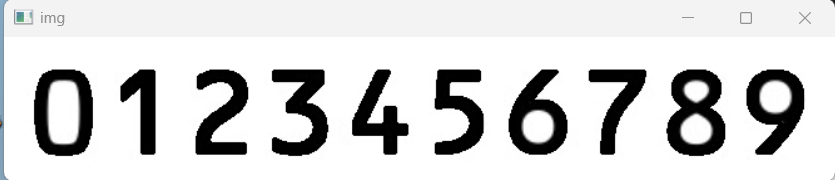
4.生成尺寸归一化的模板库
python
digits=[] # 存储0-9数字模板
for c in refCnts:
    ## 获取轮廓外接矩形
    (x,y,w,h)=cv2.boundingRect(c)
    #扩充边界(避免切割数字边缘)
    roi = ref[y-2:y+h+2,x-2:x+w+2]
    #尺寸归一化
    roi=cv2.resize(roi,(57,88))#将所有数字模板缩放到 57×88 像素
    cv_show('roi',roi)
    digits.append(roi)
cv2.destroyAllWindows()
生成尺寸统一的 0-9 数字模板;
5.身份证号识别
python
'''身份证号码识别'''
img=cv2.imread('sfz.jpg')
imgg=img.copy()
cv_show('img',img)
gray = cv2.imread('sfz.jpg',0)
cv_show('gray',gray)
ref =cv2.threshold(gray,120,255,cv2.THRESH_BINARY_INV)[1]
cv_show('ref',ref)
# cv2.waitKey(0)
运行结果

6.轮廓筛选
python
'''---------- 3. 定位身份证号码区域 ----------'''
# 1. 检测二值化图中所有外轮廓(只保留外层、关键顶点,减少噪声)
_, refCnts, h = cv2.findContours(ref.copy(), cv2.RETR_EXTERNAL, cv2.CHAIN_APPROX_SIMPLE)

# 2. 可视化所有轮廓(红色,调试用,未显示)
a=cv2.drawContours(img.copy(), refCnts, -1, (0, 0, 255), 2)

# 3. 筛选并收集身份证号码区域的轮廓坐标
locs = []  # 存储号码区域的(x,y,w,h)
for c in refCnts:
    (x, y, w, h) = cv2.boundingRect(c)  # 计算轮廓外接矩形
    # 核心:按坐标筛选号码区域(经验值,需适配图片尺寸)
    if (330<y<360) and x > 220:
        locs.append((x, y, w, h))
locs = sorted(locs, key=lambda x: x[0])  # 按x轴排序,保证数字从左到右
print("定位到的号码区域:", locs)
cv2.waitKey(0)
运行结果:
定位到的号码区域: (229, 336, 11, 18), (247, 336, 12, 18), (265, 336, 12, 18), (285, 336, 10, 18), (304, 336, 7, 18), (321, 336, 11, 18), (341, 336, 7, 18), (358, 336, 12, 18), (376, 336, 12, 18), (394, 336, 13, 18), (413, 336, 12, 18), (431, 336, 12, 18), (451, 336, 7, 18), (468, 336, 12, 18), (488, 336, 7, 18), (505, 336, 12, 18), (523, 336, 12, 18), (542, 336, 12, 18)
7.模板匹配
python
# 5. 模板匹配:计算当前数字与0-9模板的匹配得分
scores=[]
for digitROI in digits:
result = cv2.matchTemplate(roi,digitROI,cv2.TM_CCOEFF) # 相关系数匹配(得分越高越好)
(_, score,_,_)=cv2.minMaxLoc(result) # 提取最大匹配得分
scores.append(score)
jieguo=str(np.argmax(scores)) # 取得分最高的模板对应数字
output.append(jieguo)
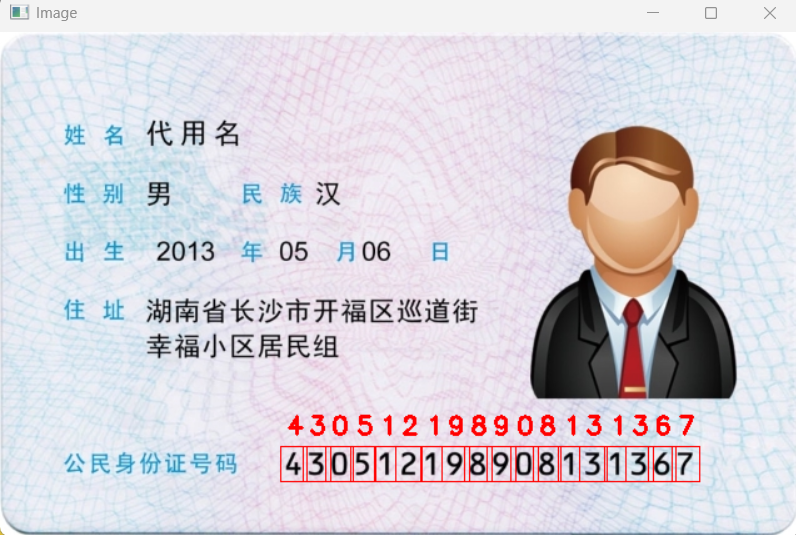
# 6. 可视化:在原图上画红色框+标注识别数字
cv2.rectangle(imgg,(gX-5,gY-5),(gX+gW+5,gY+gH+5),(0,0,255),1)
cv2.putText(imgg,jieguo,(gX,gY-15),cv2.FONT_HERSHEY_SIMPLEX,0.65,(0,0,255),2)
# 7. 输出最终识别结果并显示标注后的图片
print("Card ID#:{}".format("".join(output)))
cv2.imshow("Image",imgg)
cv2.waitKey(0)
cv2.destroyAllWindows()运行结果:
Card ID#:430512198908131367

依次生成:430512198908131367
最终结果: