文章目录
前言
Java项目部署到服务器中,首先要在Linux中搭建Java环境,下面就带领大家逐一部署环境:
一、apt
1 . apt常用命令
- 列出所有软件包
bash
apt list这个命令包含所有包的列表,内容比较多,可以使用grep命令过滤输出
bash
apt list | grep "java"- 更新软件包数据库
bash
sudo apt-get update- 安装软件包
bash
sudo apt install package_name- 移除软件包
bash
sudo apt remove package_name二、JDK
1.更新软件包
- 命令
bash
sudo apt-get update- 执行结果
bash
ubuntu@VM-24-3-ubuntu:~$ sudo apt-get update  # 更新软件包
Hit:1 http://mirrors.tencentyun.com/ubuntu jammy InRelease
Hit:2 http://mirrors.tencentyun.com/ubuntu jammy-updates InRelease
Hit:3 http://mirrors.tencentyun.com/ubuntu jammy-security InRelease
Reading package lists... Done
2.安装openjdk
- 命令
bash
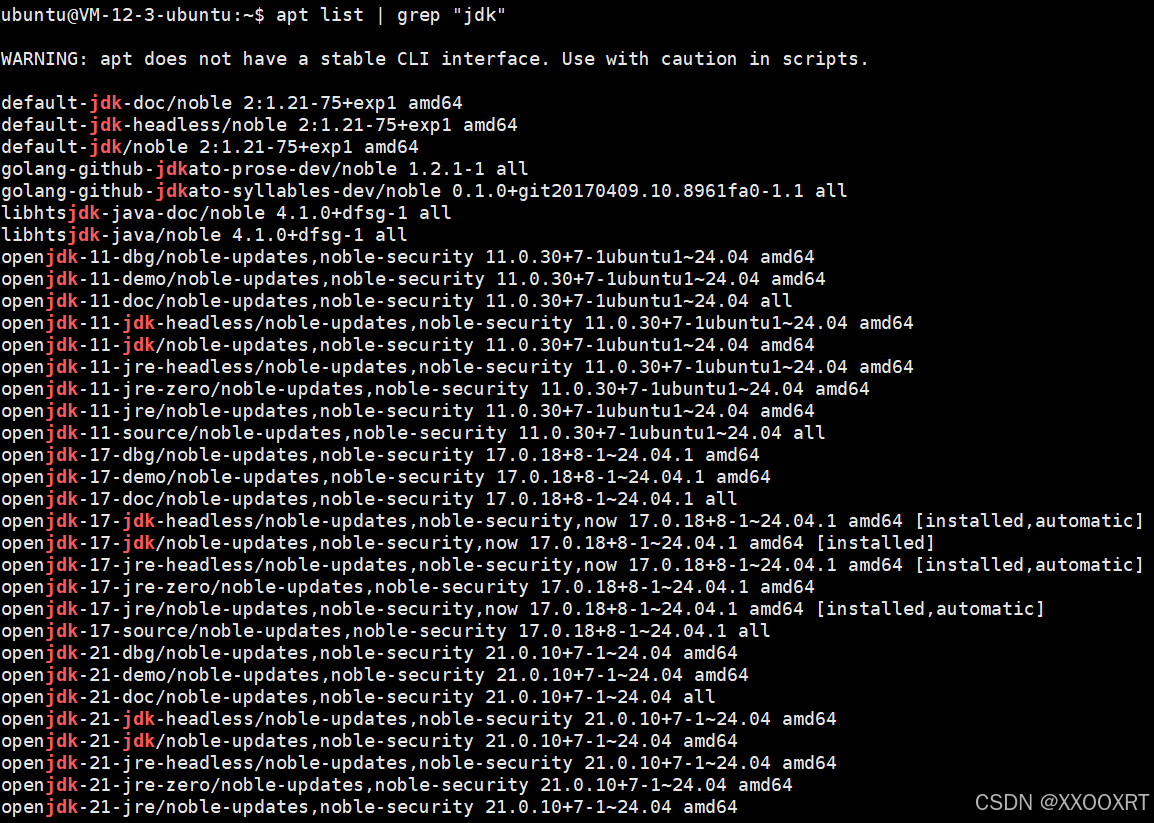
# 查找可用的 JDK 软件包
apt list | grep "jdk"
# 安装 OpenJDK 17(推荐长期支持版)
sudo apt install openjdk-17-jdk- 执行结果
- 选择自己要安装的版本,执行安装命令,此处安装17
bash
sudo apt install openjdk-17-jdk- 验证是否安装成功
输入下面命令,验证安装的版本号是否正确
bash
ubuntu@VM-12-3-ubuntu:~$ java -version
openjdk version "17.0.18" 2026-01-20
OpenJDK Runtime Environment (build 17.0.18+8-Ubuntu-124.04.1)
OpenJDK 64-Bit Server VM (build 17.0.18+8-Ubuntu-124.04.1, mixed mode, sharing)
ubuntu@VM-12-3-ubuntu:~$
3.卸载openjdk
bash
# 1. 检查当前安装的 OpenJDK 包
dpkg --list | grep -i jdk
# 2. 彻底卸载所有 openjdk 相关包
apt-get purge openjdk*
# 3. 卸载剩余关联包(icedtea + 所有 openjdk)
apt-get purge icedtea-* openjdk-*
# 4. 再次检查,确认所有 JDK 包已卸载干净
dpkg --list | grep -i jdk
三、MySQL
1.使用apt安装MySQL
- 命令
bash
# 查找可用的 MySQL 安装包
apt list | grep "mysql-server"
# 安装 MySQL 服务器
sudo apt install mysql-server- 执行结果(此处读取之前安装的教程,按照步骤一步一步来)
bash
root@hcss-ecs-0bb1:~# apt list |grep "mysql-server"  # 查找 MySQL 安装包
WARNING: apt does not have a stable CLI interface. Use with caution in scripts.

default-mysql-server-core/focal,focal 1.0.5ubuntu2 all
default-mysql-server/focal,focal 1.0.5ubuntu2 all
mysql-server-8.0/focal-updates,focal-security 8.0.39-0ubuntu0.20.04.1 amd64
mysql-server-8.0/focal-updates,focal-security 8.0.39-0ubuntu0.20.04.1 i386
mysql-server-core-8.0/focal-updates,focal-security 8.0.39-0ubuntu0.20.04.1 amd64
mysql-server-core-8.0/focal-updates,focal-security 8.0.39-0ubuntu0.20.04.1 i386
mysql-server/focal-updates,focal-updates,focal-security,focal-security 8.0.39-0ubuntu0.20.04.1 all

root@hcss-ecs-0bb1:~# sudo apt install mysql-server  # 安装 MySQL
Reading package lists... Done
Building dependency tree
Reading state information... Done
Need to get 36.8 MB of archives.
After this operation, 318 MB of additional disk space will be used.
Do you want to continue? [Y/n] Y  # 输入 Y 确认安装

Get:1 http://repo.huaweicloud.com/ubuntu focal/main amd64 mysql-common all 5.8+1.0.5ubuntu2 [7,496 B]
Get:2 http://repo.huaweicloud.com/ubuntu focal-updates/main amd64 mysql-client-core-8.0 amd64 8.0.39-0ubuntu0.20.04.1 [5,088 kB]
Get:3 http://repo.huaweicloud.com/ubuntu focal-updates/main amd64 mysql-client-8.0 amd64 8.0.39-0ubuntu0.20.04.1 [22.0 kB]
...
emitting matrix: 100% |###########################################| done!
2.查看MySQL状态
- 命令
bash
sudo systemctl status mysql- 执行结果
bash
root@hcss-ecs-0bb1:~# sudo systemctl status mysql
● mysql.service - MySQL Community Server
     Loaded: loaded (/lib/systemd/system/mysql.service; enabled; vendor preset: enabled)
     Active: active (running) since Tue 2024-08-20 16:26:11 CST; 41s ago
   Main PID: 1761401 (mysqld)
     Status: "Server is operational"
      Tasks: 38 (limit: 2025)
     Memory: 359.6M
     CGroup: /system.slice/mysql.service
             └─1761401 /usr/sbin/mysqld

Aug 20 16:26:10 hcss-ecs-0bb1 systemd[1]: Starting MySQL Community Server...
Aug 20 16:26:11 hcss-ecs-0bb1 systemd[1]: Started MySQL Community Server.
root@hcss-ecs-0bb1:~#
3.MySQL安装安全设置
- 默认的MySQL设置是不安全的,MySQL安装提供了⼀个安全脚本,⽤于解决不太安全的默认选项.运⾏以下命令:
bash
sudo mysql_secure_installation- 按照提示输入:
bash
root@hcss-ecs-0bb1:~# sudo mysql_secure_installation  # MySQL安全初始化

Securing the MySQL server deployment.
Connecting to MySQL using a blank password.

VALIDATE PASSWORD COMPONENT can be used to test passwords
and improve security. It checks the strength of password
and allows the users to set only those passwords which are
secure enough. Would you like to setup VALIDATE PASSWORD component?
Press y|Y for Yes, any other key for No: Y  # 开启密码强度校验

There are three levels of password validation policy:
LOW    Length >= 8
MEDIUM Length >= 8, numeric, mixed case, and special characters
STRONG Length >= 8, numeric, mixed case, special characters and dictionary file
Please enter 0 = LOW, 1 = MEDIUM and 2 = STRONG: 2  # 设置最高强度密码策略

Skipping password set for root as authentication with auth_socket is used by default.
If you would like to use password authentication instead, this can be done with the "ALTER_USER" command.

By default, a MySQL installation has an anonymous user,
allowing anyone to log into MySQL without having to have
a user account created for them. This is intended only for
testing, and to make the installation go a bit smoother.
You should remove them before moving into a production environment.
Remove anonymous users? (Press y|Y for Yes, any other key for No) : Y  # 删除匿名用户
Success.

Normally, root should only be allowed to connect from 'localhost'.
This ensures that someone cannot guess at the root password from the network.
Disallow root login remotely? (Press y|Y for Yes, any other key for No) : Y  # 禁止root远程登录
Success.

By default, MySQL comes with a database named 'test' that
anyone can access. This is also intended only for testing,
and should be removed before moving into a production environment.
Remove test database and access to it? (Press y|Y for Yes, any other key for No) : Y  # 删除test库
 - Dropping test database...
Success.
 - Removing privileges on test database...
Success.

Reloading the privilege tables will ensure all changes take effect immediately.
Reload privilege tables now? (Press y|Y for Yes, any other key for No) : Y  # 刷新权限
Success.

All done!
4.MySQL设置密码
- 连接mysql服务器
bash
sudo mysql- 使用alter user 命令修改密码
bash
ALTER USER 'root'@'localhost' IDENTIFIED WITH mysql_native_password BY 'NAME@yyds.666';4.卸载MySQL
按照下面的步骤执行:
bash
# 1. 停止 MySQL 服务
sudo systemctl stop mysql
# 2. 彻底卸载 MySQL 核心包(包含配置文件)
sudo apt-get remove --purge mysql-server mysql-client mysql-common
# 3. 删除残留的 MySQL 配置与数据目录(⚠️ 此操作会清空所有数据库数据,不可恢复)
sudo rm -rf /etc/mysql /var/lib/mysql
# 4. 清理系统中不再需要的依赖包
sudo apt-get autoremove
# 5. 清理本地缓存的安装包文件
sudo apt-get autoclean
# 6. 验证卸载结果(执行后应提示"command not found")
mysql --version
总结
有问题的同学,欢迎及时沟通交流,该文章对你有帮助的话,一键三连哦!