一、安装 OpenClaw
1、创建目录
bash
mkdir -p /docker/openclaw/data
cd /docker/openclaw
2、授权
bash
chown -R 1000:1000 data3、创建启动脚本:start.sh
bash
docker run -d \
  --name openclaw \
  --restart always \
  -p 18789:18789 \
  -v $(pwd)/data:/home/node/.openclaw \
  ghcr.io/openclaw/openclaw:latest \
  openclaw gateway run --allow-unconfigured
4、启动脚本
二、配置模型
1、进入容器
bash
docker exec -it openclaw /bin/bash2、启动向导
bash
openclaw onboard3、配置向导
bash
I understand this is personal-by-default and shared/multi-user use requires lock-down. Continue?
│ ● Yes / ○ No
Onboarding mode
│ ● QuickStart (Configure details later via openclaw configure.)
│ ○ Manual
Config handling
│ ● Use existing values
│ ○ Update values
│ ○ Reset
◆ Model/auth provider
│ ○ OpenAI
│ ○ Anthropic
│ ○ Chutes
│ ○ MiniMax
│ ○ Moonshot AI (Kimi K2.5)
│ ○ Google
│ ○ xAI (Grok)
│ ○ Mistral AI
│ ○ Volcano Engine
│ ○ BytePlus
│ ○ OpenRouter
│ ○ Kilo Gateway
│ ● Qwen (OAuth)
│ ○ Z.AI
│ ○ Qianfan
│ ○ Alibaba Cloud Model Studio
│ ○ Copilot
│ ○ Vercel AI Gateway
│ ○ OpenCode
│ ○ Xiaomi
│ ○ Synthetic
│ ○ Together AI
│ ○ Hugging Face
│ ○ Venice AI
│ ○ LiteLLM
│ ○ Cloudflare AI Gateway
│ ○ Custom Provider
│ ○ Ollama
│ ○ SGLang
│ ○ vLLM
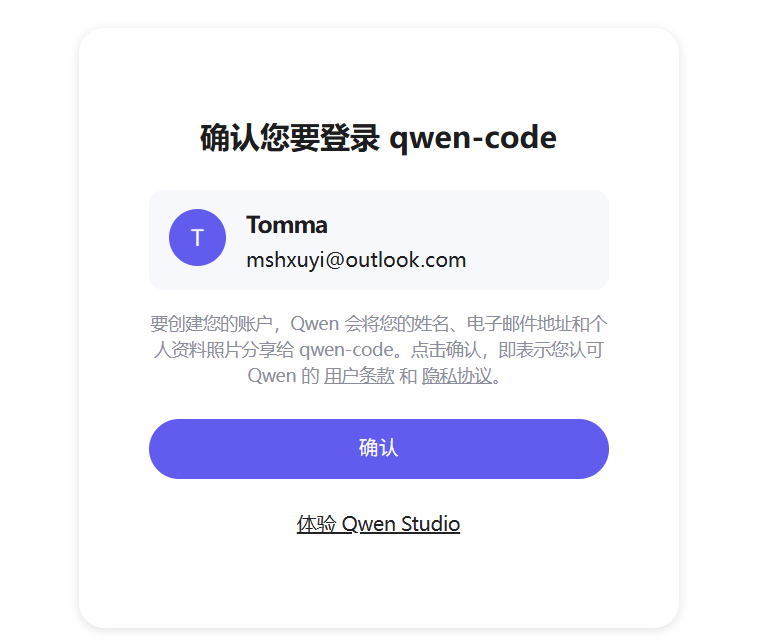
│ ○ Skip for now4、在去授权千问,把地址复制到浏览器访问
bash
◇  Qwen OAuth ─────────────────────────────────────────────────────────────────────────╮
│                                                                                      │
│  Open https://chat.qwen.ai/authorize?user_code=LHNRC821&client=qwen-code to approve  │
│  access.                                                                             │
│  If prompted, enter the code LHNRC821.
5、授权成功
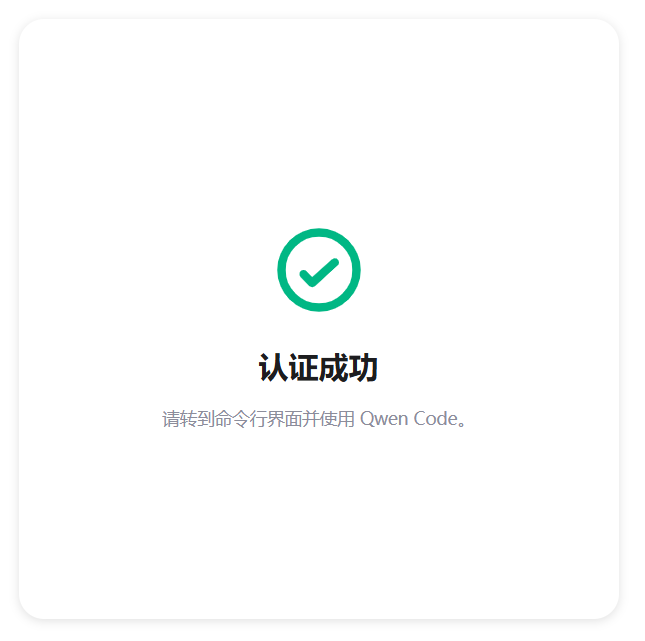
6、接着配置
bash
◆  Default model
│  ● Keep current (qwen-portal/coder-model)
│  ○ Enter model manually
│  ○ qwen-portal/coder-model
│  ○ qwen-portal/vision-model
7、选择通道,暂时跳过
bash
◆  Select channel (QuickStart)
│  ○ Telegram (Bot API)
│  ○ WhatsApp (QR link)
│  ○ Discord (Bot API)
│  ○ IRC (Server + Nick)
│  ○ Google Chat (Chat API)
│  ○ Slack (Socket Mode)
│  ○ Signal (signal-cli)
│  ○ iMessage (imsg)
│  ○ LINE (Messaging API)
│  ○ Feishu/Lark (飞书)
│  ○ Nostr (NIP-04 DMs)
│  ○ Microsoft Teams (Bot Framework)
│  ○ Mattermost (plugin)
│  ○ Nextcloud Talk (self-hosted)
│  ○ Matrix (plugin)
│  ○ BlueBubbles (macOS app)
│  ○ Zalo (Bot API)
│  ○ Zalo (Personal Account)
│  ○ Synology Chat (Webhook)
│  ○ Tlon (Urbit)
│  ● Skip for now
8、连网搜索,暂时跳过
bash
◆  Search provider
│  ○ Brave Search
│  ○ Gemini (Google Search)
│  ○ Grok (xAI)
│  ○ Kimi (Moonshot)
│  ○ Perplexity Search
│  ● Skip for now
9、配置 skills,暂时跳过
bash
◆  Configure skills now? (recommended)
│  ○ Yes / ● No
10、启用 hooks,暂时跳过
bash
◆ Enable hooks?
│ ◼ Skip for now
│ ◻ 🚀 boot-md
│ ◻ 📎 bootstrap-extra-files
│ ◻ 📝 command-logger
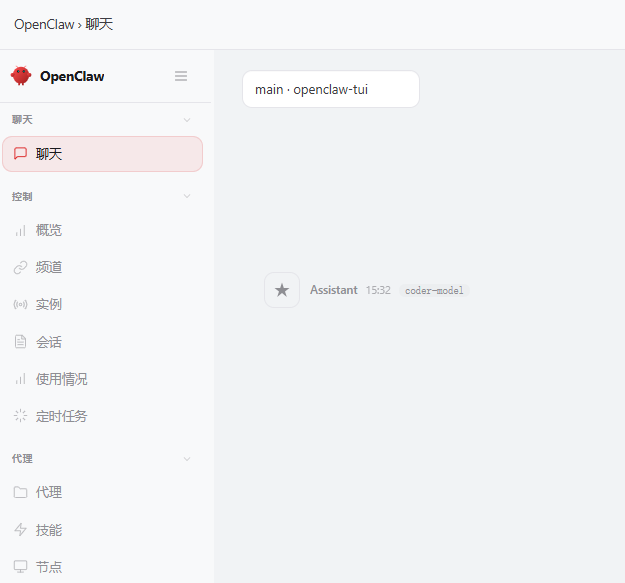
│ ◻ 💾 session-memory11、启动Web
bash
◆  How do you want to hatch your bot?
│  ○ Hatch in TUI (recommended)
│  ● Open the Web UI
│  ○ Do this later
三、配置 WEB 界面
1、查看 token
bash
docker exec openclaw openclaw dashboard2、访问
bash
http://10.3.0.161:18789/#token=351adfbd3539293b6386f9bcd8982757d60a9075ea1445d33、报错一
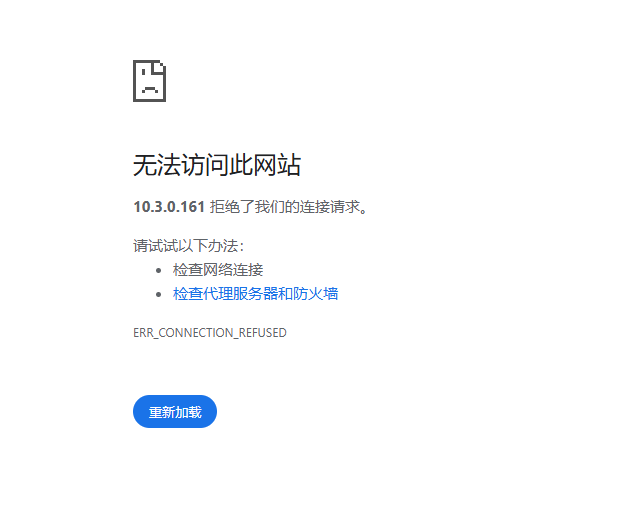
解决方法:
1、以管理员方式进入容器,安装一些软件
bash
docker exec -it --user root openclaw /bin/bash2、安装软件
bash
# debian系统更新安装包
apt-get update

# 安装 网络工具及VIM
apt-get install vim net-tools -y
3、退出容器
4、以普通用户进入容器
bash
docker exec -it openclaw /bin/bash5、修改配置文件
bash
vim ~/.openclaw/openclaw.json


  "gateway": {
    "port": 18789,
    "mode": "local",
    "bind": "lan",      # 修改
    },
6、刷新访问 继续报错
origin not allowed (open the Control UI from the gateway host or allow it in gateway.controlUi.allowedOrigins)
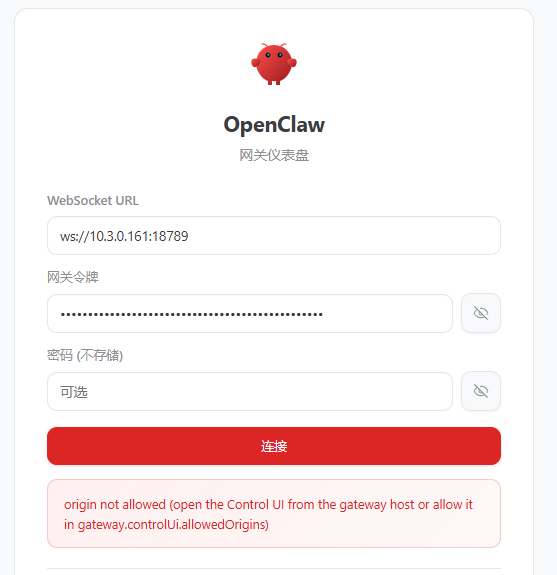
解决:
修改配置文件
bash
  "gateway": {
    "port": 18789,
    "mode": "local",
    "bind": "lan",
    "controlUi": {
      "allowedOrigins": [
        "http://localhost:18789",
        "http://127.0.0.1:18789",
        "http://10.3.0.161:18789"    # 加入
      ]
    },
7、刷新访问,继续报错
control ui requires device identity (use HTTPS or localhost secure context)
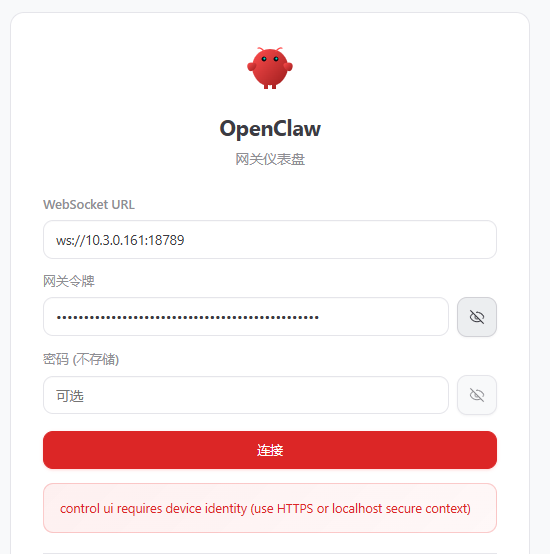
解决:
bash
# 进入容器
docker exec -it openclaw /bin/bash

# 创建证书目录
mkdir -p ~/.openclaw/certs

# 生成证书(注意将CN=后面的IP替换成你的服务器IP:10.3.0.161)
openssl req -x509 -newkey rsa:4096 \
  -keyout ~/.openclaw/certs/key.pem \
  -out ~/.openclaw/certs/cert.pem \
  -days 365 -nodes \
  -subj "/C=CN/ST=Beijing/L=Beijing/O=HomeLab/CN=10.3.0.161"

# 编辑配置文件
vim ~/.openclaw/openclaw.json

"gateway": {
  "port": 18789,
  "bind": "lan",
  "tls": {              # 增加
    "enabled": true,
    "certFile": "/root/.openclaw/certs/cert.pem",
    "keyFile": "/root/.openclaw/certs/key.pem"
  },
  "controlUi": {
    "allowedOrigins": [
      "http://127.0.0.1:18789",
      "http://localhost:18789",
      "https://10.3.0.161:18789"    # 修改成 https
    ]
  }
}
8、查看token,加入https 重新访问
bash
docker exec openclaw openclaw dashboard


https://10.3.0.161:18789/#token=d9056f3c91f4efa305588b1241deb1833d2576fabc494956
9、继续报错
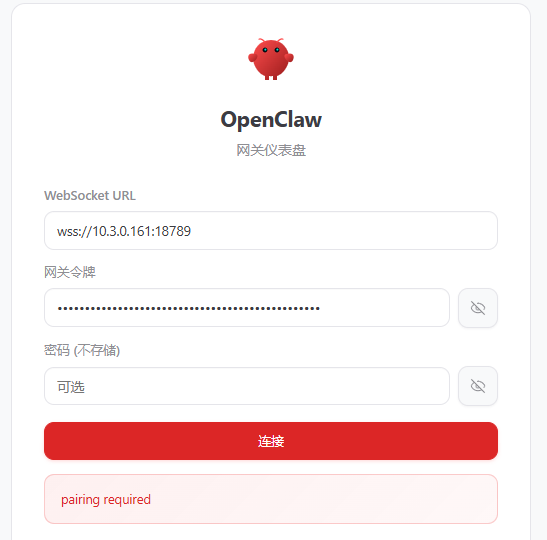
解决
bash
解决:
第一步:保持浏览器页面打开

第二步:在服务器上批准设备
执行以下命令(直接在宿主机,不用进容器):

bash
# 1. 查看待审批的设备列表
docker exec openclaw openclaw devices list
你会看到类似这样的输出:

text
┌──────────────────────────────────────┬──────────────┬─────────────────────┐
│ Request ID                            │ Role         │ Created At          │
├──────────────────────────────────────┼──────────────┼─────────────────────┤
│ 4f9db1bd-a1cc-4d3f-b643-2c195262464e │ browser      │ 2026-03-13 22:22:01 │
└──────────────────────────────────────┴──────────────┴─────────────────────┘
关键信息是 Request ID(第一列的那串字符)。

bash
# 2. 批准该设备(将 <request-id> 替换成上面看到的实际ID)
docker exec openclaw openclaw devices approve 4f9db1bd-a1cc-4d3f-b643-2c195262464e
如果成功,会显示 Device approved successfully 的提示 。
10、成功进入