为什么要使用UITableView?因为组件重复的太多了内存会卡死,用这个方法可以不卡。
同样我们也使用Model去渲染。但是 创建自定义按钮的类时,它不继承自UIController,而是继承自UITableViewCell,将其命名为"...Cell",便于识别。
使用UITableView
1.让需要使用UITableVIew的页面继承对应父类,并设置函数
使用UITableView时,除了UIViewController以外,在ViewController页面要添加继承的父类UITableViewDelegate、UITableViewDataSource,并添加指定初始化器。这是固定写法,和所有ViewControl一样。
初始化器:
Swift
    override func viewDidLoad() {
        super.viewDidLoad()
  //...在这里添加视图到页面
        self.view.addSubview(bgImg)
        self.view.addSubview(title_aboutus)
        self.view.addSubview(scrollView)

        // Do any additional setup after loading the view.
与普通的ViewController不同,它使用函数来设置滚动的行数,和设置需要滚动的cell属性,都得这样写
TableView的单位就是Cell
函数1:取得Cell的数量
Swift
//创建UITableView的实例tableView,返回指定 section 中的行数
func tableView(_ tableView: UITableView, numberOfRowsInSection section: Int) -> Int {
        aboutusModel.count
}numberOfRowsInSection是UITableViewDataSource协议中的一个方法,主要用于指定在特定的section中应该显示多少行(即多少个单元格)。
aboutusModel.count(plain有多少返回多少)
函数2:从AboutusCell中获取cell并设置它的属性
创建一个AboutusCell的实例cell
.cellForRow(at: indexPath)用于指定需要修改的cell
将获取到的cell转换为AboutusCell类型,如果转换失败,则...
as? AboutusCell ??
则创建新的cell
最后把这个cell返回
Swift
    func tableView(_ tableView: UITableView, cellForRowAt indexPath: IndexPath) -> UITableViewCell {
        let cell: AboutusCell = tableView.cellForRow(at: indexPath) as? AboutusCell ?? AboutusCell(style: .default, reuseIdentifier: "cell")
        let model = aboutusModel[indexPath.row]
        return cell
    }
let model = aboutusModel[ indexPath. row]这里是使用下标找某一行/某一个的意思,为的是通过索引用Model渲染组件。indexPath包括gruop的section和row
Swift
let model = aboutusModel[indexPath.row]还可以设置这些cell的共同属性
cell.backgroundColor = .clear 背景色默认是白色的,通常我们不用它的默认颜色,所以设置成透明。
cell.selectionStyle = .none 它默认有一个分割线,去除分割线
Swift
    func tableView(_ tableView: UITableView, cellForRowAt indexPath: IndexPath) -> UITableViewCell {
        let cell: AboutusCell = tableView.cellForRow(at: indexPath) as? AboutusCell ?? AboutusCell(style: .default, reuseIdentifier: "cell")
        let model = aboutusModel[indexPath.row]
        cell.logoImg.image = UIImage(named: model.leftImg)
        cell.leftText.text = model.leftTextcontent
        cell.rightImg.image = UIImage(named: model.rightImg)
        cell.backgroundColor = .clear
        cell.selectionStyle = .none
        return cell
    }
函数3:设置Cell之间的间距
Swift
    func tableView(_ tableView: UITableView, heightForRowAt indexPath: IndexPath) -> CGFloat {
        return CGFloat(AboutusCell.aboutusCellHeight + 8)
    }
2.创建一个滚动视图,继承自UITableView,并设置整个滚动视图的属性
现在的宽度也还是两边的间距,不变。高度则为屏幕高度。
这是固定写法。因该类继承自**UITableViewDelegate、UITableViewDataSource**
scrollView.delegate = self scrollView.dataSource = self
Swift
    lazy var scrollView: UITableView = {
        let scrollView = UITableView(frame: .init(x: 16, y: 104 + 16, width: view.frame.width - 32, height: view.frame.height - 120))
        scrollView.showsVerticalScrollIndicator = false
        scrollView.showsHorizontalScrollIndicator = false
        scrollView.delegate = self
        scrollView.dataSource = self
        scrollView.backgroundColor = .clear
        scrollView.separatorStyle = .none
        return scrollView
    }()
3.创建UITableView需要用到的Cell(大组件包小组件,也就是要复用的部分)
新开一个文件创建它,继承自UITableViewCell
Swift
class AboutusCell: UITableViewCell {}定义它的初始化器,操作和自定义UIControll是一样的。注意有两部分
Swift
override init(style: UITableViewCell.CellStyle, reuseIdentifier: String?) {
        super.init(style: style, reuseIdentifier: reuseIdentifier)
        aboutUI()
    }
        required init?(coder: NSCoder) {
        fatalError("init(coder:) has not been implemented")
    }
aboutUI就是一个函数,用于添加页面
Swift
    func aboutUI(){
        self.addSubview(c_view)
        c_view.addSubview(logoImg)
        c_view.addSubview(leftText)
        c_view.addSubview(rightText)
        c_view.addSubview(rightImg)
    }
固定组件的高度,并根据屏幕宽度调整组件宽度, 由于是固定的, 直接定义成全局变量。
且加上static表明不能被修改。
Swift
static let aboutusCellHeight = 56
static let aboutusCellWidth = UIScreen.main.bounds.size.width - 32由于不便直接更改UITableVIew的属性(因为其是滚动视图,修改起来会有一些不可控的问题,所以一般定义一个背景视图来放需要放的组件)(c_view)
其中,组件的宽度已经确定,直接调用就好。
Swift
    lazy var c_view: UIView = {
        let c_view = UIView(frame: .init(x: 0, y: 0, width: Int(AboutusCell.aboutusCellWidth), height: AboutusCell.aboutusCellHeight))
        c_view.backgroundColor = .white
        c_view.layer.cornerRadius = 12
        c_view.layer.masksToBounds = true
        return c_view
    }()
其他部分都和以前一样。
Swift
   //logo
    lazy var logoImg: UIImageView = {
        let logoImg = UIImageView(frame: .init(origin: CGPoint(x: 16, y: 16), size: CGSize(width: 24, height: 24 )))
        return logoImg
        //父视图是AboutusBtn。需要将图片居中,y值则是父视图height - 子视图height,再除以2。父视图的height手动设置为了56(ThirdViewController中的itemSize),所以这里是32除以2等于16
        //x值是距离边框的大小,这个值一般是UI规定的,16,24,8,4等,一般就是这些值
    }()
    //左边文字
    lazy var leftText: UILabel = {
        let leftText: UILabel = UILabel(frame: .init(x: 48, y: 13, width: 200, height: 30))
        //需要将文字居中,同理,y值为父视图height - 子视图height再除以2
        //x值是图标的间距(16)+图标的width
        leftText.font = .systemFont(ofSize: 13)
        leftText.textColor = .black
        leftText.textAlignment = .left
        return leftText
    }()
    //右边图片箭头
    lazy var rightImg: UIImageView = {
        let rightImg = UIImageView(frame: .init(origin: CGPoint(x: AboutusCell.aboutusCellWidth - 20 - 16, y: 18 ), size: CGSize(width: 20, height: 20)))
        //箭头的x需要通过屏幕总宽度确定,从右边看起。屏幕宽度减去举例屏幕边框的距离:16(这个是指定的,一般来说左右两边的间距一样),再减去图片的width20)
        //箭头的y需要用同样的方式确定,同以上两个组件的方法。
        return rightImg
    }()

    lazy var rightText: UILabel = {
        let rightText: UILabel = UILabel(frame: .init(x: self.frame.width - 200 - 16, y: 13, width: 200,height: 30 ))
        //屏幕宽度减去本身的宽度
        rightText.font = .systemFont(ofSize: 12)
        rightText.textColor = .black
        rightText.textAlignment = .right
        rightText.text = "xxx@163.com"
        rightText.isHidden = true
        return rightText
    }()
Model:略
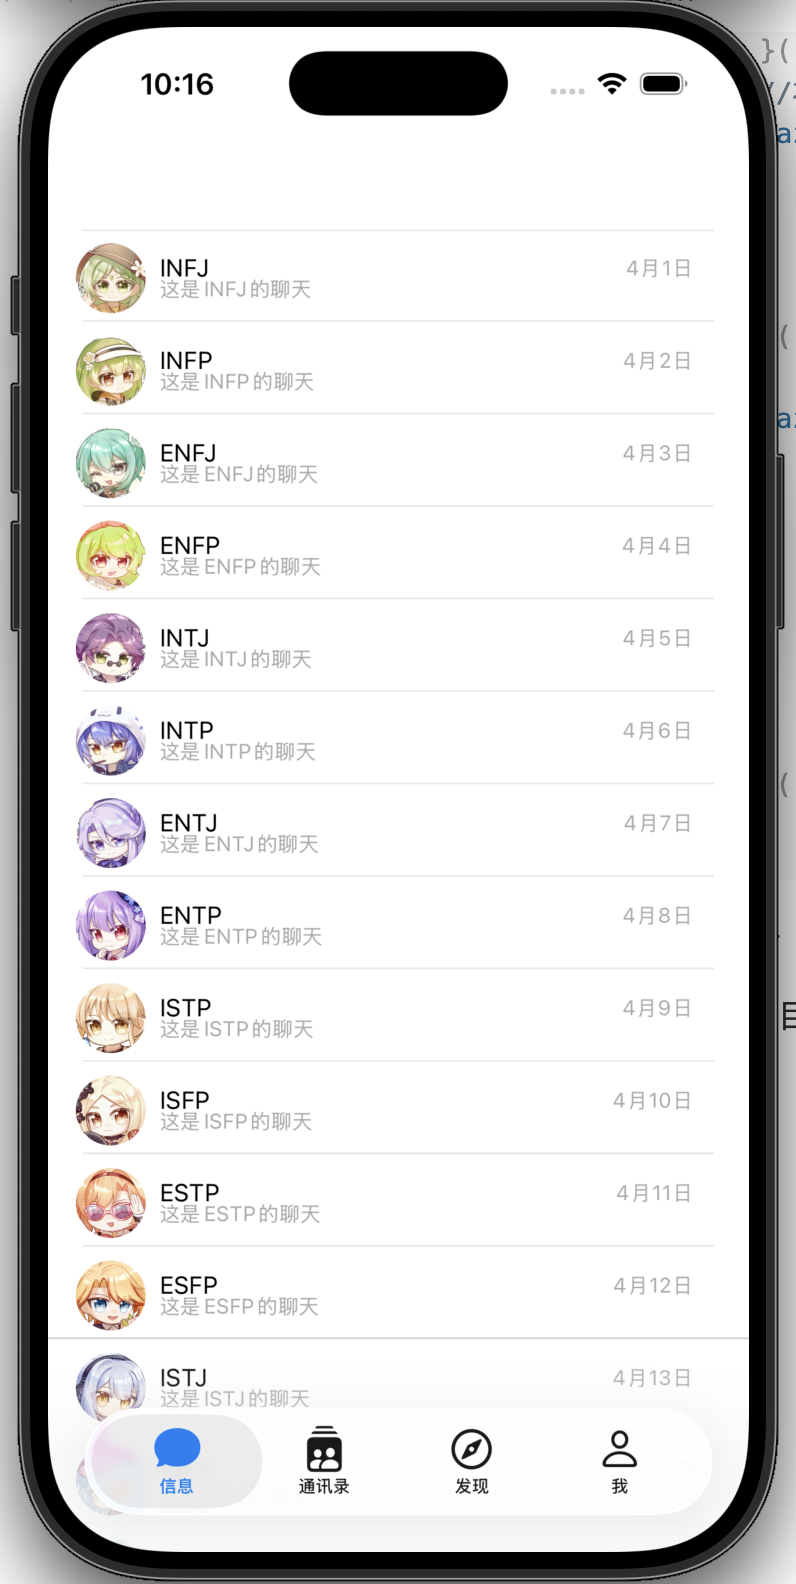
练习:创建新项目,写一个聊天信息预览页。过程略,细节以后再修。大致效果如图。