【 声明:版权所有,欢迎转载,请勿用于商业用途。 联系信箱:feixiaoxing @163.com】
很早之前就买了一个esp32的开发板,是esp32 wroom这一款。买了之后,一直不知道怎么入门。因为相对于stm32而言,大家都知道直接用keil MDK开发就可以,但是esp32平时接触的比较少,就知道它支持wifi和蓝牙。这次趁着五一有时间就学了一下。
1、esp32支持arduino平台
esp32目前支持两种开发模式,一种是arduino,一种是visual code+插件。其实arduino本身也是一个开发平台,估计是因为用的人比较多,所以esp32也对arduino进行了支持。大家如果需要下载arduino的ide,链接地址如下所示,
https://www.arduino.cc/en/software/2、配置一个链接
这个连接位于首选项-》"附加开发板管理器网址",添加以下内容即可,
https://www.arduino.me/package_esp32_index.json3、下载安装esp32的插件包
这个插件包不好找,目前只看到有一个网盘有,即esp32_package_2.0.5_arduinocn.exe。实际花费不大,建议大家可以直接下载,确实可以使用的。
4、重新打开ide
打开ide之后,根据自己的实际板子,选择对应的类型。如之前所说,这里的板子是wroom,所以选择了esp32-wroom-da。实际arduino ide的功能并不是很多,最重要的功能就是编译和上传。
5、连接开发板,选择好端口
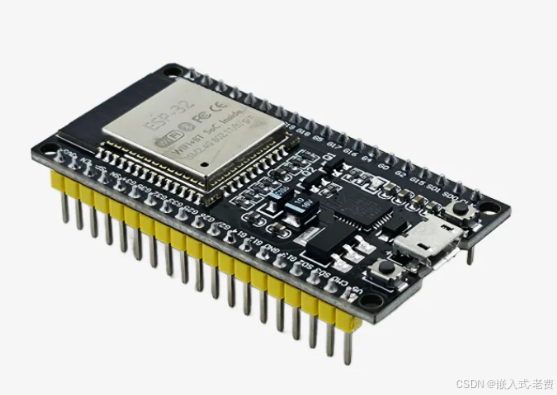
esp32本身是一个模块,很多的开发板,就是esp32模块上面加一个ch340的串口芯片。不过老实的esp32开发板,很多都是android那种usb口,这一点需要注意下。通过usb线连接到电脑之后,选择好对应的串口即可。
6、尝试一个简单的led代码
所有环境都准备好之后,就可以通过ai写一个代码,编译、上传,确认基础的esp32是不是真的跑起来了,
#define LED_PIN 2  // The built-in LED on ESP32 is typically connected to GPIO2

void setup() {
  // Initialize the GPIO pin as an output
  pinMode(LED_PIN, OUTPUT);

  // Start serial communication
  Serial.begin(115200);
  Serial.println("GPIO LED Control Demo");
}

void loop() {
  // Turn the LED on
  digitalWrite(LED_PIN, HIGH);
  Serial.println("LED ON");
  delay(1000);  // Wait for 1 second

  // Turn the LED off
  digitalWrite(LED_PIN, LOW);
  Serial.println("LED OFF");
  delay(1000);  // Wait for 1 second
}
上传没问题的情况下,会看到这样的打印,本身烧入也是通过串口进行的。这一点esp32、51、stm32都差不多。
Sketch uses 243017 bytes (18%) of program storage space. Maximum is 1310720 bytes.
Global variables use 16376 bytes (4%) of dynamic memory, leaving 311304 bytes for local variables. Maximum is 327680 bytes.
esptool.py v4.2.1
Serial port COM3
Connecting....
Chip is ESP32-D0WDQ6 (revision 1)
Features: WiFi, BT, Dual Core, 240MHz, VRef calibration in efuse, Coding Scheme None
Crystal is 40MHz
MAC: 30:ae:a4:eb:3c:44
Uploading stub...
Running stub...
Stub running...
Changing baud rate to 921600
Changed.
Configuring flash size...
Flash will be erased from 0x00001000 to 0x00005fff...
Flash will be erased from 0x00008000 to 0x00008fff...
Flash will be erased from 0x0000e000 to 0x0000ffff...
Flash will be erased from 0x00010000 to 0x0004bfff...
Compressed 18912 bytes to 13025...
Writing at 0x00001000... (100 %)
Wrote 18912 bytes (13025 compressed) at 0x00001000 in 0.4 seconds (effective 347.4 kbit/s)...
Hash of data verified.
Compressed 3072 bytes to 128...
Writing at 0x00008000... (100 %)
Wrote 3072 bytes (128 compressed) at 0x00008000 in 0.0 seconds (effective 535.3 kbit/s)...
Hash of data verified.
Compressed 8192 bytes to 47...
Writing at 0x0000e000... (100 %)
Wrote 8192 bytes (47 compressed) at 0x0000e000 in 0.1 seconds (effective 790.5 kbit/s)...
Hash of data verified.
Compressed 243408 bytes to 134445...
Writing at 0x00010000... (11 %)
Writing at 0x0001e0ad... (22 %)
Writing at 0x00024806... (33 %)
Writing at 0x00029a5d... (44 %)
Writing at 0x0002edb2... (55 %)
Writing at 0x000375a7... (66 %)
Writing at 0x0003f64b... (77 %)
Writing at 0x00044c30... (88 %)
Writing at 0x0004a3c5... (100 %)
Wrote 243408 bytes (134445 compressed) at 0x00010000 in 2.2 seconds (effective 888.0 kbit/s)...
Hash of data verified.

Leaving...
Hard resetting via RTS pin...
重新打开一个串口,配置好,就可以看到这样的打印,
rst:0x1 (POWERON_RESET),boot:0x13 (SPI_FAST_FLASH_BOOT)
configsip: 0, SPIWP:0xee
clk_drv:0x00,q_drv:0x00,d_drv:0x00,cs0_drv:0x00,hd_drv:0x00,wp_drv:0x00
mode:DIO, clock div:1
load:0x3fff0030,len:1344
load:0x40078000,len:13864
load:0x40080400,len:3608
entry 0x400805f0
GPIO LED Control Demo
LED ON
LED OFF
LED ON
LED OFF
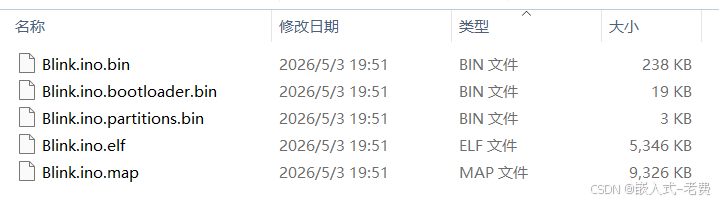
LED ON7、导出bin文件
如果需要把对应的bin导出给别人,直接单击"Sketch"-》"Export Compiled binary"即可。
8、esp32开发和stm32开发
看上去esp32开发不难,特别是产品原型,用esp32开发还是不错的。如果和stm32搭配的话,可以用esp32做stm32的一个module,实现wifi和bt的收发,也是不错的一个选择。