文章目录
- [1. 写在前面](#1. 写在前面)
- [2. 接口分析](#2. 接口分析)
- [3. 验证轨迹](#3. 验证轨迹)
- [4. 算法还原](#4. 算法还原)
【🏠作者主页】:吴秋霖
【💼作者介绍】:擅长爬虫与JS加密逆向分析!Python领域优质创作者、CSDN博客专家、阿里云博客专家、华为云享专家。一路走来长期坚守并致力于Python与爬虫领域研究与开发工作!
【🌟作者推荐】:对爬虫领域以及JS逆向分析感兴趣的朋友可以关注《爬虫JS逆向实战》《深耕爬虫领域》
未来作者会持续更新所用到、学到、看到的技术知识!包括但不限于:各类验证码突防、爬虫APP与JS逆向分析、RPA自动化、分布式爬虫、Python领域等相关文章
作者声明:文章仅供学习交流与参考!严禁用于任何商业与非法用途!否则由此产生的一切后果均与作者无关!如有侵权,请联系作者本人进行删除!
1. 写在前面
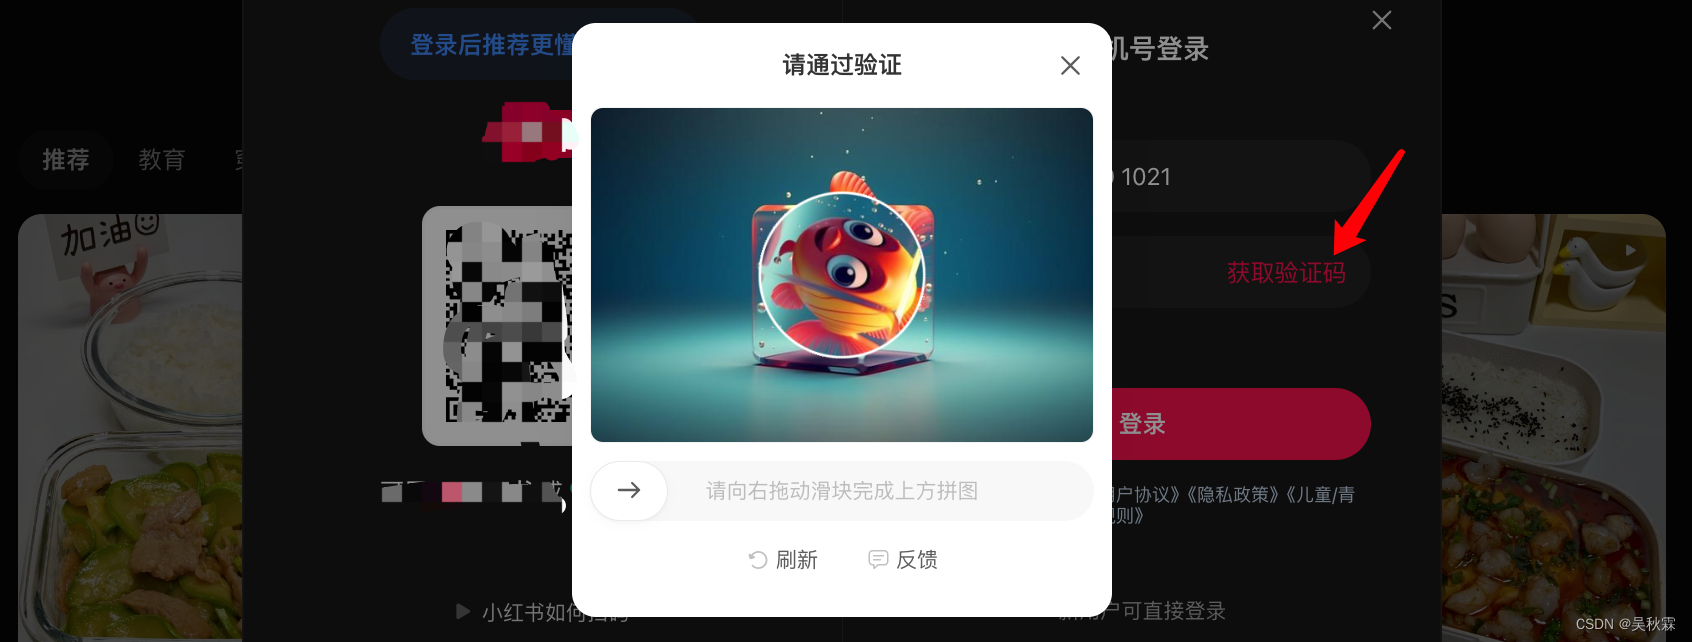
作者在使用红薯的时候,经常会选择通过手机验证的方式去登录。但是,天公不作美!我甚至有时候第一次登录,就给我弹出一个验证码...有风控固然是好的,但是略微的影响到了用户的交互体验,一般用户只能选择是手动拖动滑块进行验证...

但是!作为一名科技行业的程序员。肯定是不会屈服的,于是带着对技术的好奇心在想过这个旋转的验证码,是否可以自动化呢?当然自动化没有挑战!作者选择通过协议+算法的方式去通过这个验证码~
2. 接口分析
这里我们浅拉一下旋转的滑块,然后监测register这个接口的发包,如下所示:

这几个参数中verifyUuid是重要的,它在每一次生成弹出验证码的时候,给出的一个新且唯一的验证ID,在后续的验证接口同样需要携带!获取方式如下所示:

在输入手机号点击发送短信验证码的时候,假设失败被风控了。短信接口会正常给到你成功的响应,如下所示:
bash
{"code":0,"success":true,"msg":"成功","data":{}}但是如果你光通过接口去检验,是不知道出验证的。得看请求状态,失败出现验证码则是471,这个时候再去头部分析,拿到验证码的UID
通过register的接口,获取到验证码提交所需要的rid跟captchaInfo字段信息
请求同样是需要头部带X-s、X-s-common参数的
第二个我们需要分析的接口则是check,这个是提交验证检测的。如下所示:

可以看到提交的参数中captchaInfo是最重要的,通过字段信息能够看到提交的鼠标轨迹相关的一些东西,而且看这样子应该还是加密的!另外的rid、uid在前面环节都能够获取到,checkCount参数则是验证次数,通不过就会自增
3. 验证轨迹
接下来如果没有解决头部X系列的两个参数加密,建议先去研究这个两个参数,再来研究滑块!当然如果你不知道怎么还原可以去看作者以前的文章!现在开始还原captchaInfo这个参数
JS调试发现轨迹验证参数的值采用了DES加密,可以拿浏览器内的加密轨迹来解密看看,如下所示:

轨迹分析后开始实现算法,如下所示:
javascript
function generate_Track(slideDistance) {
    var trackList = [];
    var x = 0;
    while (x < slideDistance) {
        x += 2;
        var y = -(Math.floor(x / 10));
        var z = 2 * (x - 1) + Math.floor(Math.random() * 7) + 1;
        trackList.push([x, y, z]);
    }
    return JSON.stringify(trackList);
}
javascript
function get_mousetrack(distance,time){
    var mousetrack1=get_trace(distance,time);
    var mousetrack2=generate_Track(distance);
    return DES_Encrypt(mousetrack2,"PYrm8rMk")
}
javascript
function get_trace(distance,time) {
    distance = Math.floor(distance);
    var trace = [];
    var sy = [0, 0, 0, 0, 0, 0, 0, 0, 0, 0, 1, 0, 0, 0, 0, 0, 0, 0, 0, 0, 0, 0, 1, 0, 0, 0, 0, 0, 0, 0, 0, 0, 0, 0, 0, 0, 0,
        0, 0, 0, 0, 0, 2, 0, 0, 0, 0, 0, 0, 0];
    var st = [15, 16, 17, 18, 15, 16, 17, 18, 15, 16, 17, 18, 15, 16, 17, 18, 15, 16, 17, 18, 15, 16, 17, 18, 15, 16, 17,
        18, 15, 16, 17, 18, 15, 16, 17, 18, 15, 16, 17, 18, 14, 16, 17, 18, 16, 17, 18, 19, 20, 17];

    if (distance < 95) {
        var sx = [1, 2, 1, 2, 1, 2, 1, 1, 2, 1];
    }else{
        var sx = [1, 2, 1, 2, 1, 2, 2, 2, 3, 4];
    }
    var zt = RandomNum(10, 100);
    var zx = 0,
        zy = 0;
    var random_x = RandomNum(9, 14);
    var n = 0, x = 0, y = 0, t = 0;
    while (true){
        n += 1;
        if (n < 5){
            x = 1;
        }else{
            x = RandomChoice(sx)
        }
        if (distance > 125 && random_x === n){
            x = RandomNum(14, 18)
        }
        y = RandomChoice(sy);
        t = RandomChoice(st);
        zx += x;
        zy += y;
        zt += t;
        trace.push([zx, zy, zt]);
        if (distance - zx < 6){
            break;
        }
    }
    var value = distance - zx;
    for (var i = 0; i < value; i++){
        t = RandomChoice(st);

        if (value === i + 1){
            t = RandomNum(42, 56)
        }
        if (value === i + 2){
            t = RandomNum(32, 38)
        }
        if (value === i + 3){
            t = RandomNum(30, 36)
        }
        x = 1;
        zx += x;
        zt += t;
        trace.push([zx, zy, zt]);
    }
    let csz=RandomNum(1, 10)
    let elementToInsert0 = [0, 0, csz];
    let elementToInsert1 = [0, 0, csz+2];
    trace.unshift(elementToInsert1);
    trace.unshift(elementToInsert0);
	return JSON.stringify(trace);
}
4. 算法还原
首先需要封装register接口的协议请求,核心请求提交封参如下所示:
python
json_data = {
  "secretId": "000",
  "verifyType": "102",
  "verifyUuid": v_id,
  "verifyBiz": "471",
  "sourceSite": "",
  "captchaVersion": "1.1.0"
}
jmurl='url=/api/redcaptcha/v2/captcha/register'+json.dumps(json_data).replace(" ","")

a1=ck['a1']
xts = self.ctx.call('get_x_s',jmurl,a1)
xtscommon = self.ctx.call('get_x_s_common',xts,a1)
self.headers['x-s'] = xts['X-s']
self.headers['x-s-common']=xtscommon
self.headers['x-t']=str(xts['X-t'])

data=json.dumps(json_data,separators=(',',':'))
response = requests.post(url, headers=self.headers, cookies=ck, data=data)check验证接口的提交核心封参请求如下所示:
python
chainfo={
		"mouseEnd":self.ctx.call('DES_Encrypt',mouseend,"WquqhEkd"),
		"time":self.ctx.call('DES_Encrypt',time,"vPMvCY4K"),
		"track":self.ctx.call('get_mousetrack',mouseend,time),
		"width":self.ctx.call('DES_Encrypt',width,"WquqhEkd")
	}
	json_data={
		"rid":rid,
		"verifyType":"102",
		"verifyBiz":"471",
		"verifyUuid":v_id,
		"sourceSite":"",
		"captchaVersion":"1.1.0",
		"checkCount":str(check_count),
		"captchaInfo":json.dumps(chainfo)
	}
当然,请求完成后的过程中我们还需要对旋转图片角度的分析与图像处理(包括裁剪)!主要就是通过对两个图像进行分析处理来找出最佳的角度。使得合并后的图像在梯度上的差异最小,这里我们采用了CV2,通过核心Py。源码如下所示:
python
def perform_angle_analysis(self,query_image_path, background_image_path):
    def calculate_gradient_difference(image, cx, cy, circle_radius):
        circle_inner_mask = np.zeros_like(image, dtype=np.uint8)
        cv2.circle(circle_inner_mask, (cx, cy), circle_radius, 255, -1)
        circle_outer_mask = np.zeros_like(image, dtype=np.uint8)
        cv2.circle(circle_outer_mask, (cx, cy), circle_radius + 30, 255, -1)
        inner_pixels = cv2.bitwise_and(image, circle_inner_mask)
        outer_pixels = cv2.bitwise_and(image, circle_outer_mask)
        inner_sobel_x = cv2.Sobel(inner_pixels, cv2.CV_64F, 1, 0)
        inner_sobel_y = cv2.Sobel(inner_pixels, cv2.CV_64F, 0, 1)
        inner_gradient_magnitude = cv2.magnitude(inner_sobel_x, inner_sobel_y)
        outer_sobel_x = cv2.Sobel(outer_pixels, cv2.CV_64F, 1, 0)
        outer_sobel_y = cv2.Sobel(outer_pixels, cv2.CV_64F, 0, 1)
        outer_gradient_magnitude = cv2.magnitude(outer_sobel_x, outer_sobel_y)
        gradient_diff = np.sum(outer_gradient_magnitude) - np.sum(inner_gradient_magnitude)
        return gradient_diff

    def merge_images(query_result, bg_image, radius, angle):
        query_height, query_width = query_result.shape[:2]
        rotation_matrix = cv2.getRotationMatrix2D((query_width / 2, query_height / 2), angle, 1)
        rotated_result = cv2.warpAffine(query_result, rotation_matrix, (query_width, query_height))
        center = (bg_image.shape[1] // 2, bg_image.shape[0] // 2)
        cv2.circle(bg_image, center, radius, (0, 0, 0), -1)
        bg_height, bg_width = bg_image.shape[:2]
        circle_height, circle_width = rotated_result.shape[:2]
        x = (bg_width - circle_width) // 2
        y = (bg_height - circle_height) // 2
        overlay = np.zeros_like(bg_image)
        overlay[y:y + circle_height, x:x + circle_width] = rotated_result
        result = cv2.bitwise_or(bg_image, overlay)
        return result

    def split_circular_region(image, radius):
        height, width, _ = image.shape
        center = (width // 2, height // 2)
        mask = np.zeros_like(image)
        cv2.circle(mask, center, radius, (255, 255, 255), -1)
        result = cv2.bitwise_and(image, mask)
        return result

    def enlarge_image(image, scale_factor):
        circle_height, circle_width = image.shape[:2]
        new_height = int(circle_height * scale_factor)
        new_width = int(circle_width * scale_factor)
        result = cv2.resize(image, (new_width, new_height), interpolation=cv2.INTER_LINEAR)
        return result

    query_image = cv2.imread(query_image_path)
    bg_image = cv2.imread(background_image_path)

    query_result = split_circular_region(query_image, 89)
    query_result = enlarge_image(query_result, 1.1)
    min_difference = float('inf')
    min_angle = 0
    for angle in range(0, 360, 5):
        result = merge_images(query_result, bg_image, 89, angle)
        gradient_difference = calculate_gradient_difference(result, bg_image.shape[1] // 2, bg_image.shape[0] // 2, 70)
        if gradient_difference < min_difference:
            min_difference = gradient_difference
            min_angle = angle
    result = merge_images(query_result, bg_image, 89, min_angle)
    cv2.imwrite('./jpg/result.png', result)
    return min_angle
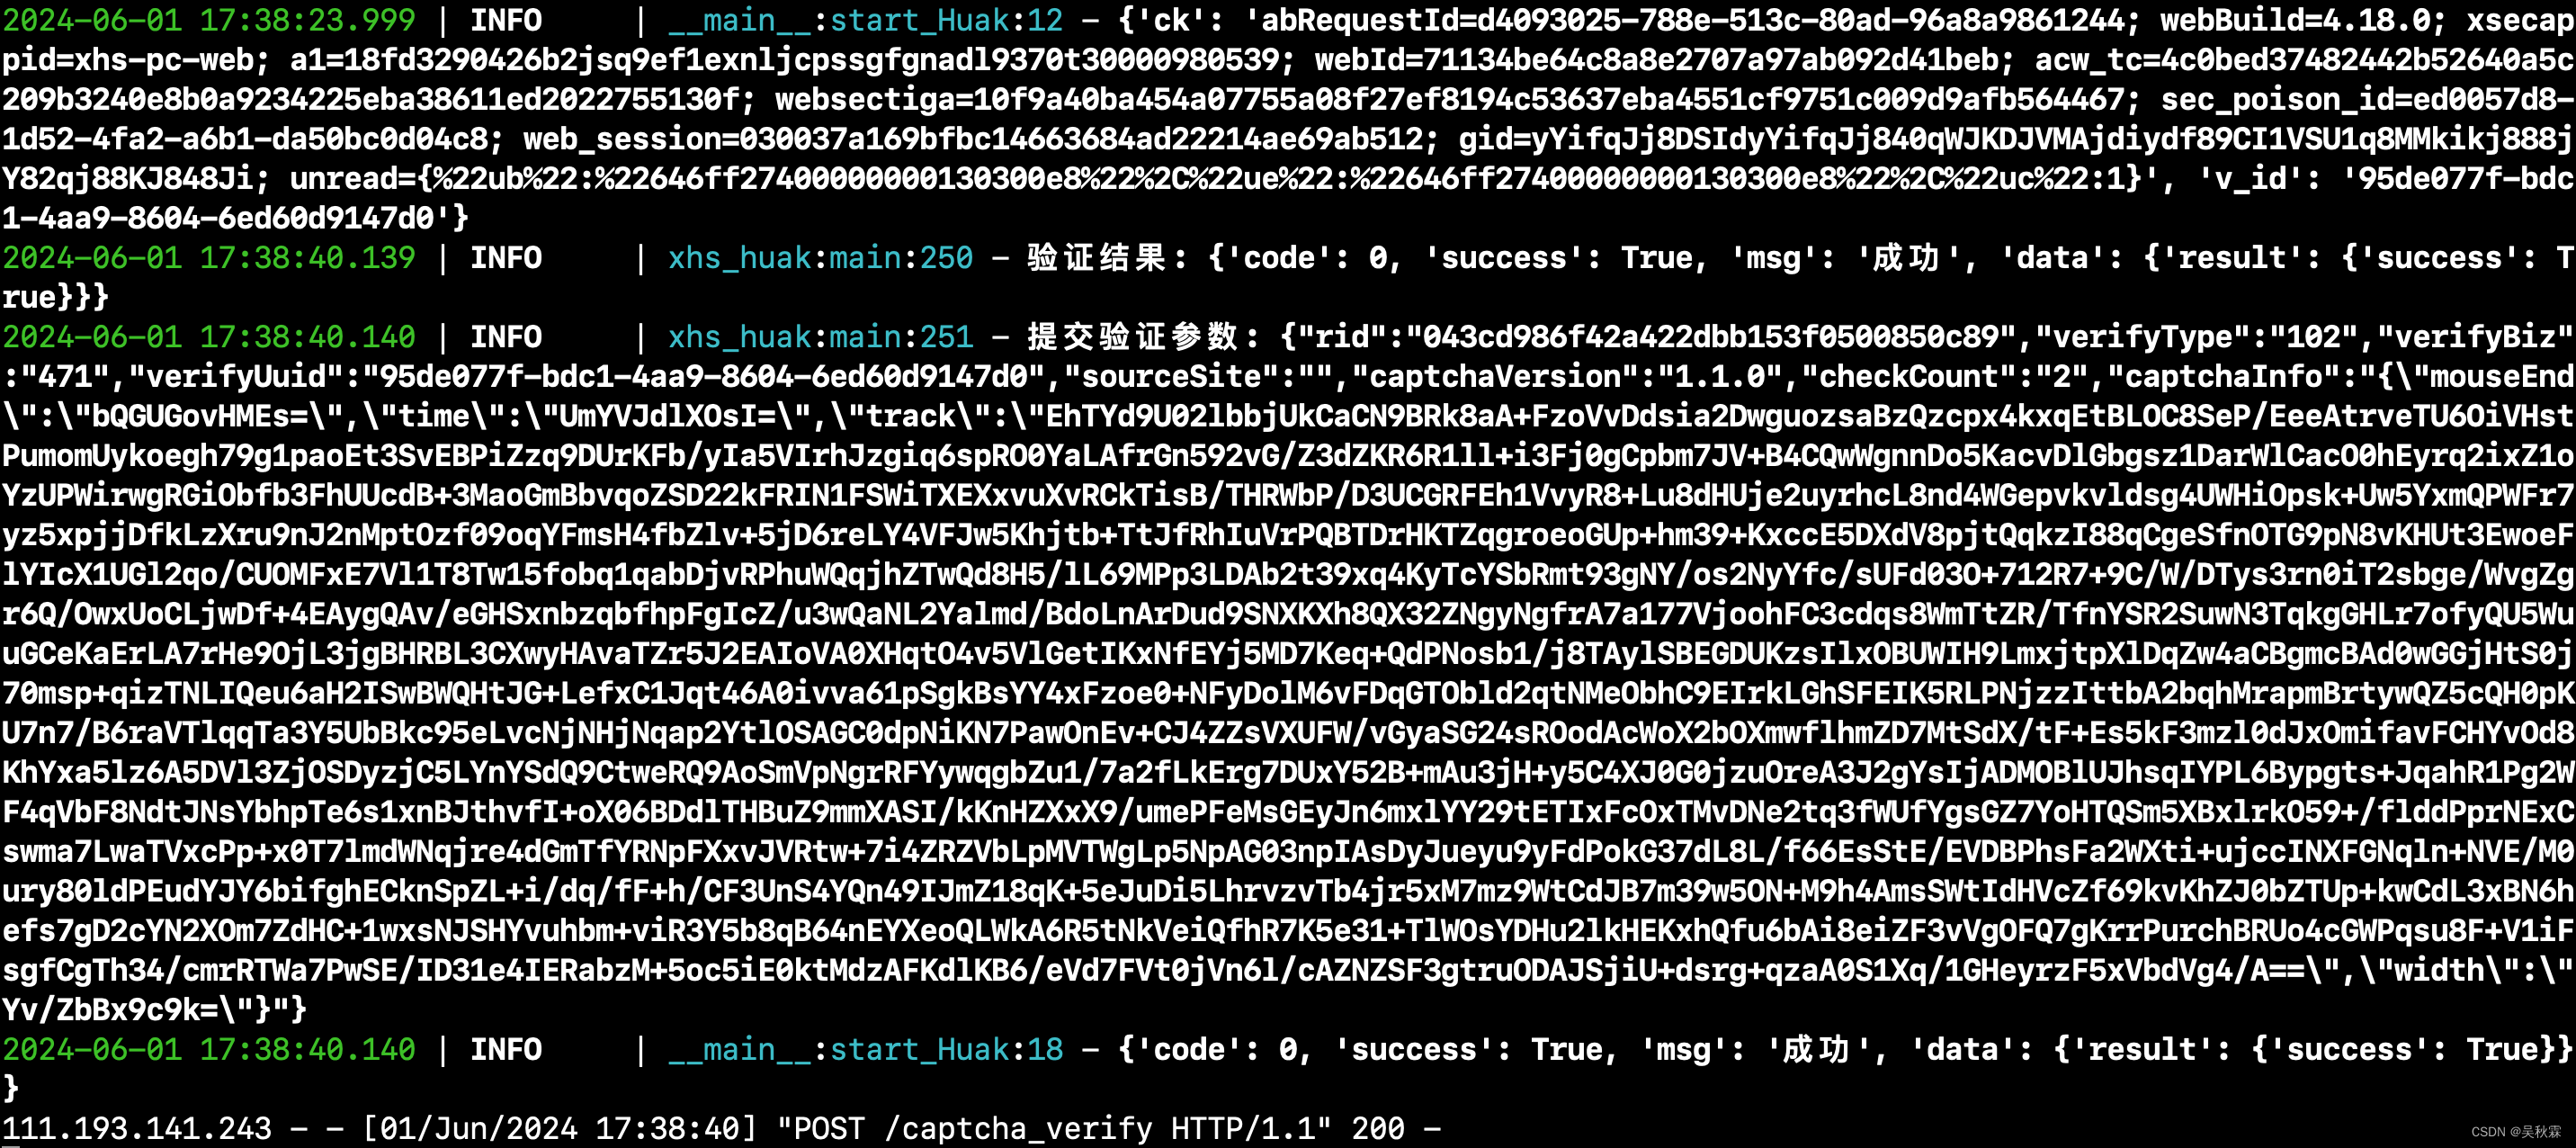
最后完成所有的编码后,把滑块验证部署成一个API服务,这样的话更加方便调用,如下:

本地直接通过检测471验证码,拿到uid、cookie调用纯协议滑块验证服务,效果如下:
