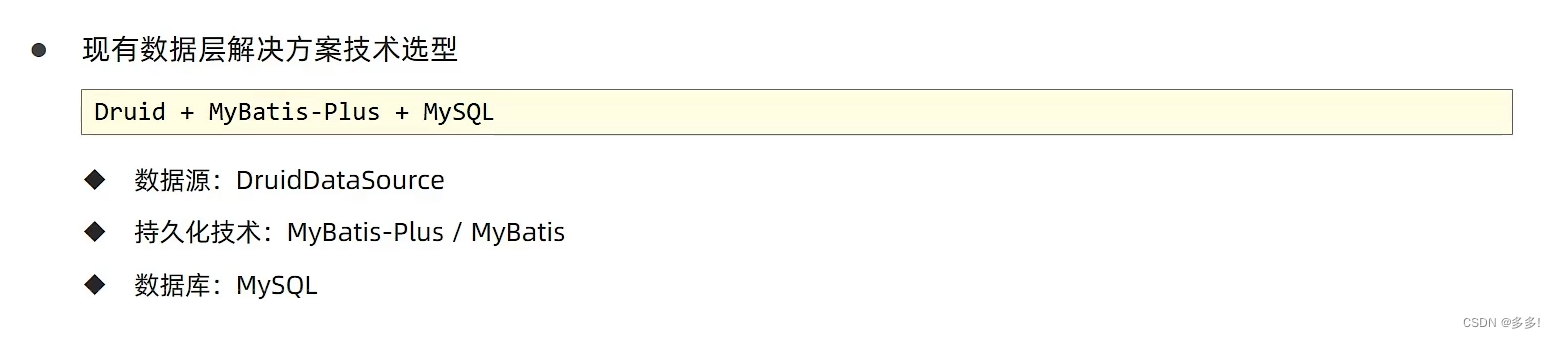
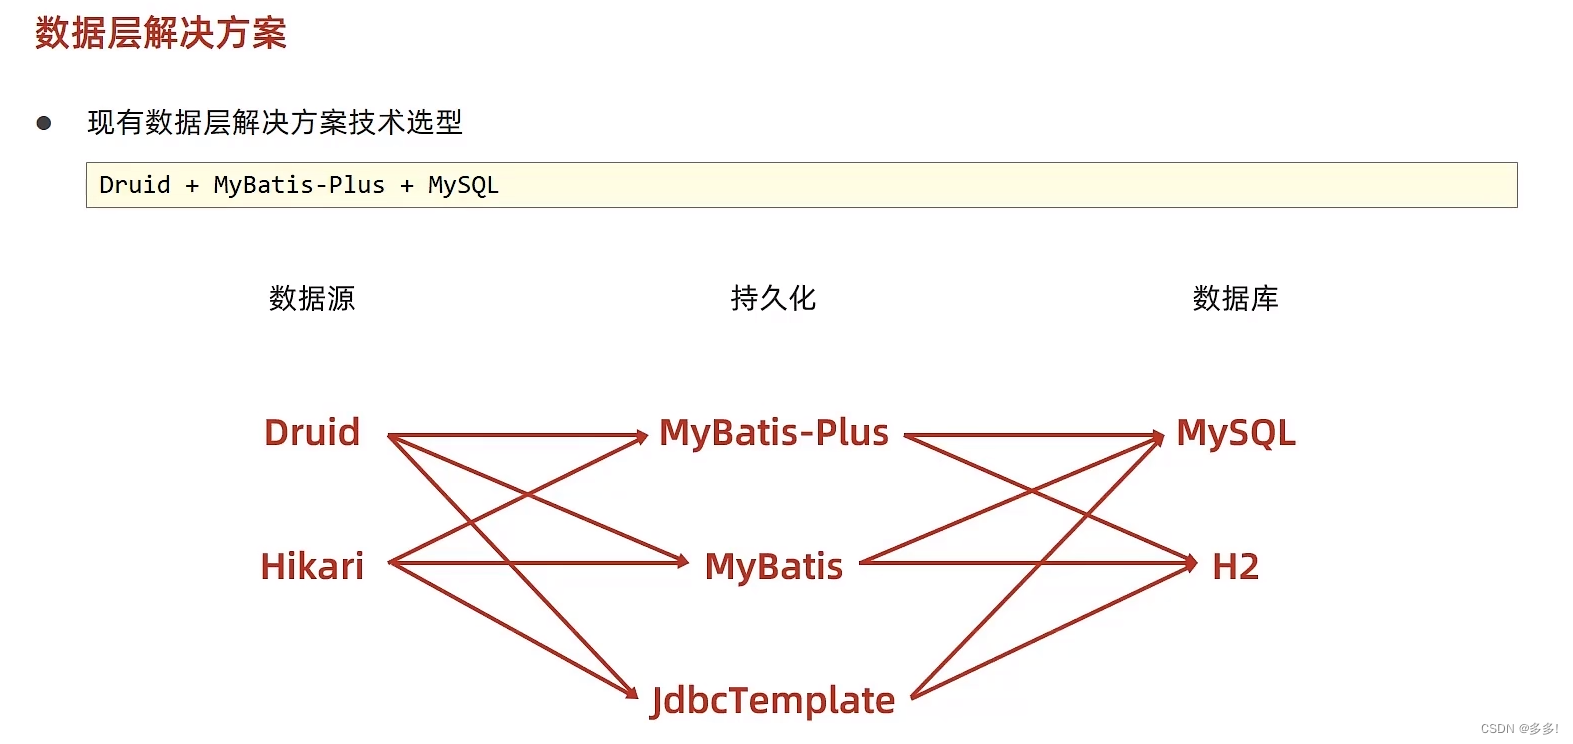
内置数据源

我们回顾一下druid数据源的配置方式
通过type属性指定数据源的类型

导入依赖 starter就使用了spring的自动装配功能
格式二是在引入druid的依赖的基础上
进行的一种配置方式

Tomcat内部也可以进行数据源的配置
轻量级中最快的数据源对象

我们切换德鲁伊连接池
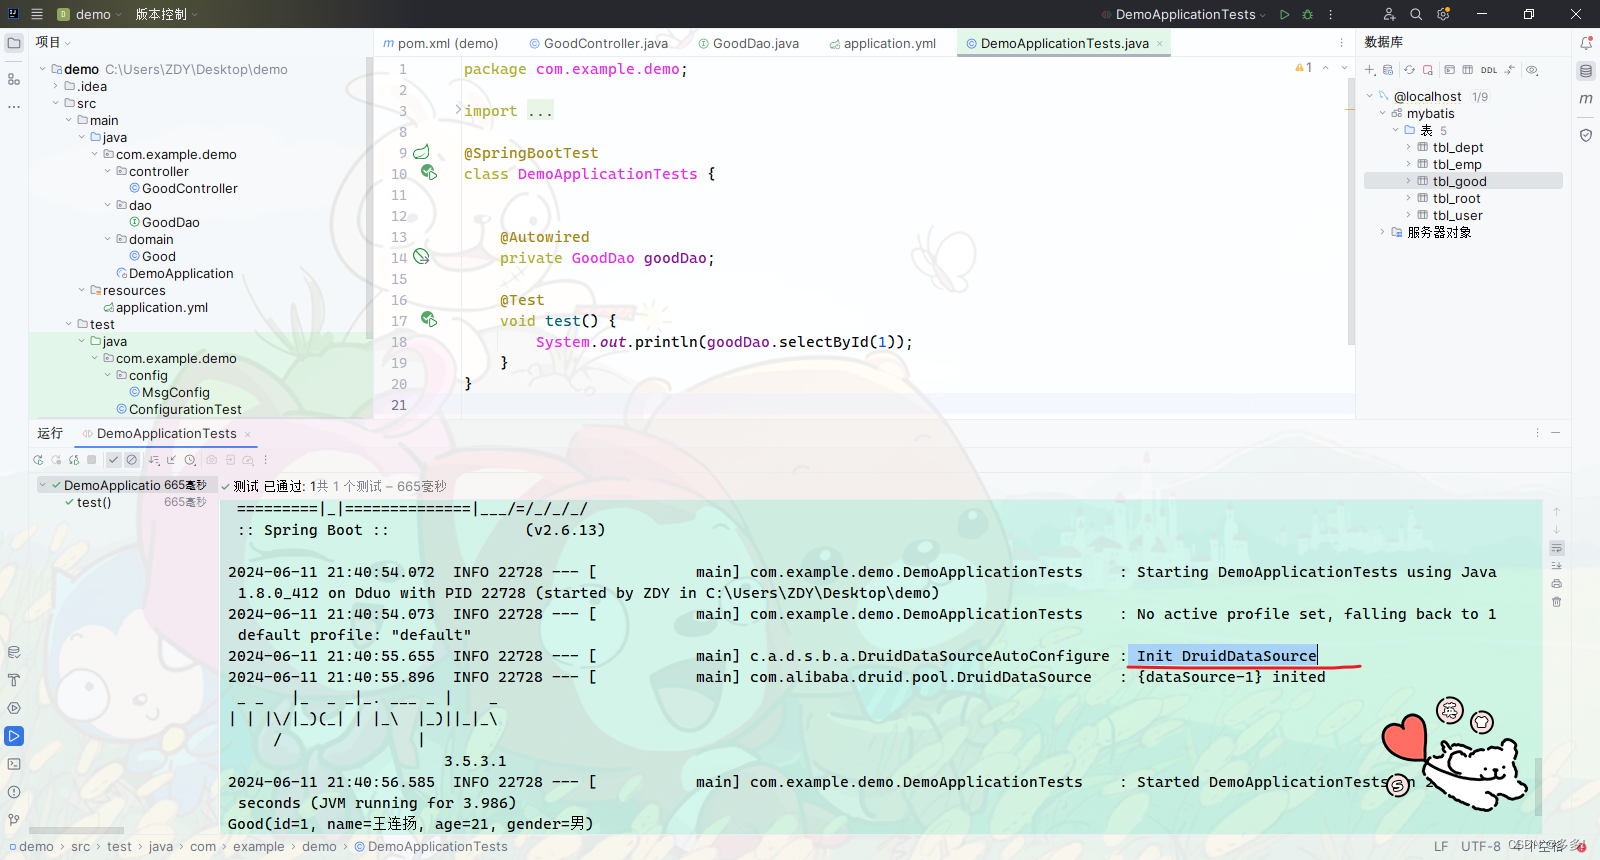
我们查看一下hikari的配置

小结


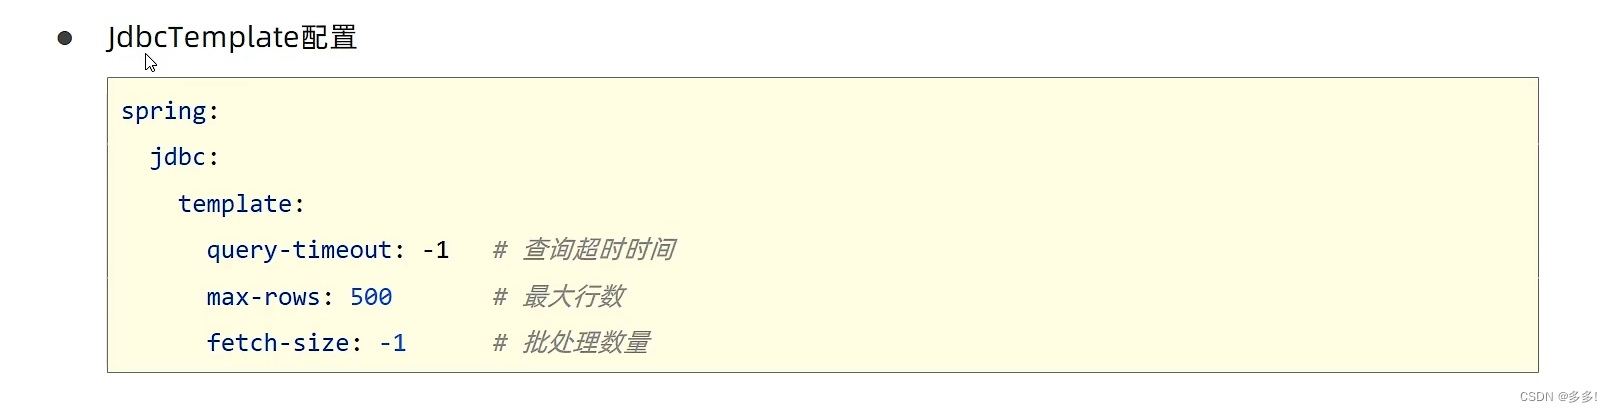
JdbcTemplate
默认的持久化的技术

简述

这个技术目前不太有人用
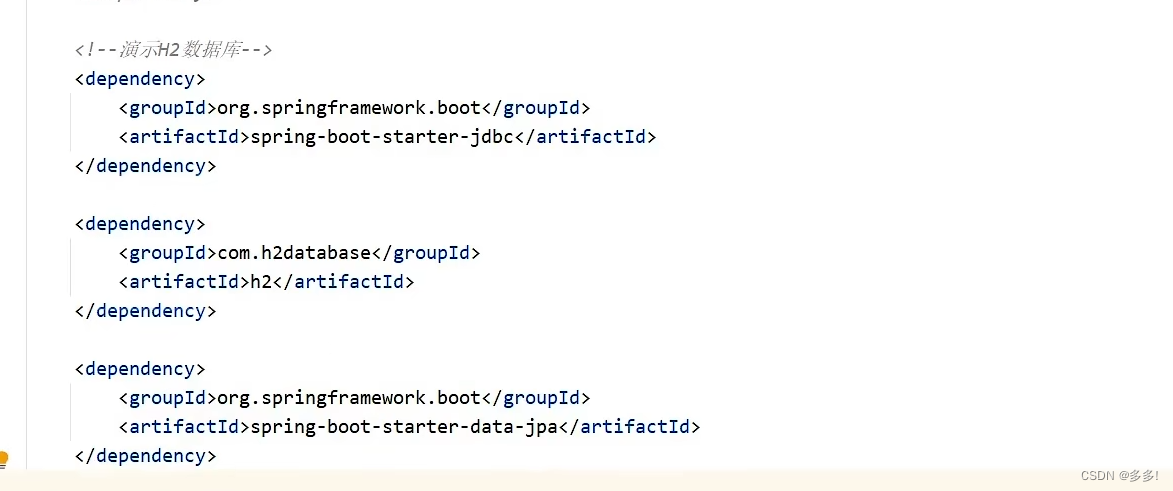
导入依赖
当我们导入JDBC starter 的依赖时
自动配置了数据源
是一个操作数据库的模版对象
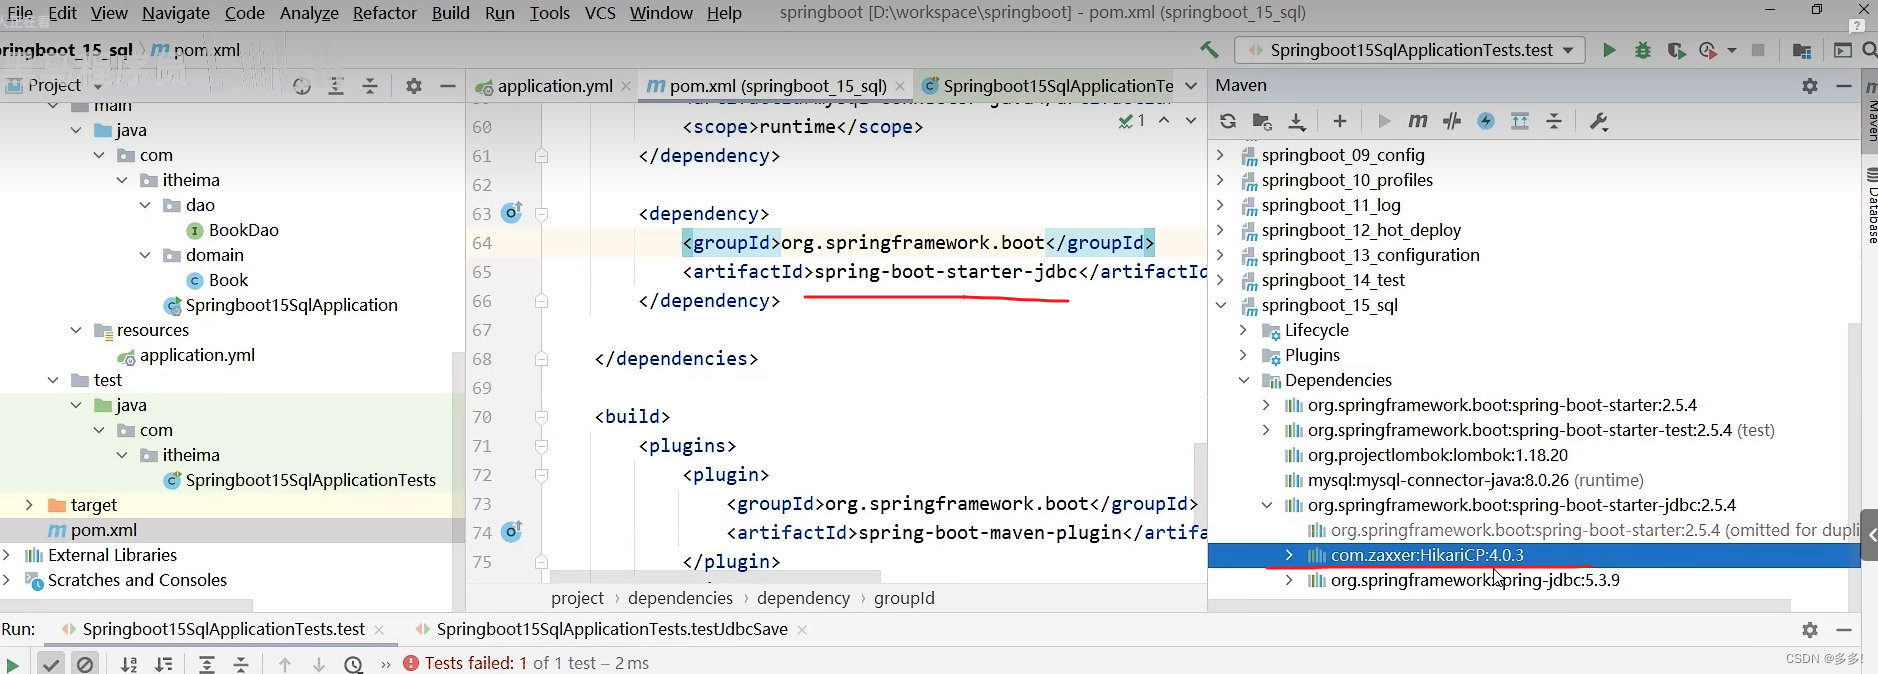
我们去掉Mybatis-plus的依赖后
就不能使用BaseMapper的接口
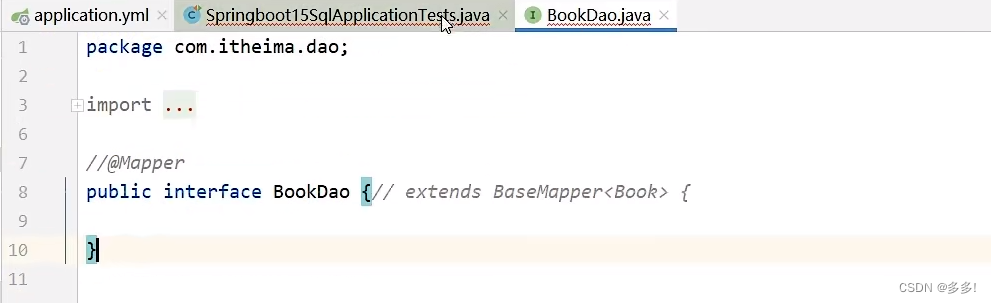
而且数据层接口也不能加载为bean后注入测试
实操
这样进行测试
测试一下查询功能
我们首先要建立一个行列式模型
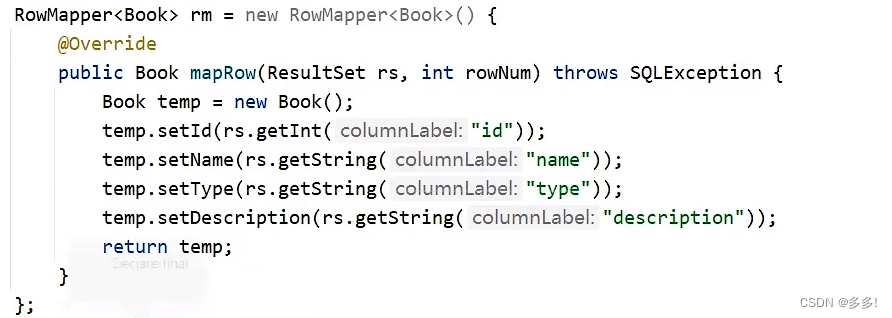
把数据封装进去
然后定义sql语句
调用jdbcTemplate里面的方法

这边要是写增删改
也是很简单
直接换sql语句就行哈

小结

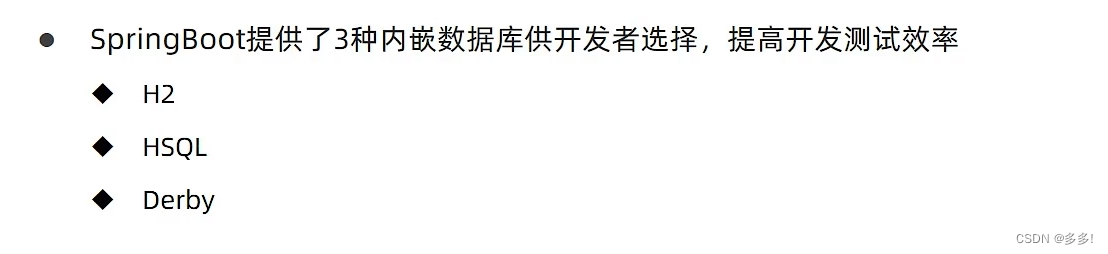
H2数据库
内存级的数据库
我们用内置数据源
和新的持久化技术
我们的数据库也可以换其他的内嵌数据库
我们能把java程序放到spring容器里面
内嵌服务器是在内存里面
不是一个独立的程序
我们数据库代码书写量很小
而且启动起来都是在内存运行 测试
等到上线的时候直接换其他数据库如轻量级数据库MySQL
实操
我们启动的话
        <dependency>
            <groupId>com.baomidou</groupId>
            <artifactId>mybatis-plus-boot-starter</artifactId>
            <version>3.5.1</version>
        </dependency>

        <dependency>
            <groupId>com.h2database</groupId>
            <artifactId>h2</artifactId>
        </dependency>
对于我们的H2数据库
我们也有界面
我们先要进行配置
spring:
datasource:
# 数据库
url: jdbc:h2:~/mydb
driver-class-name: org.h2.Driver
username: root
password: 123456
h2:
console:
path: /h2 #h2嵌入式数据库控制台,可以通过浏览器访问
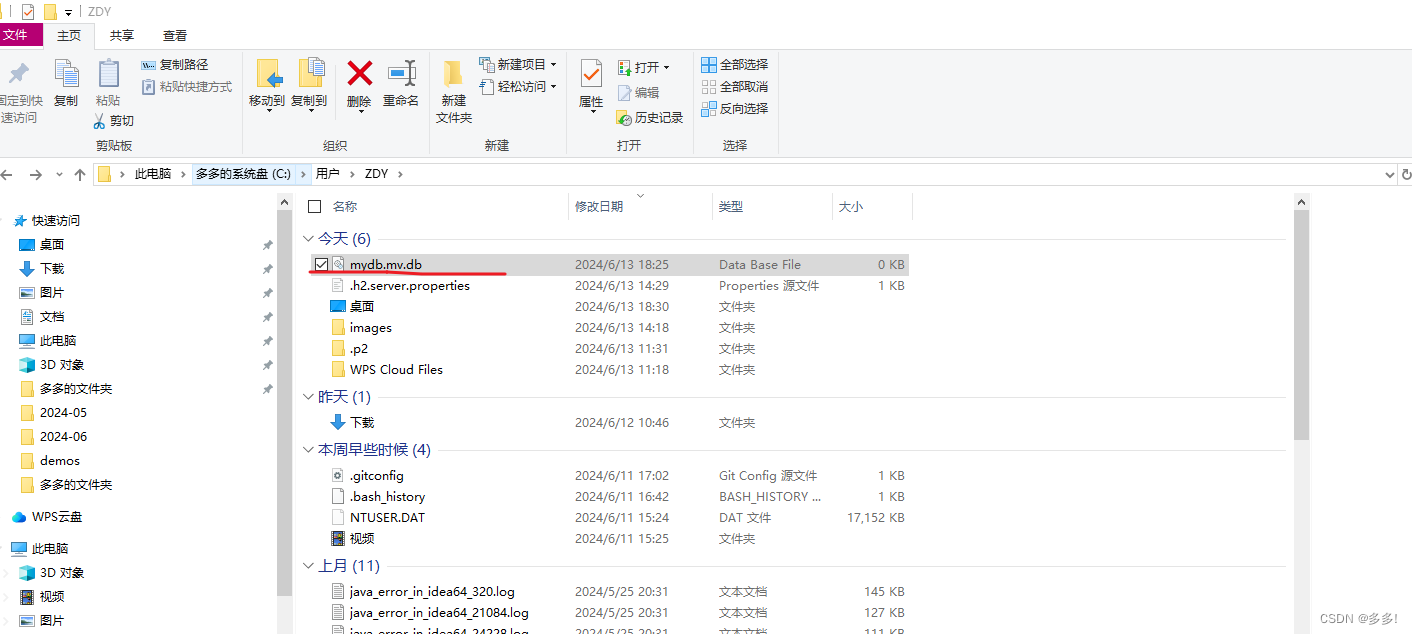
enabled: true本地路径
访问路径H2
我们找到了H2数据库和他的配置文件
网页控制台
填写信息
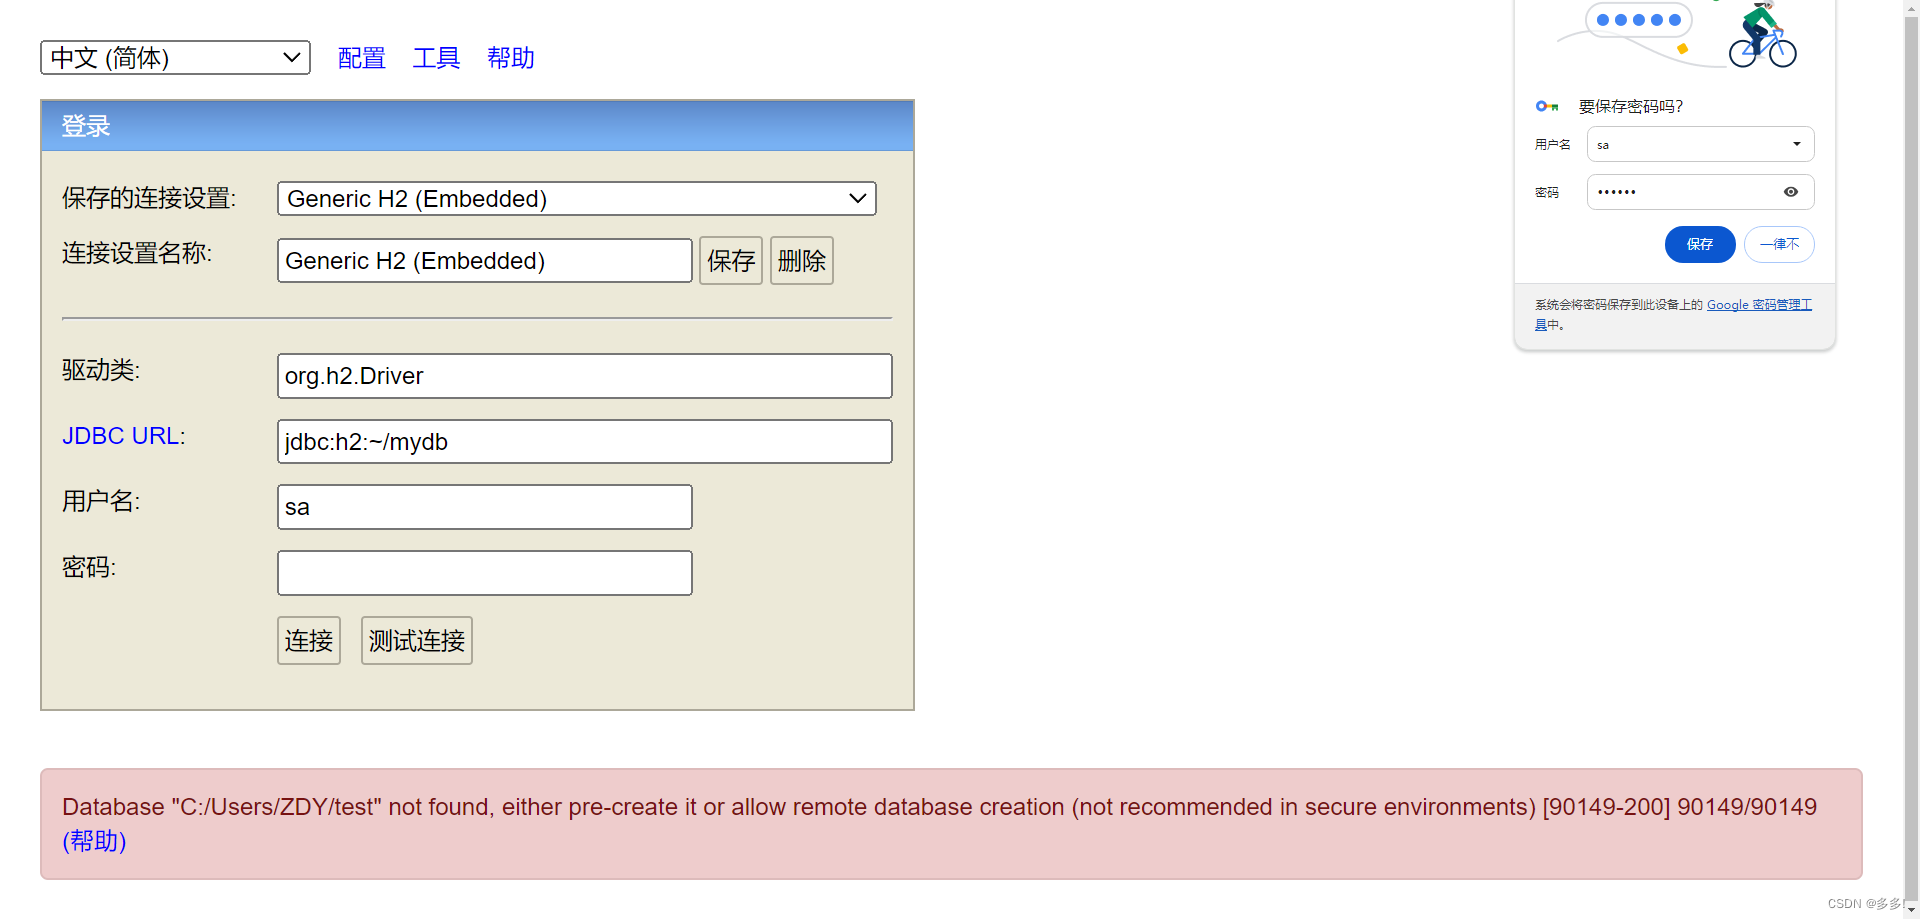
进入控制台

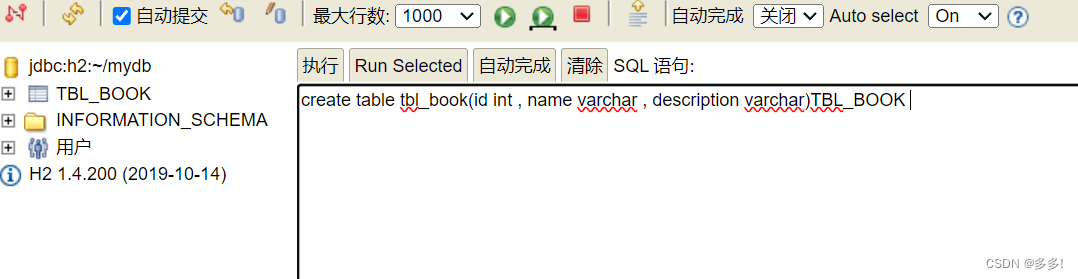
创建表的语句
也是用SQL语句

点击表
会自动显示表的创建数据
插值语句

查询所有

测试
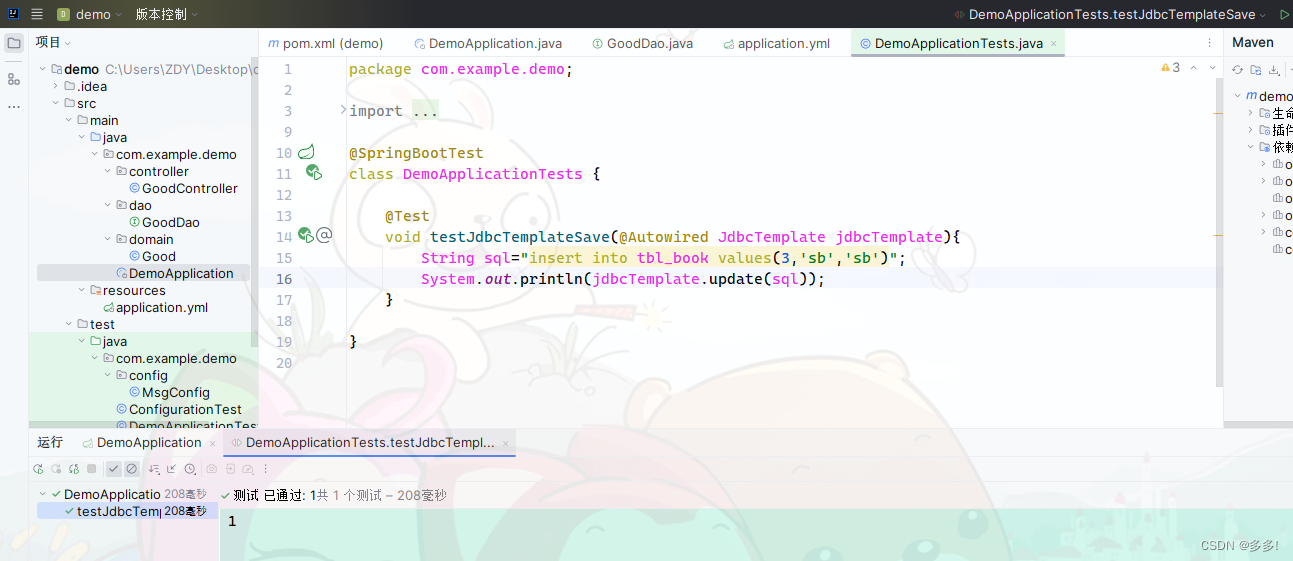
我们接下来要在java程序中使用H2数据库
我们接着用jdbcTemplate
进行插值语句的测试
jdbcTemplate读取的是配置文件
yml里面的datasource里面的配置
读取的是H2的配置
是一个内存级的数据库
package com.example.demo;

import com.example.demo.dao.GoodDao;
import org.junit.jupiter.api.Test;
import org.springframework.beans.factory.annotation.Autowired;
import org.springframework.beans.factory.annotation.Value;
import org.springframework.boot.test.context.SpringBootTest;
import org.springframework.jdbc.core.JdbcTemplate;

@SpringBootTest
class DemoApplicationTests {

    @Test
    void testJdbcTemplateSave(@Autowired JdbcTemplate jdbcTemplate){
        String sql="insert into tbl_book values(3,'sb','sb')";
        System.out.println(jdbcTemplate.update(sql));
    }

}
这些技术
在换的时候简直是无缝衔接
小结

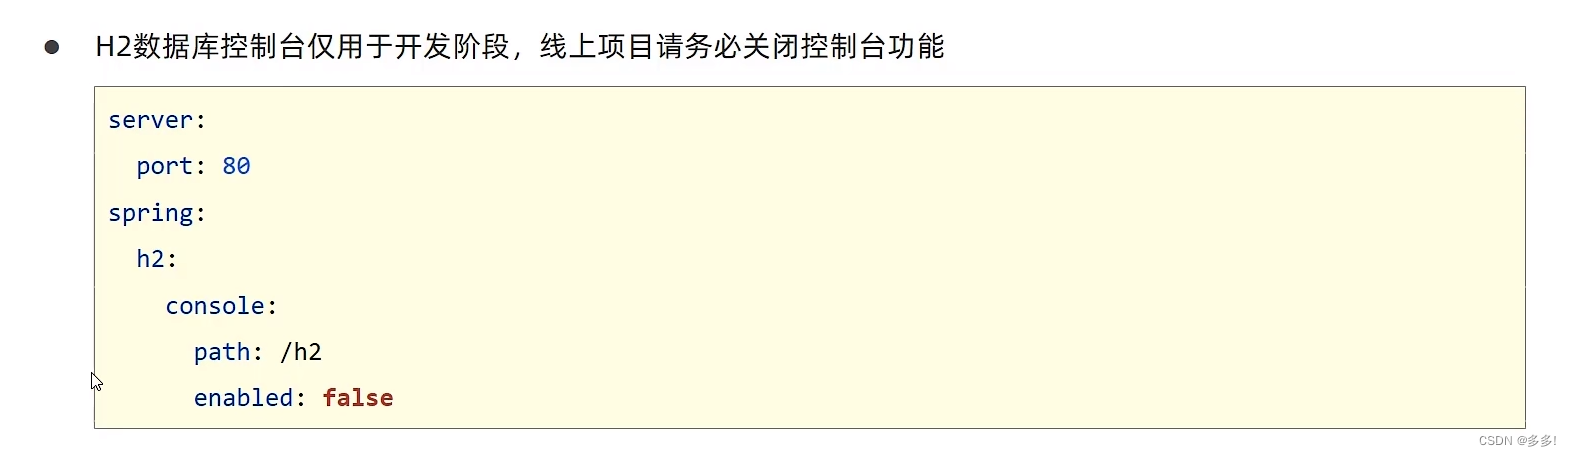
这是一个非常大的安全隐患
记得上线的时候一定要把H2数据库关掉
小结
个人号推广
博客主页
Web后端开发
https://blog.csdn.net/qq_30500575/category_12624592.html?spm=1001.2014.3001.5482
Web前端开发
https://blog.csdn.net/qq_30500575/category_12642989.html?spm=1001.2014.3001.5482
数据库开发
https://blog.csdn.net/qq_30500575/category_12651993.html?spm=1001.2014.3001.5482
项目实战
https://blog.csdn.net/qq_30500575/category_12699801.html?spm=1001.2014.3001.5482
算法与数据结构
https://blog.csdn.net/qq_30500575/category_12630954.html?spm=1001.2014.3001.5482
计算机基础
https://blog.csdn.net/qq_30500575/category_12701605.html?spm=1001.2014.3001.5482
回忆录
https://blog.csdn.net/qq_30500575/category_12620276.html?spm=1001.2014.3001.5482