测试表现层的代码如何测试
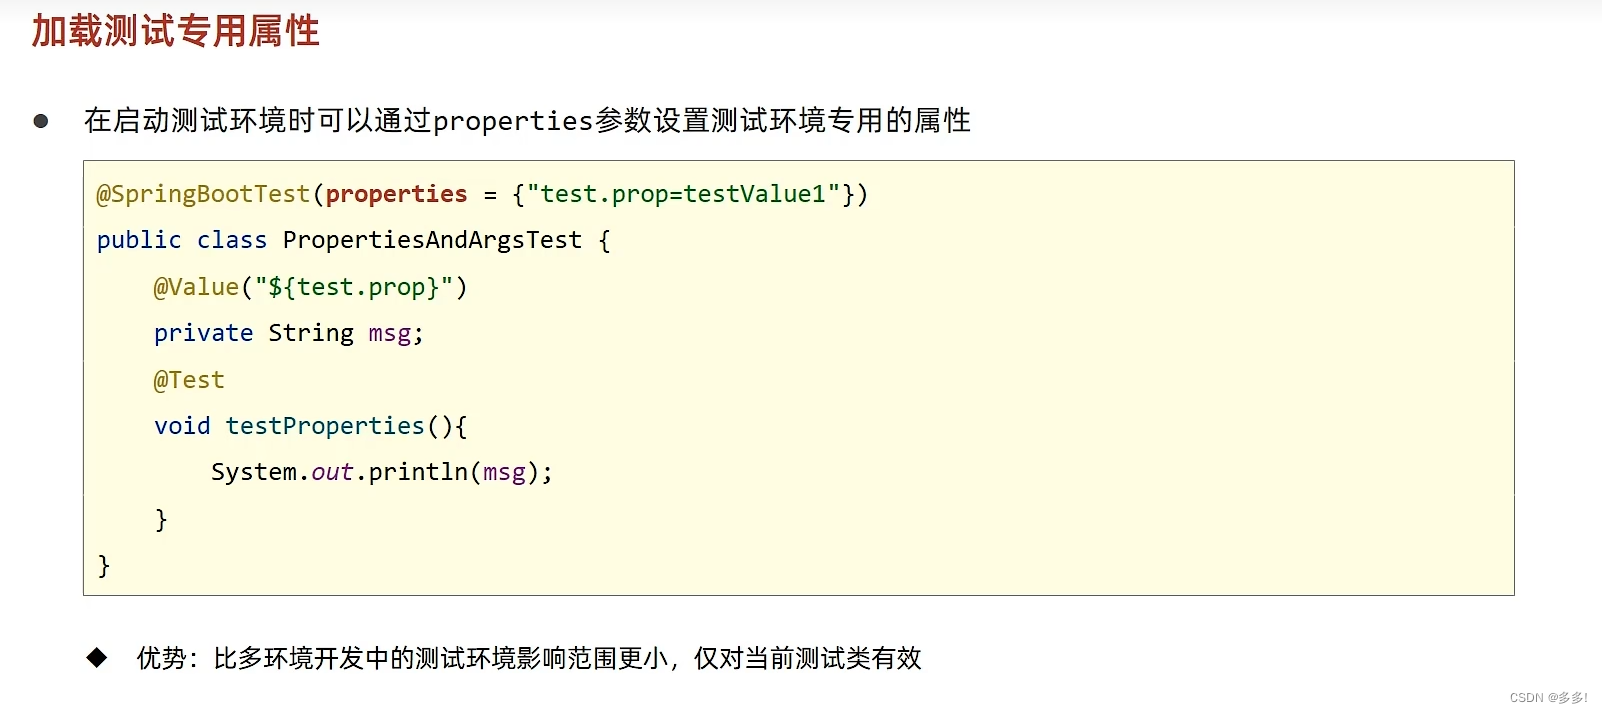
加载测试的专用属性
首先写一个测试
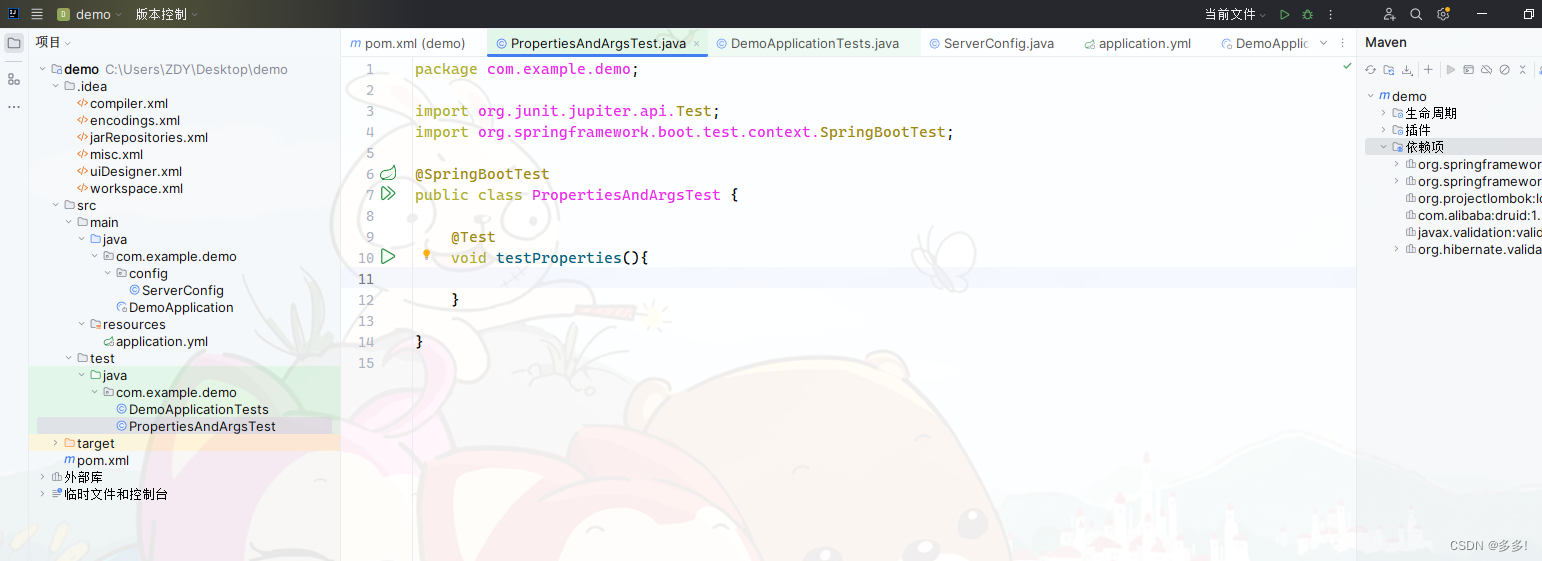
假定我们进行测试的时候要加一些属性
要去修改一些属性
我们可以写一个只在本测试有效的测试
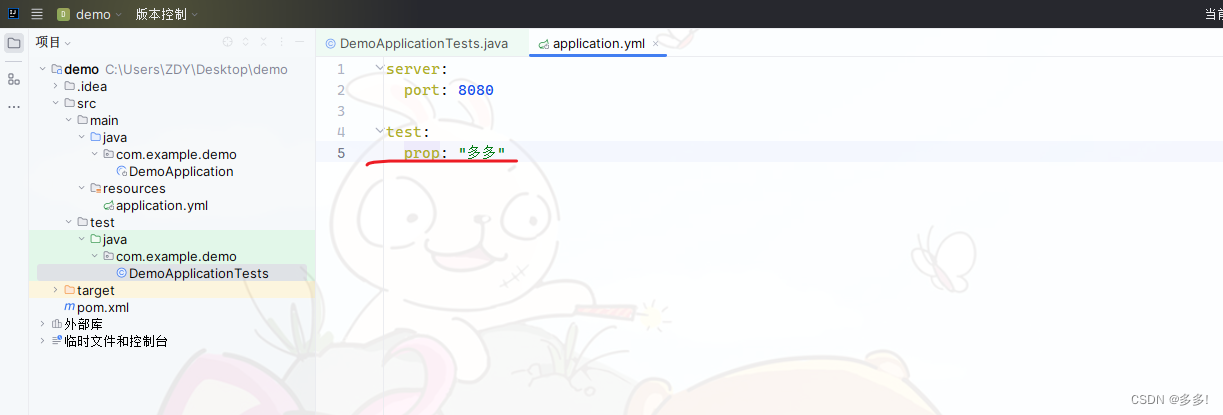
写在配置里
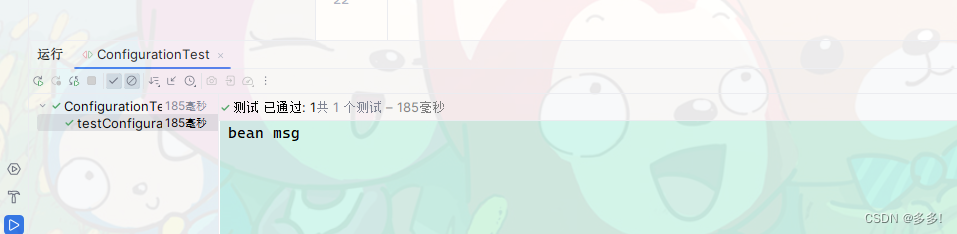
测试
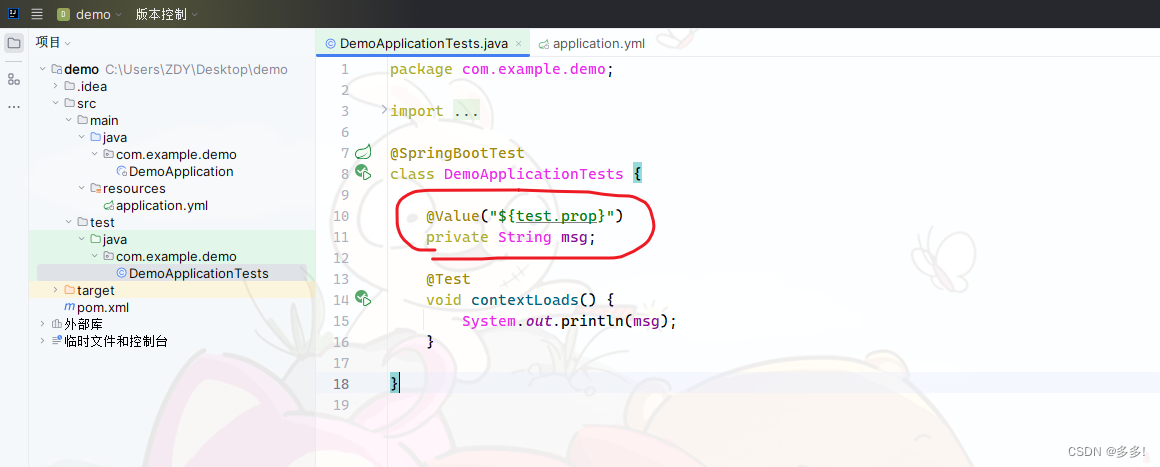
打印输出
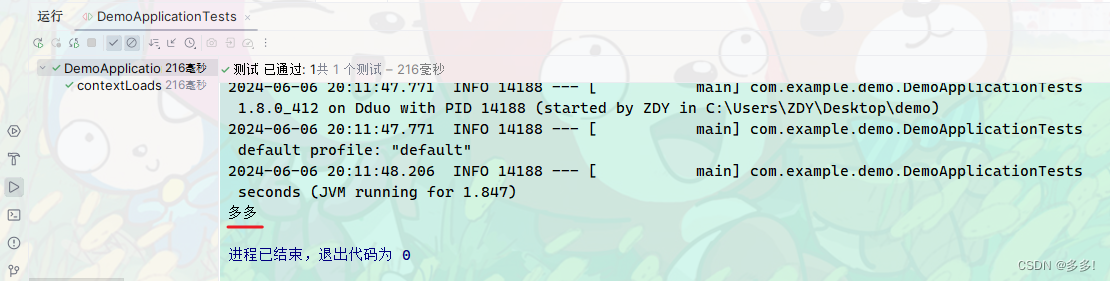
我们把配置文件里面的配置注释掉后
我们同样可以启动
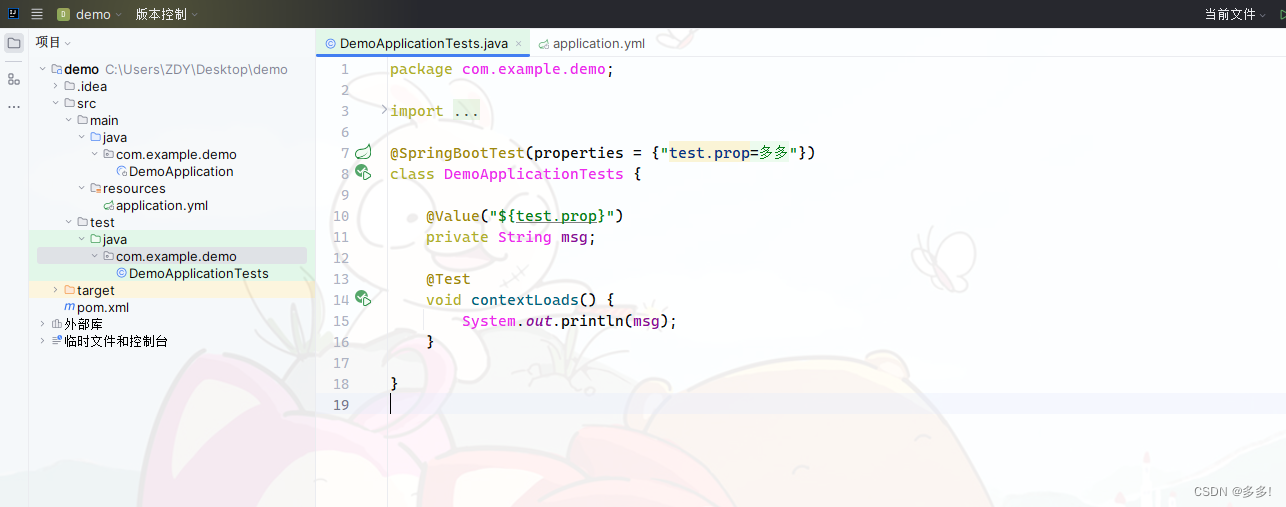
package com.example.demo;

import org.junit.jupiter.api.Test;
import org.springframework.beans.factory.annotation.Value;
import org.springframework.boot.test.context.SpringBootTest;

@SpringBootTest(properties = {"test.prop=多多"})
class DemoApplicationTests {

    @Value("${test.prop}")
    private String msg;

    @Test
    void contextLoads() {
        System.out.println(msg);
    }

}
我们可以为当前测试用例添加临时属性而不影响外部属性
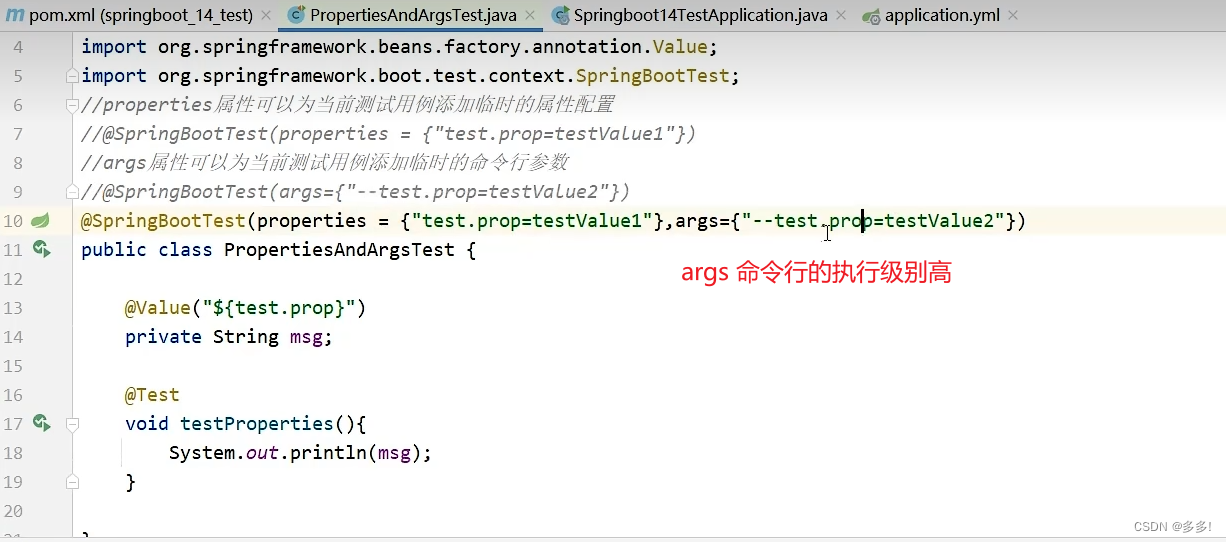
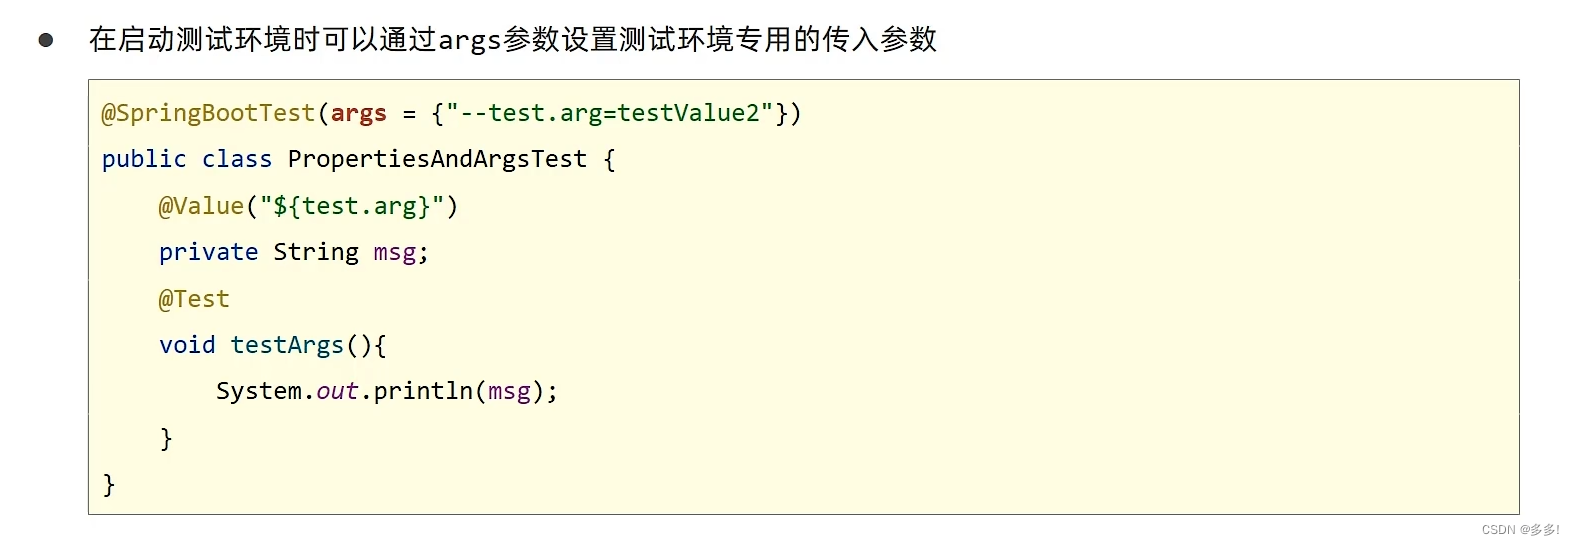
properties可以为当前测试用例添加临时的属性配置
就是一种用参数的设置方式
类似于args
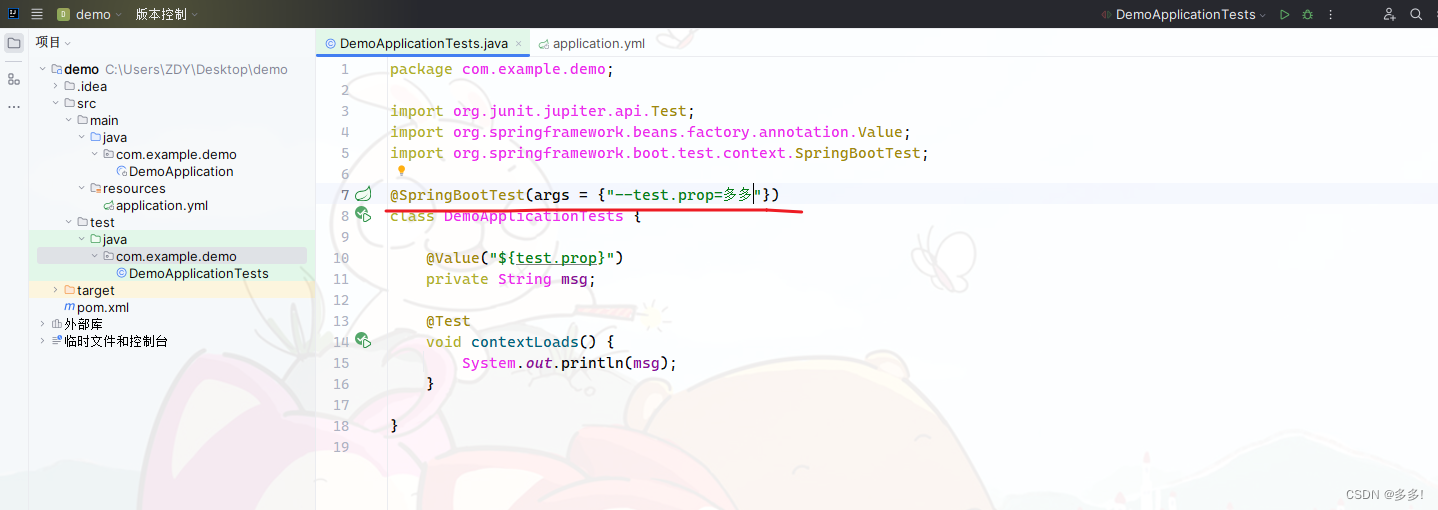
package com.example.demo;

import org.junit.jupiter.api.Test;
import org.springframework.beans.factory.annotation.Value;
import org.springframework.boot.test.context.SpringBootTest;

@SpringBootTest(args = {"--test.prop=多多"})
class DemoApplicationTests {

    @Value("${test.prop}")
    private String msg;

    @Test
    void contextLoads() {
        System.out.println(msg);
    }

}
小结
可以应用与小范围的测试环境
避免对其他的测试环境产生影响
记载测试专用配置
临时加载一些bean能不能用呢
我们能不能把拦截器做成bean
把外部bean加入测试中
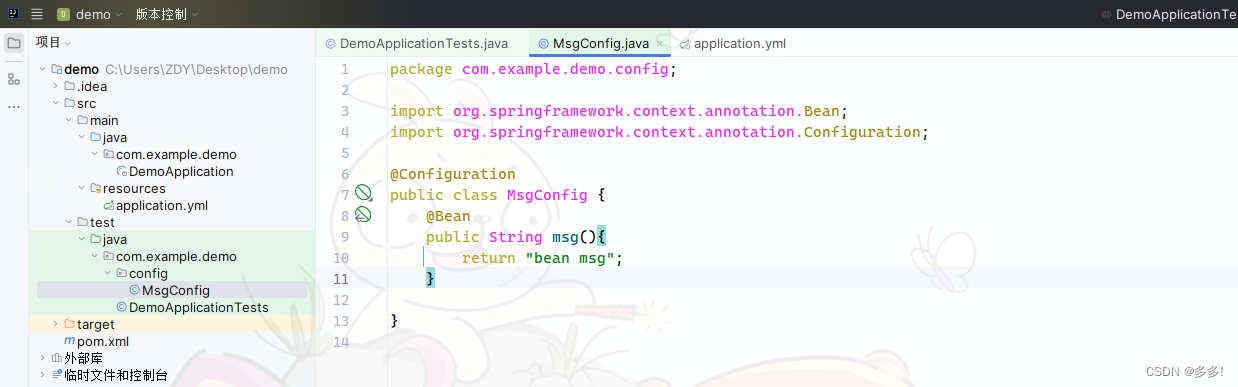
我们这边提供了一个bean
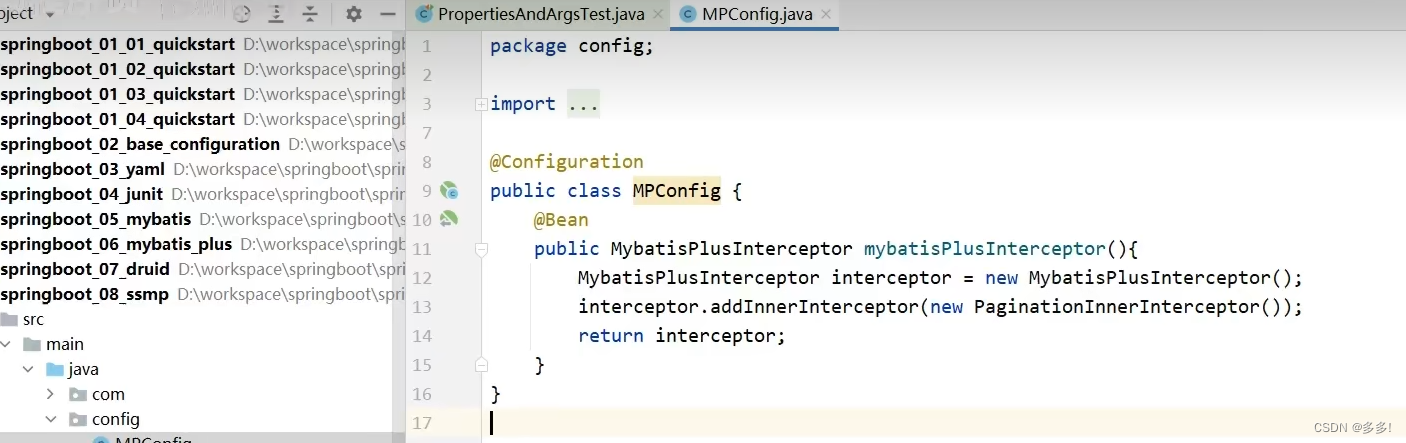
这个类是以第三方bean加入到我们的项目中的
package com.example.demo.config;

import org.springframework.context.annotation.Bean;
import org.springframework.context.annotation.Configuration;

@Configuration
public class MsgConfig {
    @Bean
    public String msg(){
        return "bean msg";
    }

}
Configuration注解表示是一个配置类
一个ioc容器
@Bean把对象做成bean给spring容器管理
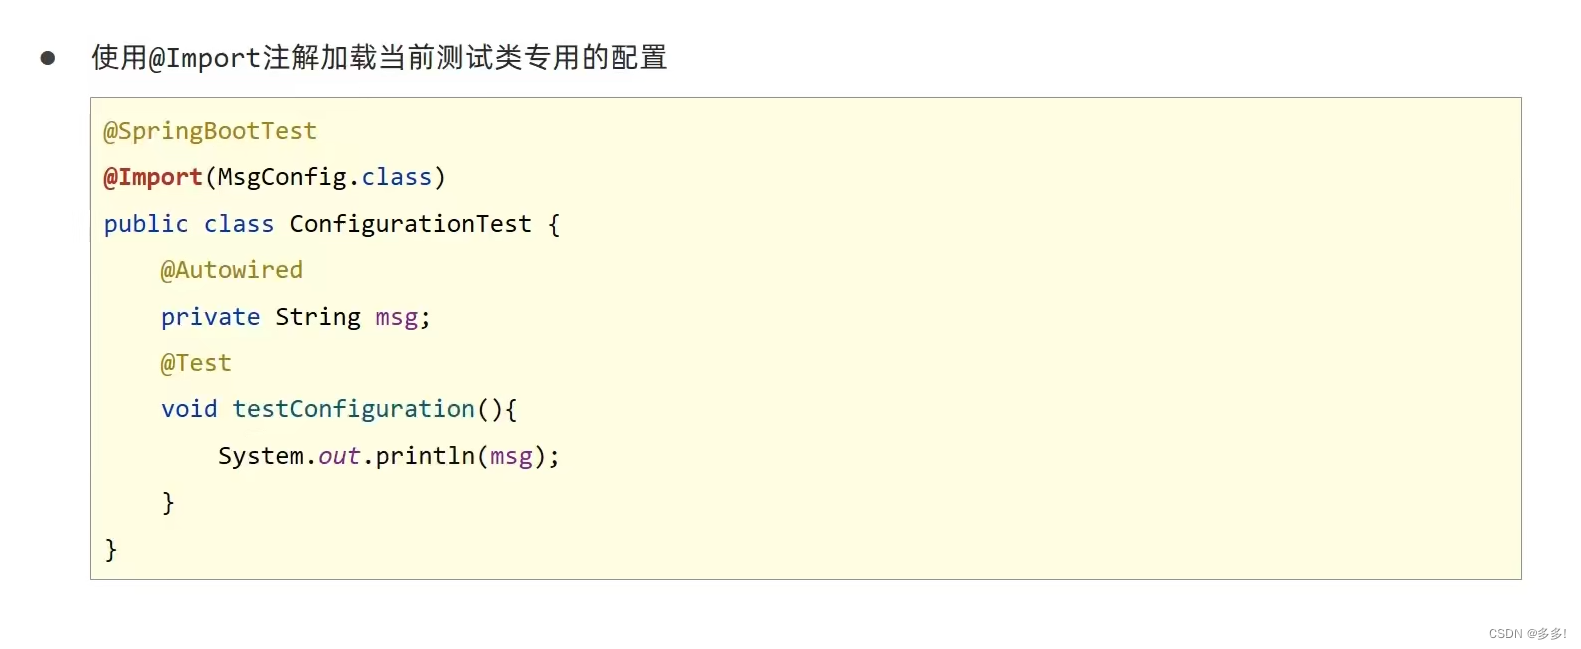
package com.example.demo;

import com.example.demo.config.MsgConfig;
import org.junit.jupiter.api.Test;
import org.springframework.beans.factory.annotation.Autowired;
import org.springframework.boot.test.context.SpringBootTest;
import org.springframework.context.annotation.Import;

@SpringBootTest
@Import(MsgConfig.class)
public class ConfigurationTest {

    @Autowired
    private String msg;

    @Test
    void testConfiguration(){
        System.out.println(msg);
    }

}
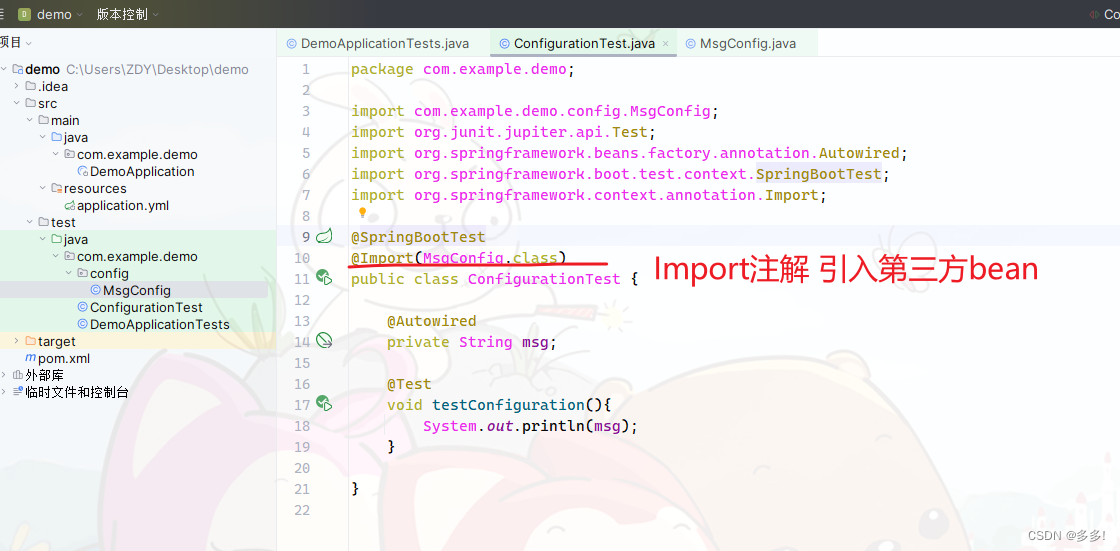
如果测试时要用外部的bean
临时使用
我们直接用Import注解 做一个局部的配置导入
小结
应用于小范围的测试程序
测试类中启动web
我们的测试能不能测试表现层
SpringMVC 的东西呢
是可以的
我们首先要引入springMVC的依赖
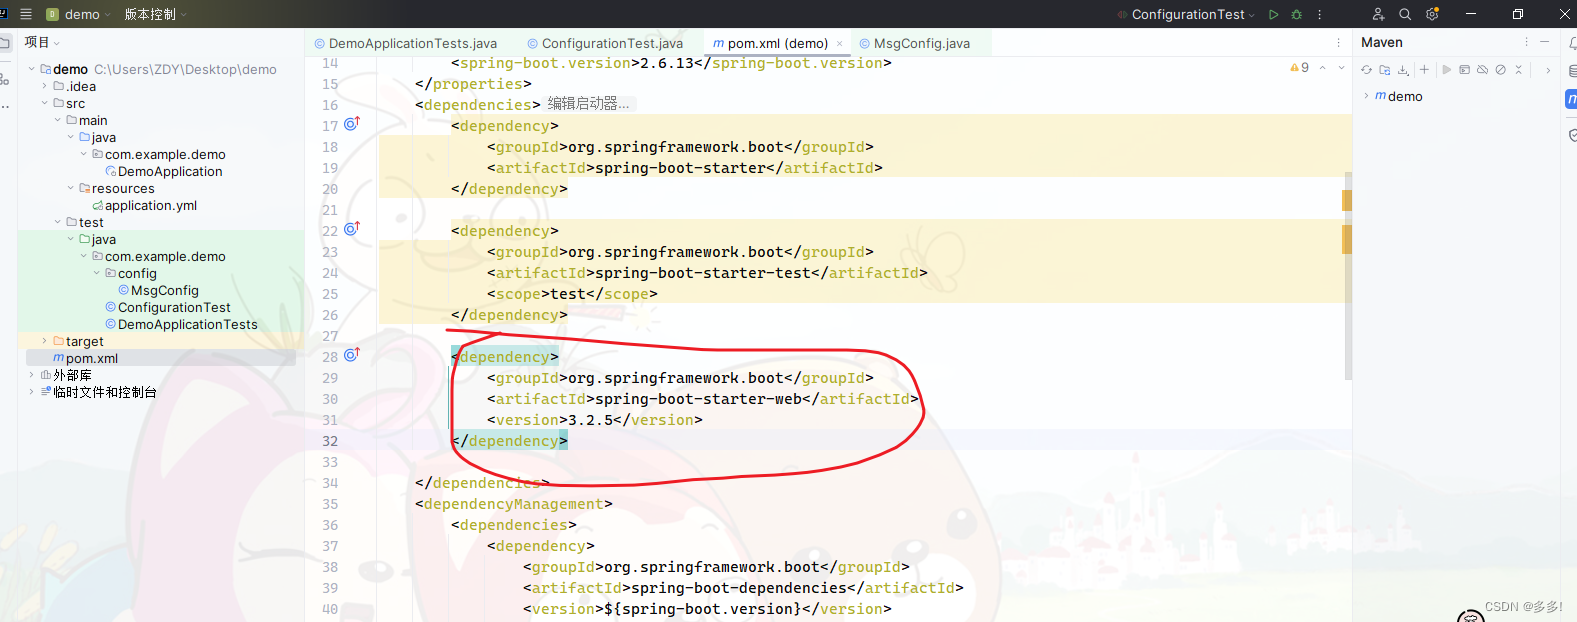
坐标
<dependency>
    <groupId>org.springframework.boot</groupId>
    <artifactId>spring-boot-starter-web</artifactId>
    <version>3.2.5</version>
</dependency>
我们要在测试中启动web程序
默认的属性是这样的
不启动
启动
默认端口启动
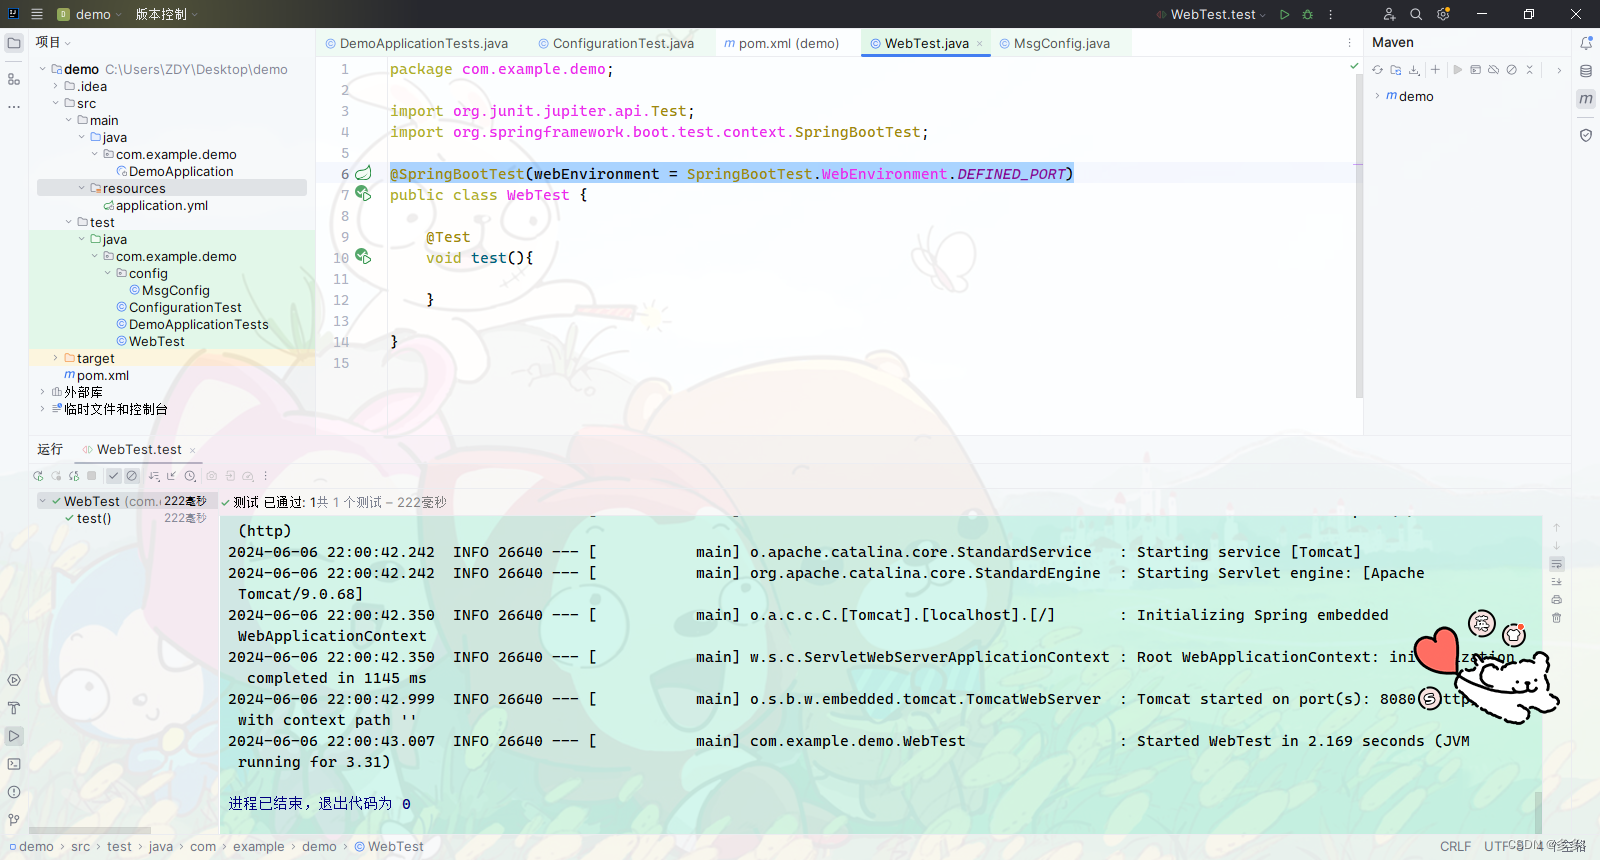
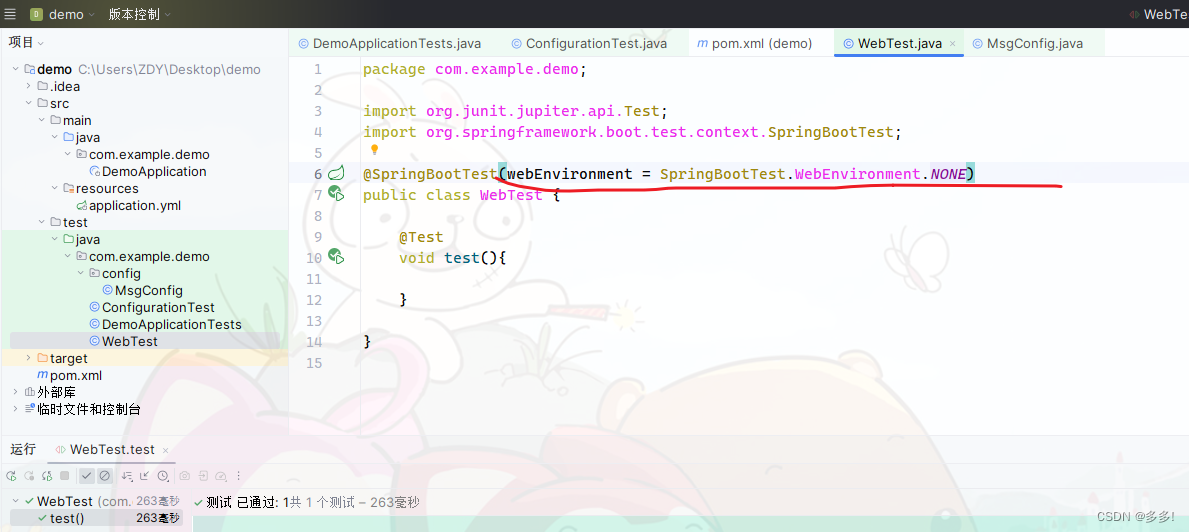
package com.example.demo;
import org.junit.jupiter.api.Test;
import org.springframework.boot.test.context.SpringBootTest;
@SpringBootTest(webEnvironment = SpringBootTest.WebEnvironment.DEFINED_PORT)
public class WebTest {
@Test
void test(){
}
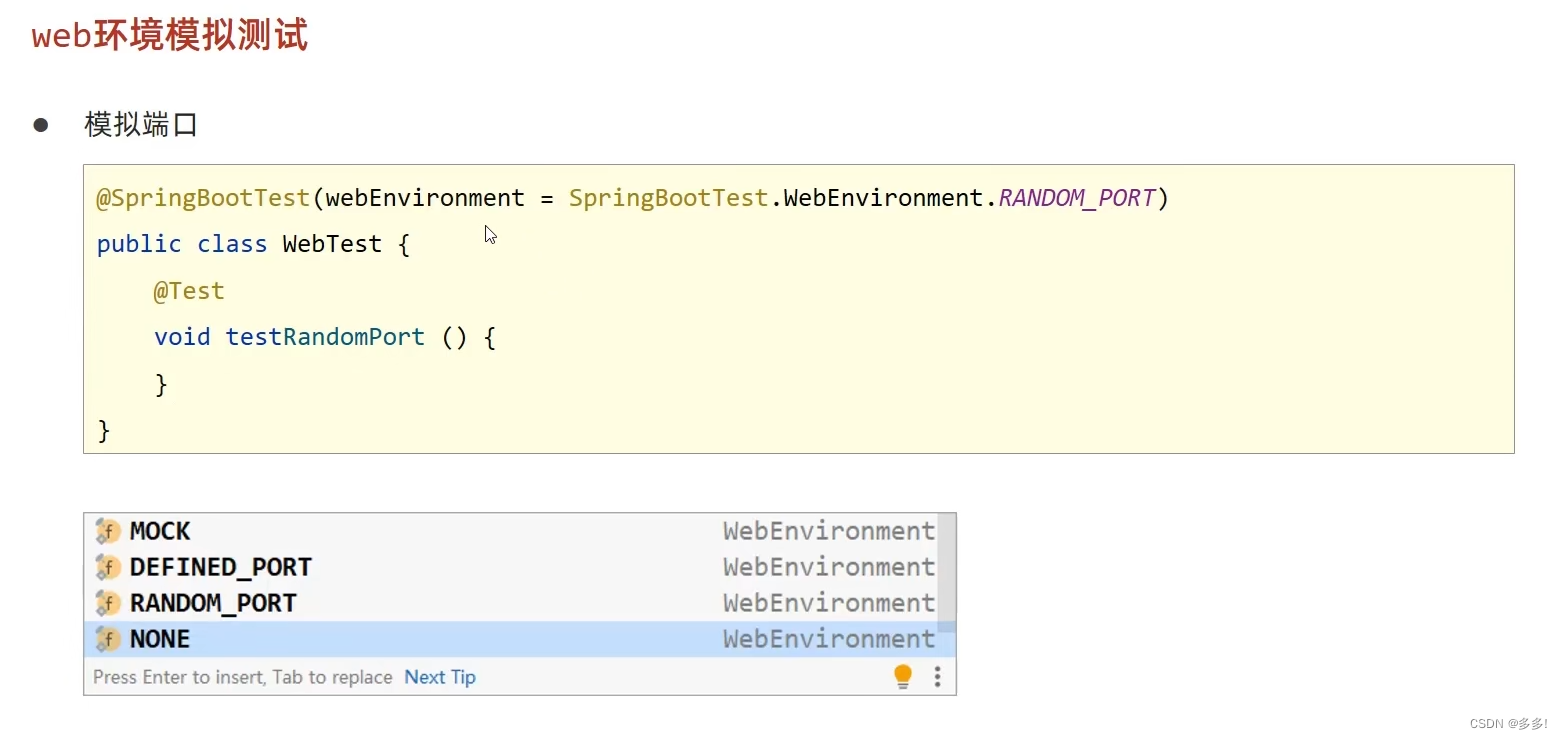
}随机端口启动
我们的程序可以不写死端口
这样提高容错率

@SpringBootTest(webEnvironment = SpringBootTest.WebEnvironment.RANDOM_PORT)小结
发送虚拟请求
写一个表现层开发
Controller层
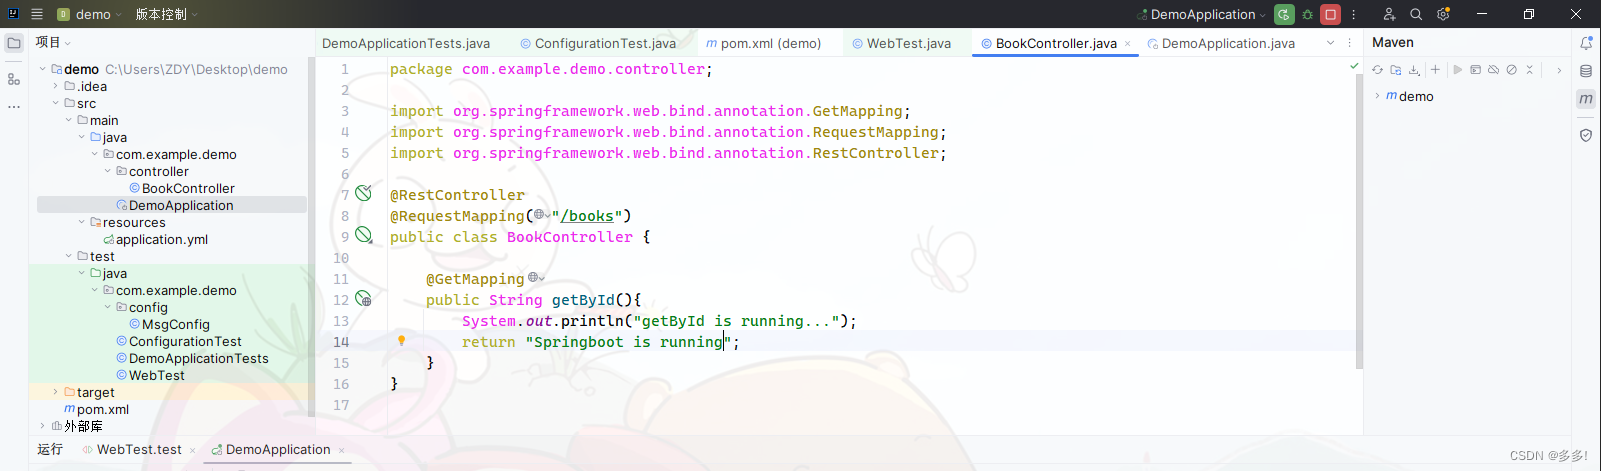
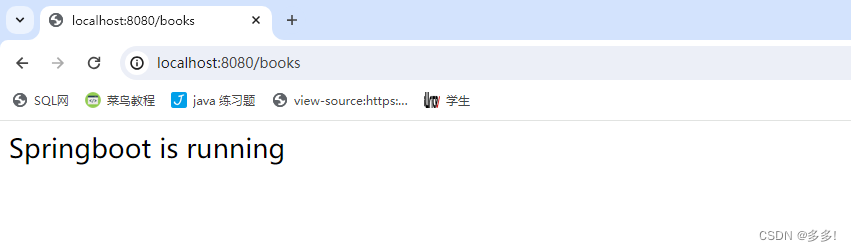
浏览器有响应
我们现在要在测试里发起一个请求
在测试里面调用spring MVC
该如何去呢
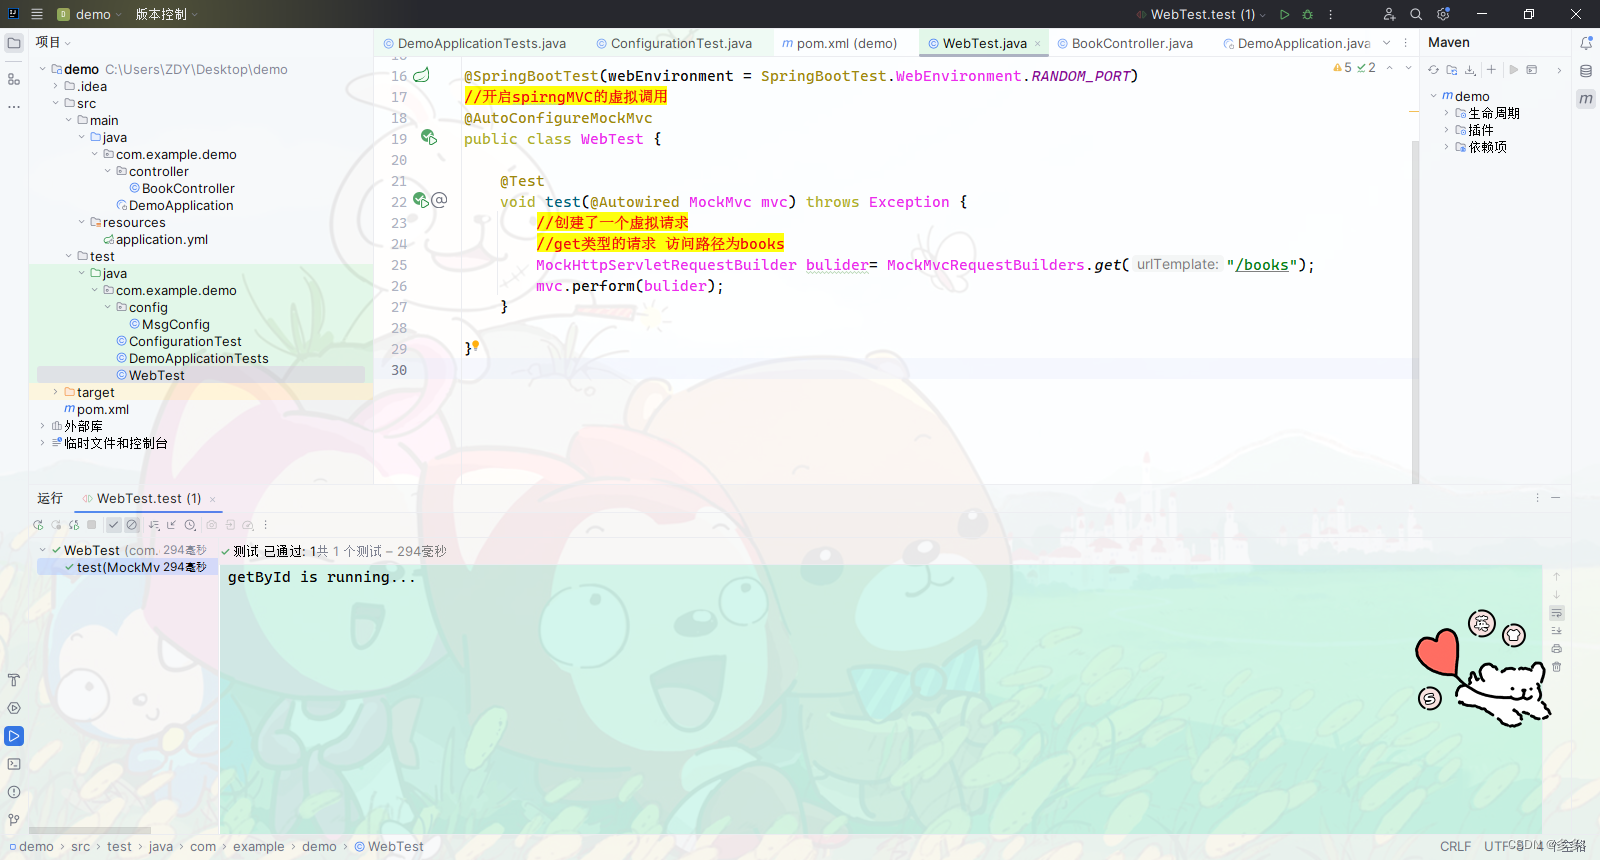
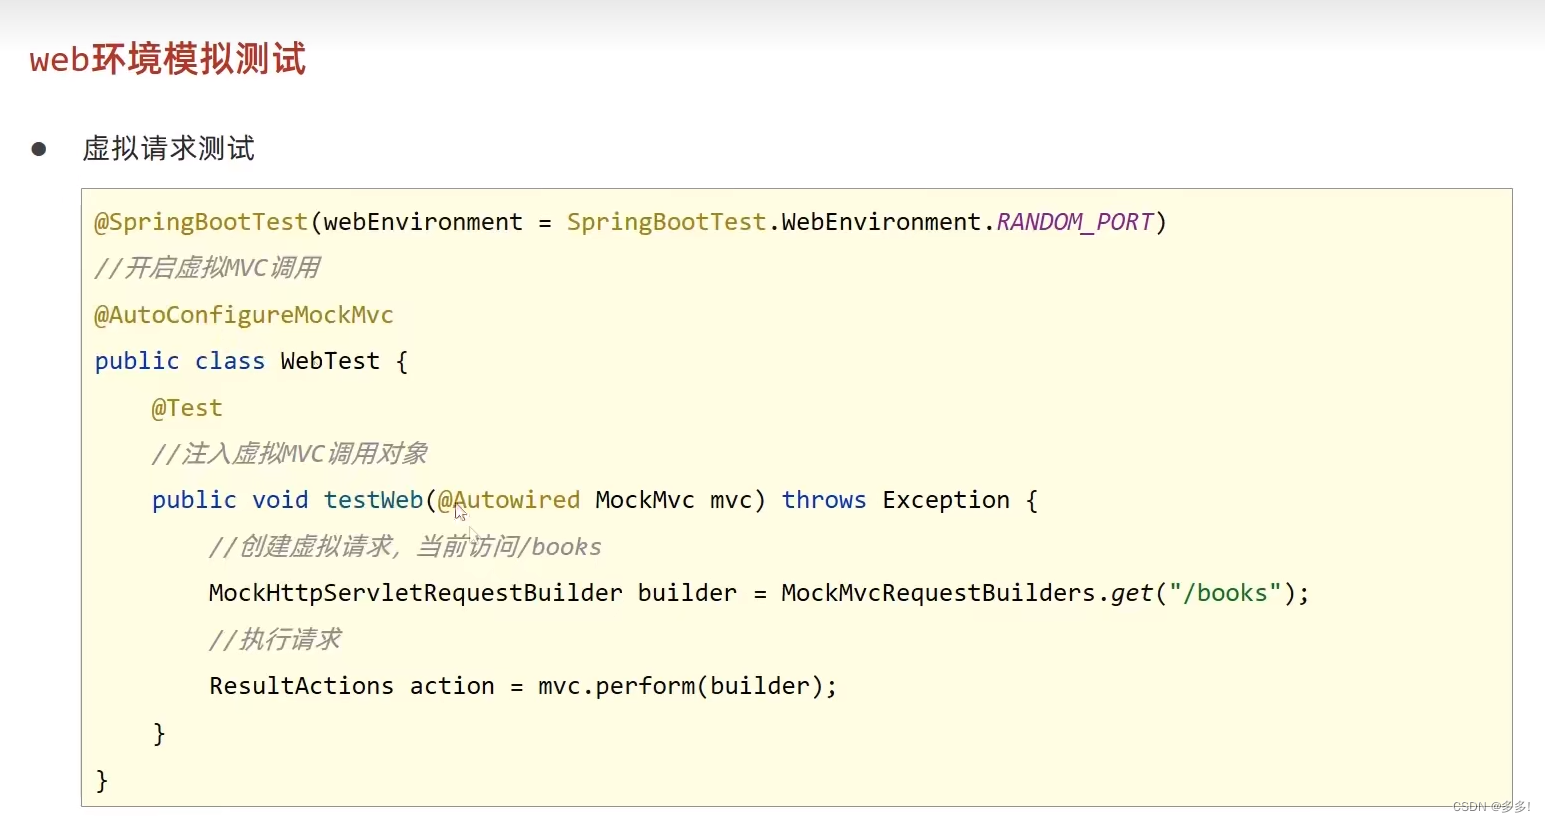
我们要做一个虚拟调用
//开启spirngMVC的虚拟调用
@AutoConfigureMockMvc
测试
package com.example.demo;

import org.junit.jupiter.api.Test;
import org.springframework.beans.factory.annotation.Autowired;
import org.springframework.boot.test.autoconfigure.web.servlet.AutoConfigureMockMvc;
import org.springframework.boot.test.autoconfigure.web.servlet.MockMvcAutoConfiguration;
import org.springframework.boot.test.context.SpringBootTest;
import org.springframework.test.web.servlet.MockMvc;
import org.springframework.test.web.servlet.RequestBuilder;
import org.springframework.test.web.servlet.ResultMatcher;
import org.springframework.test.web.servlet.request.MockHttpServletRequestBuilder;
import org.springframework.test.web.servlet.request.MockMvcRequestBuilders;
import org.springframework.test.web.servlet.result.MockMvcResultMatchers;
import org.springframework.test.web.servlet.result.StatusResultMatchers;

@SpringBootTest(webEnvironment = SpringBootTest.WebEnvironment.RANDOM_PORT)
//开启spirngMVC的虚拟调用
@AutoConfigureMockMvc
public class WebTest {

    @Test
    void test(@Autowired MockMvc mvc) throws Exception {
        //创建了一个虚拟请求
        //get类型的请求 访问路径为books
        MockHttpServletRequestBuilder bulider= MockMvcRequestBuilders.get("/books");
        mvc.perform(bulider);
    }

}
小结
个人号推广
博客主页
Web后端开发
https://blog.csdn.net/qq_30500575/category_12624592.html?spm=1001.2014.3001.5482
Web前端开发
https://blog.csdn.net/qq_30500575/category_12642989.html?spm=1001.2014.3001.5482
数据库开发
https://blog.csdn.net/qq_30500575/category_12651993.html?spm=1001.2014.3001.5482
项目实战
https://blog.csdn.net/qq_30500575/category_12699801.html?spm=1001.2014.3001.5482
算法与数据结构
https://blog.csdn.net/qq_30500575/category_12630954.html?spm=1001.2014.3001.5482
计算机基础
https://blog.csdn.net/qq_30500575/category_12701605.html?spm=1001.2014.3001.5482
回忆录
https://blog.csdn.net/qq_30500575/category_12620276.html?spm=1001.2014.3001.5482