目录
注:若是还没安装VMware请转到高效实现虚拟机(VMware)安装教程(附安装包)-CSDN博客
一、linux操作系统下载链接
1.官网链接下载
ubuntu:ubuntu官网跳转链接 https://cn.ubuntu.com/download/desktop
Centos 阿里云下载 :centos镜像下载 centos-7-isos-x86_64安装包下载_开源镜像站-阿里云
2.百度网盘的下载连接(最后更新于2024年3月28日)
Centos:链接:https://pan.baidu.com/s/1T1P1ZtW4Ni9dlwLnd06EAg
提取码:w3lg (注:这里有centos7和centos8 可以选择一个需要的~)
Ubuntu :链接:https://pan.baidu.com/s/1ZrdYVGLU02PaUZigizQ-SA
提取码:ovi9 (注 这里有 Ubuntu 22.04桌面版)
二、安装Ubuntu镜像源
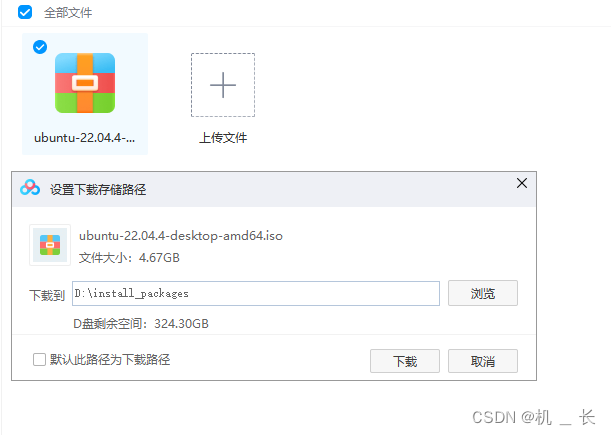
1.进入网盘下载Ubuntu的镜像源
注:如果你不知道你需要下载哪个系统,本人建议下载Ubuntu的镜像源
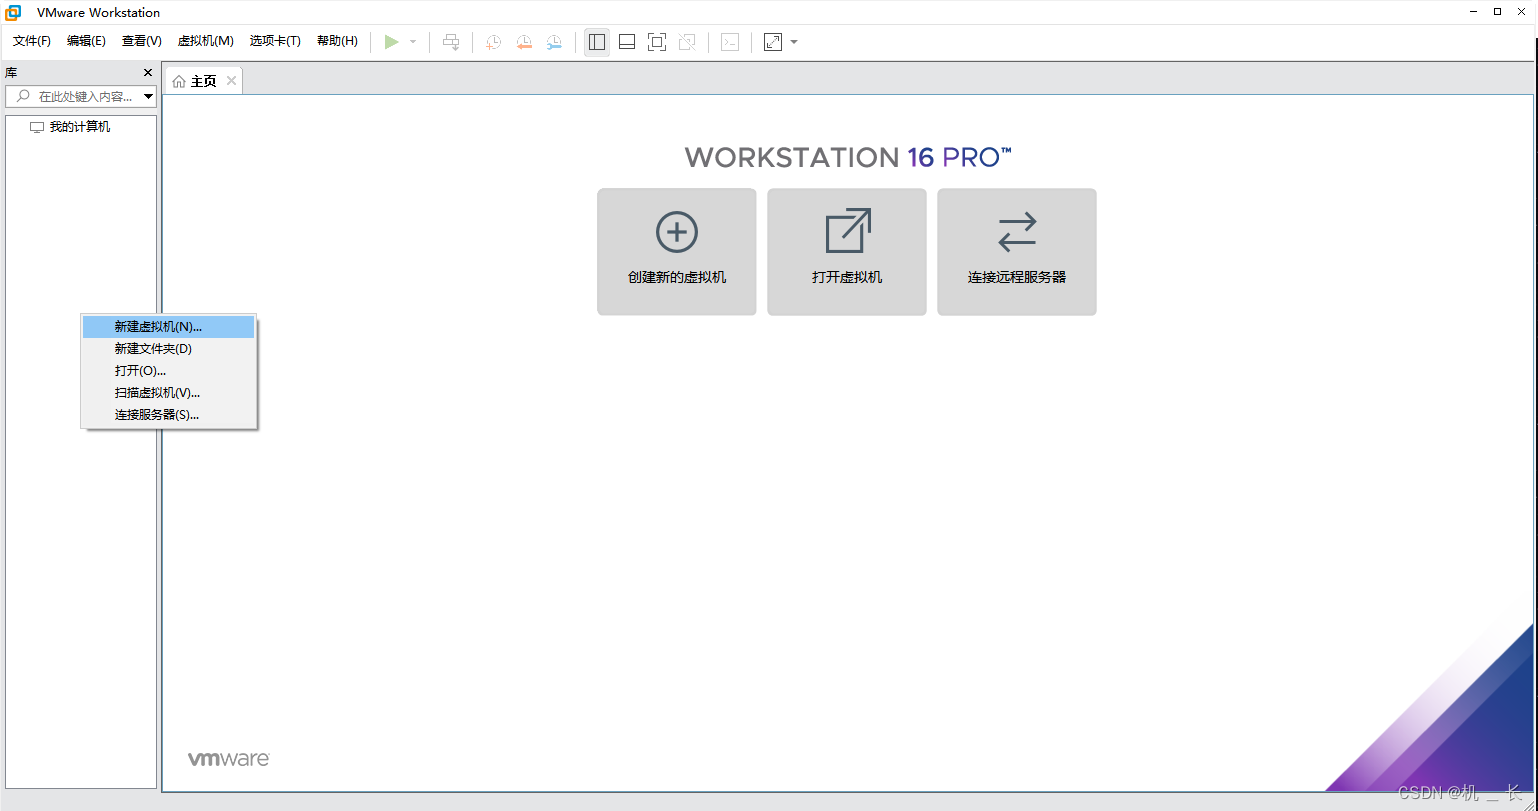
2.打开VMware,右击最左边空白处,点击新建虚拟机
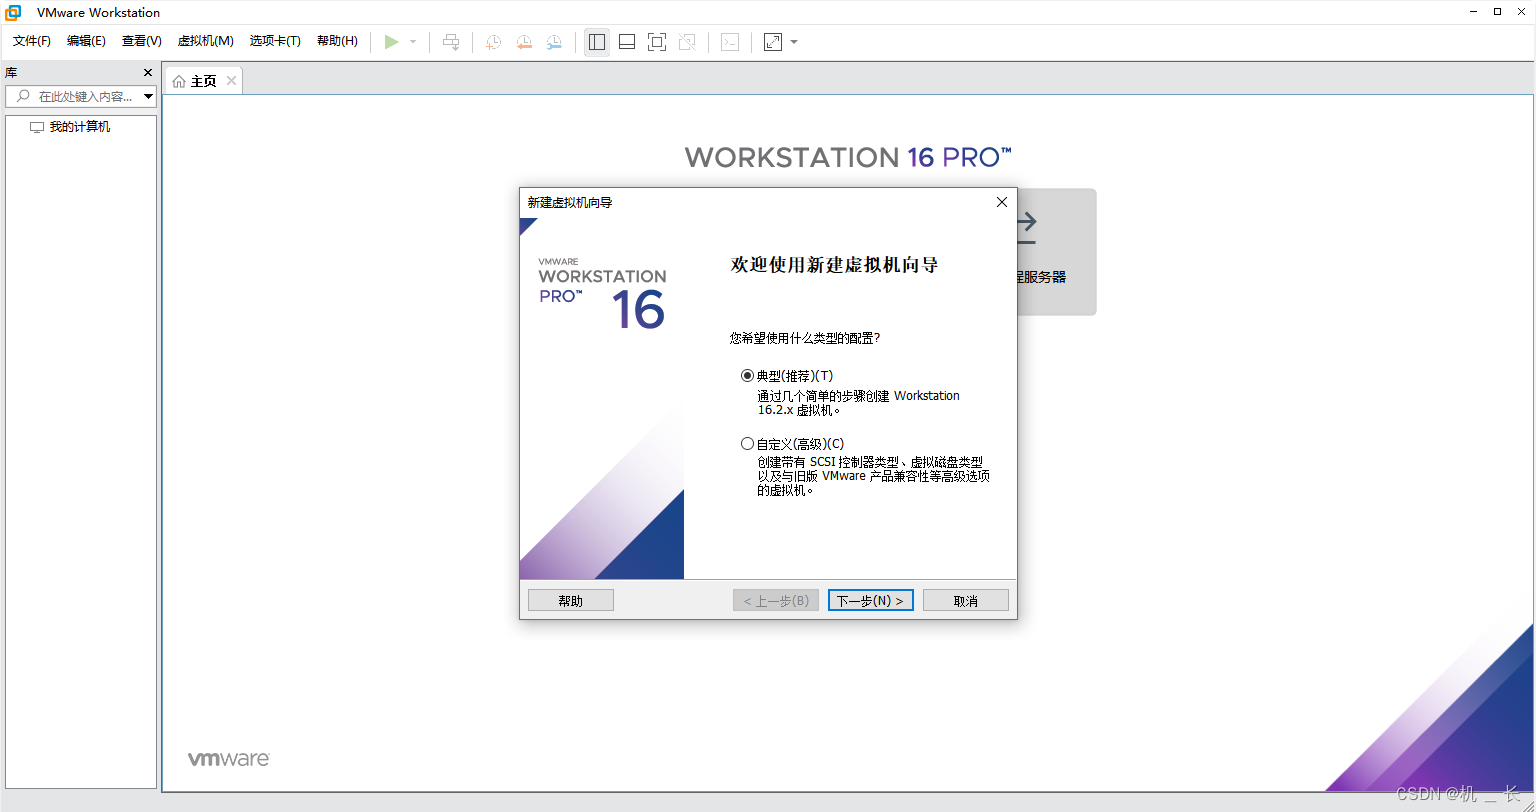
3.点击下一步
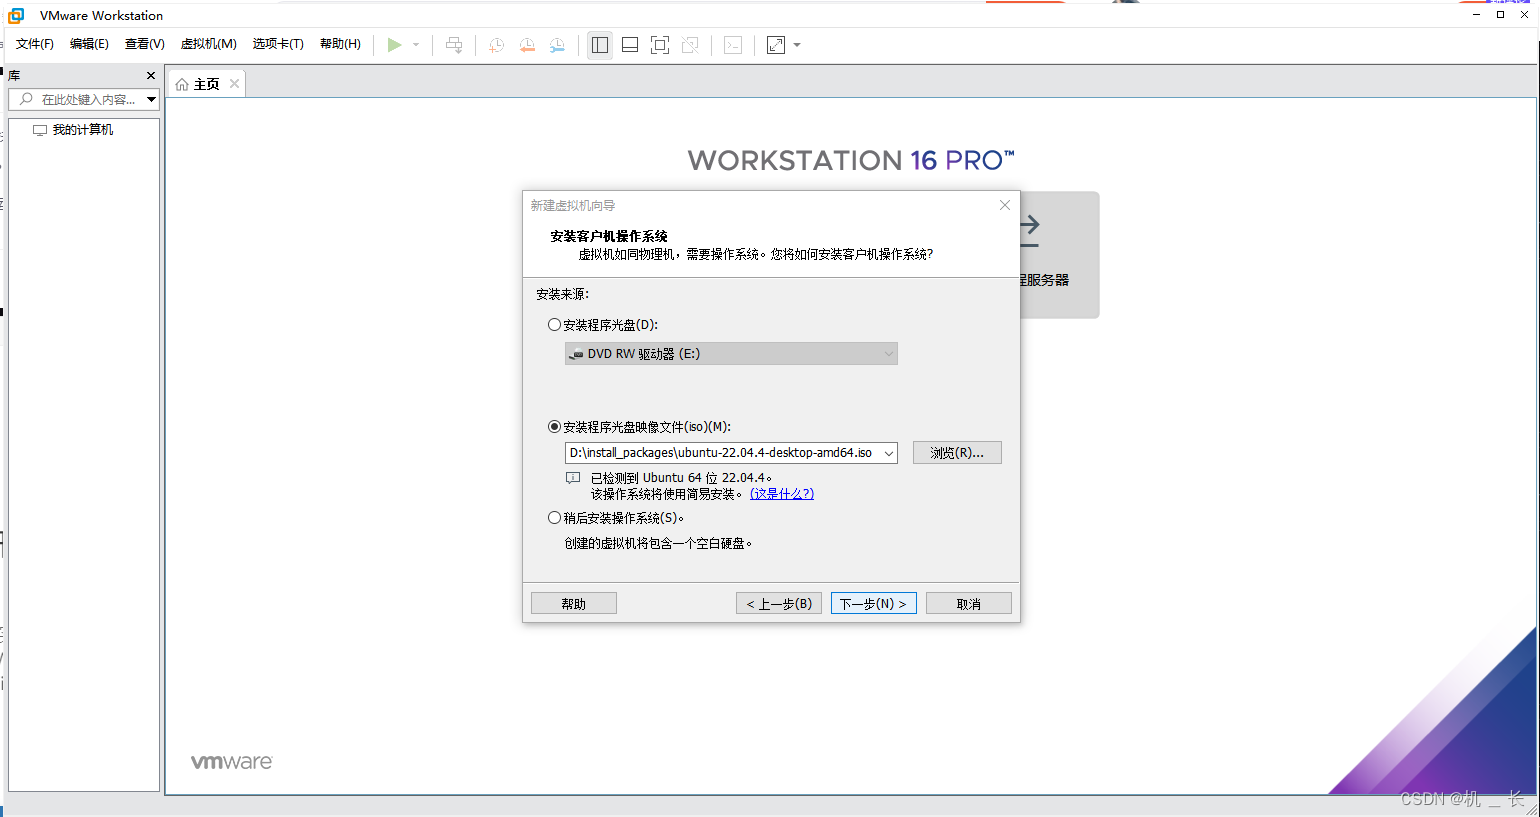
4.选择第二点,并将下载的Ubuntu的镜像源地址放入,然后点击下一步
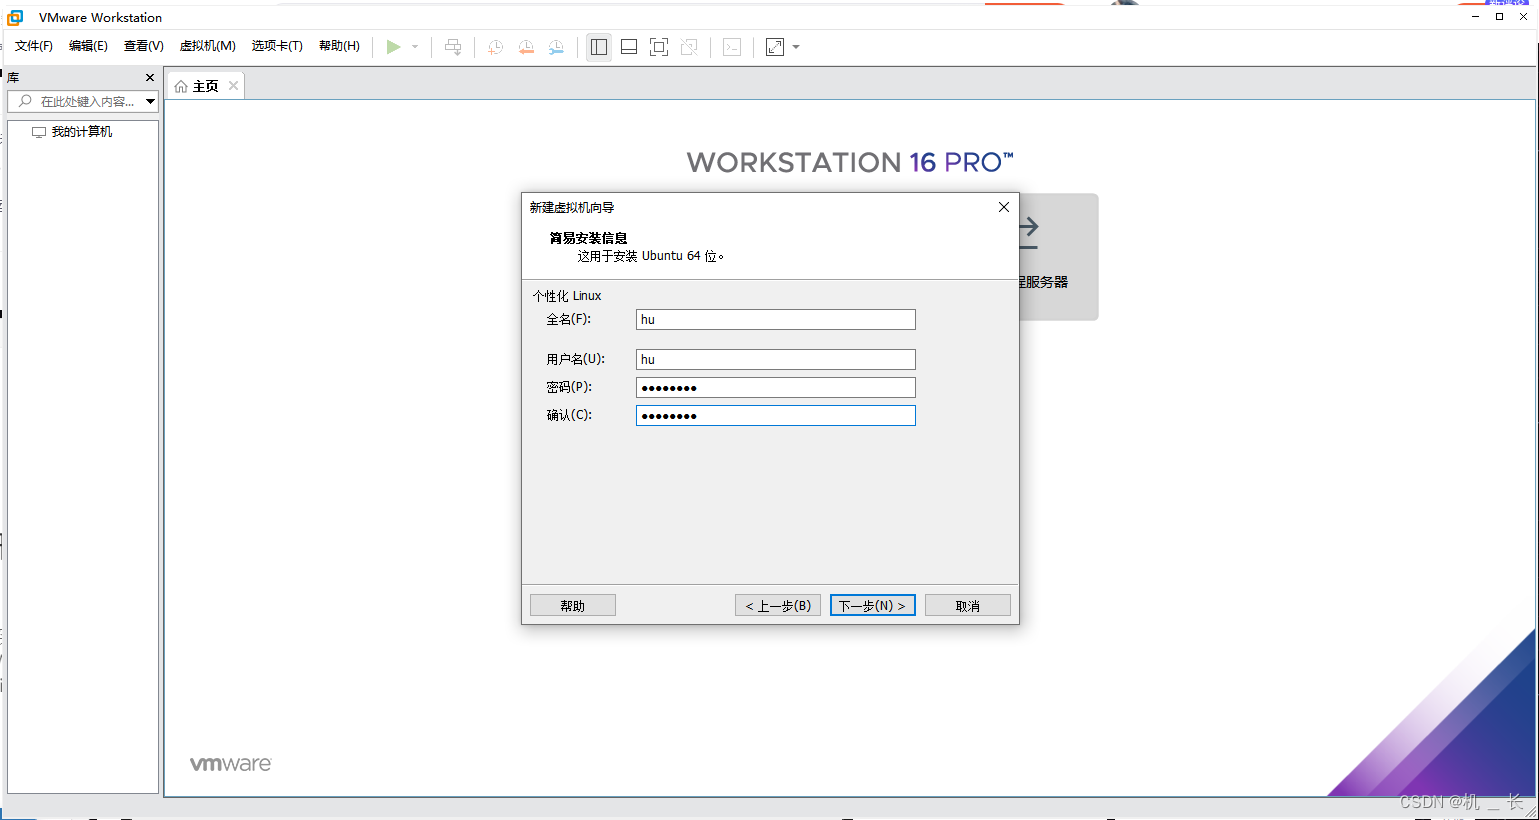
5.配置Ubuntu用户户名以及登陆密码,(注,记住用户名与密码,第11、14步骤需用到)
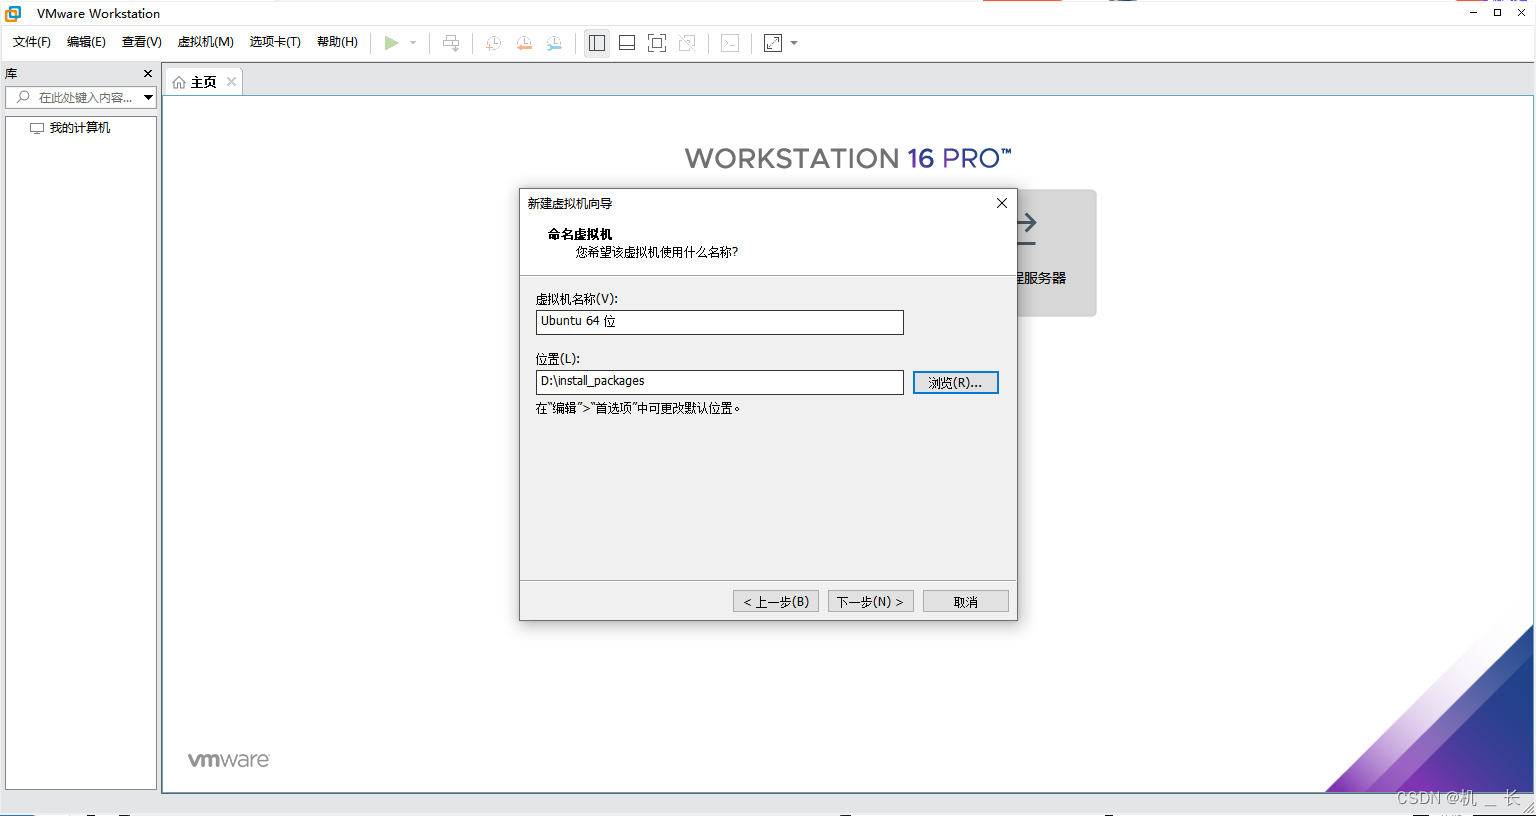
6.配置虚拟机向导地址,即Ubuntu镜像安装后的位置,然后点击下一步
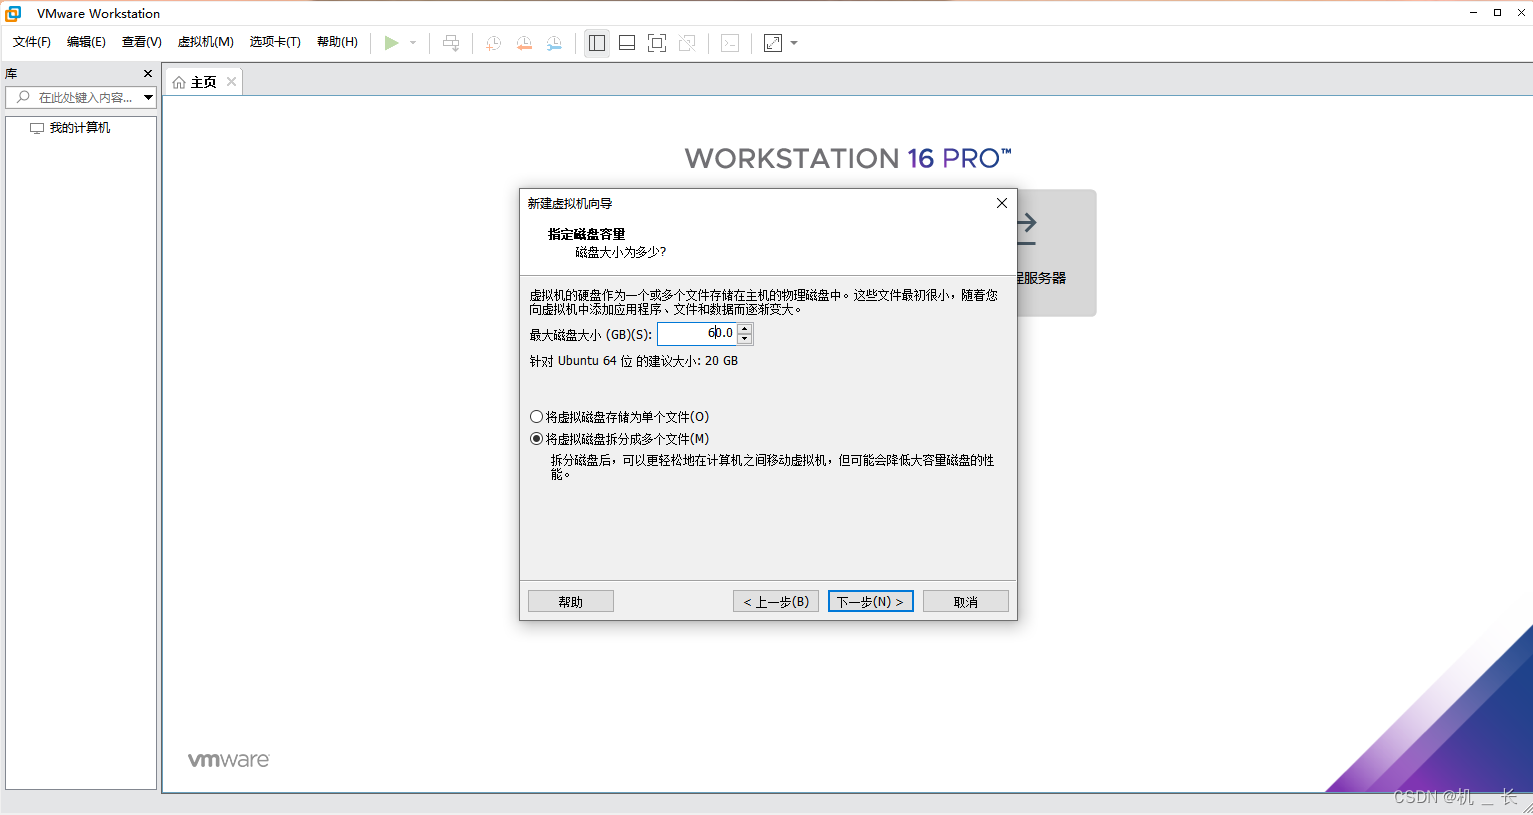
7.给Ubuntu系统分配磁盘空间,然后点击下一步
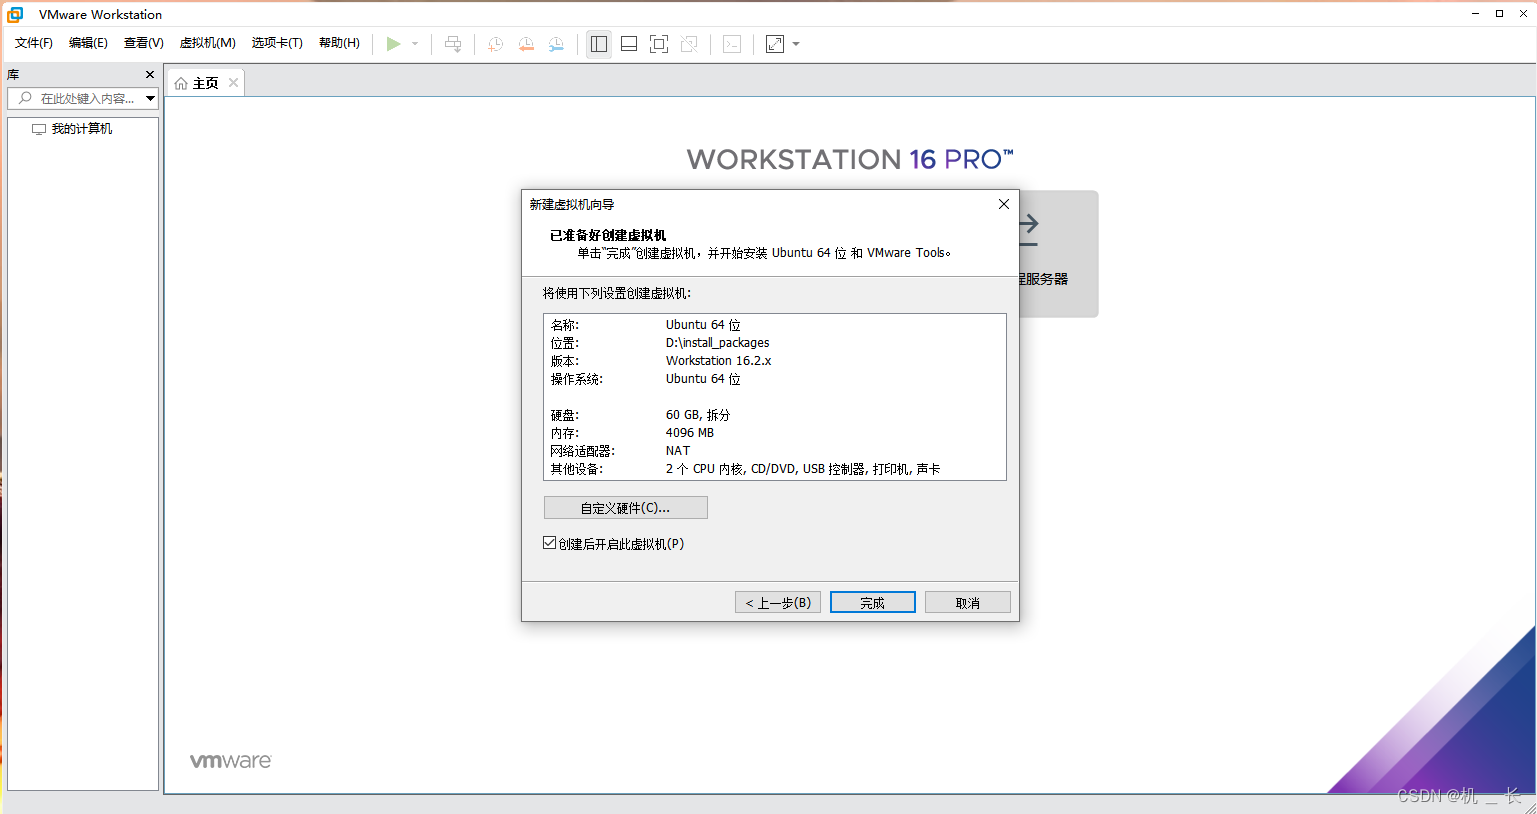
8.点击完成
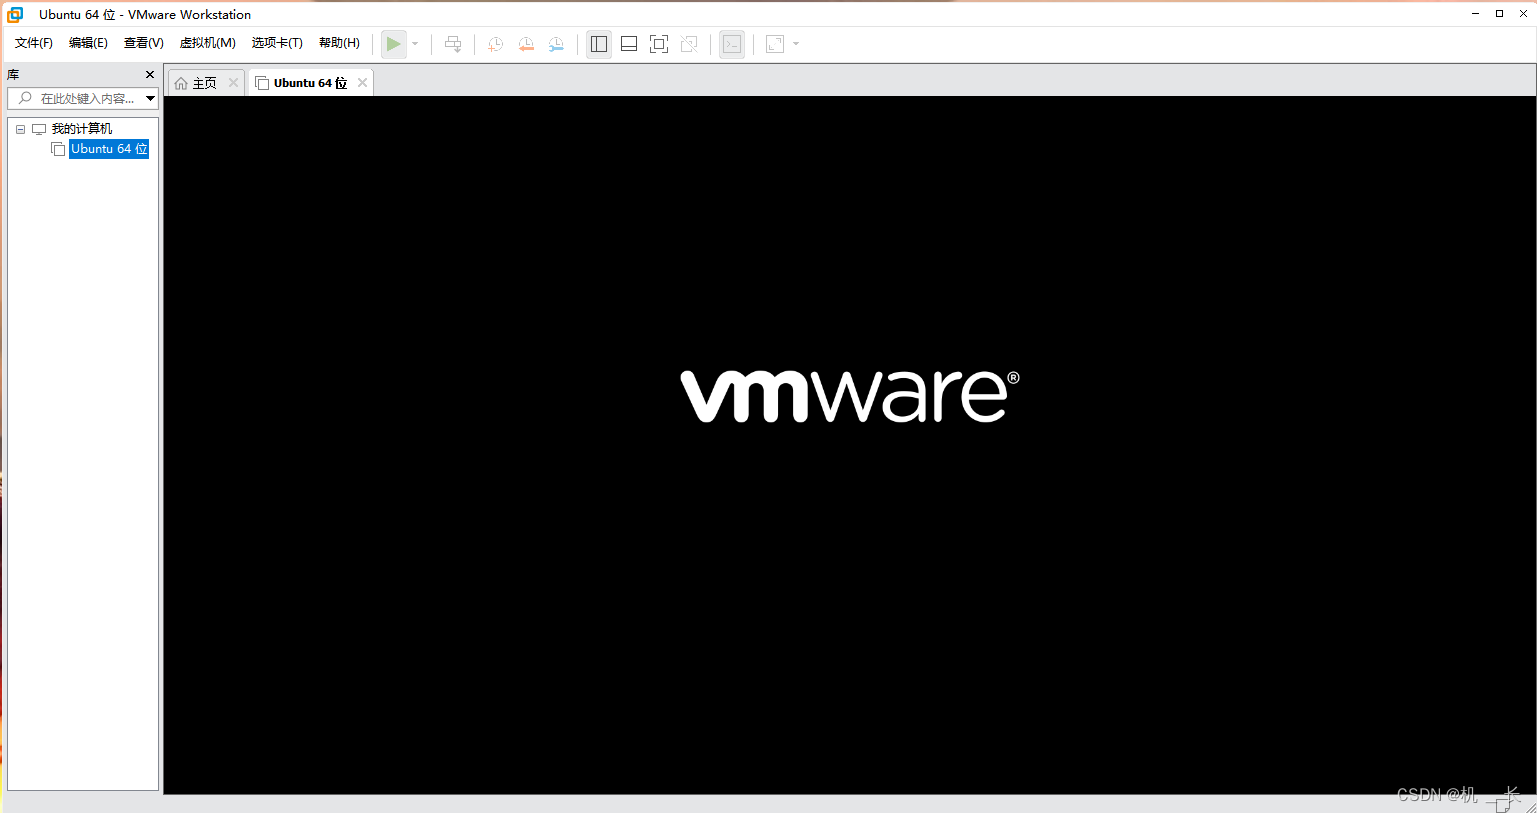
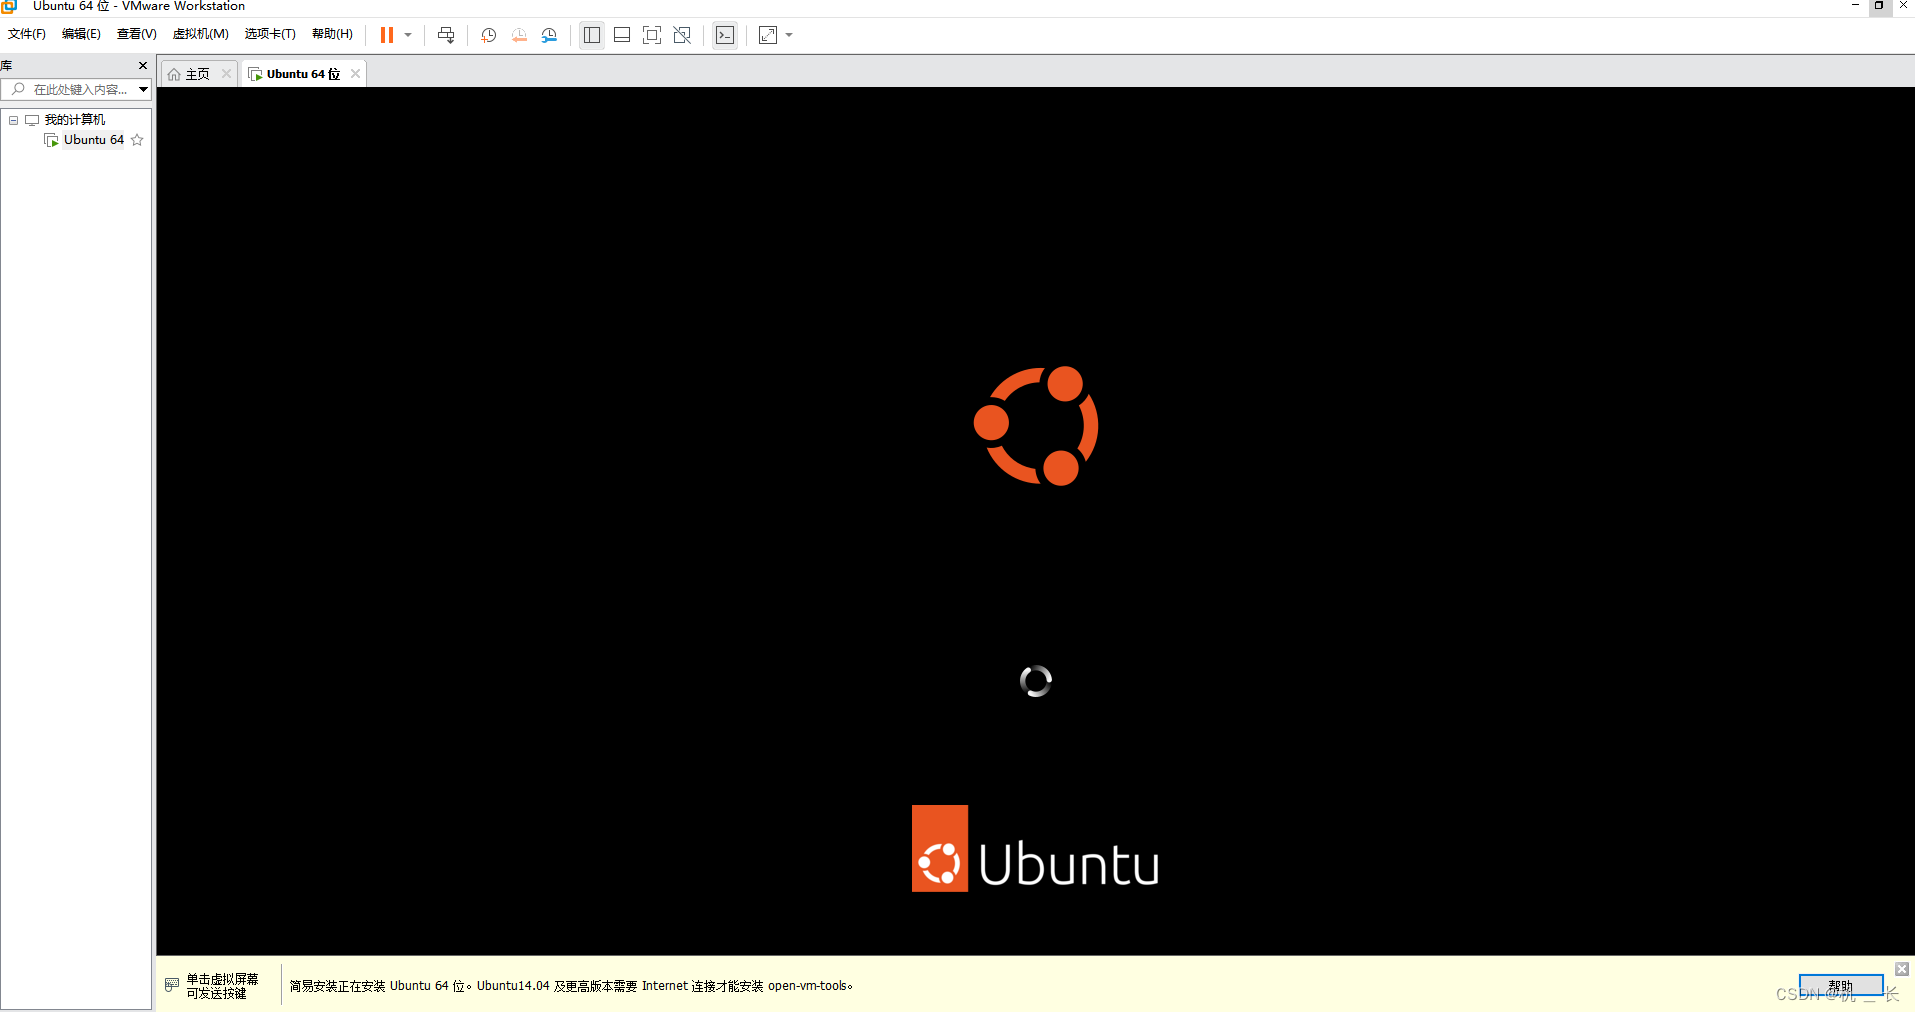
9.等待开始安装
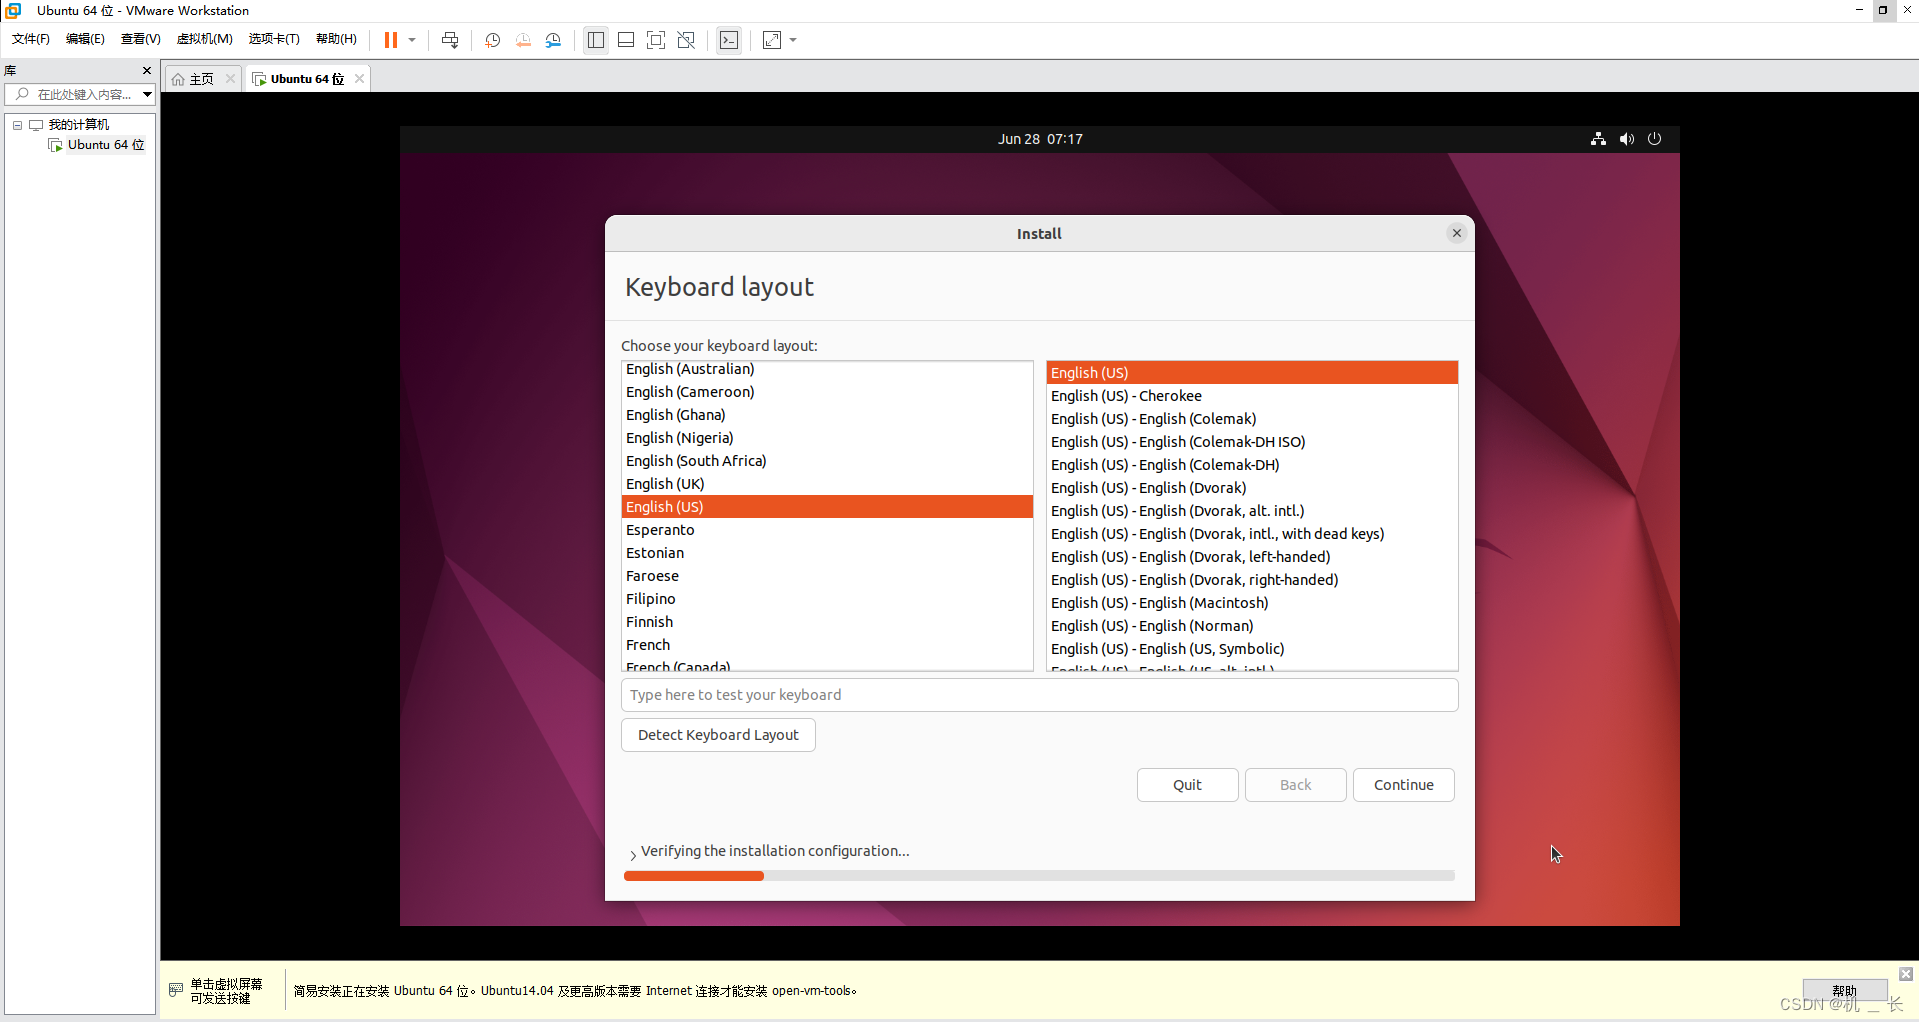
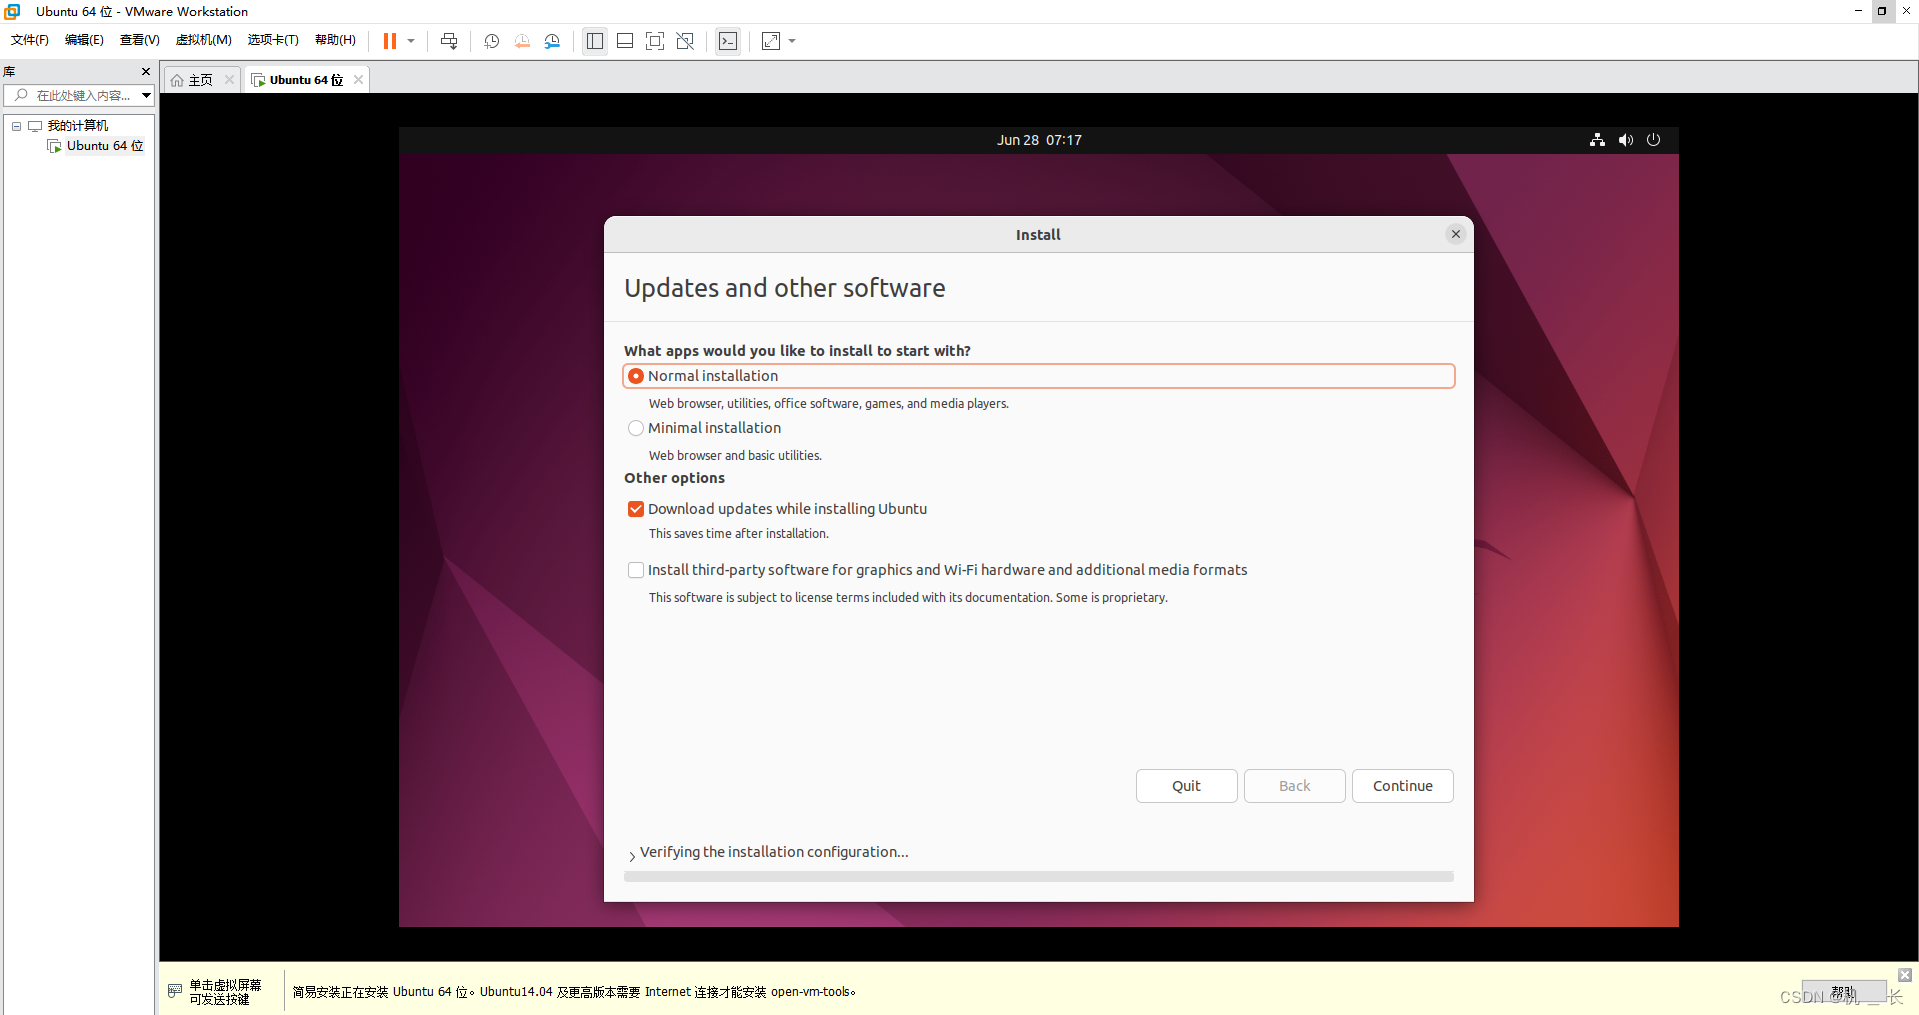
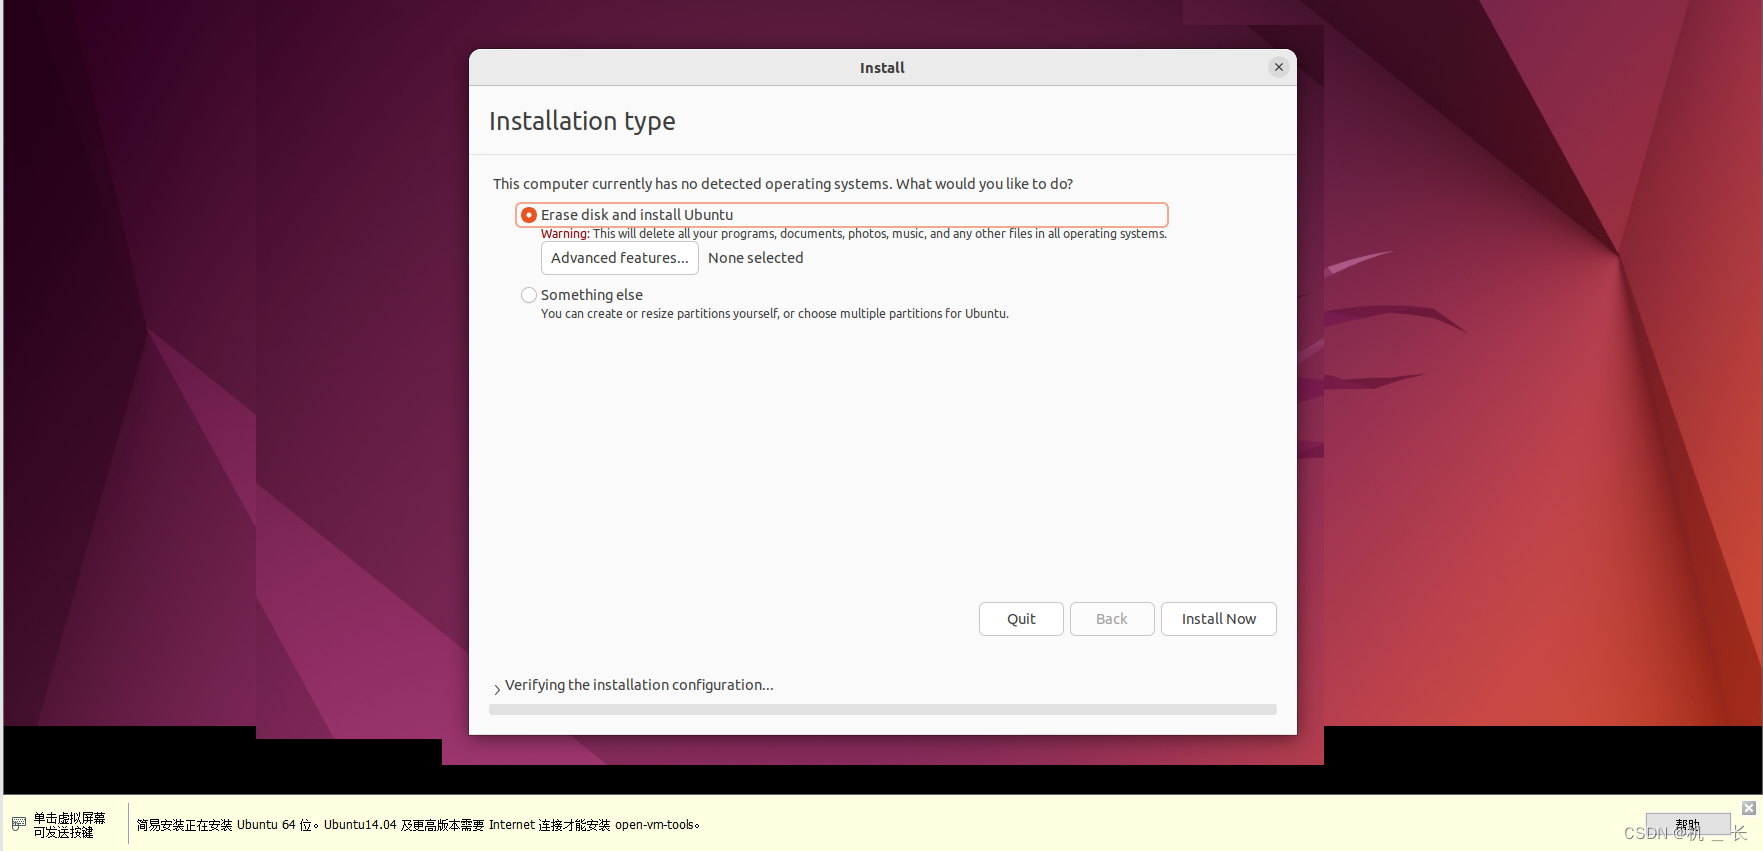
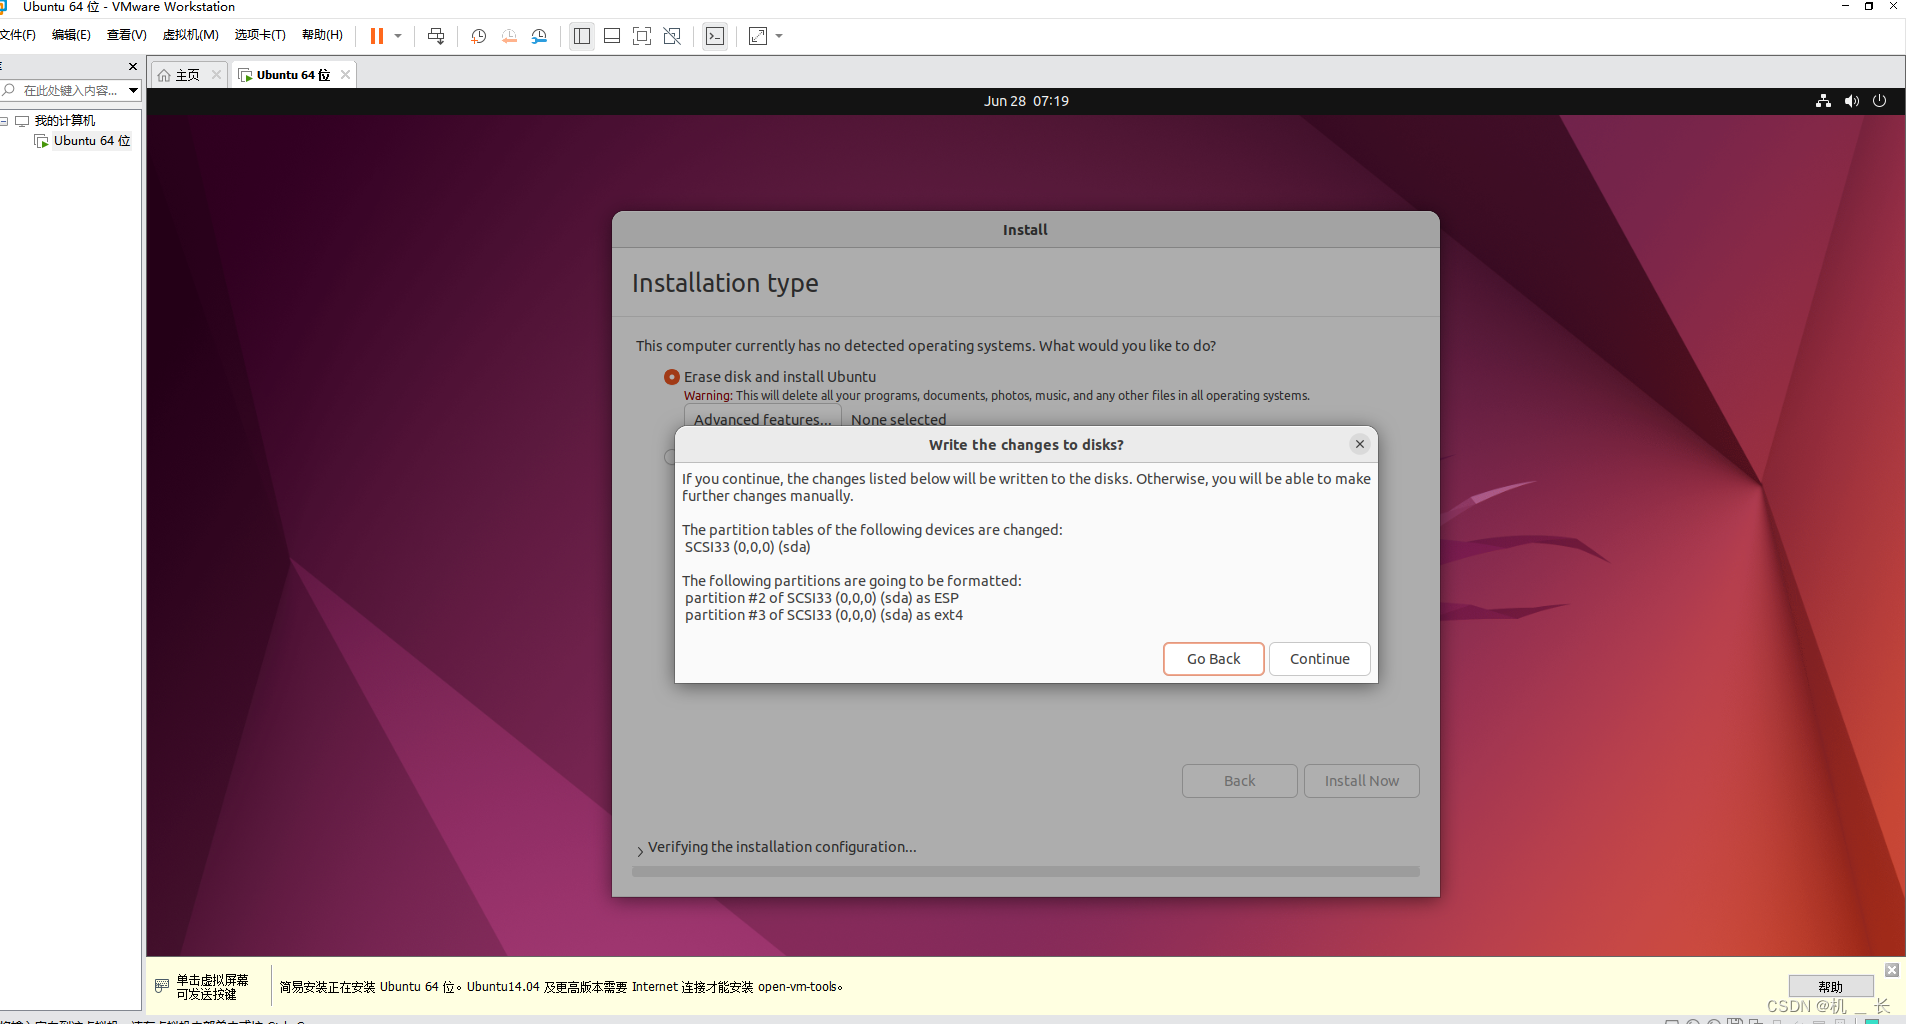
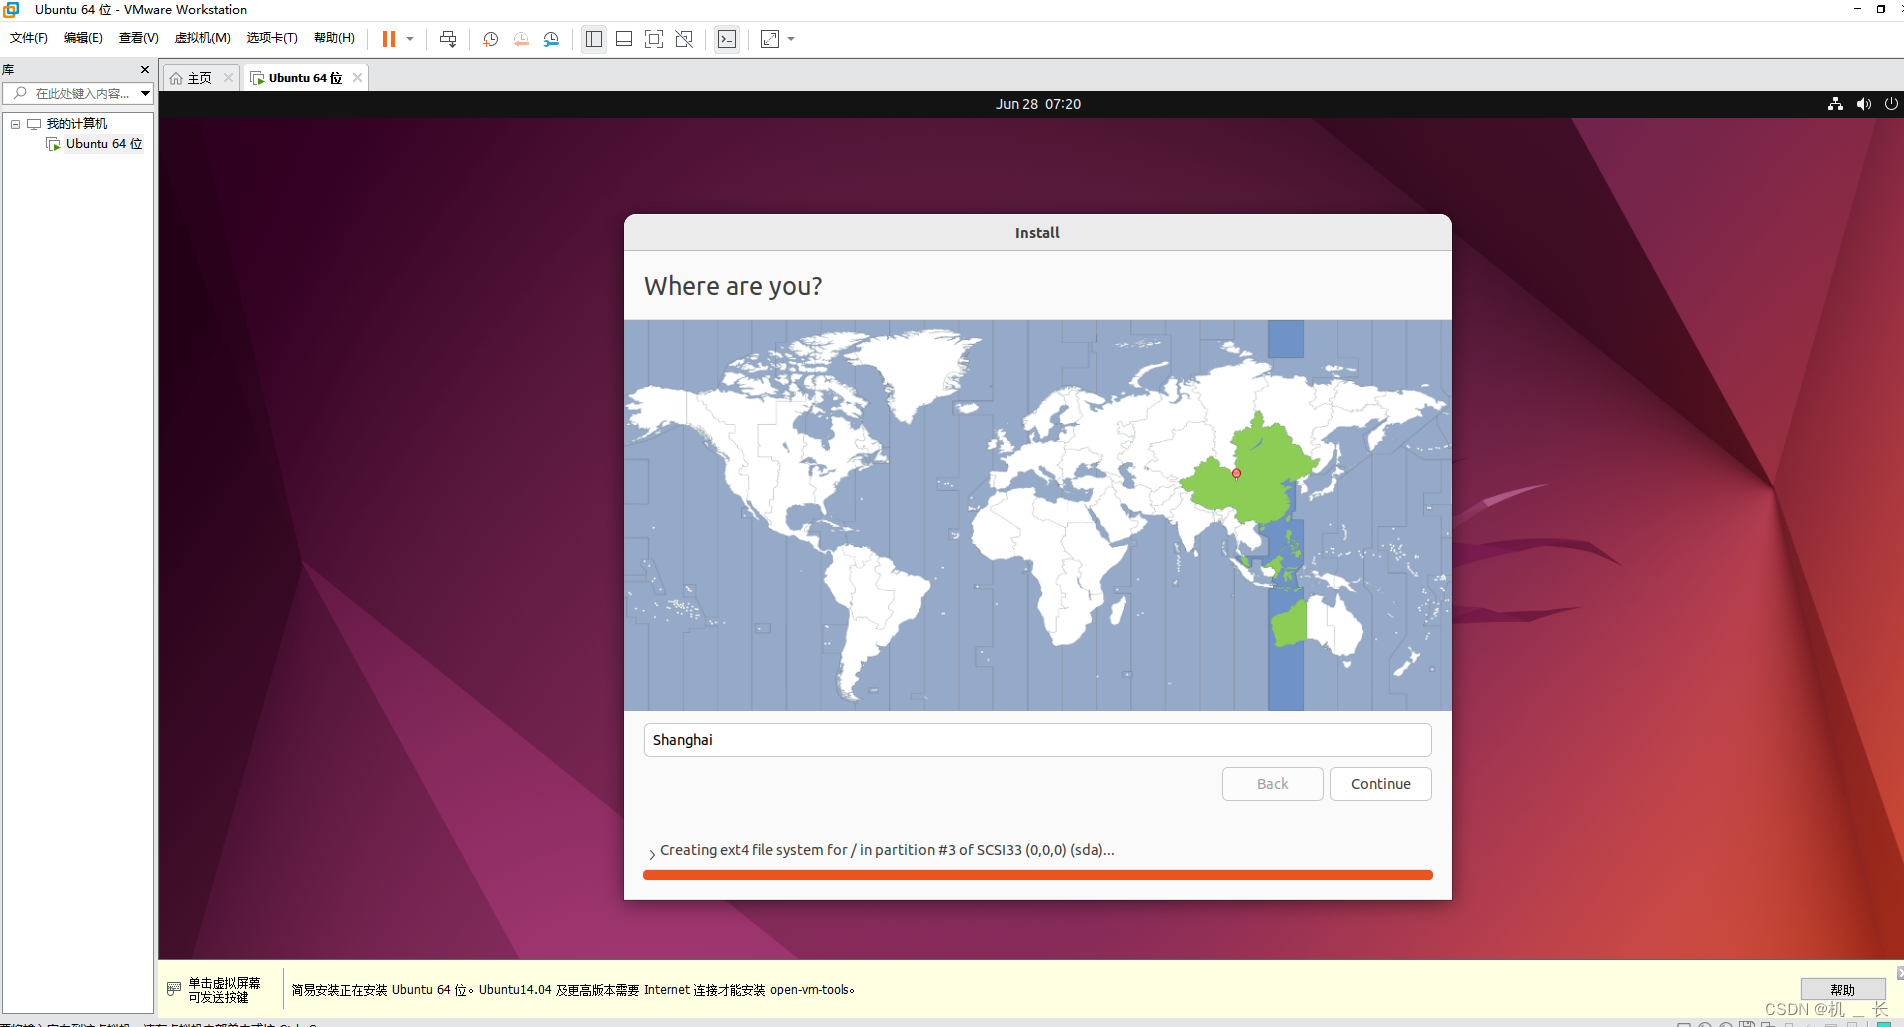
10.使用默认配置一直点击continue,直到第11点图
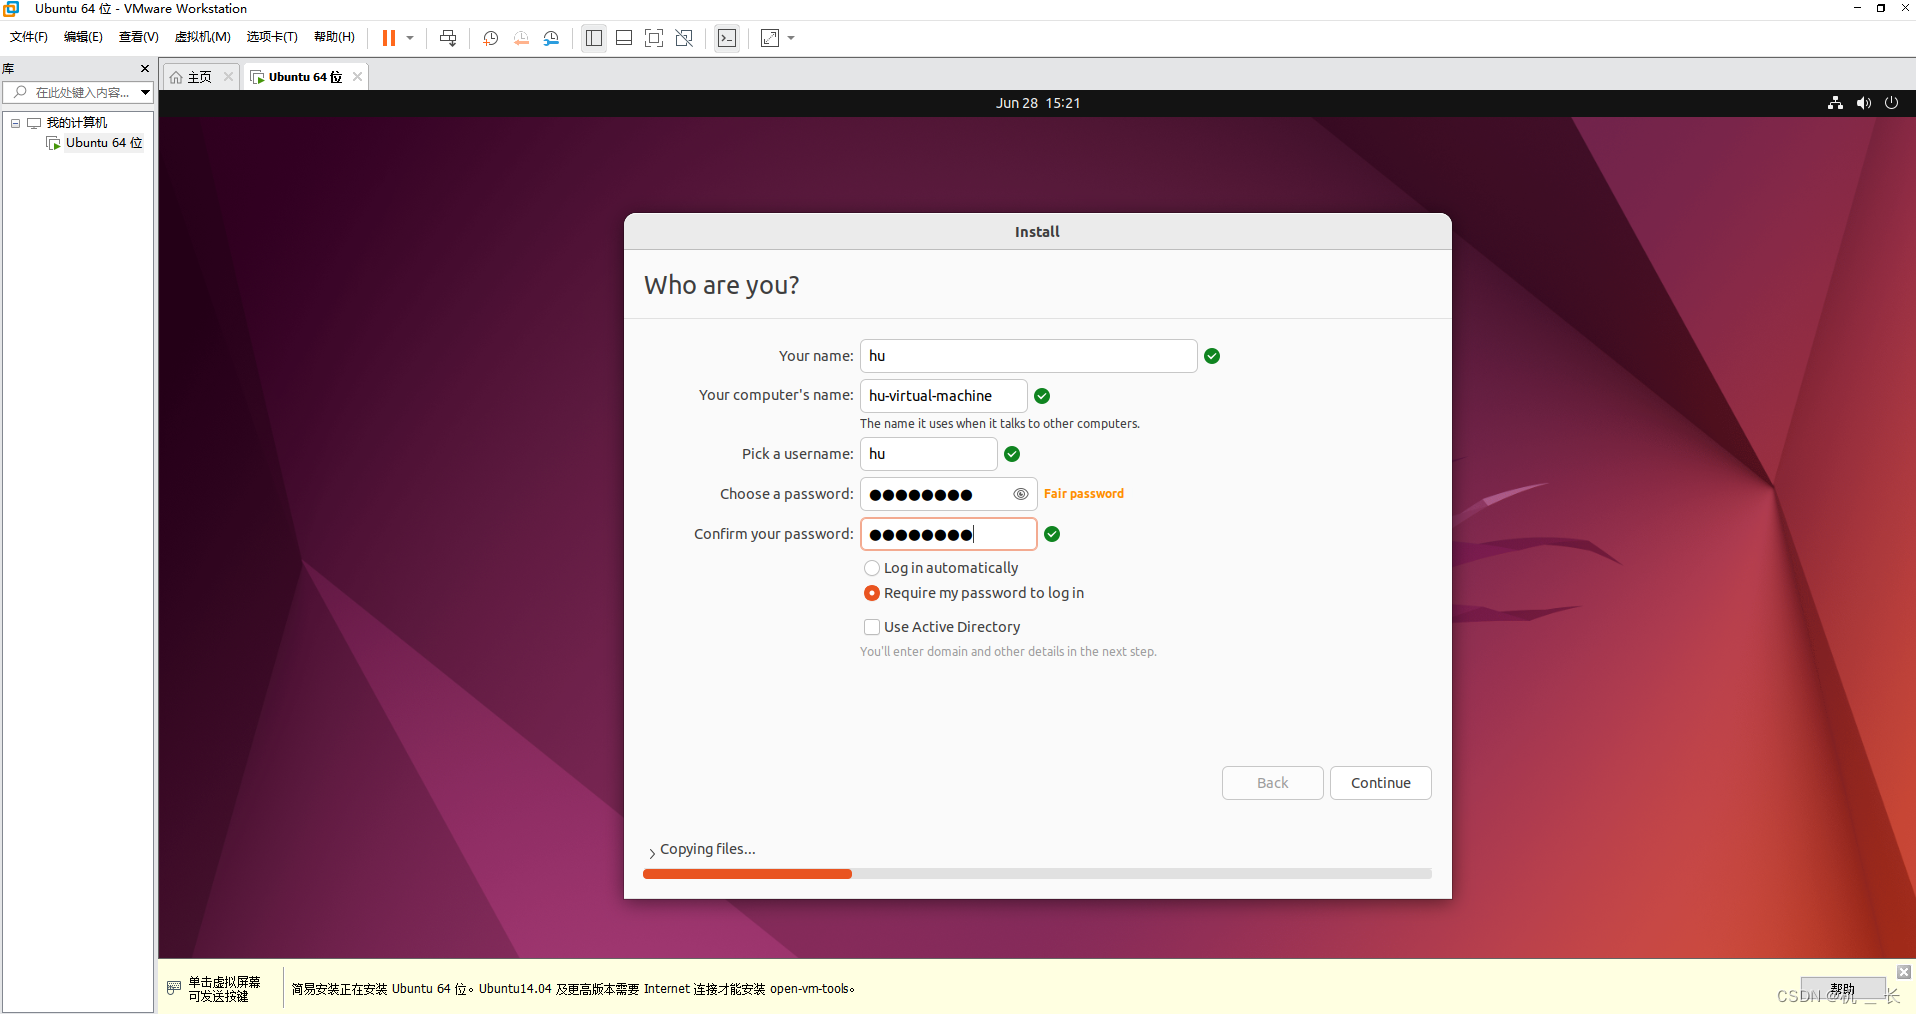
11.输出之前第五点的用户名和密码
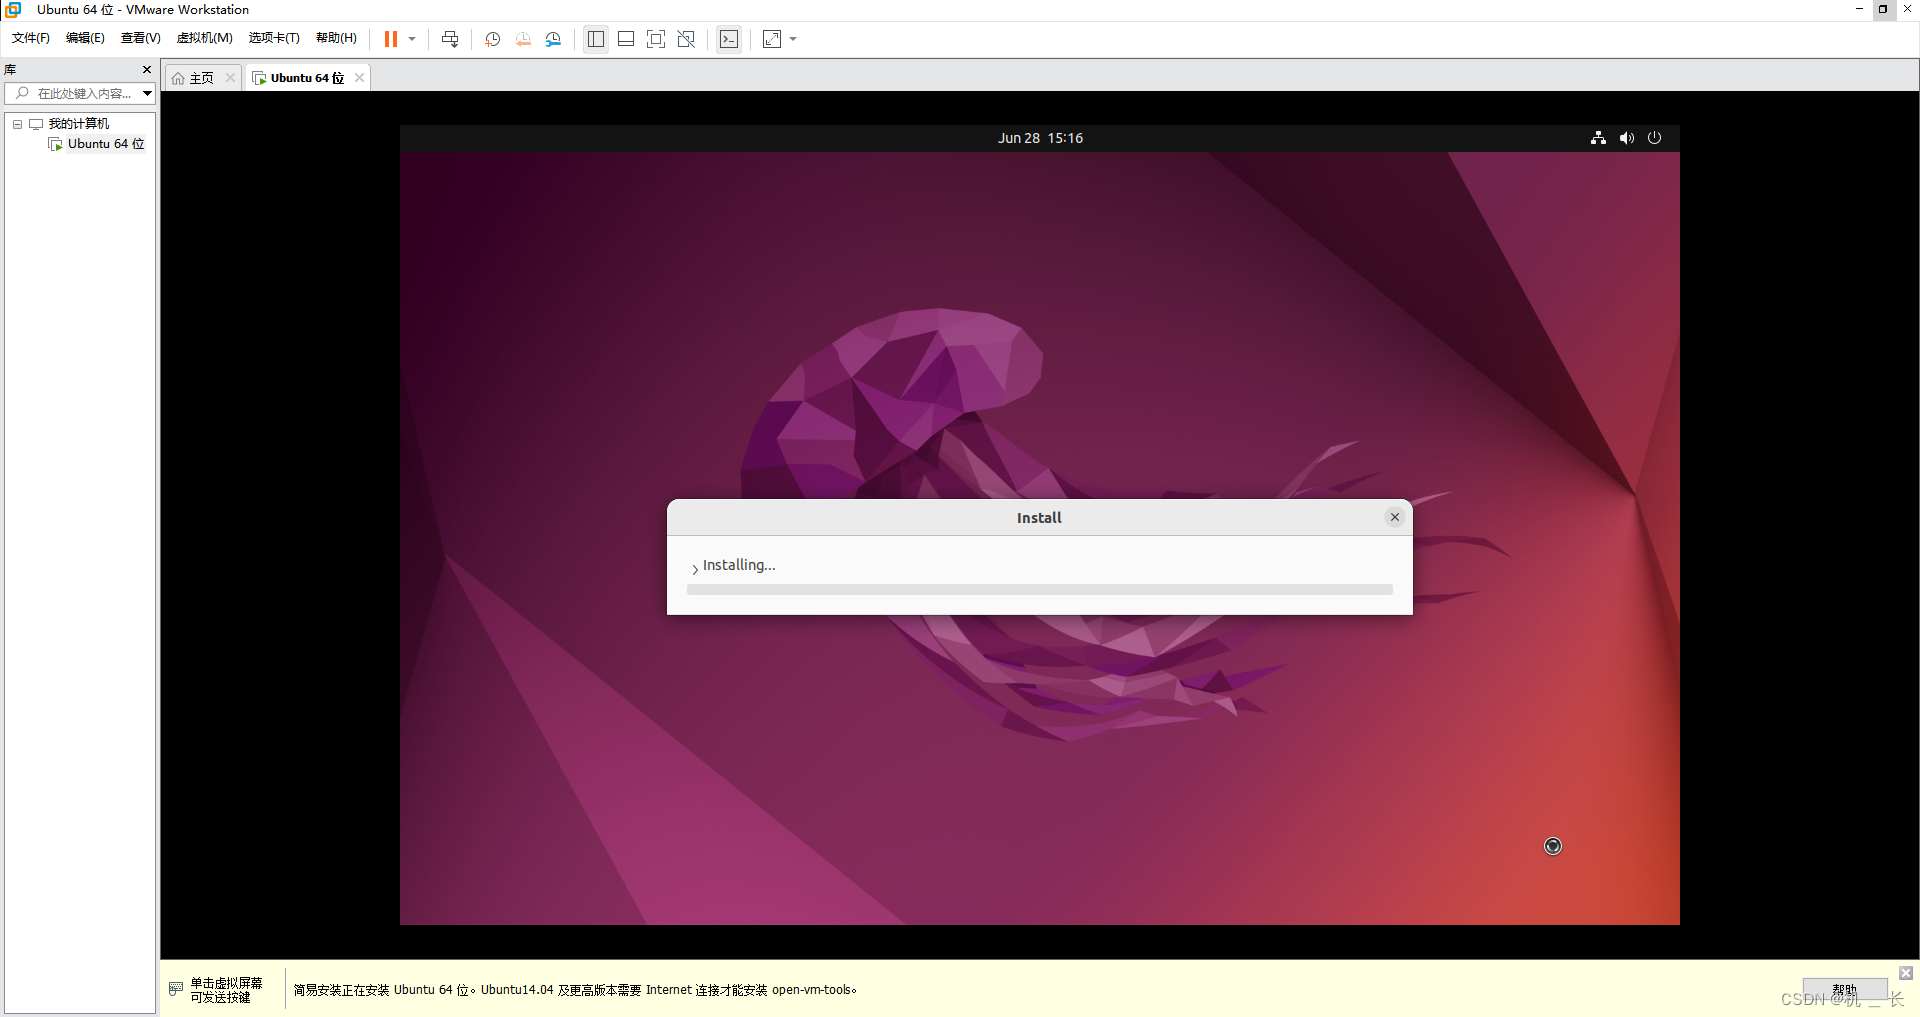
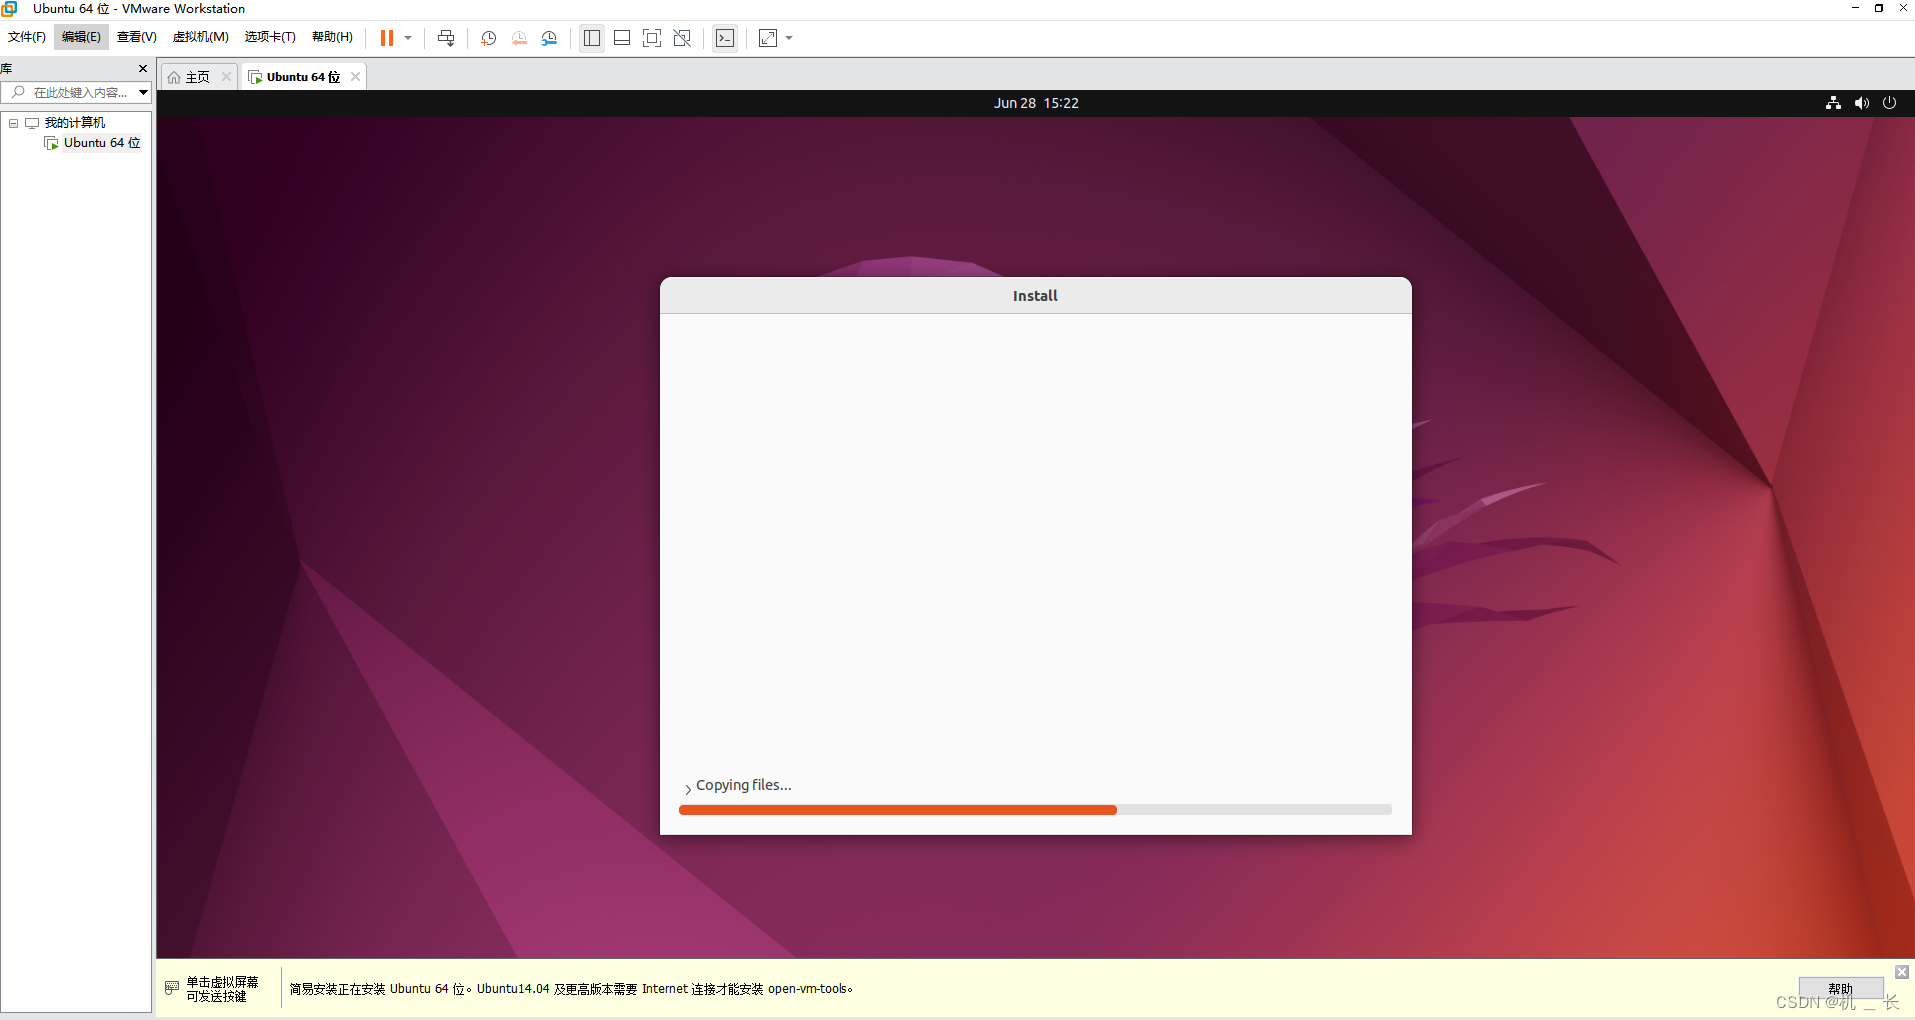
12.安装中~漫长等待
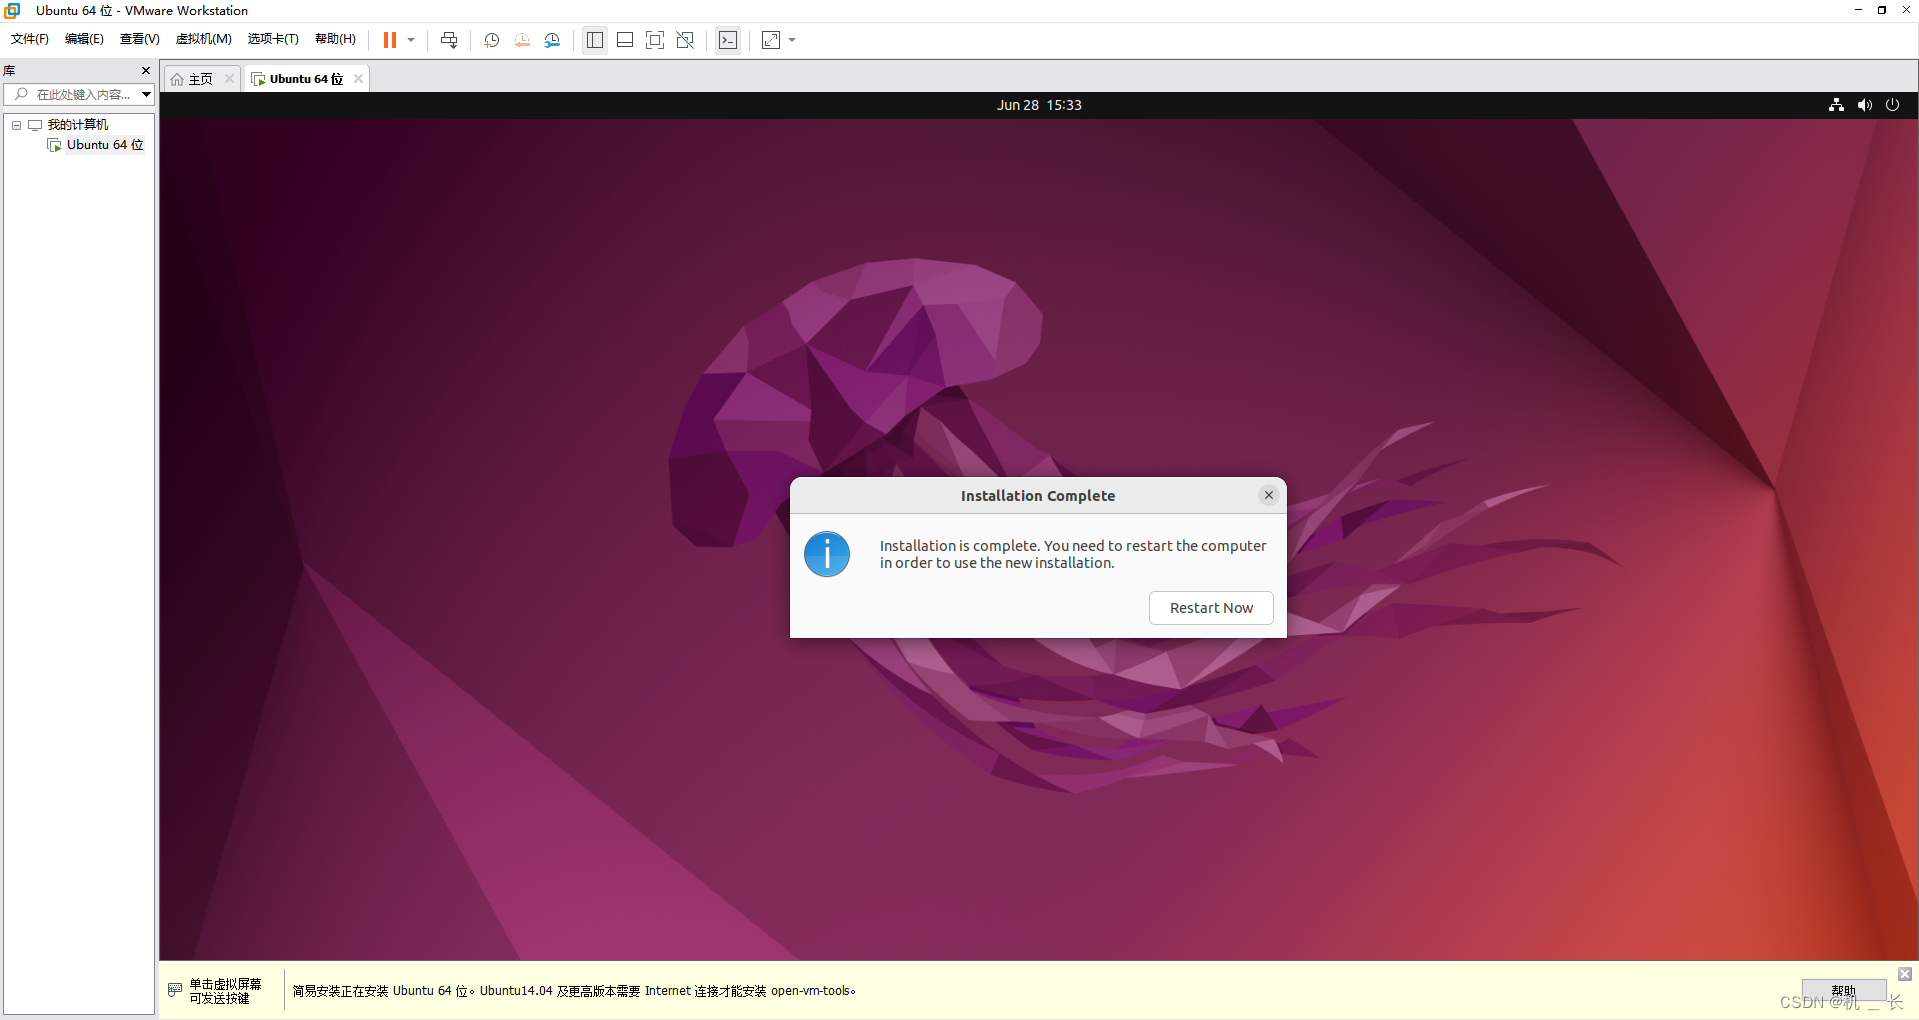
13.安装完成,点击 Restart Now ,重新启动系统(注:此处重启并不会重启主机电脑,只会重启虚拟机,因此大胆重启即可)
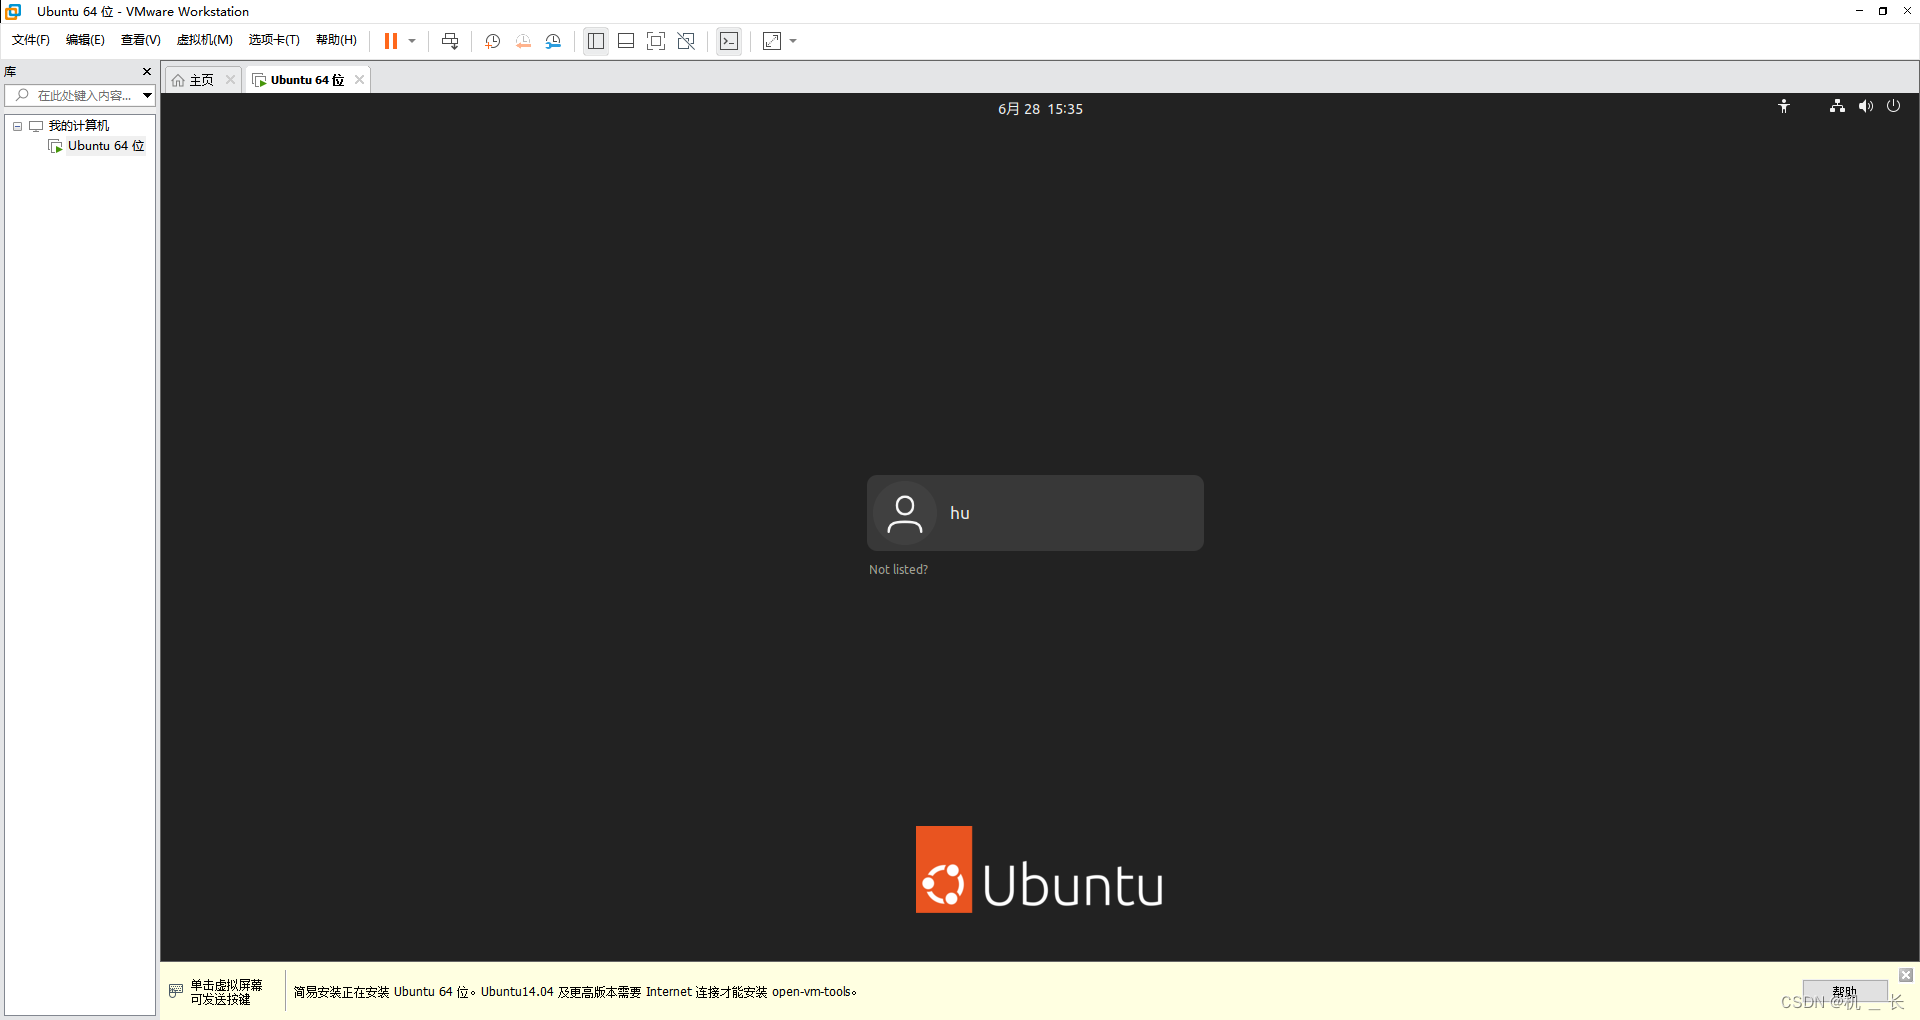
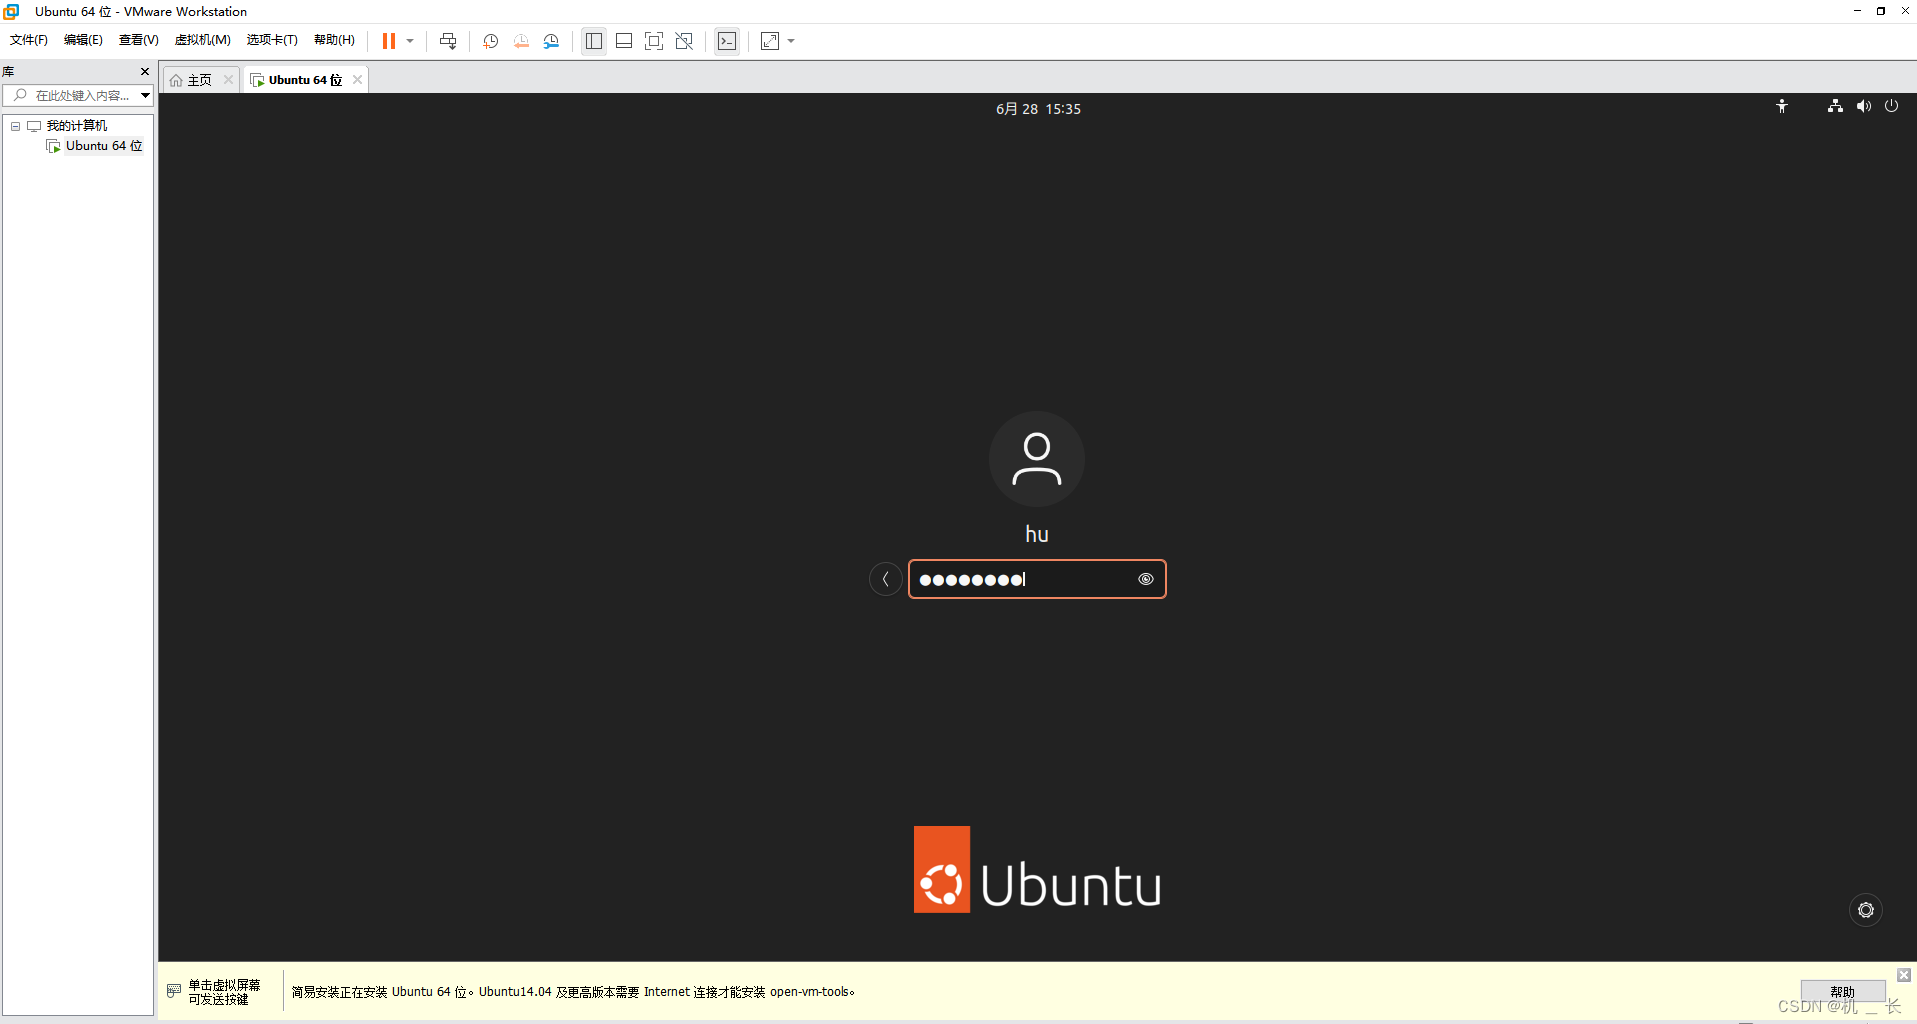
14.重启后需要再一次输入第5点的用户名与密码
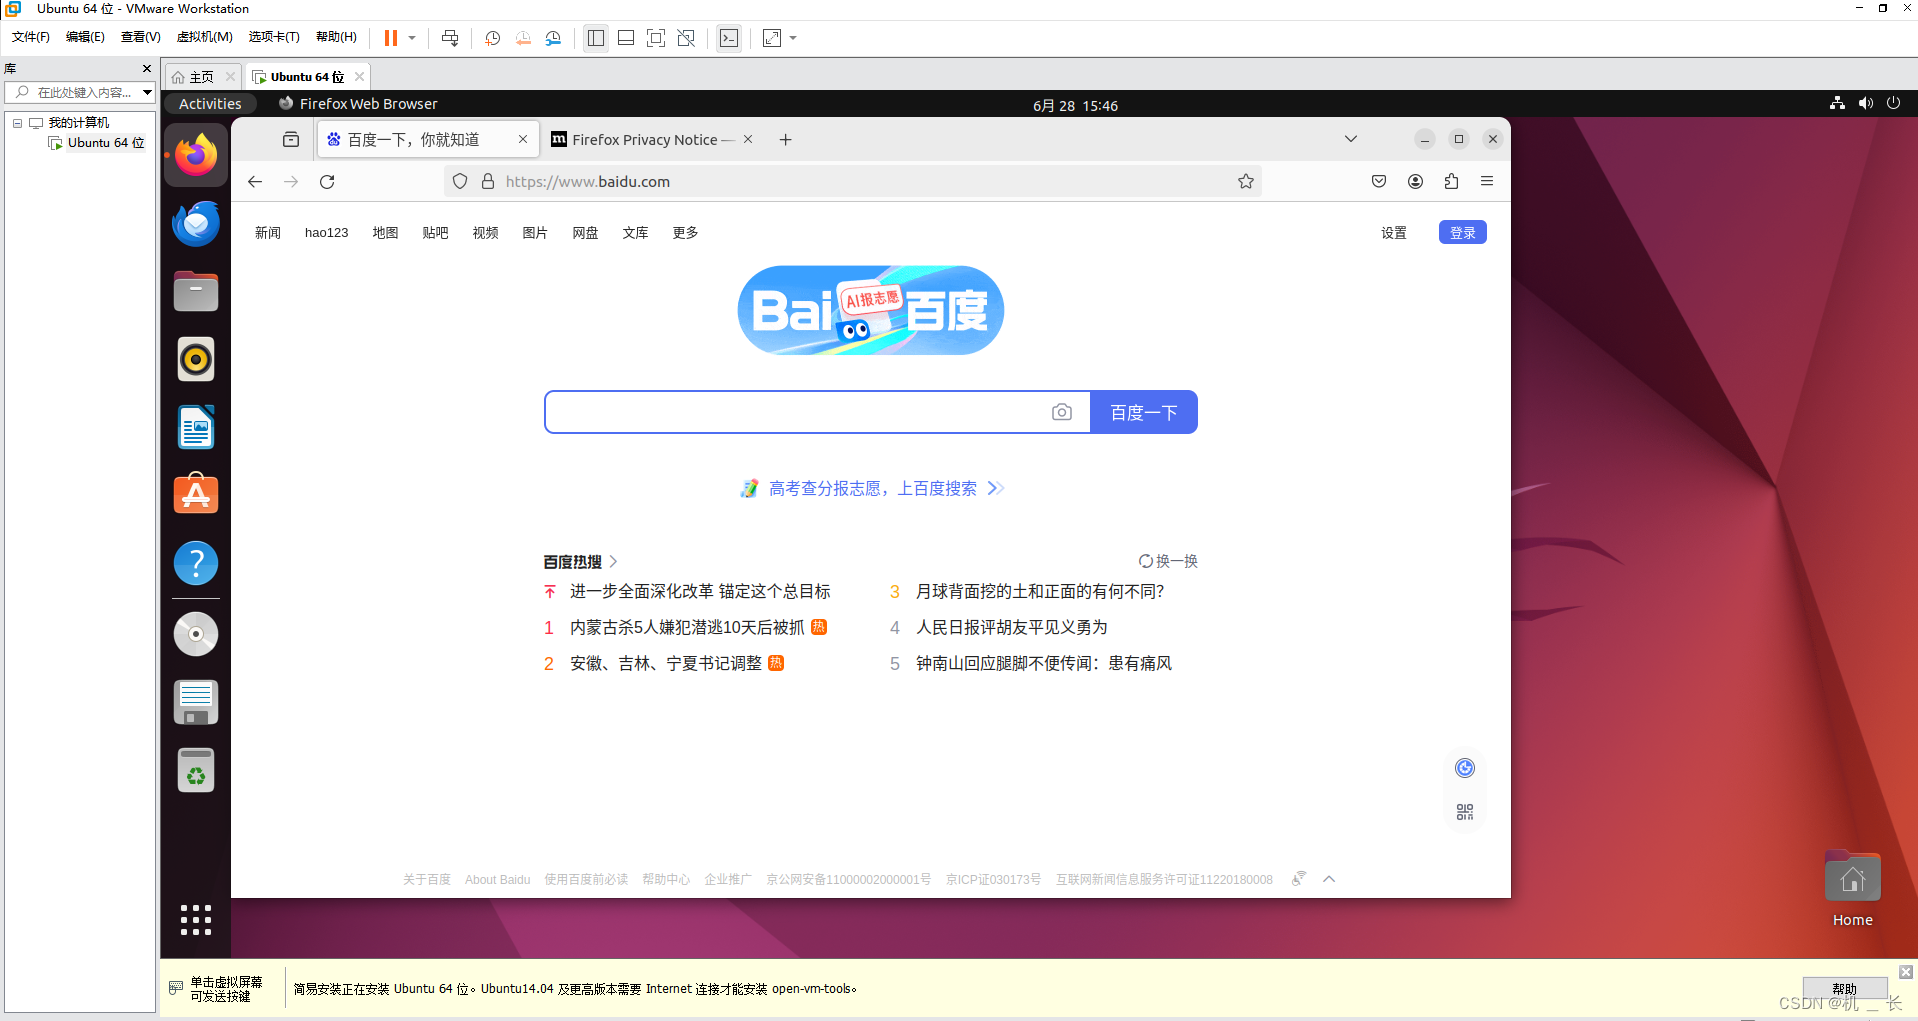
15.安装成功啦
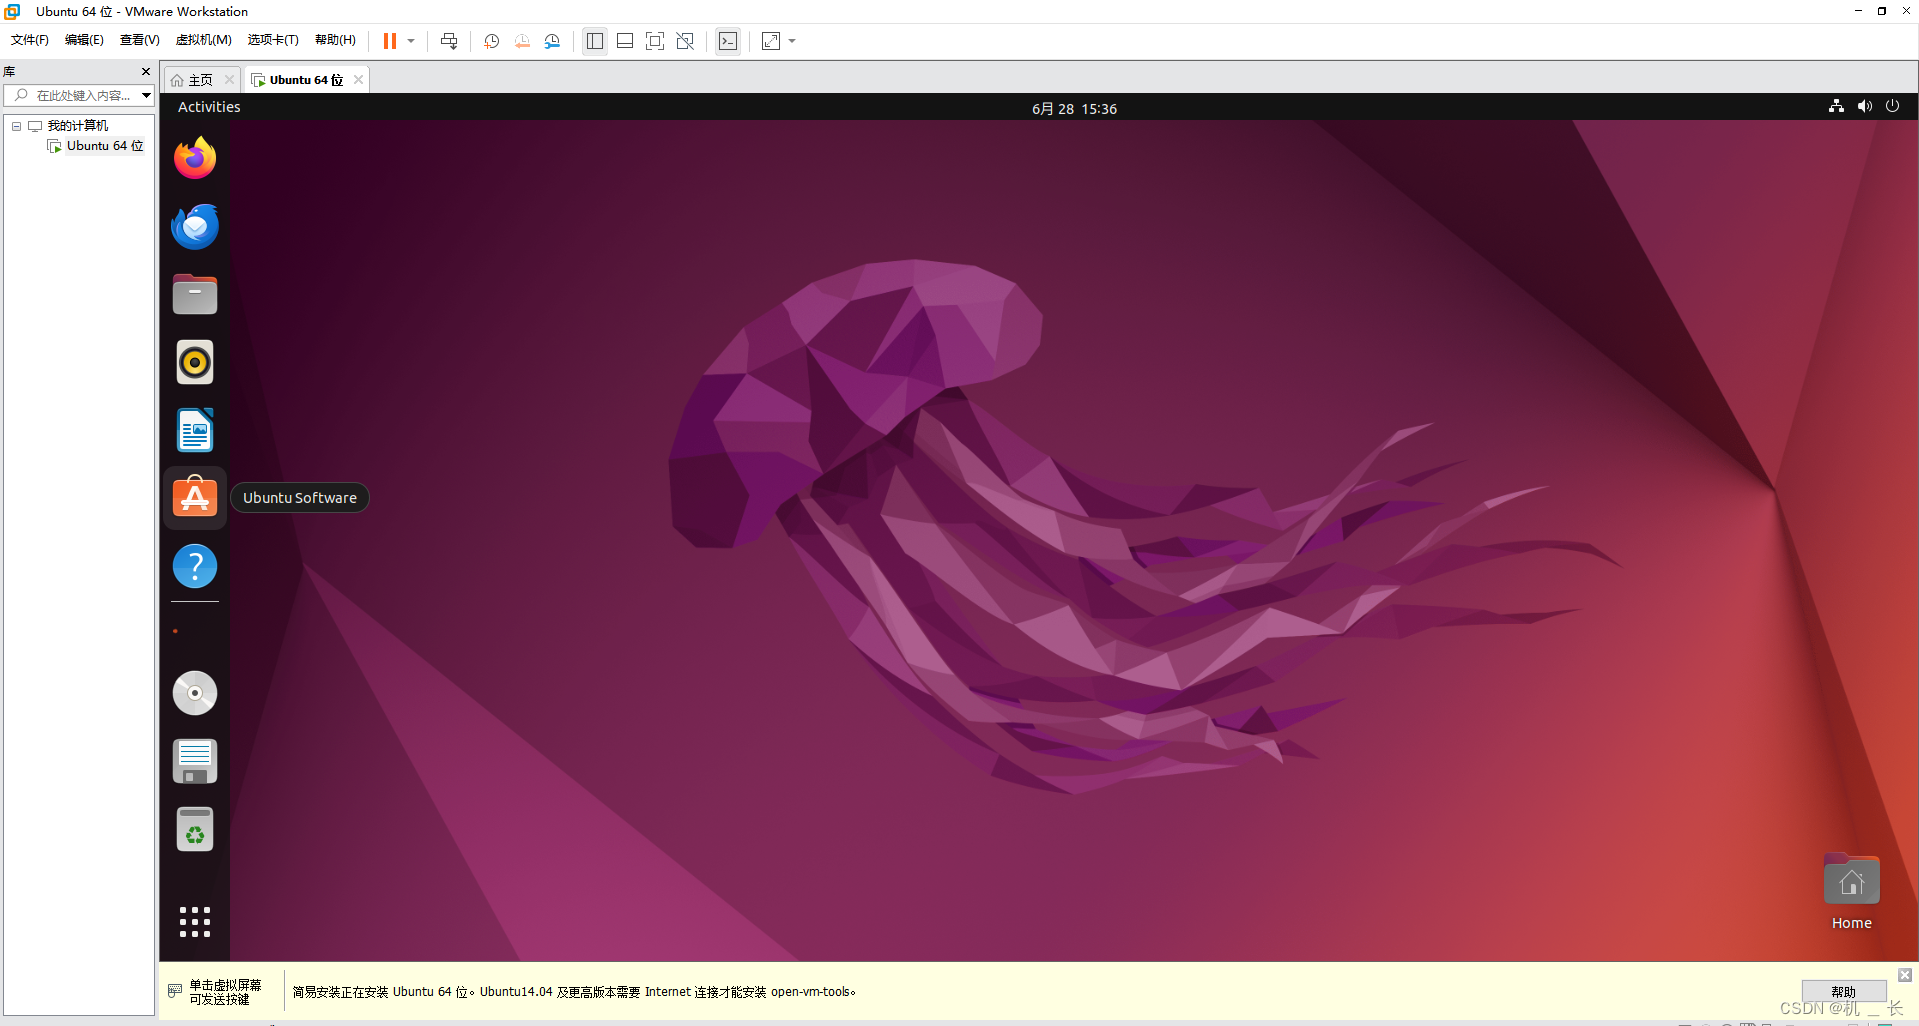
上个小网测试,ok啦