大家好,我是网创有方,从今天开始,我会记录每篇我自学spring boot3.x的经验。只要我不偷懒,学完应该很快,哈哈,更新速度尽可能快,想和大佬们一块讨论,如果需要讨论的欢迎一起评论区留言。
开始跟我学spring boot3.x第一节
第一步:选择创建project
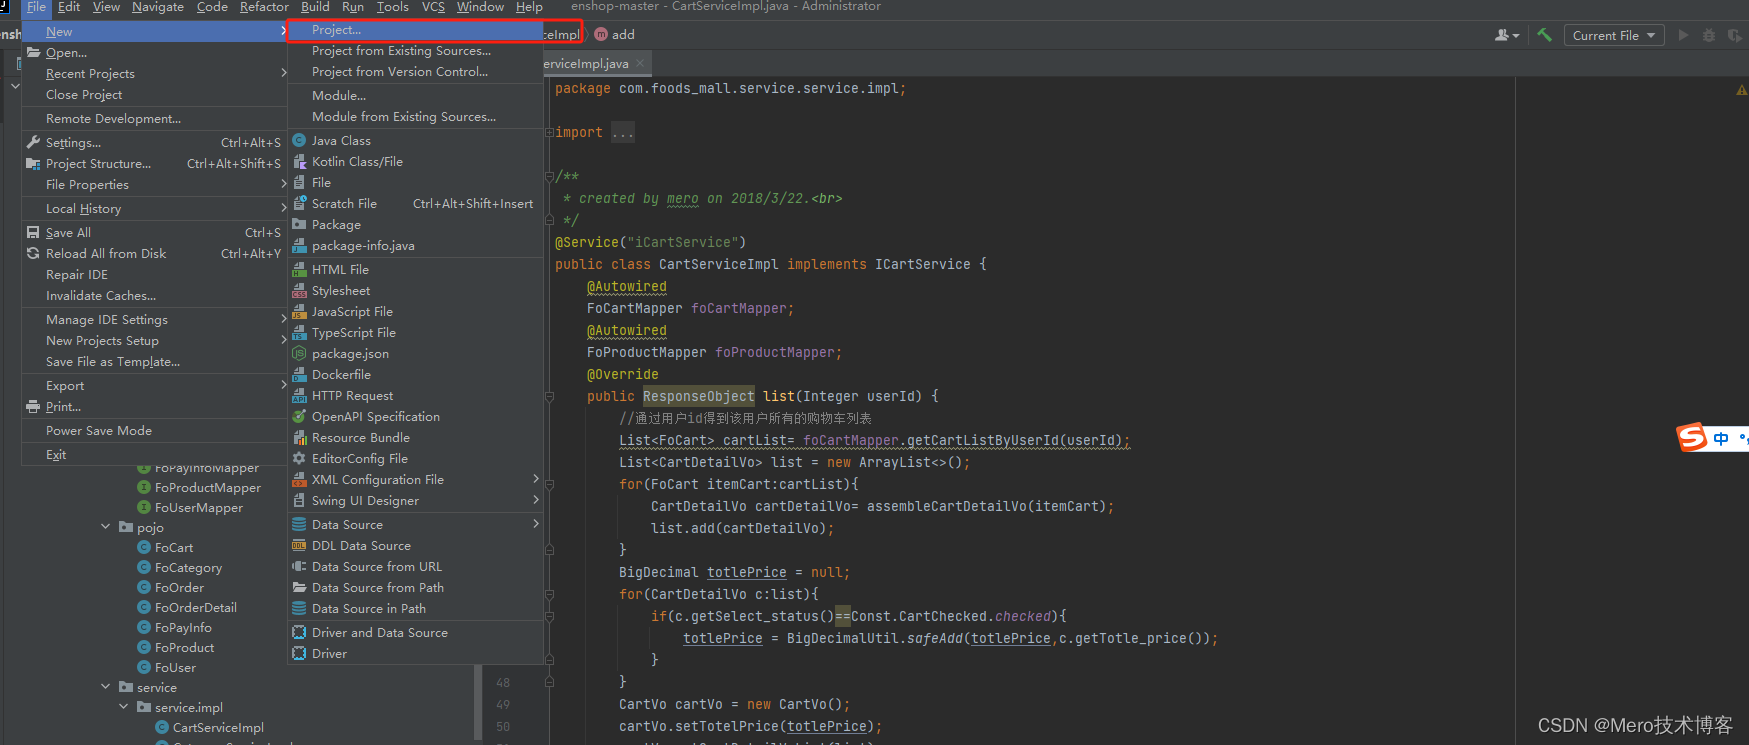
第二步:创建maven项目
这里选择Spring Initializr,填写好信息,然后next

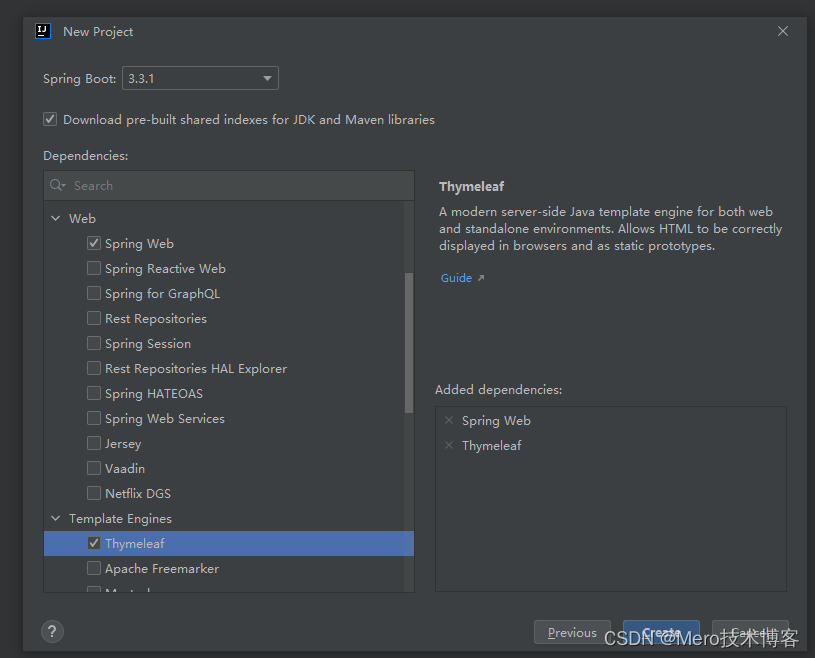
第三步:选择spring boot版本,点击下方的create
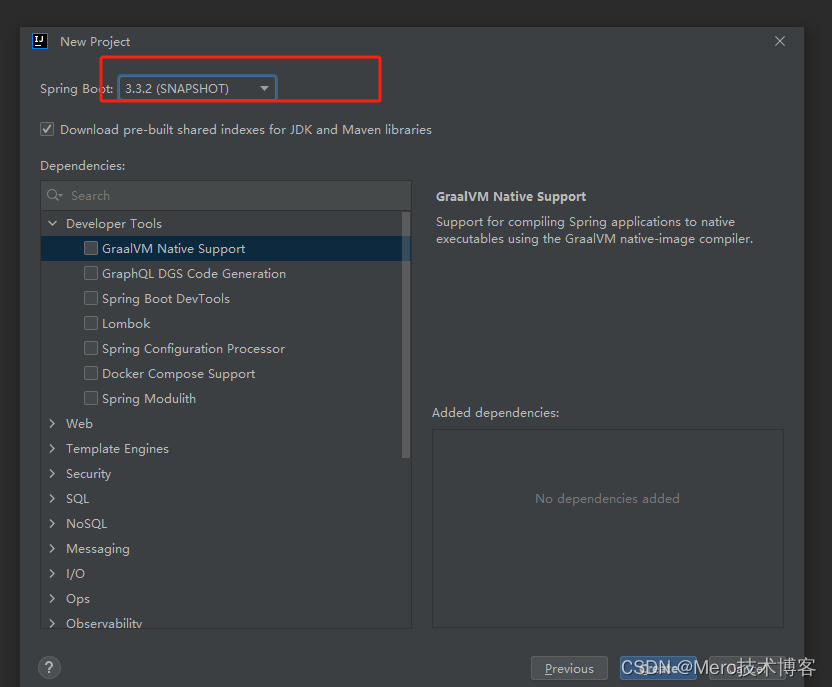
点击Web ,勾选Spring Web和Thymeleaf引擎
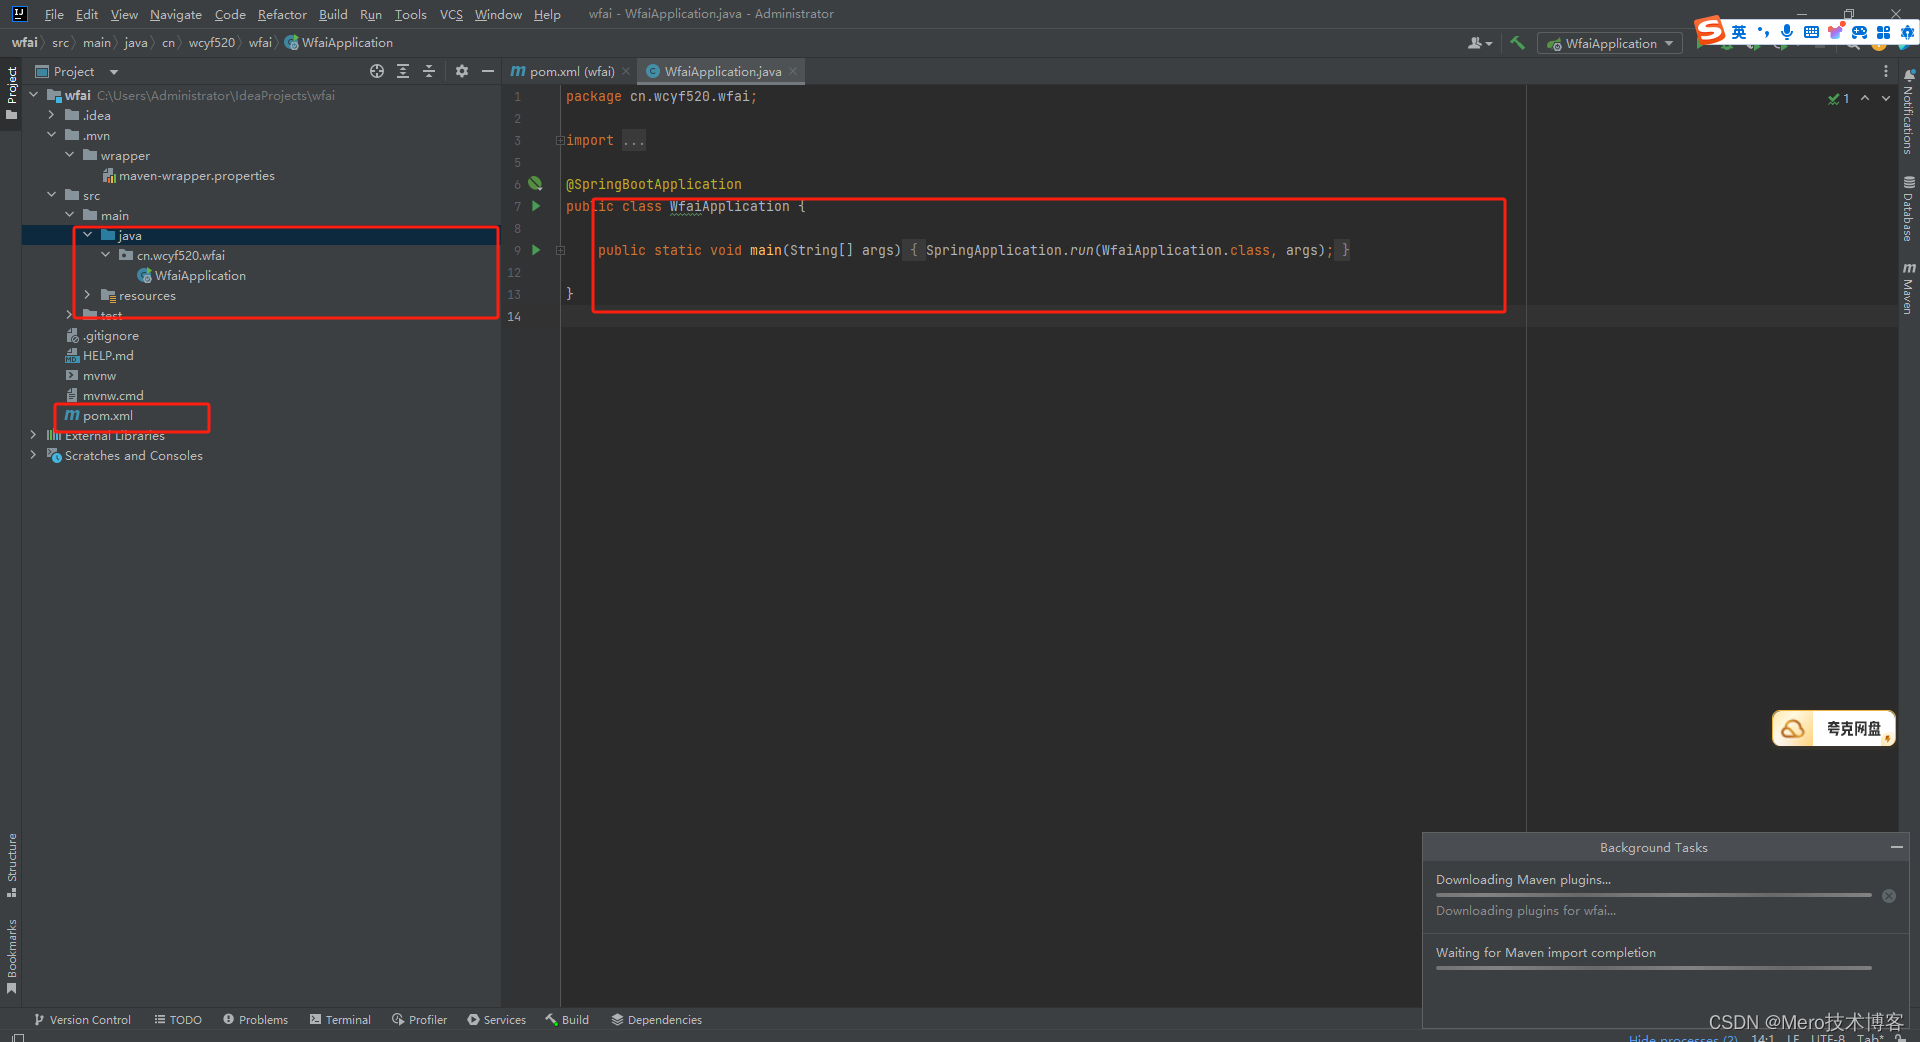
接着生成了springboot 3.x项目的基本模板,看起来非常简洁。创建会自动下载一些项目配套的资源。
第五步:替换maven工具为下载的maven。
进入maven官网:Maven -- Download Apache Maven
为什么要替换这一步,因为新下载的idea默认是使用自带的maven wrapper,一些添加到pom里的依赖无法自动下载。
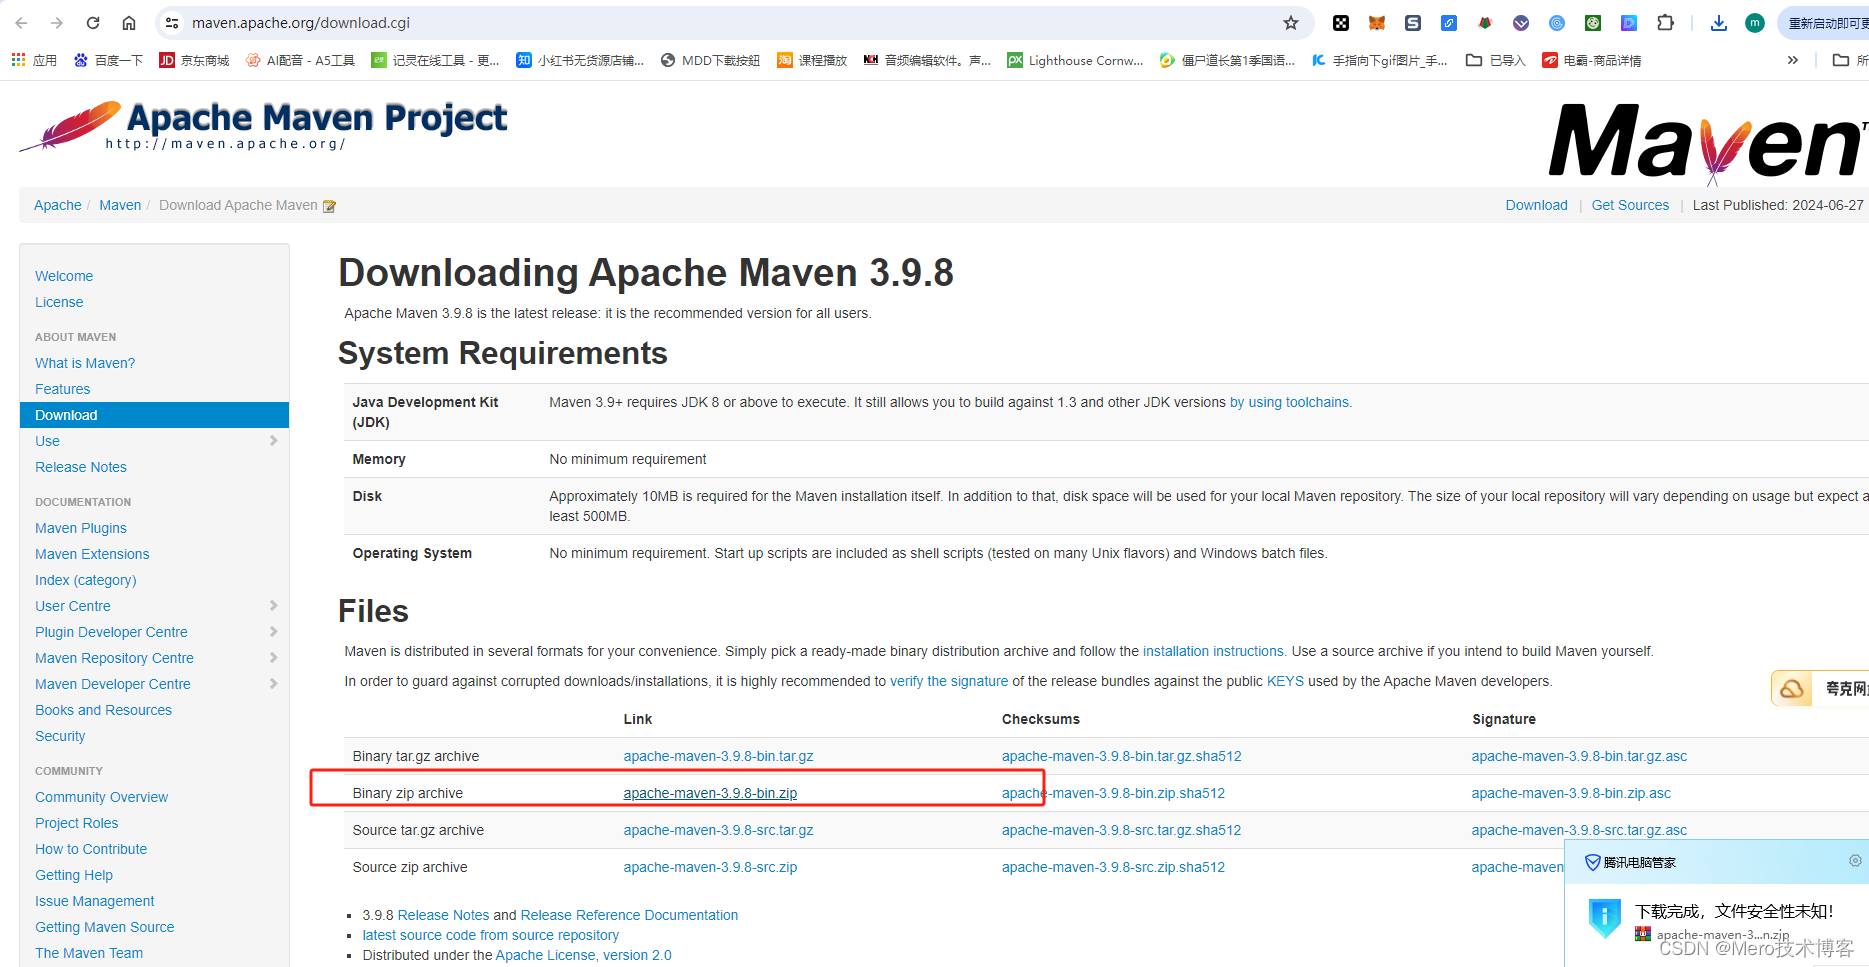
下载好的maven zip包解压到D盘(这里我选择D盘)
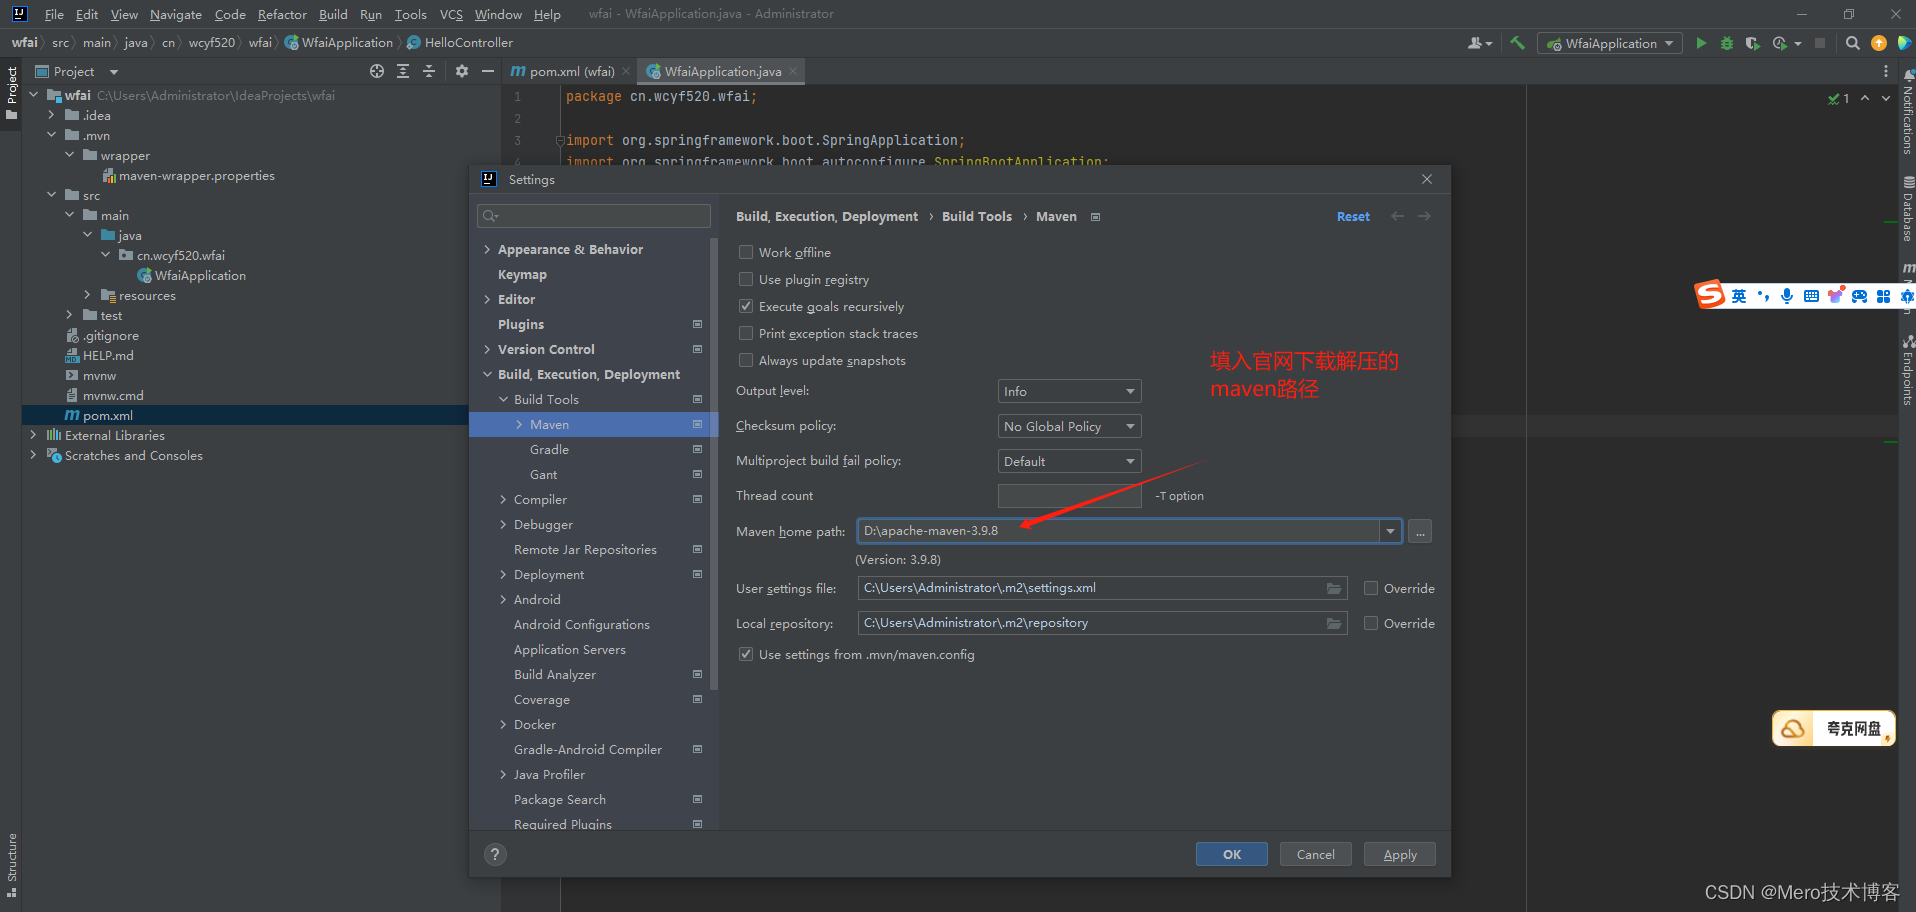
开始为idea配置自己下载的maven工具。点击File----》》》setting----》》》maven,配置maven
第六步:配置maven使用阿里云镜像代理。
主要是为了加速下载依赖,用idea打开配置文件,比如我的D:\apache-maven-3.9.8\conf\setting.conf,添加下面的代码:把添加的阿里云镜像放在默认的镜像前面既可。
    <mirror>
      <id>nexus-aliyun</id>
      <mirrorOf>central</mirrorOf>
      <name>Nexus aliyun</name>
      <url>http://maven.aliyun.com/nexus/content/groups/public</url>
    </mirror>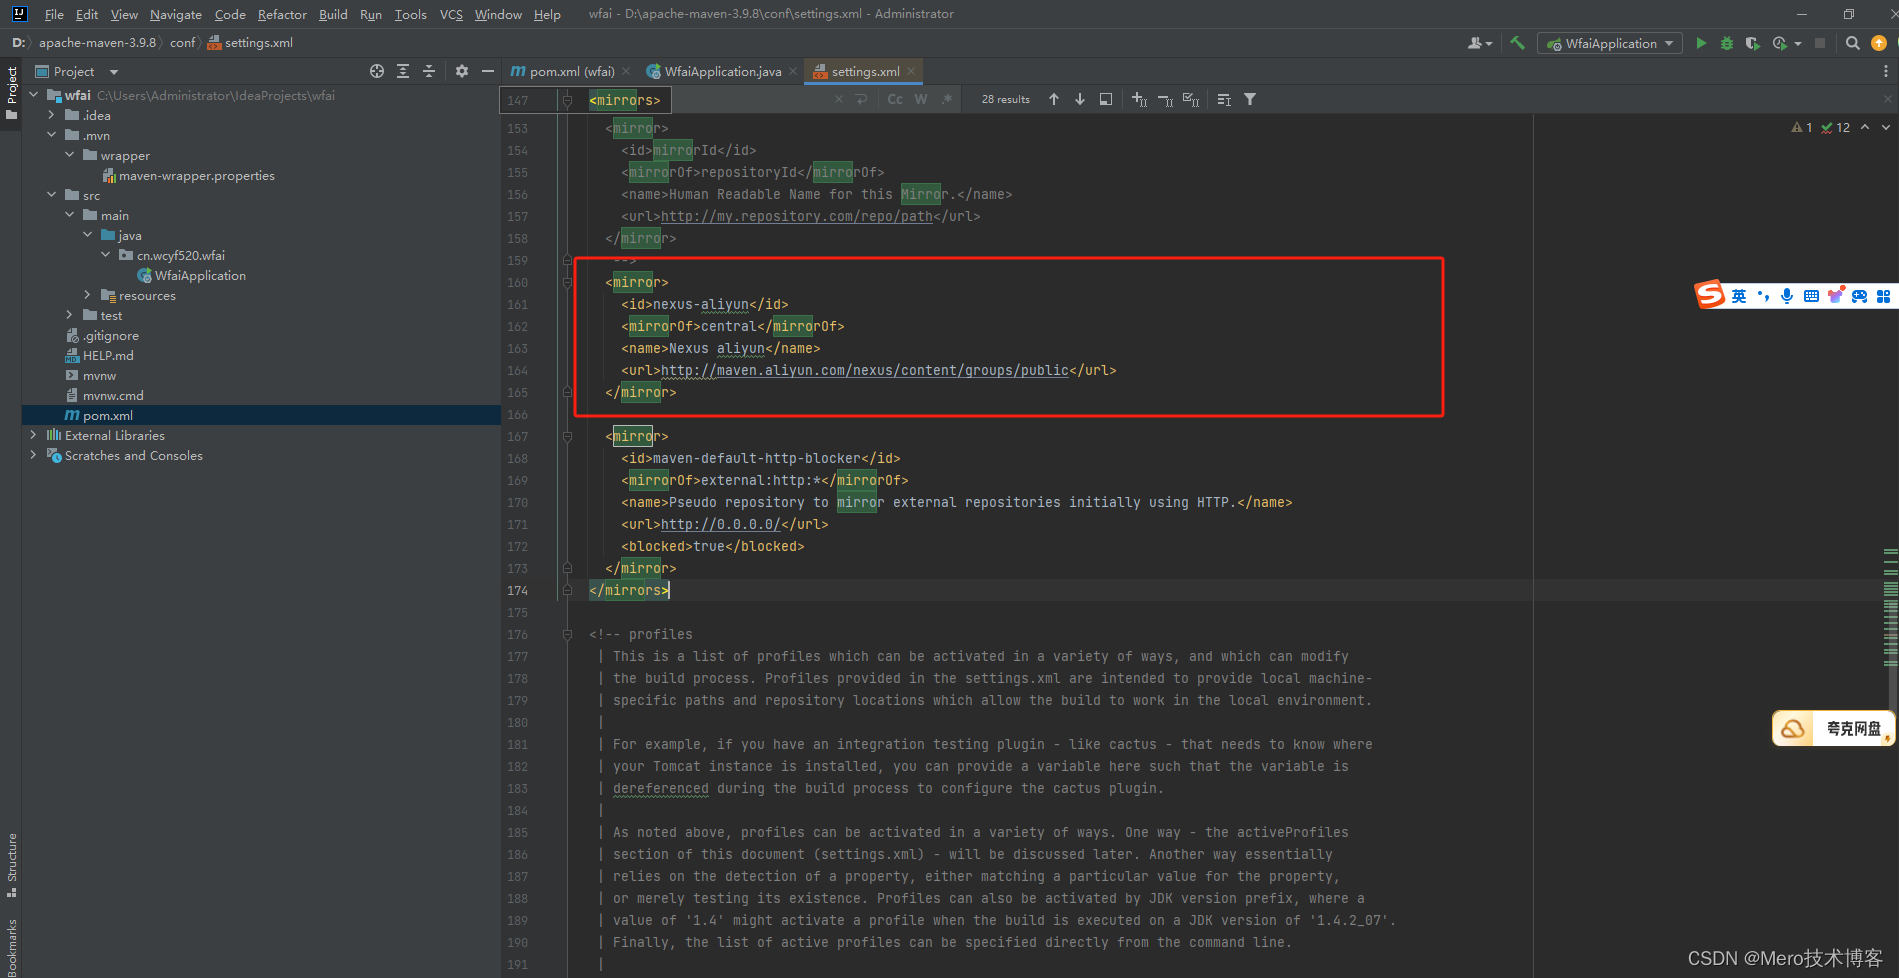
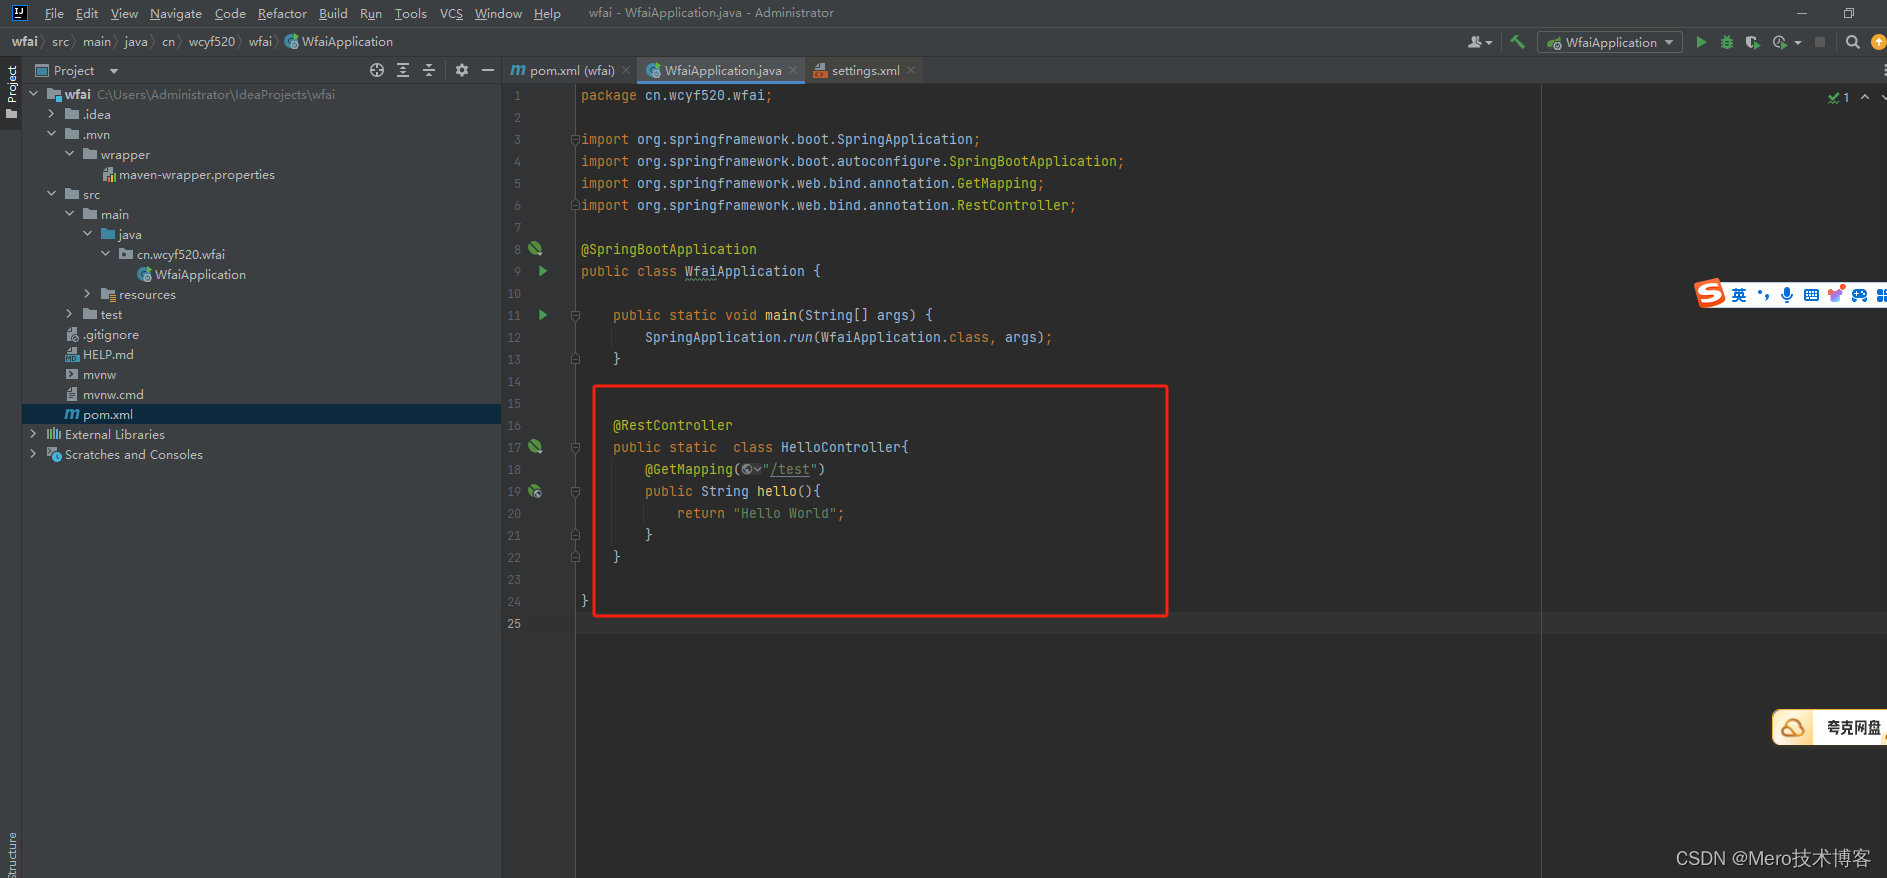
第七步:编写一个helloword代码。
package cn.wcyf520.wfai;

import org.springframework.boot.SpringApplication;
import org.springframework.boot.autoconfigure.SpringBootApplication;
import org.springframework.web.bind.annotation.GetMapping;
import org.springframework.web.bind.annotation.RestController;

@SpringBootApplication
public class WfaiApplication {

	public static void main(String[] args) {
		SpringApplication.run(WfaiApplication.class, args);
	}


	@RestController
	public static  class HelloController{
		@GetMapping("/test")
		public String hello(){
			return "Hello World";
		}
	}

}
第八步:点击图中的启动运行按钮开始运行。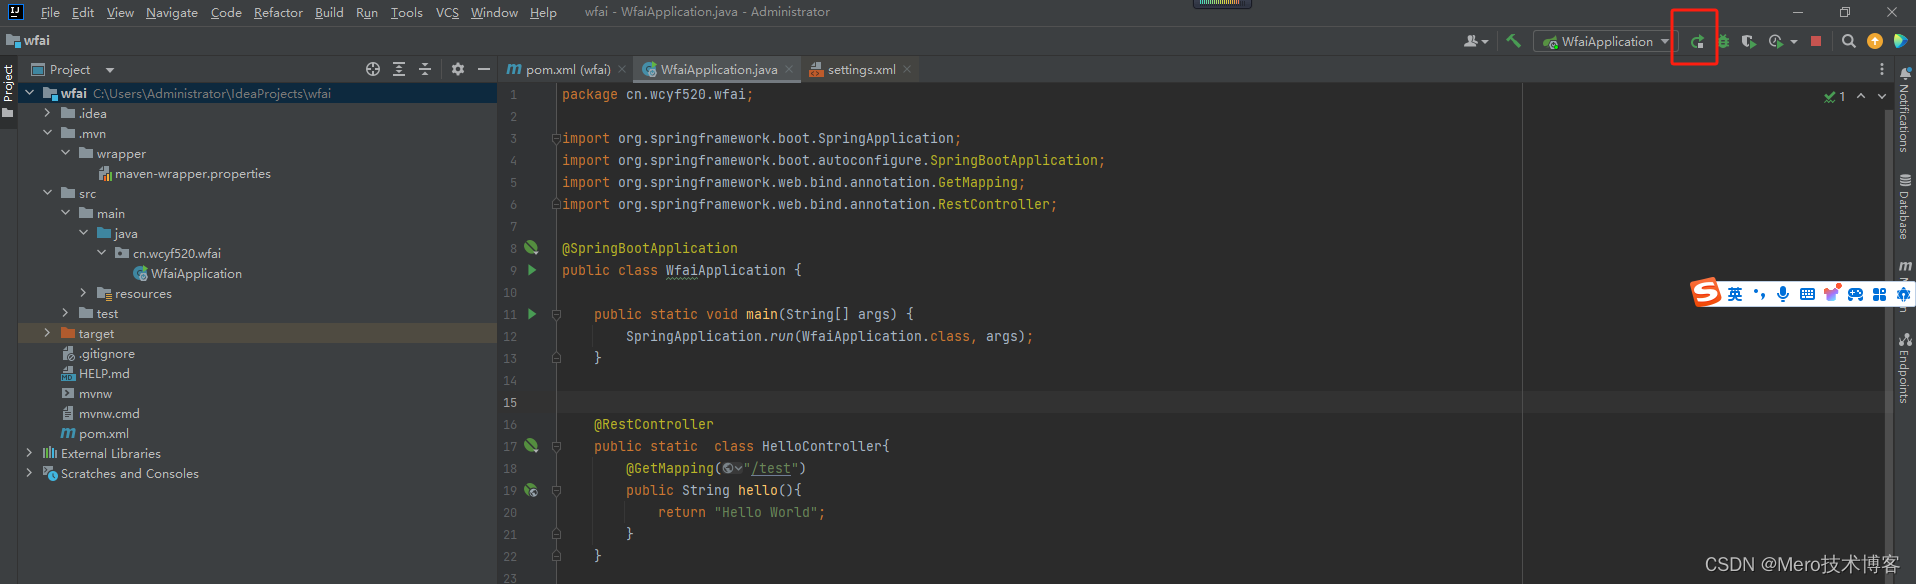
运行成功的显示界面
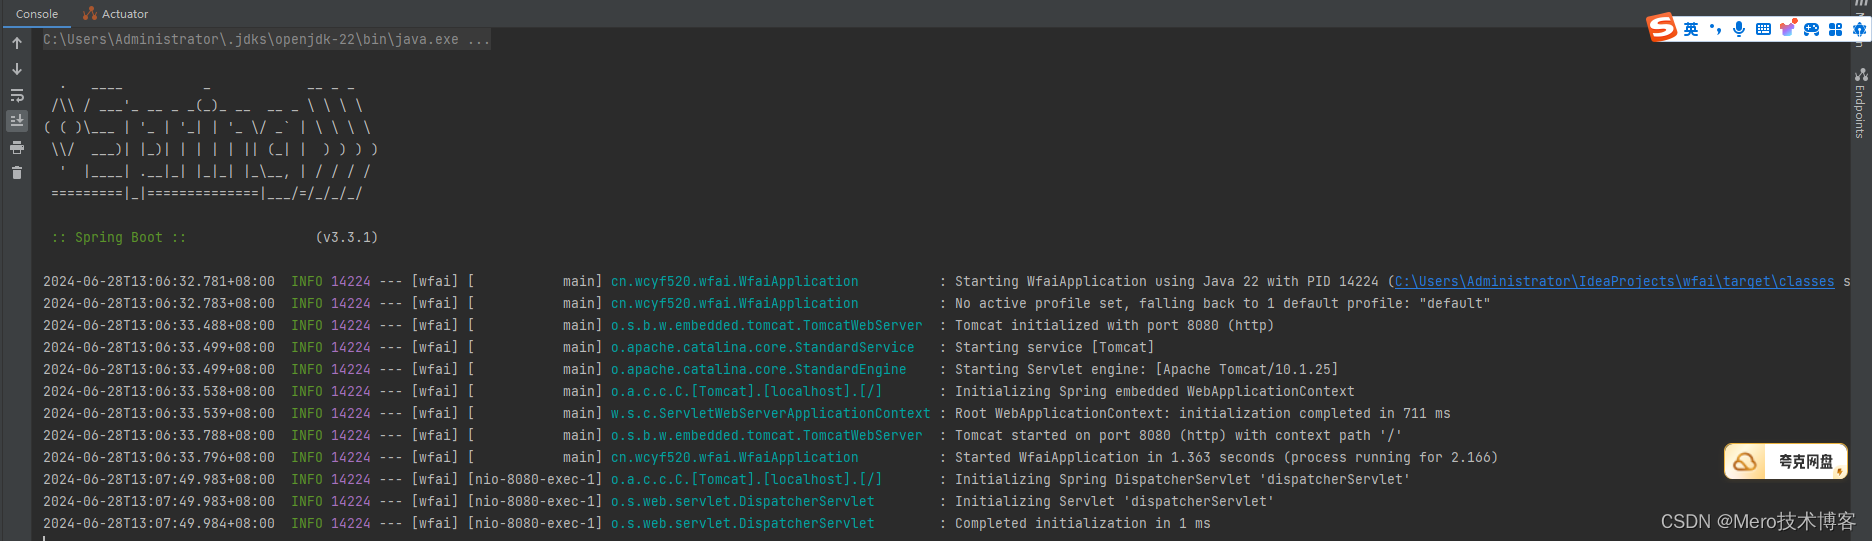
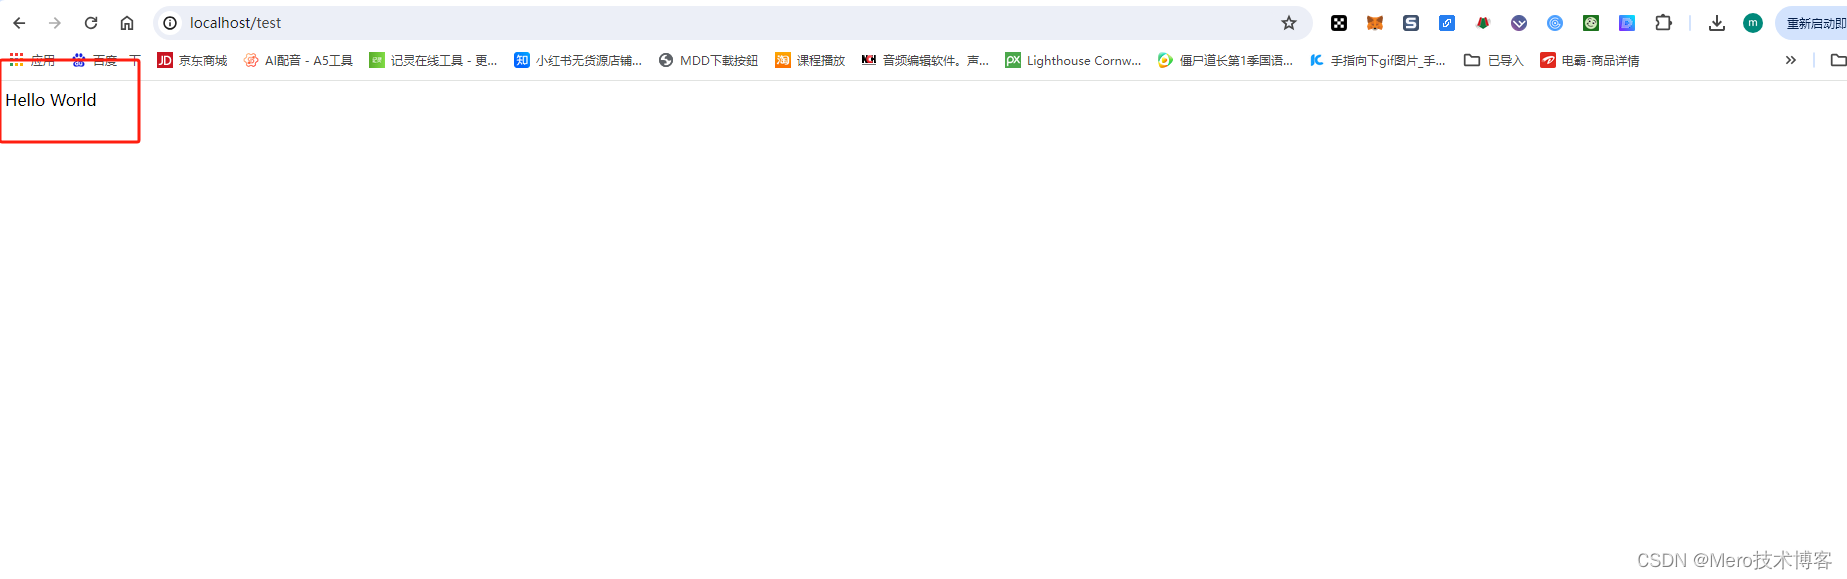
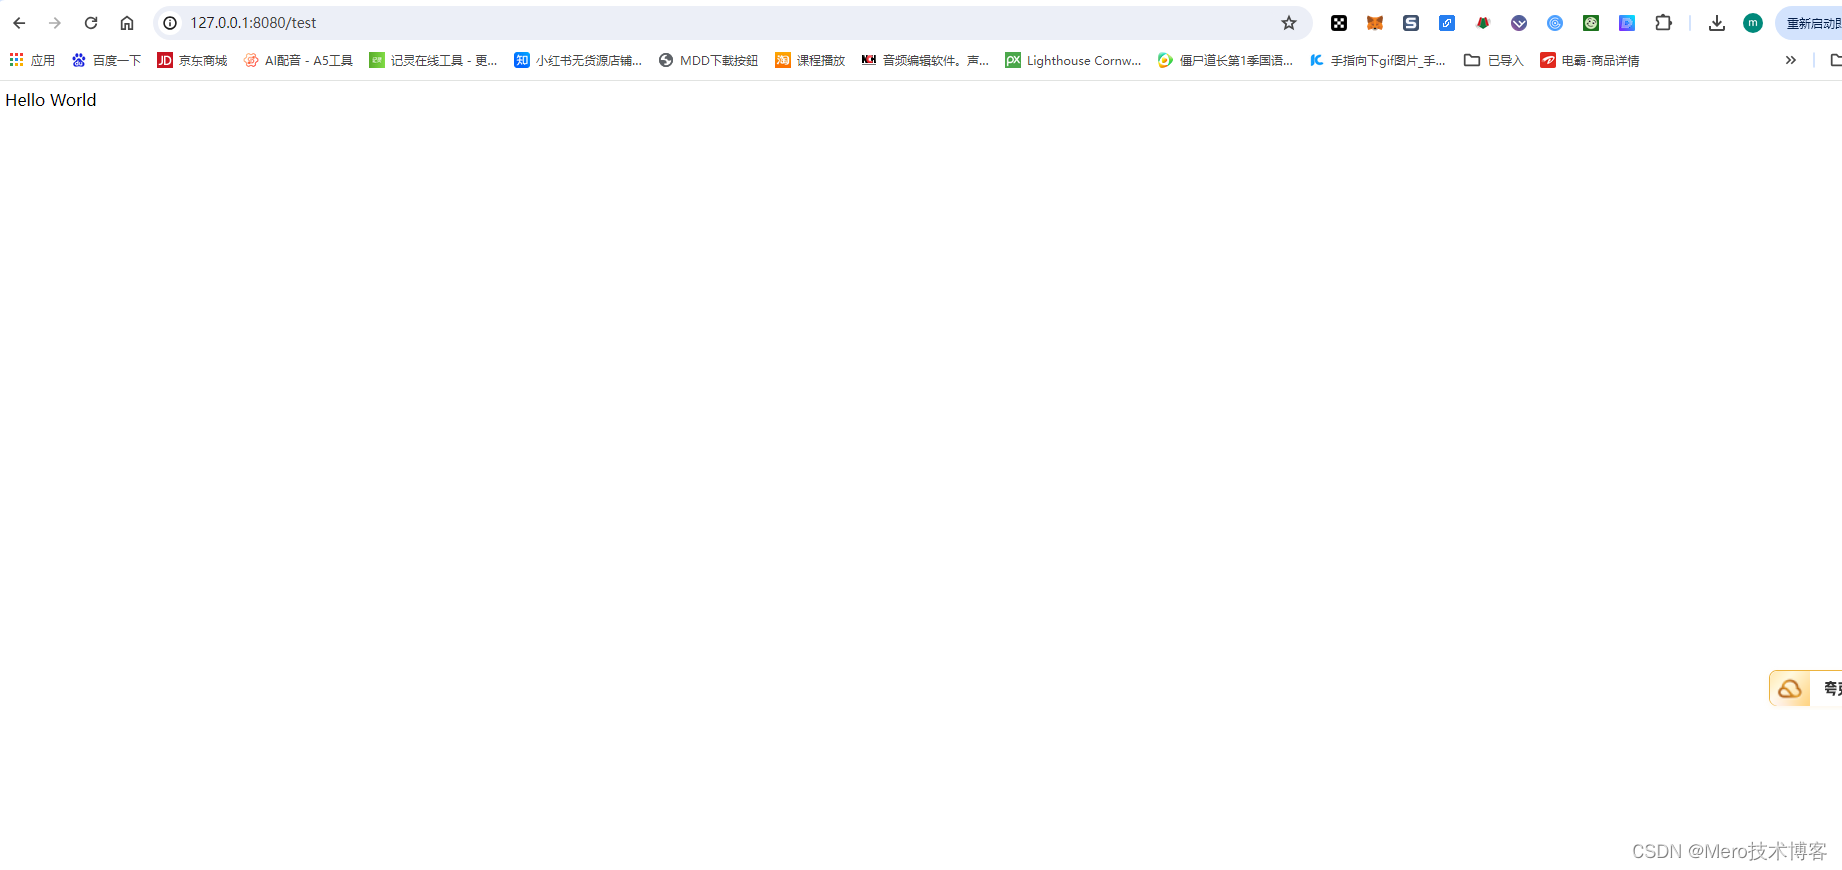
第九步:开始访问
默认端口是8080,由于是本地访问,所以直接127.0.0.1:8080/test或者localhost:8080/test 既可访问。
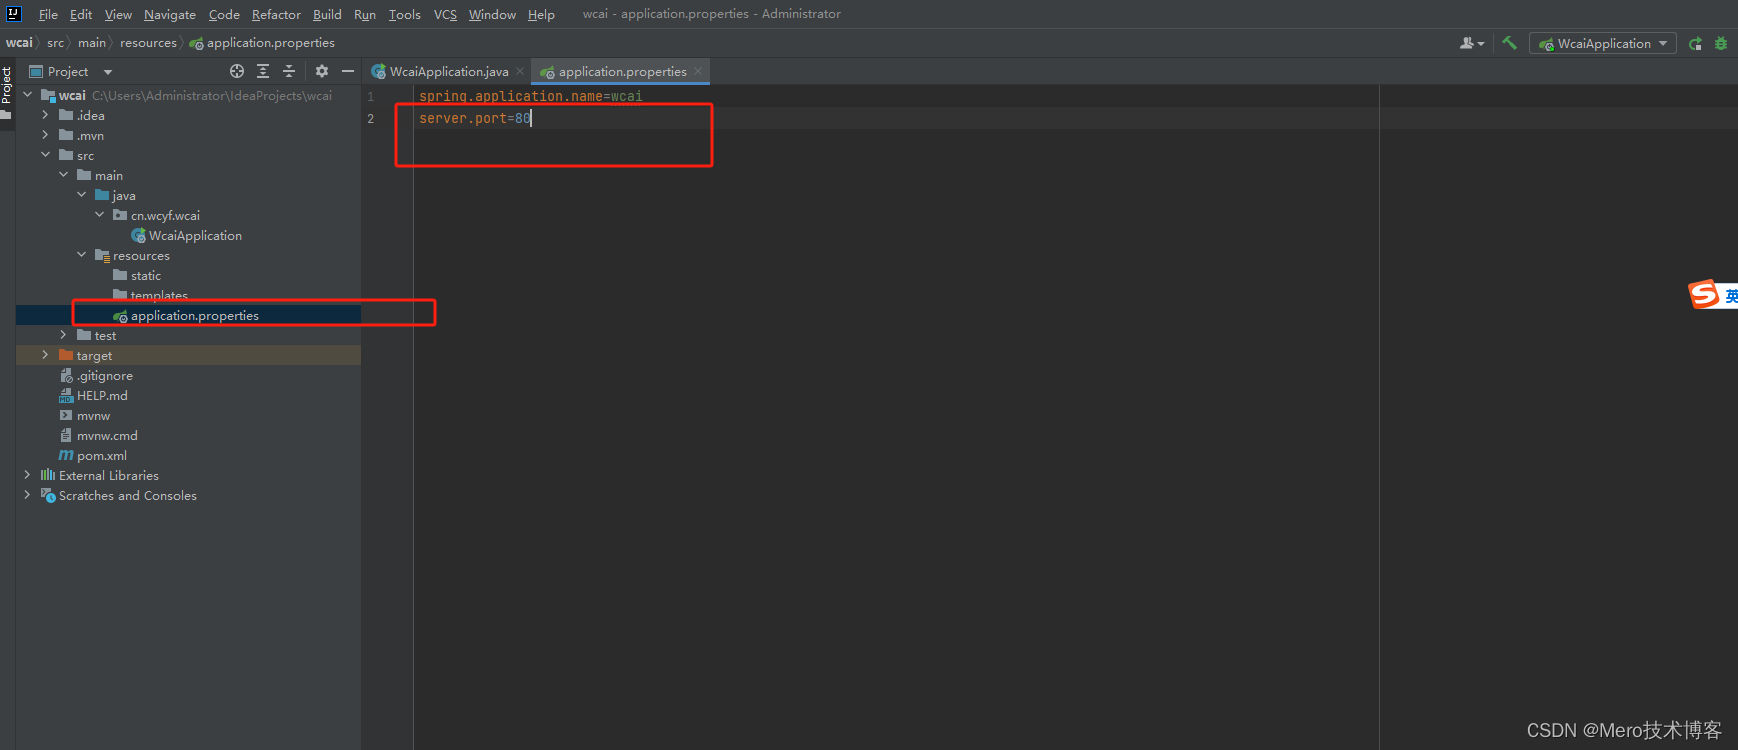
第十步:修改默认端口(非必须)
如果我们需要使用其他的端口进行访问,可以修改默认的端口。然后再次点击运行,既可以看到