场景描述
在特殊的H5场景下需要应用拉起自定义键盘进行输入。
场景一:使用jsBridge拉起自定义弹窗写自定义键盘,再通过jsBridge传参实现输入。
场景二:使用web的同层渲染将原生textInput组件渲染到页面上。
方案描述
通过注册一个js代理对象被web的registerJavaScriptProxy方法调用拉起CustomDialog,在CustomDialog上放置一个customkeyboard
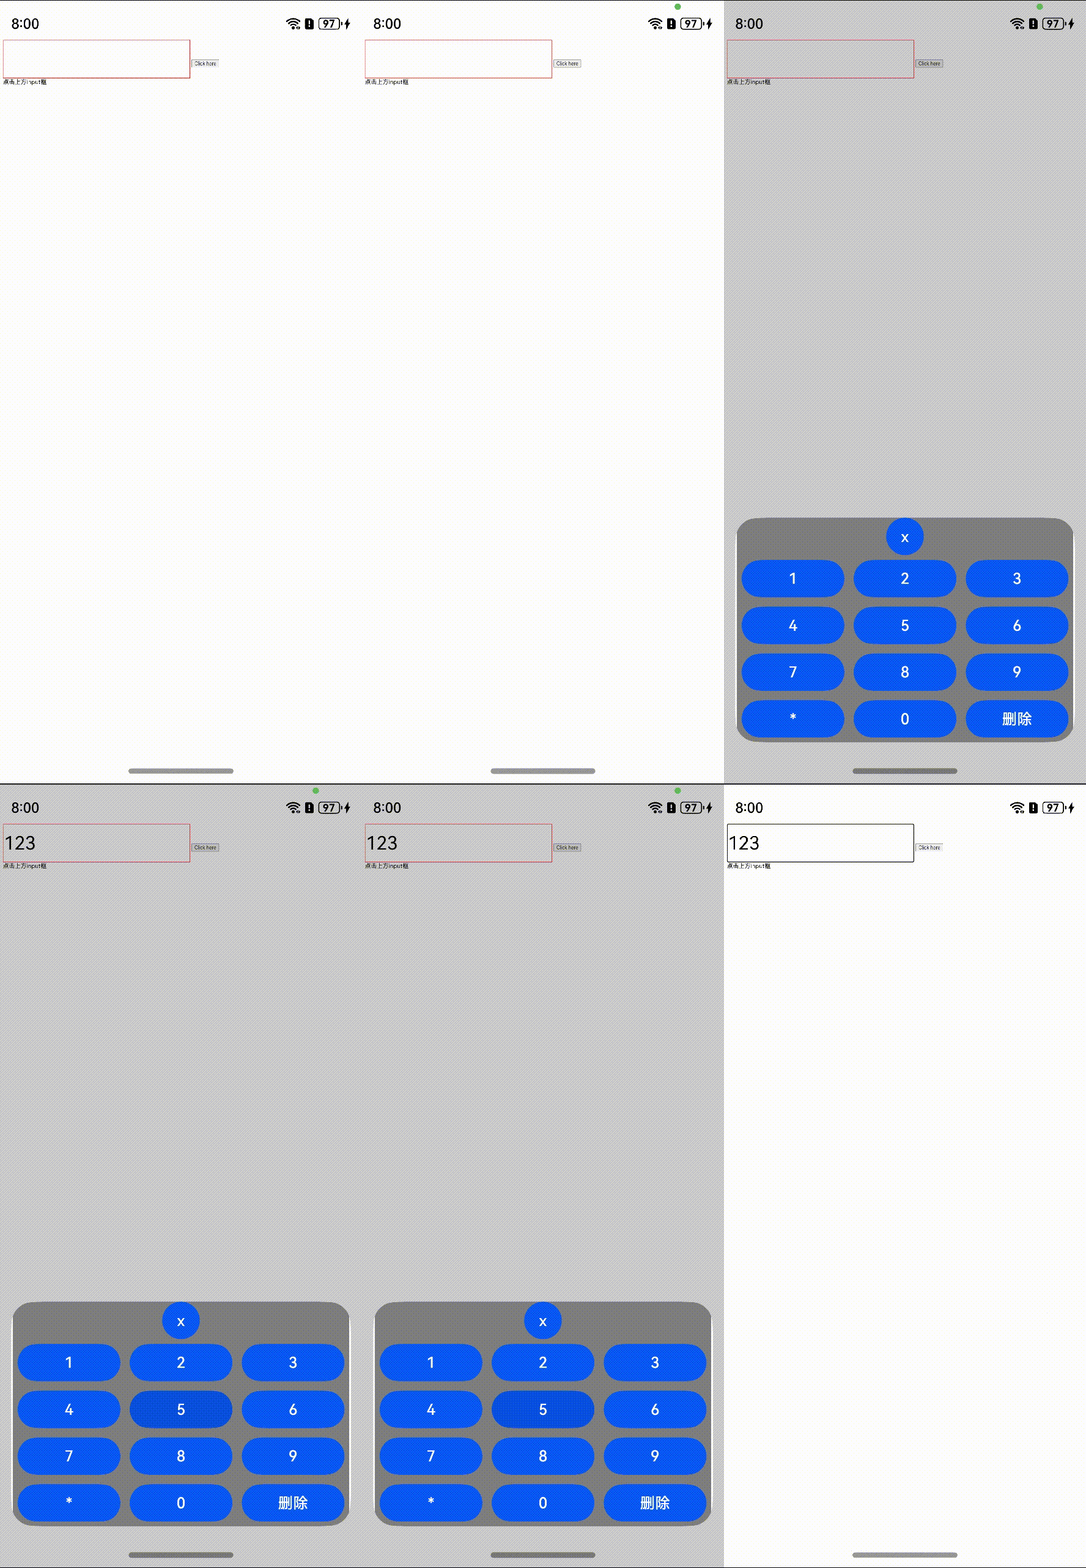
场景一: 通过jsBridge拉起自定义弹窗,在自定义弹窗上放置自定义键盘,例如需要输入密码时的安全键盘。
效果图
方案
通过注册一个js代理对象被web的registJavaScriptProxy方法调用拉起CustomDialog,在CustomDialog上放置一个自定义键盘组件,通过在H5上input标签的readonly属性和注册的js方法changeNumbers实现在原生端输入数字传到H5上,他们之间通过@Link装饰器绑定的变量进行传值,所以点击删除输入的内容也是可以在H5上实现的。
核心代码
-
通过javaScriptProxy方法拉起自定义弹窗,在H5上的input标签绑定一个onclick事件,当点击输入框后会调用从原生注册过来的js代理方法openWindow。
<input type="text" name="number_info" readonly onclick="openWindow()" value="" style="width: 500px;height: 100px;font-size:50px;border:1px solid # f00;"> <script> function openWindow() { let value = document.getElementsByName("number_info")[0].value; window.myJsb.openDialog(value) } </script> -
当H5上openWindow方法被调用后会通过jsBridge调用以下两个js代理方法打开自定义弹窗。
jsbObject: JsbObject = { openDialog: (value: string) => { this.showDialog(this, value); } } showDialog(context: object, value: string) { // 把自定义弹窗调出来 this.currentData = value; this.dialogController.open() } Web({ src: "resource://rawfile/web_test.html", controller: this.webviewController }) .javaScriptAccess(true) .javaScriptProxy({ name: "myJsb", object: this.jsbObject, methodList: ["openDialog"], controller: this.webviewController }) -
将自定义键盘放置在自定义弹窗上。
@CustomDialog struct CustomDialogExample { @Link currentData: string dialogControllerTwo: CustomDialogController | null = new CustomDialogController({ builder: CustomDialogExample({ currentData: $currentData }), alignment: DialogAlignment.Bottom, offset: { dx: 0, dy: -25 } }) controller?: CustomDialogController build() { Column() { Button('x').onClick(() => { // 关闭自定义键盘 if (this.controller != undefined) { this.controller.close() } }) Grid() { ForEach([1, 2, 3, 4, 5, 6, 7, 8, 9, '*', 0, '删除'], (item: number | string) => { GridItem() { Button(item + "") .width(110).onClick(() => { if (item == '删除') { if (this.currentData.length > 0) { this.currentData = this.currentData.substring(0, this.currentData.length - 1); } } else { this.currentData += item } }) } }) }.maxCount(3).columnsGap(10).rowsGap(10).padding(5) }.backgroundColor(Color.Gray) } } -
在自定义键盘上输入内容的时候会调用onChangeInputValue方法,通过里面的runJavaScript调用H5上的js方法changeNumber传值到H5的输入框中。
onChangeInputValue(stateName: string){

console.log('this.currentData:' + this.currentData)

this.webviewController.runJavaScript('changeNumber("'+ this.currentData +'")')

.then((result) => {

console.log('result: ' + result);

})

}


<<input type="text" name="number_info" readonly onclick="openWindow()" value="" style="width: 500px;height: 100px;font-size:50px;border:1px solid # f00;" />

<script>

function changeNumber(value){

document.getElementsByName("number_info")[0].value = value;

}

</script>
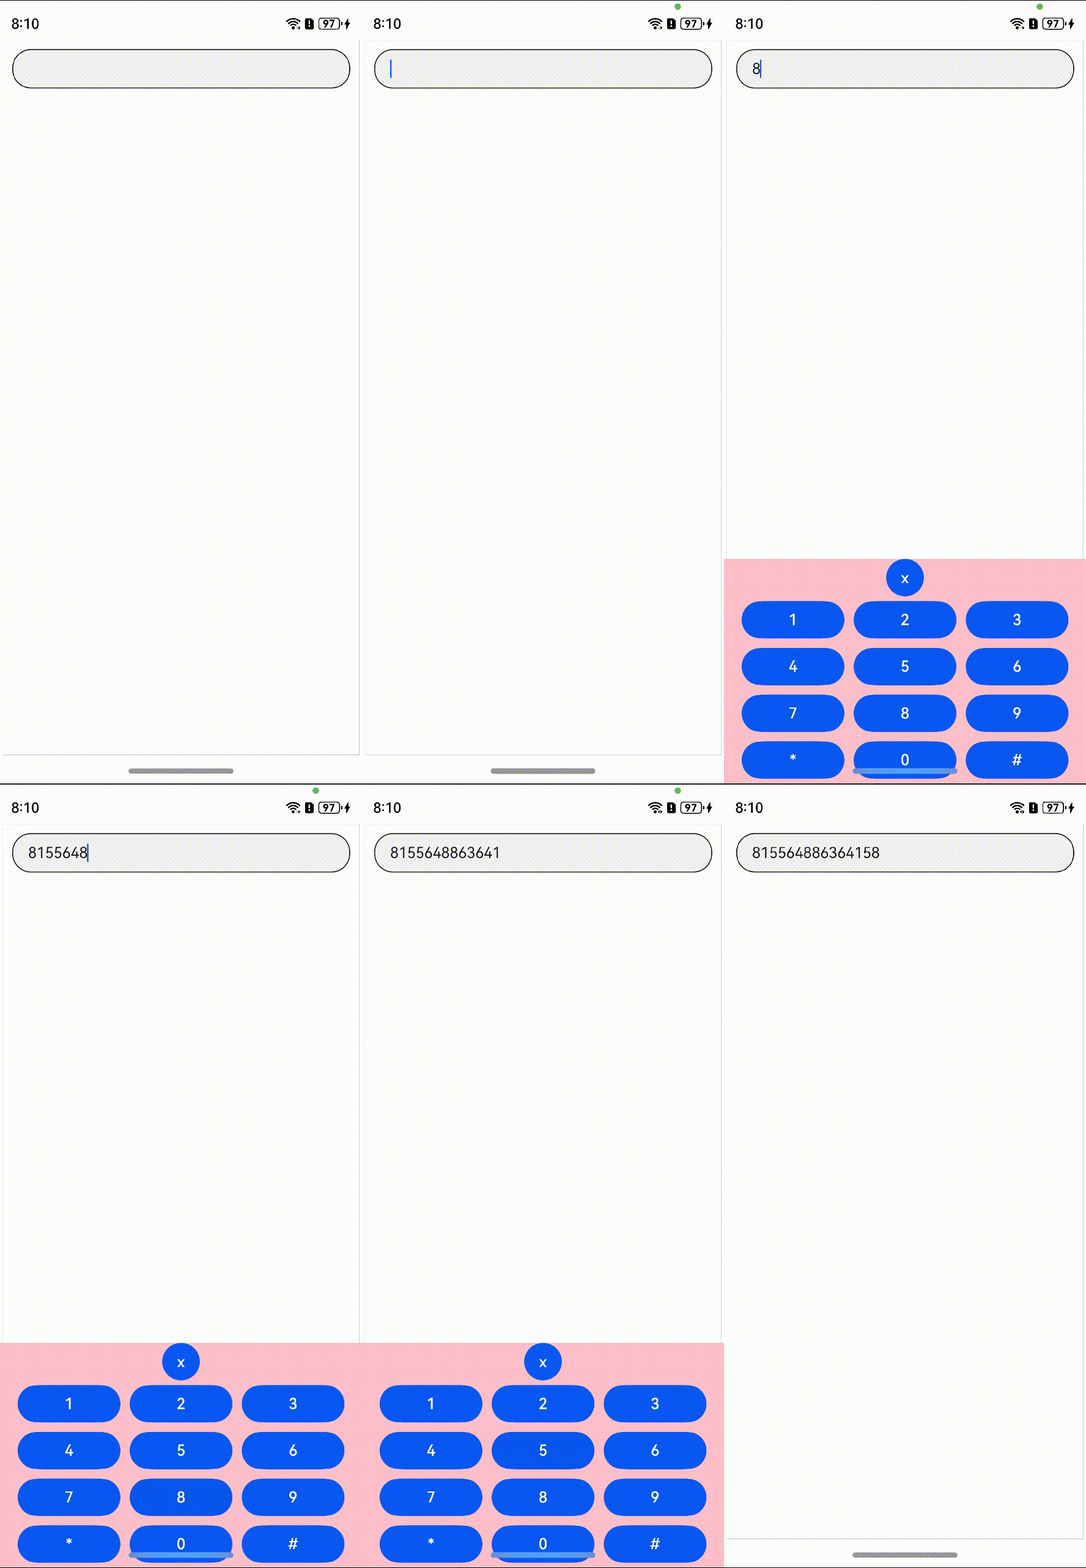
场景二: 通过同层渲染渲染一个原生的自定义键盘
效果图
方案
整体实现效果为:通过web的同层渲染功能实现将原生TextInput组件渲染到H5需要使用自定义键盘的页面中,这样就可以实现在H5拉起自定义键盘,并且使用它的全部功能。
核心代码
-
创建一个自定义键盘并绑定到原生textInput组件上。
@Component struct ButtonComponent { controller1: TextInputController = new TextInputController() @State inputValue: string = "" // 自定义键盘组件 @Builder CustomKeyboardBuilder() { Column() { Button('x').onClick(() => { // 关闭自定义键盘 this.controller1.stopEditing() }) Grid() { ForEach([1, 2, 3, 4, 5, 6, 7, 8, 9, '*', 0, '# '], (item: number | string) => { GridItem() { Button(item + "") .width(110).onClick(() => { this.inputValue += item }) } }) }.maxCount(3).columnsGap(10).rowsGap(10).padding(5) }.backgroundColor(Color.Pink) } @ObjectLink params: Params @State bkColor: Color = Color.Red @State outSetValueTwo: number = 40 @State outSetValueOne: number = 40 @State tipsValue: number = 40 controller: web_webview.WebviewController = new web_webview.WebviewController(); build() { Column() { TextInput({ controller: this.controller1, text: this.inputValue })// 绑定自定义键盘 .customKeyboard(this.CustomKeyboardBuilder()).margin(10).border({ width: 1 }) } .width(this.params.width) .height(this.params.height) } } -
将原生textInput组件通过web同层渲染功能渲染到H5上的embed标签上。
@Entry

@Component

struct WebIndex {

browserTabController: WebviewController = new webview.WebviewController()


build() {

Column() {

Web({ src: $rawfile("test.html"), controller: this.browserTabController })// 配置同层渲染开关开启。

.enableNativeEmbedMode(true)// 获取embed标签的生命周期变化数据。

.onNativeEmbedLifecycleChange((embed) => {

console.log("NativeEmbed surfaceId" + embed.surfaceId);

// 获取web侧embed元素的id。

const componentId = embed.info?.id?.toString() as string

if (embed.status == NativeEmbedStatus.CREATE) {

console.log("NativeEmbed create" + JSON.stringify(embed.info))

// 创建节点控制器,设置参数并rebuild。

let nodeController = new MyNodeController()

nodeController.setRenderOption({

surfaceId: embed.surfaceId as string,

type: embed.info?.type as string,

renderType: NodeRenderType.RENDER_TYPE_TEXTURE,

embedId: embed.embedId as string,

width: px2vp(embed.info?.width),

height: px2vp(embed.info?.height)

})

nodeController.setDestroy(false);

// 根据web传入的embed的id属性作为key,将nodeController存入map。

this.nodeControllerMap.set(componentId, nodeController)

// 将web传入的embed的id属性存入@State状态数组变量中,用于动态创建nodeContainer节点容器,需要将push动作放在set之后。

this.componentIdArr.push(componentId)

} else if (embed.status == NativeEmbedStatus.UPDATE) {

let nodeController = this.nodeControllerMap.get(componentId)

nodeController?.updateNode({

textOne: 'update',

width: px2vp(embed.info?.width),

height: px2vp(embed.info?.height)

} as ESObject)

} else {

let nodeController = this.nodeControllerMap.get(componentId);

nodeController?.setDestroy(true)

this.nodeControllerMap.clear();

this.componentIdArr.length = 0;

}

})// 获取同层渲染组件触摸事件信息。

.onNativeEmbedGestureEvent((touch) => {

console.log("NativeEmbed onNativeEmbedGestureEvent" + JSON.stringify(touch.touchEvent));

this.componentIdArr.forEach((componentId: string) => {

let nodeController = this.nodeControllerMap.get(componentId)

if (nodeController?.getEmbedId() === touch.embedId) {

let ret = nodeController?.postEvent(touch.touchEvent)

if (ret) {

console.log("onNativeEmbedGestureEvent success " + componentId)

} else {

console.log("onNativeEmbedGestureEvent fail " + componentId)

}

}

})

})

}

}

}


<html>

<head>

<title>同层渲染测试html</title>

<meta name="viewport">

</head>

<body>

<div>

<div id="bodyId">

<embed id="nativeTextInput" type="native/TextInput" width="100%" height="100%" src="test?params1=xxx?"

style="background-color:pink"/>

</div>

</div>

</body>

</html>
最后
有很多小伙伴不知道学习哪些鸿蒙开发技术?不知道需要重点掌握哪些鸿蒙应用开发知识点?但是又不知道从哪里下手,而且学习时频繁踩坑,最终浪费大量时间。所以本人整理了一些比较合适的鸿蒙**(HarmonyOS NEXT)**学习路径和一些资料的整理供小伙伴学习
点击领取→ 纯血鸿蒙Next全套最新学习资料(安全链接,放心点击)
希望这一份鸿蒙学习资料能够给大家带来帮助,有需要的小伙伴自行领取,限时开源,先到先得~无套路领取!!
**一、**鸿蒙(HarmonyOS NEXT)最新学习路线
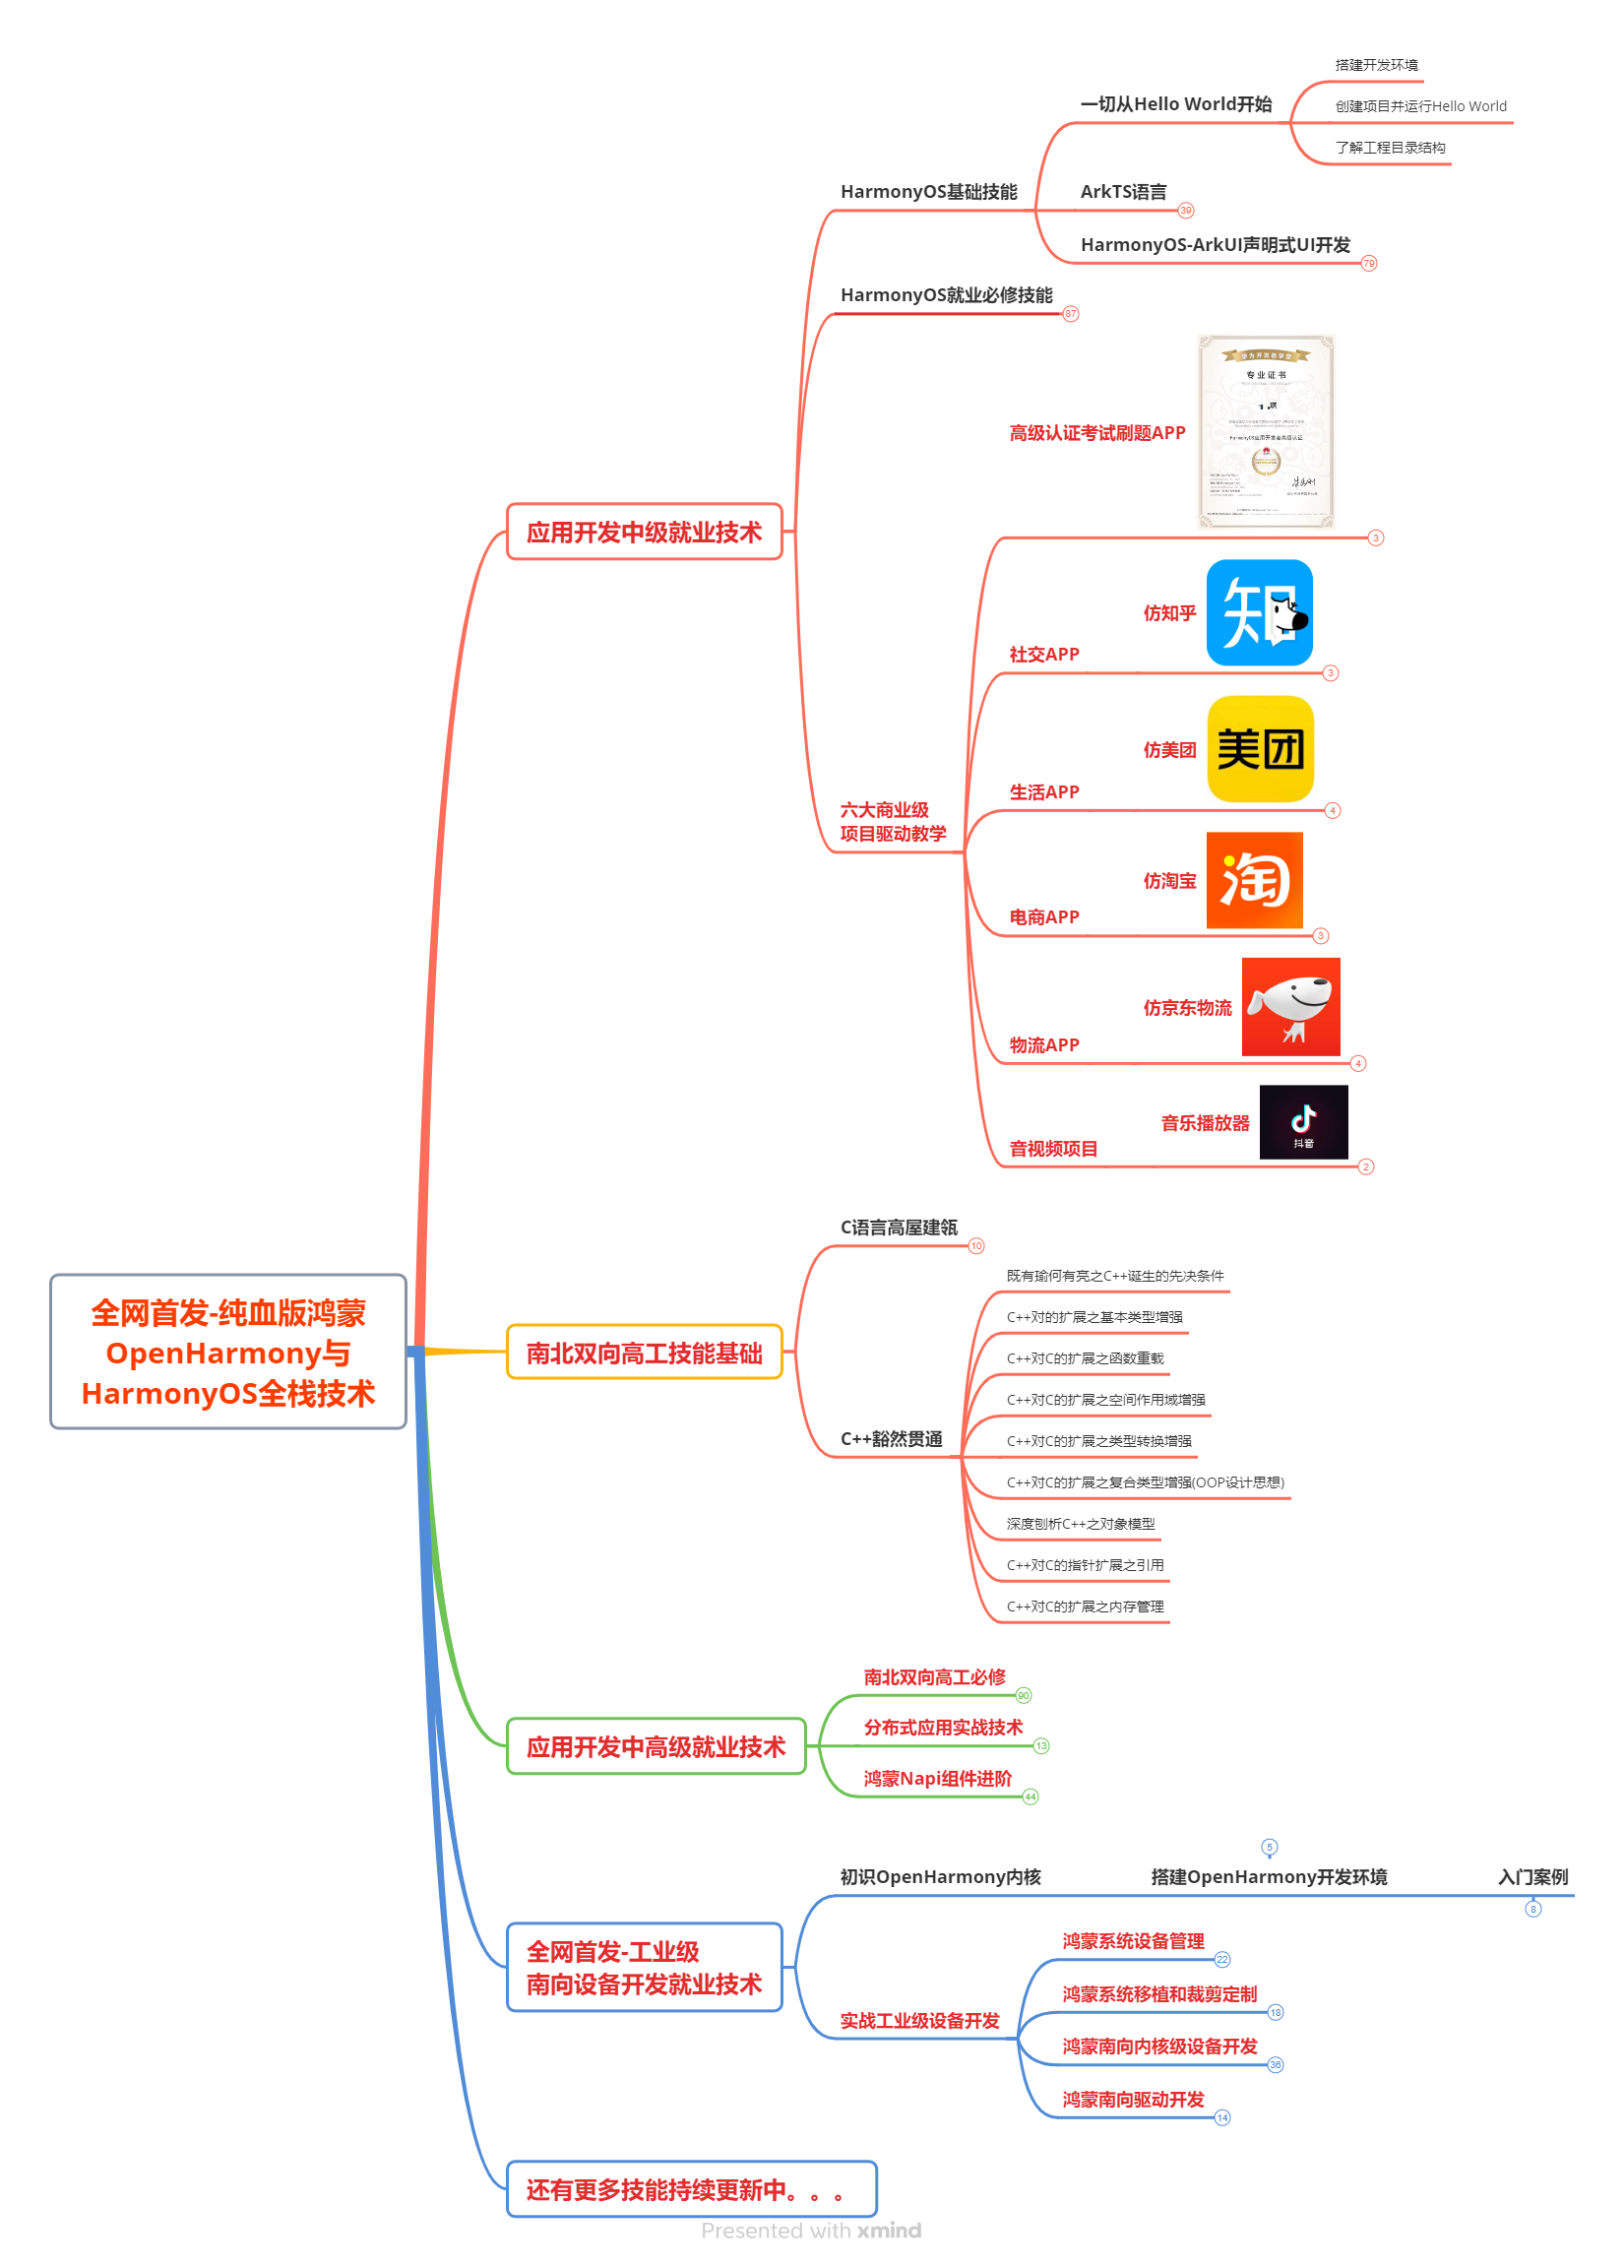
有了路线图,怎么能没有学习资料呢,小编也准备了一份联合鸿蒙官方发布笔记整理收纳的一套系统性的鸿蒙(OpenHarmony )学习手册(共计1236页)与鸿蒙(OpenHarmony )开发入门教学视频,内容包含: (ArkTS、ArkUI开发组件、Stage模型、多端部署、分布式应用开发、音频、视频、WebGL、OpenHarmony多媒体技术、Napi组件、OpenHarmony内核、Harmony南向开发、鸿蒙项目实战等等)鸿蒙(HarmonyOS NEXT)****...等技术 知识点。
获取以上完整版高清学习路线,请点击→纯血版全套鸿蒙HarmonyOS学习资料
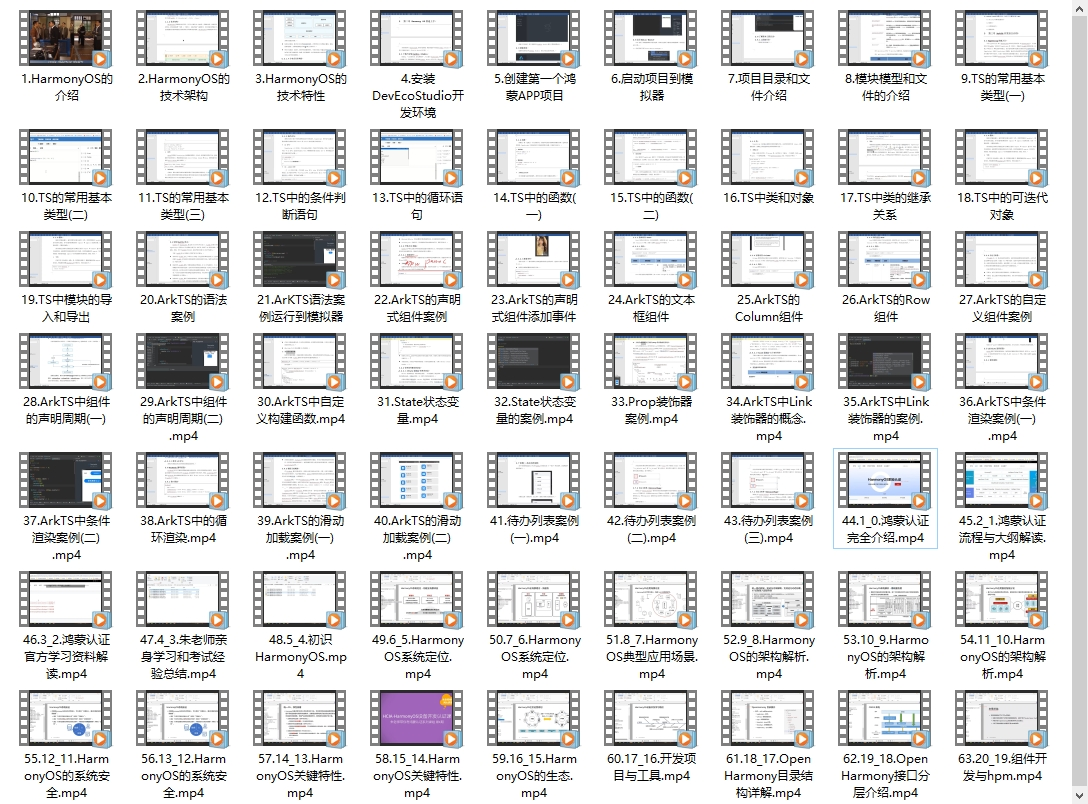
二、HarmonyOS Next 最新全套视频教程
三、《鸿蒙 (OpenHarmony)开发基础到实战手册》
OpenHarmony北向、南向开发环境搭建
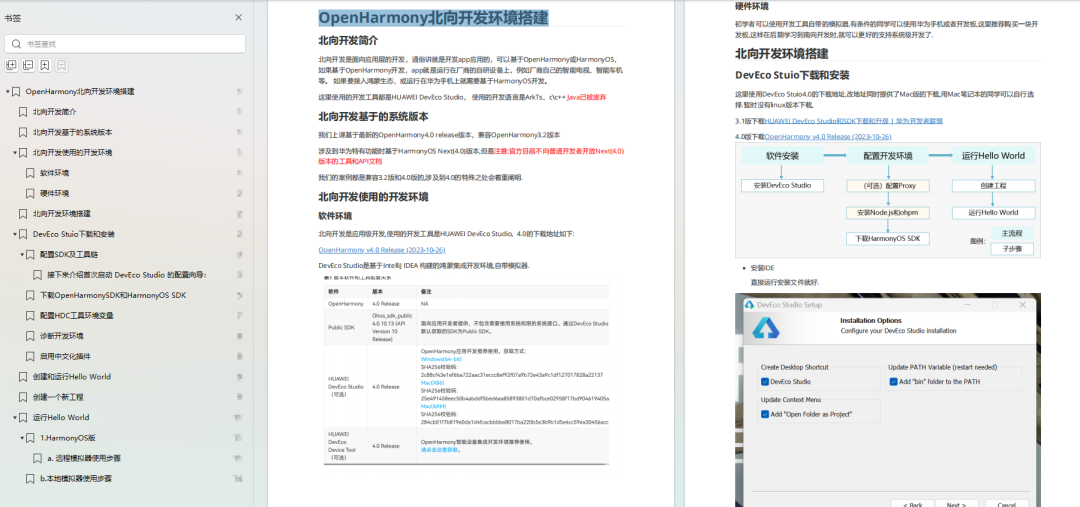
《鸿蒙开发基础》
- ArkTS语言
- 安装DevEco Studio
- 运用你的第一个ArkTS应用
- ArkUI声明式UI开发
- .......

《鸿蒙开发进阶》
- Stage模型入门
- 网络管理
- 数据管理
- 电话服务
- 分布式应用开发
- 通知与窗口管理
- 多媒体技术
- 安全技能
- 任务管理
- WebGL
- 国际化开发
- 应用测试
- DFX面向未来设计
- 鸿蒙系统移植和裁剪定制
- ......
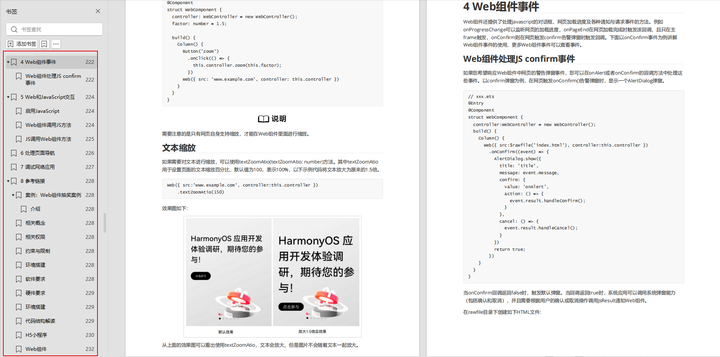
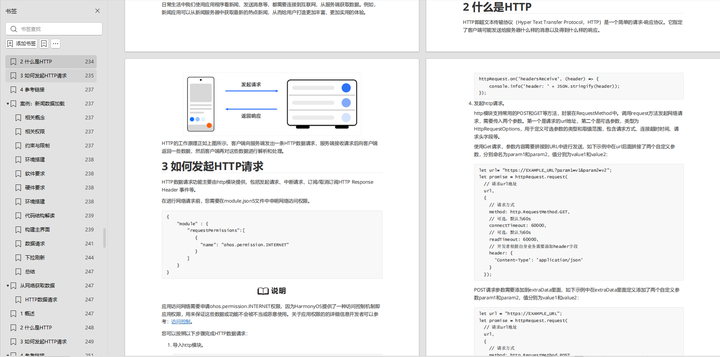
《鸿蒙进阶实战》
- ArkTS实践
- UIAbility应用
- 网络案例
- ......
四、大厂面试必问面试题

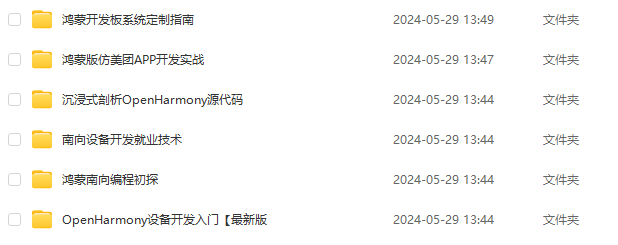
五、鸿蒙南向开发技术
六、鸿蒙APP开发必备

七、鸿蒙生态应用开发白皮书V2.0PDF
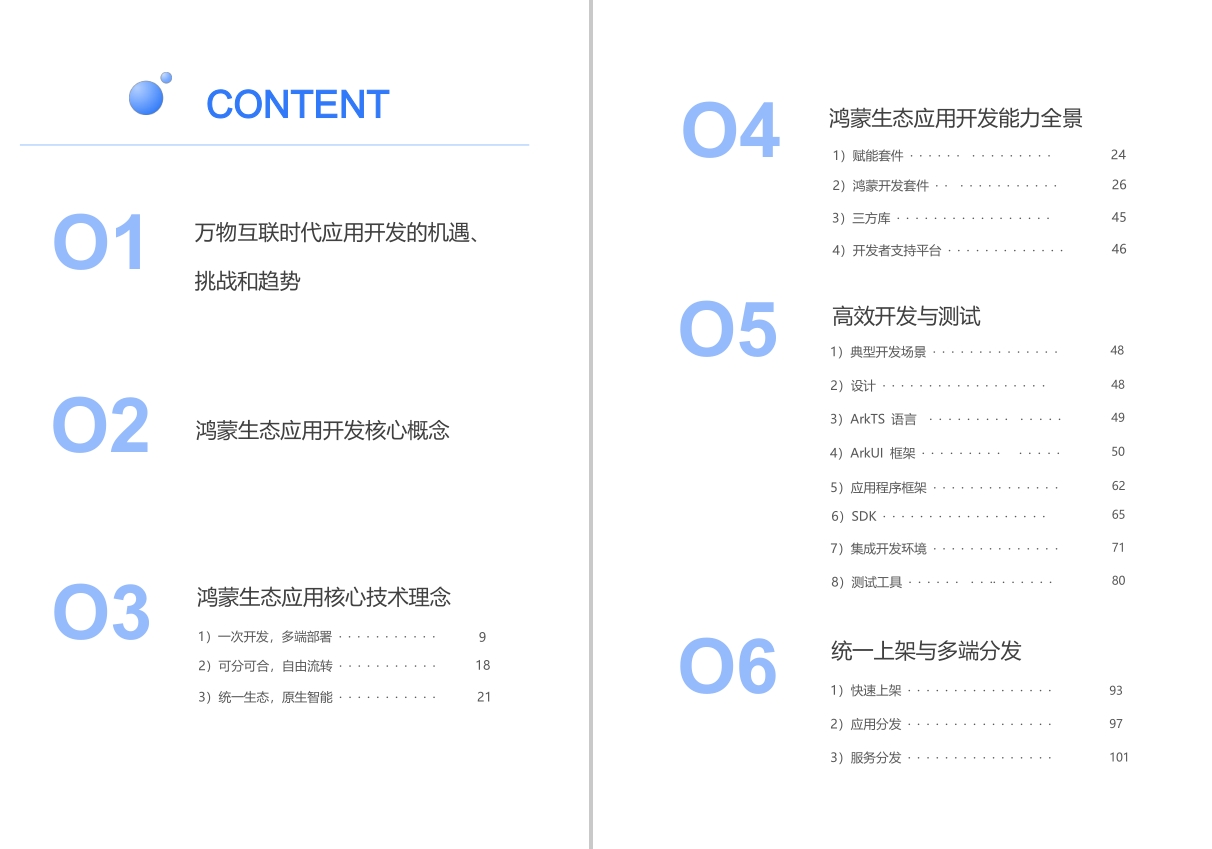
完整鸿蒙HarmonyOS学习资料,请点击→纯血版全套鸿蒙HarmonyOS学习资料****
总结
总的来说,华为鸿蒙不再兼容安卓,对中年程序员来说是一个挑战,也是一个机会。只有积极应对变化,不断学习和提升自己,他们才能在这个变革的时代中立于不败之地。
