
正文共:666 字 12 图,预估阅读时间:1 分钟
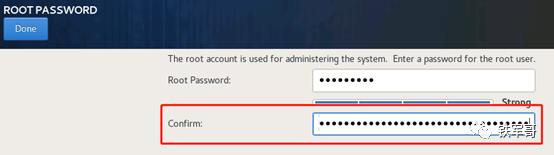
说来也巧,突然发现使用KVM在部署CentOS时**(** 笔记本电脑安装CentOS系统),会有一个神奇的现象,还不是偶然出现的,在最近的三四次部署过程中都遇到了。那就是在设置密码时,会出现输完之后还在连续输入,也找不到是哪里的问题,只能拼手速快速完成设置。
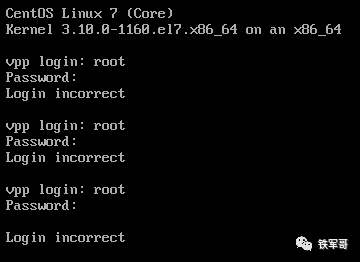
但是,今天出问题,不知道犯了什么错,竟然输入了两个错误的密码,导致登录不上了。
没办法,只能破解密码了,正好出一篇破解密码的文章。
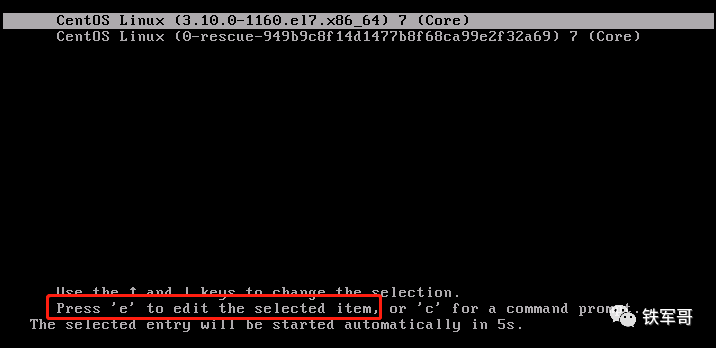
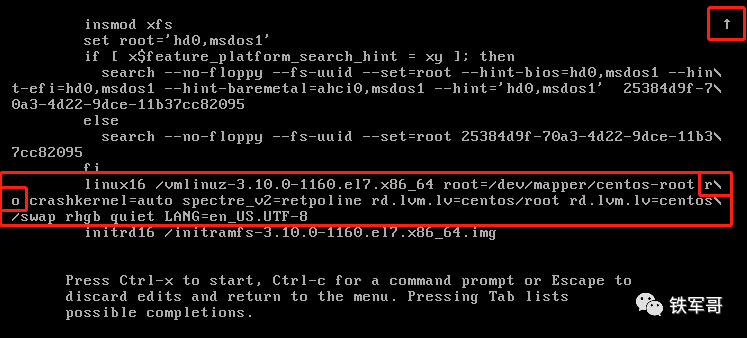
首先,启动Centos7系统之后,在选择要引导的系统时,直接按**"e"**键来编辑系统启动选项。
然后会进入到启动选项配置文件中。
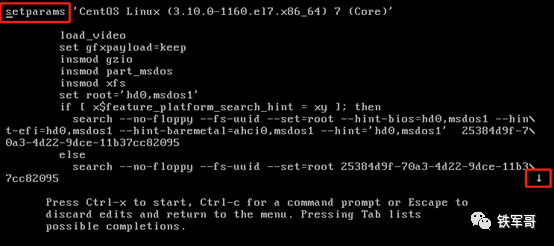
注意观察光标的位置,还有右下角的提示,下方向键 **"↓"**表示下面还有配置文件。
在倒数第二行的最后位置,将**"ro"** 修改为**"rw init=sysroot/bin/sh"**。
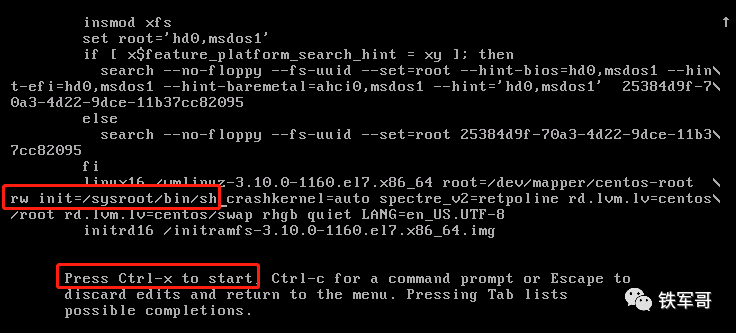
添加完成之后,根据提示,按**"Ctrl+x"**组合键来引导系统。
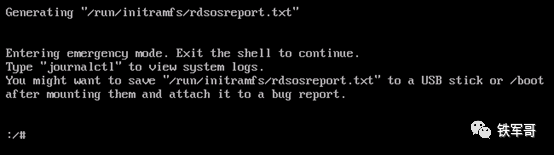
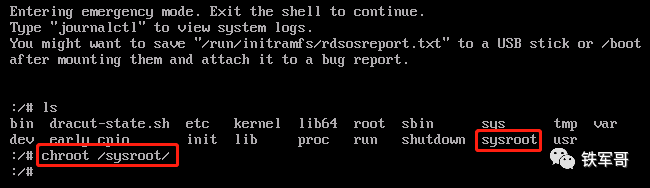
然后我们就进入到了Linux的紧急模式,而且是不需要验证用户密码的。接下来,我们先使用命令**"chroot /sysroot"**命令来改变程序执行时所参考的根目录位置为/sysroot。
然后我们就可以使用命令**"passwd root"**来重置root账户的密码了。
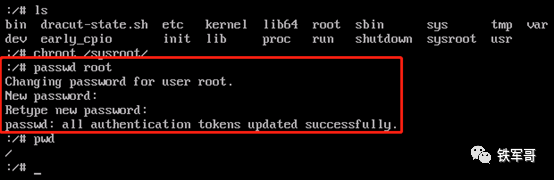
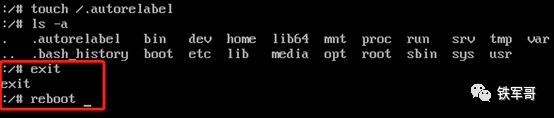
输入两个一样的密码之后,即可完成密码重置。然后使用命令**"touch /.autorelabel"**来在根目录/下创建一个.autorelabel文件,这样系统在重启时检测到这个文件就会对整个文件系统进行重新标签。

最后,我们需要先使用命令**"exit"** 退出init模式,再使用命令**"reboot"**来重新引导系统就好了。
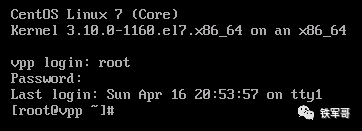
因为需要重新标签,所以启动时间会稍微长一些,并且会二次重启,引导完成之后,输入修改后的root密码就能登录系统了。
在这个操作之前,我也测试了另一种修改**"rw single init=/bin/bash"**的方法,对于CentOS 7.9的内核不适用,具体是在哪个内核版本做的变更暂时就不清楚了。

长按二维码
关注我们吧


<>
笔记本电脑安装CentOS
<> <>
笔记本电脑安装CentOS系统
<> <>
把CentOS安装到笔记本电脑的ESXi 6.0,性能行吗?
<> <>
配置CentOS 7通过MSTSC连接远程桌面
<> <>
最小化安装的CentOS7部署KVM虚拟机
<> <>
通过命令行配置调整KVM的虚拟网络
<> <>
CentOS和OpenEuler转发性能对比
<> <>
小测一下笔记本电脑的VMXNET3和E1000e网卡性能
<> <>
VirtIO的转发性能竟然比E1000和VMXNET3都要好
<> <>
笔记本电脑安装VMware ESXi6.0
<> <>
在笔记本上装完KVM,发现VirtIO的性能比E1000高出不少
<> <>