OpenCV去除图像背景
去除图像背景,需要综合使用二值化(thresholding)、腐蚀(erosion)、膨胀(dilation)以及位运算(bitwise operations),代码如下:
cpp
#include "opencv2/imgcodecs.hpp"
#include "opencv2/highgui.hpp"
#include "opencv2/imgproc.hpp"
#include <iostream>

using namespace cv;

int main(int argc, char** argv)
{
    CommandLineParser parser(argc, argv, "{@input | dog.jpg | input image}");
    // Read an image
    Mat src = imread(samples::findFile(parser.get<String>("@input")));
    if (src.empty())
    {
        std::cout << "Could not open or find the image!\n" << std::endl;
        std::cout << "Usage: " << argv[0] << " <Input image>" << std::endl;
        return EXIT_FAILURE;
    }

    // Convert the image to grayscale
    Mat grayImg;
    cvtColor(src, grayImg, COLOR_BGR2GRAY);

    // Remove the background using a threshold
    // median filter is applied to reduce noise in the image
    // ksize is 5
    Mat grayImgBlurred;
    medianBlur(grayImg, grayImgBlurred, 5);

    // A binary threshold is applied to the grayscale image using a threshold
    Mat binaryImg;
    double thresh = threshold(grayImgBlurred, binaryImg, 150, 255, THRESH_BINARY_INV);

    // Output the thresh
    std::cout << thresh << std::endl;

    // The binary image is eroded to remove small objects and fill in small gaps using erode
    Mat erodedMask;
    erode(binaryImg, erodedMask, getStructuringElement(MORPH_RECT, Size(3, 3)), Point(-1, 1), 2);

    // The binary image is dilated to expand the remaining foreground objects # and fill in gaps using dilate
    Mat mask;
    dilate(erodedMask, mask, getStructuringElement(MORPH_RECT, Size(3, 3)), Point(-1, 1), 2);

    // The original input image is combined with the binary mask using bitwise_and
    Mat backgroundRemovedImg;
    bitwise_and(src, src, backgroundRemovedImg, mask);

    // Display the processed images
    imshow("Background Removed Image", backgroundRemovedImg);
    waitKey(0);

    return EXIT_SUCCESS;
}
python
###Background removal is removing the background from an image

import cv2

# Read an image
img = cv2.imread('../data/dog.jpg')
# Convert the image to grayscale
gray_img = cv2.cvtColor(img, cv2.COLOR_BGR2GRAY)

# Remove the background using a threshold
# median filter is applied to reduce noise in the image
gray_img = cv2.medianBlur(gray_img, 5)

# A binary threshold is applied to the grayscale image using a threshold
ret, thresh = cv2.threshold(gray_img, 150, 255, cv2.THRESH_BINARY_INV)

# The binary image is eroded to remove small objects and fill in small gaps using erode
mask = cv2.erode(thresh, None, iterations=2)

# The binary image is dilated to expand the remaining foreground objects # and fill in gaps using dilate
mask = cv2.dilate(mask, None, iterations=2)
# The original input image is combined with the binary mask using bitwise_and
background_removed_img = cv2.bitwise_and(img, img, mask=mask)

# Display the processed images
cv2.imshow('Background Removed Image', background_removed_img)


# Wait for a key press and then close the windows
cv2.waitKey(0)
cv2.destroyAllWindows()
原图:

处理后:

显然,这个结果并不美丽,我们可以尝试修改参数修正,但结果总是难以令人满意。于是采用更好更省事的办法,引用rembg库,调用u2net模型,去除背景。
使用rembg库去除图像背景
rembg库地址为:https://pypi.org/project/rembg/,这是一个基于机器学习模型的库,安装命令如下:
bash
pip install rembg如果有CUDA,可以安装GPU版:
bash
pip install rembg[gpu]使用该库,去除图像背景的代码如下:
python
### For background removal using rembg library

from rembg import remove
import cv2

#input path for image
input_path = '../data/dog.jpg'
output_path = 'output.png'

#read the image
input = cv2.imread(input_path)
output = remove(input)
# save the image
cv2.imwrite(output_path, output)

# Display the processed images
img = cv2.imread('output.png')
cv2.imshow('Background Removed Image', img)

# Wait for a key press and then close the windows
cv2.waitKey(0)
cv2.destroyAllWindows()
运行效果如下:
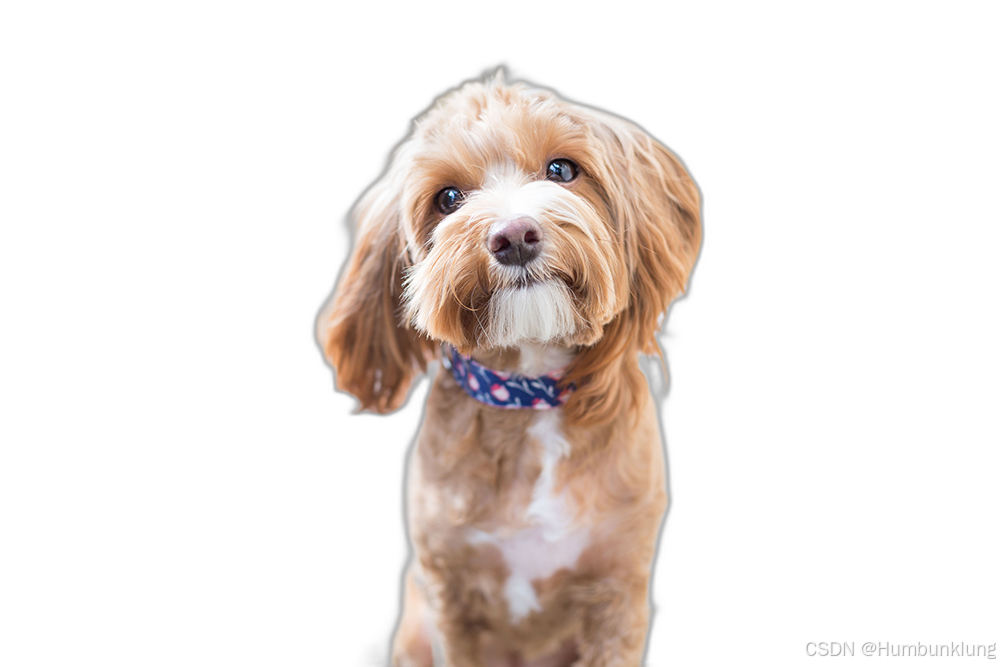
效果较之于第一种方法,更简洁,当然,安装的包也是很多的。