目录
一、实验环境准备
1、rhel7主机
2、开启主机图形 init 5 开图形
3、配置网络可用
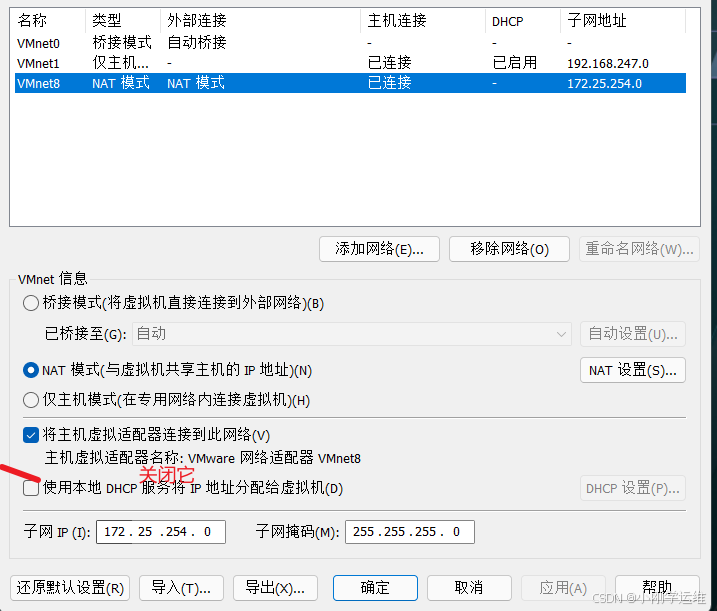
4、关闭vmware dhcp功能
二、安装kickstart
作用:记录系统安装过程中所有问题答案的文件叫kickstart脚本
1、kickstart自动安装脚本的制作
在rhel7系统中提供图形的kickstart制作方式
如果rhel7是最小化安装的话,可以安装图形化
bash
yum groups list
yum groups install "Server with GUI"
init 5 #开启运行级别图形化

yum install system-config-kickstart.noarch  #安装kickstart

在vm虚拟机中输入 system-config-kickstart  进入图形化界面
操作步骤:


添加根分区:


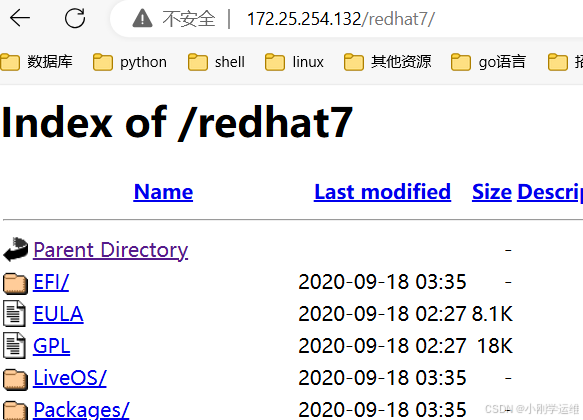
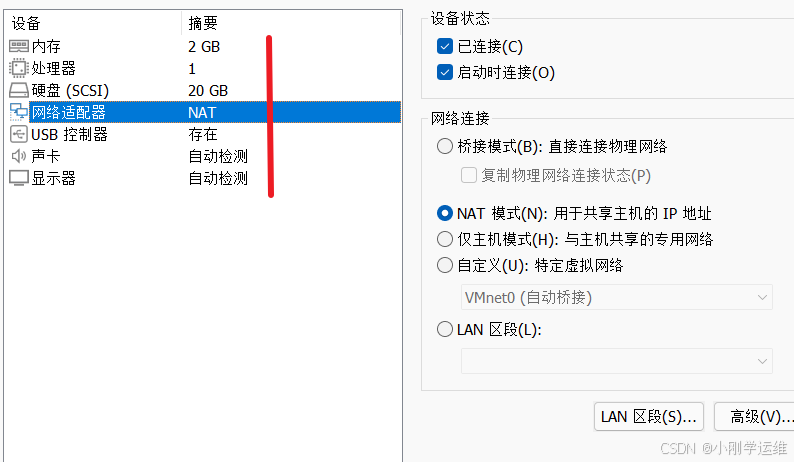
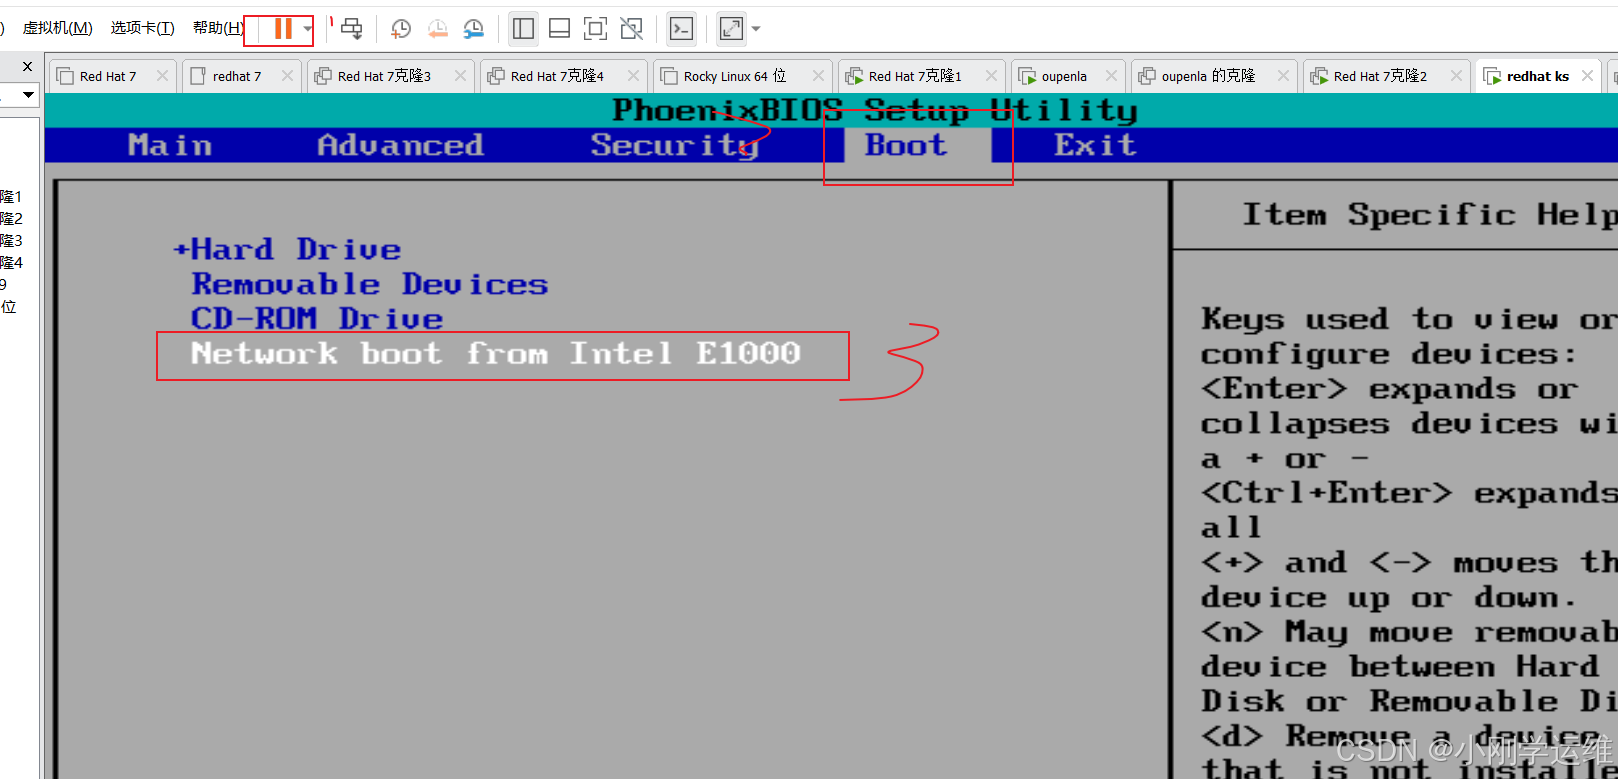
root@server \~\]# ksvalidator ks.cfg 检查语法是否有误 ## 三、安装web服务器,提供网络源 ```bash [root@server ~]# yum install httpd #在默认发布目录需要的文件 [root@server ~]# ll /var/www/html/ total 4 -rw-r--r--. 1 root root 1231 Aug 4 11:40 ks.cfg lrwxrwxrwx. 1 root root 5 Aug 4 11:08 redhat7 -> /mnt/ #用来给其他客户端下载软件包的 ``` 测试以下是否能访问:  ## 四、安装dhcp 为了避免vm软件为新机分配ip地址,导致实验的失败。  ```bash [root@server ~]# yum install dhcp [root@server ~]# egrep -v "^#|^$" /etc/dhcp/dhcpd.conf option domain-name "example.org"; option domain-name-servers 114.114.114.114; default-lease-time 600; max-lease-time 7200; log-facility local7; subnet 172.25.254.0 netmask 255.255.255.0 { range 172.25.254.30 172.25.254.40; option routers 172.25.254.2; #下面两条是为pxe,给客户机找引导安装程序的文件 next-server 172.25.254.132; filename "pxelinux.0"; } systemctl restart dhcpd ``` ## 五、安装syslinux,tftp-server ```bash [root@server ~]# yum install syslinux [root@server ~]# yum install tftp-server #共享pxelinux.0数据文件的网络服务 [root@server ~]# systemctl enable tftp --now [root@server ~]# cp /mnt/isolinux/* /var/lib/tftpboot/ cp /usr/share/syslinux/pxelinux.0 /var/lib/tftpboot/ [root@server ~]# cd /var/lib/tftpboot/ [root@server tftpboot]# mkdir pxelinux.cfg [root@server tftpboot]# cp isolinux.cfg pxelinux.cfg/default ```  ## 六、虚拟机中新建新主机  删除光盘镜像  然后等待加载完成后选择磁盘进去就成功了。