如果对你有帮助请给个start,本项目会持续更新,目标是做一个可用的快速微服务开发平台,成为接私活,毕设的开发神器, 欢迎大神们多提意见和建议
使用的都是spring官方最新的版本,版本如下:
  <dependencyManagement>
        <dependencies>
            <dependency>
                <groupId>org.springframework.boot</groupId>
                <artifactId>spring-boot-dependencies</artifactId>
                <version>2.2.6.RELEASE</version>
                <type>pom</type>
                <scope>import</scope>
            </dependency>
            <dependency>
                <groupId>org.springframework.cloud</groupId>
                <artifactId>spring-cloud-dependencies</artifactId>
                <version>Hoxton.SR3</version>
                <type>pom</type>
                <scope>import</scope>
            </dependency>
            <dependency>
                <groupId>com.alibaba.cloud</groupId>
                <artifactId>spring-cloud-alibaba-dependencies</artifactId>
                <version>2.2.0.RELEASE</version>
                <type>pom</type>
                <scope>import</scope>
            </dependency>
        </dependencies>
    </dependencyManagement>
springcloud gateway进行token校验时使用框架封装好的,不在需要通过自定义过滤器进行认证
引入依赖:
<dependencies>
        <dependency>
            <groupId>org.springframework.cloud</groupId>
            <artifactId>spring-cloud-starter-gateway</artifactId>
        </dependency>
        <dependency>
            <groupId>org.springframework.security</groupId>
            <artifactId>spring-security-config</artifactId>
        </dependency>
        <dependency>
            <groupId>org.springframework.security</groupId>
            <artifactId>spring-security-oauth2-resource-server</artifactId>
        </dependency>
        <dependency>
            <groupId>org.springframework.security</groupId>
            <artifactId>spring-security-oauth2-jose</artifactId>
        </dependency>
    </dependencies>
修改配置文件
spring:
  security:
    oauth2:
      resourceserver:
        jwt:
          jwk-set-uri: http://localhost:8000/public/key.json
增加一个配置文件
package com.digierp.gateway.config;

import com.digierp.gateway.component.PermissionAuthorizationManager;
import org.springframework.beans.factory.annotation.Autowired;
import org.springframework.context.annotation.Bean;
import org.springframework.security.config.annotation.web.reactive.EnableWebFluxSecurity;
import org.springframework.security.config.web.server.ServerHttpSecurity;
import org.springframework.security.web.server.SecurityWebFilterChain;

/**
 * @author liuhao
 * @date 2020/4/10
 */
@EnableWebFluxSecurity
public class GateWayWebSecurityConfig {

    @Autowired
    private PermissionAuthorizationManager permissionAuthorizationManager;

    @Bean
    public SecurityWebFilterChain springSecurityFilterChain(ServerHttpSecurity http) {
        http.authorizeExchange()
                .pathMatchers("/security/**").permitAll()
                .anyExchange().access(permissionAuthorizationManager);

        http.oauth2ResourceServer().jwt();
        http.csrf().disable();
        return http.build();
    }

}
需要在网关做权限控制添加ReactiveAuthorizationManager<AuthorizationContext>接口的实现, 如果不需要,请忽略
package com.digierp.gateway.component;

import lombok.extern.slf4j.Slf4j;
import org.apache.commons.lang3.RandomUtils;
import org.springframework.security.authorization.AuthorizationDecision;
import org.springframework.security.authorization.ReactiveAuthorizationManager;
import org.springframework.security.core.Authentication;
import org.springframework.security.oauth2.jwt.Jwt;
import org.springframework.security.web.server.authorization.AuthorizationContext;
import org.springframework.stereotype.Component;
import org.springframework.web.server.ServerWebExchange;
import reactor.core.publisher.Mono;

/**
 * @author liuhao
 * @date 2020/4/11
 */
@Slf4j
@Component
public class PermissionAuthorizationManager implements ReactiveAuthorizationManager<AuthorizationContext> {

    /**
     * 实现权限验证判断
     */
    @Override
    public Mono<AuthorizationDecision> check(Mono<Authentication> authenticationMono, AuthorizationContext authorizationContext) {
        ServerWebExchange exchange = authorizationContext.getExchange();
        //请求资源
        String requestPath = exchange.getRequest().getURI().getPath();
        return authenticationMono.map(auth -> {
            new AuthorizationDecision(checkAuthorities(exchange, auth, requestPath));
        }).defaultIfEmpty(new AuthorizationDecision(false));

    }
    //权限校验
    private boolean checkAuthorities(ServerWebExchange exchange, Authentication auth, String requestPath) {
        Jwt principal = (Jwt) auth.getPrincipal();
        log.info("访问的URL是:{}用户信息:{}",requestPath, principal.getClaims().get("user_name"));
        return RandomUtils.nextInt() % 2 == 0 ;
    }

}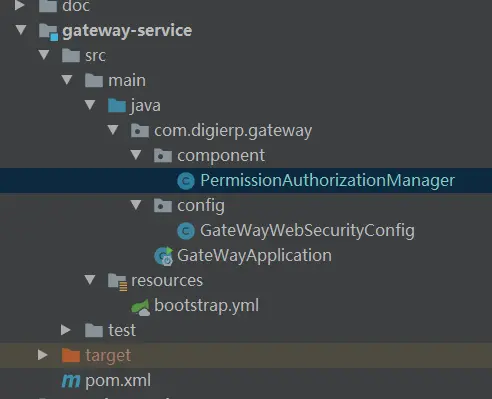
image.png
© 著作权归作者所有,转载或内容合作请联系作者

喜欢的朋友记得点赞、收藏、关注哦!!!