1,首先是确保自己能够登录:
内网lab
公网ip ssh
此处可以参考我的博客:https://blog.csdn.net/weixin_62528784/article/details/142345268?spm=1001.2014.3001.5501
2,现在自己能够通过各种手段(包括校园网vpn),在任意地点任意时刻登录服务器了,那么接下来要做的就是查看服务器的大致配置:
此处参考我的博客:https://blog.csdn.net/weixin_62528784/article/details/142183872?spm=1001.2014.3001.5501
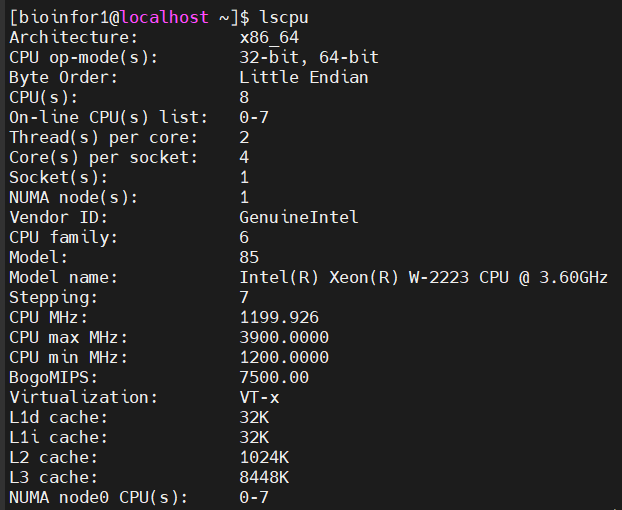
(1)cpu信息:
8核8线程
勉勉强强,肯定是跑不了sc了(暂时还没有使用过跑任务,也许8线程虽然能够跑满但是依然很垃圾)
(2)内存:
可用内存40G左右,单细胞肯定也跑不了,其他小组学数据不是问题

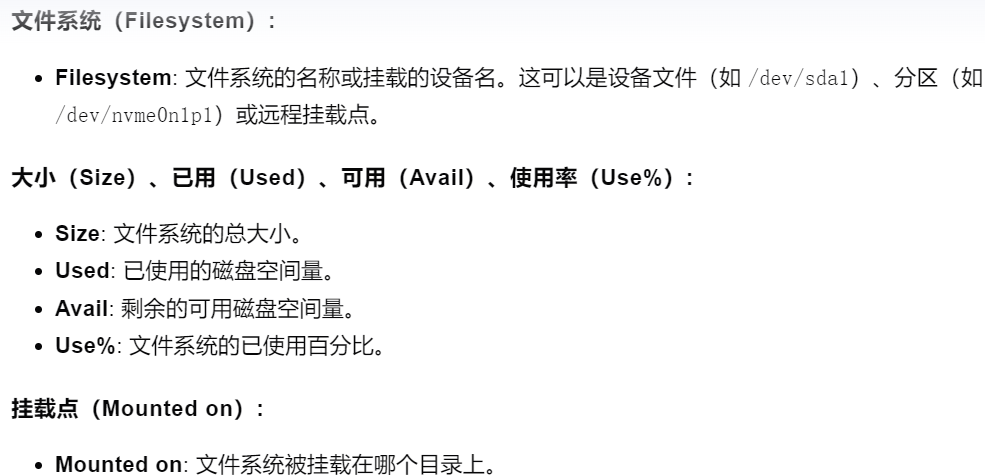
(3)硬盘disk:
主要是filesystem+mounted on:
也就是分区设备(物理设备)+文件挂载目录(虚拟设备)
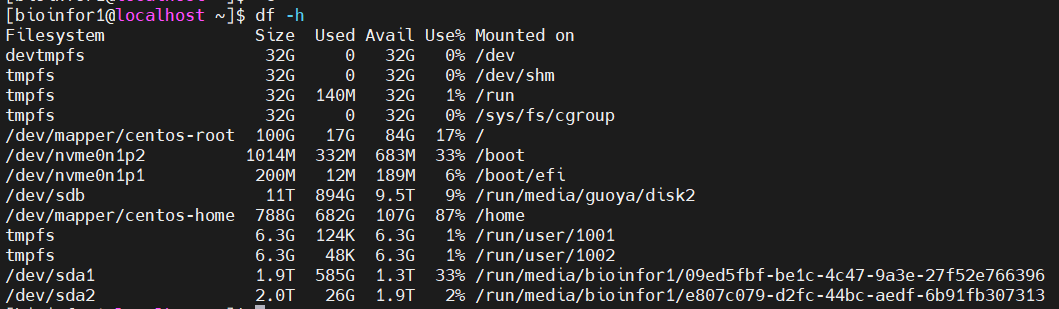
进行解读:
目前博主自己暂时能够使用的分区是/dev/sda1以及sda2这两个盘,内存大概在3T左右,内存勉强够用(小数据hic够用),建议大数据hic在20T以上
(4)操作系统发行版本:
是centos系统


3,现在清楚了自己服务器的配置,明确了自己的设备只能跑跑小组学任务,有了这么一个底线基础,那么接下来的任务就是为服务器运行数据分析任务做准备,而数据处理的核心就是数据+软件,所以我们先处理好软件安装的问题,也就是环境管理+安装的问题:
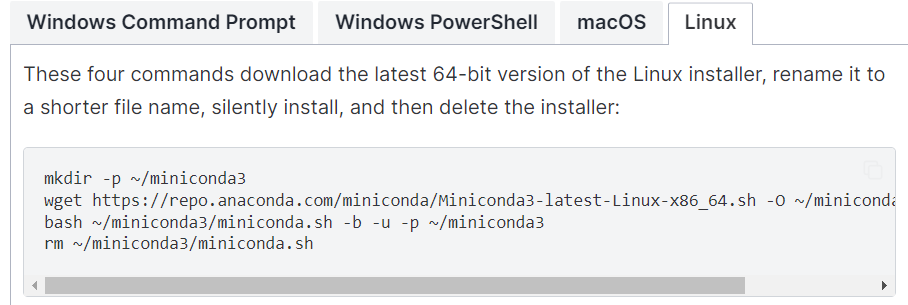
安装conda,升级为mamba,作为环境管理工具------如下:
安装conda时建议安装miniconda(之前使用过miniconda3),参考https://docs.anaconda.com/miniconda/
之后conda升级mamba参考:https://bioconda.github.io/faqs.html
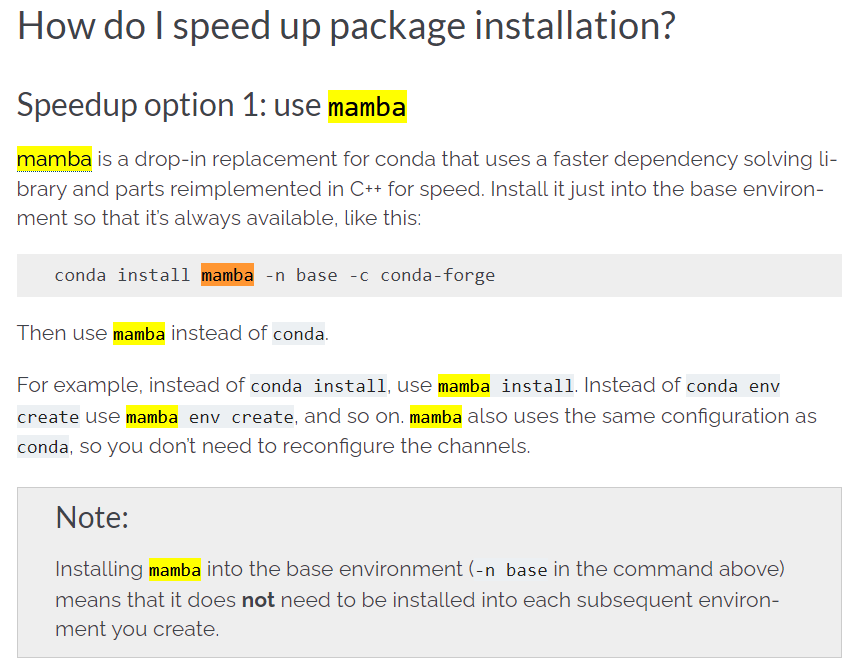
当然上面安装mamba的流程已经out了,建议使用mamba官方安装步骤:
https://mamba.readthedocs.io/en/latest/installation/mamba-installation.html
(1)创建所需环境:
base不用
初始化环境为zht,注意在系统配置中修改,使得进入登入系统就进入该环境中
plain
vim ~/.bashrc #在适当位置,比如说末尾添加conda/mamba activate zht,这样每次打开1个shell session就是zht env,而不是base env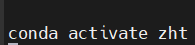
另外建立了1个新环境qc用于常规seq的质控处理等
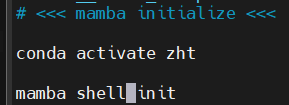
当然这个过程中遇到了一些问题(一些以前从来没有遇到过,一些以前遇到过)
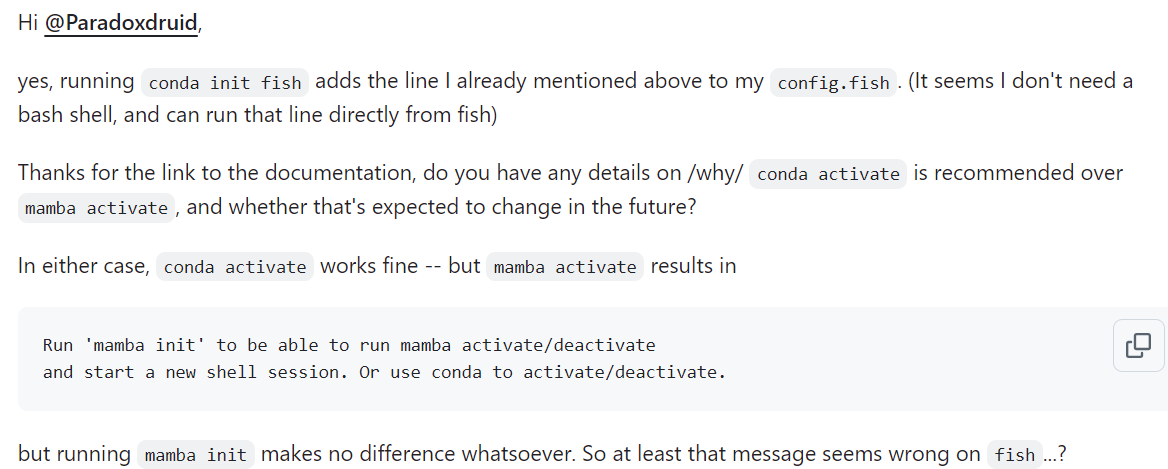
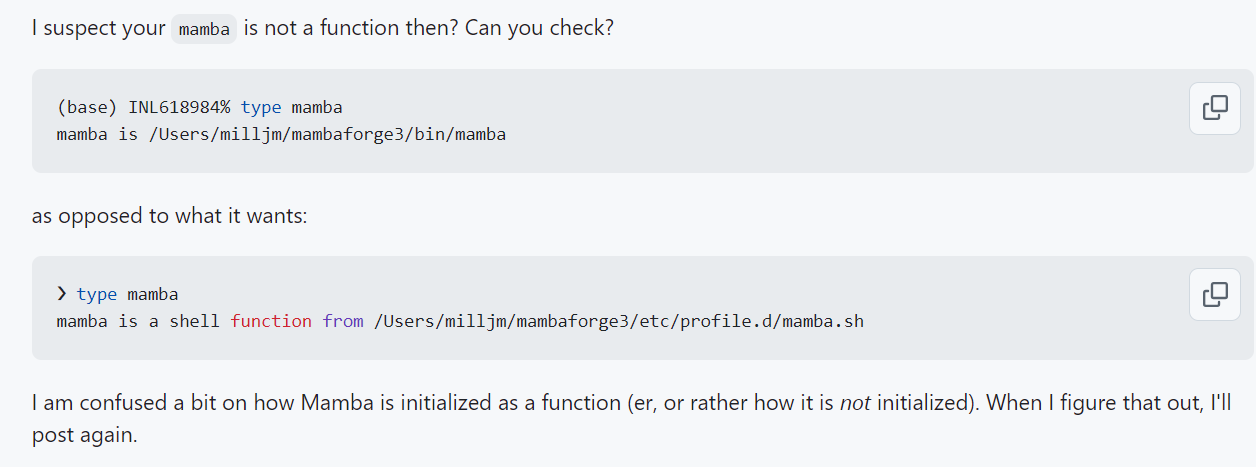
主要就是conda activate能够激活对应的环境,但是mamba activate经常报错需要mamba init
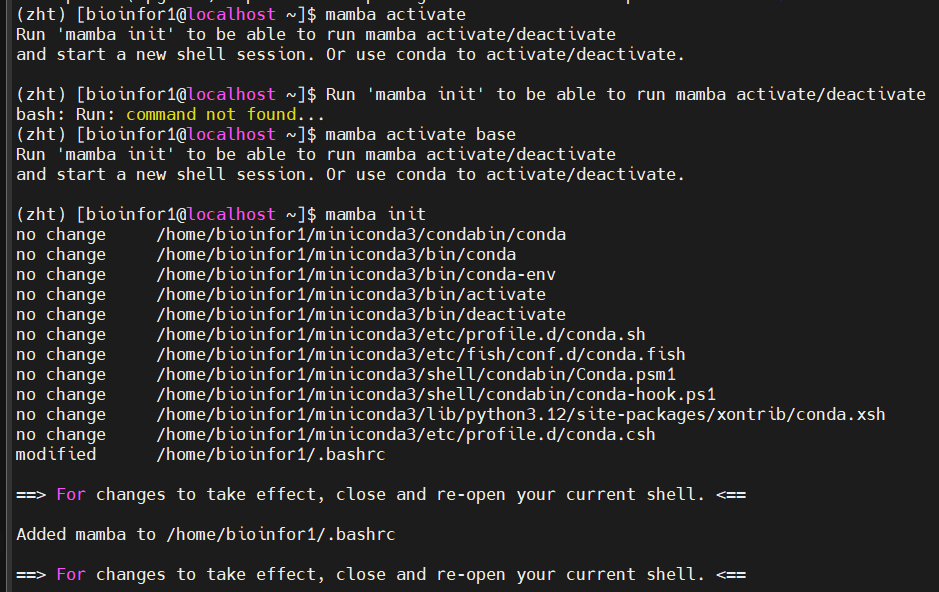
相关问题可以参考:https://github.com/mamba-org/mamba/issues/1718

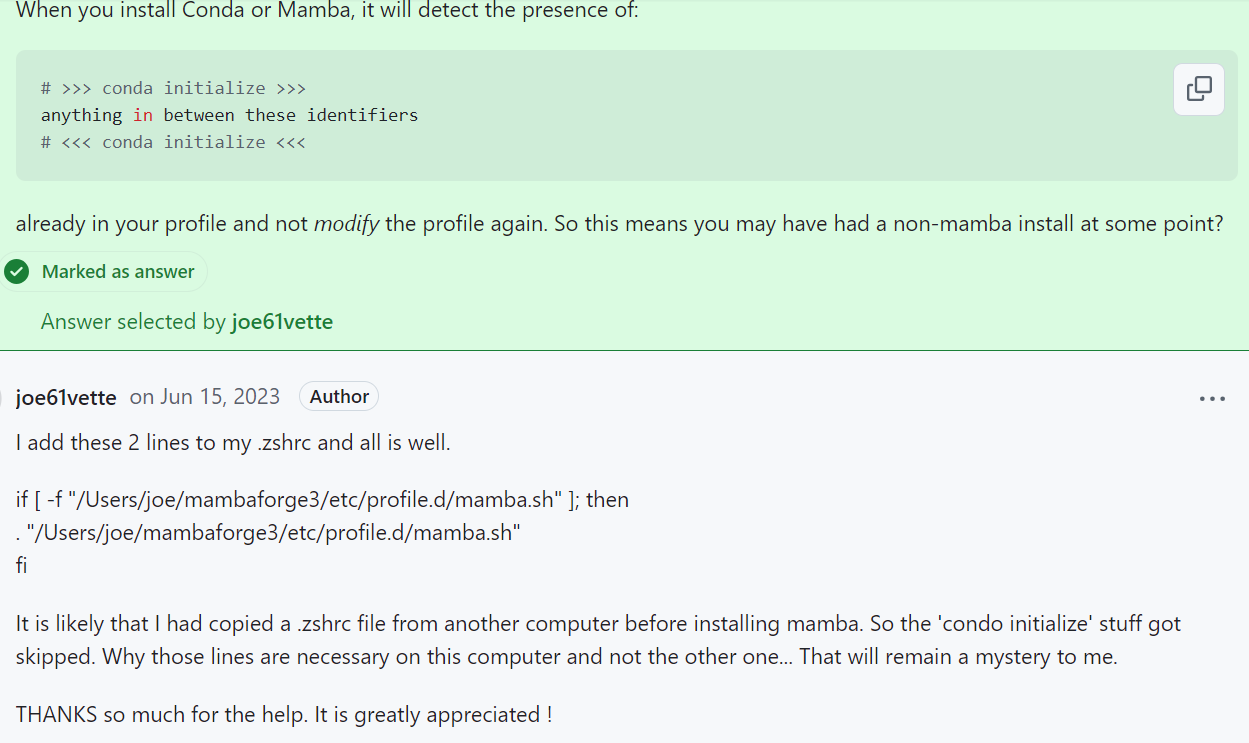
所以仔细对照的话,似乎是可以在shell初始配置文件,也就是~/.bashrc中同样添加对应语句:
plain
source /home/bioinfor1/miniconda3/etc/profile.d/mamba.sh #同样在shell初始化中添加或者是将conda中的这句:

添加到mamba的初始化配置语句块中:

或者是添加这句:
下面进行测验:

没用
 (相当于是同样添加)

还是没用
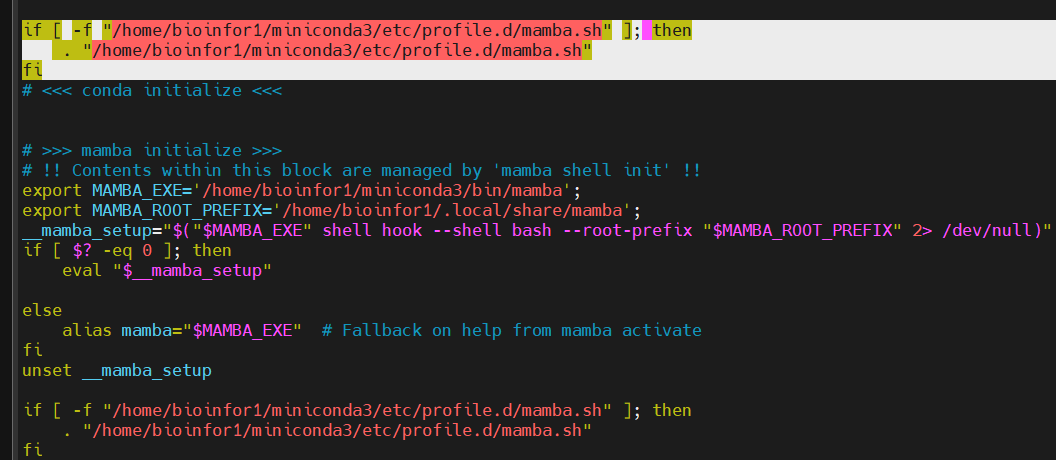
将上面conda中选中的语句复制粘贴到下面mamba中

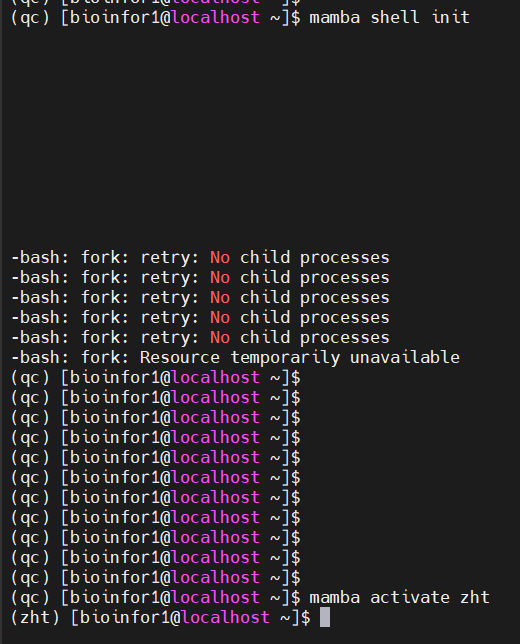
成功了
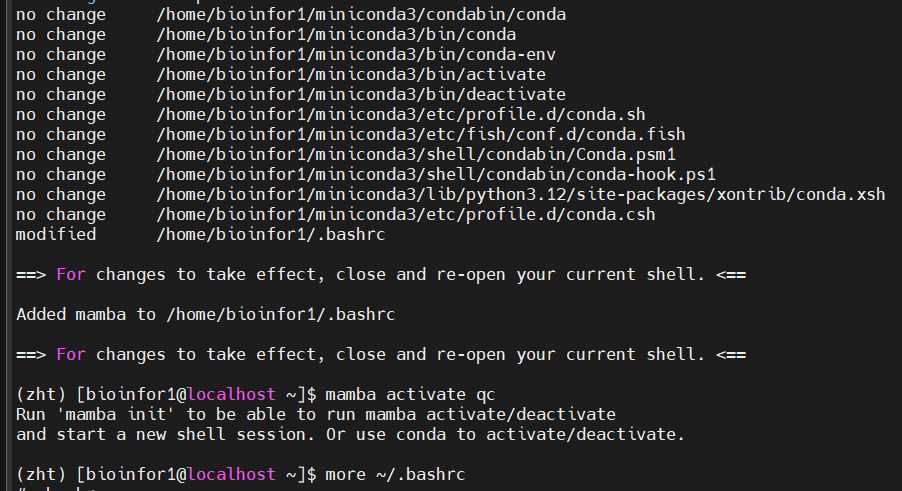
但是带来的问题就是一切关于mamba的命令(除了activate env的命令还能使用),其他的命令都不能使用

另外还可以尝试将最上面代码块中的source xxx添加到对应的语句位置中


还是不行
总之目前没有影响,安装mamba主要是为了加快安装软件速度,其他的用conda或者是mamba都可以
安装软件等用mamba,激活环境用conda
参考 https://github.com/idaholab/moose/discussions/24688
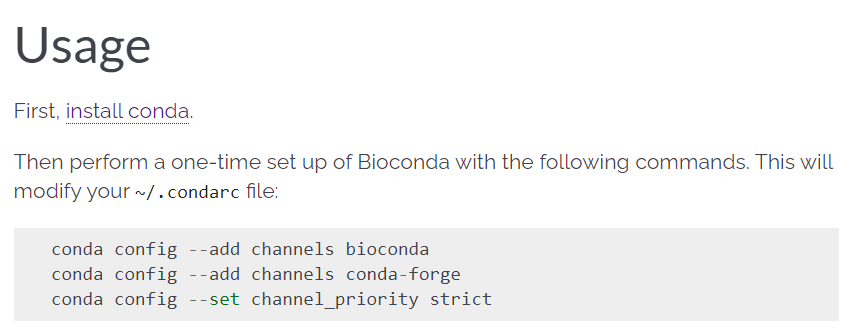
(2)配置频道:主要是bioconda
这个过程中可以配置bioconda频道:https://bioconda.github.io/
4,现在环境配置好了,基本的conda/mamba以及软件下载频道bioconda等也都有了,下一步就是安装常用的编程语言+对应的IDE
(1)首先是R:
zht环境中已经有了,当然其实也可以直接
plain
mamba search r-base #搜索最新版再下载,一般是conda-forge比bioconda版本更新快之类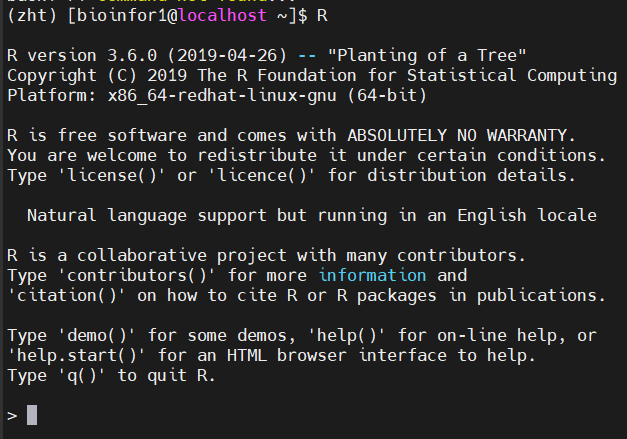
然后只是在命令行中运行R也不是很有效,所以需要安装Rstudio-server,即R的IDE
参考https://posit.co/download/rstudio-server/
因为是centos,所以选择redhat

需要注意操作系统的版本以及是否符合之类
需要root权限,以及需要查看系统要求是否符合
(2)Rstudio-server暂时使用不了的话,可以试试使用jupyter-lab作为R的IDE
此处另外选择一个新环境安装r-base


安装在新环境r441中
然后就是内核:
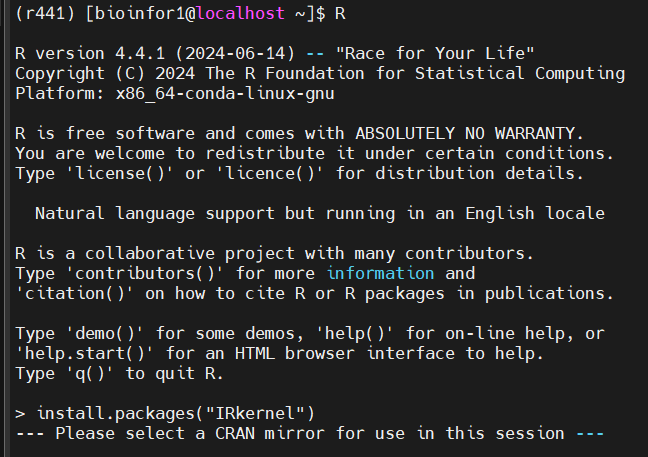
退出然后在shell中

按照shell上提示的信息,可以打开所提供的网址,对应的是8888端口
但是暂时复制粘贴想在edge或google上打开无果,都不显示
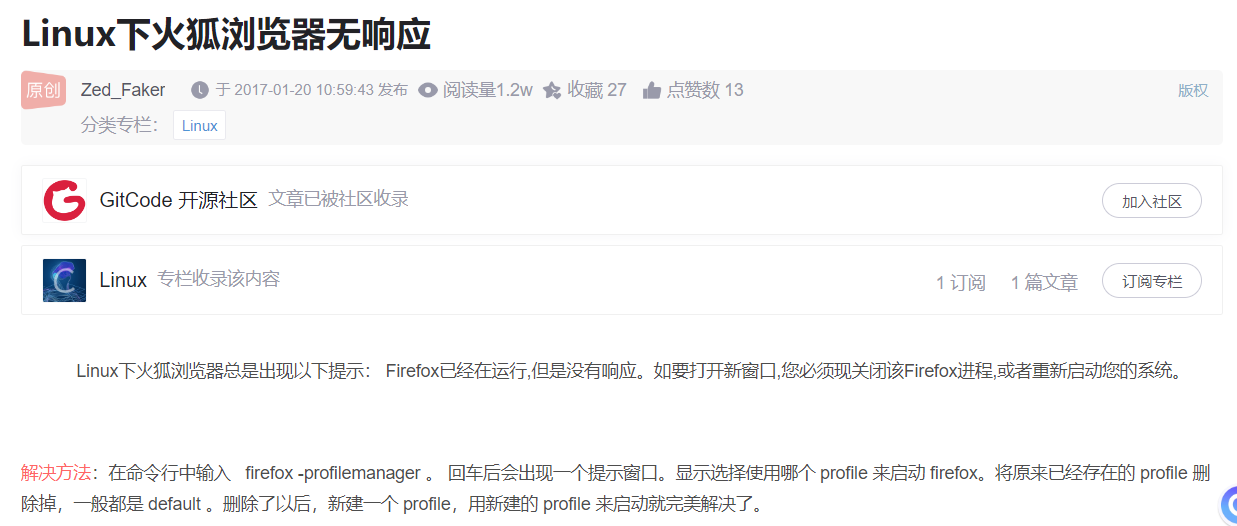
而且基本上输入jupyter-hub命令的时候就默认打开服务器自带的firefox,一开始打开几次firefox都巨卡,且不能输入互动之类;后来多打开几次还行------总之打开之后要加载挺长时间才能点击
在这个过程还进行了firefox浏览器配置的修改:
https://blog.csdn.net/Zed_Faker/article/details/54629814
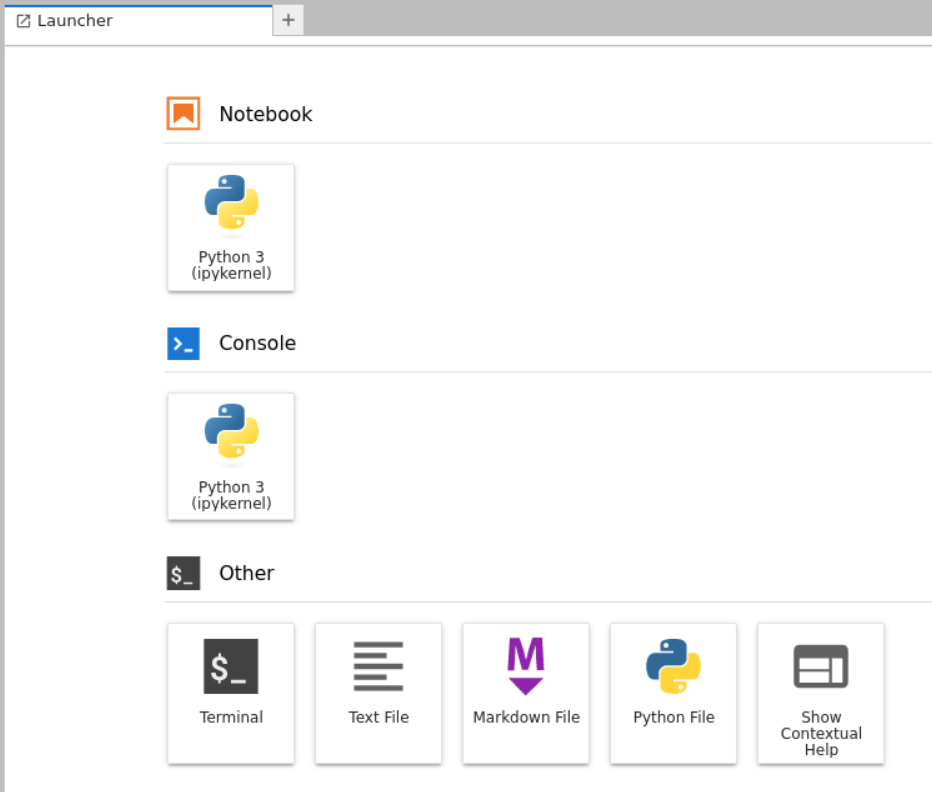
然后界面其实和intel devcloud类似,因为使用的都是jupyter-hub,
基本上生信用的IDE要么是Rstudio-server或者是Jupyter-hub
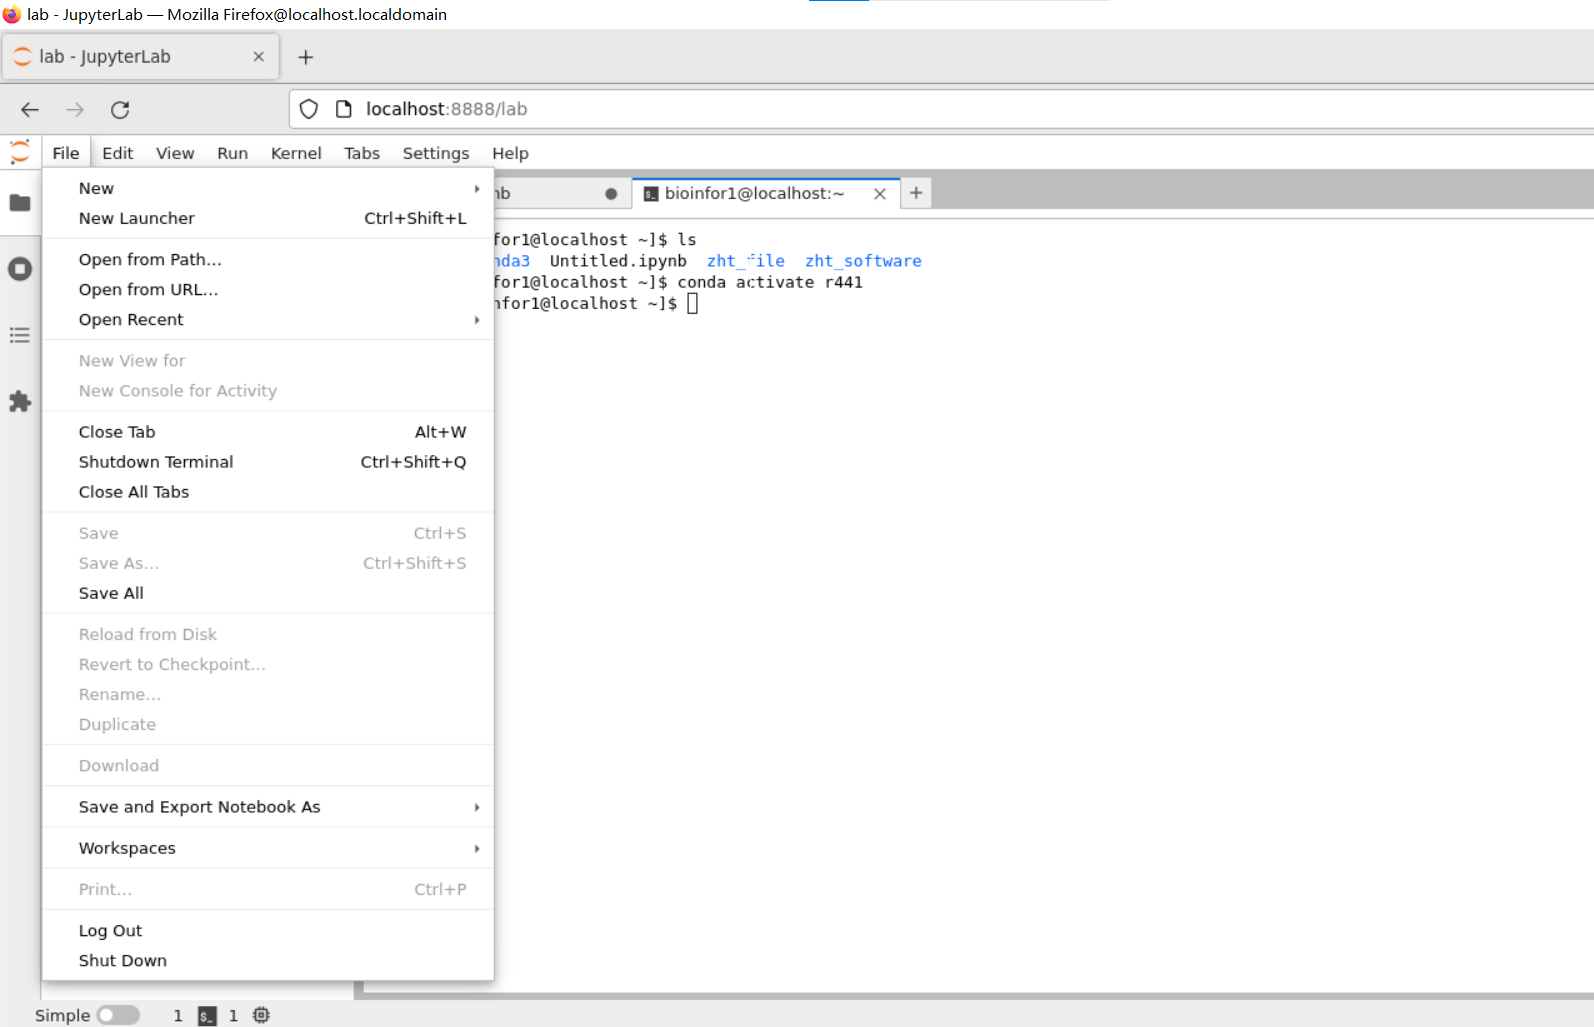
但是我们可以看到:launcher中并无R
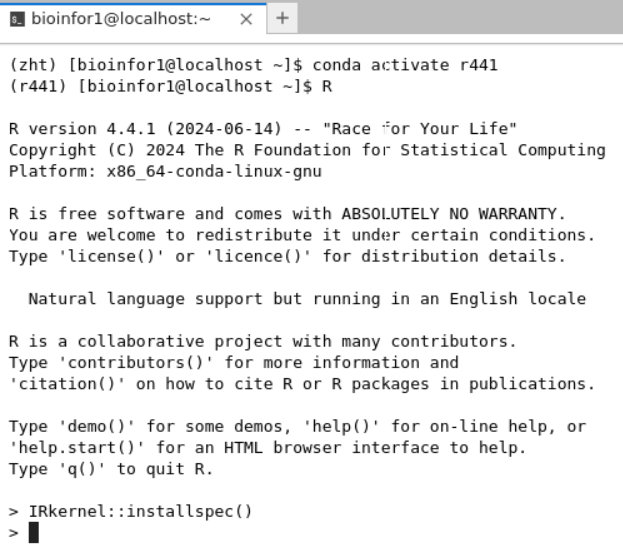
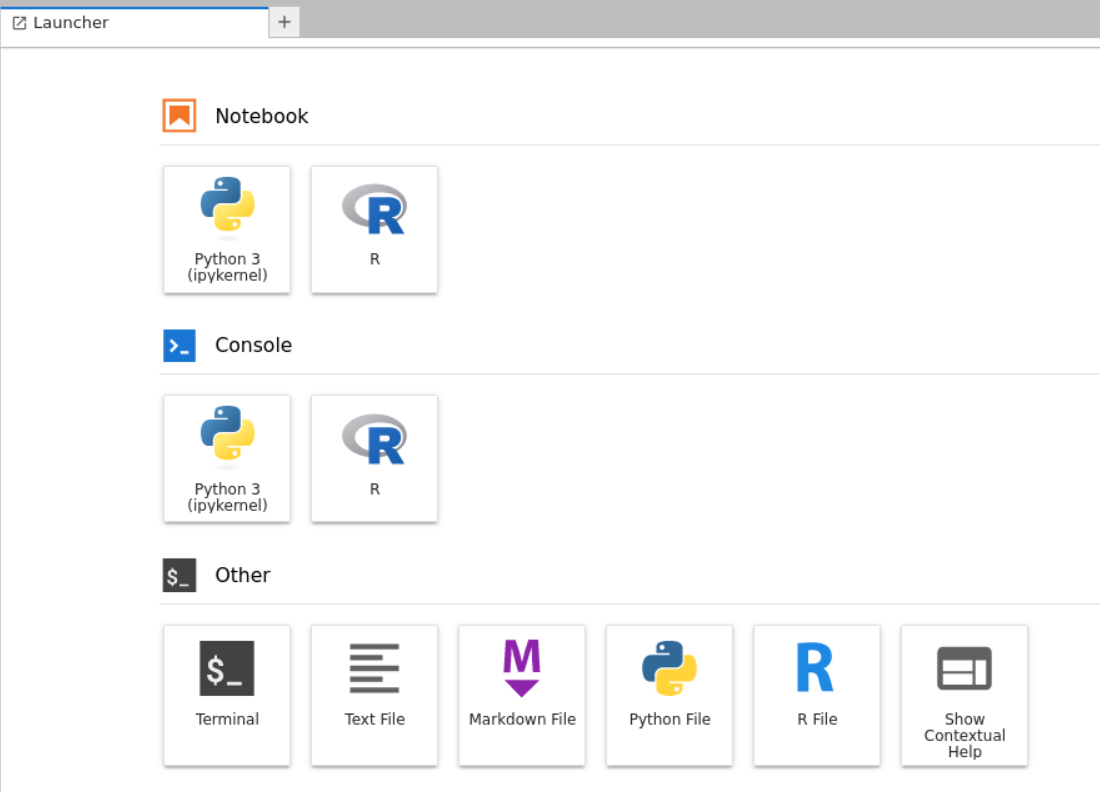
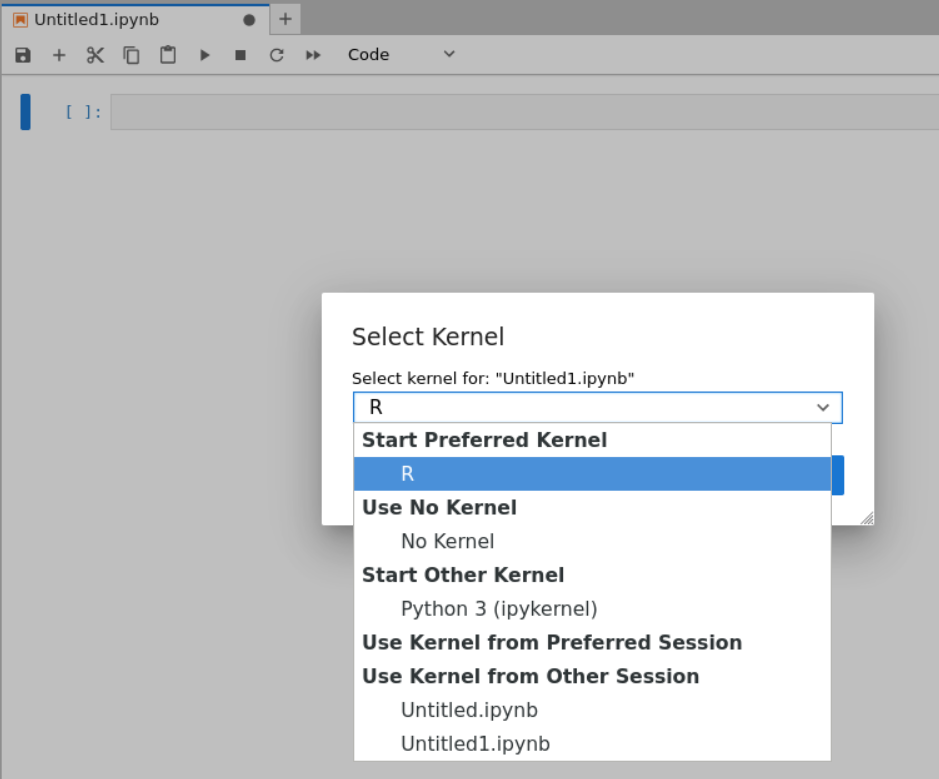
在终端shell中进入R运行完毕之后,再点击刷新,重新进入就有:
实际上就是参考https://mp.weixin.qq.com/s/O0Xxlvr-R-lLkMOZUgTUAQ
也就是我的博客:https://blog.csdn.net/weixin_62528784/article/details/142214087?spm=1001.2014.3001.5502
(3)假设我们现在有了jupyter-hub,想要在上面安装各种R包(Rstudio-server就另外说):
在notebook中的cell里输入的命令,实际上是在后台shell终端中执行安装命令的:
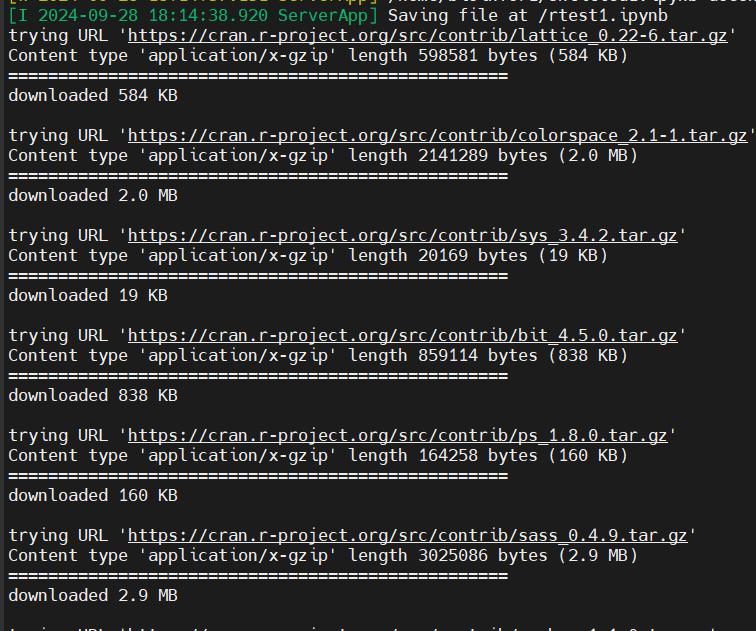
但是正如我博客https://blog.csdn.net/weixin_62528784/article/details/142214087?spm=1001.2014.3001.5502所言,
在jupyter上安装会有error:

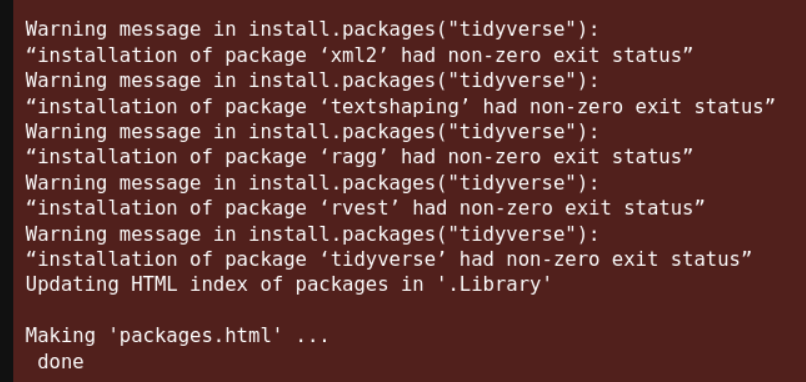
所以参考使用在linux上直接安装R包:
另外参考https://mp.weixin.qq.com/s/trAs7vh0N97sPQFl8W35gg
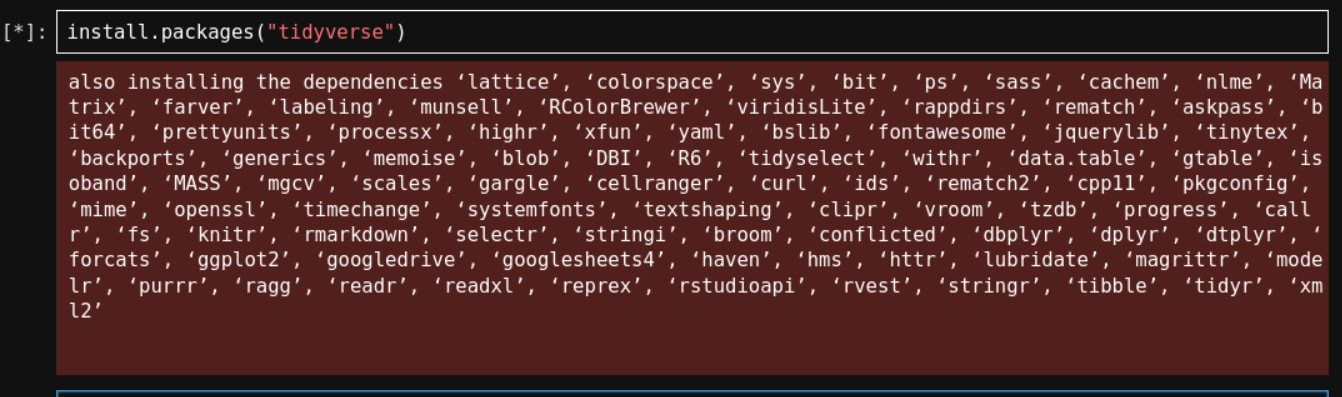
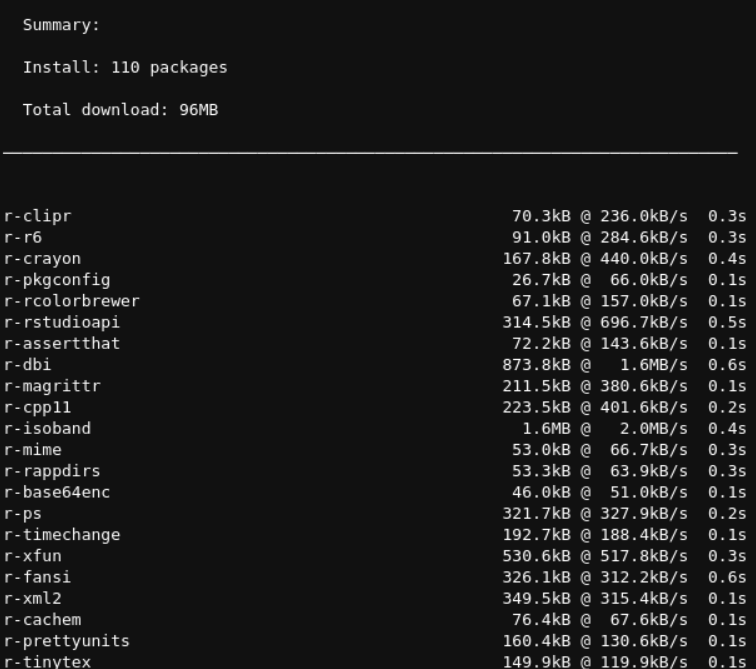
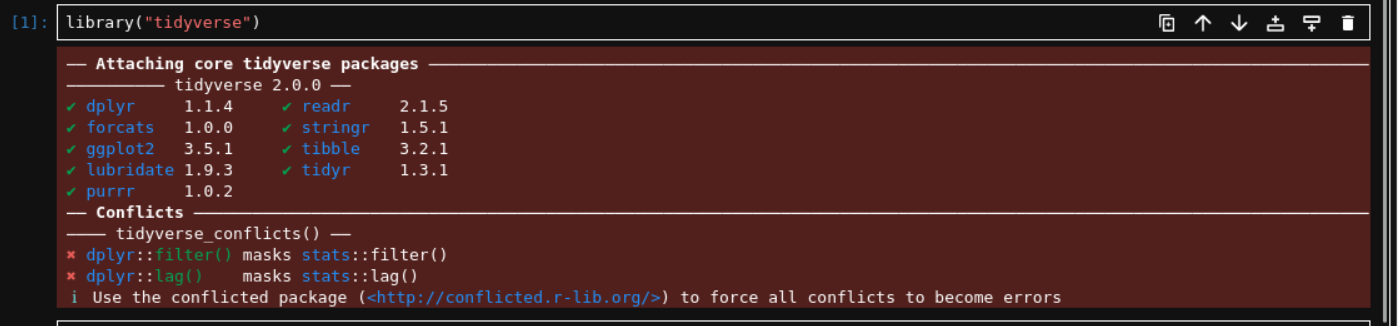
假设我们现在想安装tidyverse R包:
在当前环境中搜索该R包:
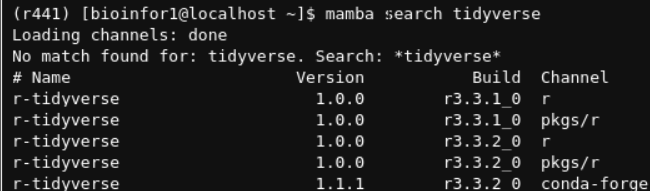

其实可以看到,安装也都是一些依赖的R包:也是linux上的r-xxx包这种命名方式
然后再在对应的env中的notebook中进行library
除了不能显示环境变量以及Rstudio中的一些便捷操作之外,至少jupyter-hub作为唯二的linux上的生信IDE还是勉强能用的;
而且很多生信分析流程中有很多的主流处理库、包也有很大比例是python,比如说是单细胞处理分析以及空间转录组方面。
5,然后基本的配置清楚之后,就是整体上的计算任务对应的设施分配了:
(1)上游的测序数据处理:只要数据量超过10G的,上游任务统统都在服务器上处理,或者是超算中心;
------大型服务器,或者是超算中心
(2)下游数据分析:主要是使用到R包,如果数据量超过10G,或者是加载高性能的R包来处理的任务(多序列连续任务,多依赖/内存需求大的R包),统统放在小型服务器上跑
------小型服务器,比如说
(3)下游数据分析:如果数据量不超过10G的,并且进行的数据分析操作不复杂(对于内存等的需求也不大)的任务,可以放在本地的Rstudio-server中处理
------本地rstudio/jupyter处理