总体实现使用ffmpeg
自动化demo实现 vue3+Nodejs+ffmpeg
一、官网下载ffmpeg
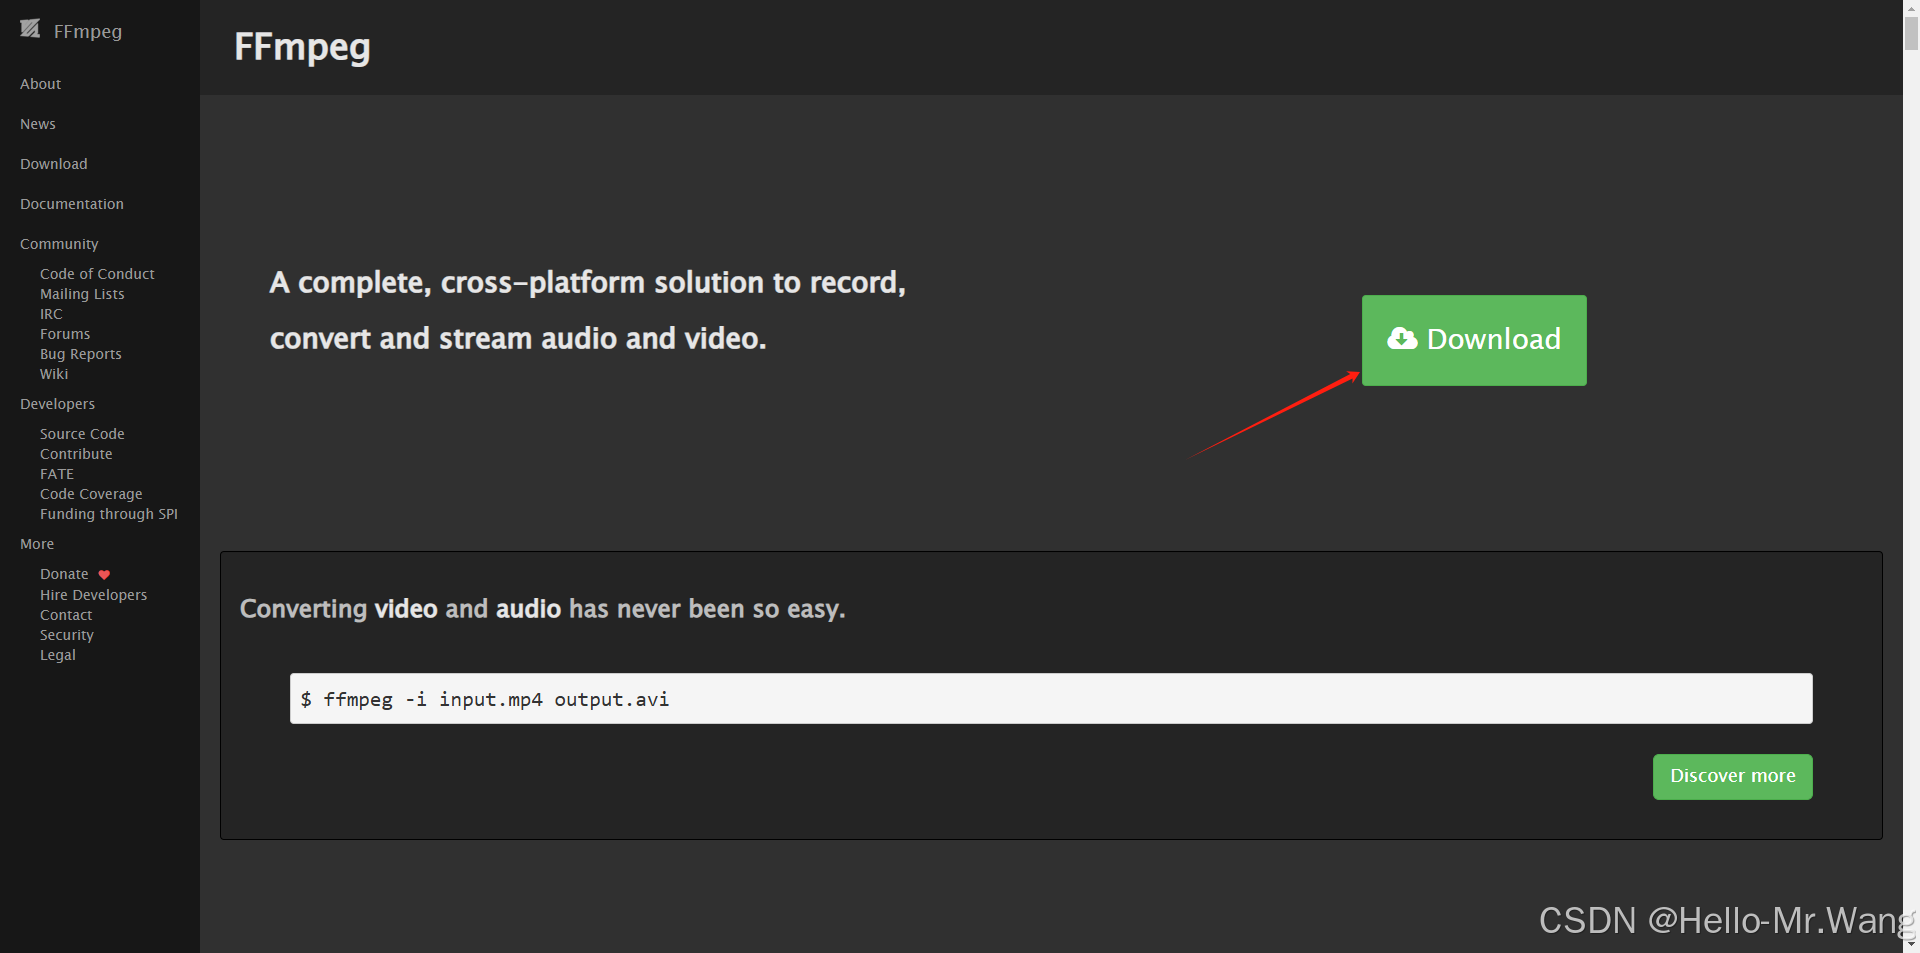
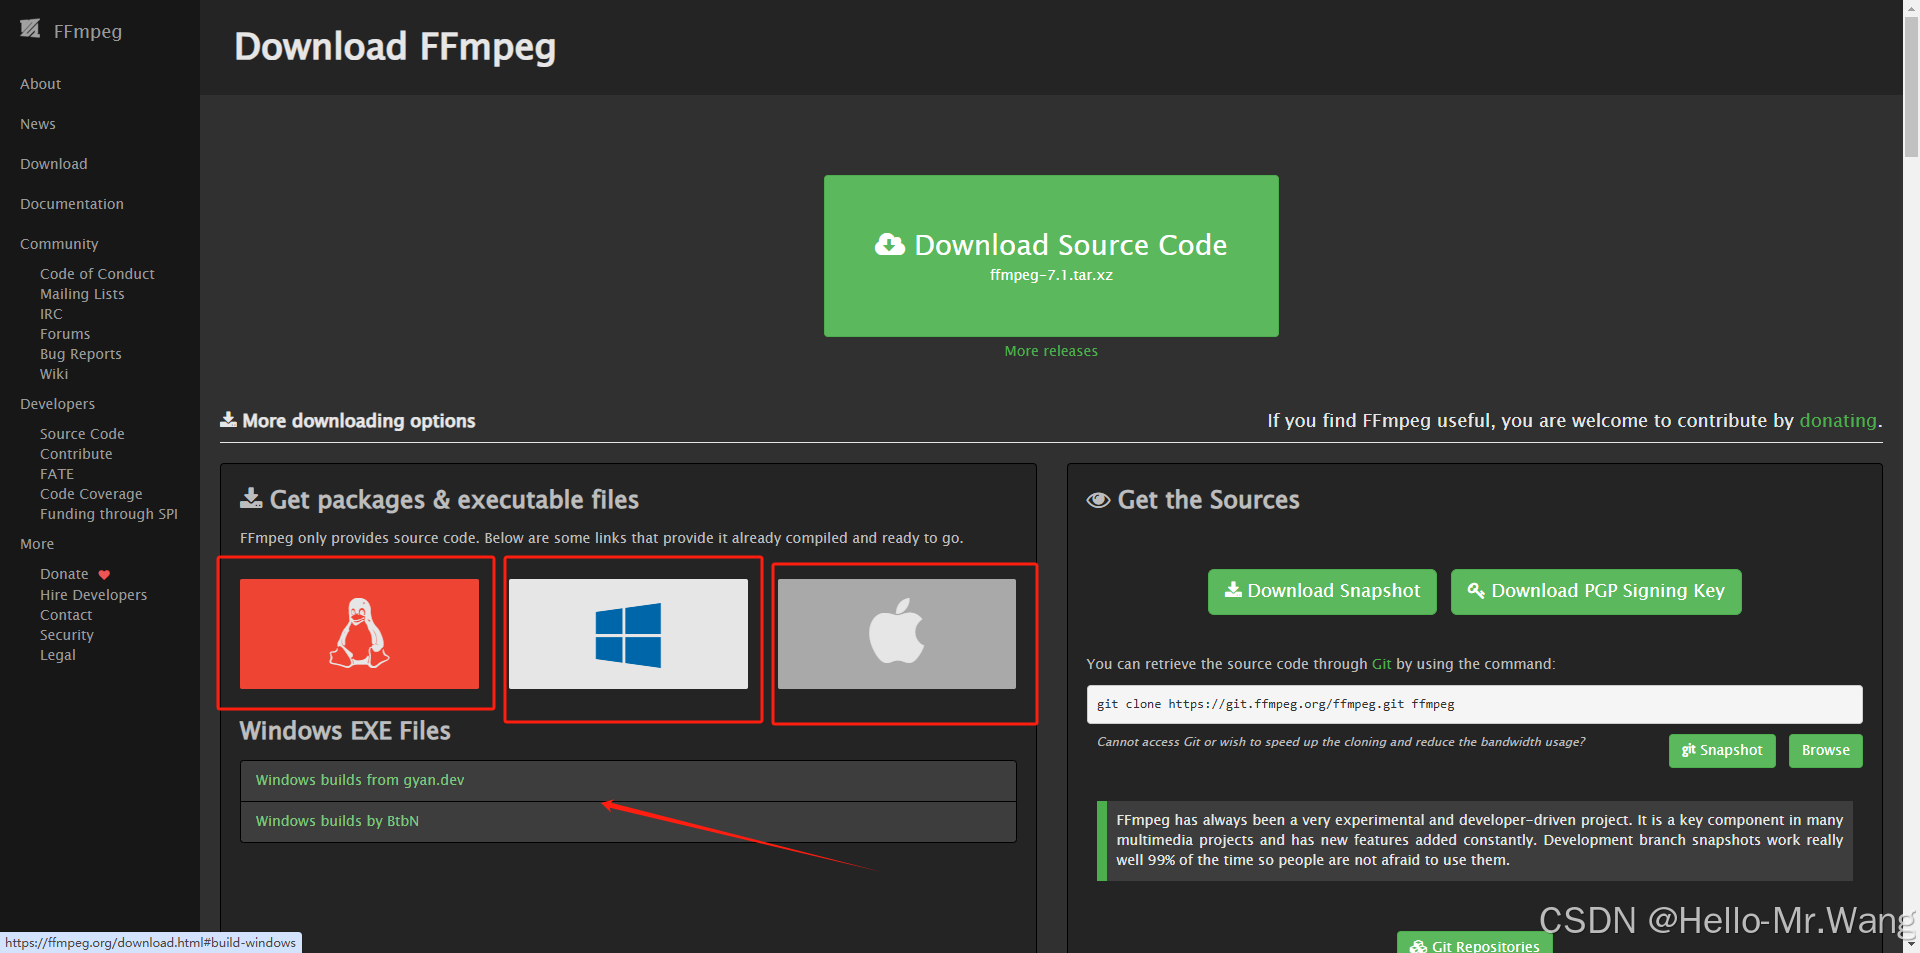
1-1选择对应系统下载
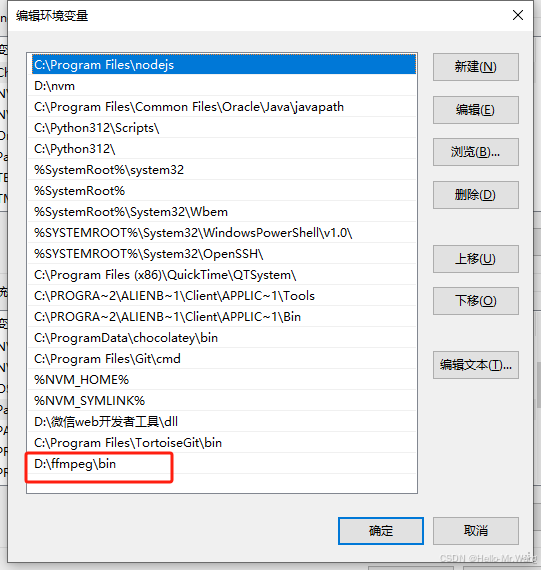
1-2下载完成后配置环境变量
1-2-1将下载文件的bin目录配置到环境变量中
例如:D:\ffmpeg\bin
1-3测试ffmpeg是否安装成功
ffmpeg -version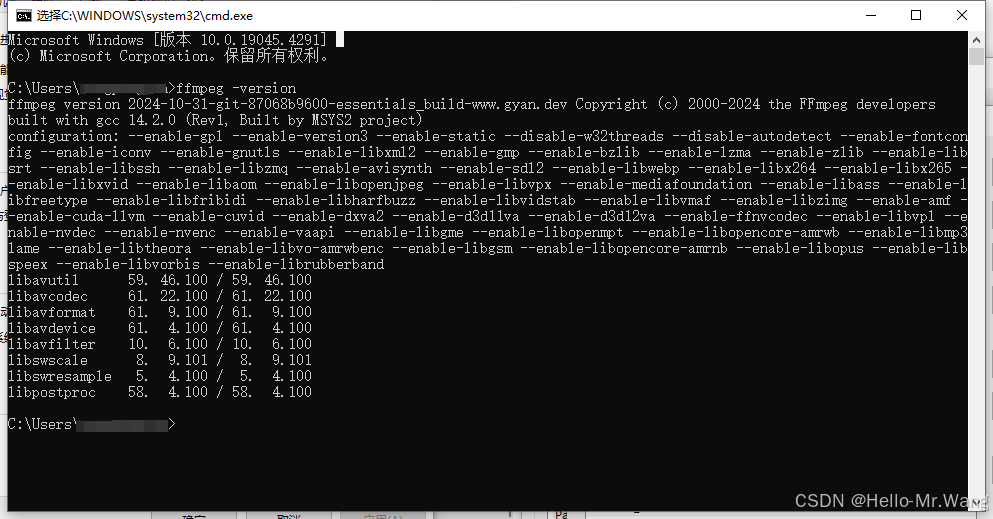
如图 证明安装成功!!!!
二、手动使用命令转video格式
cmd 打开视频所在目录

等待完成即可!
三、自动化demo
工作中 有比较大的素材量 可直接上传文件等待转type即可 完成后下载视频
代码示例:
3-1 vue3
<template>
  <div>
    <a-upload
      name="file"
      action="http://localhost:3000/uploadWebm"
      @change="handleChange"
    >
      <a-button>
        <upload-outlined></upload-outlined>
        请上传视频
      </a-button>
    </a-upload>
    <video :src="url" controls v-if="url"></video>
  </div>
</template>
<script setup>
import { ref } from "vue";
import { message } from "ant-design-vue";
import { UploadOutlined } from "@ant-design/icons-vue";

const url = ref("");
const checkTaskInterval = ref(null); // 将定时器ID存储在响应式引用中

const checkTaskStatus = async () => {
  try {
    const response = await fetch("http://localhost:3000/status", {
      method: "GET",
    });
    if (response.ok) {
      const data = await response.json();
      console.log(data.event, "data.event");
      if (data.event === "end") {
        console.log("endend");
        clearInterval(checkTaskInterval.value); // 使用响应式引用的值来清除定时器
        checkTaskInterval.value = null; // 将响应式引用的值设置为null
        url.value = data.data.url;
      } else if (data.event === "error") {
        clearInterval(checkTaskInterval.value);
        checkTaskInterval.value = null;
        message.error("上传失败:" + data.data);
      }
    }
  } catch (error) {
    message.error("上传失败");
    console.error("上传失败:", error);
    clearInterval(checkTaskInterval.value);
    checkTaskInterval.value = null;
  }
};

const handleChange = async (info) => {
  console.log(info);
  // 清除之前的定时器(如果有)
  if (checkTaskInterval.value) {
    clearInterval(checkTaskInterval.value);
  }
  checkTaskInterval.value = setInterval(() => {
    checkTaskStatus();
  }, 3000);
};
</script>
<style lang="less" scoped>
</style>
3-2 Nodejs
3-2-1安装 fluent-ffmpeg
npm install fluent-ffmpeg --save3-2-2 完整代码示例
var express = require('express');
var router = express.Router();
var multiparty = require('multiparty');
const multer = require('multer')
const upload = multer({ dest: 'upload/' })
const { execFile } = require('child_process');
const path = require('path');
const fs = require('fs');
const ffmpeg = require('fluent-ffmpeg');
const ffmpegPath = path.join('d:', 'ffmpeg', 'bin', 'ffmpeg.exe');//ffmpeg.exe的路径
const iconv = require('iconv-lite'); // 用于处理中文路径
ffmpeg.setFfmpegPath(ffmpegPath);

//video转webm
router.post('/uploadWebm', upload.single('file'), (req, res) => {
  const file = req.file;
  const srcPath = file.path;
  console.log(file.originalname, "file.originalname");

  const originalNameBuffer = Buffer.from(file.originalname, 'binary');
  const utf8Name = iconv.decode(originalNameBuffer, 'UTF-8'); // 将文件名从二进制转换为 UTF-8 编码
  const dstPath = path.join('upload', `${path.basename(utf8Name, path.extname(utf8Name))}.webm`);
  console.log(dstPath, "dstPath");
  // 初始化状态信息
  statusInfo = {
    event: "start",
    data: `Started processing ${file.originalname}`,
    finished: false
  };

  ffmpeg(srcPath)
  .on('start', (commandLine) => {
    statusInfo.event = "start";
    statusInfo.data = commandLine;
  })
  .on('progress', (progress) => {
    statusInfo.event = "progress";
    statusInfo.data = progress;
  })
  .on('error', (err) => {
    statusInfo.event = "error";
    statusInfo.data = err;
    statusInfo.finished = true;
    res.status(500).send({ code: 500, event: "error", data: err });
    fs.unlinkSync(srcPath);
  })
  .on('end', () => {
    statusInfo.event = "end";
    statusInfo.data = {message: "Processing finished", url: `http://localhost:3000/upload/${path.basename(dstPath)}`};
    statusInfo.finished = true;
    fs.unlinkSync(srcPath);
  })
  .addOption('-c:v libvpx-vp9')
  .addOption('-c:a libopus')
  .addOption('-b:v 1M')
  .addOption('-b:a 128k')
  .toFormat('webm')
  .save(dstPath);
});

// 客户端轮询的接口
router.get('/status', (req, res) => {
  const filename = req.params.filename;
  if (statusInfo && !statusInfo.finished) {
    res.send({ code: 200, event: statusInfo.event, data: statusInfo.data });
  } else if (statusInfo) {
    res.send({ code: 200, event: statusInfo.event, data: statusInfo.data });
  } else {
    res.status(404).send({ code: 404, message: "File not found" });
  }
});