Eureka是一款开源的服务注册与发现组件,分EurekaServer和EurekaClient。
Eureka作用过程:
Eureka Client(服务提供者)启动向Eureka Server(http-api)注册,另一个Eureka Client(服务消费者)从EurekaServer拉取服务信息,从而调用 服务提供者的服务。
在IDEA中创建SpringCloud项目集成Eureka服务
1.创建SpringCloud项目,在pom.xml添加Eureka服务依赖包
<!--  eureka-server       -->
        <dependency>
            <groupId>org.springframework.cloud</groupId>
            <artifactId>spring-cloud-netflix-eureka-server</artifactId>
        </dependency>
2.在application的main方法类上添加@EnableEurekaServer注解
@SpringBootApplication
@EnableEurekaServer
public class SpringcloudEurekaApplication {

    public static void main(String[] args) {
        SpringApplication.run(SpringcloudEurekaApplication.class, args);
    }

}
3.在application.properties配置文件添加Eureka服务的配置
#指定注册中心名称
spring.application.name=eureka-peer
#端口号
server.port=8761

#spring.freemarker.prefer-file-system-access=false

#当前实例
eureka.instance.hostname=dev
eureka.instance.instance-id=dev
#eureka.instance.ip-address=true

#client
#是否向Eureka注册中心拉取信息
eureka.client.fetch-registry=false
#是否将自己注册到Eureka中心
eureka.client.register-with-eureka=false
#Eureka注册中心的地址;defaultZone 注册服务区域
eureka.client.service-url.defaultZone = http://localhost:8761/eureka

#server 同步数据等待时间
eureka.server.wait-time-in-ms-when-sync-empty = 0
#自我保护机制
eureka.server.enable-self-preservation=true
# 多长时间同步数据
eureka.server.peer-eureka-nodes-update-interval-ms=1000000
4.运行项目

image.png
在浏览器访问 http://localhost:8761,出现Eureka服务的管理页面:
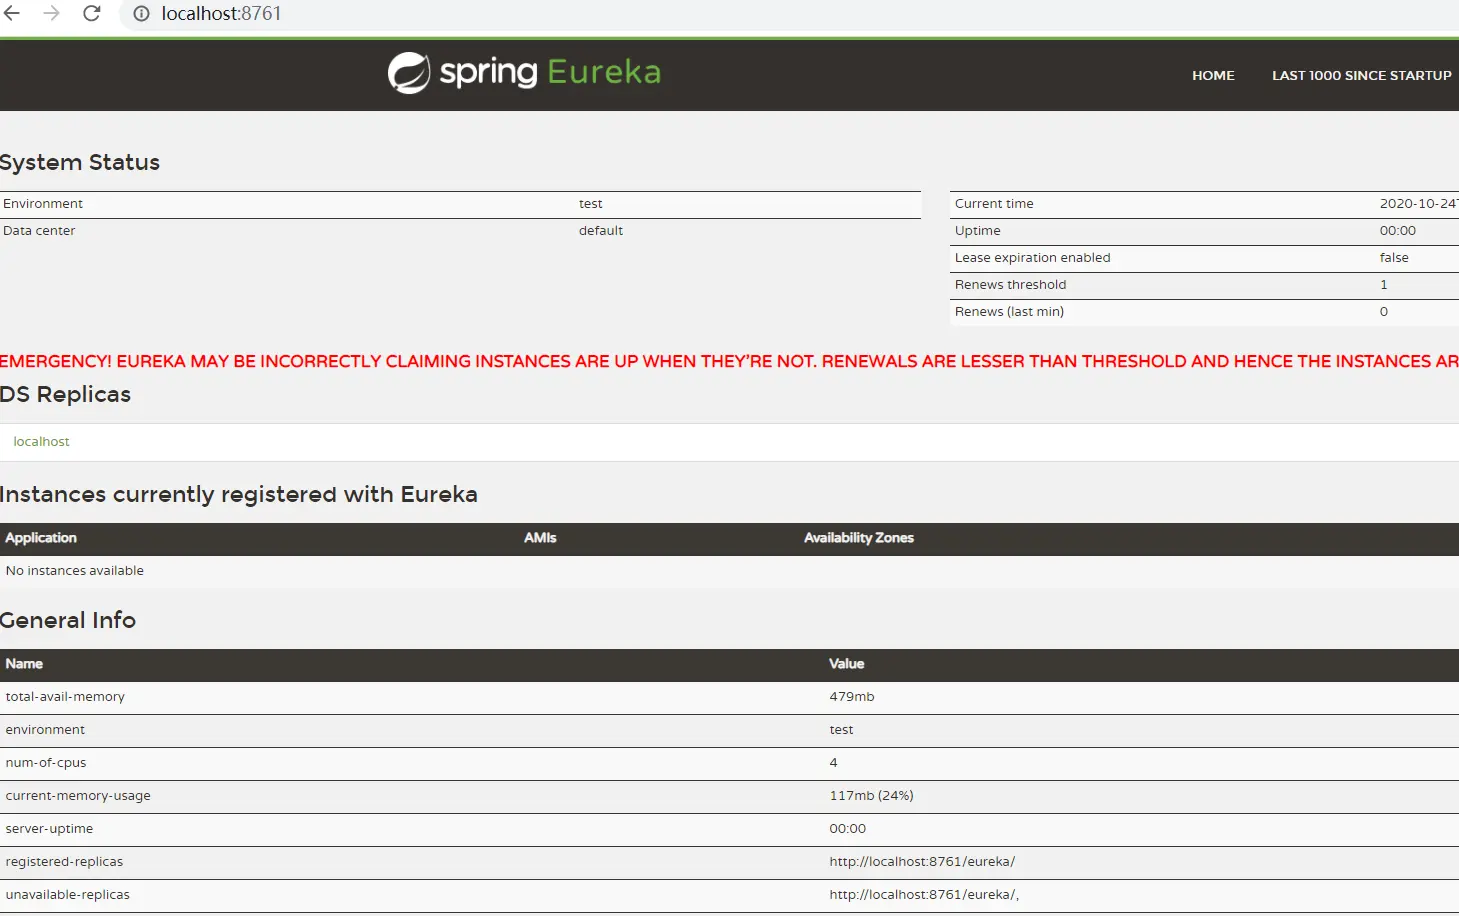
image.png
如果发现项目运行后报错或者Eureka的管理页面打不开,可能是端口没有添加到tomcat的server.xml中:
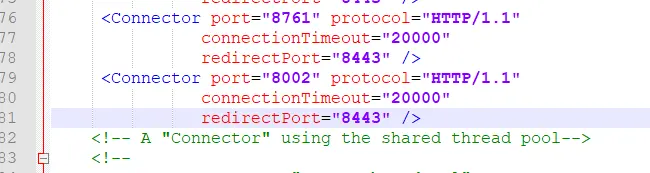
image.png
Eureka 服务提供者,即EurekaClient。
创建一个SpringCloud项目作为服务提供者one
1.创建SpringCloud服务提供者one项目,在pom.xml添加Eureka服务依赖包
<!--提供web-->
        <dependency>
            <groupId>org.springframework.boot</groupId>
            <artifactId>spring-boot-starter-web</artifactId>
        </dependency>
<!--  eureka-client      -->
       <dependency>
            <groupId>org.springframework.cloud</groupId>
            <artifactId>spring-cloud-starter-netflix-eureka-client</artifactId>
        </dependency>
2.在application的main方法类上添加@EnableEurekaClient注解
@SpringBootApplication
@EnableEurekaClient
public class SpirngcloudEurekaClientOneApplication {

    public static void main(String[] args) {
        SpringApplication.run(SpirngcloudEurekaClientOneApplication.class, args);
    }
}
3.在application.properties配置文件添加Eureka服务提供者的配置
#指定注册中心服务提供者名称
spring.application.name=client-one
#端口号
server.port=8081

#client
#是否向Eureka注册中心拉取信息
eureka.client.fetch-registry=true
#是否将自己注册到Eureka中心
eureka.client.register-with-eureka=true
#Eureka注册中心的地址
eureka.client.service-url.defaultZone = http://localhost:8761/eureka
4.服务提供者
//服务提供者
@RestController
public class ClientController {
    @GetMapping("/client1")
    public Object index(){
        String str = "服务提供者 client one 提供信息";
        return new String(str);
    }
}
服务消费者
//
@RestController
public class CustomerController {
    @Autowired
    private RestTemplate restTemplate;
    @GetMapping("/getdata")
    public Object getIndex(){
      //http://client-two/client2  :client-two是调用服务者的注册服务名称
        return restTemplate.getForObject("http://client-two/client2",String.class,"");
    }
}

//RestTemplate  配置
@Configuration
public class Config {
    @Bean
    @LoadBalanced
    public RestTemplate restTemplate(RestTemplateBuilder builder) {
        return builder.build();
    }
}
5.运行服务提供者one项目
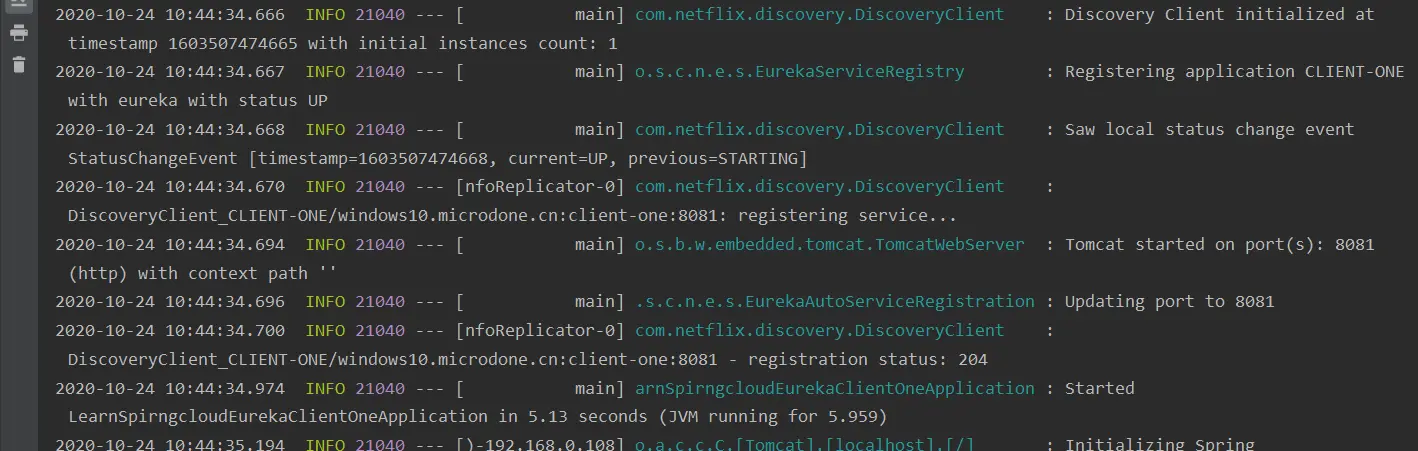
image.png
在Eureka控制页面可以看到Application下有服务提供者的名字:
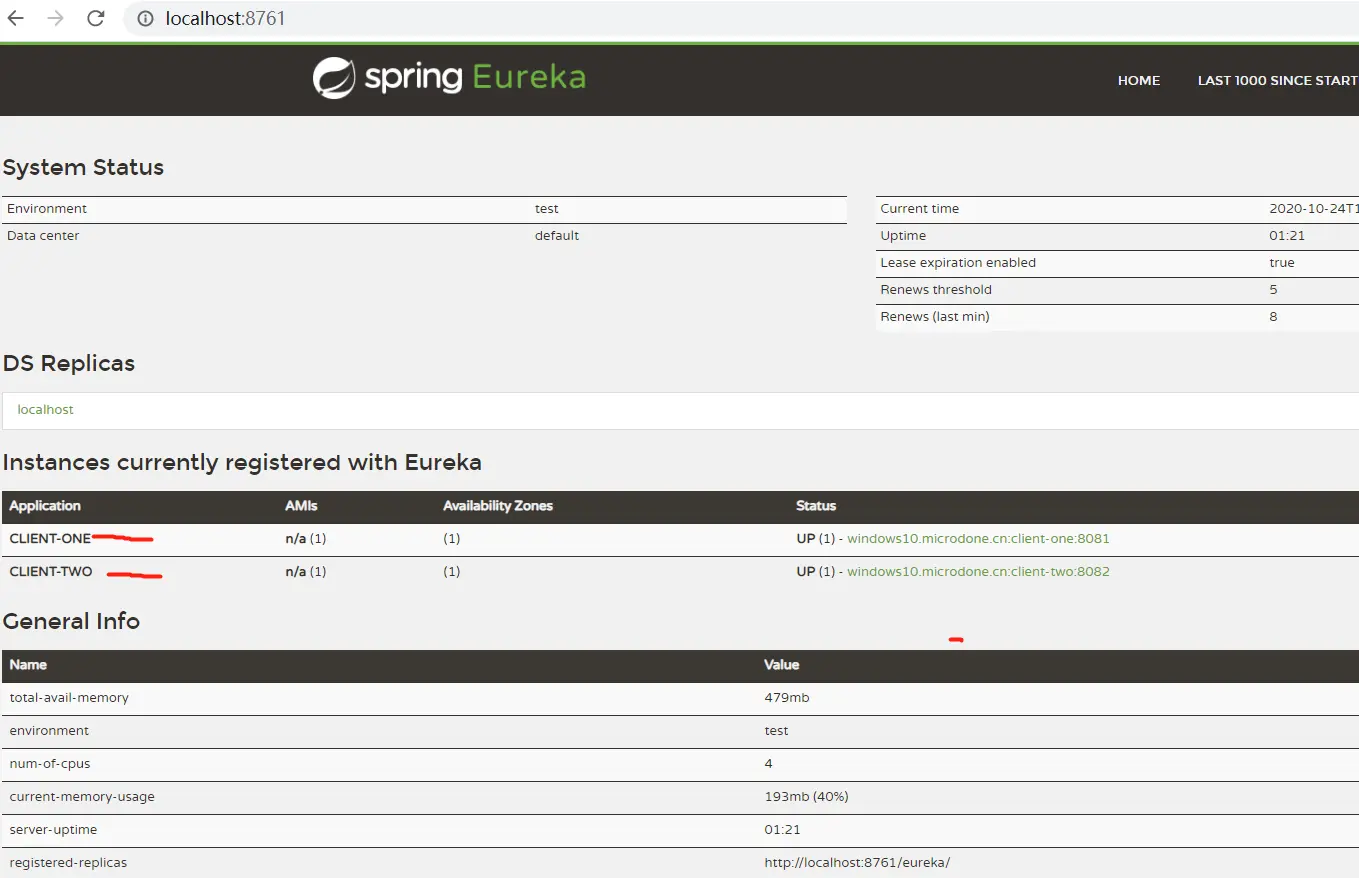
image.png
同理创建一个SpringCloud项目作为服务提供者two的项目
把配置文件里的服务提供者的名字和端口改下:
#指定注册中心服务提供者名称
spring.application.name=client-two
#端口号
server.port=8082

#spring.freemarker.prefer-file-system-access=false

#client
#是否向Eureka注册中心拉取信息
eureka.client.fetch-registry=true
#是否将自己注册到Eureka中心
eureka.client.register-with-eureka=true
#Eureka注册中心的地址
eureka.client.service-url.defaultZone = http://localhost:8761/eureka
服务的提供和消费者
//提供者
@RestController
public class ClientTwoController {
@GetMapping("/client2")
public Object index(){
String str = "服务提供者 client two 2 提供信息";
return new String(str);
}
}
//消费者
@RestController
public class CustomerController {
@Autowired
RestTemplate restTemplate;
@GetMapping("/getdata")
public Object getData(){
//http://client-one/client2 :client-one是调用服务者的注册服务名称
return restTemplate.getForEntity("http://client-one/clientone",String.class,"");
}
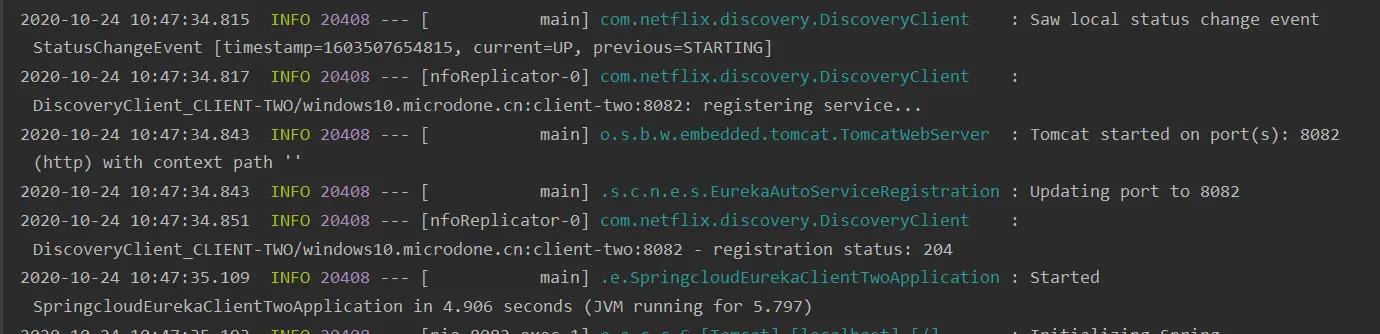
}运行服务提供two项目:
在浏览器中输入
http://localhost:8081/clientone
//服务提供者1获取服务提供者2的信息
http://localhost:8081/getdata
http://localhost:8082/client2
//服务提供者2获取服务提供者1的信息
http://localhost:8082/getdata
image.png

image.png
服务提供者1和服务提供者2 即是信息提供者也是消费者。
最后编辑于:2024-12-10 21:05:42
© 著作权归作者所有,转载或内容合作请联系作者

喜欢的朋友记得点赞、收藏、关注哦!!!