文章目录
- 1、简介
-
- [1.1 Three.js](#1.1 Three.js)
- [1.2 React Three Fiber](#1.2 React Three Fiber)
- 2、测试
-
- [2.1 初始化环境](#2.1 初始化环境)
- [2.2 app.js修改(显示内置立方体)](#2.2 app.js修改(显示内置立方体))
- [2.3 app.js修改(显示内置球体)](#2.3 app.js修改(显示内置球体))
- [2.4 app.js修改(显示自定义立方体)](#2.4 app.js修改(显示自定义立方体))
- [2.5 app.js修改(显示多个模型)](#2.5 app.js修改(显示多个模型))
- [2.6 app.js修改(加载obj模型)](#2.6 app.js修改(加载obj模型))
- [2.7 app.js修改(物理效果)](#2.7 app.js修改(物理效果))
- 结语
1、简介
1.1 Three.js
Three.js 是一个功能强大的 3D 图形库,用于在网页上创建和显示交互式 3D 图形。它基于 WebGL,提供了简单易用的 API,帮助开发者快速构建复杂的 3D 场景。
bash
npm install three1.2 React Three Fiber
React Three Fiber 是一个 React 的绑定库,用于在 React 应用中创建和管理 3D 场景。它基于 Three.js,提供了声明式的 API,使 3D 开发更加直观和高效。
bash
npm install three @react-three/fiber2、测试
2.1 初始化环境
创建应用:
bash
npx create-react-app@latest my-app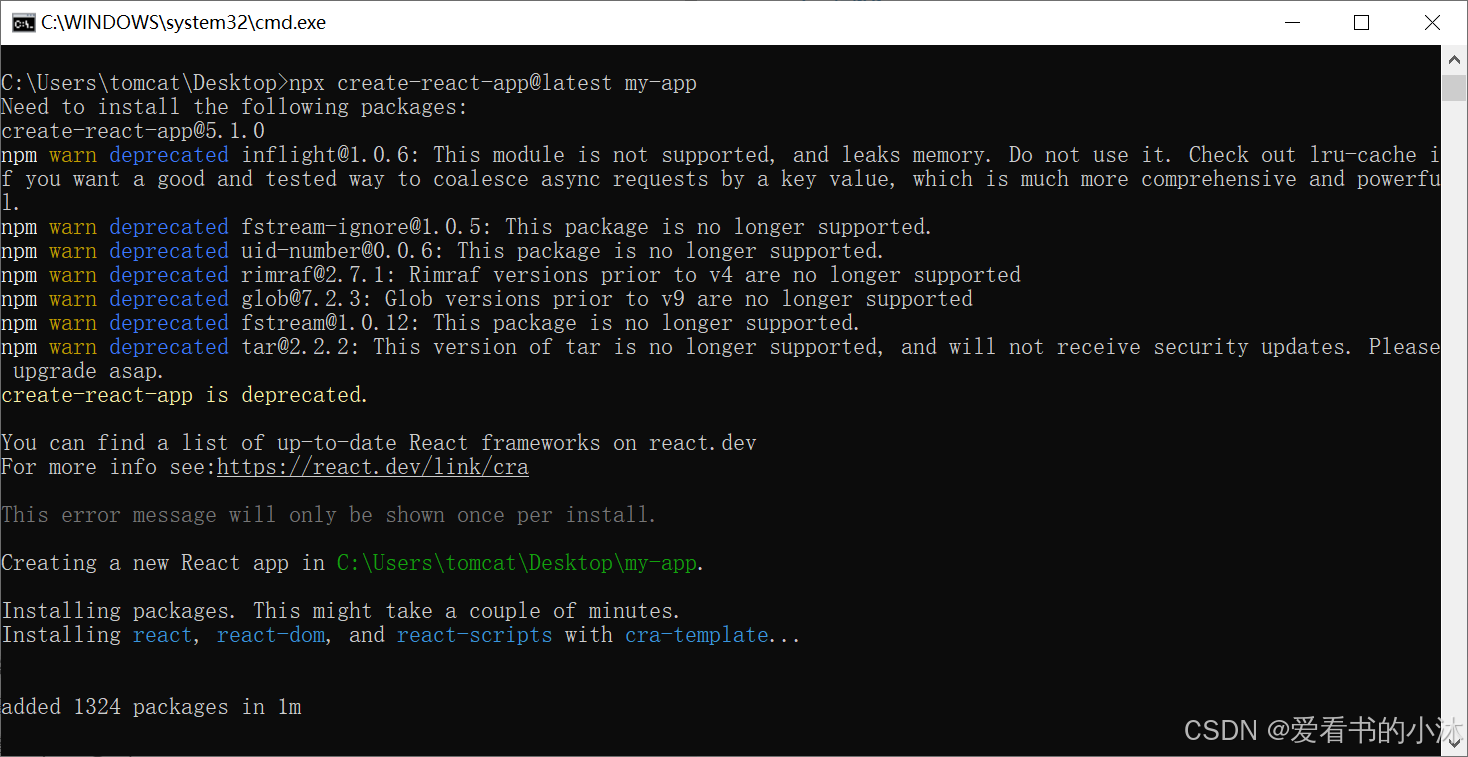
运行一下react初始环境:
bash
cd my-app
npm start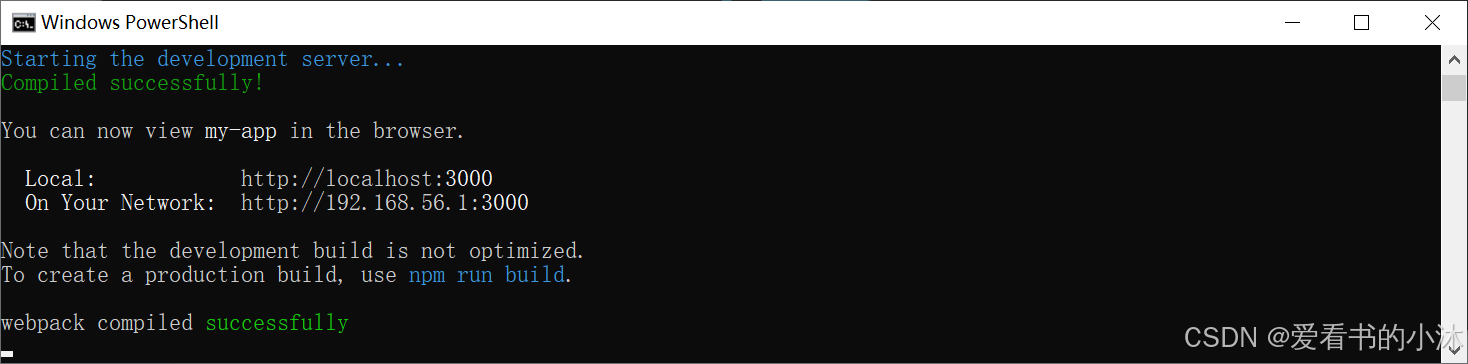
安装依赖:
bash
npm install three @react-three/fiber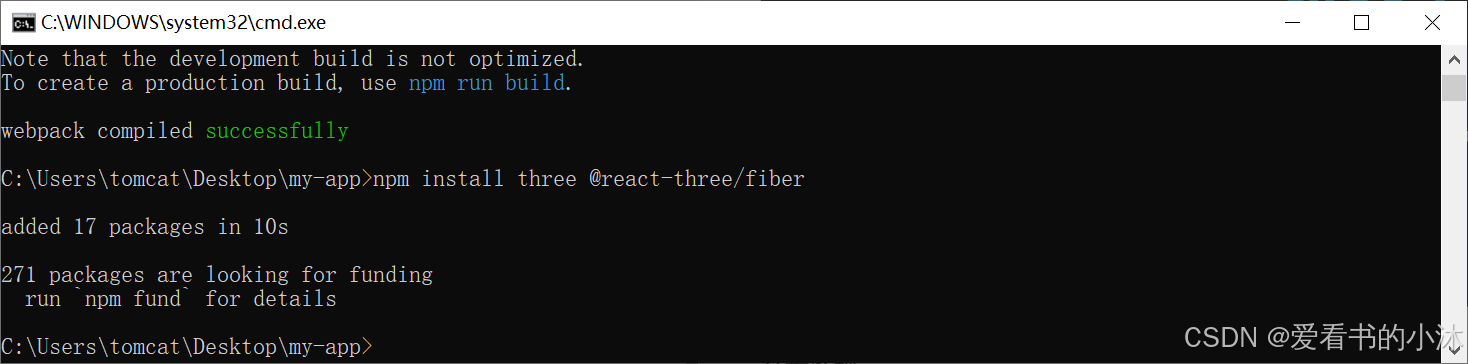
bash
npm install @react-three/drei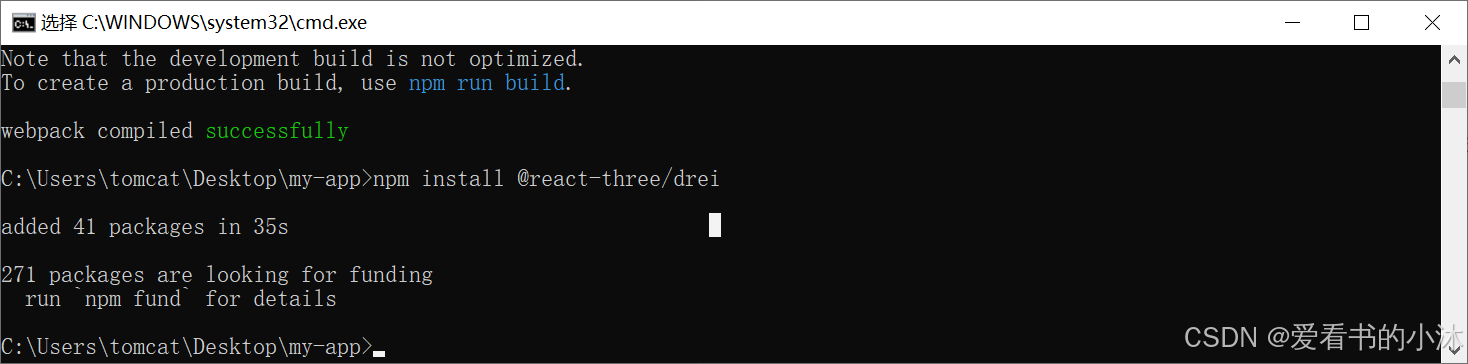
修改index.css:
css
body {
  margin: 0;
  font-family: -apple-system, BlinkMacSystemFont, 'Segoe UI', 'Roboto', 'Oxygen',
    'Ubuntu', 'Cantarell', 'Fira Sans', 'Droid Sans', 'Helvetica Neue',
    sans-serif;
  -webkit-font-smoothing: antialiased;
  -moz-osx-font-smoothing: grayscale;
}

code {
  font-family: source-code-pro, Menlo, Monaco, Consolas, 'Courier New',
    monospace;
}
* {
  box-sizing: border-box;
}

html,
body,
#root {
  width: 100%;
  height: 100%;
  margin: 0;
  padding: 0;
}

body {
  background: #f0f0f0;
}
2.2 app.js修改(显示内置立方体)
修改App.js代码:
typescript
import {useState,useRef} from "react"
import {Canvas, useFrame} from "@react-three/fiber"
function App() {
return (
<Canvas>
<ambientLight intensity={0.1} />
<directionalLight color="red" position={[0, 0, 3]} />
<mesh>
<boxGeometry />
<meshStandardMaterial />
</mesh>
</Canvas>
);
}
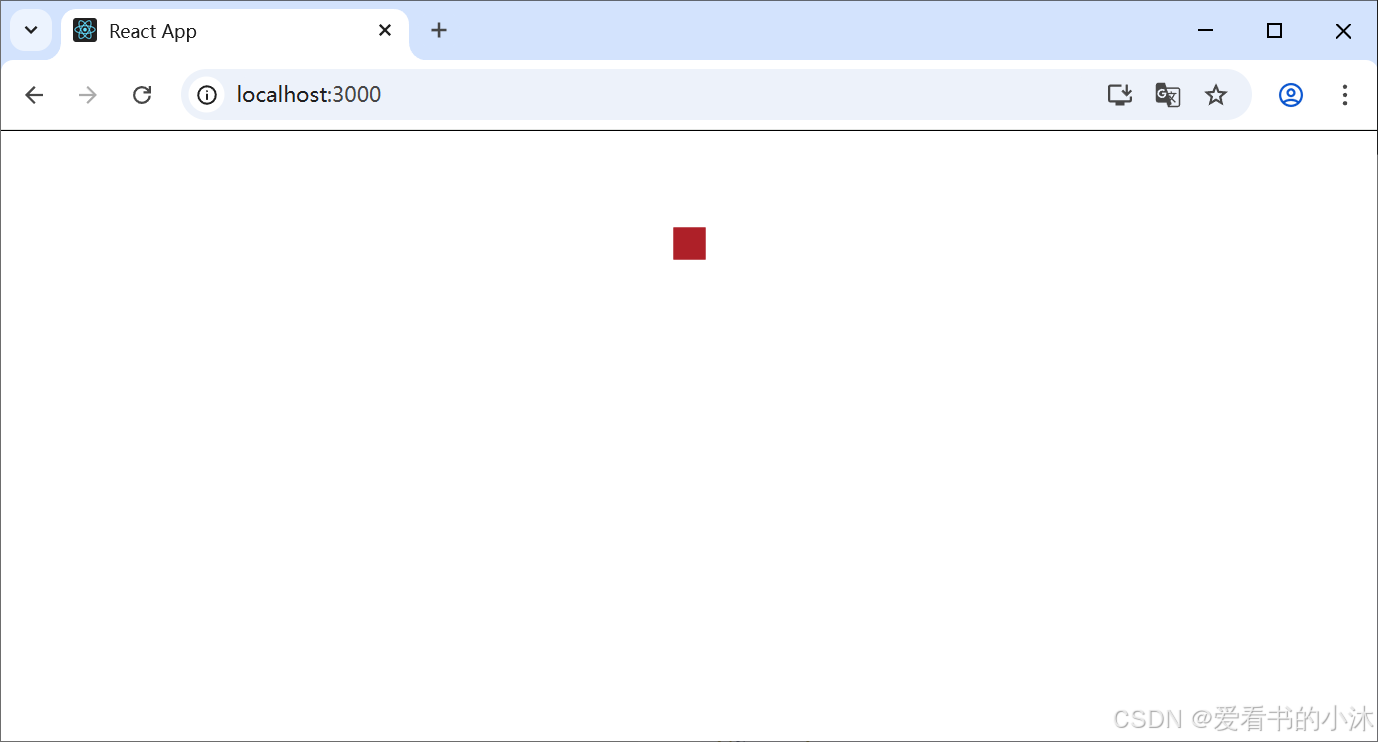
export default App;运行如下:
2.3 app.js修改(显示内置球体)
修改App.js代码:
typescript
import {useState,useRef} from "react"
import { Canvas, useFrame} from "@react-three/fiber"
function App() {
return (
<Canvas>
<ambientLight intensity={0.1} />
<directionalLight color="red" position={[0, 0, 5]} />
<mesh visible userData={{ hello: 'world' }} position={[1, 0, 3]} rotation={[Math.PI / 2, 0, 0]}>
<sphereGeometry args={[1, 16, 16]} />
<meshStandardMaterial color="hotpink" transparent />
</mesh>
</Canvas>
);
}
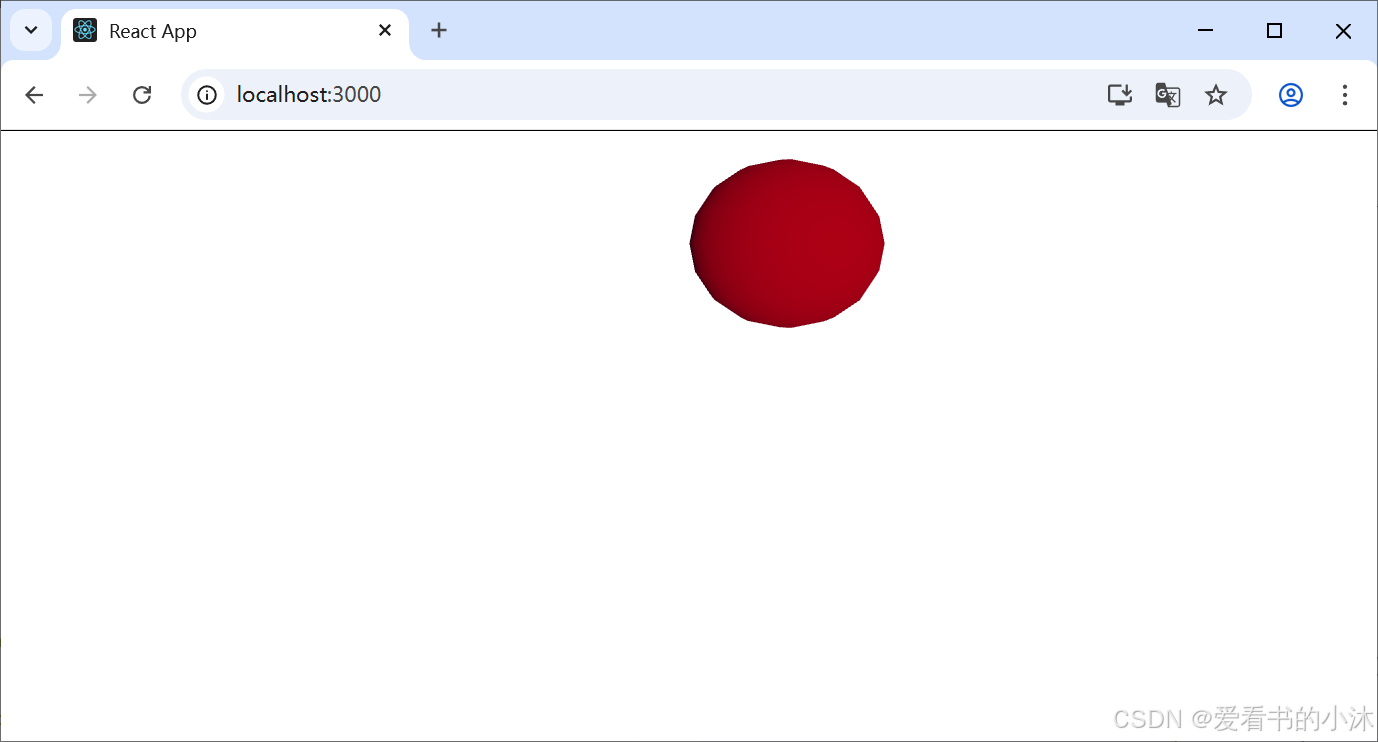
export default App;运行如下:
2.4 app.js修改(显示自定义立方体)
修改App.js代码:
typescript
import React, { Suspense } from 'react'
import { BoxGeometry, MeshStandardMaterial } from 'three'
import { Canvas } from '@react-three/fiber'
import { ContactShadows, OrbitControls } from '@react-three/drei'
const ball = new BoxGeometry()
const mtl1 = new MeshStandardMaterial({ color: '#f00' })
export default function Demo () {
return (
<Canvas style={{ height: 800 }} camera={{ fov: 75, near: 0.1, far: 1000, position: [2, 1, 2] }}>
<Suspense fallback={null}>
<ambientLight intensity={0.1} />
<directionalLight color={'#fff'} intensity={1} position={[-3, 5, 5]} />
<mesh geometry={ball} material={mtl1} />
<OrbitControls makeDefault />
<ContactShadows rotation-x={Math.PI / 2} position={[0, -1.4, 0]} opacity={0.75} width={10} height={10} blur={2.6} far={2} />
<color attach='background' args={['#aaa']} />
</Suspense>
</Canvas>
)
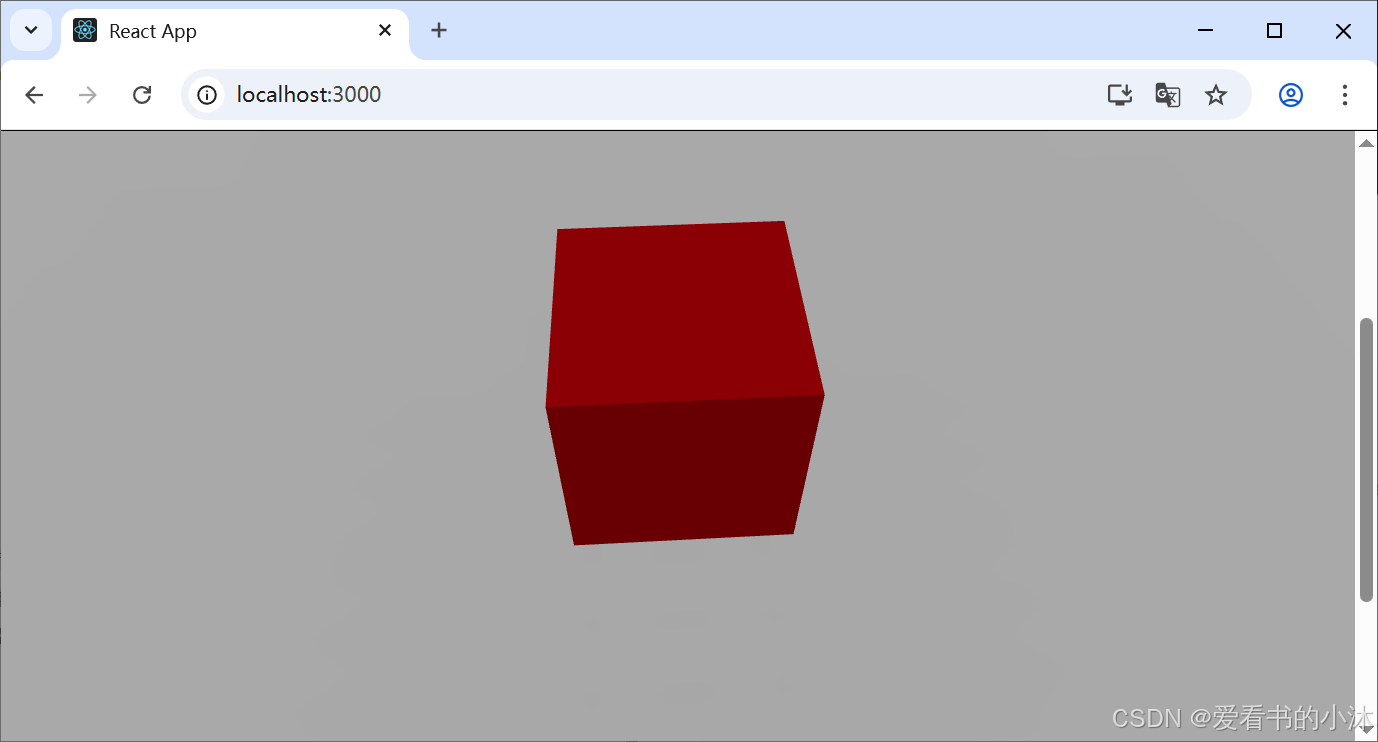
}运行如下:
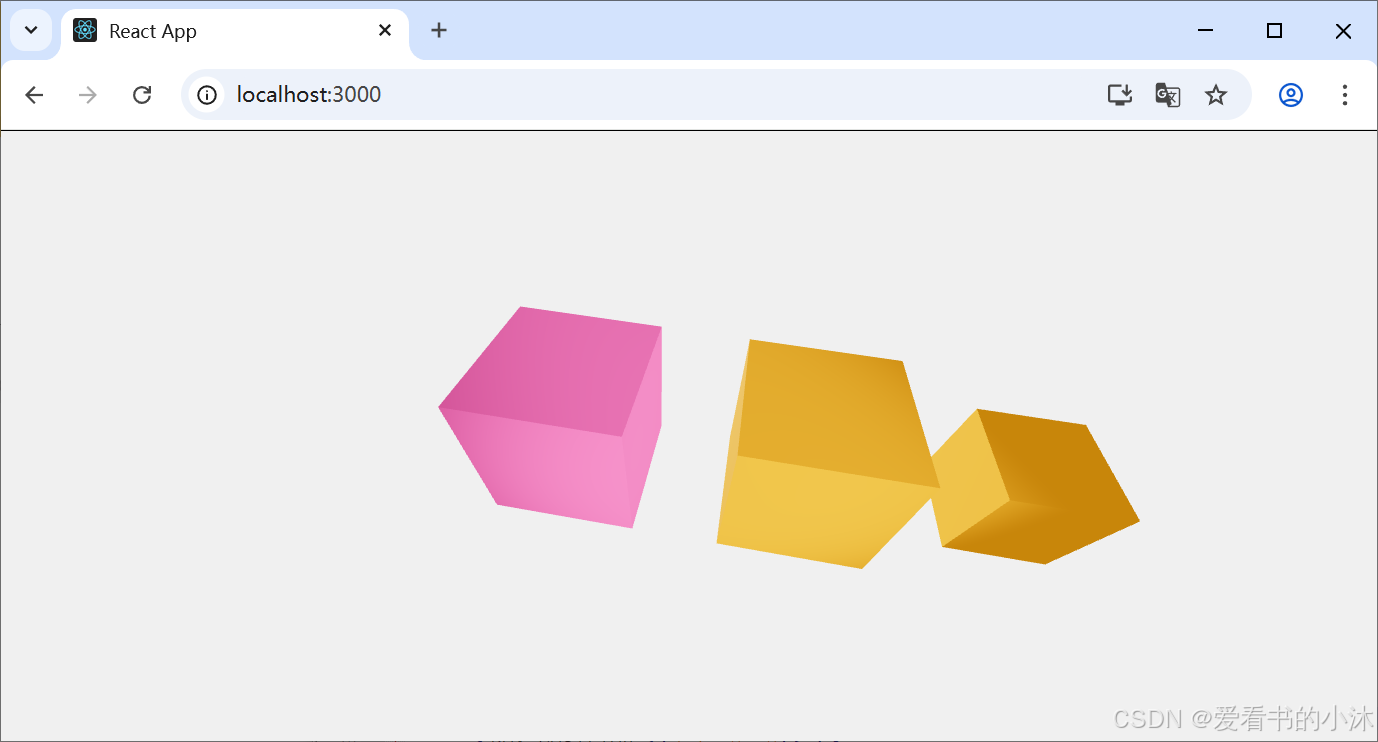
2.5 app.js修改(显示多个模型)
修改App.js代码:
typescript
import { useRef, useState, useEffect } from 'react'
import { Canvas, useFrame } from '@react-three/fiber'
import { OrbitControls } from '@react-three/drei'

function Box(props) {
  // This reference gives us direct access to the THREE.Mesh object
  const ref = useRef()
  // Hold state for hovered and clicked events
  const [hovered, hover] = useState(false)
  const [clicked, click] = useState(false)
  // Subscribe this component to the render-loop, rotate the mesh every frame
  useFrame((state, delta) => (ref.current.rotation.x += delta))
  // Return the view, these are regular Threejs elements expressed in JSX
  return (
    <mesh
      {...props}
      ref={ref}
      scale={clicked ? 1.5 : 1}
      onClick={(event) => click(!clicked)}
      onPointerOver={(event) => (event.stopPropagation(), hover(true))}
      onPointerOut={(event) => hover(false)}>
      <boxGeometry args={[1, 1, 1]} />
      <meshStandardMaterial color={hovered ? 'hotpink' : 'orange'} />
    </mesh>
  )
}

export default function App() {
  return (
    <Canvas
      camera={{ position: [0, 0, 2] }} // 初始相机位置
    >
      <ambientLight intensity={Math.PI / 2} />
      <spotLight position={[10, 10, 10]} angle={0.15} penumbra={1} decay={0} intensity={Math.PI} />
      <pointLight position={[-10, -10, -10]} decay={0} intensity={Math.PI} />
      <Box position={[-1.2, 0, 0]} />
      <Box position={[1.2, 0, 0]} />
      <Box position={[3.2, 0, 0]} />
      <OrbitControls />

    </Canvas>
  )
}
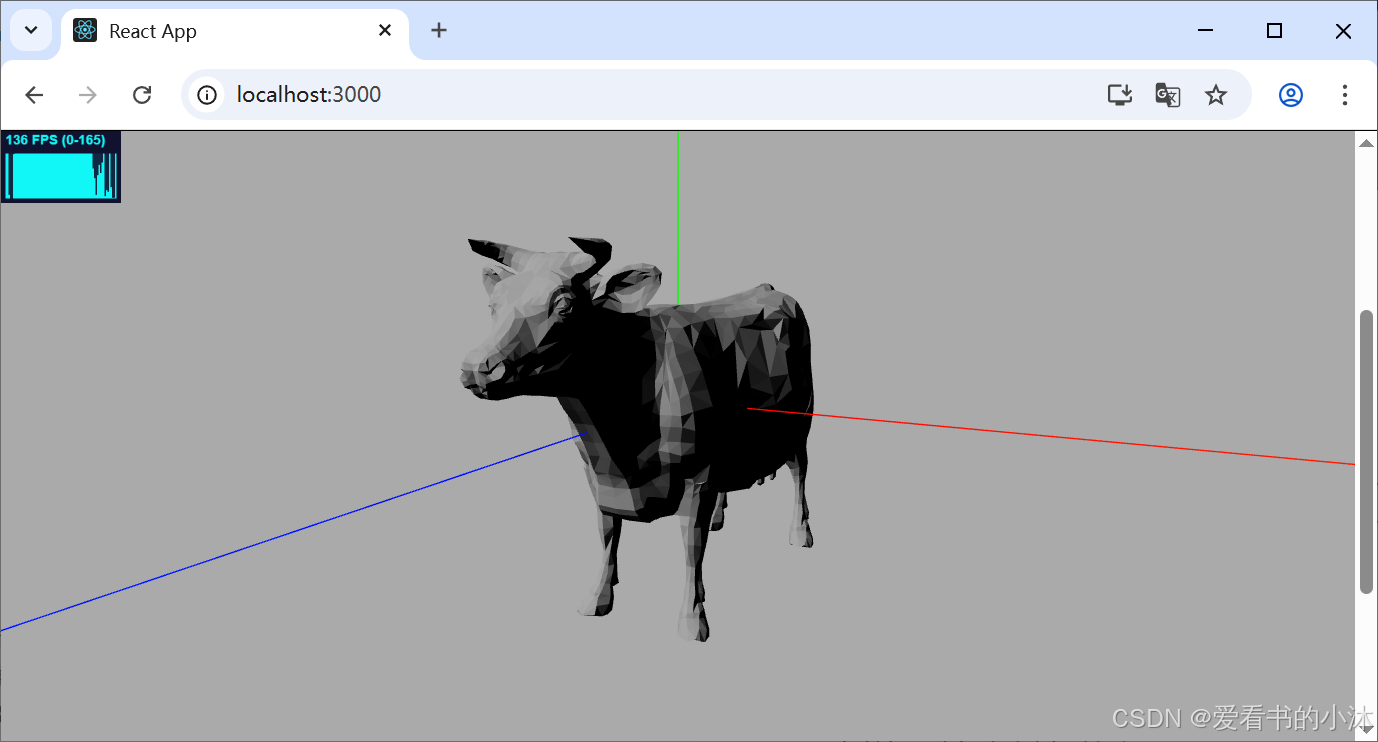
2.6 app.js修改(加载obj模型)
修改App.js代码:
typescript
import React, { Suspense, useRef } from 'react'
import { AxesHelper } from 'three'
import { Canvas, useLoader } from '@react-three/fiber'
import { Environment, OrbitControls, Stats } from '@react-three/drei'
import { OBJLoader } from 'three/examples/jsm/loaders/OBJLoader'

function MyMesh () {
    const src = '/obj/cow.obj'
    const object = useLoader(OBJLoader, src)
    console.log(object)
    return (
        <primitive object={object} />
    )
}

export default function Demo () {
    const statRef = useRef(null)
    return (
        <div ref={statRef}>
            <Stats showPanel={0} parent={statRef} style={{ top: 'auto', bottom: 0 }} />
			<Canvas style={{ height: 800 }} camera={{ fov: 75, near: 0.1, far: 1000, position: [2, 1, 2] }}>
				<Suspense fallback={null}>
					<directionalLight color={'#fff'} intensity={1} position={[-3, 5, 5]} />
					<primitive object={new AxesHelper(100)} />
					<MyMesh />
					<OrbitControls makeDefault />
					<color attach='background' args={['#aaa']} />
					<Environment
						background={false} preset={null} scene={undefined}
						path={'/skybox/'}
						files={['px.jpg', 'nx.jpg', 'py.jpg', 'ny.jpg', 'pz.jpg', 'nz.jpg']}
					/>
				</Suspense>
			</Canvas>
        </div>
    )
}
运行如下:
2.7 app.js修改(物理效果)
bash
npm install @react-three/cannon
bash
import { useEffect, useState } from 'react'
import { Canvas } from '@react-three/fiber'
import { Physics, usePlane, useBox } from '@react-three/cannon'

function Plane(props) {
  const [ref] = usePlane(() => ({ rotation: [-Math.PI / 2, 0, 0], ...props }))
  return (
    <mesh receiveShadow ref={ref}>
      <planeGeometry args={[1000, 1000]} />
      <meshStandardMaterial color="#f0f0f0" />
    </mesh>
  )
}

function Cube(props) {
  const [ref] = useBox(() => ({ mass: 1, ...props }))
  return (
    <mesh castShadow ref={ref}>
      <boxGeometry />
      <meshStandardMaterial color="orange" />
    </mesh>
  )
}

export default function App() {
  const [ready, set] = useState(false)
  useEffect(() => {
    const timeout = setTimeout(() => set(true), 1000)
    return () => clearTimeout(timeout)
  }, [])
  return (
    <Canvas dpr={[1, 2]} shadows camera={{ position: [-5, 5, 5], fov: 50 }}>
	  <ambientLight intensity={Math.PI / 2} />
      <spotLight position={[10, 10, 10]} angle={0.15} penumbra={1} decay={0} intensity={Math.PI} />
      <pointLight position={[-10, -10, -10]} decay={0} intensity={Math.PI} />
      <spotLight angle={0.25} penumbra={0.5} position={[10, 10, 5]} castShadow />
      <Physics>
        <Plane />
        <Cube position={[0, 5, 0]} />
        <Cube position={[0.45, 7, -0.25]} />
        <Cube position={[-0.45, 9, 0.25]} />
        {ready && <Cube position={[-0.45, 10, 0.25]} />}
      </Physics>
    </Canvas>
  )
}

结语
如果您觉得该方法或代码有一点点用处,可以给作者点个赞,或打赏杯咖啡;╮( ̄▽ ̄)╭
如果您感觉方法或代码不咋地//(ㄒoㄒ)//,就在评论处留言,作者继续改进;o_O???
如果您需要相关功能的代码定制化开发,可以留言私信作者;(✿◡‿◡)
感谢各位童鞋们的支持!( ´ ▽´ )ノ ( ´ ▽´)っ!!!