Word压缩解决方案:基于图片压缩的 .docx 优化实践
📌 背景
在日常科研写作或项目文档整理中,Word 文档(.docx)往往因为插入大量高清图表、扫描图像、公式图等导致文件体积过大,或者毕业学位论文查重要求上传给定大小限制的word文档。这不仅影响文档存储和传输,还在版本控制、邮件发送等场景下带来极大不便。
特别是在使用 MathType、截图粘贴或插入 .tif/.wmf 图片后,Word 会自动嵌入高分辨率对象,导致文档膨胀至数十 MB。
为此,本文提出一种结构化解压分析 + 图像压缩优化 + 结构还原 的压缩方案,将 .docx 体积从 60MB 压缩至 30MB 以下,且不影响内容与排版。
🧰 准备工作
✅ 将 .docx 转为 .zip 文件
Word 的 .docx 文件本质是一个 ZIP 包。我们先手动重命名文件后缀,得到:
bash
example.docx → example.zip✅ 解压缩 .zip 文件
使用右键或工具(如 7-Zip)解压 example.zip,你将看到如下结构:
📁 解压目录
├── [Content_Types].xml
├── _rels/
├── word/
├── docProps/
├── customXml/
其中,图像资源位于:
word/media/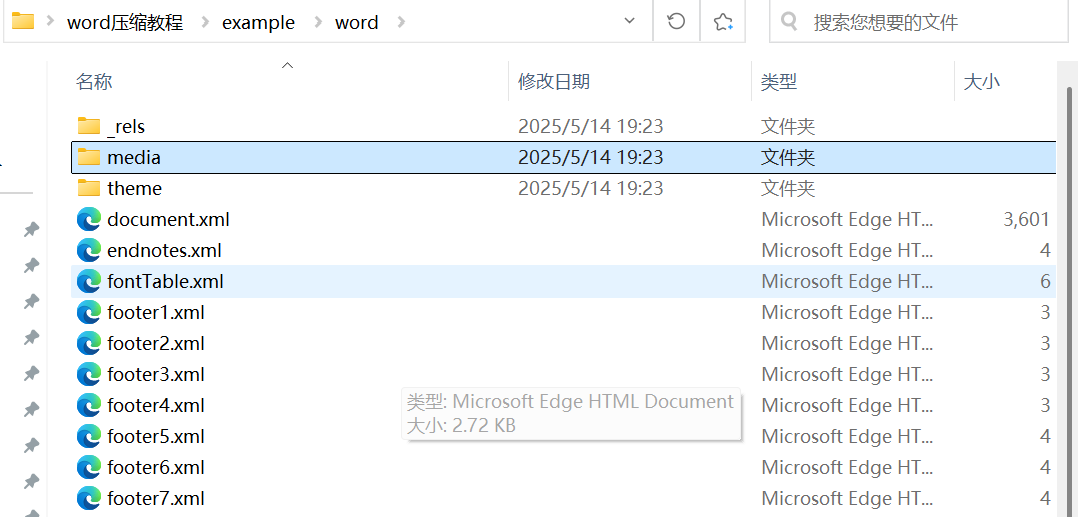
🛠 压缩实施步骤
S1: 分析 media/ 目录下的文件结构
我们使用 Python 脚本统计不同图片类型的数量与空间占用:
bash
python ./fileTypeAnalysis.py
python
import os
# 设置要统计的文件夹路径
target_dir = r"./example/word/media"
# 要统计的扩展名(不区分大小写)
exts_to_track = [".tiff", ".tif", ".wmf", ".png", ".jpeg", ".jpg"]
# 存储结果的字典
file_stats = {ext: {"count": 0, "total_size": 0} for ext in exts_to_track}
# 遍历所有文件
for root, dirs, files in os.walk(target_dir):
for file in files:
ext = os.path.splitext(file)[1].lower()
if ext in file_stats:
full_path = os.path.join(root, file)
try:
file_size = os.path.getsize(full_path)
file_stats[ext]["count"] += 1
file_stats[ext]["total_size"] += file_size
except Exception as e:
print(f"Error reading {file}: {e}")
# 输出统计结果
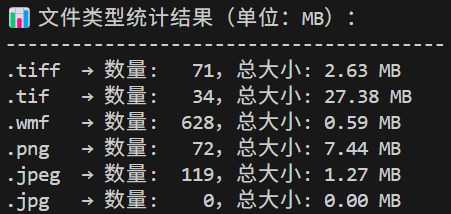
print(f"\n📊 文件类型统计结果(单位:MB):\n{'-'*40}")
for ext, stats in file_stats.items():
size_mb = stats["total_size"] / (1024 * 1024)
print(f"{ext:<6} → 数量: {stats['count']:>4},总大小: {size_mb:.2f} MB")执行结果示例:

S2: 根据不同类型文件,制定处理策略
我们聚焦 .tif 和 .png 两种文件:
.tif文件 :压缩后仍保存为.tif,使用无损 LZW 编码.png文件 :开启optimize=True,并可设置最大宽度进行缩放处理
S3: 执行压缩处理脚本
bash
python ./tif_png_compress.py
python
from PIL import Image
import os
# 设置图像目录
media_dir = r"./example/word/media"
max_width = 1000 # 超过该宽度将自动缩放
# 遍历文件
for file in os.listdir(media_dir):
ext = os.path.splitext(file)[1].lower()
input_path = os.path.join(media_dir, file)
# 处理 .tif / .tiff
if ext in [".tif", ".tiff"]:
try:
with Image.open(input_path) as img:
img = img.convert("RGB")
if img.width > max_width:
scale = max_width / img.width
img = img.resize((int(img.width * scale), int(img.height * scale)), Image.ANTIALIAS)
# 保存为原路径,使用 LZW 压缩(无损)
img.save(input_path, format="TIFF", compression="tiff_lzw")
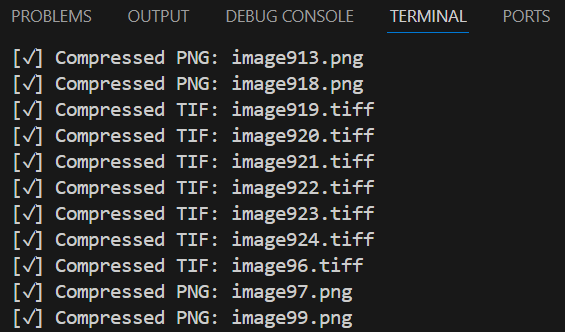
print(f"[✓] Compressed TIF: {file}")
except Exception as e:
print(f"[✗] Failed to compress TIF {file}: {e}")
# 处理 .png
elif ext == ".png":
try:
with Image.open(input_path) as img:
if img.mode not in ["RGB", "RGBA"]:
img = img.convert("RGBA")
if img.width > max_width:
scale = max_width / img.width
img = img.resize((int(img.width * scale), int(img.height * scale)), Image.ANTIALIAS)
# 覆盖保存,启用 PNG 压缩优化
img.save(input_path, format="PNG", optimize=True)
print(f"[✓] Compressed PNG: {file}")
except Exception as e:
print(f"[✗] Failed to compress PNG {file}: {e}")该脚本将直接在原路径覆盖原文件,无需修改 Word 中的图片引用路径。
S4: 再次检查 media/ 文件体积分布
再次执行文件统计脚本,确认压缩是否有效。多数 .tif 和 .png 文件可压缩 60% 以上。
S5: 打包还原为 .docx
确保压缩优化完成后,将所有内容重新压缩为 .docx:
S5-1: 进入包含 [Content_Types].xml 的目录
S5-2: 全选所有内容(不要包含外层文件夹)
S5-3: 右键 → 发送到 → 压缩(zip)文件夹
S5-4: 将生成的 .zip 文件重命名为 .docx
或通过以下脚本进行还原:
bash
python ./docxRecover.py
bash
import zipfile
import os

def zip_dir_to_docx(src_dir, output_docx):
    with zipfile.ZipFile(output_docx, 'w', zipfile.ZIP_DEFLATED) as docx_zip:
        for foldername, subfolders, filenames in os.walk(src_dir):
            for filename in filenames:
                file_path = os.path.join(foldername, filename)
                arcname = os.path.relpath(file_path, src_dir)
                docx_zip.write(file_path, arcname)
    print(f"[✓] 成功打包为 {output_docx}")

# 修改路径为你自己的
zip_dir_to_docx(
    src_dir=r"./example/",      # 该目录必须是包含 [Content_Types].xml 的目录
    output_docx= r"./example-comp.docx"
)
现在你得到的 example-comp.docx 即为压缩后的版本,结构完整,内容不变。

✅ 总结
通过解压 Word 文档结构、定位图像资源并分类压缩,可以有效将 60MB+ 的 .docx 文件压缩至 40MB 以下,具体效果如下:
| 文件类型 | 压缩前 | 压缩后 | 减少比例 |
|---|---|---|---|
.tif |
31.44 MB | ~27.38 MB | ~12.91.67% |
.png |
25.84 MB | ~7.44 MB | ~71.05% |
.docx 总体 |
~62.3 MB | ~38.4 MB | ~38.36% ✅ 达成目标 |
该方法适用于学位论文、技术文档、报告等文件过大场景,且不破坏 Word 样式与结构。
🧩 以上处理涉及到的代码已开源https://github.com/JOYUAGV/wordCompress.git,欢迎Star!