欢迎关注微信公众号:FSA全栈行动 👋
一、概述
不久前,谷歌推出了开源的 AI 代理 Gemini CLI,它为个人开发者提供了近乎无上限的免费使用 Gemini 2.5 Pro 的额度,每分钟 60 次,每日最多可达 1,000 次的模型执行额度,且完全免费!
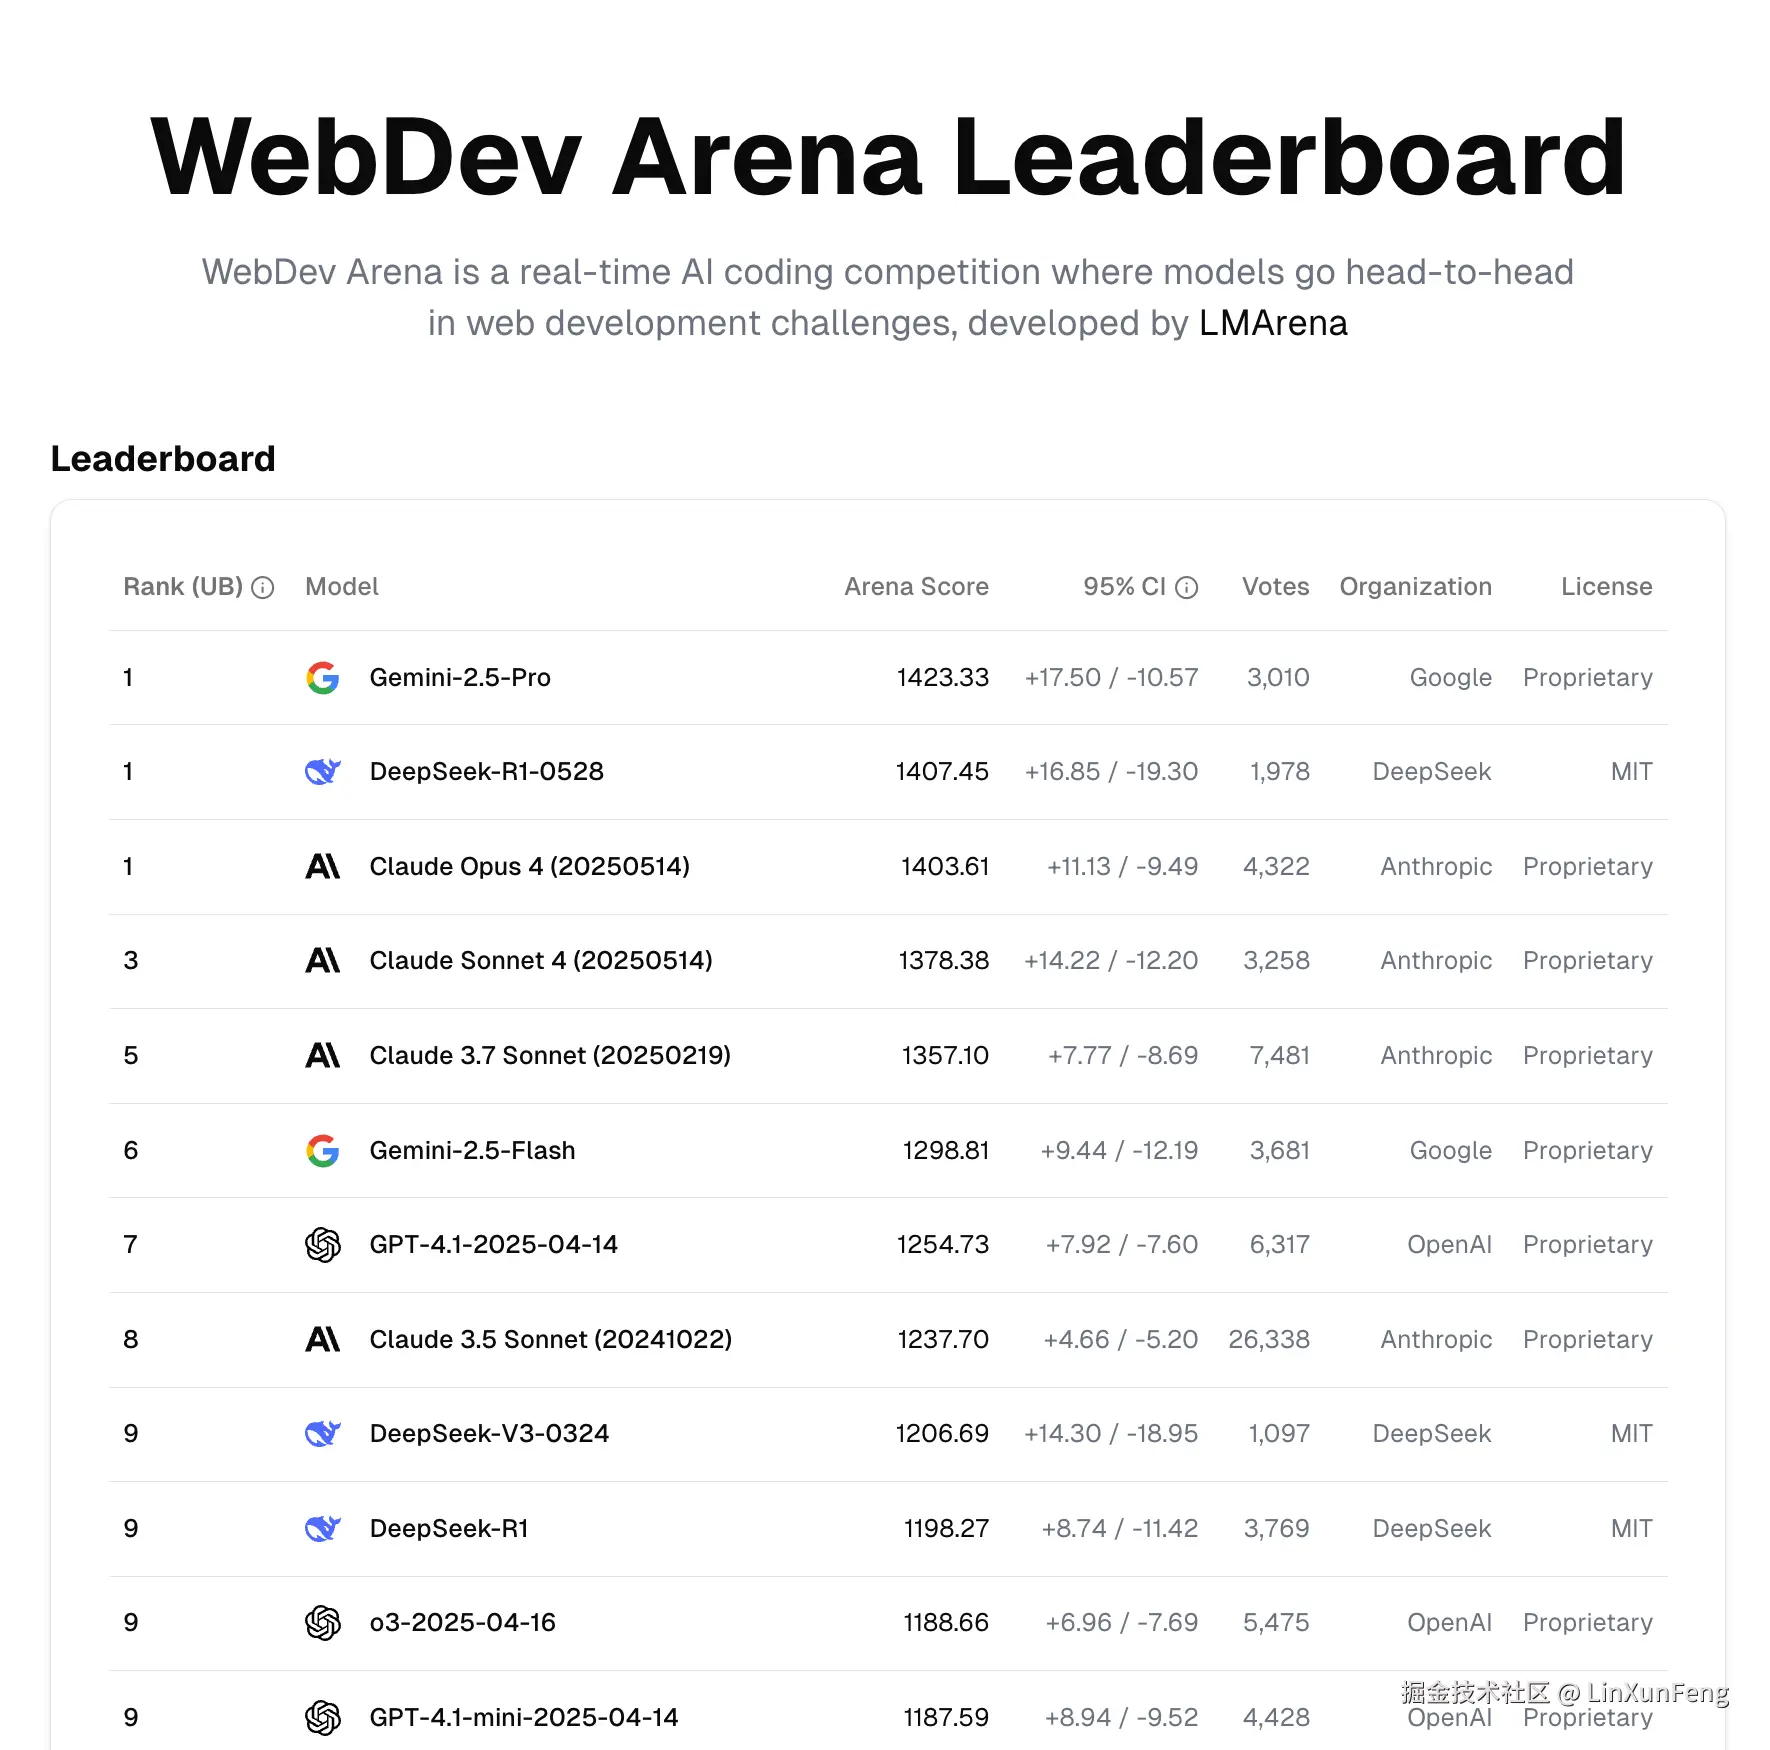
Gemini 2.5 Pro 在编码上的能力,我们可以参考 web.lmarena.ai/leaderboard 上查看排名。
而这么牛的模型,只能运行在终端这个小框框里实属可惜,所以本文将介绍如何使其 OpenAI-compatible 化,从而摆脱终端限制。
注:该方案本人主号已稳定使用一个多月,不过如果你有小号的话还是建议使用小号~
二、安装
环境前提,需要已经安装
Node.js,并且版本≥ 20
全局安装 gemini-cli
shell
pnpm install -g @google/gemini-cli注:我自己使用的包管理工具是 pnpm,你可以使用 Node.js 自带的 npm
三、授权认证
启用 API
使用 OAuth 凭据文件认证的方式,先打开如下链接
cloud.google.com/gemini/docs...

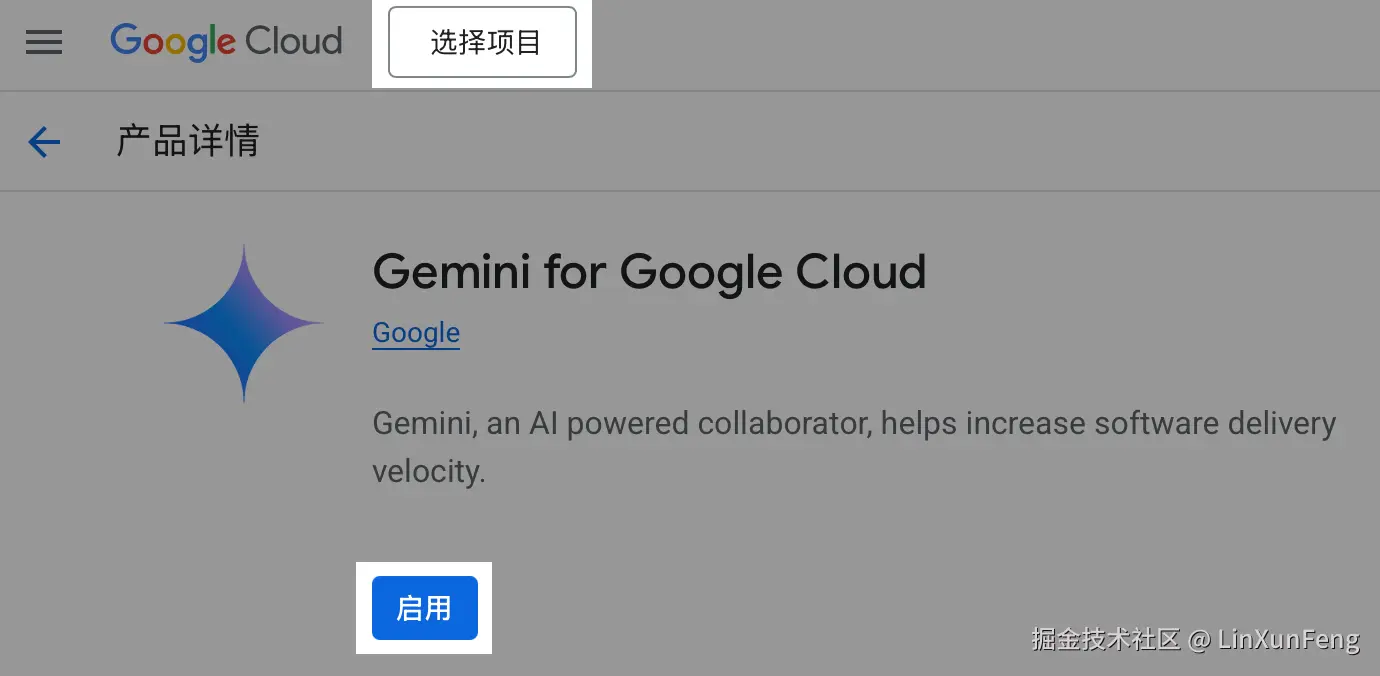
点击写着 前往 Gemini for Google Cloud 的蓝色大按钮。
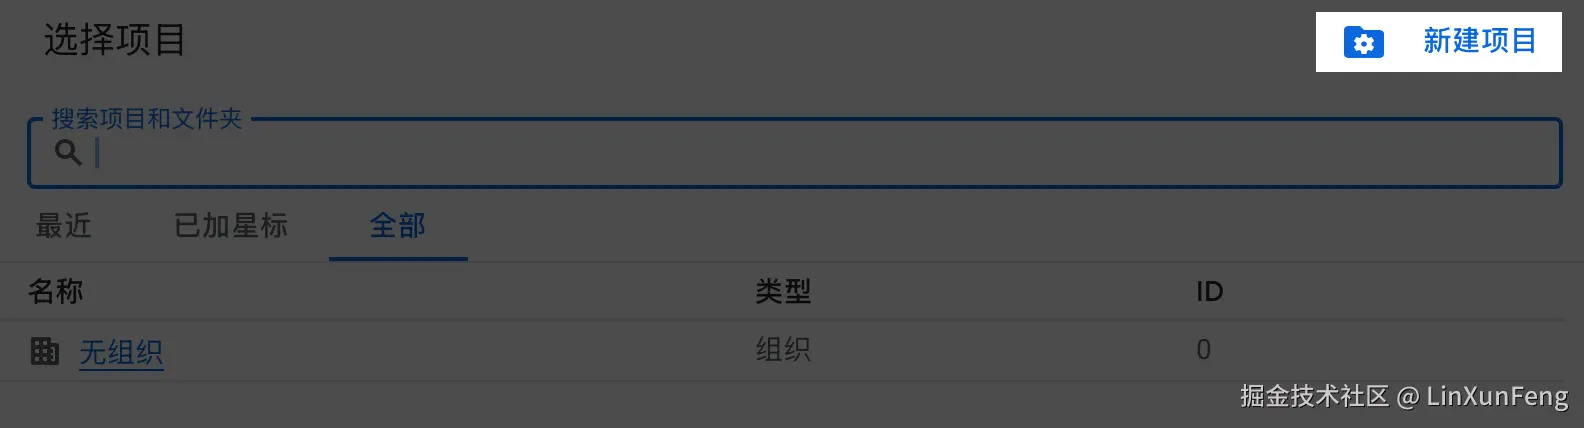
在跳转至另一个页面后,点击左上角的 选择项目 进行选择。
接着查看地址栏里的链接,如下
console.cloud.google.com/marketplace...
找到 project 参数,即 项目 ID,记下它的值,如这里的 linxunfeng。
再点击蓝色按钮 启用
没有项目则自行创建一个
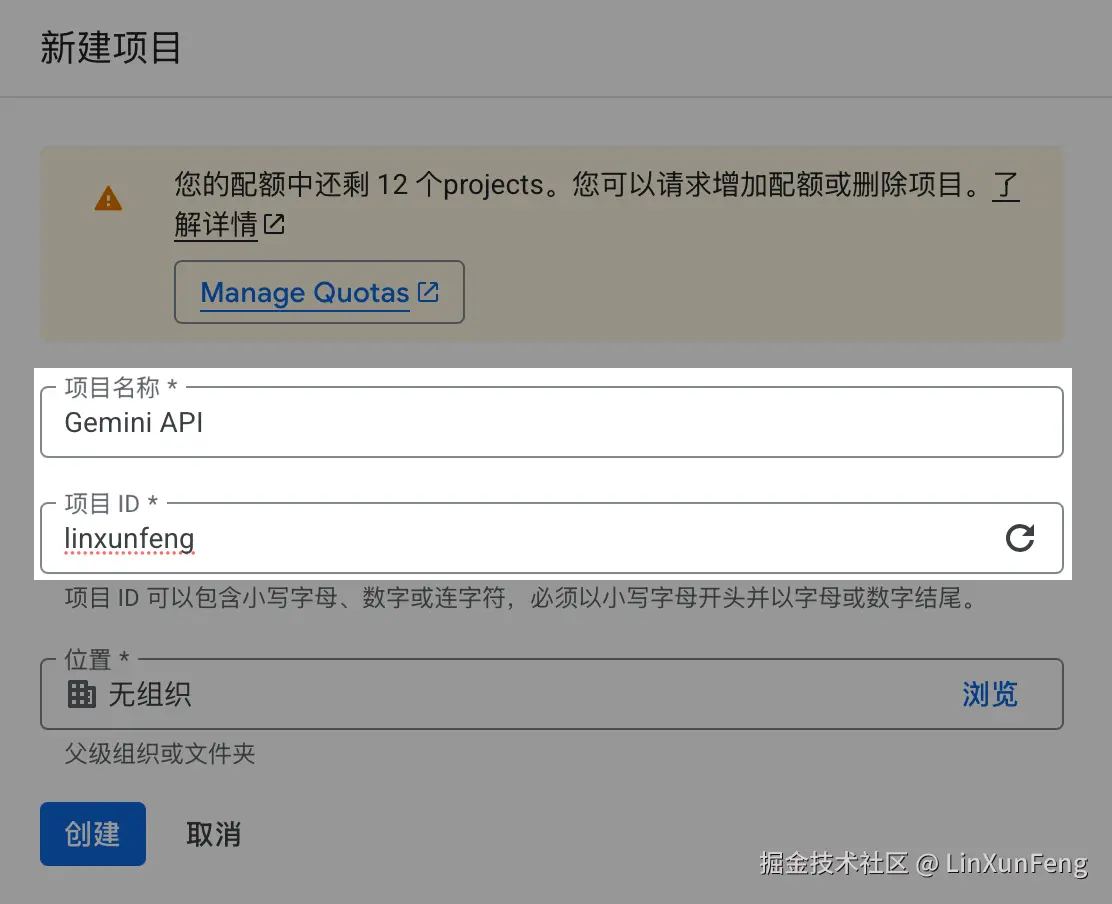
项目名称 和 项目 ID 根据你自己的情况去填写
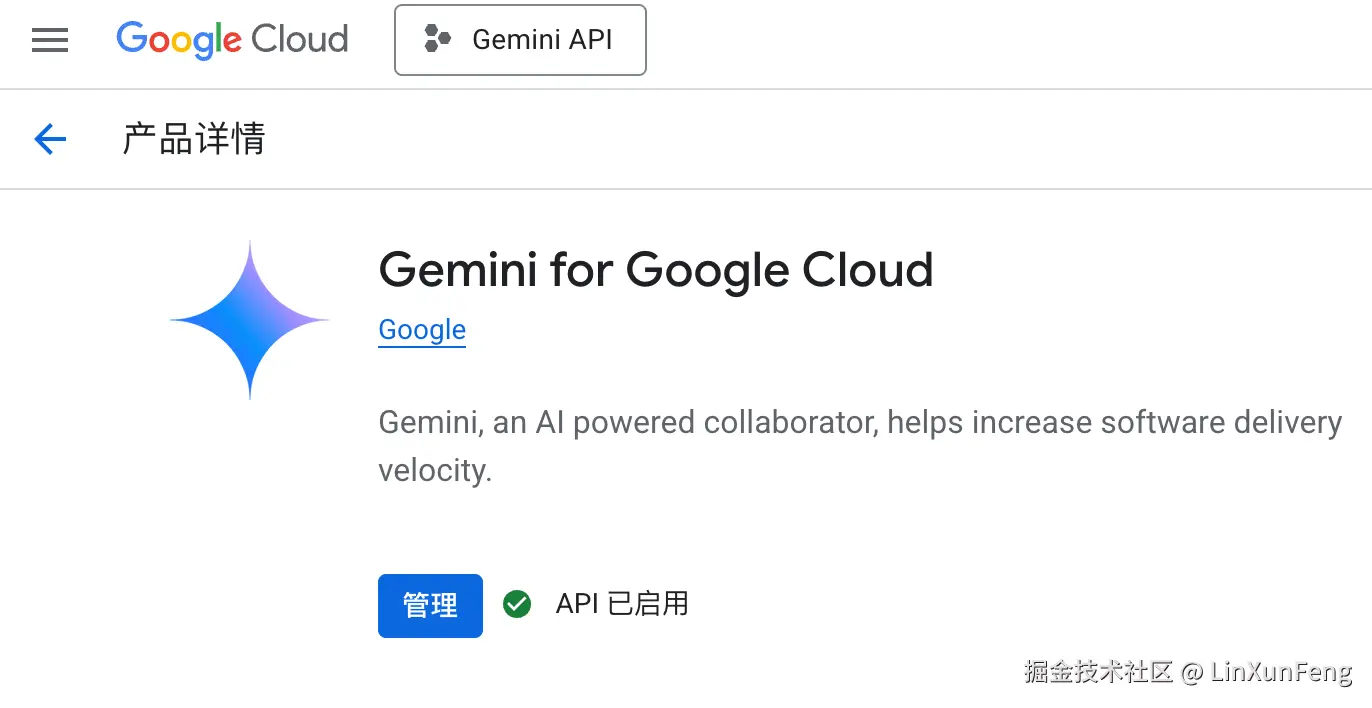
如果你之前就启用过,则会显示 API已启用,如图所示
配置
打开终端,新增环境变量 GOOGLE_CLOUD_PROJECT,值为 project 的值,如上 linxunfeng
shell
export GOOGLE_CLOUD_PROJECT="linxunfeng"source 配置文件或重启终端,运行 gemini
shell
# source 你自己的配置文件
source ~/.zshrc

gemini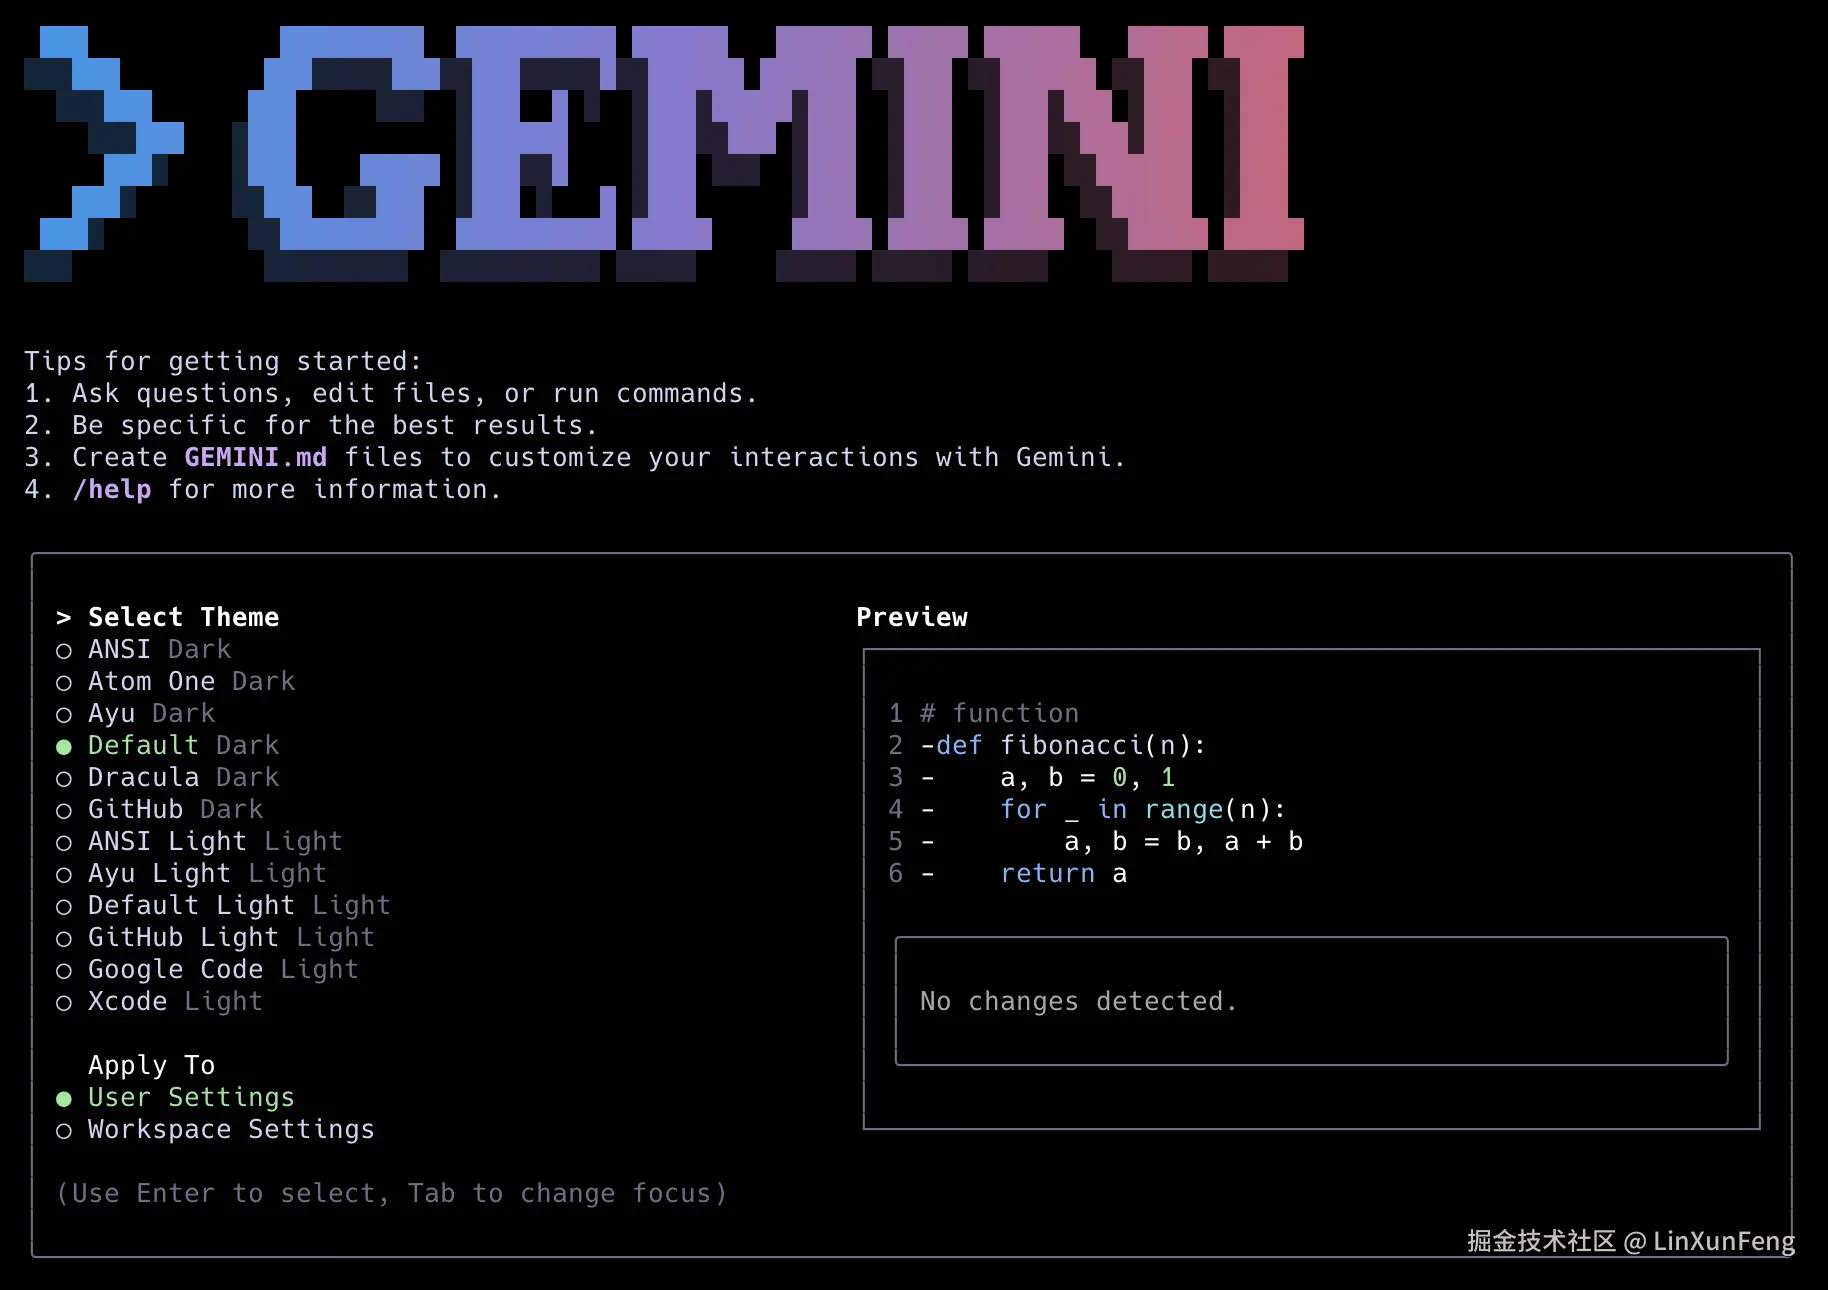
会让你选择主题,这里随意,看你喜欢~
接下来是认证方式,选择 Login with Google
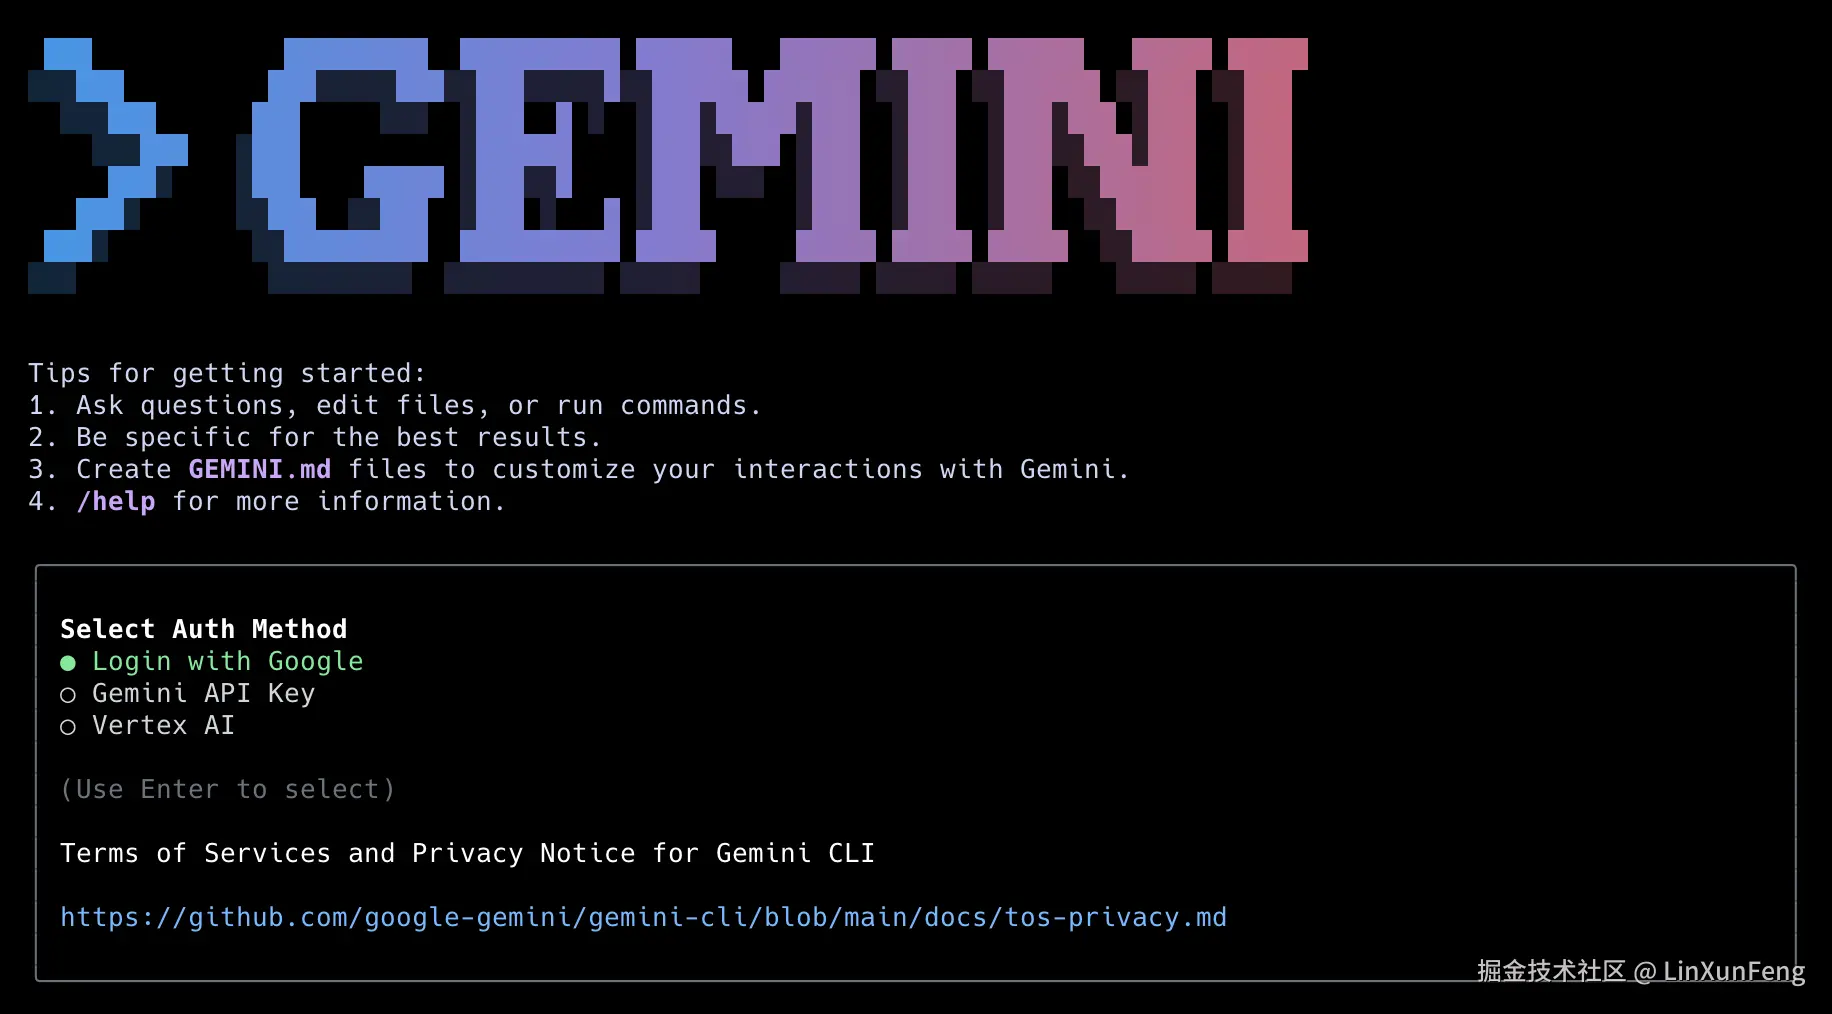
会自动打开浏览器页面,按要求登录授权即可
授权成功后的页面会显示如下内容
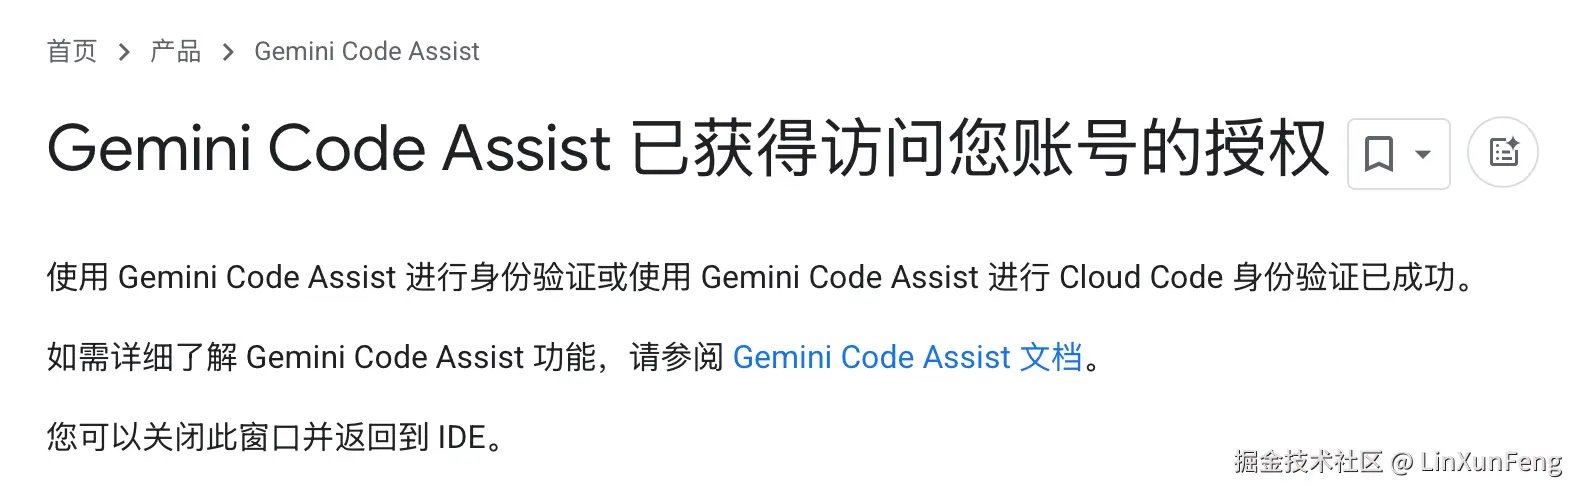
再回到终端,你会发现已经可以正常使用 gemini 了
如果你没有执行过上述的 前置操作,终端内会遇到如下提示
shell
Failed to login. Message: This account requires setting the GOOGLE_CLOUD_PROJECT env var. See https://goo.gle/gemini-cli-auth-docs#workspace-gca如果遇到了按上述的 前置操作 操作一遍即可~
完成后查看 ~/.gemini/oauth_creds.json
shell
cat ~/.gemini/oauth_creds.json文件内容如下所示
shell
{
  "access_token": "lxf",
  "refresh_token": "lxf",
  "scope": "lxf",
  "token_type": "Bearer",
  "id_token": "lxf",
  "expiry_date": 1751011026383
}
四、OpenAI-compatible
接下来部署项目 github.com/GewoonJaap/... 至 Cloudflare
项目拉取
shell
git clone https://github.com/GewoonJaap/gemini-cli-openai.git

cd gemini-cli-openai
安装依赖
安装项目依赖
shell
pnpm i全局安装 wrangler
shell
pnpm install -g wrangler创建 KV 存储
shell
wrangler kv namespace create "GEMINI_CLI_KV"在执行这行命令时,如果你还没有授权过 Cloudflare,会出现如下提示,并会自动打开浏览器,不要慌,按提示登录授权即可。
shell
Attempting to login via OAuth...
Opening a link in your default browser: https://dash.cloudflare.com/oauth2/auth?xxx
shell
Successfully logged in.
Resource location: remote
🌀 Creating namespace with title "GEMINI_CLI_KV"
✨ Success!
Add the following to your configuration file in your kv_namespaces array:
[[kv_namespaces]]
binding = "GEMINI_CLI_KV"
id = "xxxxxxxxxxxxxxxxxxxxxxxxxxxxxxxx"
将上述最后一行的 id 值,替换掉 wrangler.toml 中的 GEMINI_CLI_KV,如
toml
kv_namespaces = [
  { binding = "GEMINI_CLI_KV", id = "xxxxxxxxxxxxxxxxxxxxxxxxxxxxxxxx" }
]
认证信息
shell
wrangler secret put GCP_SERVICE_ACCOUNT执行后会让你输入,这里就需要用到 ~/.gemini/oauth_creds.json 里的数据,不过这里面的 JSON 数据是多行的,而命令行只接收单行数据,所以需要我们先将其压缩成一行。
你可以谷歌在线压缩 JSON 的工具去处理,也可以像我一样用 jq
shell
# 安装 jq
brew install jq

# 压缩 json
jq -c . < ~/.gemini/oauth_creds.json > output.json
# 或者
cat ~/.gemini/oauth_creds.json | jq -c . > output.json
将 output.json 内已经压缩好的 JSON 复制后粘贴即可~
shell
✔ Enter a secret value: ... *****************************
*****************************
...
🌀 Creating the secret for the Worker "gemini-cli-worker"
✔ There doesn't seem to be a Worker called "gemini-cli-worker". Do you want to create a new Worker with that name and add secrets to it? ... yes
🌀 Creating new Worker "gemini-cli-worker"...
✨ Success! Uploaded secret GCP_SERVICE_ACCOUNT
密钥
访问该服务时所需的密钥,防止别人随意使用你的 Gemini CLI
shell
wrangler secret put OPENAI_API_KEY
shell
✔ Enter a secret value: ... ********************
🌀 Creating the secret for the Worker "gemini-cli-worker"
✨ Success! Uploaded secret OPENAI_API_KEY
部署
shell
pnpm run deploy输出如下内容
shell
> gemini-cli-worker@1.0.0 deploy /path/to/gitHub/gemini-cli-openai
> wrangler deploy

Cloudflare collects anonymous telemetry about your usage of Wrangler. Learn more at https://github.com/cloudflare/workers-sdk/tree/main/packages/wrangler/telemetry.md

 ⛅️ wrangler 4.22.0
───────────────────
Total Upload: 102.28 KiB / gzip: 24.22 KiB
Worker Startup Time: 13 ms
Your Worker has access to the following bindings:
Binding                                                   Resource
env.GEMINI_CLI_KV (xxxxxxxxxxxxxxxxxxxxxxxxxxxxxxxx)      KV Namespace

Uploaded gemini-cli-worker (4.07 sec)
Deployed gemini-cli-worker triggers (0.81 sec)
  https://gemini-cli-worker.lxf.workers.dev
Current Version ID: xxxxxxxx-xxxx-xxxx-xxxx-xxxxxxxxxxxx
五、使用
如上述部署完成后,会输出类似这种域名链接 https://gemini-cli-worker.lxf.workers.dev,访问后页面显示如下内容说明搭建成功。
json
{"name":"Gemini CLI OpenAI Worker","description":"OpenAI-compatible API for Google Gemini models via OAuth","version":"1.0.0","authentication":{"required":true,"type":"Bearer token in Authorization header"},"endpoints":{"chat_completions":"/v1/chat/completions","models":"/v1/models","debug":{"cache":"/v1/debug/cache","token_test":"/v1/token-test","full_test":"/v1/test"}},"documentation":"https://github.com/gewoonjaap/gemini-cli-openai"}我们在链接后面拼上 /v1 就可以使用了
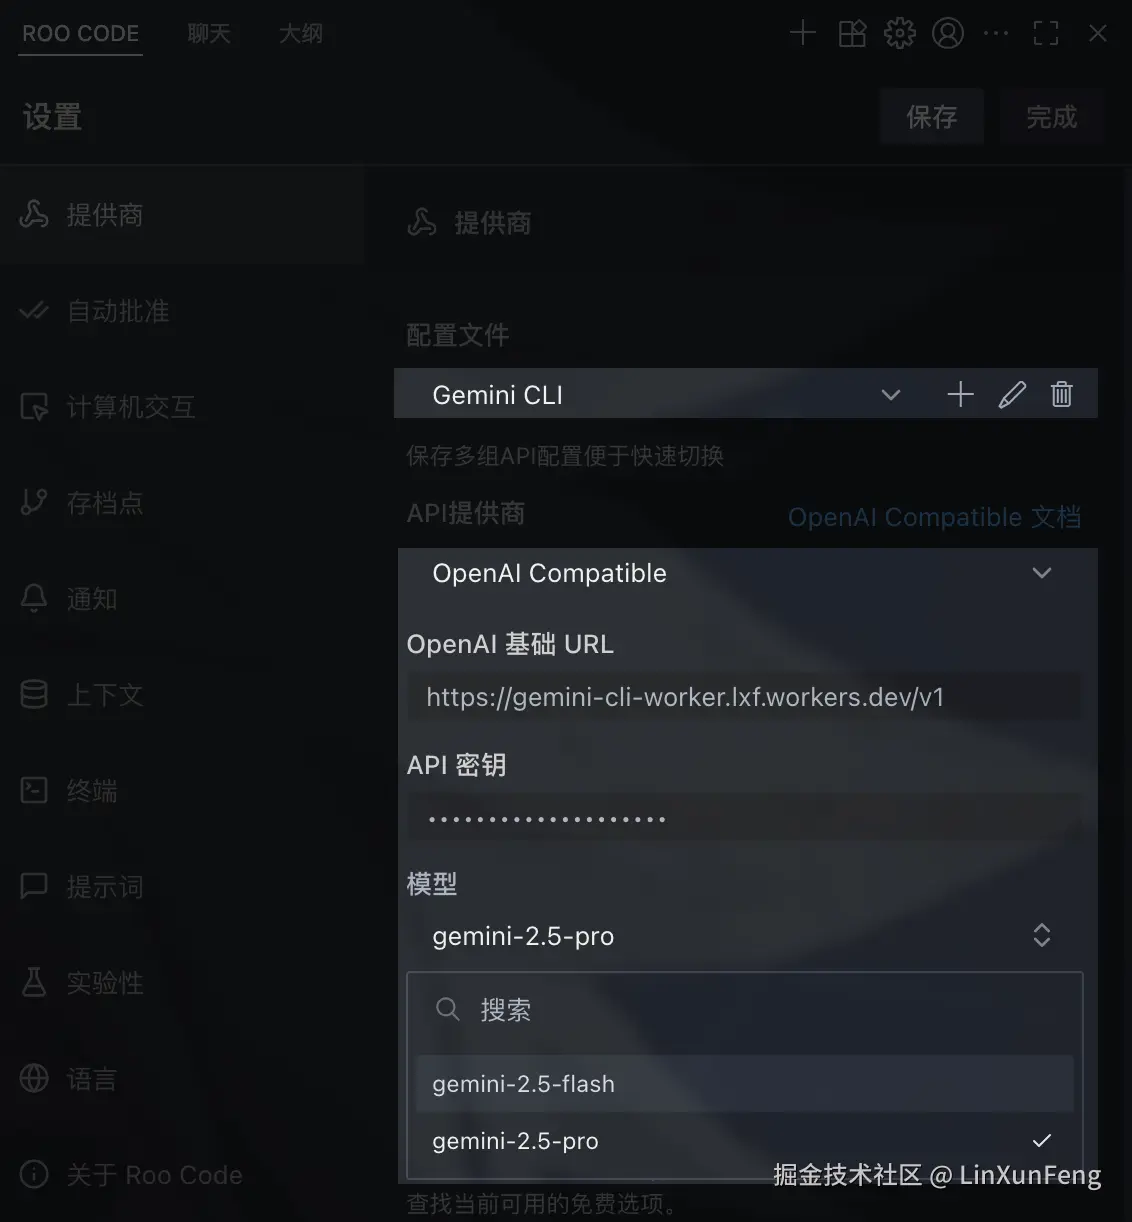
如图,这里以 Roo Code 为例,新增一个配置文件,选择 OpenAI Compatible,填写基础 URL 和密钥,然后点击模型,会自动列出所有支持的模型,选择你需要的模型后保存就可以使用了。
如果文章对您有所帮助, 请不吝点击关注一下我的微信公众号:FSA全栈行动, 这将是对我最大的激励. 公众号不仅有
iOS技术,还有Android,Flutter,Python等文章, 可能有你想要了解的技能知识点哦~