Three.js 实战之电子围栏------可根据模型自动生成
在三维可视化或数字孪生项目中,光墙(Light Wall)是一种常见的视觉效果,常用于强调场景区域、形成边界或增加科技未来感。本文将基于 Three.js,深入解析一个 useLightWall 类的实现,展示如何通过几何体、材质与动画组合实现不同类型的光墙效果。
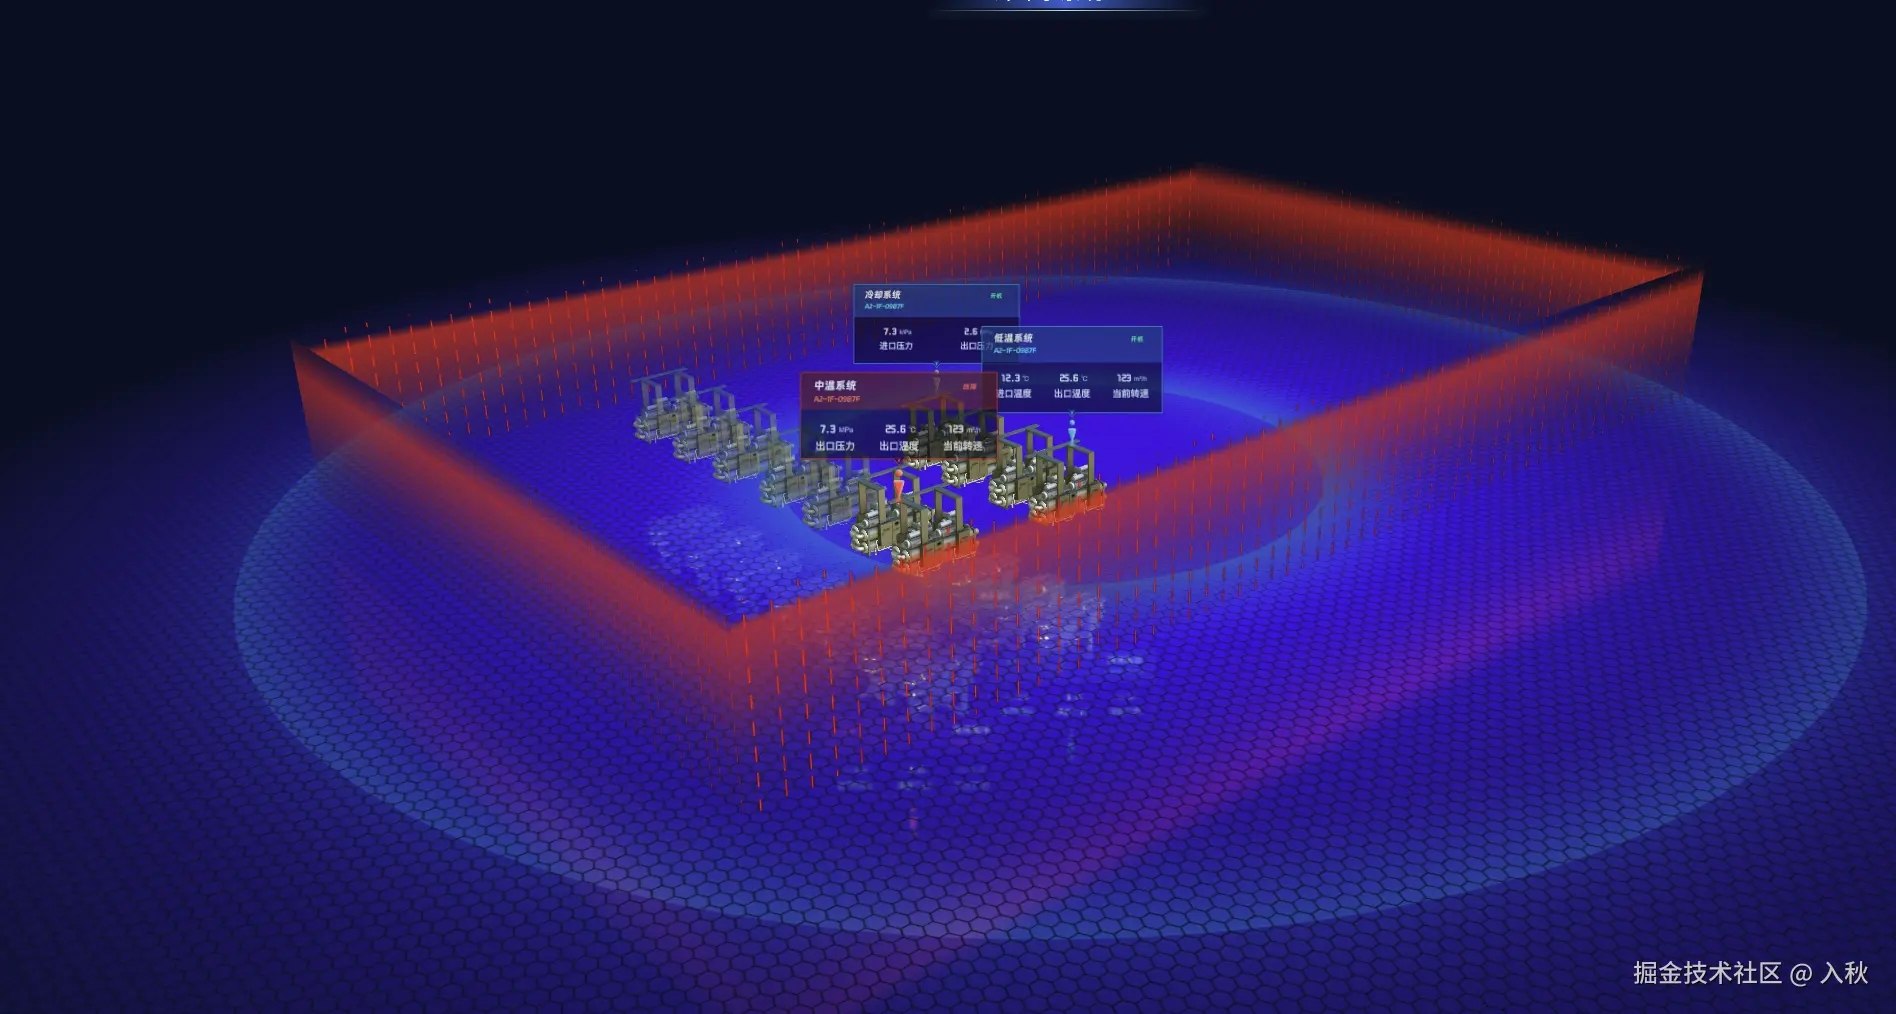
立方光墙
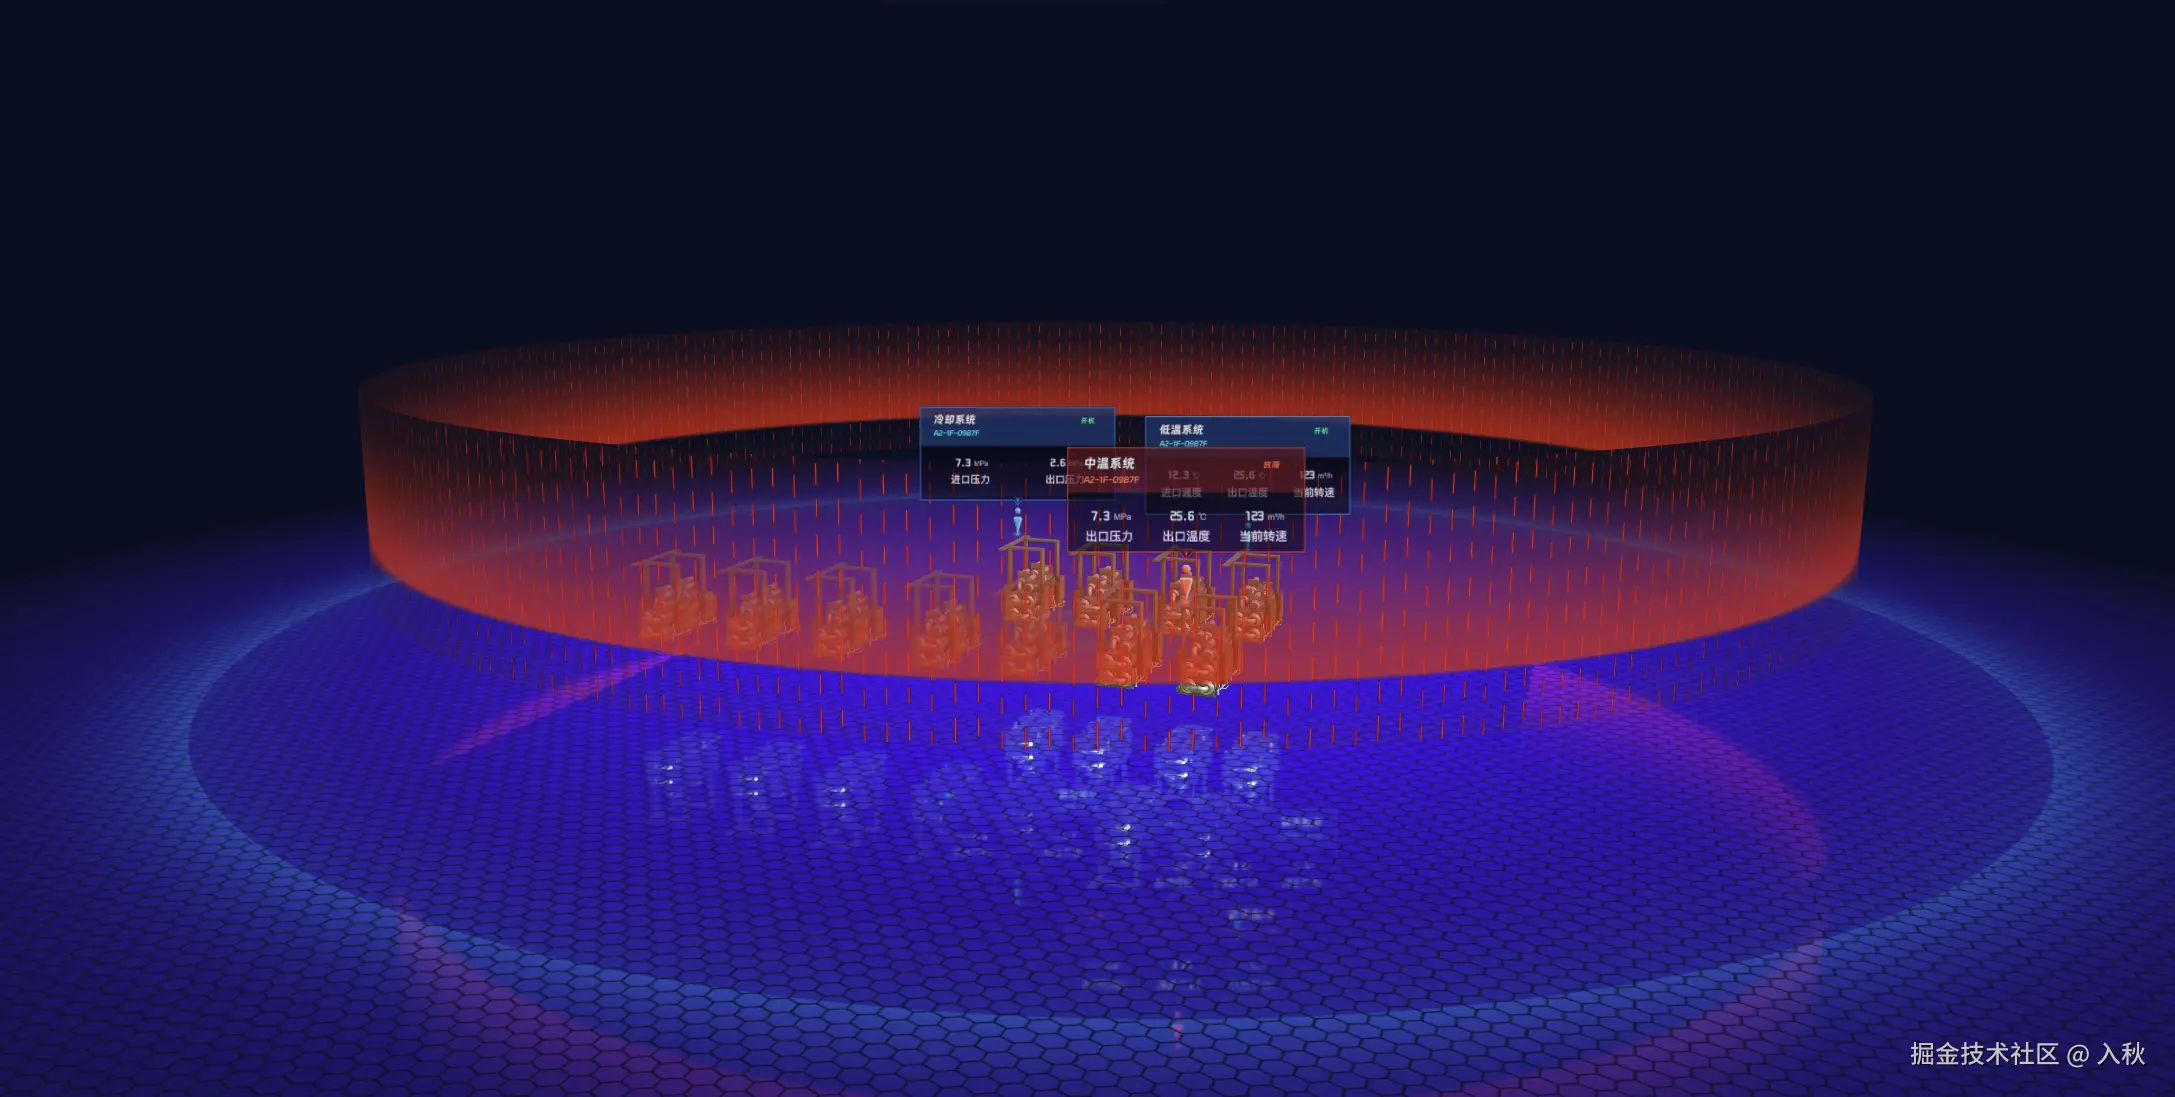
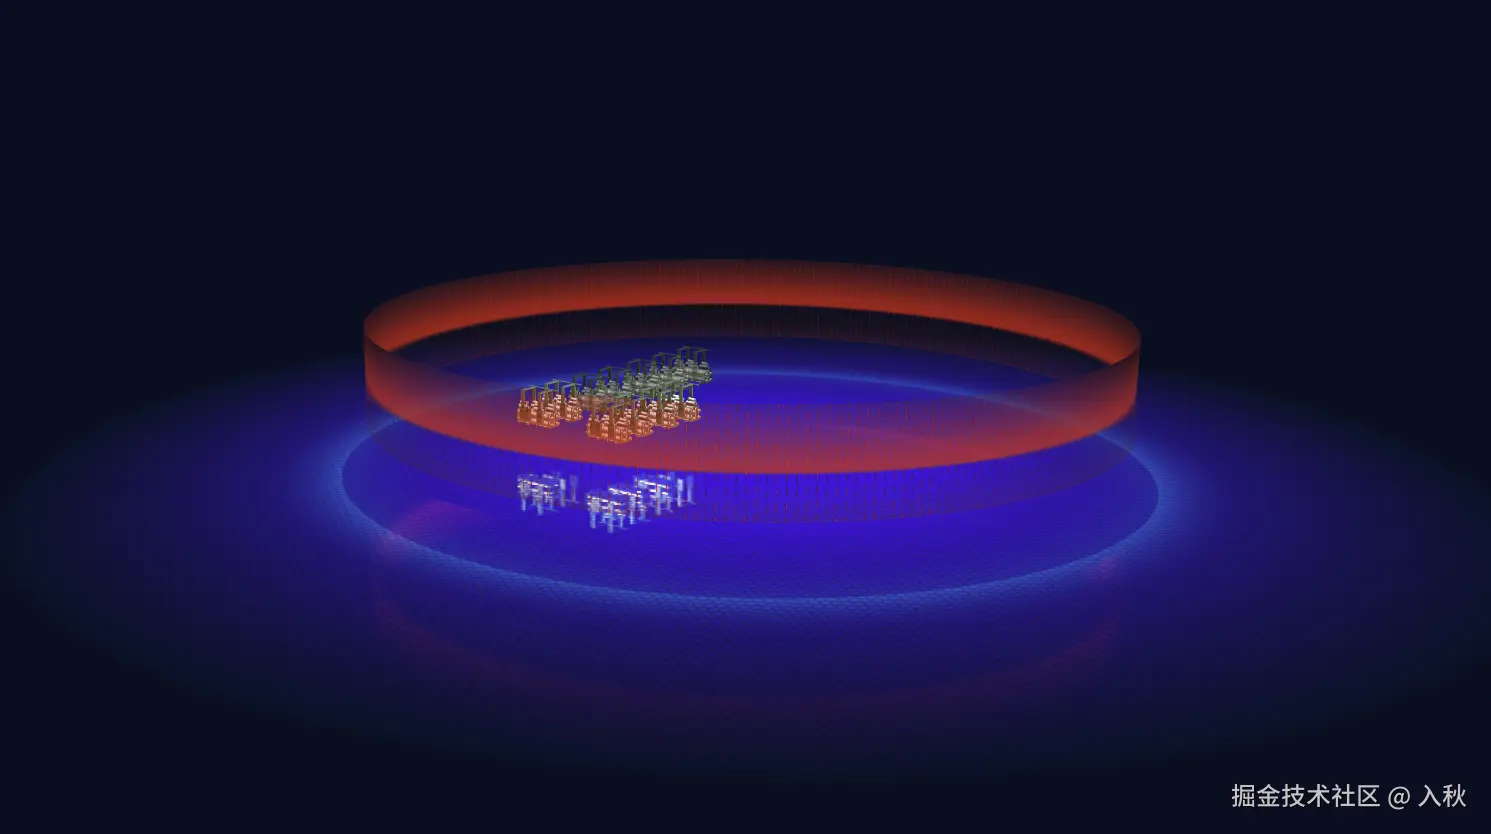
圆形光墙
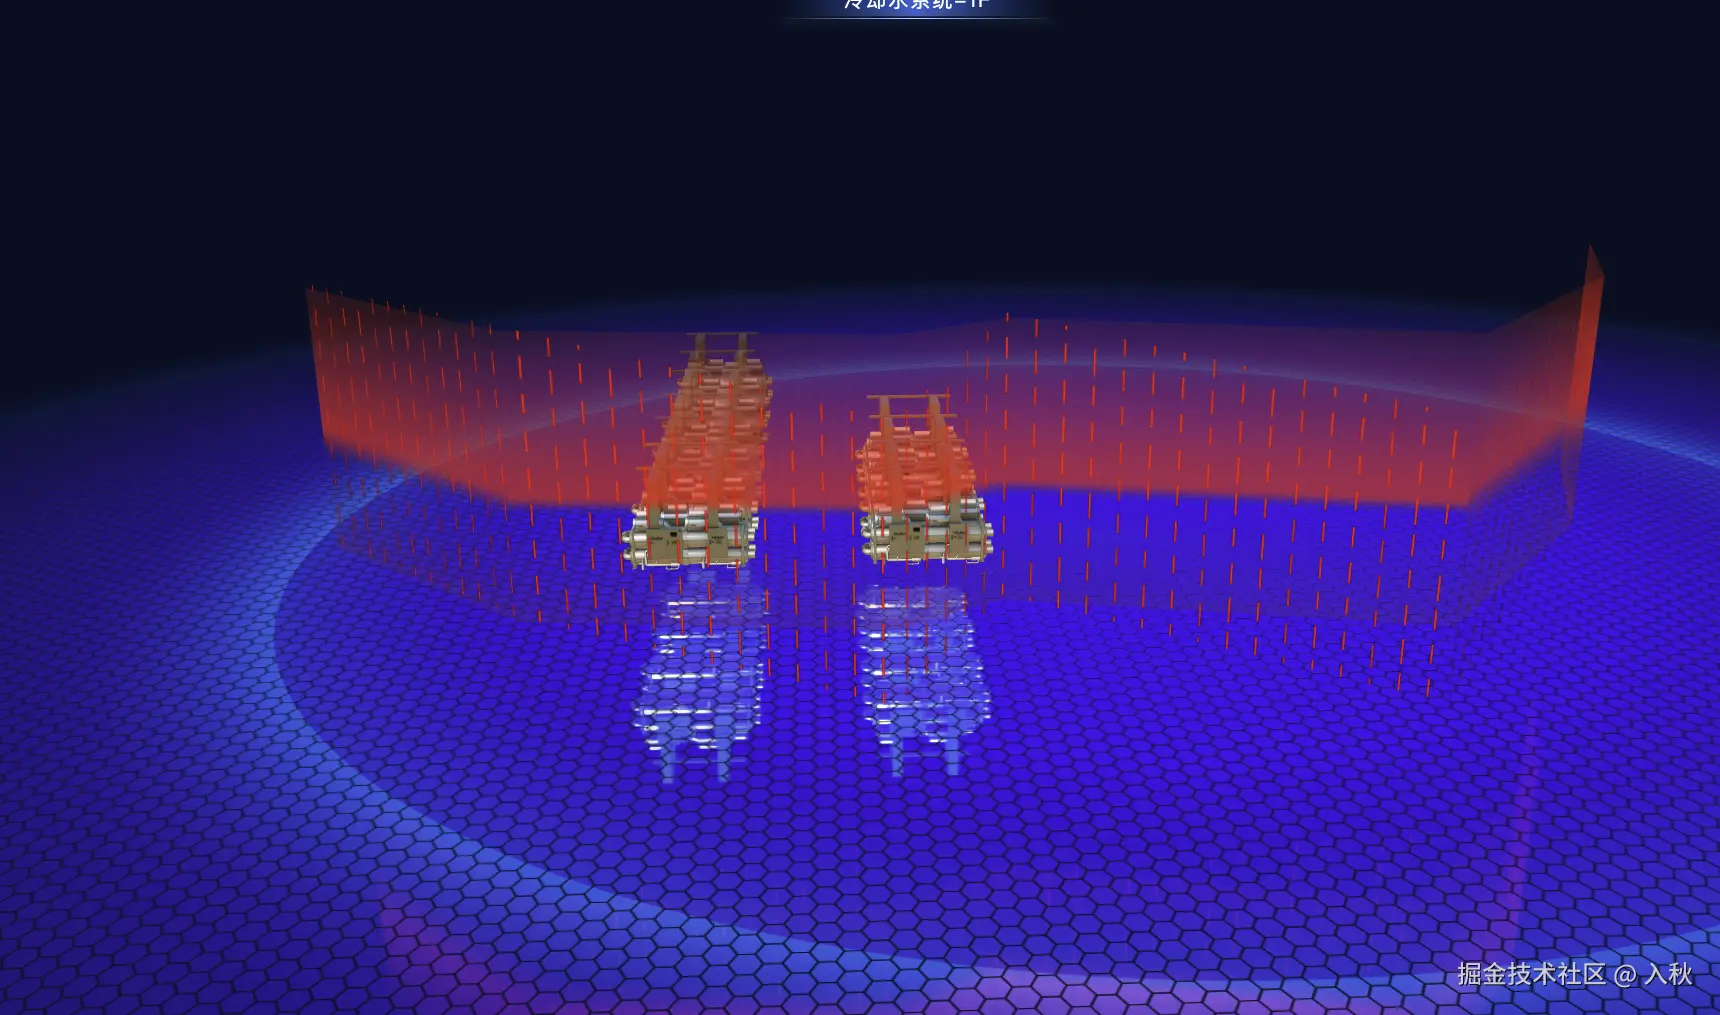
点光墙(自定义)
1. 功能概述
useLightWall 继承自 THREE.Mesh,提供了一种灵活的光墙创建方式。通过不同的参数配置,开发者可以生成三类光墙:
- 圆形光墙(round) :基于圆柱几何体生成,适合用于场景区域环绕。
- 立方光墙(cube) :通过手动拼接顶点与面生成,常用于方形区域包围。
- 点光墙(points) :根据自定义点序列生成,可构造任意多边形边界光墙。
除此之外,还支持:
- 自定义颜色与透明度
- 纹理贴图(map)
- 可选的动画(方向 + 速度)
- 支持闭合与非闭合路径
2. 核心类结构
js
import { Mesh,MeshBasicMaterial,DoubleSide} from 'three';
export class useLightWall extends Mesh {
    constructor(options = {}) {
        const geometry = useLightWall.createGeometryFromPath(options);

        super(geometry);
        this.material = new MeshBasicMaterial({// 基础网格材质 可以使用任意其它材质
            color: options.color ?? 0x4286f4,
            map: options.map,
            side: DoubleSide,
            transparent: true,
            opacity: options.opacity ?? 0.5

        });

        this.renderOrder = 1;
        // 是否支持动画
        const animation = options.animation ?? true;
        // 动画方向 默认 从下到上
        const direction = options.direction || 'y';
        // 运动速度
        const speed = options.speed ?? 0.2;
        const start = Date.now();
        this.onBeforeRender = () => {
            if (animation && this.material.map) {
                const offset = ((Date.now() - start) / 1000) * speed;
                this.material.map.offset[direction] = -offset;
            }

        };

    }
}
3. 几何体生成方法
js
static createGeometryFromPath(options) {
    const type = options.type ?? 'round';
    if(type === 'round'){// 圆
       return geometry["round"]({radius: options.radius ?? 10, height: options.height ?? 10})
    }
    if(type === 'cube'){ // 立方体
        return geometry["cube"]({width: options.width ?? 5, length: options.length ?? 10, height: options.height ?? 5})
   }
   if(type === 'points'){ //自定义
       return geometry["points"]({points: options.points || [] ,height: options.height ?? 0.1,isClosed: options.isClosed ?? true})
   }

}
4. 圆形光墙生成方法
js
import { CylinderGeometry} from 'three';
const geometry = {
     // 使用圆柱缓冲几何体
    "round": (options)=> new CylinderGeometry(options.radius, options.radius, options.height, 1000, 1, true),
}
圆形使用示例
js
import { TextureLoader, SRGBColorSpace, RepeatWrapping } from 'three';
import imgLine from '@/assets/images/wall/vertical-line.png'
 // 加载图片 map
const textureLoader =  (url)=>{
      const textureLoader = new TextureLoader()
      const texture = textureLoader.load(url)
      texture.colorSpace = SRGBColorSpace;
      texture.wrapS  = RepeatWrapping;
      texture.wrapT  = RepeatWrapping;
      return texture
}
const wallImg =  utils.textureLoader(imgLine)
wallImg.repeat.set(10,2)
const wall = new useLightWall({
    map: wallImg,
    color: 0xf12711,//颜色
    opacity: 1.0, // 透明度
    radius: 20, // 半径
    height: 40, // 高度
    type: 'round', // 类型
    speed: 0.2, // 速度
    animation: true // 是否启用动画 默认true
 })
 // 省略 设置坐标position 以及 rotation 根据自己实际场景进行设置
 this.scene.add(wall)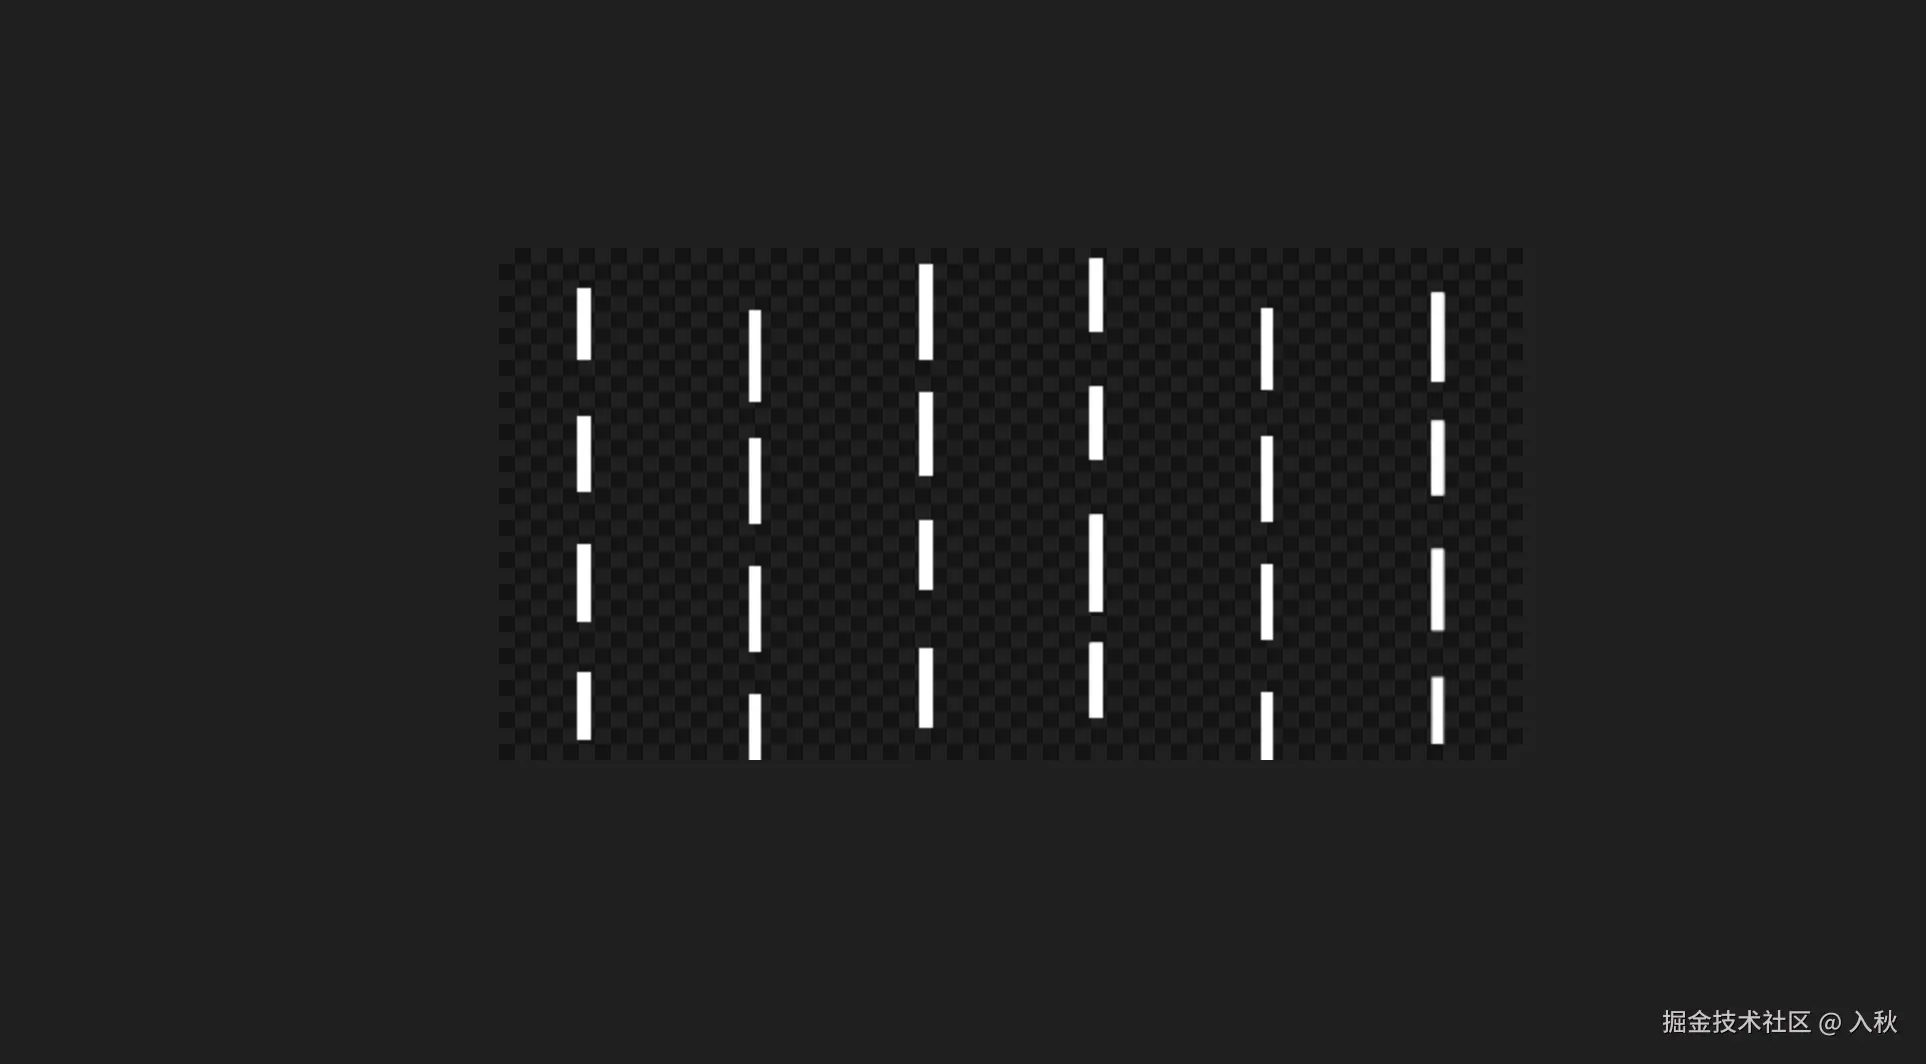
5. 立方体生成方法
js
import { BufferGeometry} from 'three';
const geometry = {
     // 使用BufferGeometry
    "cube": ({width,length,height}) =>{
        const c = [ 0, 0,1, 0,1, -1,0, -1,0, 0]
        const geometry = new BufferGeometry(); //声明一个空几何体对象
        const posArr = [];
        const uvrr = [];
        for (let i = 0; i < c.length - 2; i += 2) {
            posArr.push(c[i] * width, c[i + 1] * length, 0);
            posArr.push(c[i + 2] * width, c[i + 3] * length, 0);
            posArr.push(c[i + 2] * width, c[i + 3] * length, height);

            posArr.push(c[i] * width, c[i + 1] * length, 0);
            posArr.push(c[i + 2] * width, c[i + 3] * length, height);
            posArr.push(c[i] * width, c[i + 1] * length, height);


            // 注意顺序问题,和顶点位置坐标对应
            uvrr.push(0, 0, 1, 0, 1, 1);
            uvrr.push(0, 0, 1, 1, 0, 1);
        }
        geometry.attributes.position = new BufferAttribute(new Float32Array(posArr), 3);
        geometry.attributes.uv = new BufferAttribute(new Float32Array(uvrr), 2);
        geometry.computeVertexNormals()
        return geometry
    },
}
立方体使用示例
js
import { TextureLoader, SRGBColorSpace, RepeatWrapping } from 'three';
import imgLine from '@/assets/images/wall/vertical-line.png'
const textureLoader =  (url)=>{
      const textureLoader = new TextureLoader()
      const texture = textureLoader.load(url)
      texture.colorSpace = SRGBColorSpace;
      texture.wrapS  = RepeatWrapping;
      texture.wrapT  = RepeatWrapping;
      return texture
}
const wallImg =  utils.textureLoader(imgLine)
wallImg.repeat.set(10,2)
const wall = new useLightWall({
    map: wallImg,
    color: 0xf12711,
    opacity: 1.0,
    height: 40,  // 可选 光墙高度
    width: 100, // 可选 立方体光墙宽度
    length: 50, // 可选 立方体光墙长度
    type: 'cube', //类型
    speed: -0.2 // 速度
})
// 省略 设置坐标position 以及 rotation 根据自己实际场景进行设置
 this.scene.add(wall)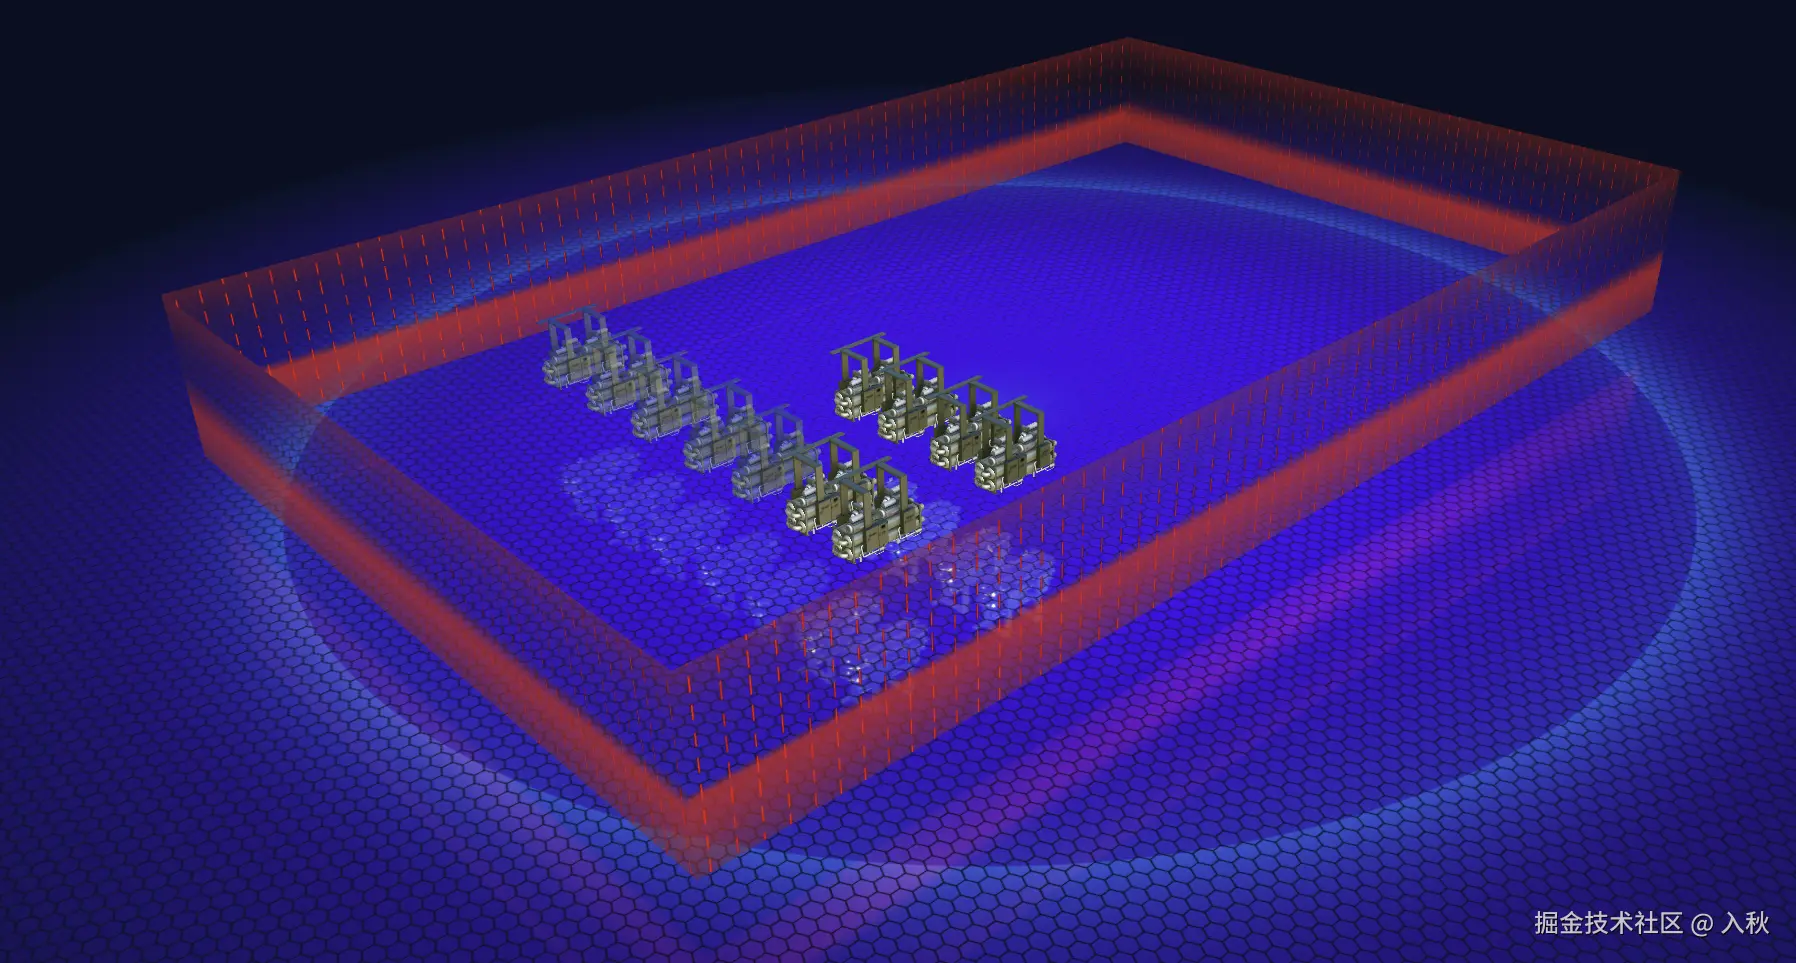
6. 点光墙生成方法
js
 'points': ({points,height,isClosed}) =>{
        const pointList = points.map(item => new Vector3(item.x, item.y, item.z));

        const positions = [];
        const uvs = [];
        const indices = [];

        let totalLength = 0;
        const loopCount = isClosed ? pointList.length : pointList.length - 1;
        for (let i = 0; i < loopCount; i++) {
            const current = pointList[i];
            const next = pointList[(i + 1) % pointList.length]; // 如果不闭合,最后一段不会取回起点
            if (!isClosed && i === loopCount - 1) break; // 不闭合时最后一次不计算
            totalLength += current.distanceTo(next);
        }

        let currentLength = 0;

        for (let i = 0; i < loopCount; i++) {
            const current = pointList[i];
            const next = isClosed ? pointList[(i + 1) % pointList.length] : pointList[i + 1];

            if (!next) break; // 不闭合时防止越界

            const segmentLength = current.distanceTo(next);
            //下边
            positions.push(
                current.x, current.y, current.z,
                next.x, next.y, next.z
            );
            // 上边
            positions.push(
                next.x, next.y + height, next.z,
                current.x, current.y + height, current.z
            );
            // uv
            const segmentUStart = currentLength / totalLength;
            const segmentUEnd = (currentLength + segmentLength) / totalLength;
            uvs.push(
                segmentUStart * 2, 0,
                segmentUEnd * 2, 0,
                segmentUEnd * 2, 1,
                segmentUStart * 2, 1
            );

            const vertexOffset = i * 4;
            indices.push(
                vertexOffset, vertexOffset + 1, vertexOffset + 2,
                vertexOffset, vertexOffset + 2, vertexOffset + 3
            );
            currentLength += segmentLength;
        }

        const geometry = new BufferGeometry();
        geometry.setAttribute('position', new Float32BufferAttribute(positions, 3));
        geometry.setAttribute('uv', new Float32BufferAttribute(uvs, 2));
        geometry.setIndex(indices);
        geometry.computeVertexNormals();
        return geometry;
  }
使用示例
js
import { TextureLoader, SRGBColorSpace, RepeatWrapping } from 'three';
import imgLine from '@/assets/images/wall/vertical-line.png'
const textureLoader = (url)=>{
const textureLoader = new TextureLoader()
const texture = textureLoader.load(url)
texture.colorSpace = SRGBColorSpace;
texture.wrapS = RepeatWrapping;
texture.wrapT = RepeatWrapping;
return texture
}
const wallImg = utils.textureLoader(imgLine)
wallImg.repeat.set(10,2)
const wall = new useLightWall({
map: wallImg,
color: 0xf12711,
opacity: 1.0,
height: 40, // 可选 光墙高度
type: 'points', //类型
points: [], 这里面是点位集合
speed: -0.2 // 速度
})
// 省略 设置坐标position 以及 rotation 根据自己实际场景进行设置
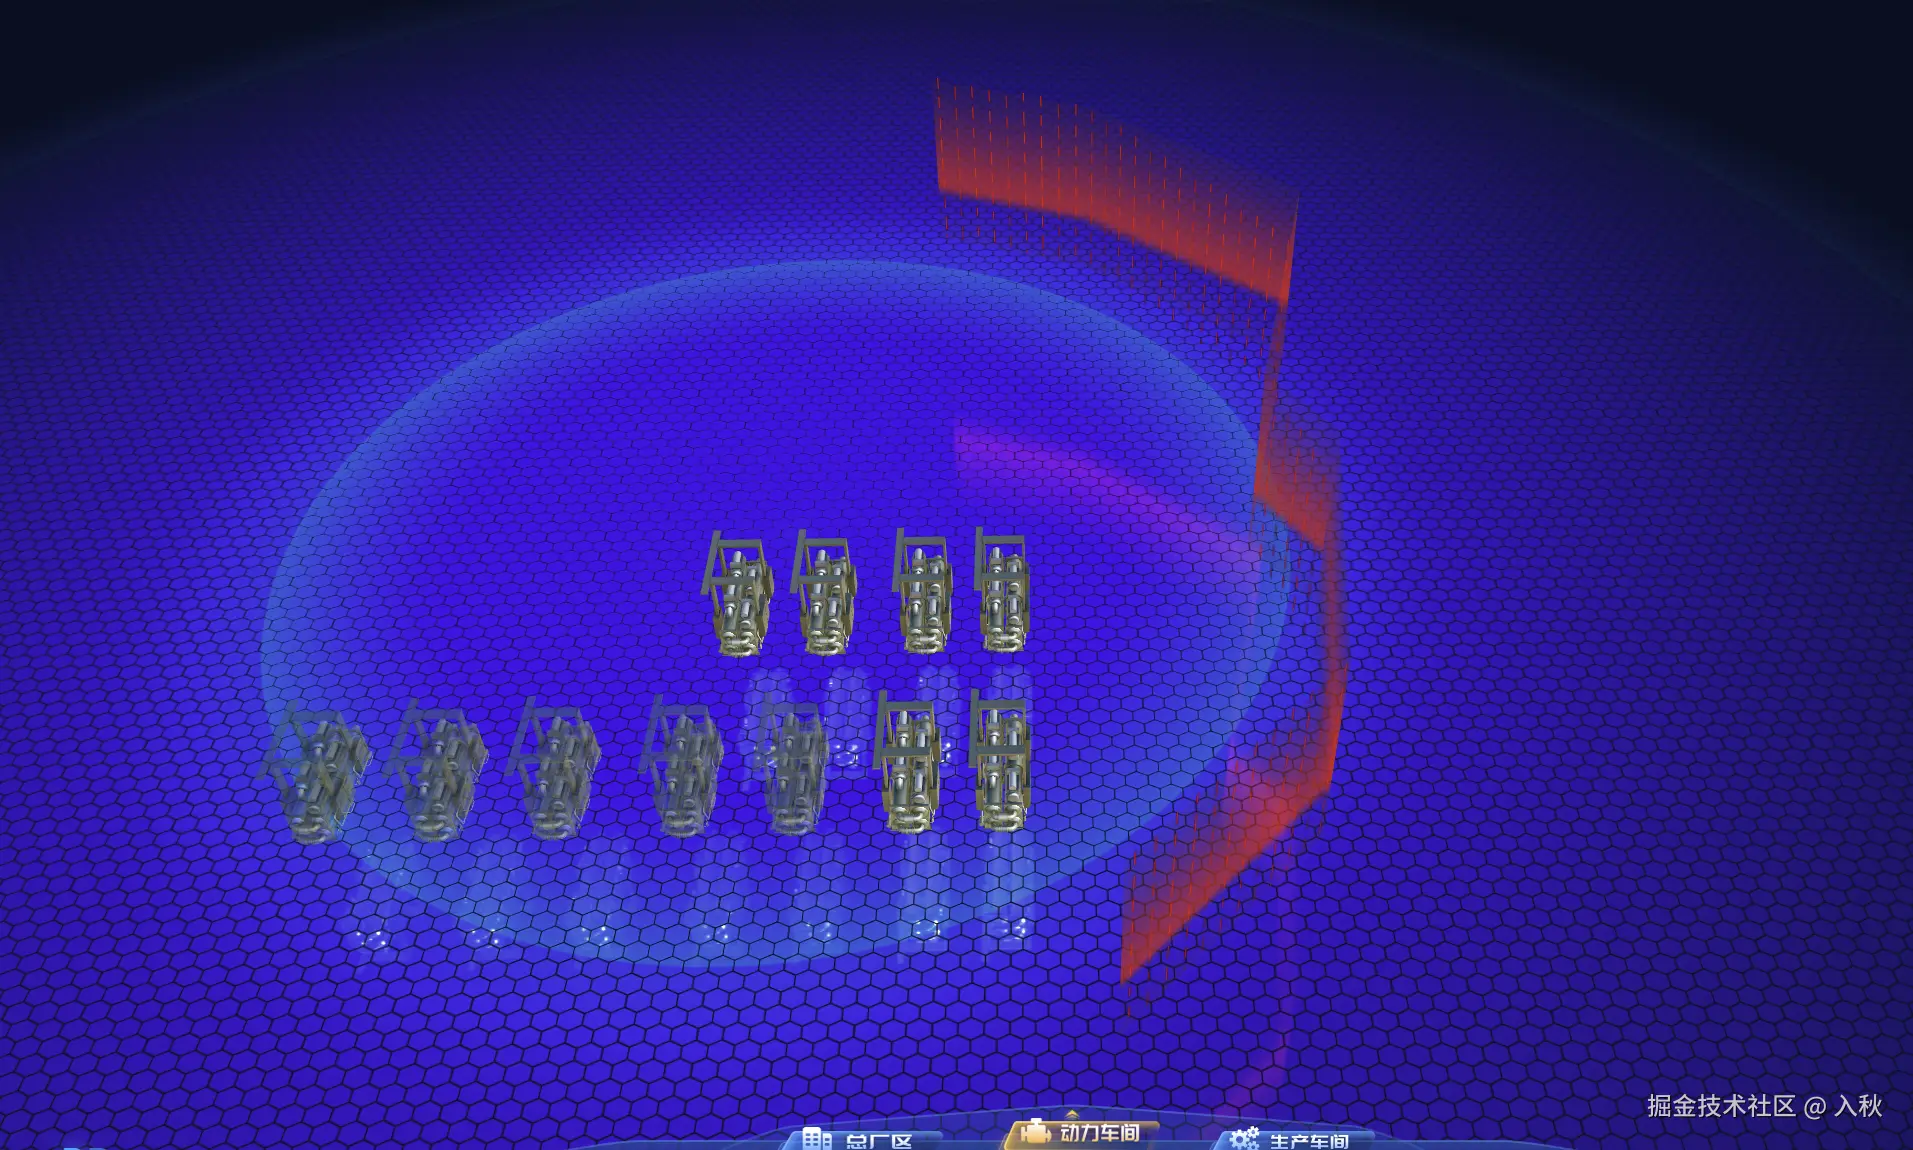
this.scene.add(wall)7. 根据模型生成光墙
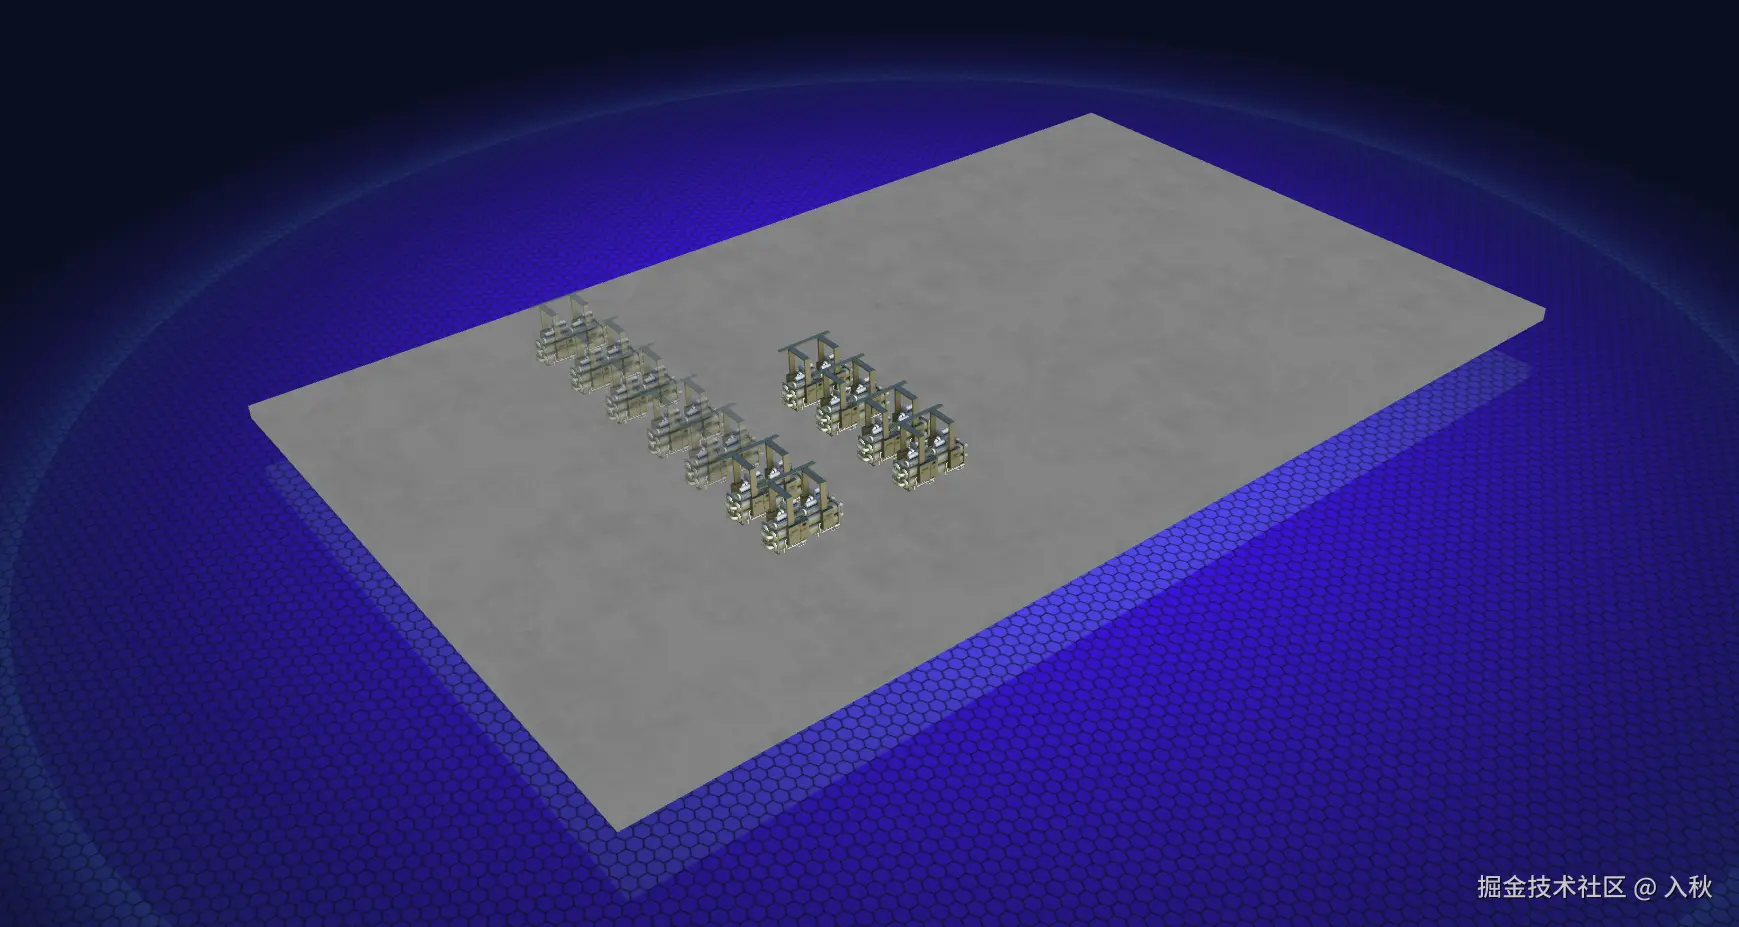
在实际项目场景中 刚开始我们 以当前场景模型为例
js
const getBoxModel (name){
    // 假如 场景中地面模型的物体名称为 对象1186
     const model = scene.getObjectByName('对象1186')
     // 计算模型包围盒
     const boundingBox = new THREE.Box3().setFromObject(model);
     const boundingSphere = new THREE.Sphere()
     boundingBox.getBoundingSphere(boundingSphere)
        // 计算模型的长 宽 高
     const [leng,width,height] = [boundingBox.max.x - boundingBox.min.x,boundingBox.max.z - boundingBox.min.z,boundingBox.max.y - boundingBox.min.y]
     const diagonal = Math.sqrt(Math.sqrt(leng ** 2 + width ** 2) ** 2 + height ** 2); // 获取最长边的长度,
        return {
            width,
            height,
            leng,
            diagonal,
            boundingBox,
            center: boundingSphere.center
        }
 }
 const {center,length,width,height} = getBoxModel("对象1186")
 const wallHeight = 40;//光墙高度
 const borderWidth = 1; // borderWidth 目的是 左右两边 模型与光墙 之间稍微留点缝隙
 const borderLength = 2;// borderLength 目的是 前后两边 模型与光墙 之间稍微留点缝隙
 const wall = new useLightWall({
       map: wallImg,
       color: 0xf12711,
       opacity: 1.0,
       height: wallHeight,
       width: width + borderWidth,
       length: length + borderLength,
       type: 'cube',
       speed: -0.2
})
// 设置光墙的位置
wall.position.set(center.x - length / 2 - borderLength / 2, center.y  + wallHeight -  height / 2,center.z - width / 2 - borderWidth / 2)
可以根据不同的map 同时组合多种效果叠加
总结
useLightWall 类封装了光墙效果的核心逻辑,具备以下优点:
- 高度灵活:支持三种几何体类型,满足大多数场景需求。
- 易于扩展 :通过修改
geometry函数,可轻松支持更多形状。 - 性能可控 :使用
MeshBasicMaterial避免光照计算,适合大规模使用。