nginx反向代理和负载均衡
一、nginx负载均衡案例
| 主机 | Ip | 安装 | 系统 |
|---|---|---|---|
| Nginx | 192.168.100.10 | Nginx | Centos7 |
| rs1 | 192.168.100.20 | Httpd | Centos7 |
| rs2 | 192.168.100.30 | Httpd | Centos7 |
1、三台主机都关闭防火墙和selinux,还需要配置好yum仓库
2、nginx主机----部署了nginx服务
3、rs1、rs2主机上,安装httpd,然后添加一个测试网页
以rs1为例:
powershell
[root@stw2 ~]# cd /etc/yum.repos.d/
[root@stw2 yum.repos.d]# ls
CentOS-Base.repo  CentOS-Debuginfo.repo  CentOS-Media.repo    CentOS-Vault.repo
CentOS-CR.repo    CentOS-fasttrack.repo  CentOS-Sources.repo
[root@stw2 yum.repos.d]# rm -rf *
[root@stw2 yum.repos.d]# vim server.repo
[root@stw2 yum.repos.d]# cat server.repo
[aa]
name=aa1
baseurl=file:///mnt
enabled=1
gpgcheck=0

[root@stw2 yum.repos.d]# mount /dev/cdrom /mnt
mount: /dev/sr0 is write-protected, mounting read-only
[root@stw2 yum.repos.d]# yum -y install httpd
[root@stw2 yum.repos.d]# echo "this is rs1" > /var/www/html/index.html
[root@stw2 yum.repos.d]# systemctl restart httpd
[root@stw2 yum.repos.d]# systemctl enable httpd
Created symlink from /etc/systemd/system/multi-user.target.wants/httpd.service to /usr/lib/systemd/system/httpd.service.
4、在nginx主机上,修改配置文件,设置负载均衡
powershell
[root@stw ~]# nginx   //这里服务没起,先起服务,通过ss -anlt查看是否有80端口
[root@stw ~]# vim /usr/local/nginx/conf/nginx.conf
[root@stw ~]# nginx -t
nginx: the configuration file /usr/local/nginx/conf/nginx.conf syntax is ok
nginx: configuration file /usr/local/nginx/conf/nginx.conf test is successful
[root@stw ~]# nginx -s reload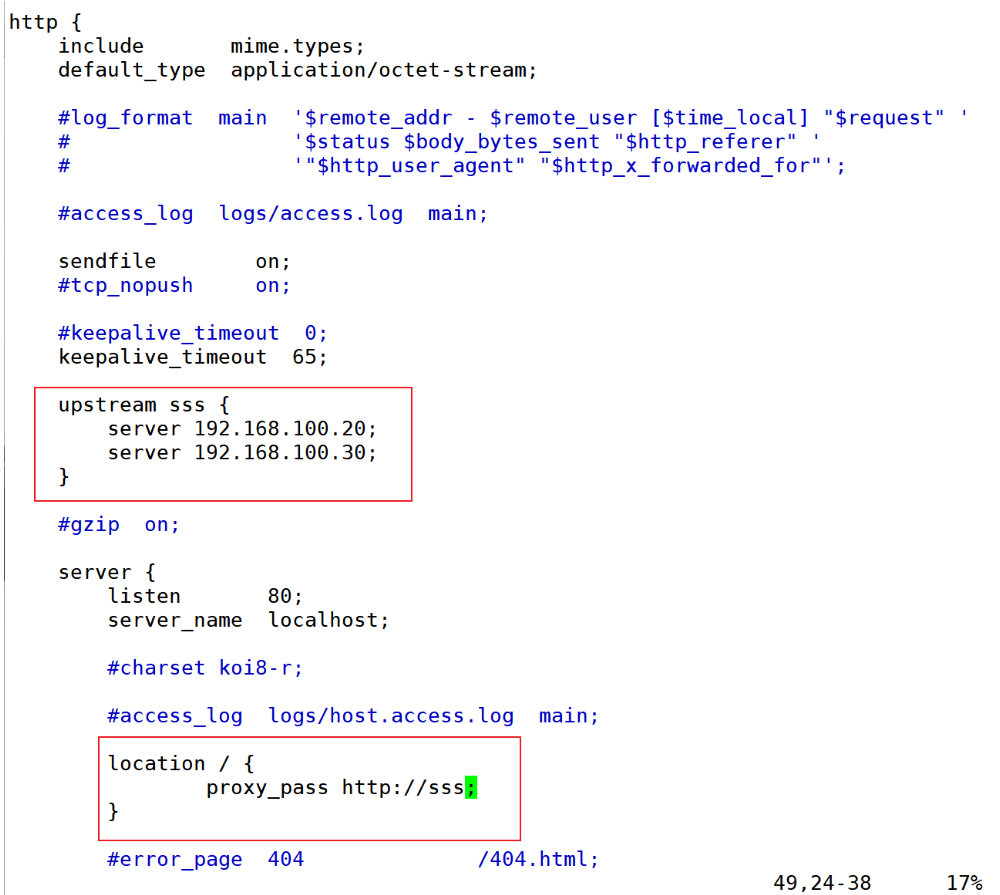
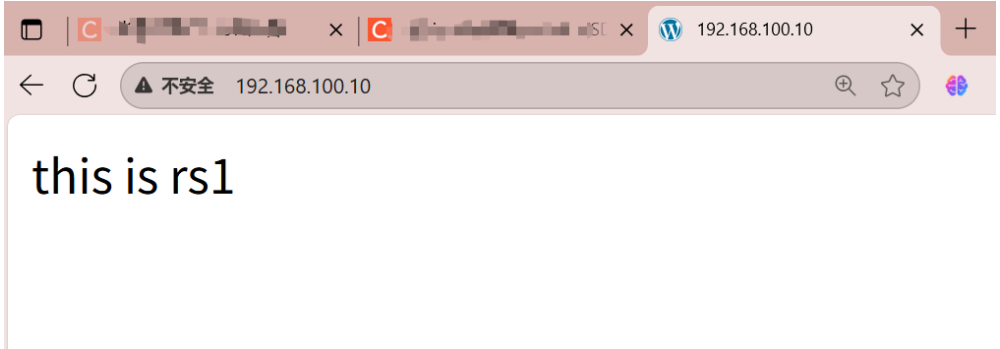
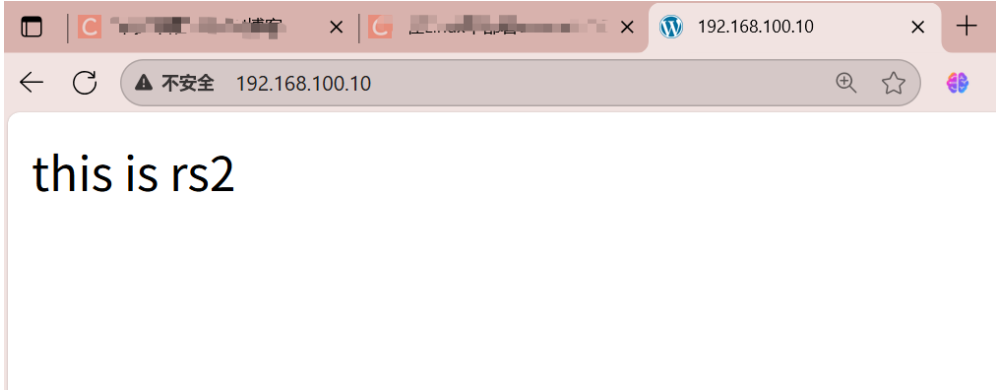
测试访问:
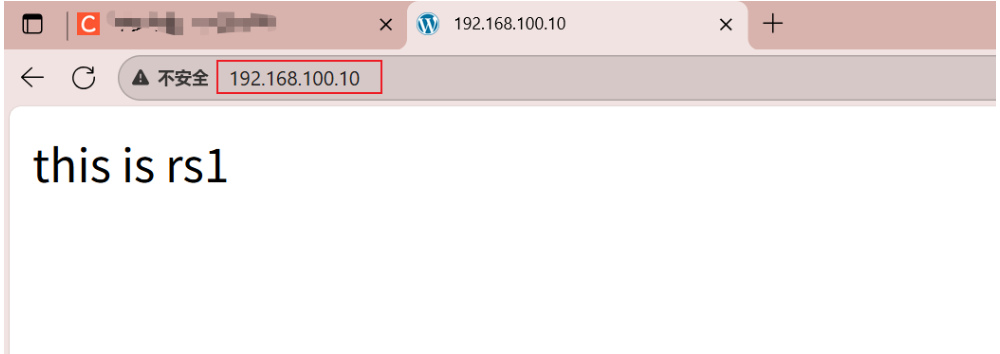
再次访问:
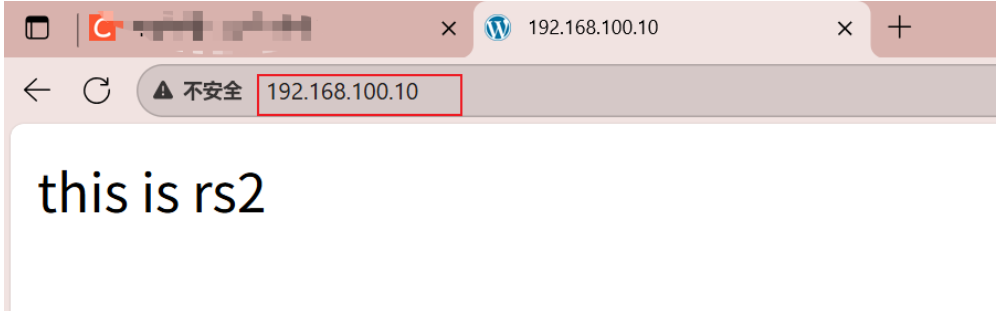
5、设置权重
如果想其中一台后端真实服务器,多承担一些访问量,可以去设置weight权重
powershell
[root@stw ~]# vim /usr/local/nginx/conf/nginx.conf
[root@stw ~]# nginx -s reload

upstream sss {
        server 192.168.100.20 weight=2;
        server 192.168.100.30;
    }
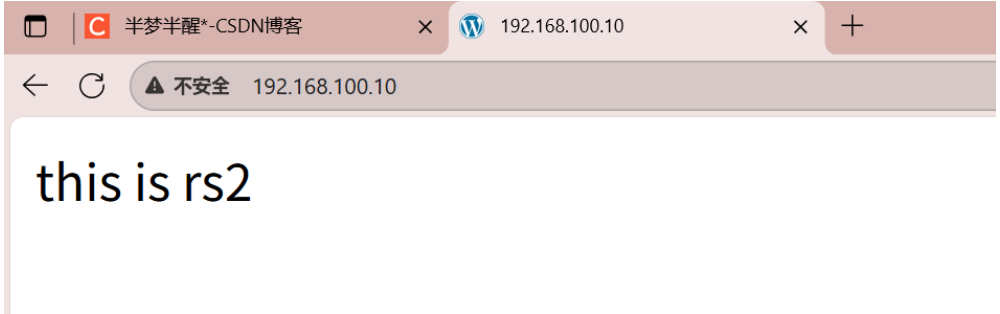
那么重载nginx并测试访问,此时会发现100.20主机(rs1),访问时,访问的2次后,才轮询到rs2中
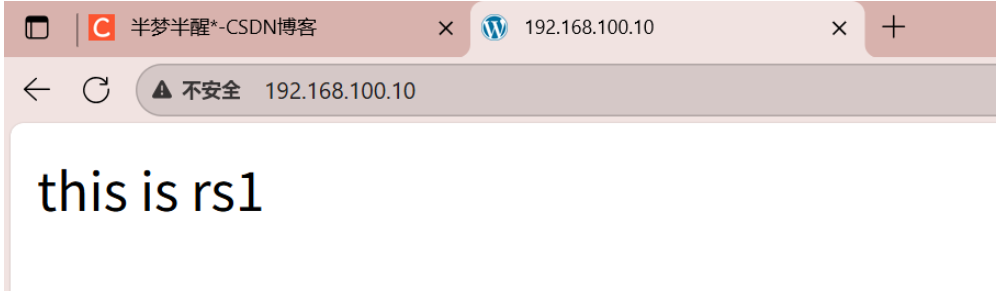
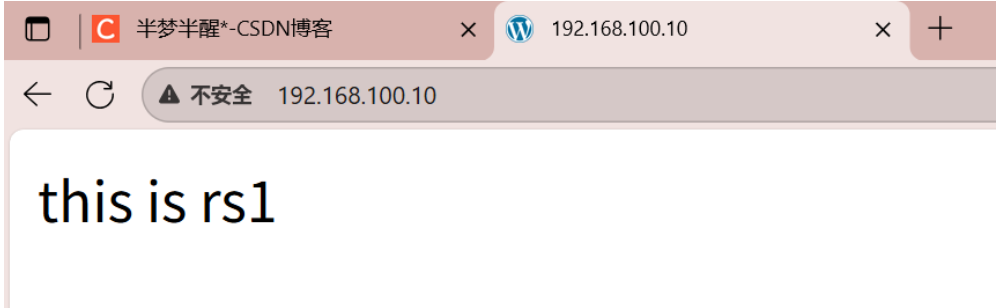
6、设置端口
(1)首先修改rs1的httpd服务,侦听8080端口,并重启httpd服务
powershell
[root@stw2 yum.repos.d]# vim /etc/httpd/conf/httpd.conf
[root@stw2 yum.repos.d]# systemctl restart httpd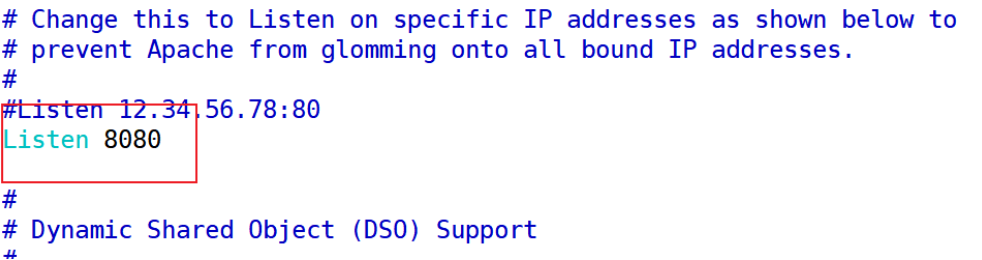
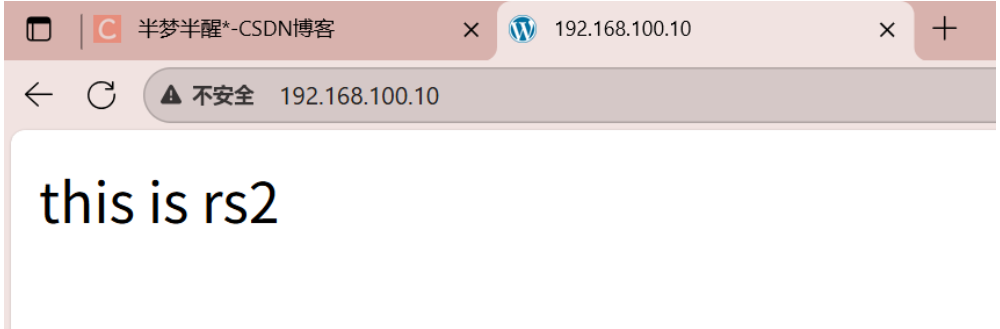
还没有修改nginx配置文件时访问:(只能访问到rs2)
(2)修改nginx中的配置文件
powershell
upstream sss {
        server 192.168.100.20:8080;
        server 192.168.100.30;
    }
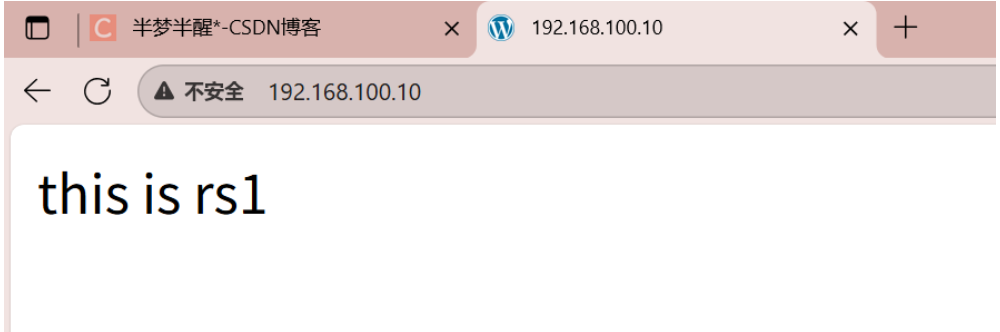
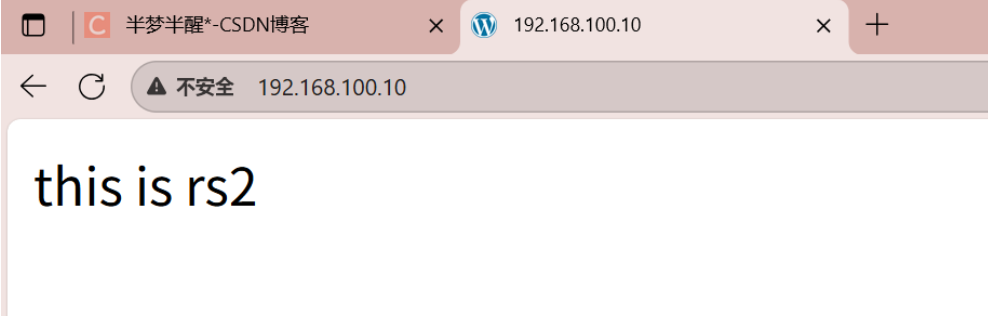
测试访问:
7、ip_hash配置
powershell
[root@stw ~]# vim /usr/local/nginx/conf/nginx.conf
[root@stw ~]# nginx -s reload

upstream sss {
        ip_hash;
        server 192.168.100.20;
        server 192.168.100.30;
    }
测试访问:(绑定了rs2的主机,每次访问都访问这台主机)
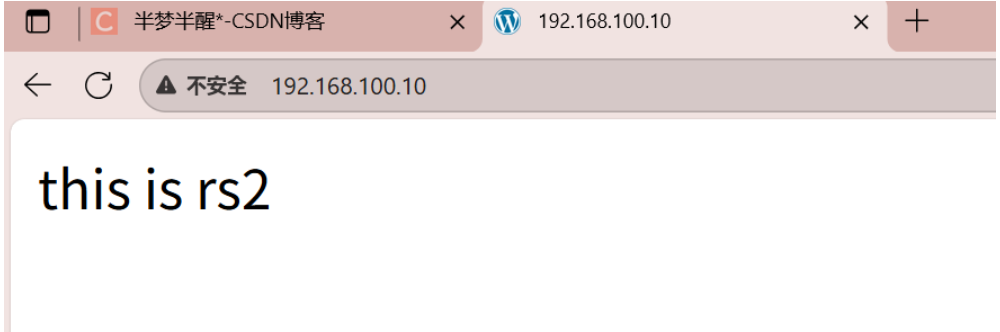
ip_hash这种负载均衡模式根据个人理解就是:例如多个用户通过nginx访问到了后端的httpd集群中,这个时候因为有不同用户,所以ip也不同,ip+hash算法计算的hash值都传到了httpd,nginx就记录了这个ip和hash值,那么下次同一个ip过来还是会分配到这个httpd的。
如果在集群中的某台服务器出现故障,我们想要从nginx的集群配置中移除掉,我们不可以直接的将那一行删掉,比如 server 192.168.100.10:8080 删掉,如果直接删掉会导致nginx的hash算法重新计算,那么用户的会话或者说缓存都会失效掉,所以这里如果不用这台服务器,直接比较为down即可,也就是 server 192.168.100.10:8080 down 这么做就可以了。
二、动静分离 ------nginx+tomcat
还是基于上面的环境添加一台tomcat,Tomcat:192.168.100.40
1、部署tomcat(略)
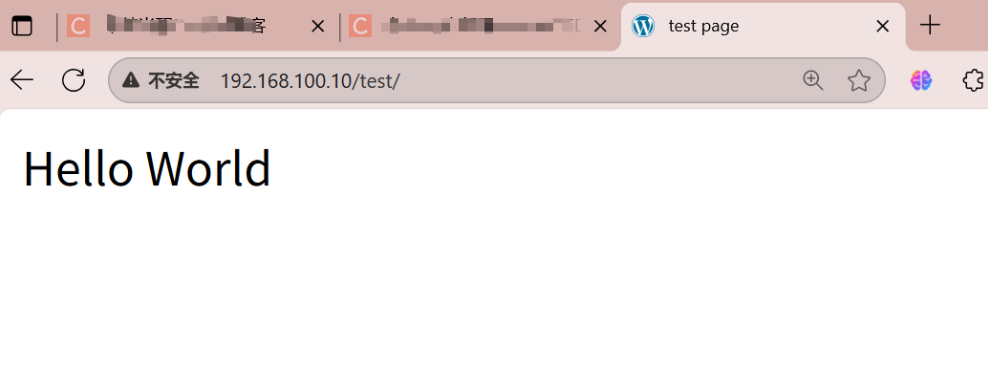
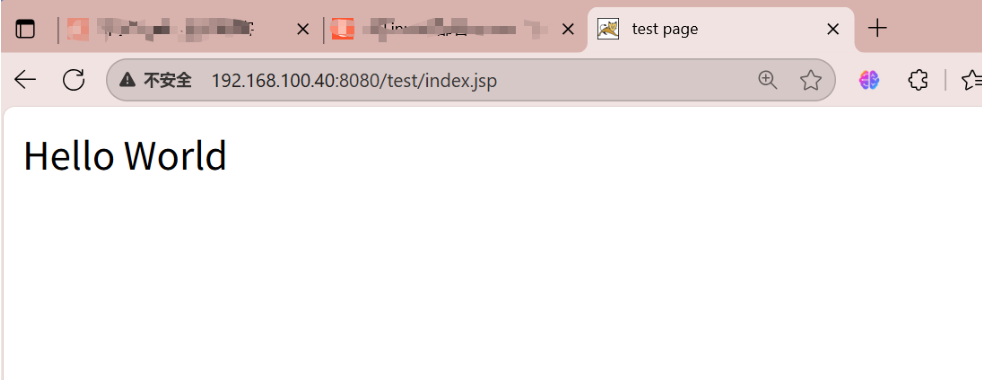
2、测试访问tomcat的测试网页
3、配置nginx,设置动静分离
powershell
[root@stw ~]# vim /usr/local/nginx/conf/nginx.conf
[root@stw ~]# nginx -s reload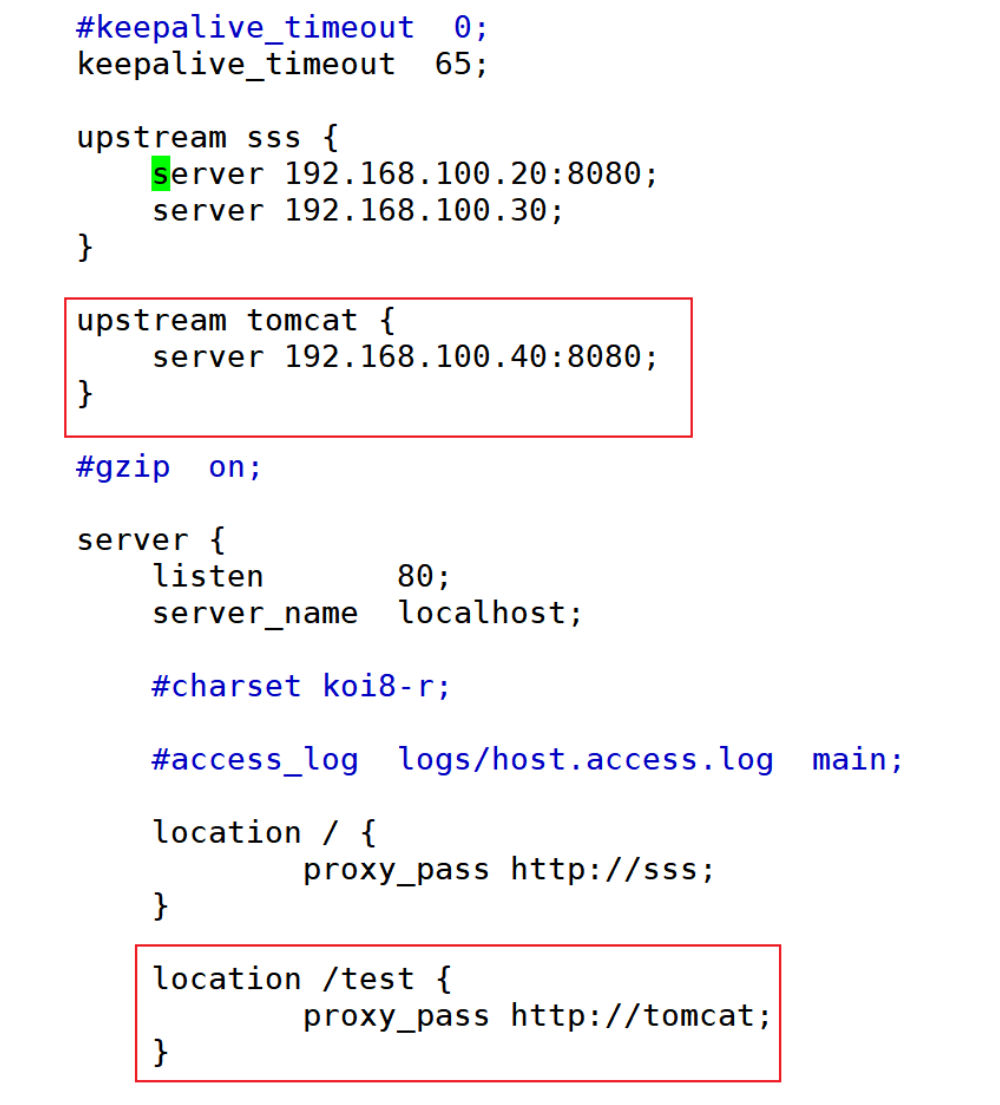
测试访问: