8.ubuntu文件系统移植
一、在X86平台构建ARM仿真环境
1.qemu介绍
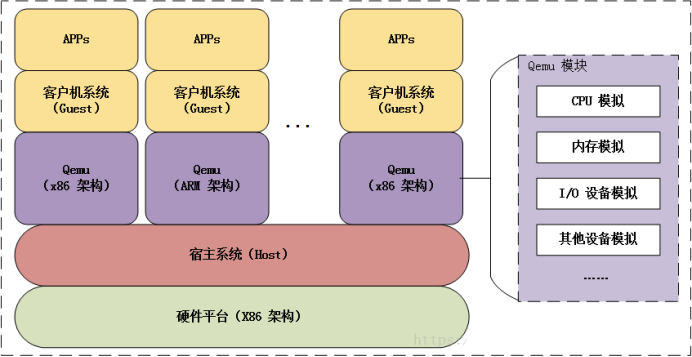
Qemu 是纯软件实现的虚拟化模拟器 ,几乎可以模拟任何硬件设备,我们最熟悉的就是能够模拟一台能
够独立运行操作系统的虚拟机,虚拟机认为自己和硬件打交道,但其实是和 Qemu 模拟出来的硬件打交
道,Qemu 将这些指令转译给真正的硬件。
正因为 Qemu 是纯软件实现的,所有的指令都要经 Qemu 过一手,性能非常低,所以,在生产环境中,
大多数的做法都是配合 KVM(英文Kernel-based Virtual Machine的缩写) 来完成虚拟化工作,因为 KVM
是硬件辅助的虚拟化技术,主要负责比较繁琐的 CPU 和内存虚拟化,而 Qemu 则负责 I/O 虚拟化,两者
合作各自发挥自身的优势,相得益彰。
QEMU是开发者在调试一些不同架构的程序时 经常使用的虚拟机软件。它有两种运行模式,全系统模拟
(System mode)和单程序运行(User mode) 。System mode和开发者平常用的VMWare一样,模拟
整个系统从加载器开始的启动和运行。在设备逆向过程中,如果仅仅是为了运行开发者提取出文件系统中
的某一个程序,那就可以使用QEMU的user mode来简化整个操作流程,同时能够方便的利用 QEMU 自
带的GDB服务来进行调试,免去搭建环境的烦恼。
- 安装qemu arm平台模拟器
嵌入式开发在ARM平台的ubuntu系统 开发软件时,开发者常常会面临这样一个问题,想预先交叉编译并安
装一些应用程序,但是交叉编译的环境配置以及依赖包的安装十分繁琐,并且容易出错。想直接在目标板
上进行编译和安装,但是ARM的资源和处理能力有限,会非常耗费时间。在这里给大家推荐一个ubuntu
下好用的工具qemu-arm-static,这是QEMU用户模式下的ARM仿真器 。 qemu-arm-static 本质是把
ARM机器指令转换到本地主机CPU的机器指令然后执行.
通过qemu-arm-static,我们在x86的ubuntu PC机上,可以模拟ARM处理器,就像运行在ARM上一样进
行各种操作。这样既实现了ARM环境,又利用了x86 PC的处理能力

sudo apt install qemu-user-static
3.binfmt介绍
**binfmt(Binary Format)是一个内核模块,它的用处如它的名字,通过二进制文件头来识别它的格式,
从而指定用哪个 解释器**去启动------可以理解为二进制文件的hashbang (用处类似于在Python文件的第一
行写上"#!/usr/bin/env python")。有了它我们就可以像启动原生ELF一样启动一个ARM或其他任何QEMU
支持的程序了。
当我们启动为ARM或其他架构编译的应用程序时,系统会调用binfmts识别它的类型并调用之前注册的
interpreter(如/usr/bin/qemu-arm-static)来"翻译"启动 。
显示当前环境下执行文件系统架构支持情况


linux@ubuntu:~$ update-binfmts --display
qemu-microblaze (enabled):
package = qemu-user-static
type = magic
offset = 0
magic = \x7f\x45\x4c\x46\x01\x02\x01\x00\x00\x00\x00\x00\x00\x00\x00\x00\x00\x02\xba\xab
mask = \xff\xff\xff\xff\xff\xff\xff\x00\xff\xff\xff\xff\xff\xff\xff\xff\xff\xfe\xff\xff
interpreter = /usr/bin/qemu-microblaze-static
detector =
qemu-aarch64 (enabled):
package = qemu-user-static
type = magic
offset = 0
magic = \x7f\x45\x4c\x46\x02\x01\x01\x00\x00\x00\x00\x00\x00\x00\x00\x00\x02\x00\xb7\x00
mask = \xff\xff\xff\xff\xff\xff\xff\x00\xff\xff\xff\xff\xff\xff\xff\xff\xfe\xff\xff\xff
interpreter = /usr/bin/qemu-aarch64-static
detector =
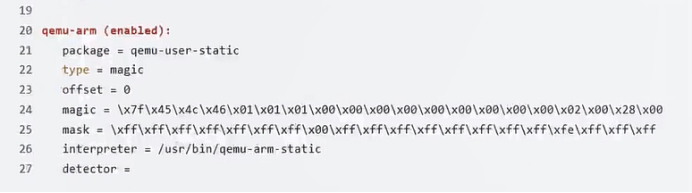
qemu-arm (enabled):
package = qemu-user-static
type = magic
offset = 0
magic = \x7f\x45\x4c\x46\x01\x01\x01\x00\x00\x00\x00\x00\x00\x00\x00\x00\x02\x00\x28\x00
mask = \xff\xff\xff\xff\xff\xff\xff\x00\xff\xff\xff\xff\xff\xff\xff\xff\xfe\xff\xff\xff
interpreter = /usr/bin/qemu-arm-static
detector =
如果显示** qemu-arm(disabled) **则启用它
sudo update-binfmts --enable qemu-arm
4.测试
编写一个 hello.c 文件, 打印 Hello World
#include <stdio.h>
int main(int argc, char const *argv\[\])
{
printf("Hello World\n");
return 0;
}
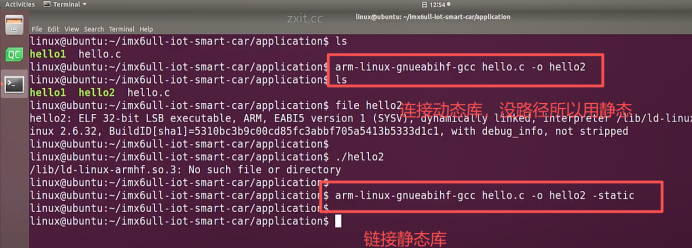
编译运行:
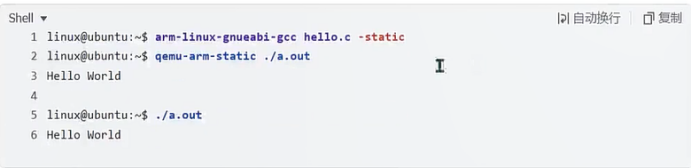
linux@ubuntu:~$ arm-linux-gnueabihf-gcc hello.c -static
linux@ubuntu:~$ qemu-arm-static ./a.out
Hello World
linux@ubuntu:~$ ./a.out
Hello World
二、ubuntuARM平台文件系统制作
1.获取ARM平台Ubuntu文件系统
ARM平台的ubuntu根文件系统的移植很简单,ubuntu官方已经帮我们做好了,我们直接下载下来就可以
用了。
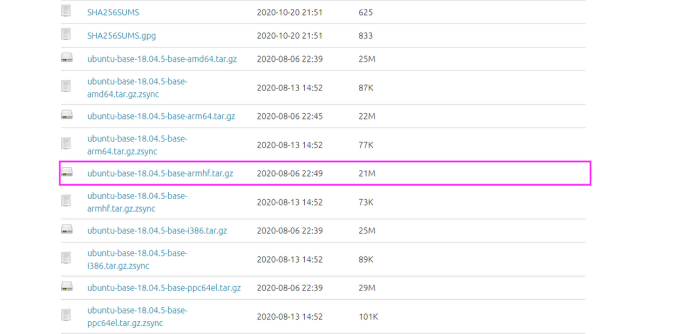
官网下载地址:http://cdimage.ubuntu.com/ubuntu-base/releases/18.04.5/release/
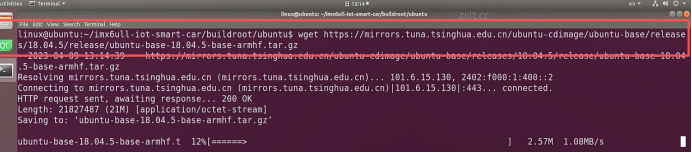
国 内 下 载 地 址 :https://mirrors.tuna.tsinghua.edu.cn/ubuntu-cdimage/ubuntu-base/releases/18.04.5/release/
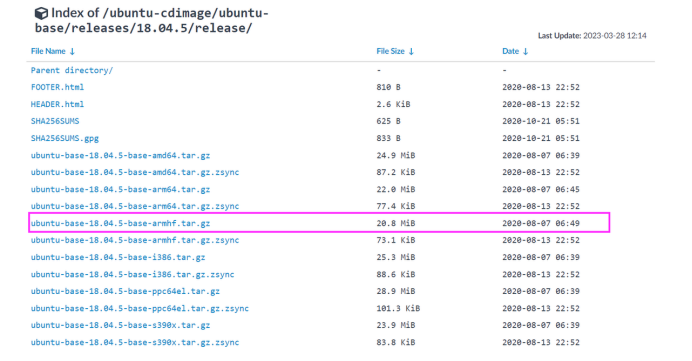
下载
2.定制ubuntu文件系统
(1)解压ubuntu文件系统,添加qemu仿真环境


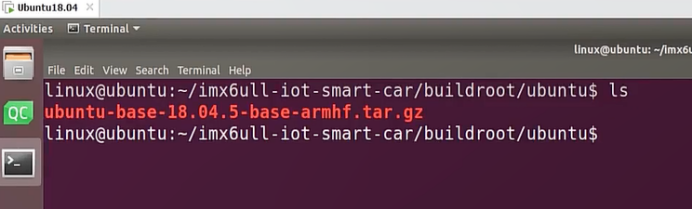
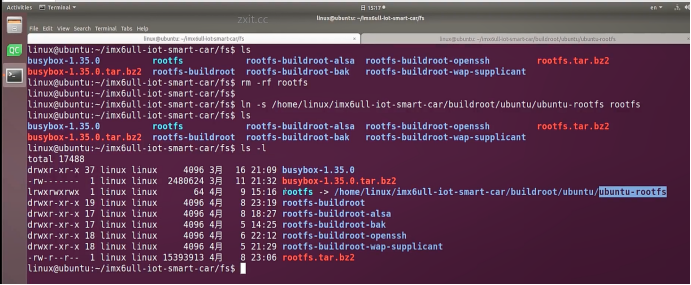
得到

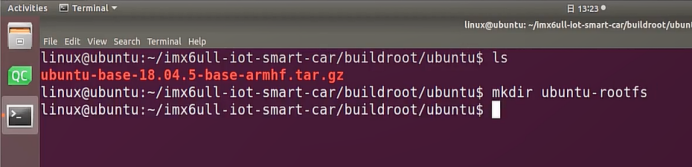
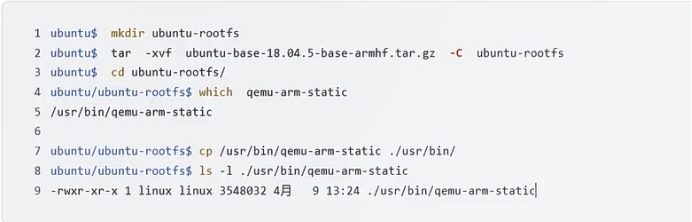
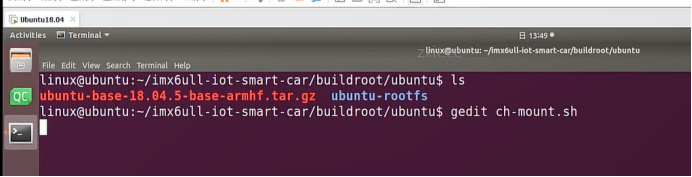
ubuntu$ mkdir ubuntu-rootfs
ubuntu$ tar -xvf ubuntu-base-18.04.5-base-armhf.tar.gz -C ubuntu-rootfs
ubuntu$ cd ubuntu-rootfs/
查找仿真环节

拷贝

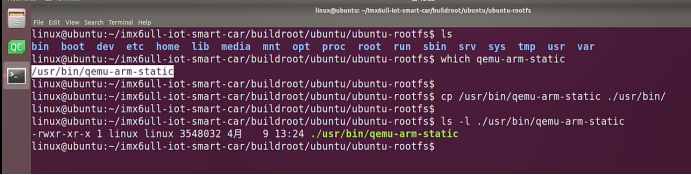
ubuntu/ubuntu-rootfs$ which qemu-arm-static
/usr/bin/qemu-arm-static
ubuntu/ubuntu-rootfs$ cp /usr/bin/qemu-arm-static ./usr/bin/
ubuntu/ubuntu-rootfs$ ls -l ./usr/bin/qemu-arm-static
-rwxr-xr-x 1 linux linux 3548032 4月 9 13:24 ./usr/bin/qemu-arm-static
(2)chroot命令使用
介绍
chroot,即 change root directory (更改 root 目录)。在 linux 系统中,系统默认的目录结构都是以 /,即以
根 (root) 开始的。而在使用 chroot 之后,系统的目录结构将以指定的位置作为 / 位置。
在chroot下,当我们启动为ARM或其他架构编译的应用程序时,系统会调用binfmts识别它的类型并调用
之前注册的interpreter(如 **/usr/bin/qemu-arm-static****)来"翻译"启动。因此如果chroot后这个路径下
找不到QEMU,启动任何程序都会报错No such file or directory 。**这个报错会有很多歧义,因此一定
要自己确认一下QEMU确实在rootfs的"/usr/bin"目录中。
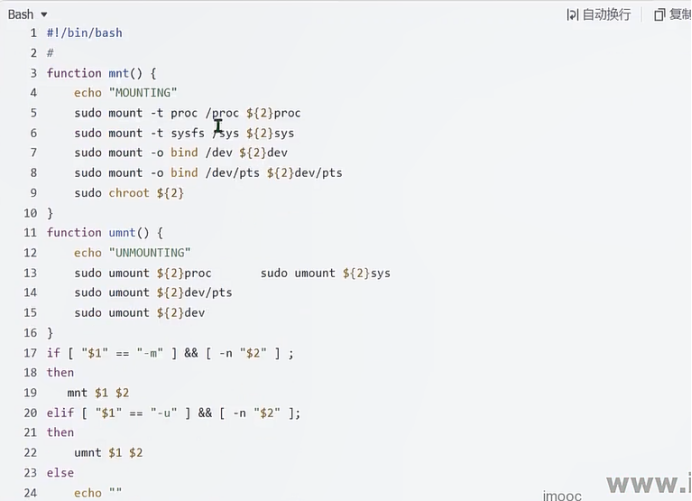
进入ubuntu根文件系统
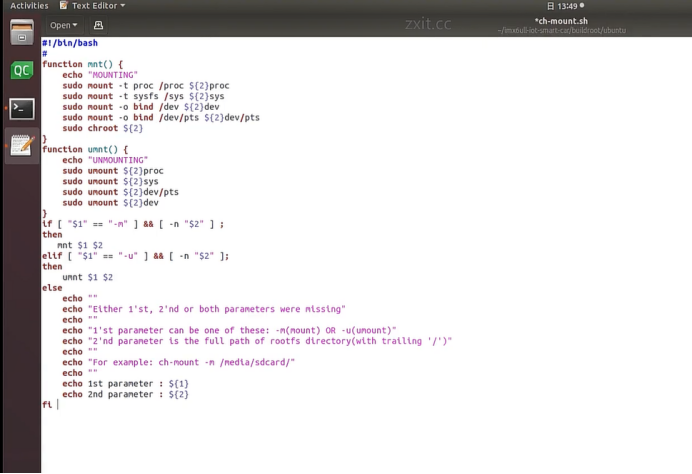
#!/bin/bash
function mnt() {
echo "MOUNTING"
sudo mount -t proc /proc ${2}proc
sudo mount -t sysfs /sys ${2}sys
sudo mount -o bind /dev ${2}dev
sudo mount -o bind /dev/pts ${2}dev/pts
sudo chroot ${2}
}
function umnt() {
echo "UNMOUNTING"
sudo umount ${2}proc
sudo umount ${2}sys
sudo umount ${2}dev/pts
sudo umount ${2}dev
}
if "$1" == "-m" && -n "$2" ;
then
mnt 1 2
elif "$1" == "-u" && -n "$2" ;
then
umnt 1 2
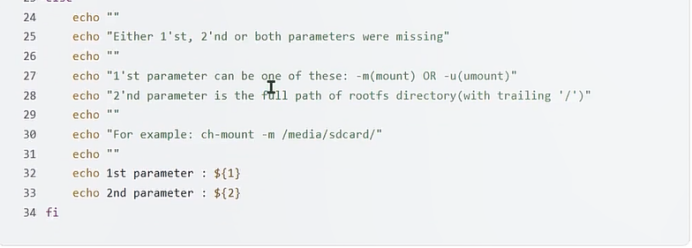
else
echo ""
echo "Either 1'st, 2'nd or both parameters were missing"
echo ""
echo "1'st parameter can be one of these: -m(mount) OR -u(umount)"
echo "2'nd parameter is the full path of rootfs directory(with trailing '/')"
echo ""
echo "For example: ch-mount -m /media/sdcard/"
echo ""
echo 1st parameter : ${1}
echo 2nd parameter : ${2}
fi

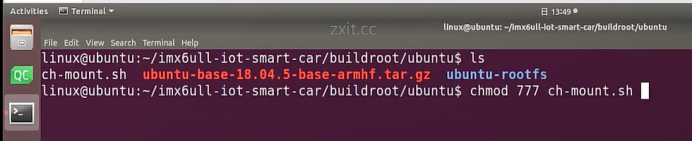
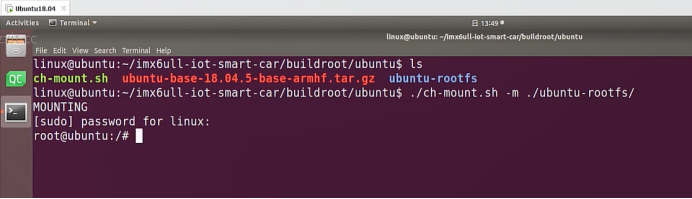

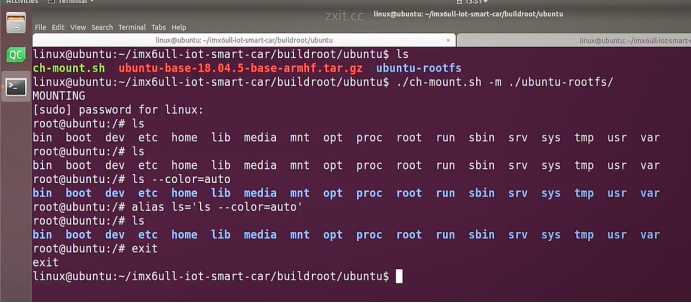
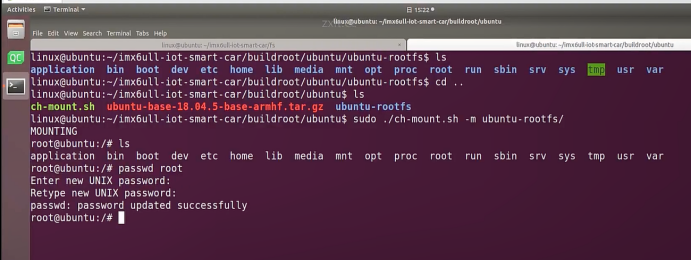
linux@ubuntu:~/ubuntu$ ./ch-mount.sh -m ubuntu-rootfs/
MOUNTING
sudo password for linux:
退出ubuntu根文件系统
退出
卸载
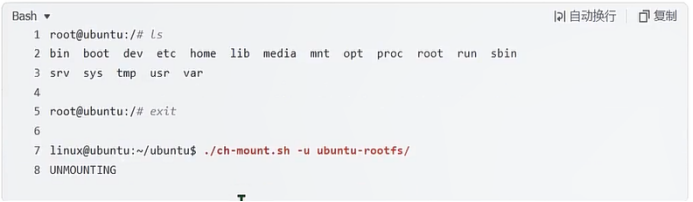
root@ubuntu:/# ls
bin boot dev etc home lib media mnt opt proc root run sbin
srv sys tmp usr var
root@ubuntu:/# exit
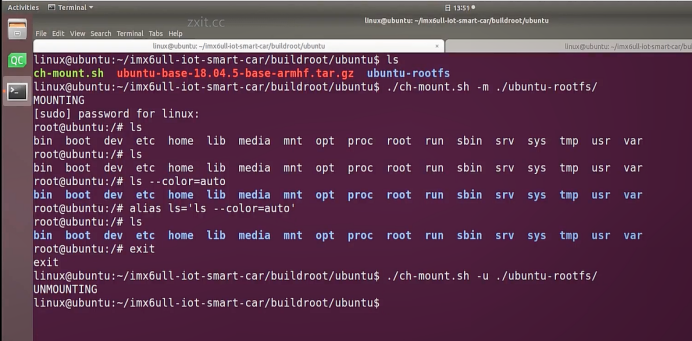
linux@ubuntu:~/ubuntu$ ./ch-mount.sh -u ubuntu-rootfs/
UNMOUNTING
(3)更新软件源
备份后打开
替换,加-g表全局替换
apt update
更新失败是权限不够
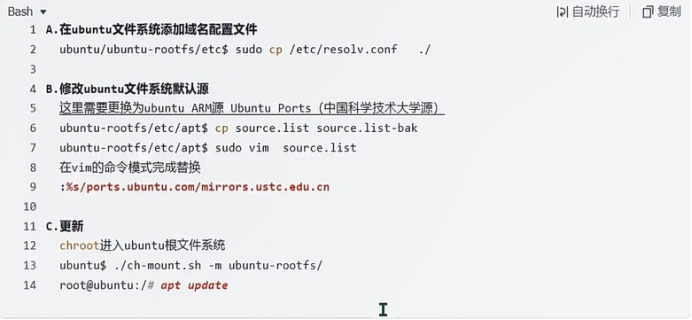
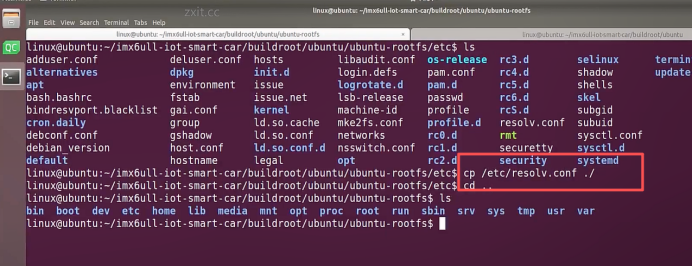
A.在ubuntu文件系统添加域名配置文件
ubuntu/ubuntu-rootfs/etc$ sudo cp /etc/resolv.conf ./
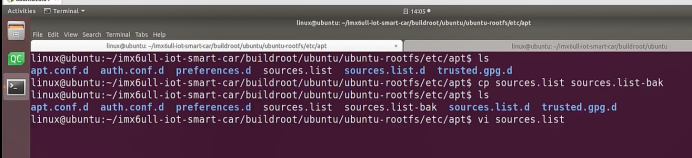
B.修改ubuntu文件系统默认源
这里需要更换为ubuntu ARM源 Ubuntu Ports(中国科学技术大学源)
ubuntu-rootfs/etc/apt$ cp source.list source.list-bak
ubuntu-rootfs/etc/apt$ sudo vim source.list
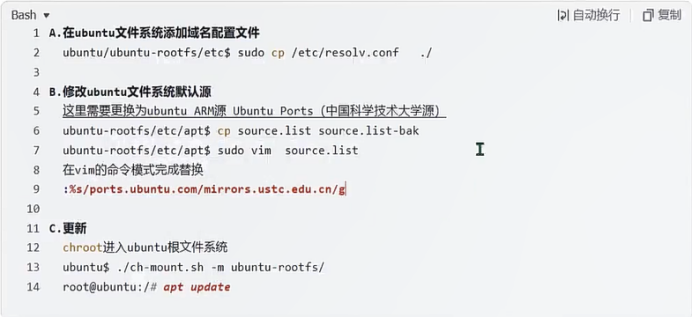
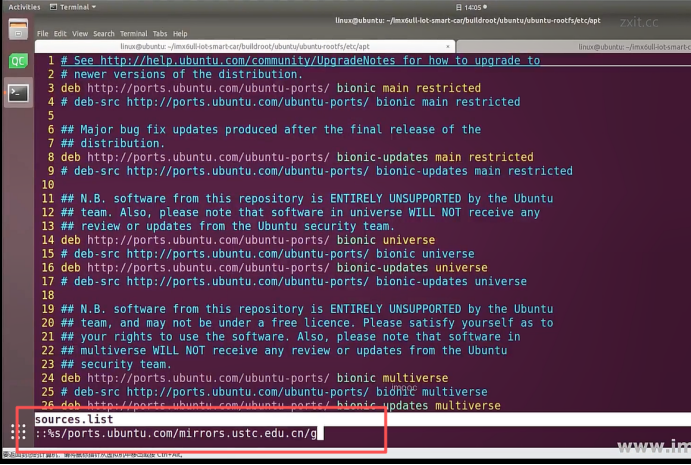
在vim的命令模式完成替换
:%s/ports.ubuntu.com/mirrors.ustc.edu.cn/g
C.更新
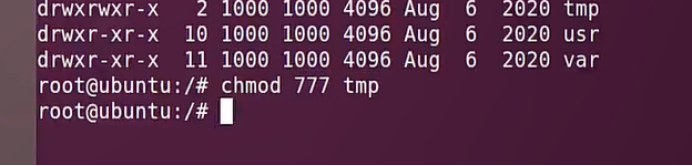
chroot进入ubuntu根文件系统
ubuntu$ ./ch-mount.sh -m ubuntu-rootfs/
root@ubuntu:/# chmod 777 tmp
root@ubuntu:/# apt update
(4)安装常用的软件工具
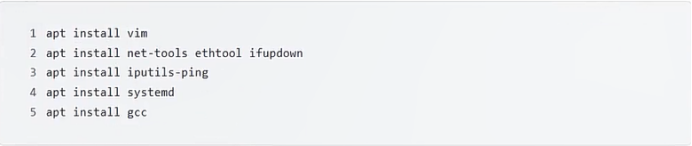
apt install vim
apt install net-tools ethtool ifupdown
apt install iputils-ping
apt install systemd
apt install gcc
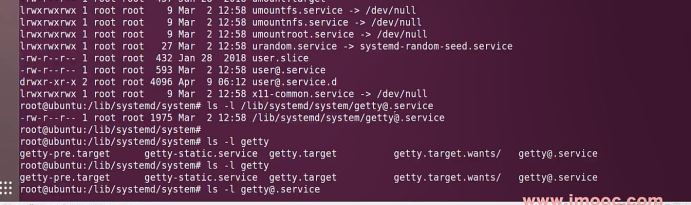
3.设置串口终端
root@ubuntu:/# ln -s /lib/systemd/system/getty@.service
++++/etc/systemd/system/getty.target.wants/getty@ttymxc0.service++++
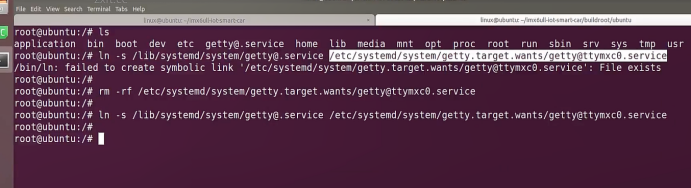
挺麻烦的,不行看视频吧

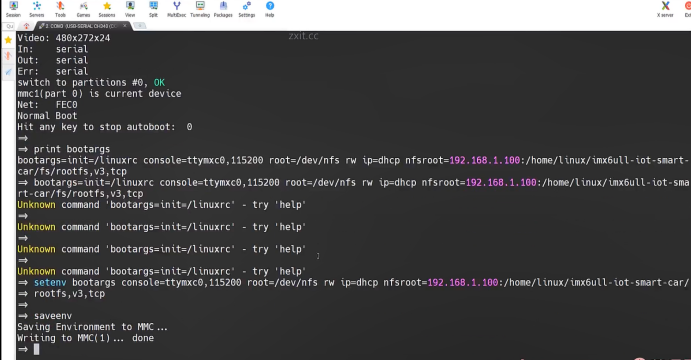
解决linuxrc没有的问题
设置密码
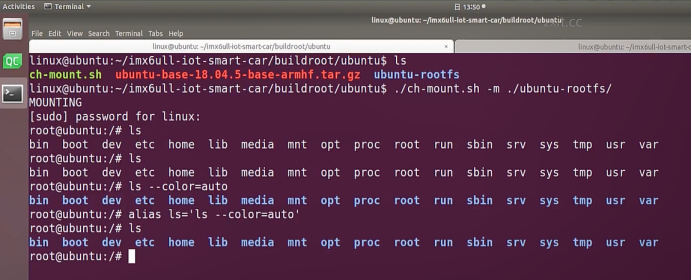
4.ls命令颜色显示
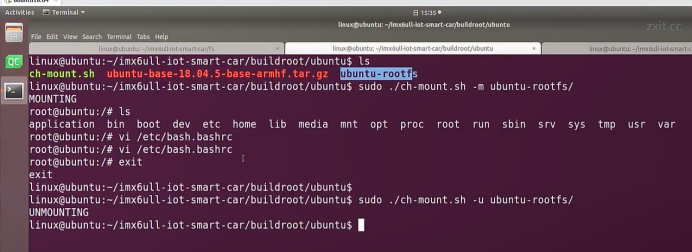
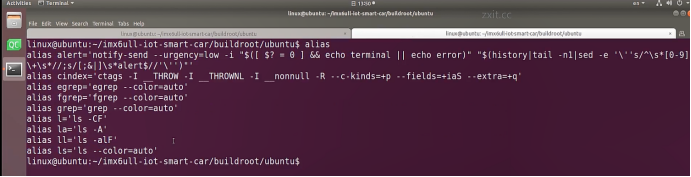
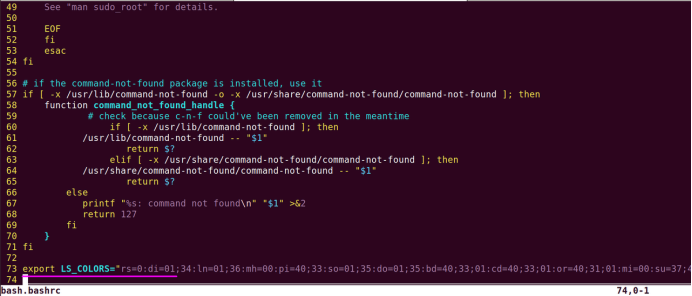
获取PC机器ubuntu系统LS_COLORS环境变量值,将它设置到移植的ubuntu-rootfs的/etc/bash.bashrc配
置文件中。
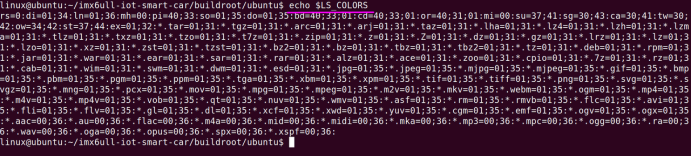
将ubuntu系统LS_COLORS环境变量值复制一份,然后添加到ubuntu-rootfs的/etc/bash.bashrc文件中,
修改如下:
注意:
在开发板上面挂载ubuntu-rootfs文件系统以后,需要用** source /etc/bash.bashrc 命令执行一下
脚本,让 LS_COLORS环境变量生效**.

三、systemd启动应用程序
1.systemd介绍
systemd 是 linux 系统中最新的初始化系统(init) ,它主要的设计目标是克服 sysvinit 固有的缺点,提高
系统的启动速度。**当 sysvinit 系统初始化的时候,它会将所有可能用到的后台服务进程全部启动运行。
并且系统必须等待所有的服务都启动就绪之后,才允许用户登录。**这种做法有两个缺点:首先是启动时
间过长,其次是系统资源浪费。
systemd 可以提供按需启动的能力,只有在某个服务被真正请求的时候才启动它 。当该服务结束,
systemd 可以关闭它,等待下次需要时再次启动它。
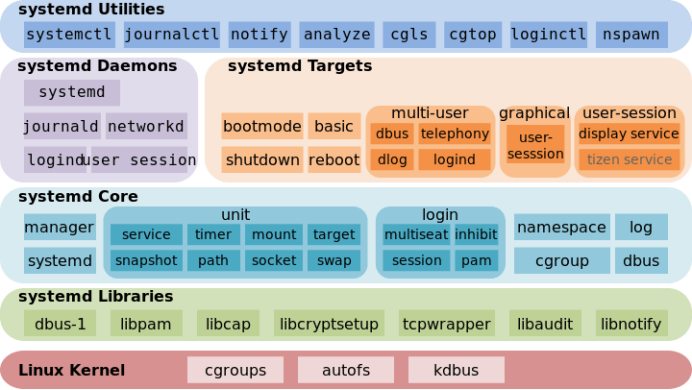
systemd 的优点是功能强大,使用方便,缺点是体系庞大,非常复杂,下图展示了 systemd 的架构:
- 编写service程序
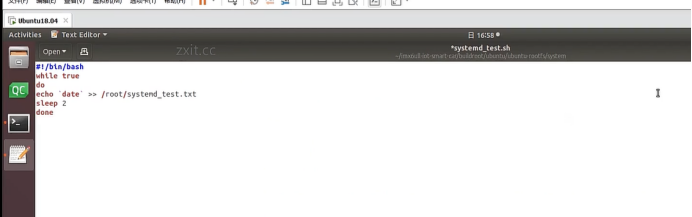
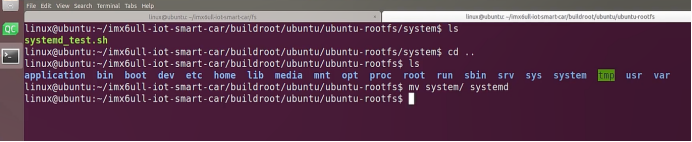
service程序可以是脚本,也可以是编译好的二进制程序 。这里我们编写一个测试的shell脚本
systemd_test.sh
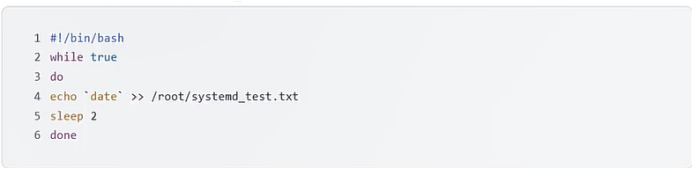
#!/bin/bash
while true
do
echo `date` >> /root/systemd_test.txt
sleep 2
done


- 编写service脚本
编 写 service 脚 本 , systemd 的 service 配 置 在 /lib/systemd/system 目 录 中 , 可 以 创 建 一 个
systemd_test.service文件,实际项目应当改为对应的名称。编辑此文件,添加下列内容:

Unit
Description=systemd test date daemon
After=network.target//自定义,约定了启动的顺序,必须在network启动后才启动服务
After=syslog.target//自定义,约定了启动的顺序,必须在syslog启动后才启动服务
Service
Type=simple
//simple :默认值,执行ExecStart指定的命令,启动主进程
//forking :以 fork 方式从父进程创建子进程,创建后父进程会立即退出
//oneshot :一次性进程,Systemd 会等当前服务退出,再继续往下执行
//dbus :当前服务通过D-Bus启动
//notify :当前服务启动完毕,会通知Systemd,再继续往下执行
//idle :若有其他任务执行完毕,当前服务才会运行
LimitNOFILE=65535 //单个进程能打开的最大文件数
ExecStart=/systemd/systemd_test.sh //应用程序的路径信息,请修改为实际项目对应的路径
ExecReload=/bin/kill -USR1 $MAINPID//这个不是必需,如果不写则你的service就不支持restart命令
StandardOutput=file:/var/log/testserver.log #输出重定向
StandardError=file:/var/log/testserver.log #输出重定向
Restart=always//表示如果进程挂掉会自动拉起
Install
//约定了在哪些环境下启动,multi-user.target 多用户环境下启用
WantedBy=multi-user.target
Description :运行软件描述
Documentation:软件的文档
After :因为软件的启动通常依赖于其他软件,这里是指定在哪个服务被启动之后再启动,设置优先级
Wants :弱依赖于某个服务,目标服务的运行状态可以影响到本软件但不会决定本软件运行状态
Requires :强依赖某个服务,目标服务的状态可以决定本软件运行。
ExecStart :执行命令
ExecStop :停止执行命令
ExecReload :重启时的命令
Type :软件运行方式,默认为simple
WantedBy :这里相当于设置软件,选择运行在linux的哪个运行级别,只是在systemd中不在有运行级别
概念,但是这里权当这么理解
- 开机自启动/取消service执行
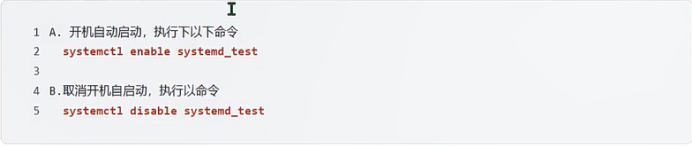
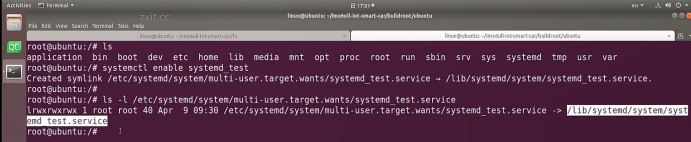
A. 开机自动启动,执行下以下命令
systemctl enable systemd_test
B.取消开机自启动,执行以命令
systemctl disable systemd_test
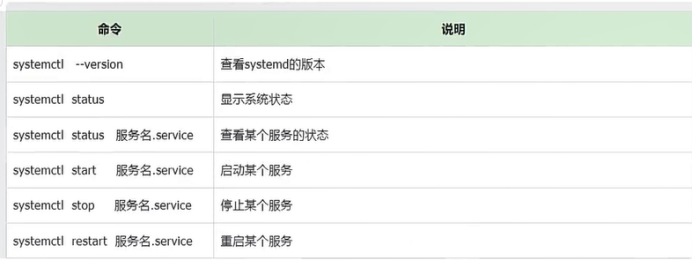
- systemctl相关命令
命令 说明
systemctl --version 查看systemd的版本
systemctl status 显示系统状态
systemctl status 服务名.service 查看某个服务的状态
systemctl start 服务名.service 启动某个服务
systemctl stop 服务名.service 停止某个服务
systemctl restart 服务名.service 重启某个服务
6.其他service操作命令
service systemd_test start
service systemd_test restart
service systemd_test stop