博主介绍:✌全网粉丝10W+,前互联网大厂软件研发、集结硕博英豪成立软件开发工作室,专注于计算机相关专业项目实战6年之久,累计开发项目作品上万套。凭借丰富的经验与专业实力,已帮助成千上万的学生顺利毕业,选择我们,就是选择放心、选择安心毕业✌
> 🍅想要获取完整文章或者源码,或者代做,拉到文章底部即可与我联系了。🍅🍅感兴趣的可以先收藏起来,点赞、关注不迷路,大家在毕设选题,项目以及论文编写等相关问题都可以给我留言咨询,希望帮助同学们顺利毕业 。🍅
1、毕业设计:2026年计算机专业毕业设计选题汇总(建议收藏)✅
1、项目介绍
技术栈:
Python语言、YOLO模型、SORT算法、PyQt5界面、目标检测、目标跟踪
2、项目界面
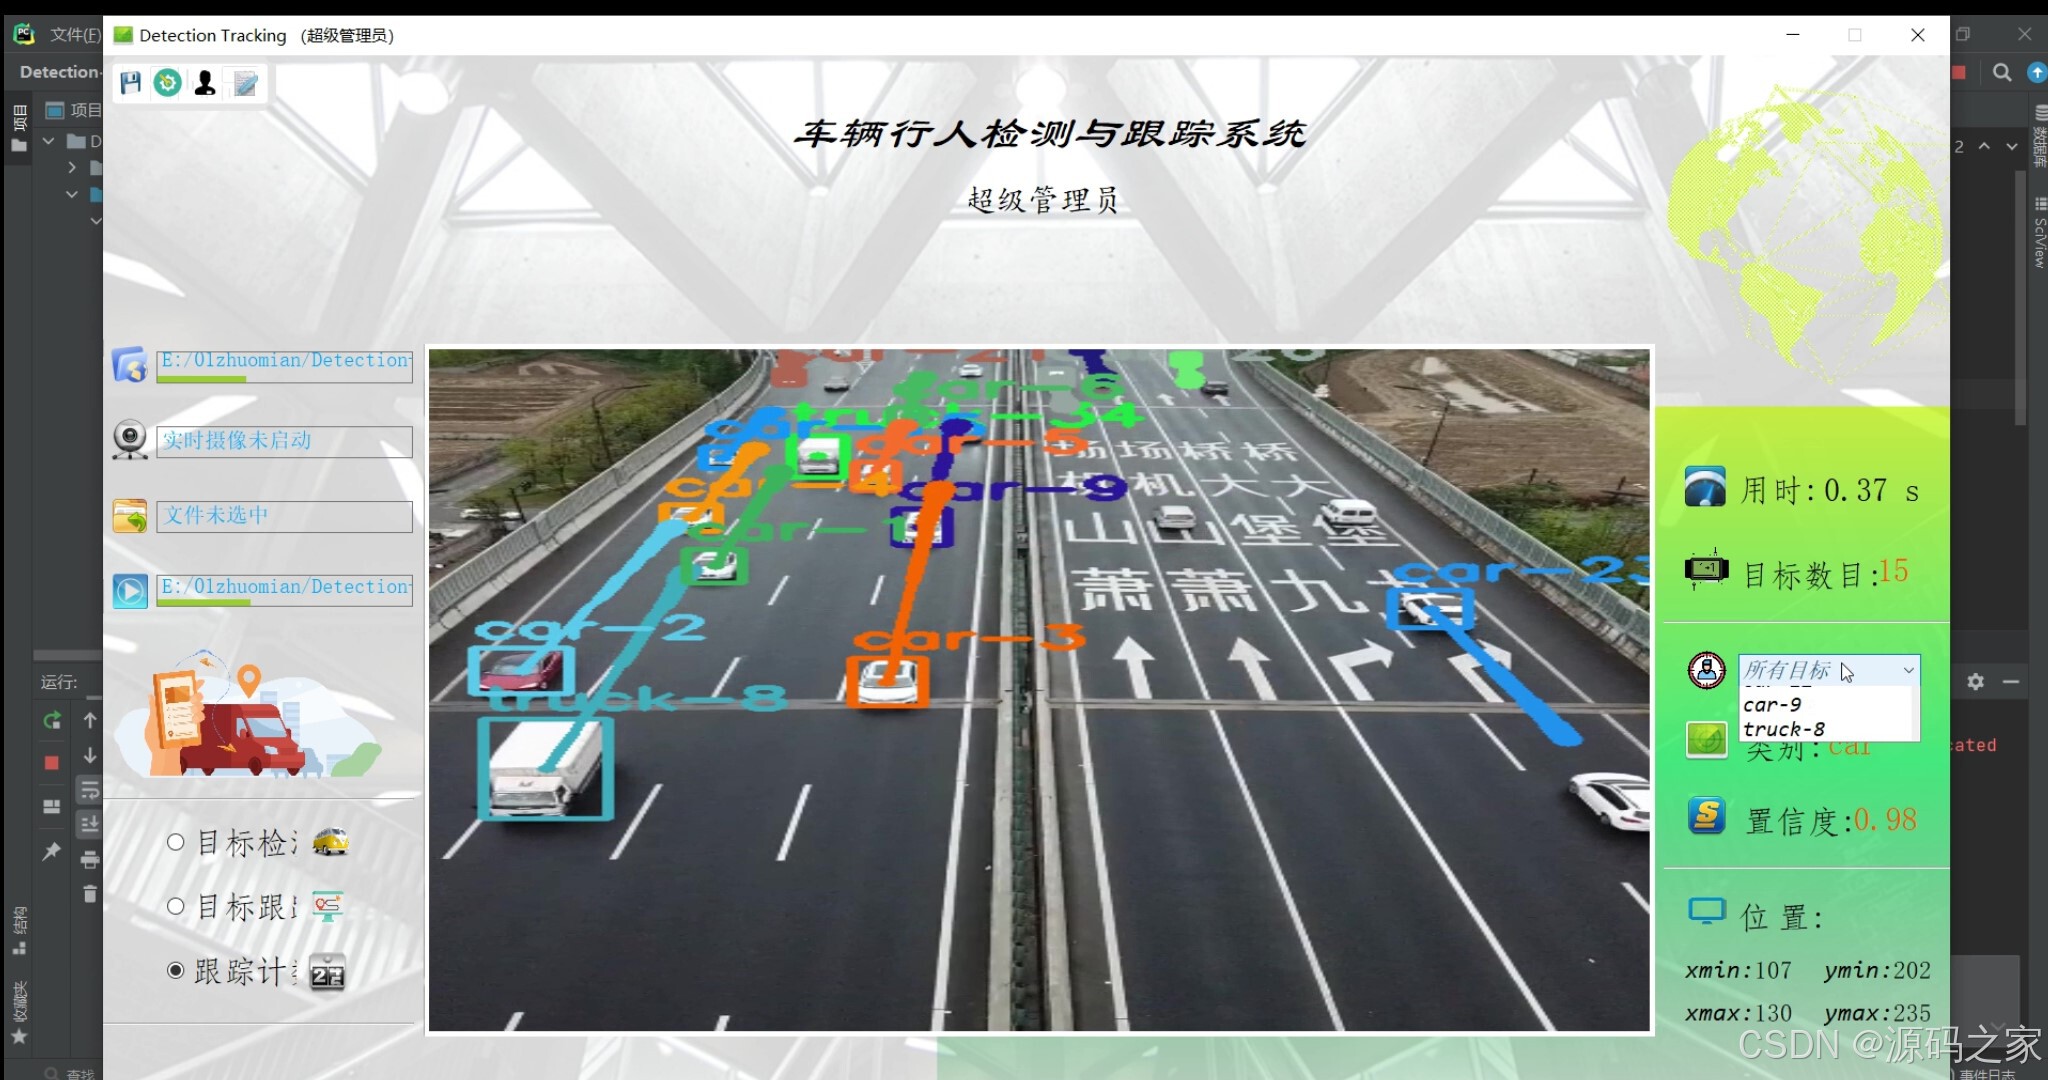
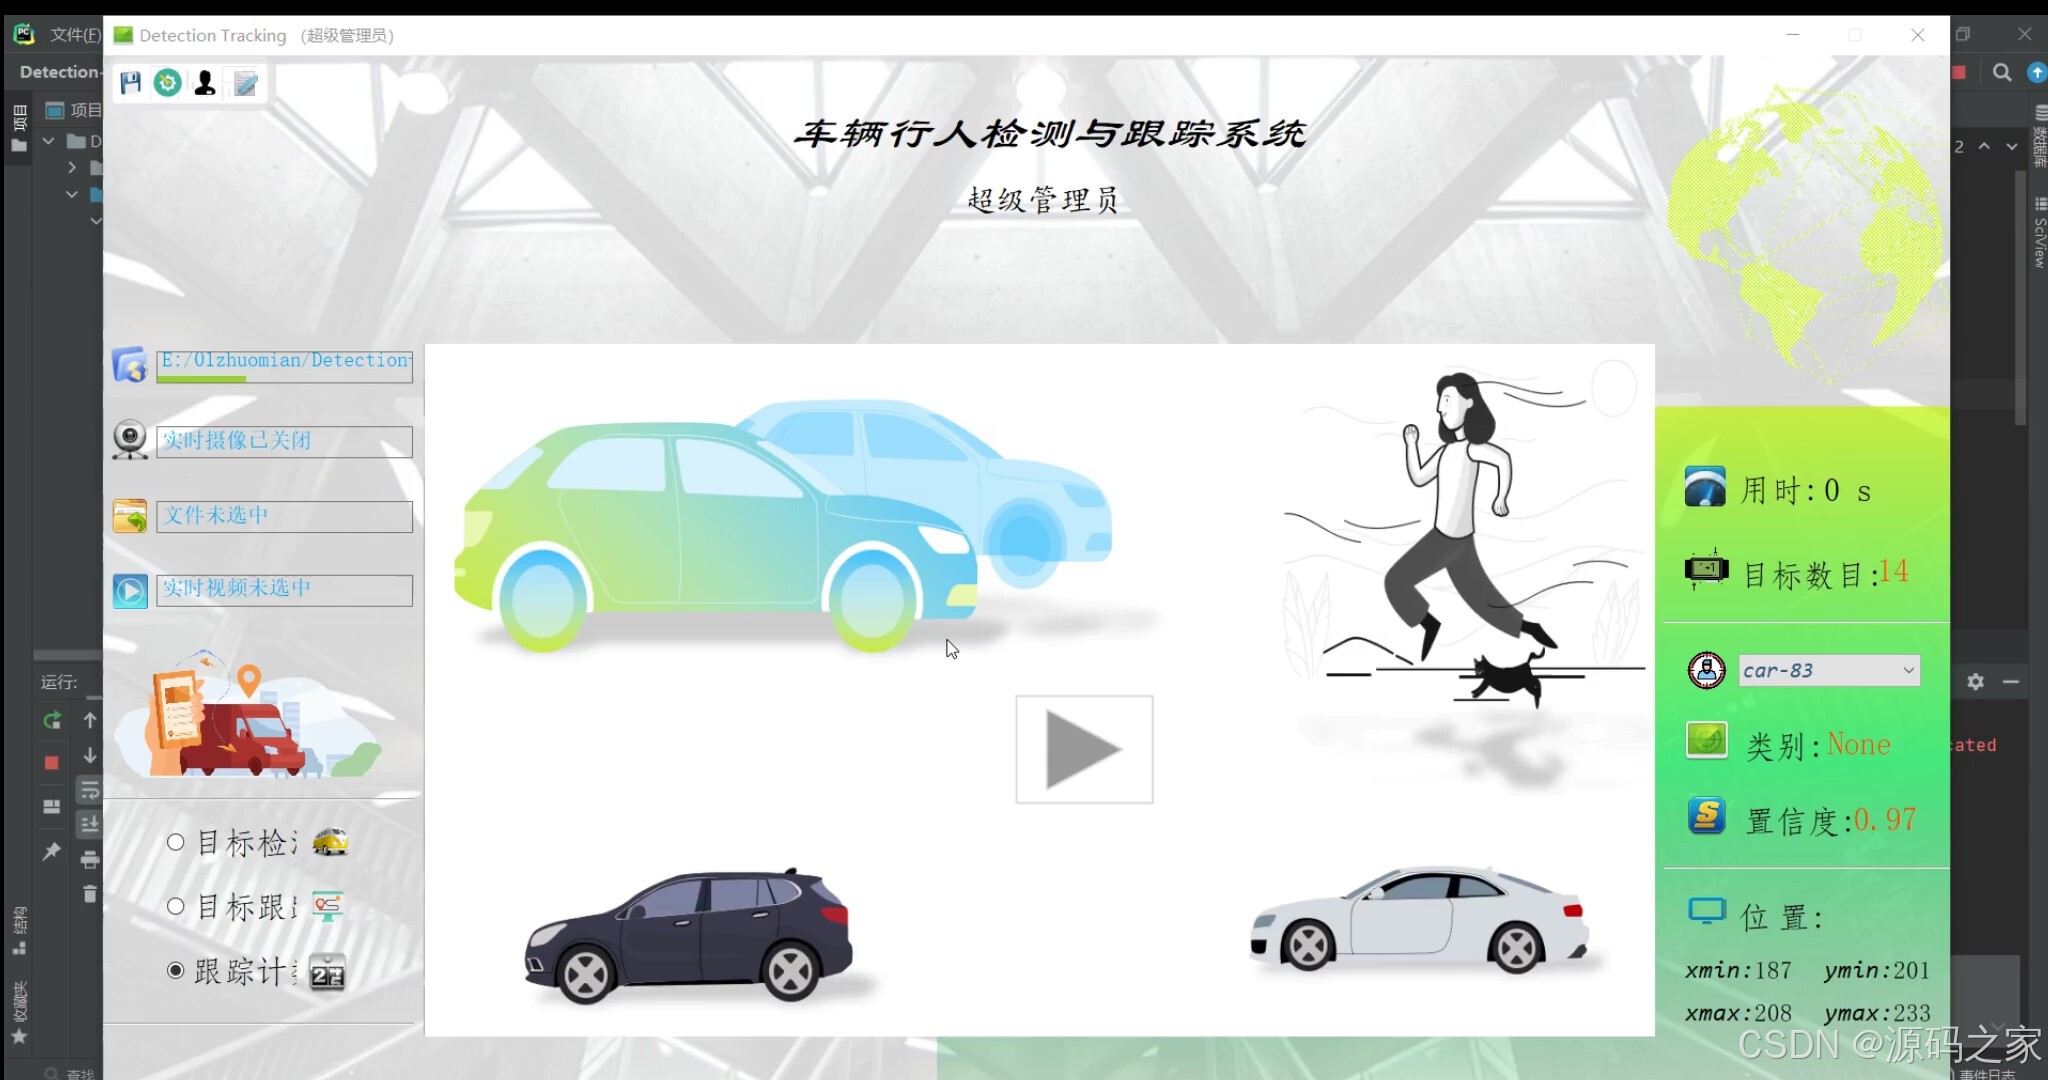
(1)车辆识别检测跟踪
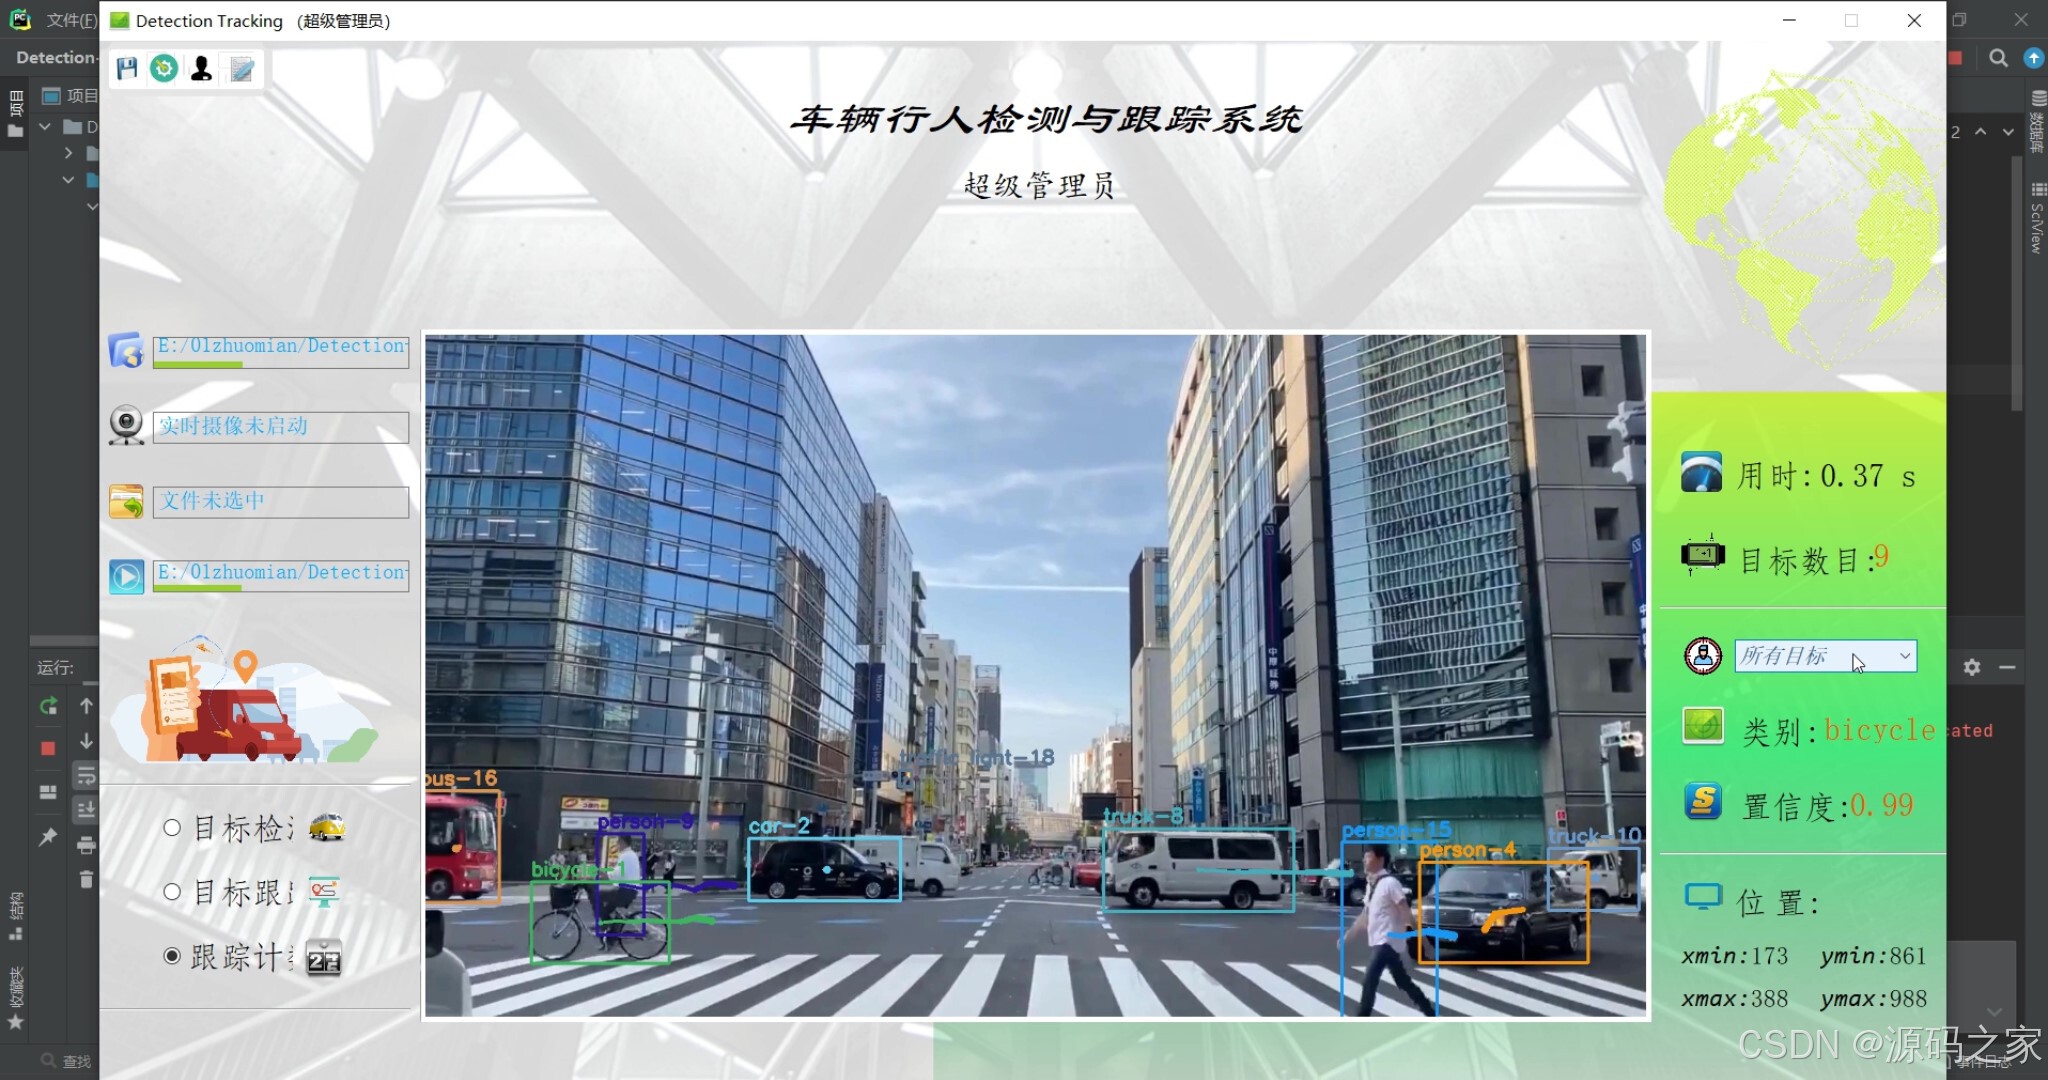
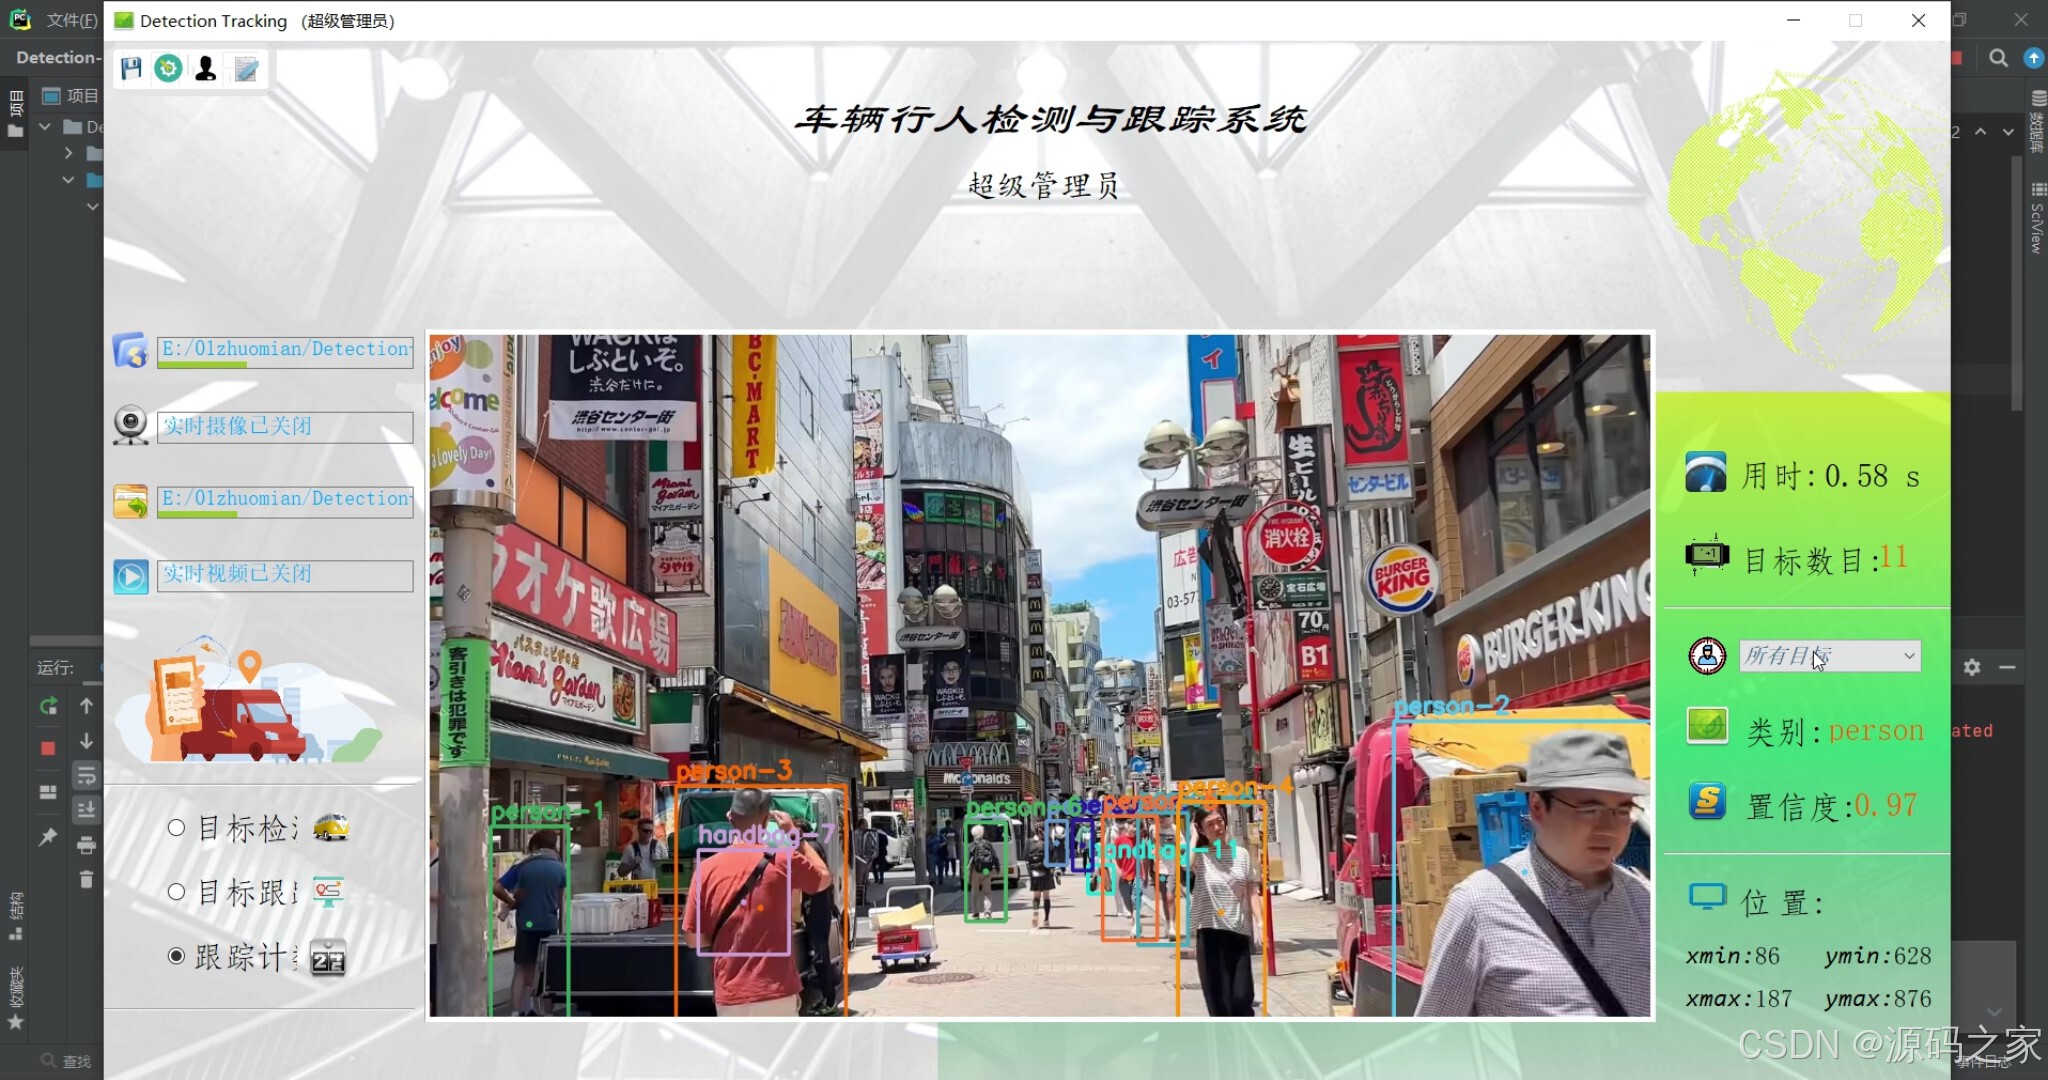
(2)车辆+行人识别检测跟踪
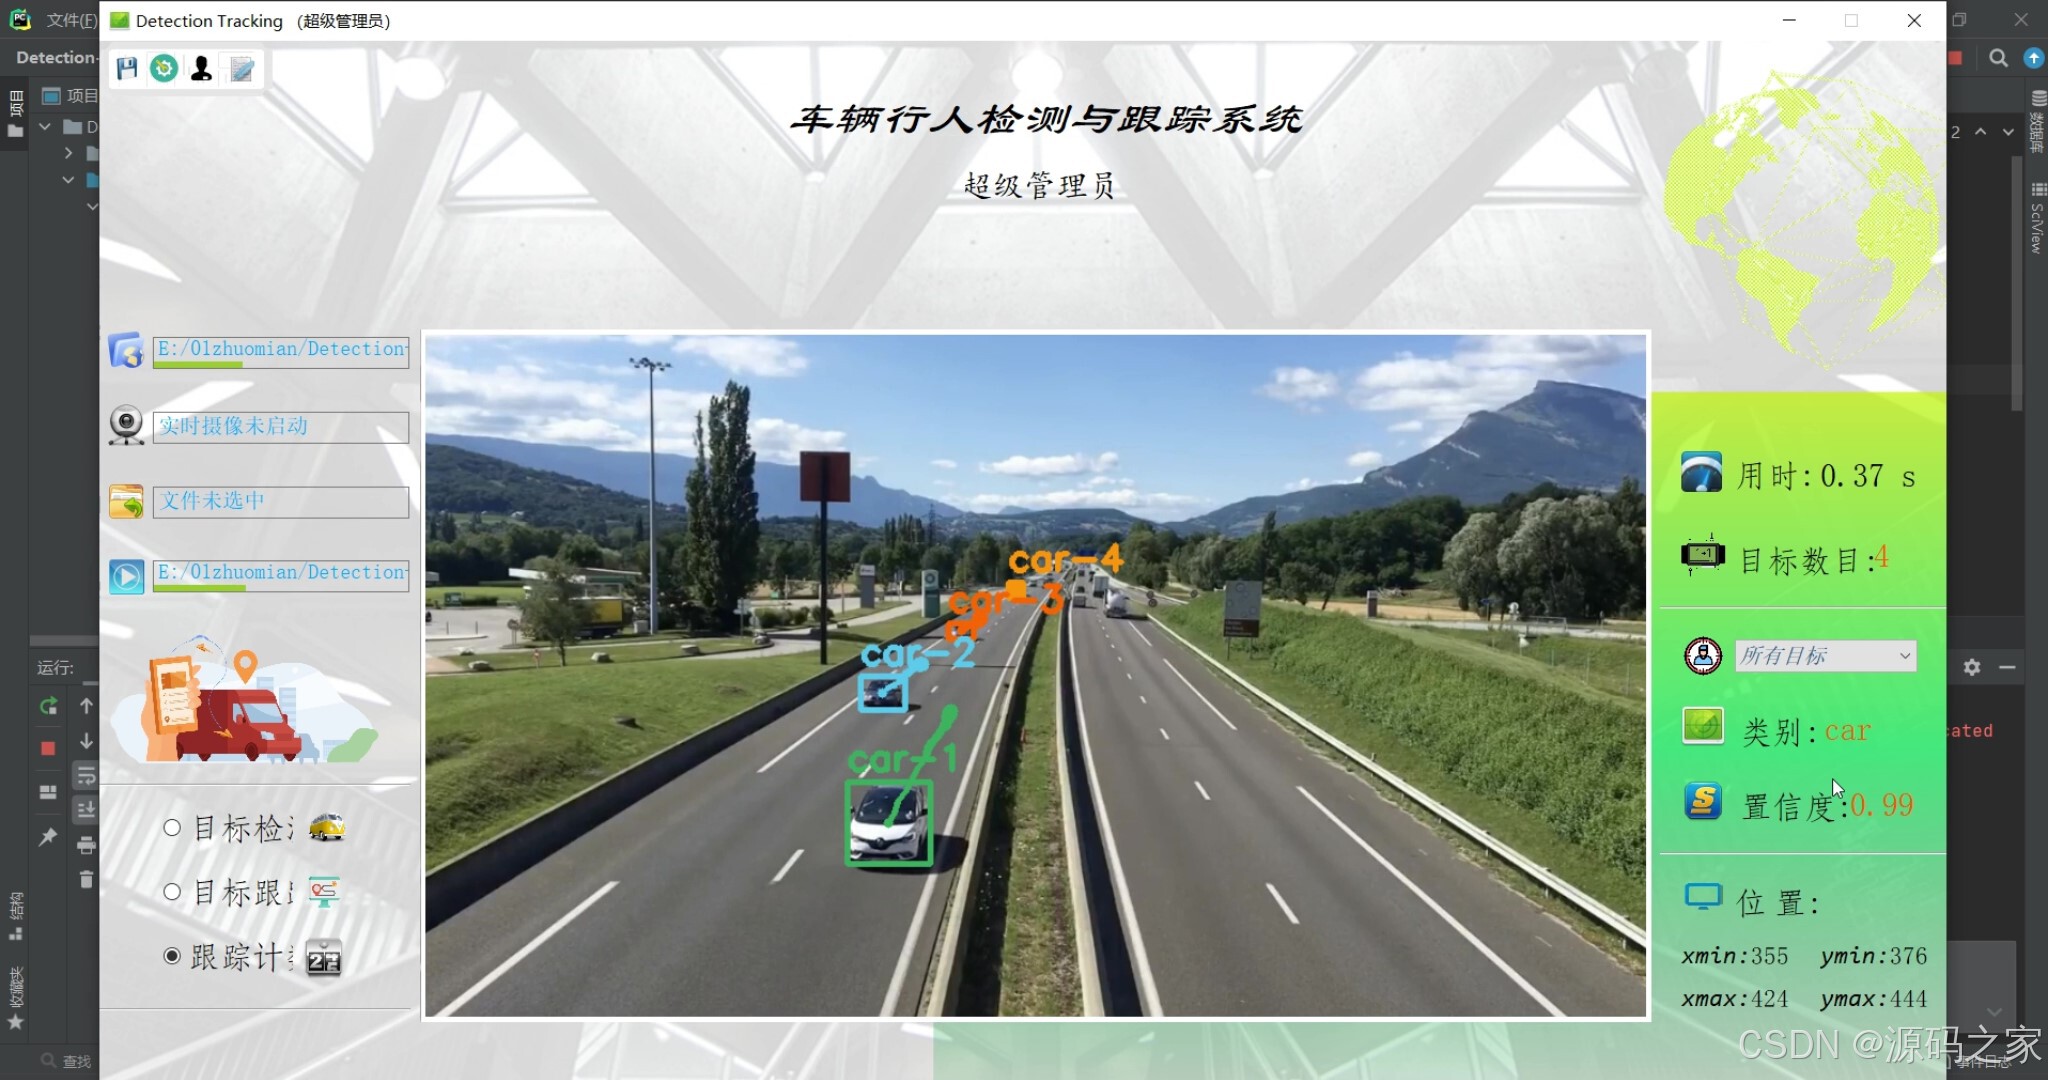
(3)车辆识别检测跟踪
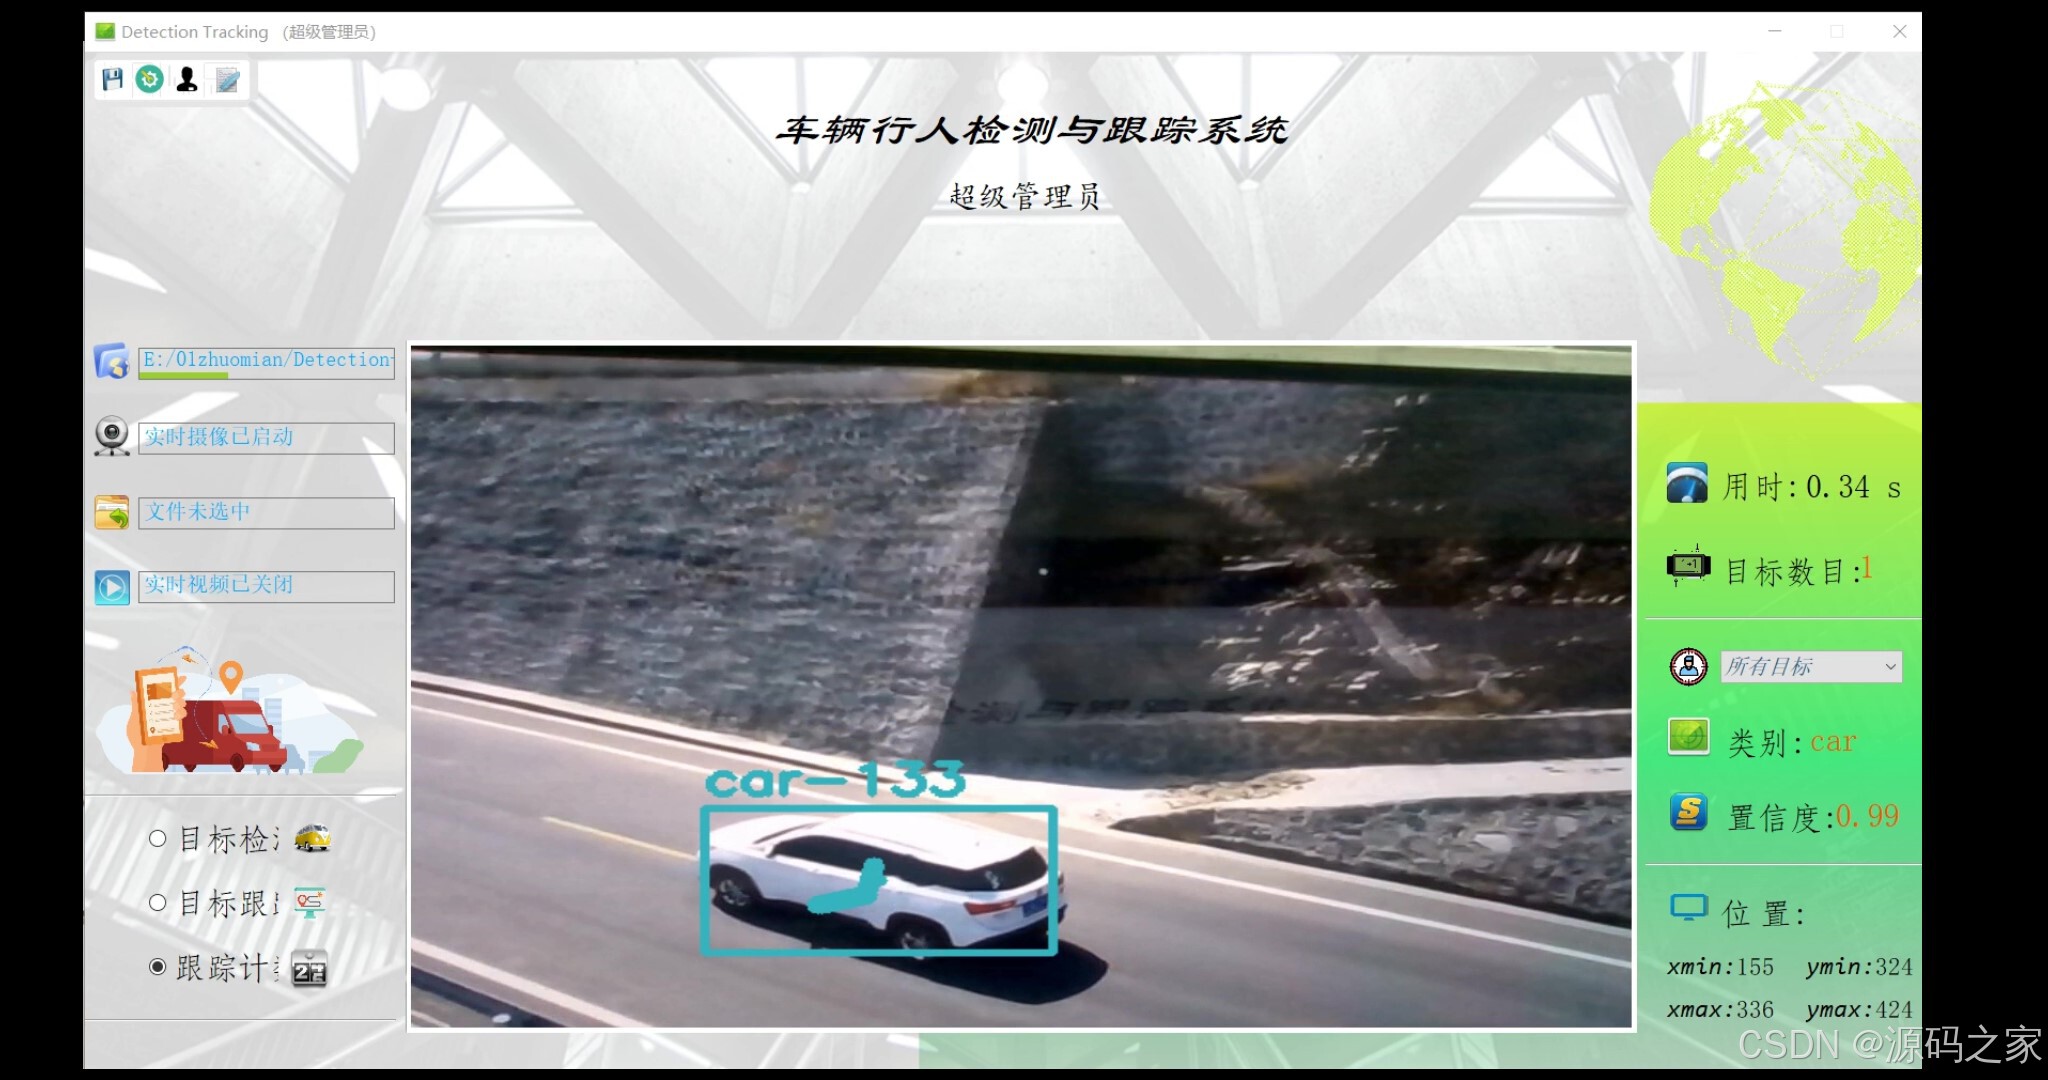
(4)摄像头---识别检测跟踪
(5)行人识别检测跟踪
(6)系统界面
3、项目说明
摘要:
本文详细介绍如何利用深度学习中的YOLO及SORT算法实现车辆、行人等多目标的实时检测和跟踪,并利用PyQt5设计了清新简约的系统UI界面,在界面中既可选择自己的视频、图片文件进行检测跟踪,也可以通过电脑自带的摄像头进行实时处理,可选择训练好的YOLO v3/v4等模型参数。该系统界面优美、检测精度高,功能强大,设计有多目标实时检测、跟踪、计数功能,可自由选择感兴趣的跟踪目标。
4、核心代码
python
# -*- coding: utf-8 -*-
# 本程序用于调用摄像头进行车辆行人等多目标检测跟踪


import warnings
import os
import time
from collections import deque
import cv2
import numpy as np
from sort import Sort
warnings.filterwarnings('ignore')

if __name__ == '__main__':
    CAM_NUM = 0  # 摄像头序号
    if_save = 1  # 是否需要保存录制的视频,1表示保存
    filter_confidence = 0.5  # 用于筛除置信度过低的识别结果
    threshold_prob = 0.3  # 用于NMS去除重复的锚框
    model_path = "./yolo-obj"  # 模型文件的目录

    # 载入数据集标签
    labelsPath = os.path.sep.join([model_path, "coco.names"])
    LABELS = open(labelsPath).read().strip().split("\n")
    # 载入模型参数文件及配置文件
    weightsPath = os.path.sep.join([model_path, "yolov4-tiny.weights"])
    configPath = os.path.sep.join([model_path, "yolov4-tiny.cfg"])

    # 初始化用于标记框的颜色
    np.random.seed(42)
    COLORS = np.random.randint(0, 255, size=(200, 3), dtype="uint8")

    # 用于展示目标移动路径
    pts = [deque(maxlen=30) for _ in range(9999)]

    # 从配置和参数文件中载入模型
    print("[INFO] 正在载入模型...")
    net = cv2.dnn.readNetFromDarknet(configPath, weightsPath)
    ln = net.getLayerNames()
    ln = [ln[i[0] - 1] for i in net.getUnconnectedOutLayers()]

    # 初始化视频流
    vs = cv2.VideoCapture(CAM_NUM)
    (W, H) = (None, None)
    frameIndex = 0

    ret, frame = vs.read()
    vw = frame.shape[1]
    vh = frame.shape[0]
    print("[INFO] 视频尺寸:{} * {}".format(vw, vh))

    if if_save:
        fourcc = cv2.VideoWriter_fourcc(*'XVID')
        output_video = cv2.VideoWriter("./output/captured.avi", fourcc, 20.0, (vw, vh))  # 处理后的视频对象
    else:
        output_video = None

    tracker = Sort()  # 实例化追踪器对象

    # 遍历视频帧进行检测
    while True:
        # 逐帧读取画面
        (grabbed, frame) = vs.read()

        # 获取画面长宽
        if W is None or H is None:
            (H, W) = frame.shape[:2]

        # 将一帧画面读入网络
        blob = cv2.dnn.blobFromImage(frame, 1 / 255.0, (416, 416), swapRB=True, crop=False)
        net.setInput(blob)

        start = time.time()
        layerOutputs = net.forward(ln)
        end = time.time()

        boxes = []  # 用于检测框坐标
        confidences = []  # 用于存放置信度值
        classIDs = []  # 用于识别的类别序号

        # 逐层遍历网络获取输出
        for output in layerOutputs:
            # loop over each of the detections
            for detection in output:
                # extract the class ID and confidence (i.e., probability)
                # of the current object detection
                scores = detection[5:]
                classID = np.argmax(scores)
                confidence = scores[classID]

                # 过滤低置信度值的检测结果
                if confidence > filter_confidence:
                    box = detection[0:4] * np.array([W, H, W, H])
                    (centerX, centerY, width, height) = box.astype("int")

                    # 转换标记框
                    x = int(centerX - (width / 2))
                    y = int(centerY - (height / 2))

                    # 更新标记框、置信度值、类别列表
                    boxes.append([x, y, int(width), int(height)])
                    confidences.append(float(confidence))
                    classIDs.append(classID)

        # 使用NMS去除重复的标记框
        idxs = cv2.dnn.NMSBoxes(boxes, confidences, filter_confidence, threshold_prob)

        dets = []
        if len(idxs) > 0:
            # 遍历索引得到检测结果
            for i in idxs.flatten():
                (x, y) = (boxes[i][0], boxes[i][1])
                (w, h) = (boxes[i][2], boxes[i][3])
                dets.append([x, y, x + w, y + h, confidences[i], classIDs[i]])

        np.set_printoptions(formatter={'float': lambda x: "{0:0.3f}".format(x)})
        dets = np.asarray(dets)

        # 使用sort算法,开始进行追踪
        tracks = tracker.update(dets)

        boxes = []  # 存放追踪到的标记框
        indexIDs = []
        cls_IDs = []
        c = []

        for track in tracks:
            boxes.append([track[0], track[1], track[2], track[3]])
            indexIDs.append(int(track[4]))
            cls_IDs.append(int(track[5]))

        if len(boxes) > 0:
            i = int(0)
            for box in boxes:  # 遍历所有标记框
                (x, y) = (int(box[0]), int(box[1]))
                (w, h) = (int(box[2]), int(box[3]))

                # 在图像上标记目标框
                color = [int(c) for c in COLORS[indexIDs[i] % len(COLORS)]]
                cv2.rectangle(frame, (x, y), (w, h), color, 4)

                center = (int(((box[0]) + (box[2])) / 2), int(((box[1]) + (box[3])) / 2))
                pts[indexIDs[i]].append(center)
                thickness = 5
                # 显示某个对象标记框的中心
                cv2.circle(frame, center, 1, color, thickness)

                for j in range(1, len(pts[indexIDs[i]])):
                    if pts[indexIDs[i]][j - 1] is None or pts[indexIDs[i]][j] is None:
                        continue
                    thickness = int(np.sqrt(64 / float(j + 1)) * 2)
                    cv2.line(frame, (pts[indexIDs[i]][j - 1]), (pts[indexIDs[i]][j]), color, thickness)

                # 标记跟踪到的目标和数目
                text = "{}-{}".format(LABELS[int(cls_IDs[i])], indexIDs[i])
                cv2.putText(frame, text, (x, y - 10), cv2.FONT_HERSHEY_SIMPLEX, 1, color, 3)
                i += 1

        # 实时显示检测画面
        cv2.imshow('Stream', frame)
        if if_save:
            output_video.write(frame)
        if cv2.waitKey(1) & 0xFF == ord('q'):
            break

        print("FPS:{}".format(int(0.6/(end-start))))
        frameIndex += 1

    print("[INFO] 运行结束...")
    if if_save:
        output_video.release()
    vs.release()
exit()🍅✌感兴趣的可以先收藏起来,点赞关注不迷路,想学习更多项目可以查看主页,大家在毕设选题,项目编程以及论文编写等相关问题都可以给我留言咨询,希望可以帮助同学们顺利毕业!🍅✌
5、源码获取方式
🍅由于篇幅限制,获取完整文章或源码、代做项目的,拉到文章底部即可看到个人联系方式。🍅
点赞、收藏、关注,不迷路,下方查看 👇🏻获取联系方式👇🏻