App 组件
html
<template>
  <div class=''>
    <router-view></router-view>
  </div>
</template>

<script lang='ts' setup>
import { } from 'vue'

</script>

<style lang='less'>
html, body {
    margin: 0;
    padding: 0;
    height: 100%;
    overflow: hidden;
}

#app {
    height: 100%;
    overflow: hidden;
}
</style>
login 组件
html
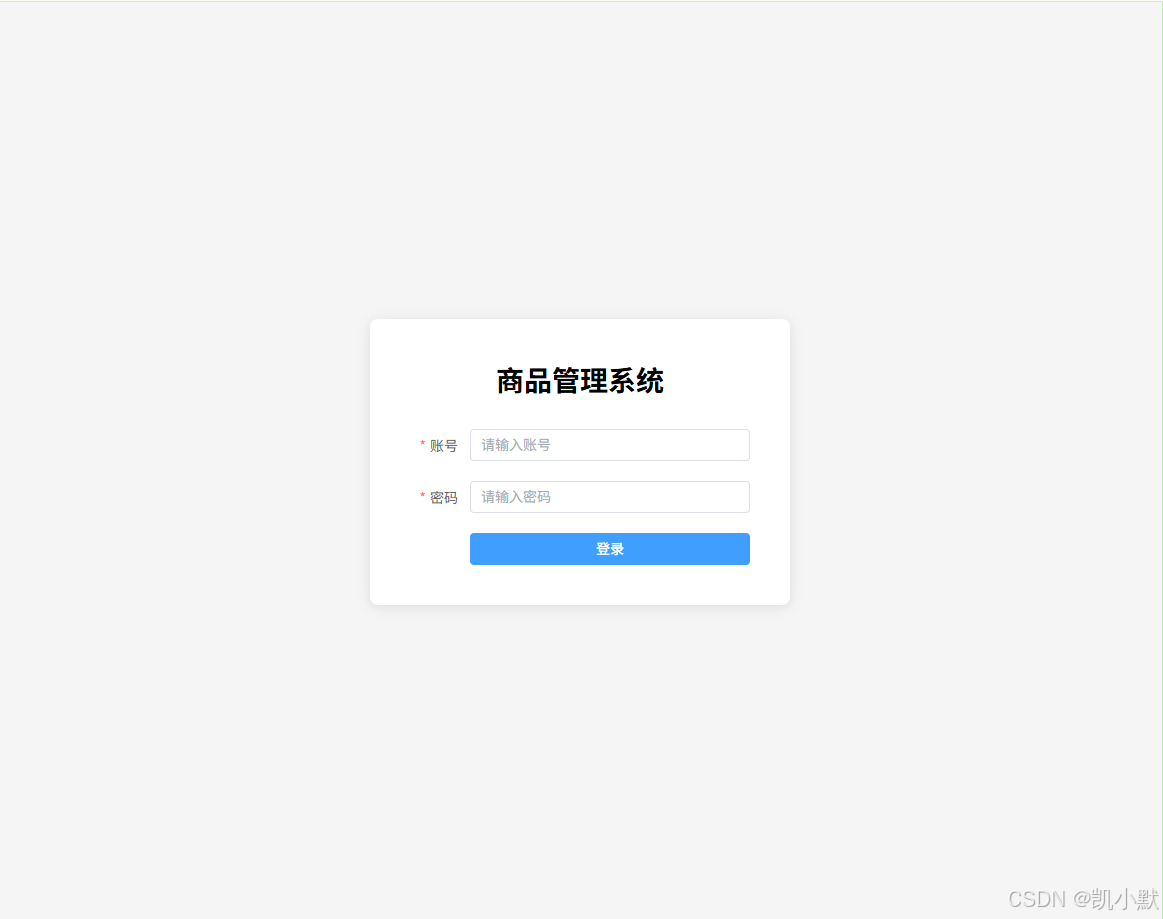
<template>
    <div class="login-rule-form">
        <div class="content">
            <div class="title">商品管理系统</div>
            <el-form ref="ruleFormRef" :model="ruleForm" status-icon :rules="rules" label-width="60px">
                <el-form-item prop="username" label="账号">
                    <el-input v-model="ruleForm.username" type="text" placeholder="请输入账号"/>
                </el-form-item>
                <el-form-item prop="pwd" label="密码">
                    <el-input v-model="ruleForm.pwd" type="password" placeholder="请输入密码"/>
                </el-form-item>
                <el-form-item>
                    <el-button type="primary" @click="loginFn()">登录</el-button>
                </el-form-item>
            </el-form>
        </div>
    </div>
</template>

<script lang='ts' setup>
import { reactive } from 'vue'

let ruleForm = reactive({
    username: "",
    pwd: ""
})
// 自定义密码校验规则
const validatePwd = (rule: unknown, value: string | undefined, callback: (msg?: string) => void) => {
    if(!value) {
        callback('密码不能为空')
    } else {
        callback()
    }
}
// 校验规则
let rules = reactive({
    username: [
        {
            required: true,
            message: '用户名不能为空',
            trigger: 'blur'
        }
    ],
    pwd: [
        {
            required: true,
            validator: validatePwd,
            trigger: 'blur'
        }
    ]
})

// 登录
const loginFn = () => {

}

</script>

<style lang='less' scoped>
.login-rule-form {
    width: 100%;
    height: 100vh;
    display: flex;
    justify-content: center;
    align-items: center;
    background-color: #f5f5f5;
    overflow: hidden;
    box-sizing: border-box;
    margin: 0;
    padding: 0;
    .content {
        width: 420px;
        padding: 40px;
        background-color: #fff;
        border-radius: 8px;
        box-shadow: 0 2px 12px rgba(0, 0, 0, 0.1);
        box-sizing: border-box;
        .title {
            font-size: 28px;
            font-weight: bold;
            text-align: center;
            margin-bottom: 30px;
        }
    }

    :deep(.el-form) {
        .el-form-item {
            margin-bottom: 20px;
            &:last-child {
                margin-bottom: 0;
            }
        }
        .el-button {
            width: 100%;
        }
    }
}
</style>